When you click on links to various merchants on this site and make a purchase, this can result in this site earning a commission. Affiliate programs and affiliations include, but are not limited to, the eBay Partner Network.
In addition, I had also a few months earlier had a problem with my "dog bone" castings - that bolt to the side of the diff and hold the lower wishbone inner fulcrums - coming loose. Described here: https://www.jaguarforums.com/forum/x...ox-xjs-221677/
The first two threads were motivated by a search for a mystery front wheel shimmy, but I mention the third as I have an idea (actually Grant had the idea!) about them all being linked to the ultimate cause of the vibration and shimmy. In both the first two threads' cases, the shimmy was reduced, and I thought I had cracked the problem, but in both cases it returned, at a different speed, or in a reduced form, but it had NOT gone.
The gearbox swap was partially motivated by a distinct sound that appeared under certain conditions and was for sure caused by the torque converter rotor just touching it's outer stator. And I did find fine metal articles when I flushed out the tranny oil cooler.
Anyway, although all this work did help and did ameliorate the problem, and I thought it had been cured, back it came at about 120 to 130 kph. No ignoring it, I had to fix it if I was to enjoy the car.
Long discussions on the France/Oz hotline came to the conclusions that the only thing that was left was the UJs in the rear axle (the propshaft had been renewed a year or two ago). The vibration has now, for 100% sure, gone. The rear axle UJs going home were definitely the ultimate fundamental cause of all the symptoms."
Sadly the final sentence, in red above, turned out to be NOT true.
The steering wheel shimmy returned after about 50 km and thereafter always appeared when the car had warmed up.
After further long chats on the Franco/WoZ helpline, we came to the conclusion that the only thing left to change was the diff, so I had better get stuck into that.
My car has the DANA differential, as fitted by Jaguar for about two or three years to mid 1980s built V12s. There is very little info out there about these diffs, which differ significantly from the more common GKN/Salisbury diffs fitted to both earlier and later cars, 6 cylinder and 12 cylinder versions (not the same ratios in those two types though).
So herewith a few facts and experiences.
I had a spare axle which, by chance, also had a DANA diff in it. We reasoned that, although the spare had 90,000 thousand miles on it, the liklihood of it having the same fault (assuming it was a diff fault causing my steering wheel shimmy) as the one in the car was low; so while changing it might produce other symptoms, if the shimmy went it would prove the diff to be the cause.
The main difference between the DANA and the GKN is the design of the output shafts (the short shafts that connect to the driveshaft inner flange each side of the differential casing).
On a GKN these output shafts are a built-up assembly of bearings, with oil seals etc etc, not unlike a wheel bearing assembly, and the bearings can be easily renewed.
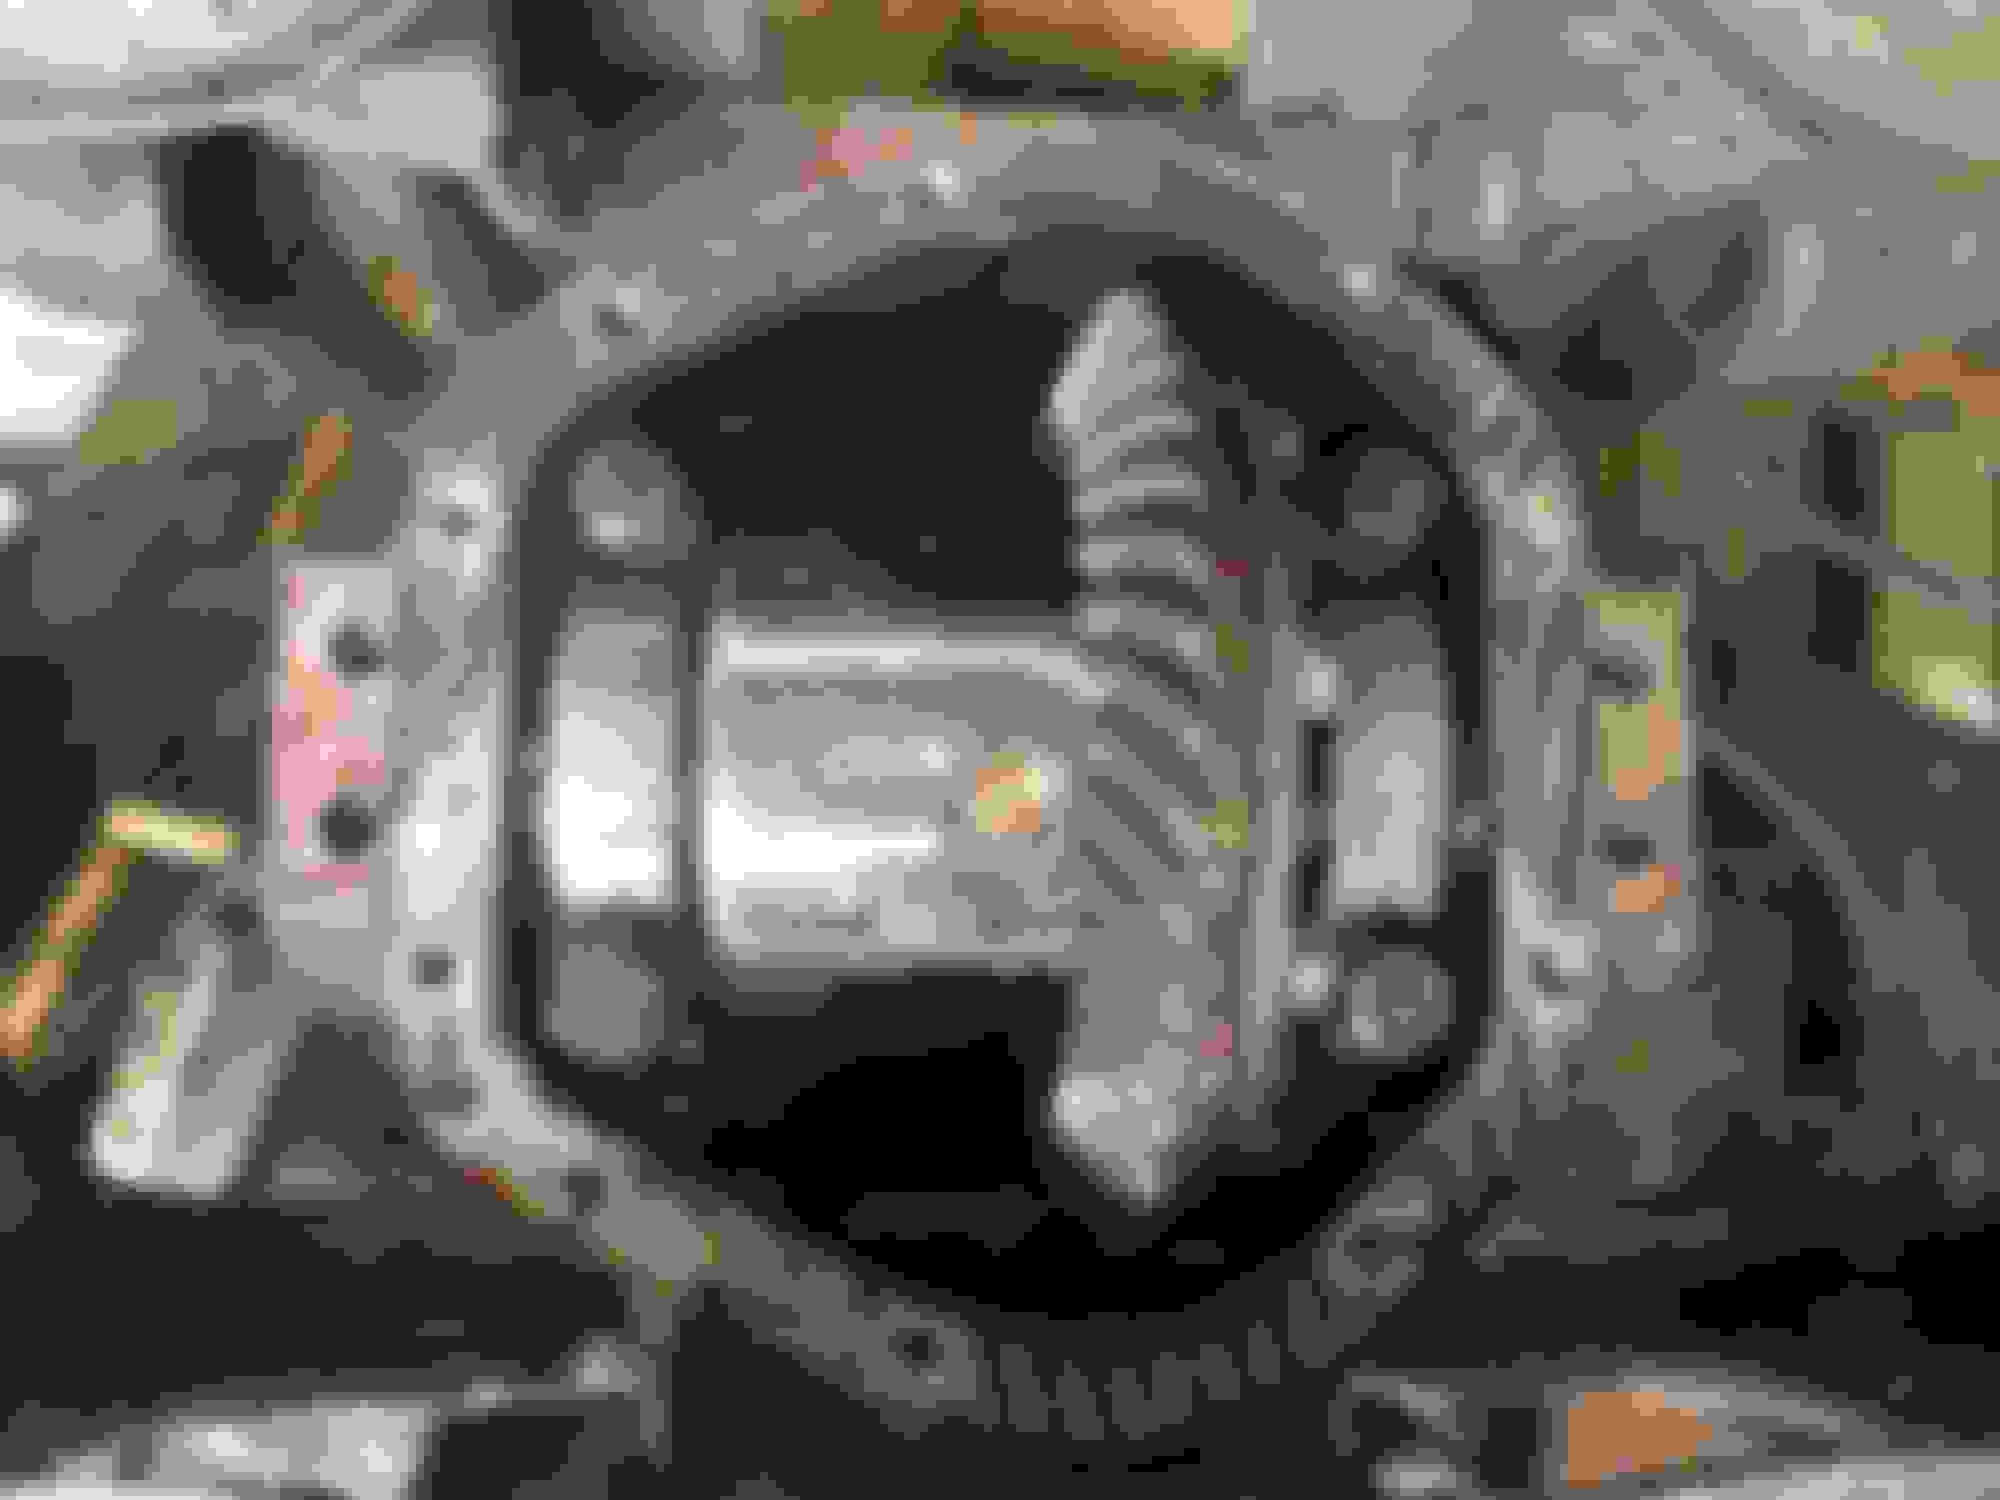
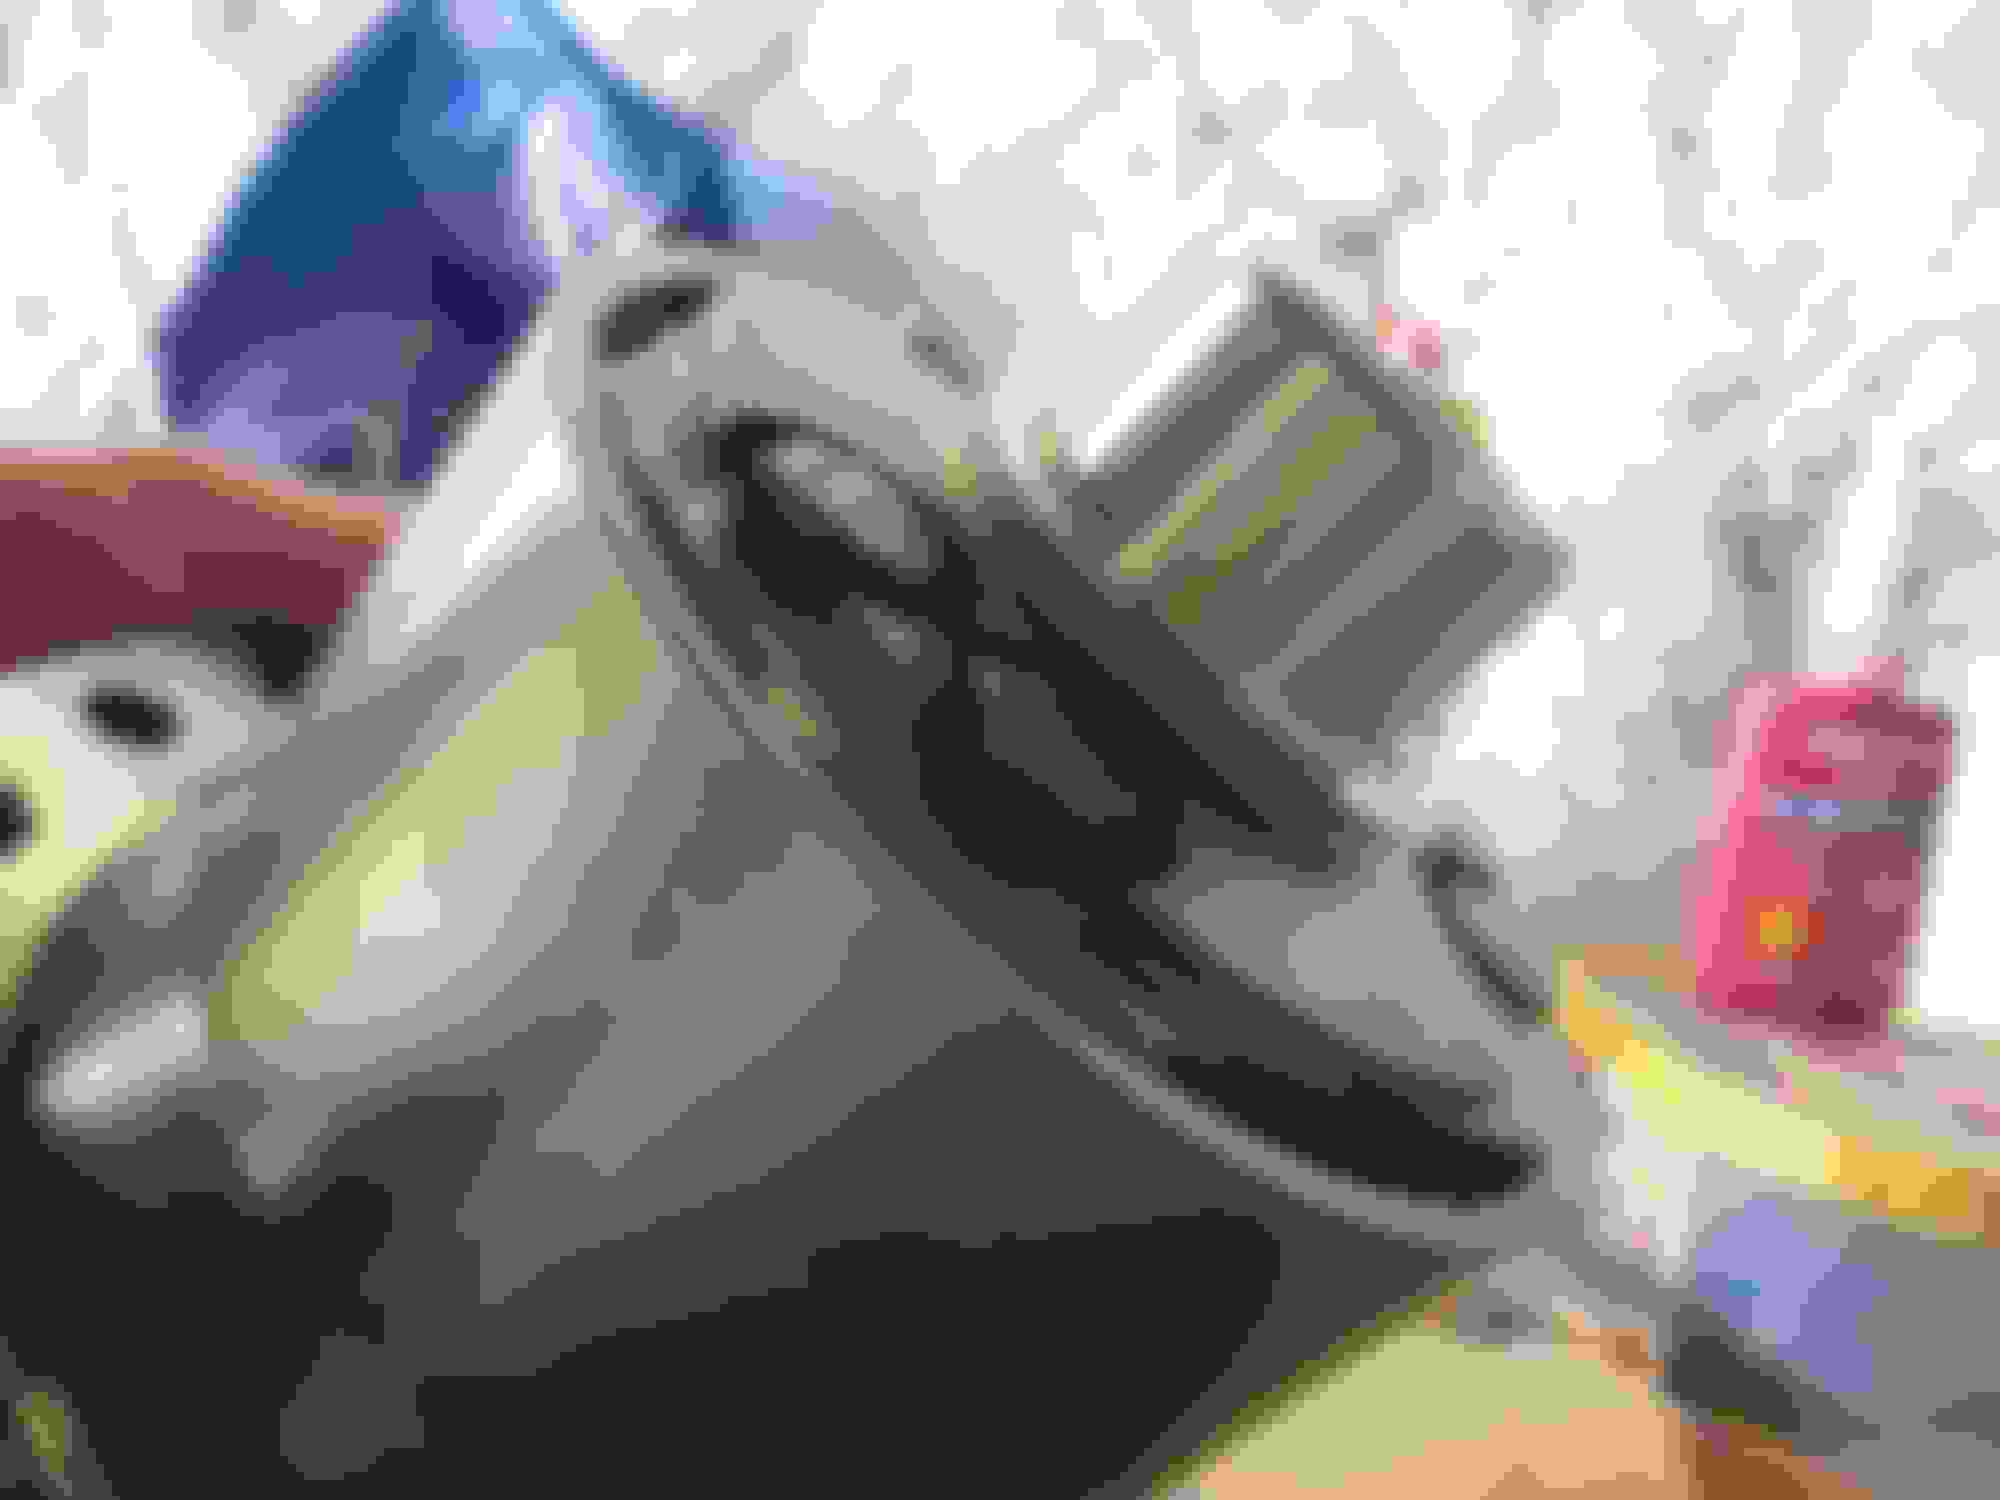
On the DANA, the output shafts are housed in a machined casting, and this casting is bolted into the diff casing with three bolts. Inside this machined casting is a special factory-sealed and assembled double bearing, that has to be purchased as a complete item. Through the middle of this runs the actual driveshaft, which is held in place by an interference-fit ring that has to be heated and slipped over the driveshaft. (By contrast, the GKN driveshaft is held into the bearing by a large nut threaded onto the driveshaft). The entire output assembly looks like this:
The special factory-asembled bearing pressed inside the machined outer is rare as hen's teeth, and this is it's reference number and details: Description: Timken JRM3535-90U01, TAPERED ROLLER BRG ASSY ; 35MM ID 64MM OD STEEL
35MM Bore; 64MM Outside Diameter; 37MM Assembly Width; 0.006MM End Play; Double Row of Rollers
They cost more than 150 USD each and the good news is that they NEVER seem to fail. So if you have a problem with your DANA diff, it is far more likely to be the actual LSD unit than the output bearing assembly.
Note: The DANA output shafts have 30 splines. repeat 30 splines. (GKN have 19 I believe). Also the DANA has no drain plug, and has the distinctive three-bolt output shaft fixing into the diff casing. The GKN has 5 bolts on this fixing.
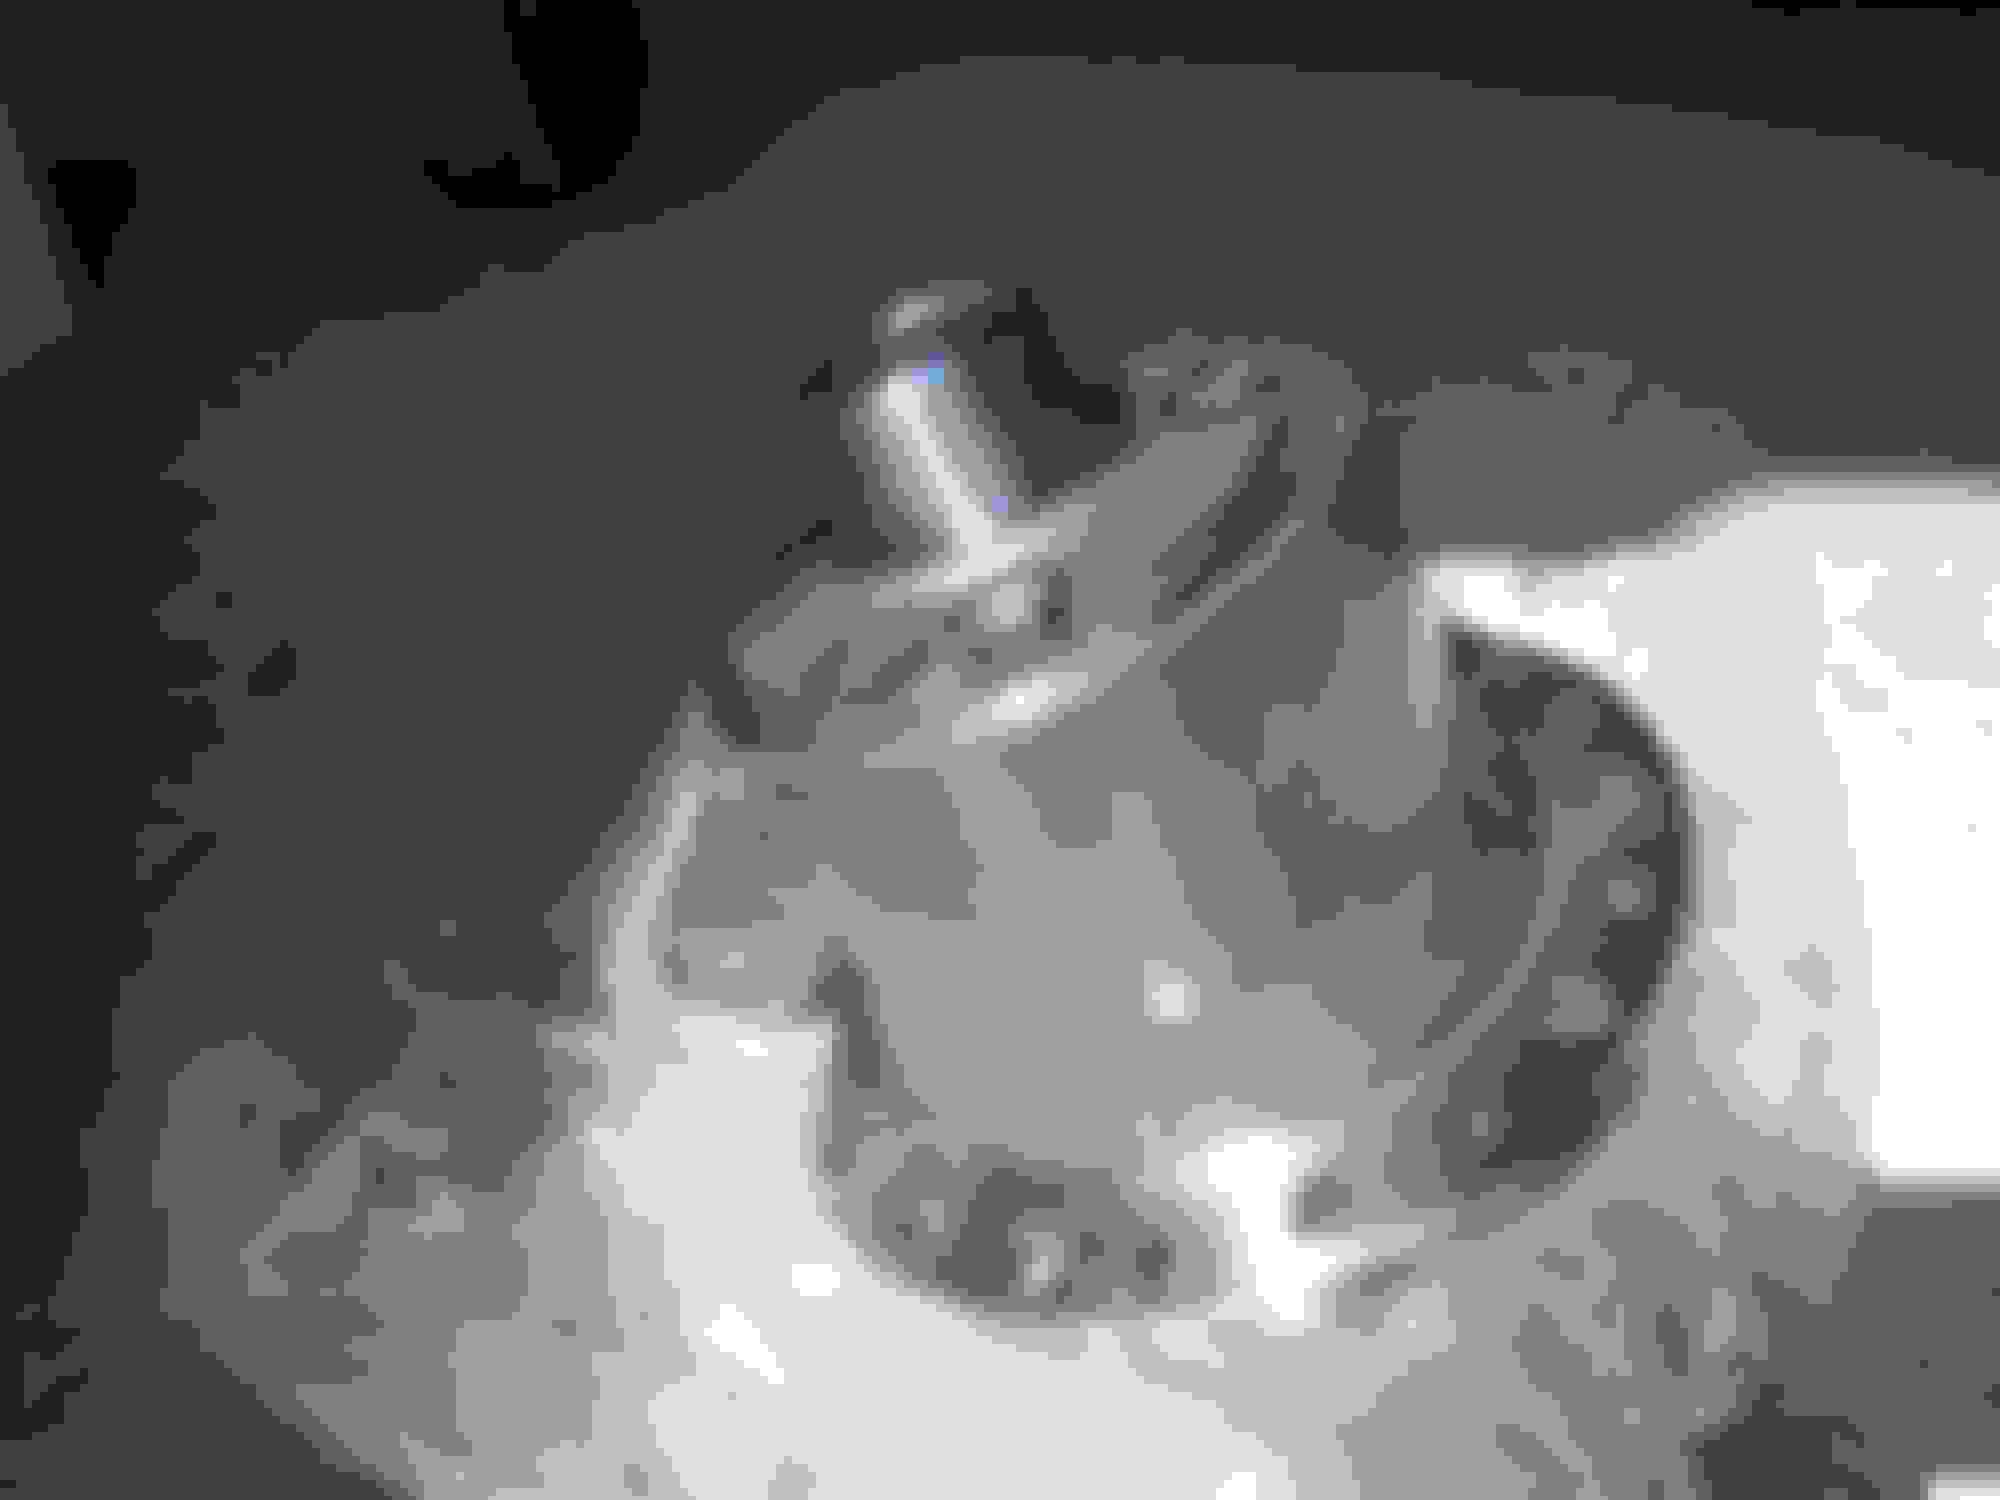
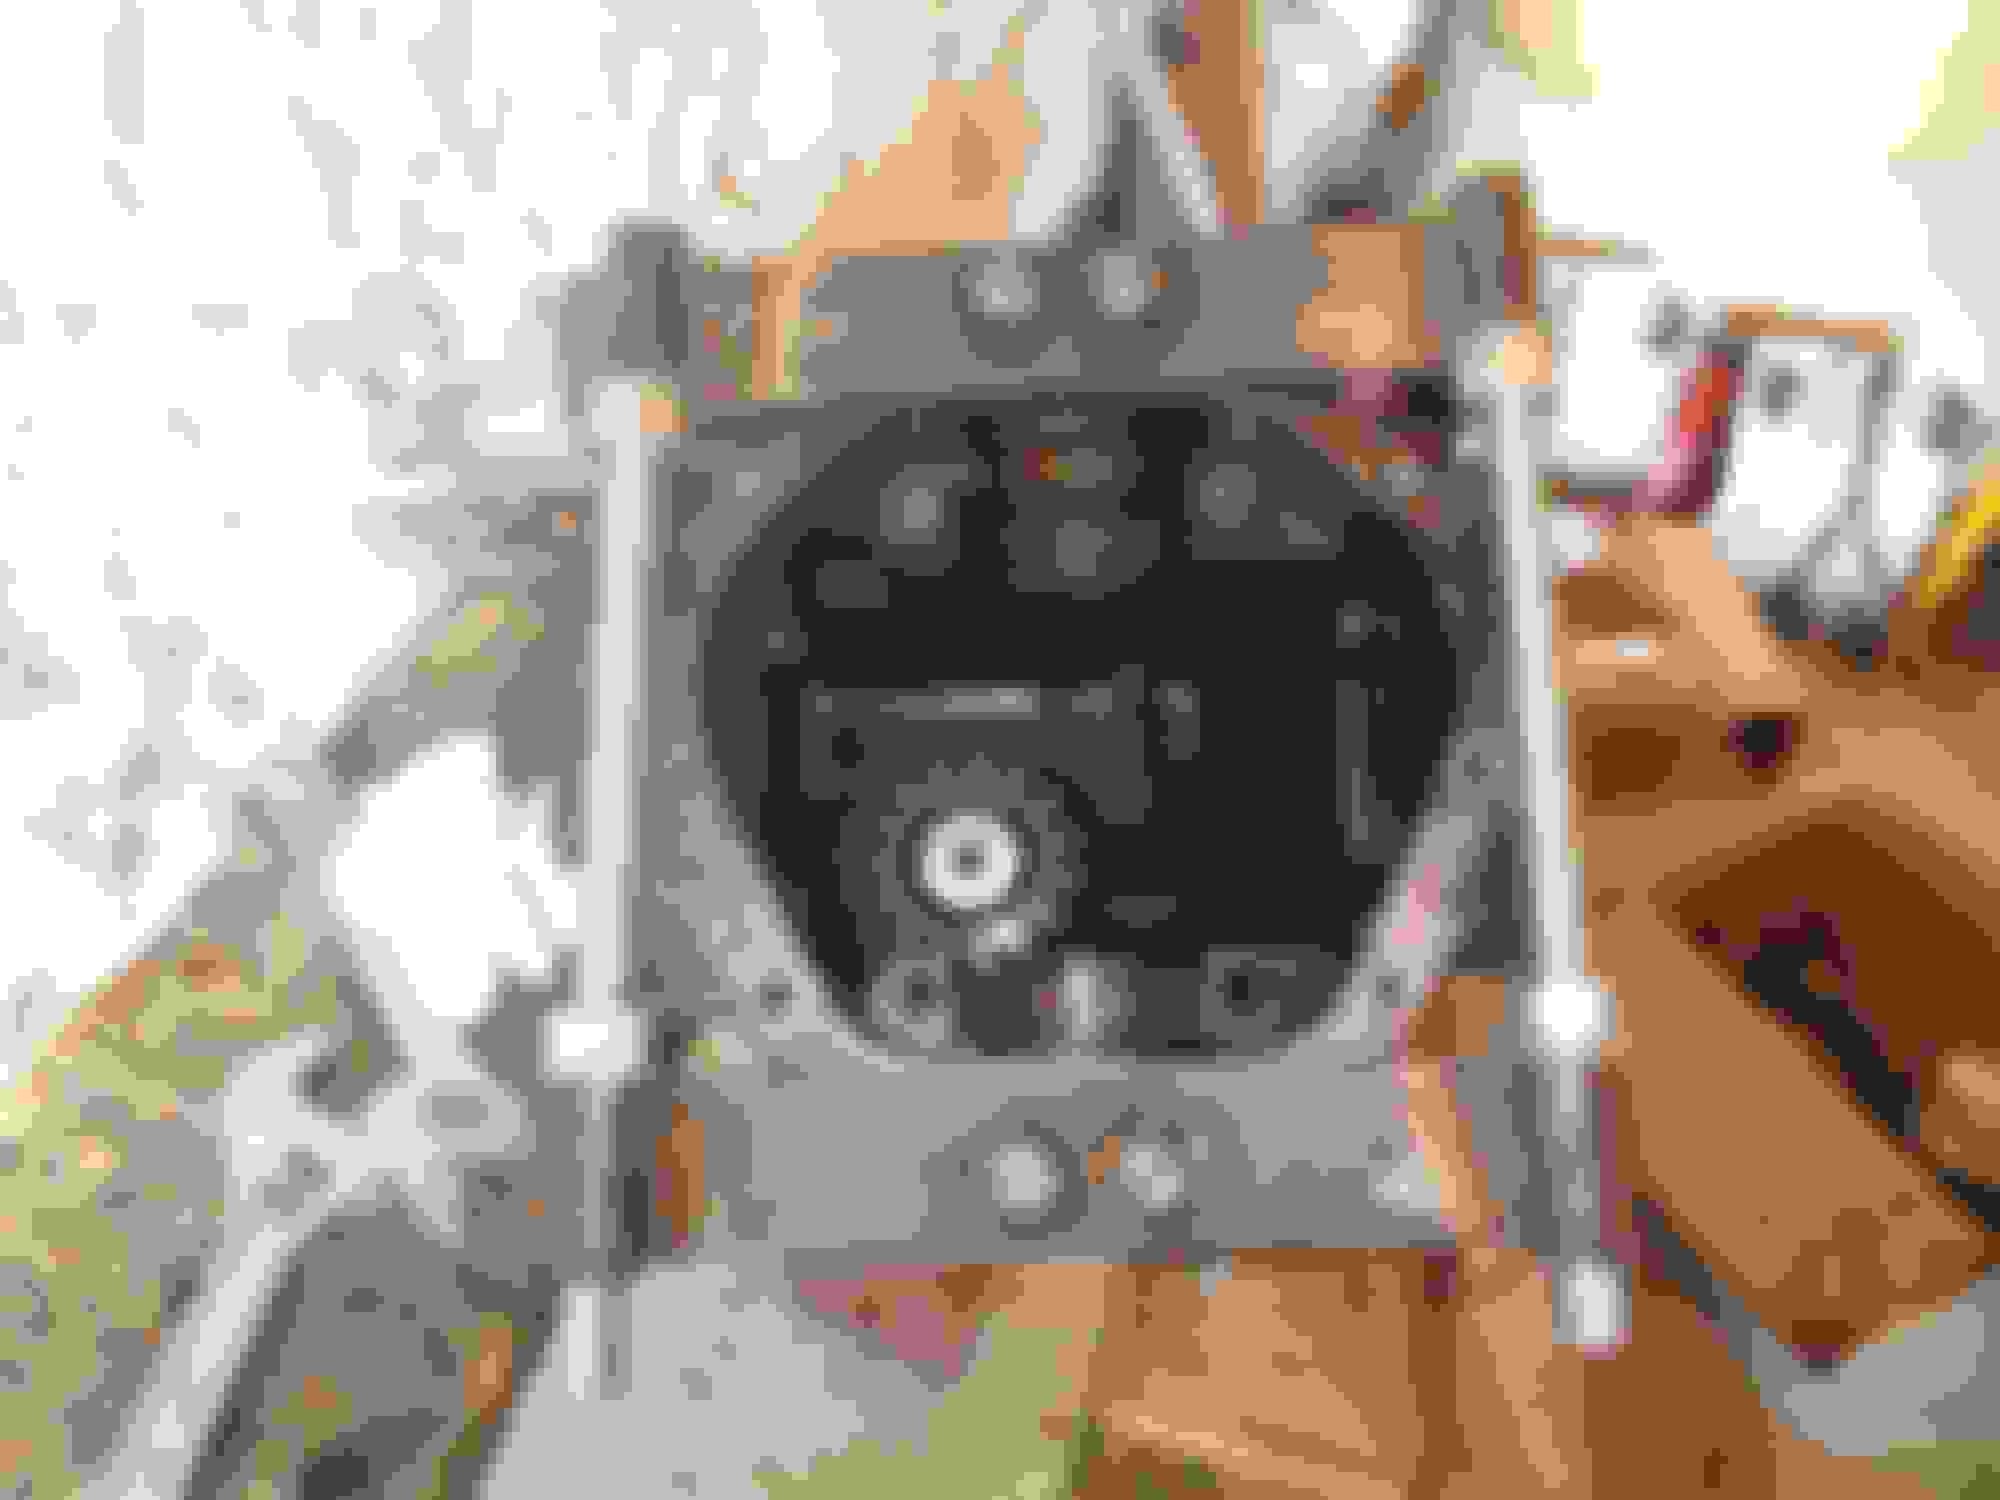
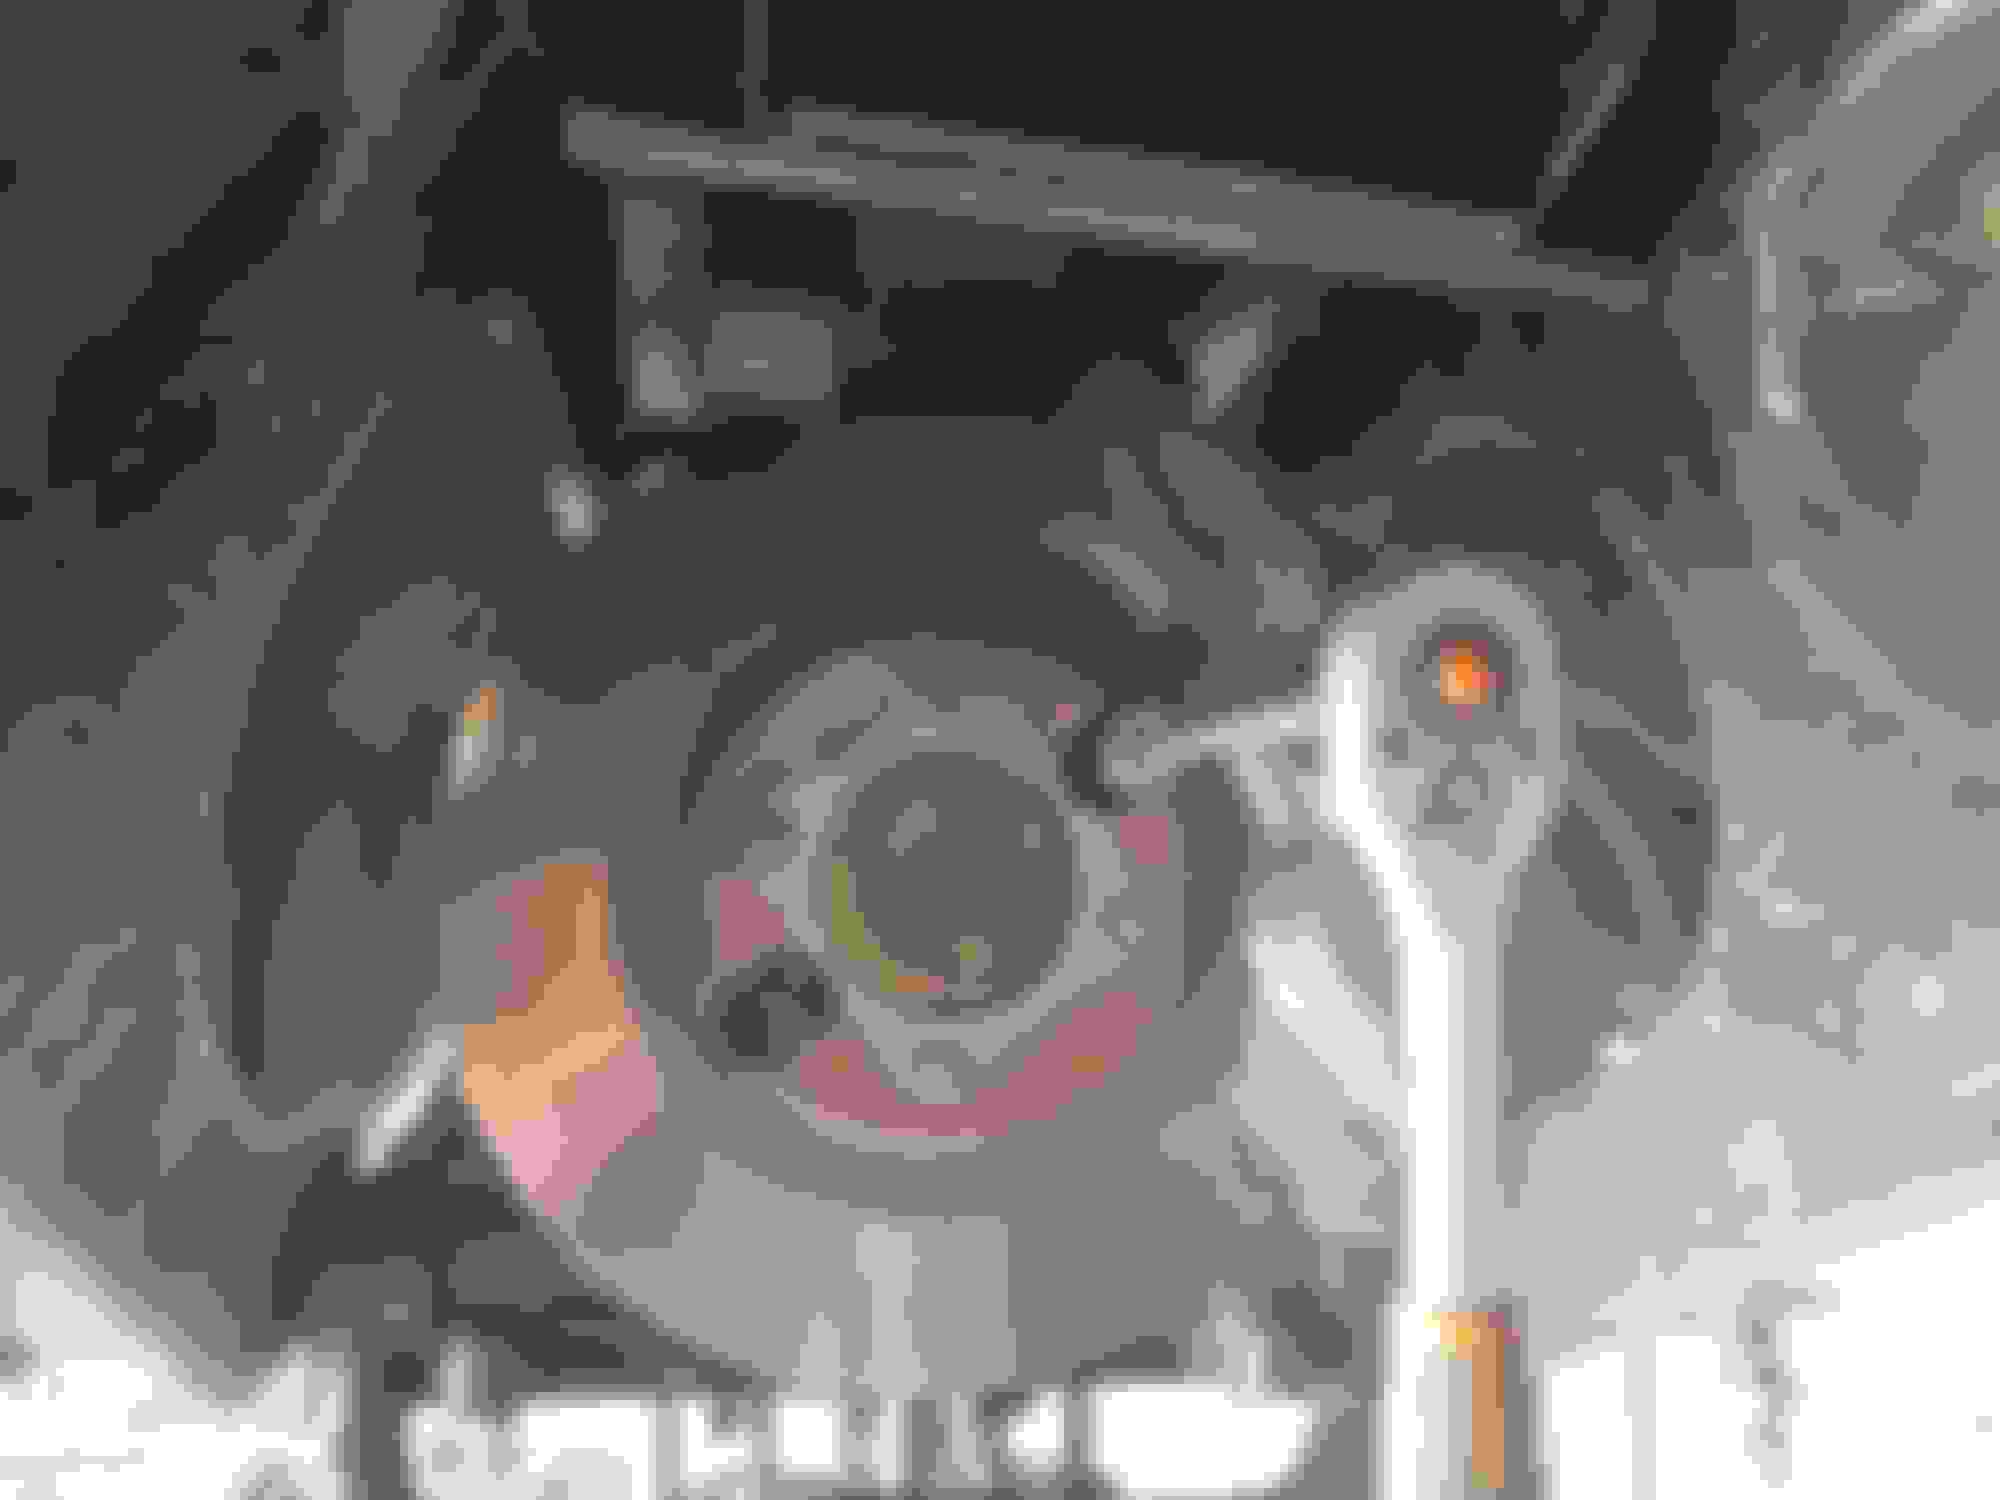
The inside of the DANA unit looks pretty normal for an LSD differential, with the LSD unit held in place by two huge bearings and caps. It looks like this:
If you undo the bearing caps, with careful use of a case spreader, the LSD unit lifts out, crownwheel and all.
In my case, the steering wheel shimmy HAS been cured, at last, by fitting the spare differential. I am sure that the source of my trouble is the LSD unit in the old diff, and I intend to replace it; however, rebuild units are not available, so what to do?
Hours of patient research on google led me to the following company in Detroit: DRIVE TRAIN SPECIALISTS, 26400 Groesbeck Hwy. Warren, MI 48089, Toll Free: (800) 521-0628, Phone: (586) 778-0540. These guys are red hot and know about Jaguar diffs, although principally the GKN ones.
What they do supply though (as do loads of other places, obviously) is a modern Torsen LSD that fits any DANA 44 diff (the Jaguar DANA is in its principal internals a DANA 44 - though NOT in its output shaft arrangements ). This is the item concerned: https://www.drivetrainspecialists.co...rac--rear.html
The unit comes factory-drilled for the Jaguar crownwheel bolt size (bigger than most DANA 44 bolts) and should be a direct fit. Although costly, buying this unit is a far cheaper option for the XJS-DANA owner than buying and rebuilding a GKN. DTS can supply all the needed bearings etc etc, and are very happy to give help and advice to the novice. One of these is in my near future, as soon as I have built a case spreader and got the old unit out.
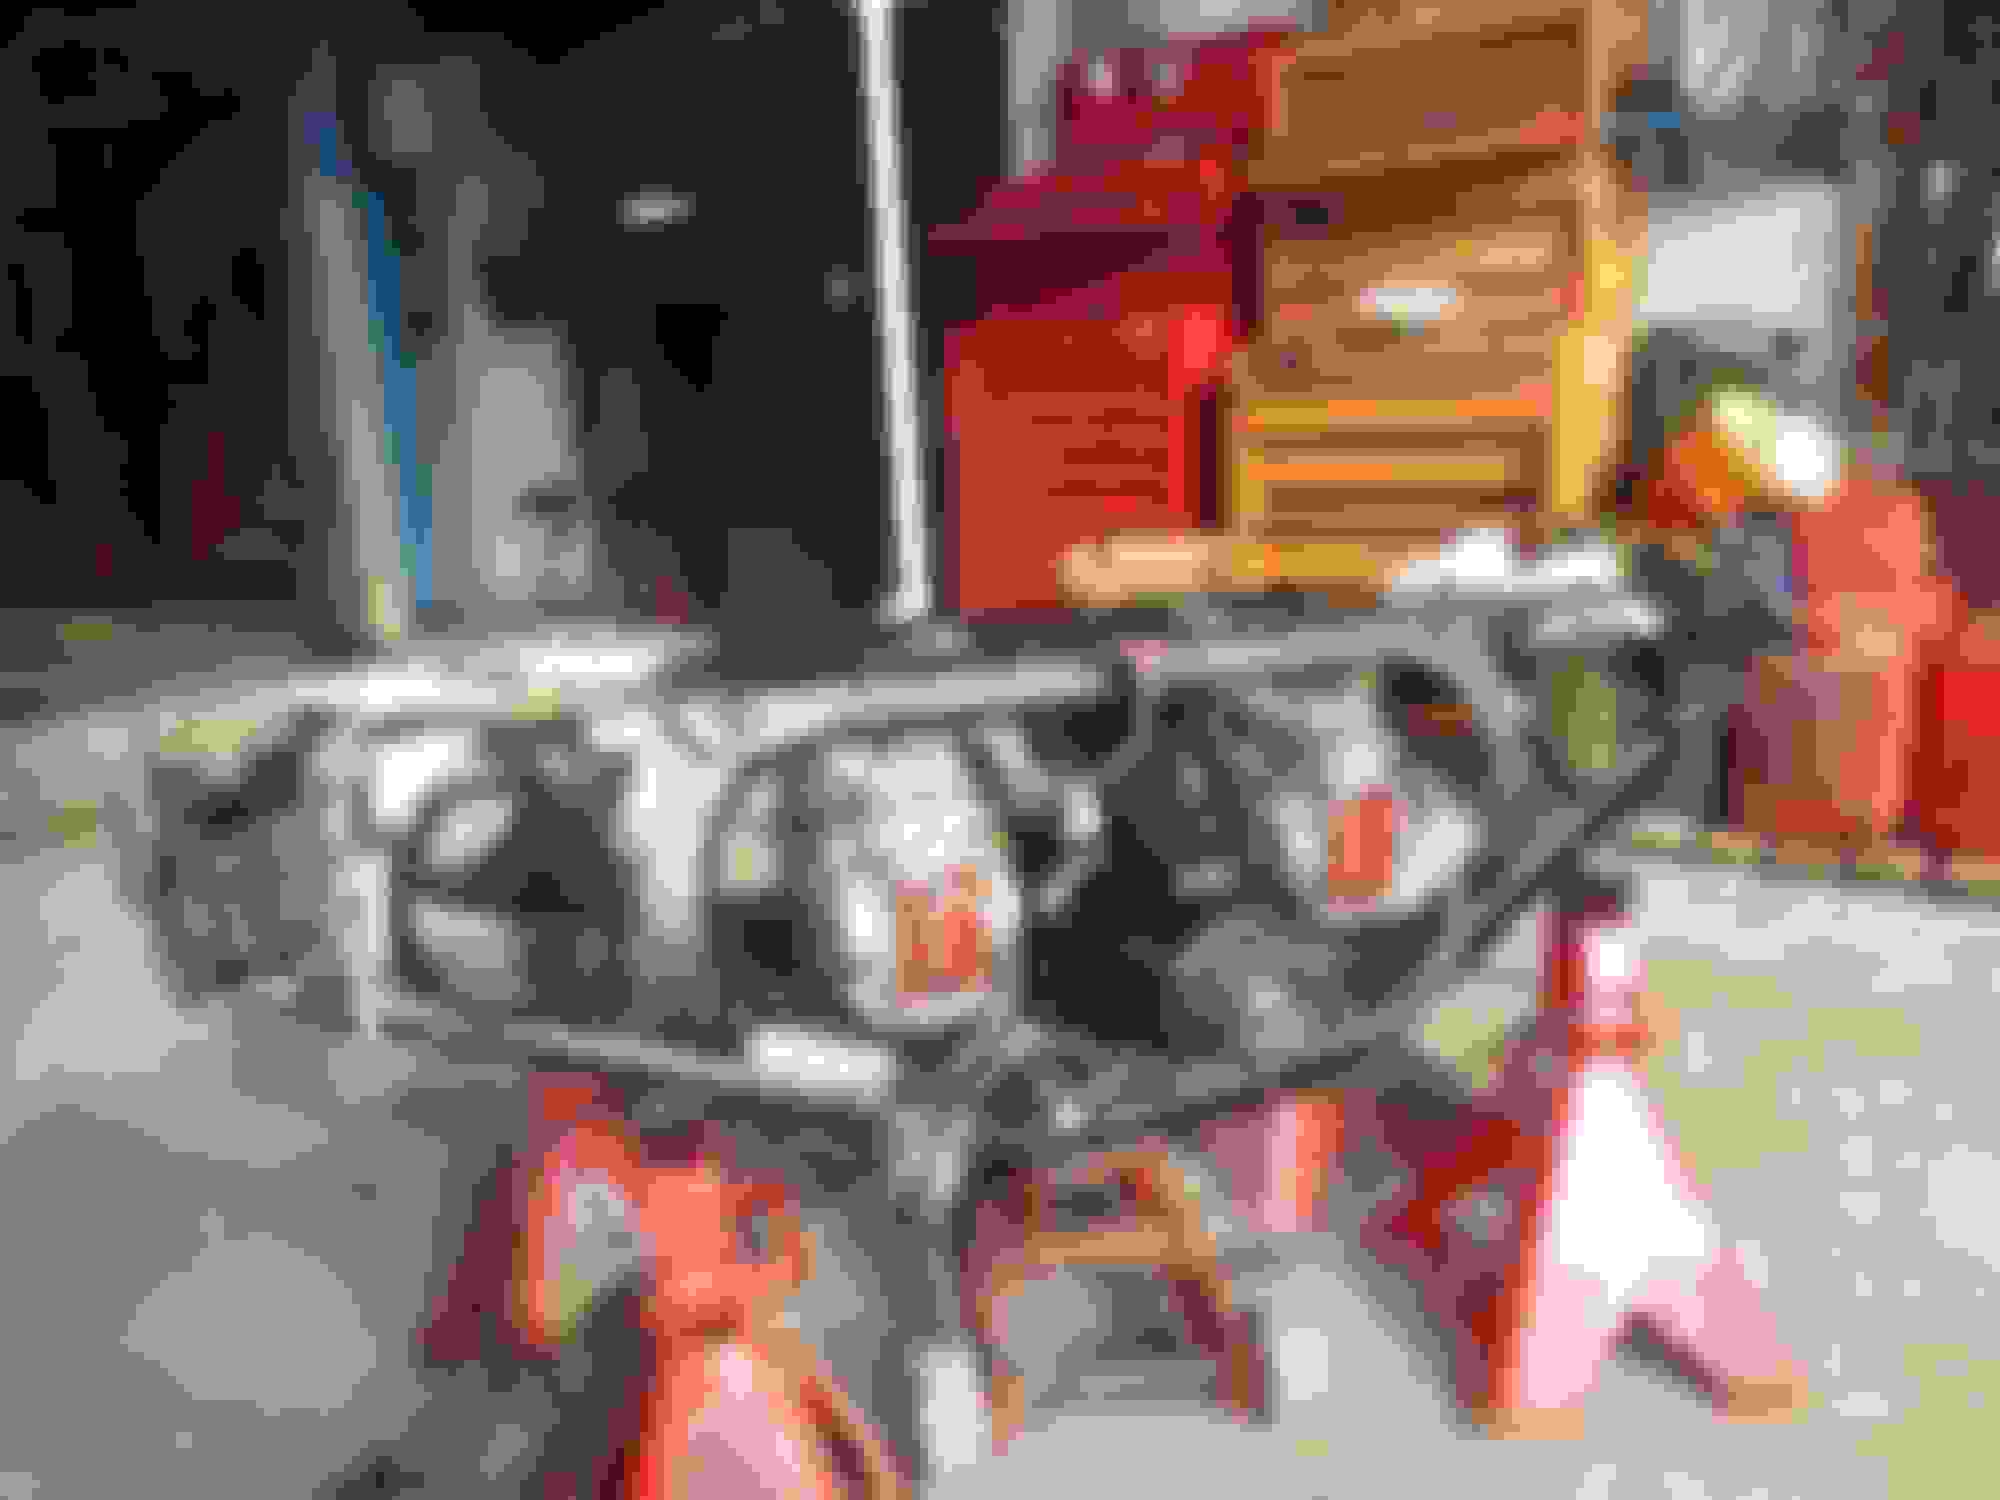
As for my car, just like the bad UJs, my diff presented no whines or noises or other normal diff-failing symptoms. It did though, just occasionally, grumble under power on right hand slow turns. When I got it out and removed the bearing caps (as shown in the diff photo above) they took a HUGE force to undo, I calculate they were done up to over 200 Ft lbs, when the spec is about 60! So maybe something had been going wrong and this had locked the bolts a bit? The crownheel and pinion teeth, however, look absolutely unmarked. And here is the rebuild axle just before it was put back in;
Last edited by GGG; 06-20-2020 at 10:18 AM.
Reason: Replace broke links
Because of various things getting in the way, and because my Oppo, Michel, has been forbidden by the lockdown from helping, it is only recently that i have been able to return to considering the diff rebuild. The sitrep is as follows:
1) Torsen LSD type diff carrier (Eaton Truetrac) purchased from Detroit Transmission Services. This, as you can see, is drilled by the factory for both bolt crownwheel bolt sizes 3/8th and 7/16ths. DANA diffs in the XJS use 3/8ths. A link is in the first post. This was delivered no bother a couple of months ago. I should mention that if anyone wanted to use a new "normal" OEM type DANA LSD unit, these are also easily available and also bolt straight in.
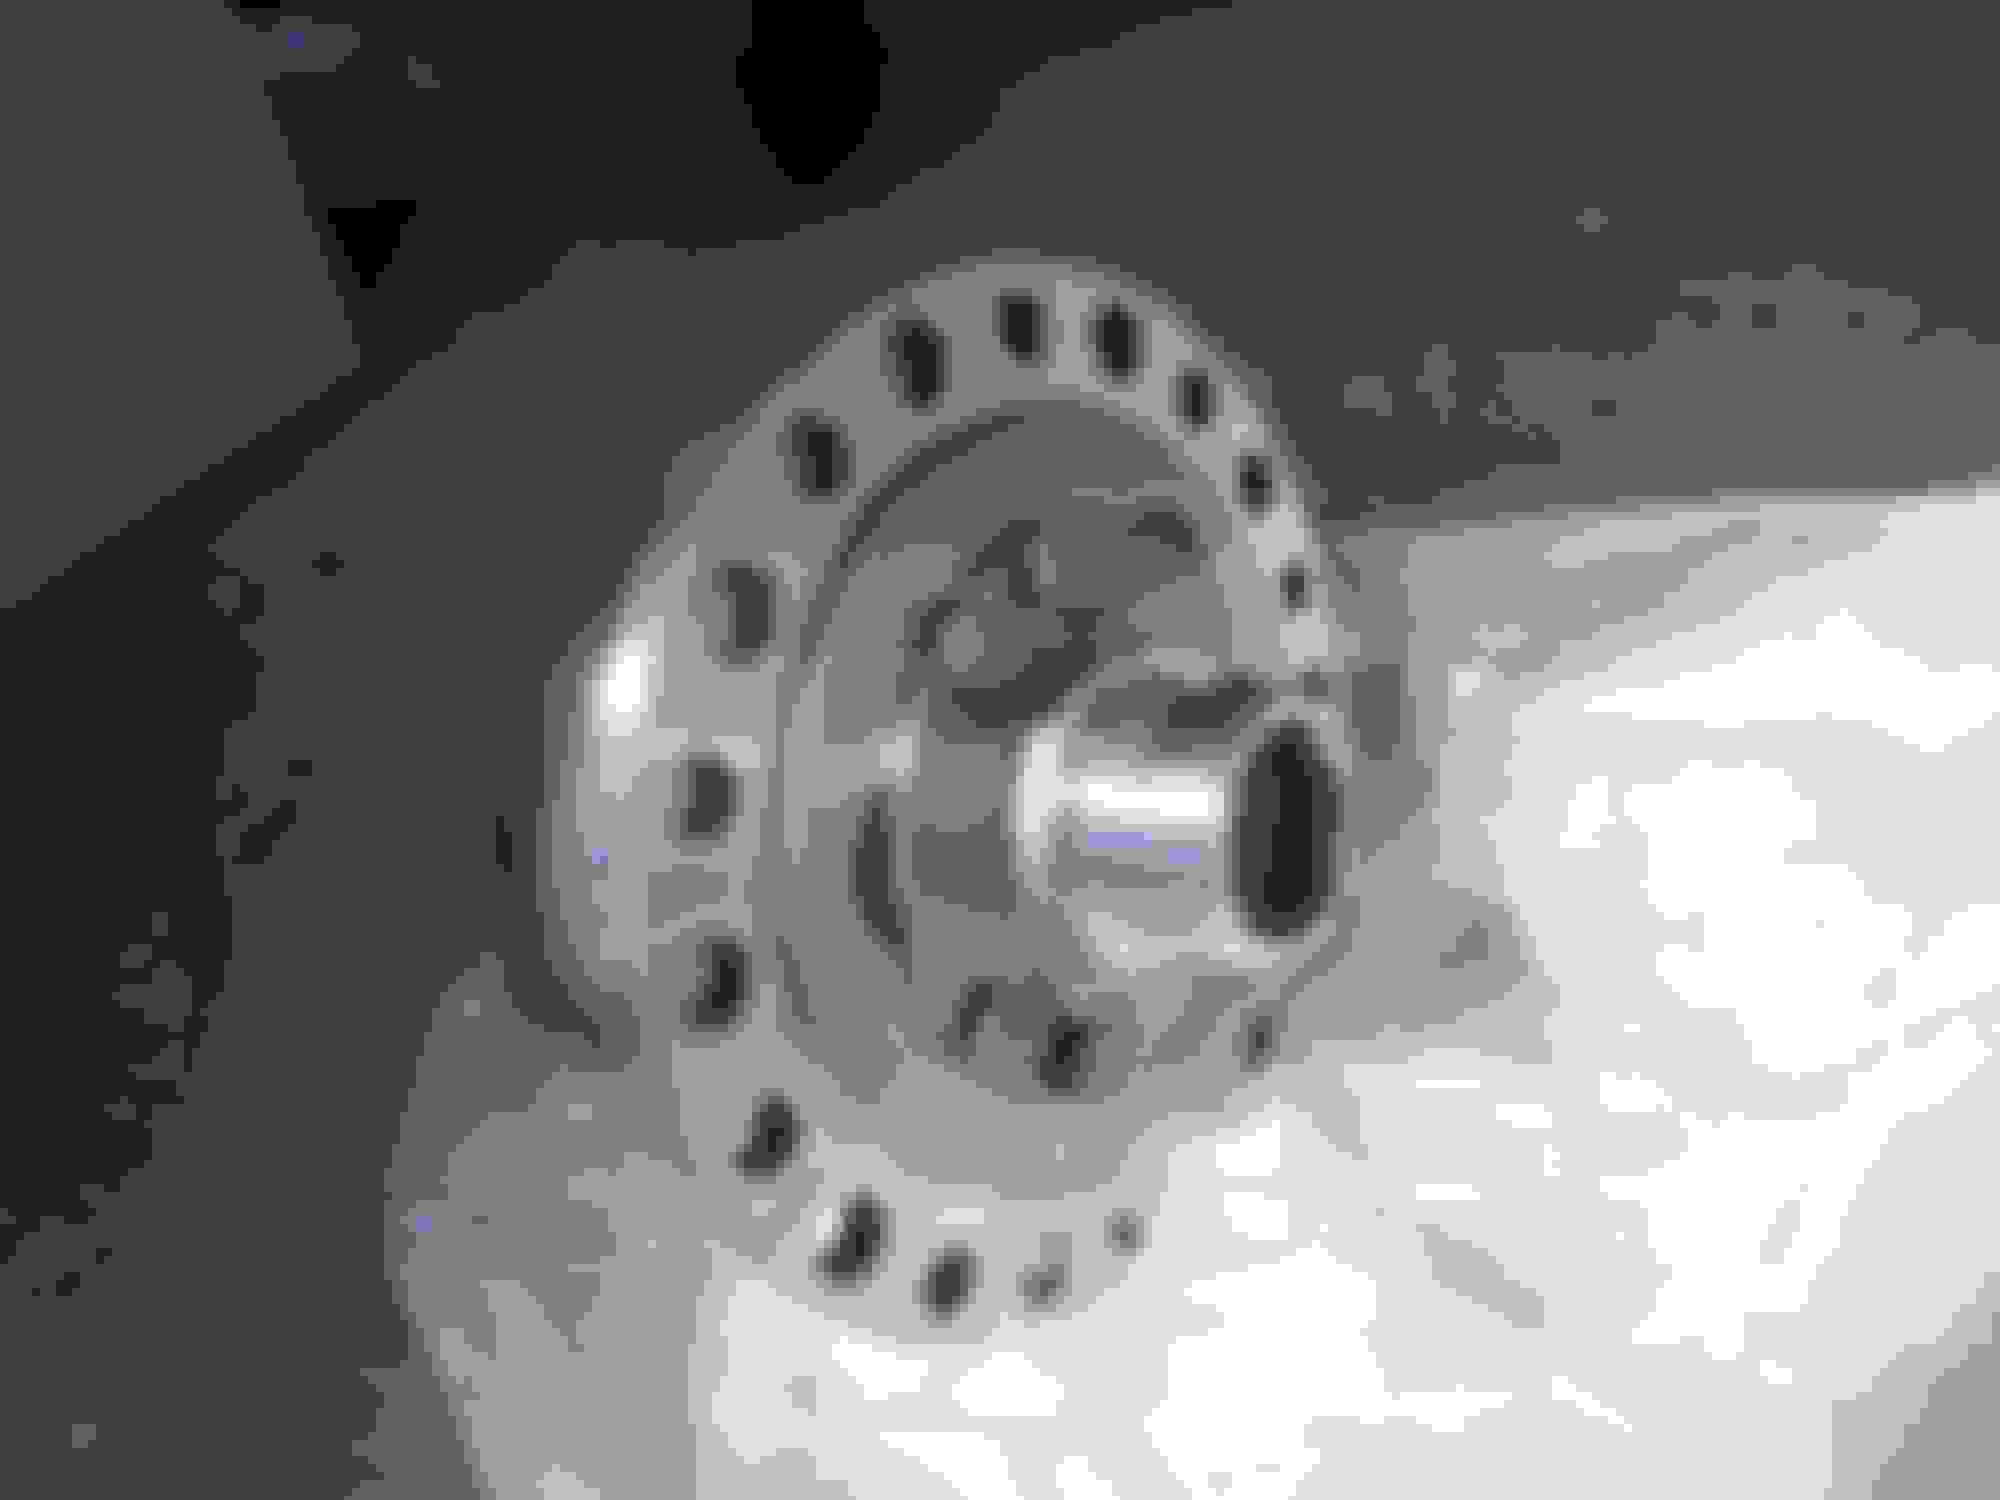
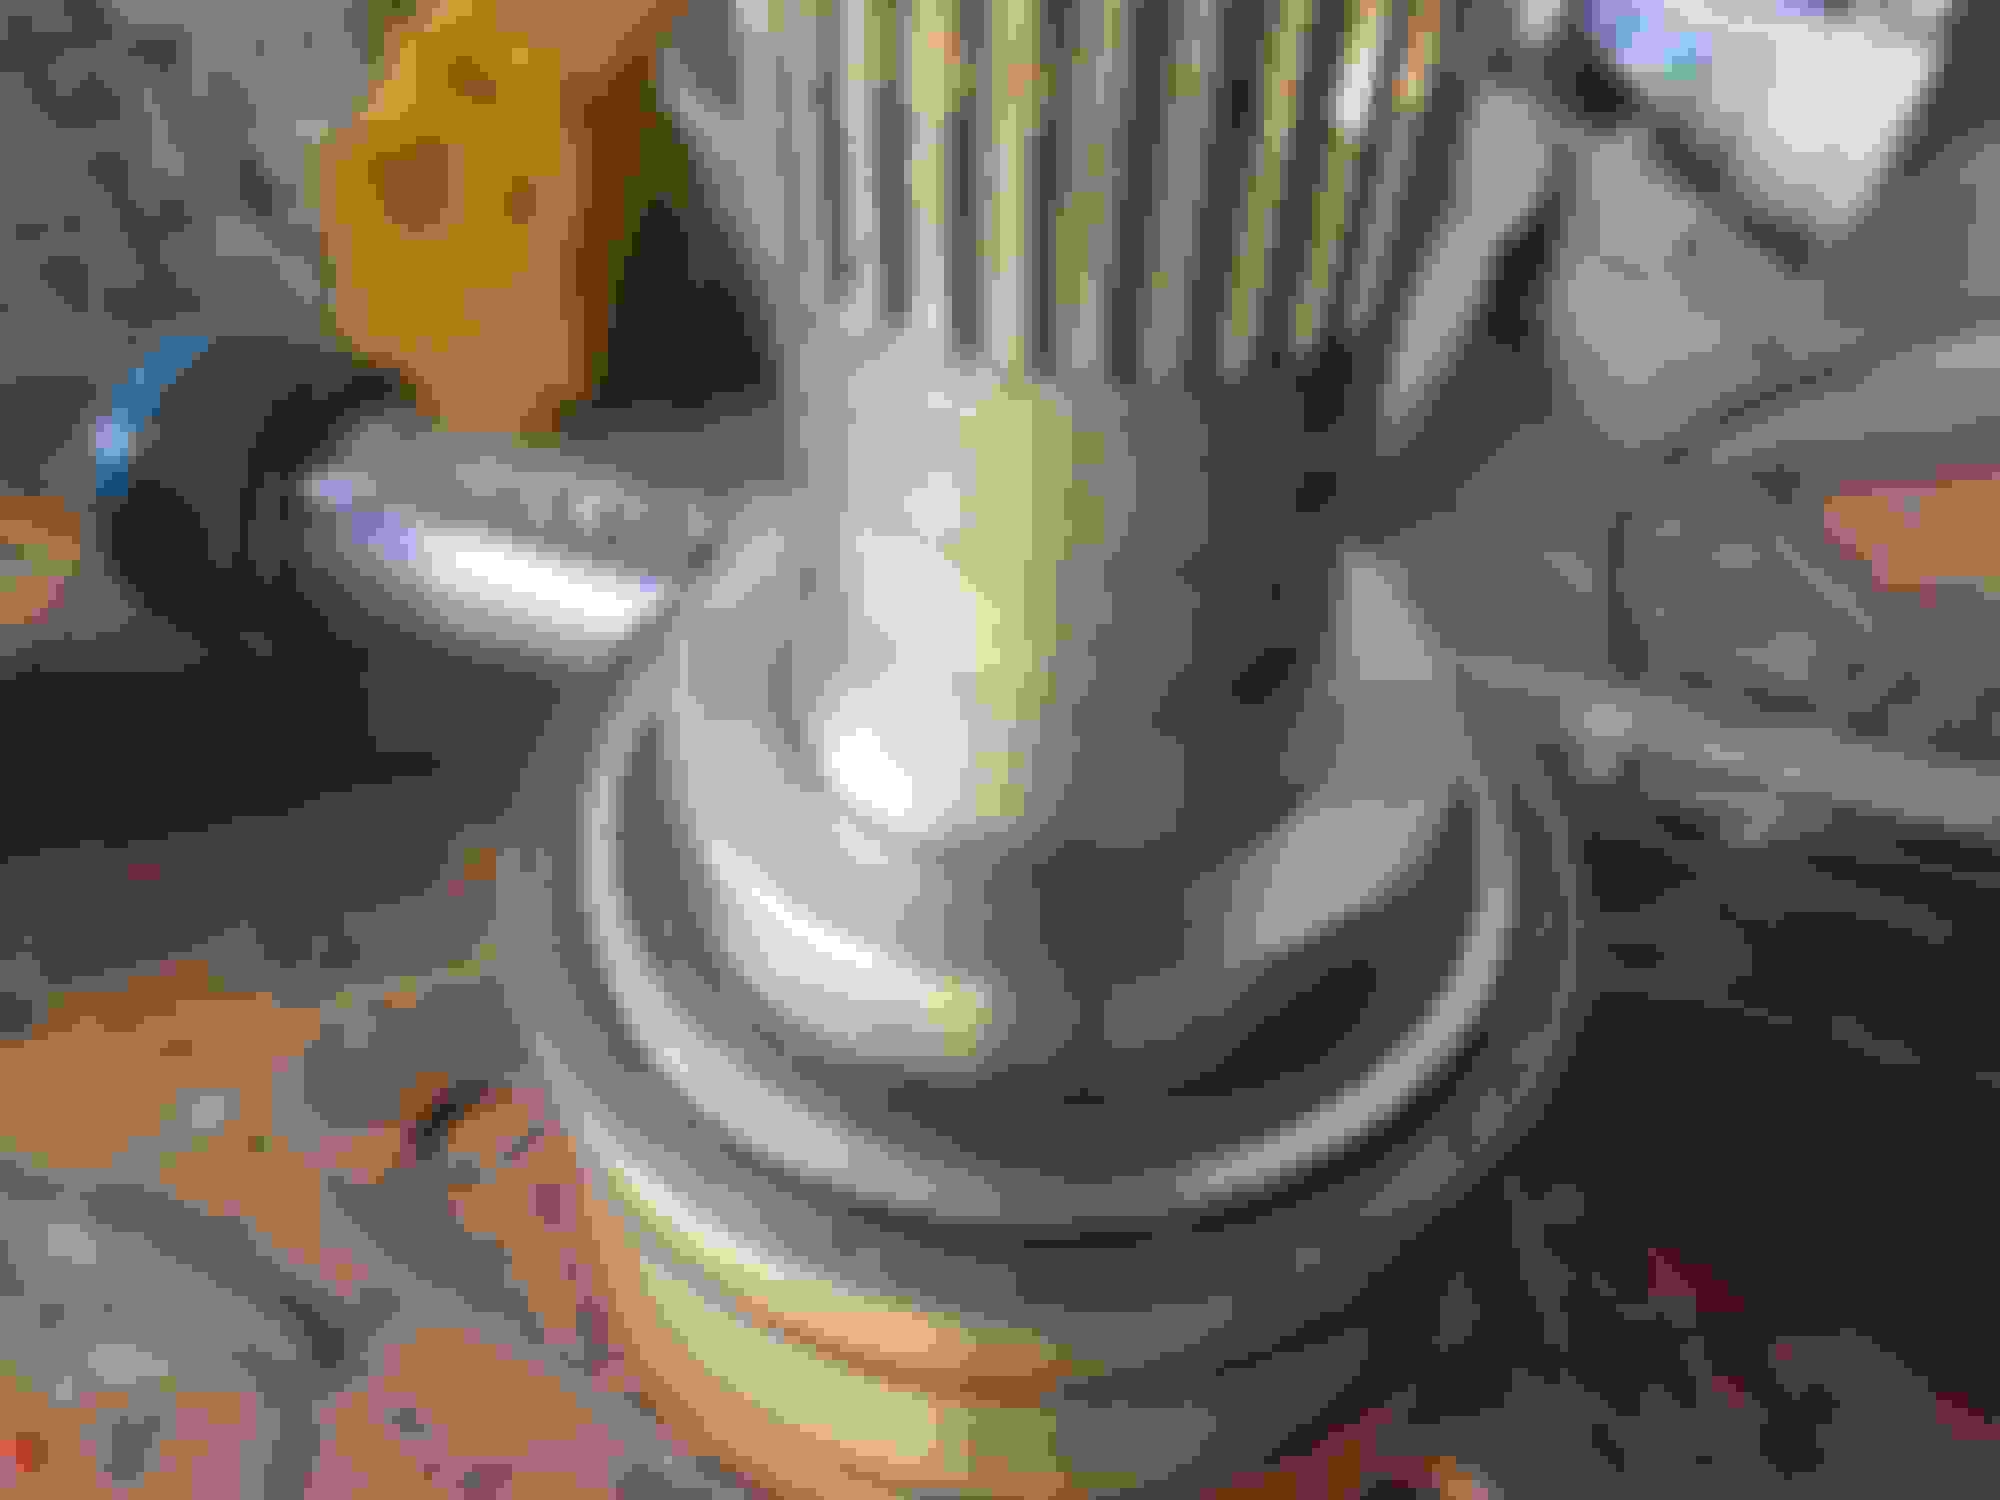
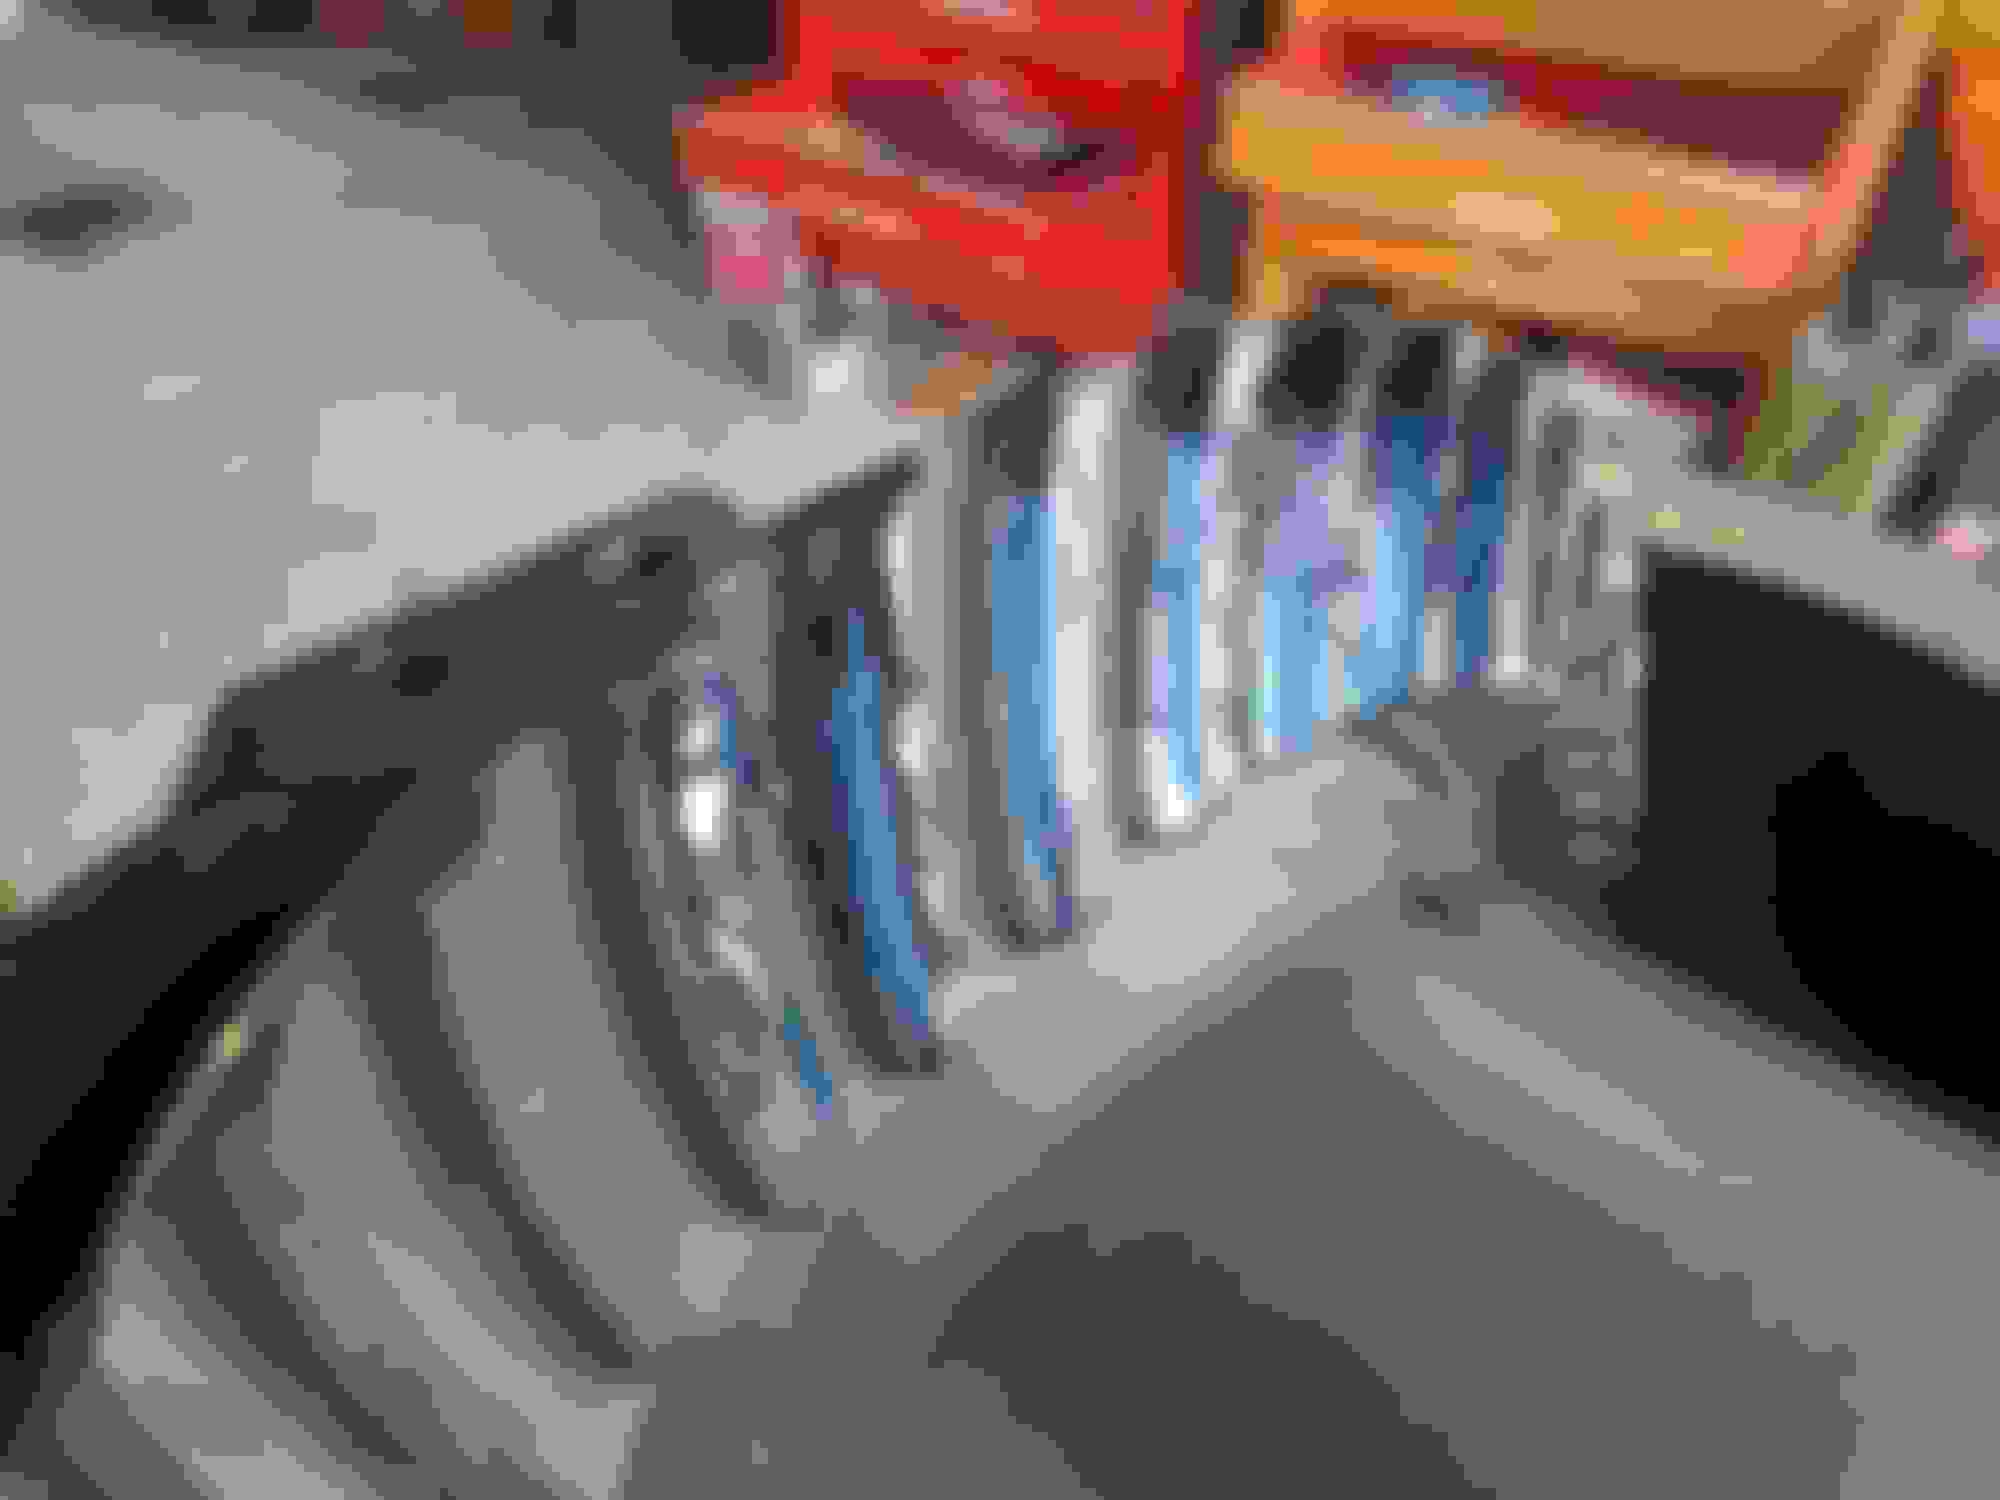
2) The DANA output shaft arrangement is mentioned in the first post, together with a pic. One of the output assemblies had a slight roughness, so i decided to rebuild it. The bearings are hard to find, but I found a couple, though have only had to use one, as the other output shaft was in perfect condition. The bearing is a double tapered roller type, with one combined outer housing two inner races. The new bearing looks like this:
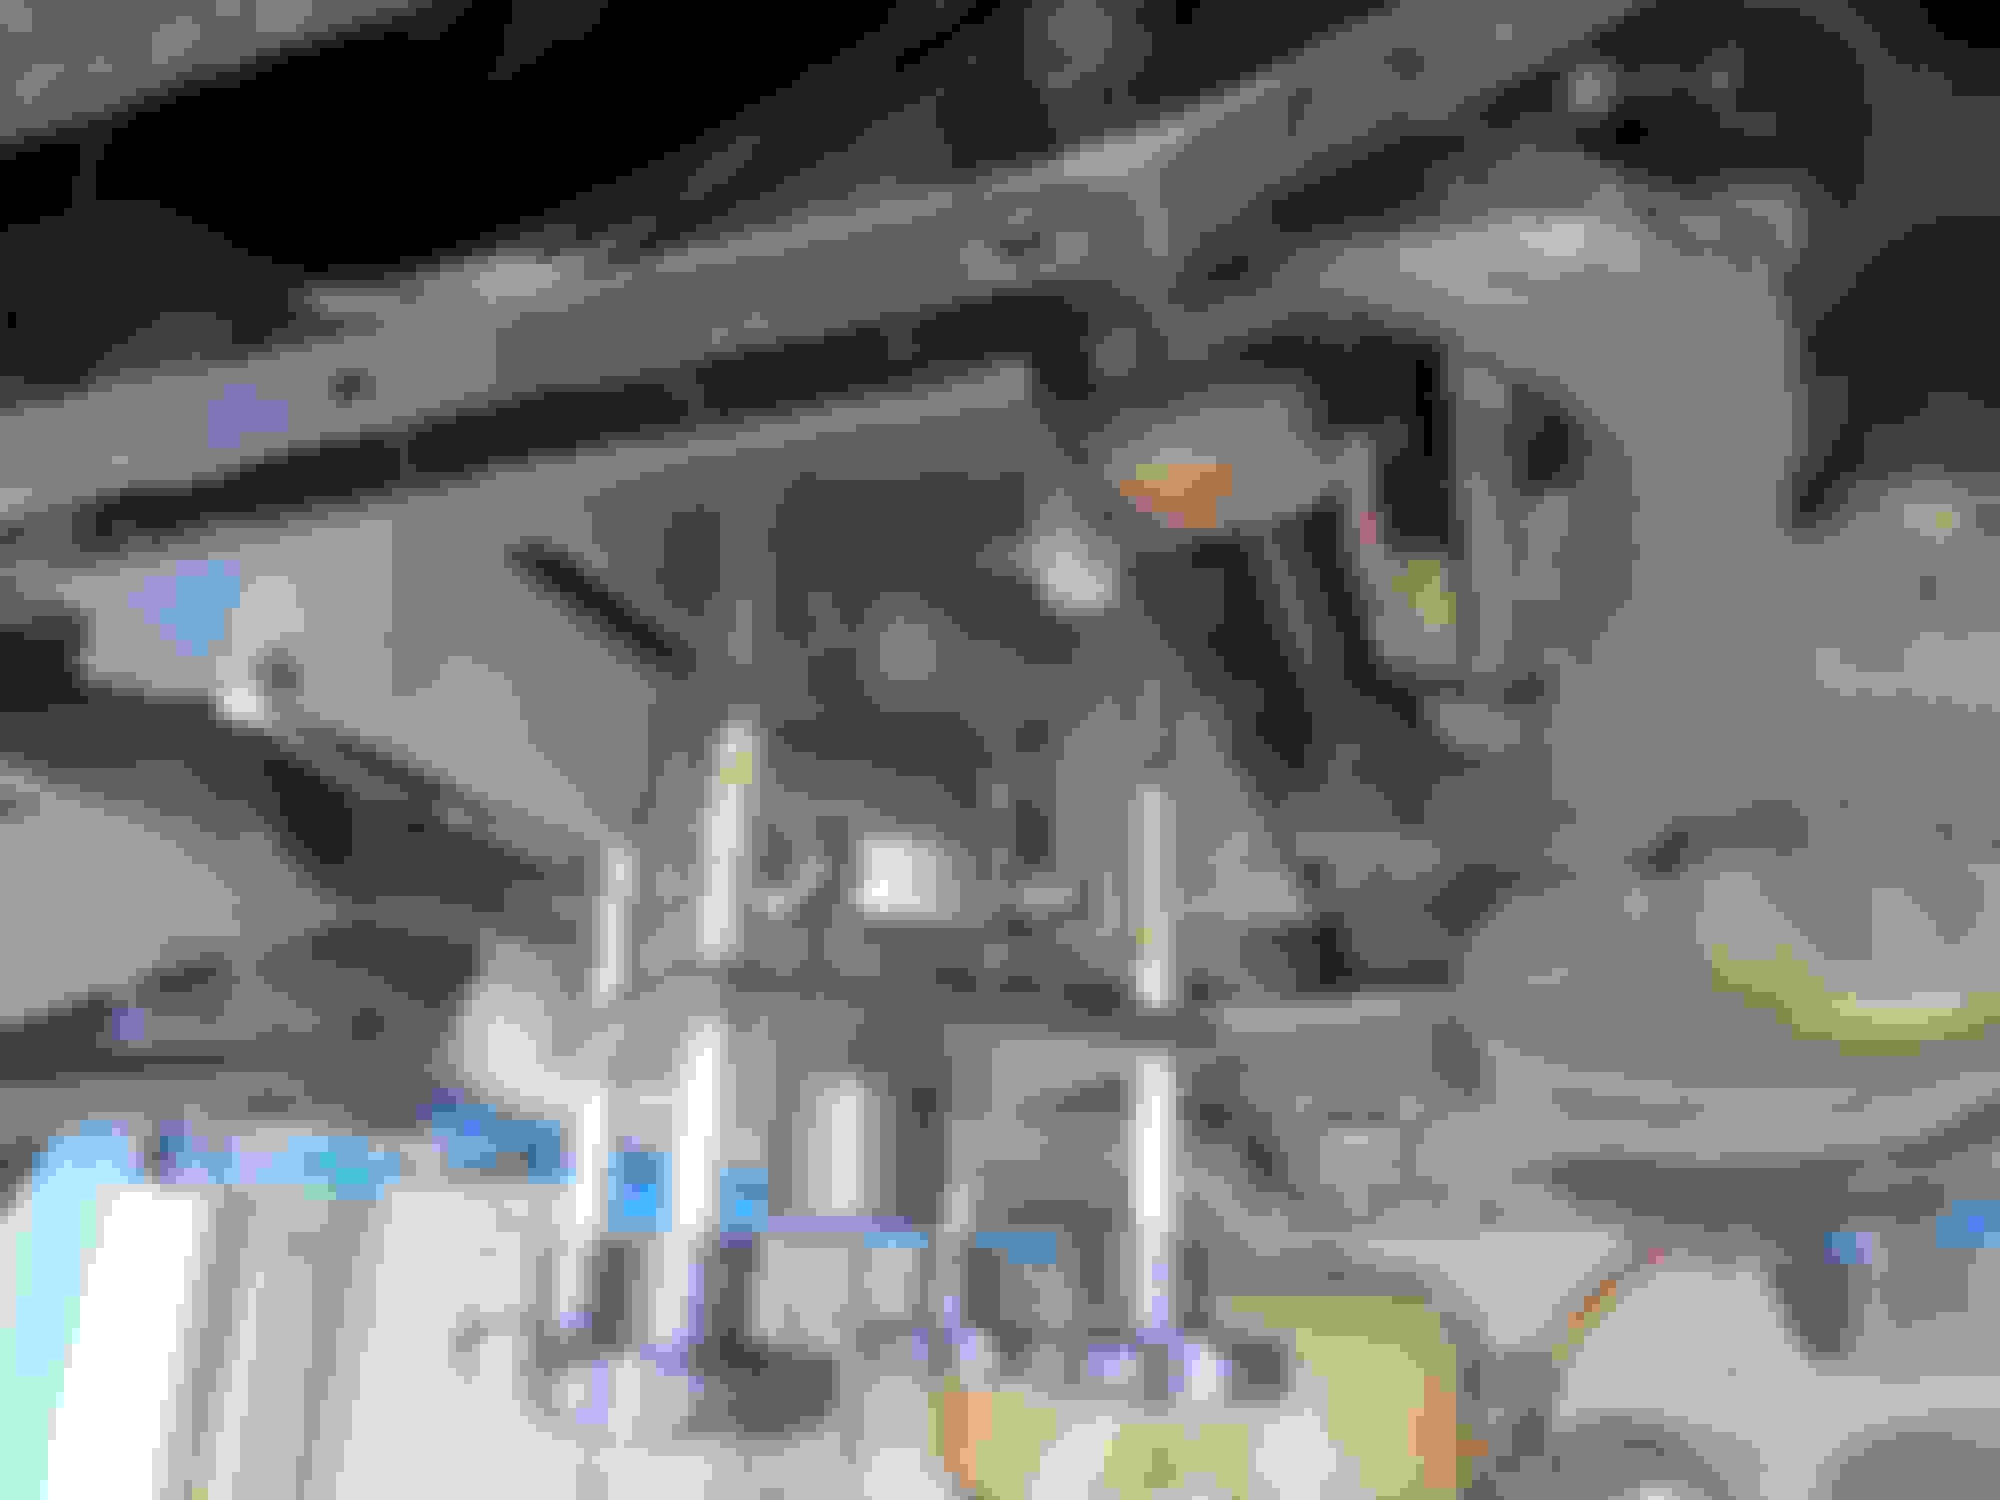
Removing the old bearing from the machined housing was a struggle. The shrinked-on locking ring has to be cut off, then the shaft has to be pressed out of the assembly - which destroys the old bearing, then the remains of the old bearing left in the housing has to be pressed out, then the inner has to be cut of the shaft. The difficulty and general butchery involved is shown in the following pics:
Below the assembly parts after the shaft has been pressed out:
Cutting the inner cone of the lower race of the double bearing off the shaft
3) the new bearing has to be placed into the machined housing. There is an about 3 or 4 thou interference fit between the two. The measurements I made are as follows: Bearing clearance stats room temp: Housing inner diameter: 63.96/98 mm;
New bearing room temp: Outer diameter: 64.09 mm. So there is a 0.11 mm to 0.13 mm interference fit (about 3 to 4 thou). the Franco-Oz hotline transmitted the following advice from the WoOz: Place bearing in freezer for 4 hours. Place housing in oven for 1/2 hour. Drop bearing into housing with a satisfying "click". And that is exactly, exactly, what happened!
The next step is to inset the shaft into the bearing and housing assembly. In this case the interference was measured at:
Drive shaft: 35.02 mm; New bearing inner diameter: 34.98 mm = 0.04 mm. Placing the shaft in the freezer did nothing. Placing the bearing in the oven was not an option as it would ruin the seals and melt the lubricant in the sealed unit. I phoned Grant once again, and he advised I speak to my mate Louis the lathe King (Louis, Roi des Tours). This guy us an artist with lathes, and he turned/polished down the shaft to a solid, place you weight on the bearing housing, lovely push fit. A drop or two of bearing retainer and job done. At the DANA factory I reckon they must have placed the shaft in liquid nitrogen for an hour before installing it. You cannot, must not, press it on, as you will tear the bearing apart in so doing. And here it is, ready to be pushed on with the bearing retainer stuff:
All that remains is to install the shrink-fit locking ring, that is for tomorrow and the next post:
Last edited by Greg in France; 06-12-2020 at 08:58 AM.
Update
It turned out that the locking rings I had bought (DANA original parts I could not find) were not quite the correct dimensions. My mate Louis the Lathe King kindly made me a couple using top quality tool steel and using the inductive heater he has put them on the shaft. They were machined to a 1.5 thou interference fit.
The other output shaft did not need a new bearing, so now I have both shafts ready to go into the rebuilt diff. next step will be to assmeble the Eaton Truetrac into the casing and shim it to get the correct backlash between the pinion and the crownwheel. I have a spare new bearing too, so that is always nice to have.
I shall post clear steps and pics when I have done it, as there is nothing I could find out there about this procedure on Jaguar DANA diffs, so although they are rarer than GKN Salisburys, there may well be a few owners who will find it useful.
Last edited by Greg in France; 06-20-2020 at 01:02 AM.
Hi Greg, have you got anymore pictures of the standard Dana LSD. I've got one (I think) and wasn't sure if if was, but a few more pictures may help. Note mine isn't working like an LSD, its super clunky, so I fear the cones/plates may be worn, as well as the some bearings.
Thanks for the reply.
Are all Dana�s of the LSD Type? Also, mine is the 2.88:1 crown wheel and pinion, how easy are these to change to a 3.54:1 or even 3.73:1?
All DANAs in Jaguar XJSs are LSD type, in fact ALL diffs in the XJS are. Changing the ratio in a 2.88 (again all Jaguar XJS DANAs were 2.88) is not easy, as the pinion and the crownwheel and the LSD carrier unit itself all have to be changed.
It is better to buy a diff out of a 3.6 or 4 litre XJS as a unit, as these have the ratios you want.
Good luck
Greg
Thanks for the reply. Agree the quote was probably overkill!
Are all Dana�s of the LSD Type? Also, mine is the 2.88:1 crown wheel and pinion, how easy are these to change to a 3.54:1 or even 3.73:1?
Bunch of pics in my thread when I was rebuild the rear end. If you get another diff to change the ratio might as rebuild the whole rear-end. Its not that hard changing the pumpkin just gettibg to it is all the work lol
my 1978 XJS has 3.73 gears in it, that came from a JEEP!! i changed them in 1994, from the 3.07 gears, using the LSD housing that is factory!
also changed factory clutch plates(that were in good condition) and used a set of 1959 Corvette Bellville type plates, for a more aggressive grip!
lets not forget most rear drive units started design from DANA !
GKN came later to the game, and ALL is good!
ron
Hi Ron, I've been looking at a lot of info on DANAs and JEEP comes up a lot. From what I can gather 3.92:1 and lower (longer gearing) use one type on casing and greater than 3.92:1 (shorter gearing) use another. I've been looking at Filthy Motorsport's site as they do a lot of DANA stuff.
Originally Posted by Rescue119
Bunch of pics in my thread when I was rebuild the rear end. If you get another diff to change the ratio might as rebuild the whole rear-end. Its not that hard changing the pumpkin just gettibg to it is all the work lol
I've already rebuilt the rear end of my XJ6 with all new bearings, bolts and bushings. Also got some Gaz adjustable dampers (bump/rebound and spring height). I'll be putting a fait bit more power to the rear end and the LSD will be a must. The car is currently 3.54:1 open and I wouldn't want to go shorter. I think 3.73 would be perfect.
Update
The great day dawned today when we decided to mount the Truetrac into the diff casing. Following the Jaguar Workshop manual guidance, plus loads of other things I had been nervously researching via google and youtube, this is how it went:
The DANA LSD unit (like all differentials) has a large bearing each side, fitted over the unit's output shafts. These bearings are bolted using bearing caps into the differential casing. This is what locates the LSD unit into the casing. In my repair of the DANA, I am using an Eaton Truetrac Torsen-type LSD unit; but the principles are the same as if I was fitting a new DANA positraction unit (the same type as was in the diff from the factory - but reportedly the new ones are more robust).
Under each bearing, between the body of the unit and the bearing inner race, go shims. These have two purposes: (1) To control and set the backlash between the crownwheel and the pinion gears, and (2) to ensure the entire unit, bearings and all, is an interference fit into the diff casing.
This requires a degree of measurement and then trial and error fitting to get right. Therefore, because the shims on a DANA have to be under the bearings, the bearings have to be fitted and removed several times while the backlash and interference fit are trialed and adjusted.
These bearing races are a very tight fit onto the LSD unit, so the guys at Detroit Transmission Services advised me to buy a second set of inner races and make them a bit easier to slide on and off. To do this I used a 2 inch flapwheel in my electric drill and about 5 mins later they were a lovely sliding fit.
So today we started the job of installing the Truetrac into the diff casing. The first job is to put on the bearings with NO shims, and NO crownwheel fitted, then install the unit and measure the total play side to side of the entire unit in the casing. This came out at 64 thou. This must be measured with a dial indicator held by a magnetic stand.
Remove the unit from the casing.
Then divide the total by two and place shims to half the value under each test bearing - ie 32 thou under each side.
Then fit the crownwheel and torque to 55 ft llbs. Touch of loctite on the bolts.
Then refit into the casing. In theory it should be a hard slip fit, but in practice we found it needed a thump with a hide hammer to get the thing home, probably because my initial total measurement was not 100% accurate.
The bearing caps must be refitted each time to ensure the unit is properly seated and held in the casing before any measuring is done. Just done up a touch, just nipped up.
Now using the dial gauge again, measure the backlash between the crownwheel and the pinion. This is measured at the outside end of the crownwheel teeth. This came out at 15 thou. The correct backlash is between 6 and 10 thou. The rule of thumb is remove 10 thou of shim to reduce backlash by 7 thou. We chose a 9 thou reduction as we had a shim of 9 thou in there.
To reduce backlash, shims under the bearing on the crownwheel side of the unit must be ADDED; thus "pushing" the crownwheel nearer to the pinion gear. Remember that the distance between the side of the casing and the inner end of the bearing is fixed, so adding shims pushes the LSD unit further in towards to pinion bearing. Extra shims cannot push the bearing outwards!
Therefore, while the total thickness of shims will remain at 64, instead of having them evenly spaced each side, they will be redistributed as follows: under the crownwheel-side bearing 32+9 = 41 thou, under the other bearing 32-9 = 23 thou.
The unit was pulled again and the shims redone as above. We used my home made case stretcher to ease the removal and fitting, as even though we had not added any extra shims for the interference fit, it was not easy to remove or install the unit when shimmed up to zero play overall.
The unit was refitted again and the backlash measured. Perfect 7 thou backlash (max 10, min 6 on the DANA).
Using the stretcher as gently as possible, the unit was removed. The test bearings were removed.
Because the entire unit must finally be an interference fit into the casing, a further 4 thou of shims were added under the bearing at the non crownwheel end of the unit. Thus the final shim pack was therefore: Crownwheel side bearing 41 thou. Other side bearing 23 plus 4 = 27 thou.
Then the final, un-relieved inner races were driven onto the unit which had just had the final shim pack fitted.
The case stretcher was used to stretch the casing as little as necessary to enable fitment, and the unit fitted finally and bearings caps tightened.
The backlash was again measured, to be sure about it in the final state, and found to still be correct at 7 thou. The bearing cap bolts were torqued to 65 ft llbs.
The output shafts (see earlier post for their rebuilding) were then fitted and bolted up, again a touch of loctite on the threads.
The diff was filled with Castrol NON-synthetic ordinary mineral diff oil (Torsens do not like synthetic oils) and the cover gasket Gasketcinch-treated and the cover bolted on and loctited.
Note: the pinion bearing was not touched as it was fine, oil tight and needed no work. The tooth pattern between the pinion and the crownwheel was tested using engineer's blue, and found to be fine. This was as it should be because the diff gears showed no signs of wear, and the pinion had not been moved, so providing the pinion/crownwheel backlash was set properly, the tooth engagement should also be unchanged. Home made case stretcher Pinion bearing needed no work, is seen in this pic. Shims being fitted onto the carrier Carrier and crownwheel being trial fitted into the casing Dial gauge measuring backlash. the pinion is held still and the crown wheel clicked back and forth 7 thou is the difference between the two readings Tooth pattern being verified. You want a nice even pattern in the middle part of the tooth Rebuilt output shafts and bearings installed into the casing, 1.6 litres of mineral oil added and cover fitted. Torsens do NOT use LSD diff oil, just normal diff mineral oil.
All in all this was far more straightforward than I had feared. Theb only special tools needed are a case stretcher - which is easy to make - and a dial gauge and magnetic stand. The LSD units are not that expensive, and providing you get the procedure straight in your mind, this is doable at home. It is far less complicated than rebuilding a tranny, for example - which several forum members have done at home.
Last edited by Greg in France; 06-29-2020 at 02:20 PM.
Sitrep:
Yesterday and today I removed the axle from the car in order to mount my rebuilt DANA with the Torsen-type Eaton Truetrac carrier into the car.
As i get older and tire more quickly, i try to make tools that will help with the heavy work. Although I have had the axle out of the car three previous times in the last 18 months, I always find it very hard work. This time, having on hand the transmission gimbal device i used on my transmission swap, I modified my large tractor jack to take it: pics herewith:
30mm nut welded onto the jack platform, 30mm threaded rod screwed in and locked with a locknut. Bolted to diff tie plate holes
The gimbal device has a platform just wide enough to bolt up to the tie plate threaded holes on the diff dog-bone fixings, and the 30mm rod goes into the jack-rod hole in the gimbals.
This tool will then make lowering the axle out of the chassis very straightforward, and ensure the axle can be set at the correct angle when reinstalling the cage. Furthermore the nose-heaviness of the axle is controlled on it being removed. A win all round.
To make job as easy as possible, I first disconnected both the brakes, the propshaft and the radius arms at the large end. Then i removed the rear shocks both sides, which enabled me to remove the driveshafts and hubs in one go. Note: The hub lower fulcrum was removed from the lower wishbone and the rod reinserted into the hub, with a rubber packer, to ensure the bearings and shims inside are held i compression and do not get displaced. The lower wishbones were tied up to keep them out of the way.
Then I lowered each wishbone in turn and unbolted the caliper. Note to DANA diff cars: the discs you buy with the holes in them to give access to the caliper bolts are in the WRONG location for the purpose. This has been the case on every disc I have ever bought. Last time I asked a friend to mill out the holes to the correct place, and now caliper removal is easier, axle in-car. But, you still have to remove the shocks, the driveshafts and hubs, and lower the wishbone, to do it: caliper bolts now accessible though elongated holes in the diff. Disc first, and then the caliper can just be wriggled free.
Then, the jack and gimbals were put into place and the weight just taken. The eight cage to diff bolts were undone and withdrawn very easily, and the cage lowered from the car using the jack and gimbal tool!
Last edited by Greg in France; 07-04-2020 at 09:11 AM.
Further work:
Once the cage and diff were out of the car, the lower wishbones were removed, the old stop-gap diff removed from the cage: Subframe out and stripped (refurbished spare in background). Old diff still bolted to jack/gimbal tool.
The rebuilt DANA with the Eaton Truetrac and rebuilt output shafts in it was put on a block of wood and the cage dropped over it.
My theory about diffs coming loose from the cage is that the OEM bolts are not long enough to engage properly in the diff casing. The threaded hole in the DANA is 1 & 1/4 inches deep, and the OEM bolt only has 5/8th inch thread available when coming through the cage:
I therefore ordered up some 1/2 inch diameter UNC threaded rod (1/2 -13 in USA speak), some 60 degree tapered washers and some 1/2 inch UNC nylocs. The threaded rod was cut to give me four 60 mm lengths. This is enough to fully engage in the diff casing and give enough thread to install the cage and the conical washers and the nuts. The rod was locked into the diff using high strength loctite;
Then the nuts were screwed on using normal strength loctite and the lot torqued up to 60 ft llbs. I think this will provide a really good fixation that will not vibrate loose.
Next week: the dog bones are mounted and shimmed to the diff, the lower wishbones mounted, and the lot built up and replaced into the car.
Last edited by Greg in France; 07-04-2020 at 10:56 AM.
Road test of Eaton TrueTrac torsen-type differential in the V12 XJS
Yesterday i finished rebuilding my rear axle with the Eaton TrueTrac differential carrier inside my DANA casing, in place of the failing OEM posiloc carrier. As far as building up the axle is concerned there is no difference at all as a result of the new carrier. The output shafts were rebuilt as outlined in earlier posts.
One thing I did find out was that it is - just - possible to remove the entire rear brake caliper assembly, handbrake and hydraulic brake, as a unit with the cage in the car. However to do this requires the hubs to be disconnected and at least the rearmost shock absorber. Then, providing the holes in the disc have been elongated (see posts above) the caliper can be undone from the diff casing and the lot wriggled out. In theory, cage in car, they can also be put back; but that would be pretty tricky i think. While building up the cage with the new diff they did go back as units, pads and all, it was obviously far easier to achieve with the cage out of the chassis. More to the point, perhaps, the handbrake caliper pad split-pinned adjuster can be turned once the bits have been cleared out of the way, cage in car. This would save quite a bit of bother if that was all that was required.
Anyway, after this digression, back to the subject. I would unhesitatingly recommend this diff rebuild fix to anyone, whether for a GKN/Salisbury or for a DANA V12 differential, if it needed a rebuild. I found in comparison to my old diff - which obviously was not working as it should - the following:
a significant increase in MPG
considerably more silent drivetrain
incredible cornering improvement; you can feel the diff sending the torque to the outside wheel (the wheel with the most traction) and it shoving the car round the corner
far less rolling resistance - pushing the car in neutral is a breeze
This is the most significant drivetrain improvement I have experienced in any car. I am thrilled to at last have wonderful chassis characteristics. I have recently driven superb V12 XJSs with perfect diffs, maintained to very high standards by the acknowledged experts in the UK, and this is significantly better than even those. It is far better than even when my DANA was brand new.
Last edited by Greg in France; 07-08-2020 at 07:28 AM.
Greg,
My rear suspension is currently out of the car, and I want to go to a 3.54 rear end while I'm there, in anticipation of a manual gearbox conversion. I have a Dana unit with 50k miles on it currently. The Eaton carrier you recommend says it's good for 3.73 and lower numerically ratios. I take this to mean that I could get a 3.54 ring and pinion and fit it to the new carrier and my existing case. Obviously I'd have to set up pinion depth, etc. Am I on the right track, or is there something I'm missing?
I've looked into getting a Salisbury diff from a 4.0, but I'm not having much luck under $2000.

 02-28-2020, 12:21 PM