When you click on links to various merchants on this site and make a purchase, this can result in this site earning a commission. Affiliate programs and affiliations include, but are not limited to, the eBay Partner Network.
I have recently been spending a great deal of time working on rear axles. In the last month I have worked on two of them, one from my car, and one removed years ago from my parts car.
In the case of my car, about 19 years ago i fitted a brand new DANA diff, bought still in its Jaguar crate, using all new genuine Jaguar bolts complete with their factory applied locktite-type coating, lockwired as per factory spec etc etc. To this diff I also fitted brand new dogbones (lower wishbone inner fulcrum castings) using brand new Jaguar fixings, similarly coated and lockwired.
When I heard a big clunk about 2 years ago I removed the axle and found the following:
Dogbones: The bolts had come loose and the shims had fallen out.
When I changed the diff recently (an internal fault in the diff was the cause of my mystery vibration) I found the four bolts that fix the diff to the cage, although still lockwired, were loose.
I therefore decided to fit my spare diff, also a DANA, and for the first time I started stripping my spare axle. This car was 5 years old when it was taken off the road and had done about 80,000 miles according to the speedo. To my amazement I found that the dogbone bolts, still carrying their factory lockwire, were loose! The diff to cage bolts were still tight to spec.
This got me thinking, as I have a project, as funds allow, to build up a complete spare rebuilt rear axle, diff, hubs, brakes the lot, so as to be able to swap it into the car in the event of any trouble with my current axle - which has an unknown-quantity diff in it, not rebuilt, from my parts car. This, I should add, is working perfectly, but I like the idea of having a rebuilt spare axle all set to go, as in the event of trouble it is only a morning's work to get the car going again.
Dogbone bolts: When I redid the dogbones two years ago I used a special loctite: (LOCTITE� Red Threadlocker - 262 - is the highest strength. This product cures fully in 24 hours and is available in both a liquid and as a semisolid anaerobic. The red products are so powerful that they require heat to be disassembled). When I had to remove the dogbones for the diff swap last month, the bolts required a 5 minute blast with my propane torch and a 3 foot long breaker bar to get the bolts undone! So my advice to anyone fixing the dogbones is to use this super strength loctite.
As for the diff fixing bolts, I suppose it would do the same job; but I took a good look at the entire fixing design and wondered if it could be substantially improved. The diff fixings bolts are taped seat 1/2 inch UNC threaded items, like this:
They fit into a tapered reinforced hole through the double-skinned top of the cage and protrude just under 3/4 of an inch (17mm):
Thus about 16mm of thread goes into the threaded hole in the diff top. The actual threaded hole in the diff is 1 1/4 inches deep (32mm).
The OEM torque spec for the diff bolts is 70 ft llbs. Considering the stress that the diff to cage join is subject to, it seems to me that the looseness often found in the join after some years of use is an indication the fixing could be improved (and which I found in both axles I have worked on). So this is my idea, which i intend to use when I make up my spare axle:
The diff casing is cast iron. The bolt, if tightened too much above the specified torque, might strip the threads in the casing. This is because any bolt being tightened into a threaded hole, is not only tightening, it is also, to an extent "drilling" out the hole as it exerts not just a pull but a twisting component on the threads in the hole it is being screwed into. If you think about it, that is why tightening down a head onto studs into an alloy block is far less likely to result in damage on tightening that if head bolts were to be used.
Therefore, so goes my reasoning, why not make up 1/2 inch UNC studs and thread them the entire way into the 32mm hole in the diff casing? This nearly doubles the load-bearing surface, and also, as nuts will be used to tighten the diff on the studs, means a bit more torque will not be a problem.
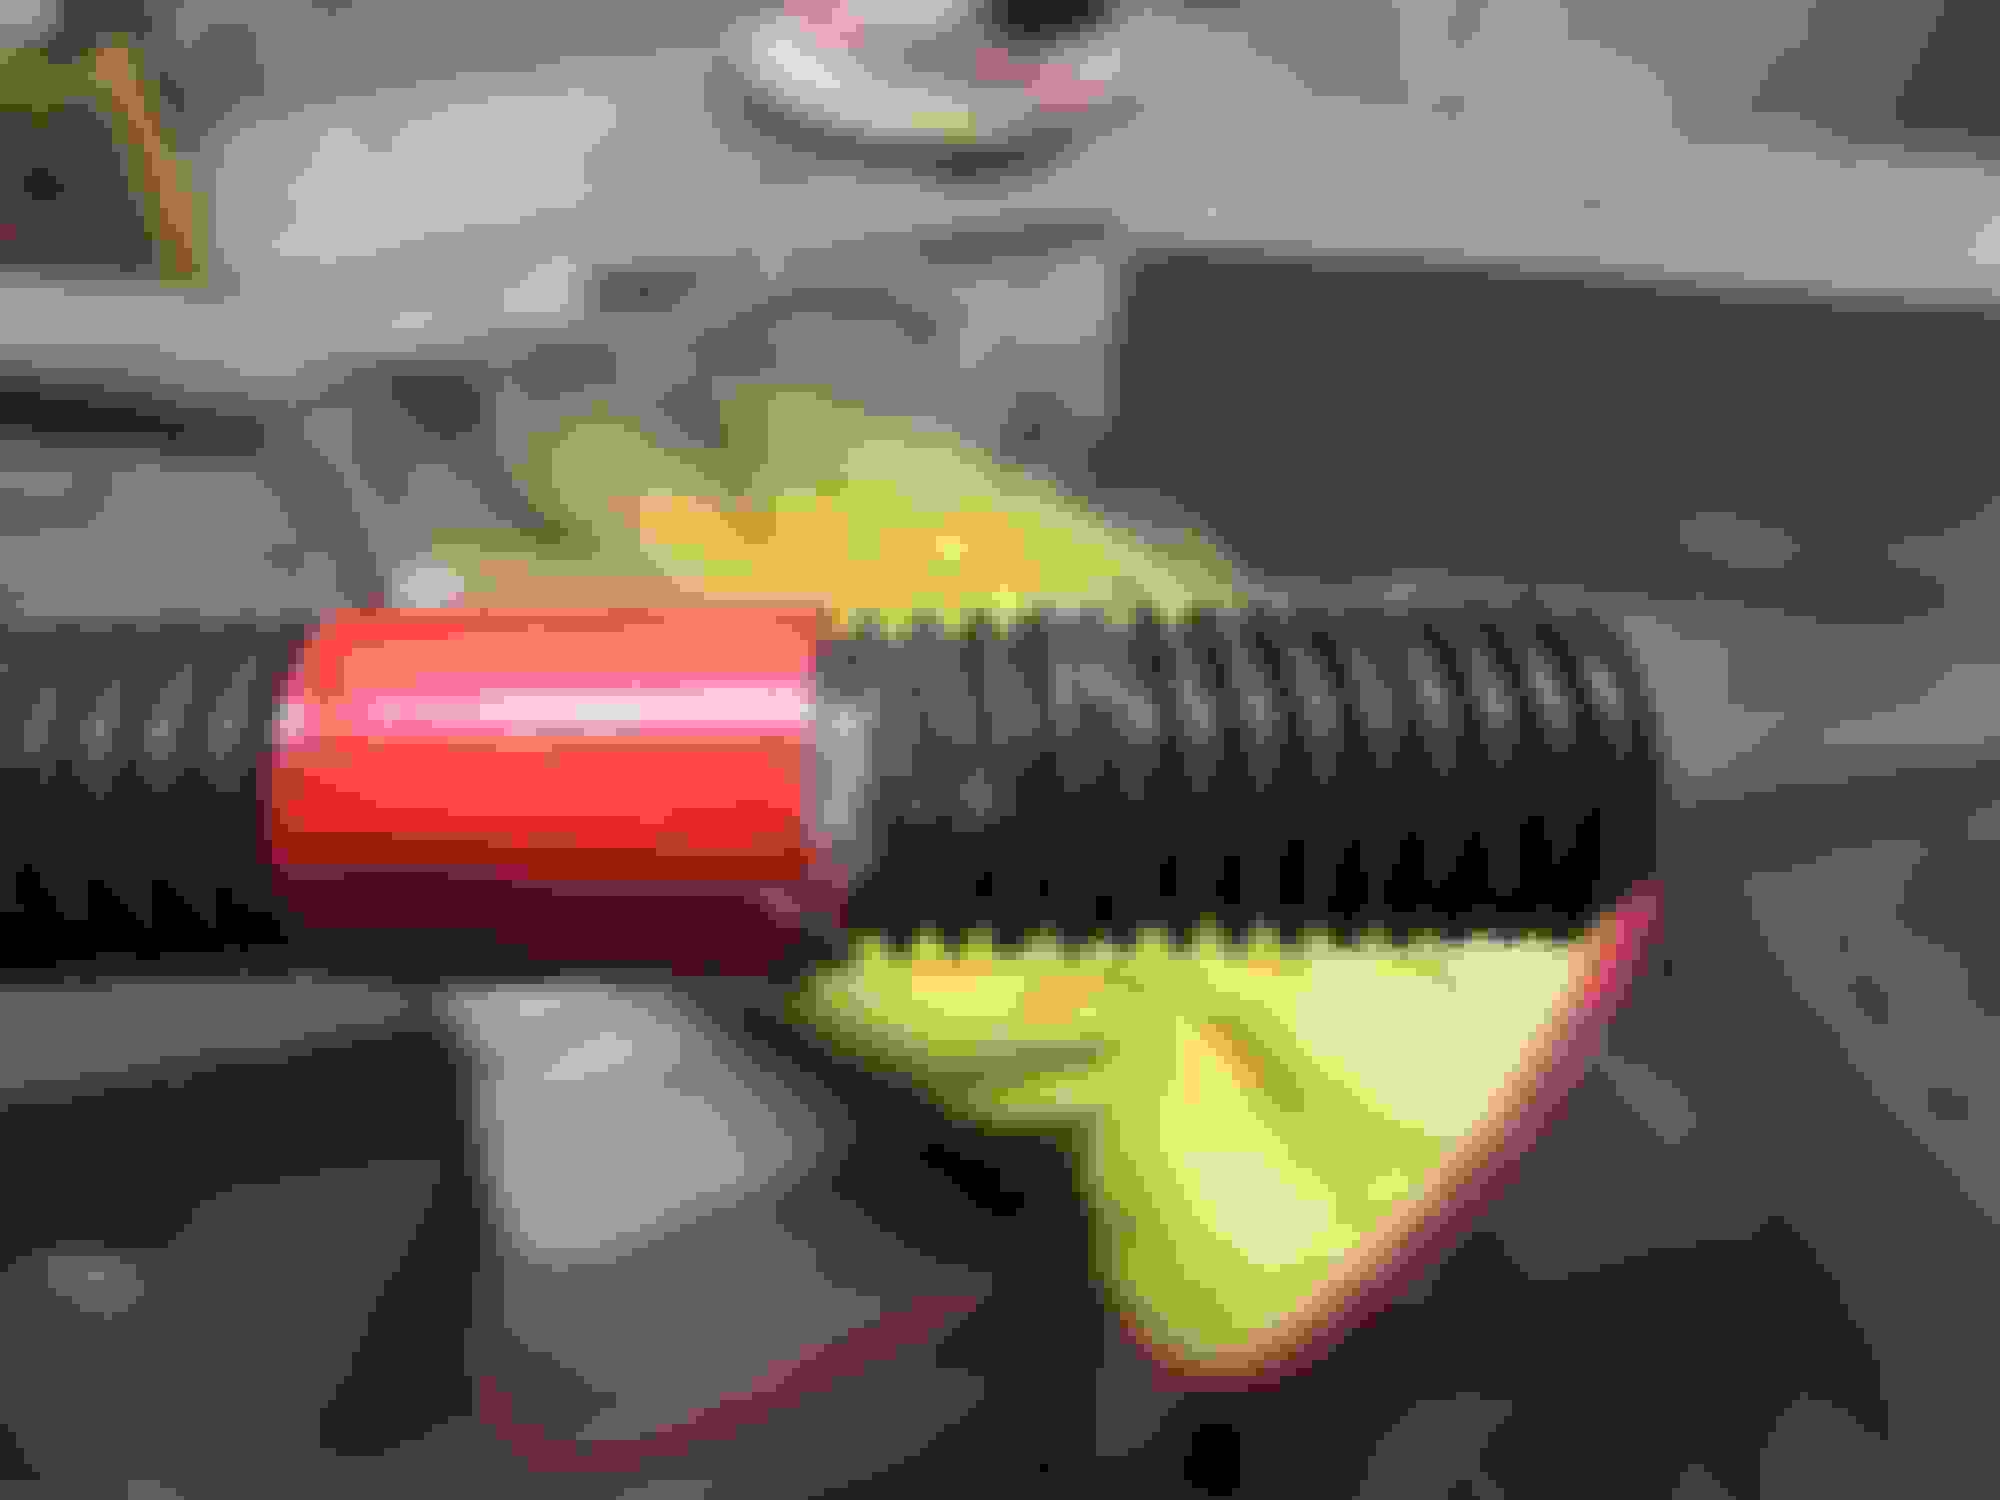
Now as the photo above shows, the OEM bolt is tapered (it is a 60 degree taper), so some tapered washers have to be fitted onto the studs on the top-surface of the cage, in order to reproduce the locating function of the coned OEM bolt.
I managed to locate such washers - which are used extensively in certain road wheel-fitting applications. I bought 12mm ID washers and drilled them out to 1/2 inch to nicely fit on the UNC threaded rod. (I bought high tensile rod just because I like the idea of it, even though I expect it is not needed.
The photos below show some of the ideas I have tried to outline . Tapered washer sits in the tapered hole in the cage 60 degree taper on the washer 12mm drilled out to 1/2 inch In position on the cage showing the UNC stud 1/2 inch UNC stud threaded into the diff by 32 mm 32 mm of stud in the diff, if red loctited it will never come loose 1/ 2 inch nyloc nut to torque the diff and cage together, about 90 ft llbs and a drop of normal loctite should mean no more cage-loosening troubles
Last edited by Greg in France; 03-22-2020 at 05:07 AM.
Wow Greg. You like your car WAY too much. That is a great idea. For clarification, will you apply any torque to the studs? Or is the plan to just bottom them along with the locktite?
Wow Greg. You like your car WAY too much. That is a great idea. For clarification, will you apply any torque to the studs? Or is the plan to just bottom them along with the locktite?
Just finger tight them in with the super strength loctite, head studs are just screwed in similarly, though without the loctite. The only point of torque is to stretch the fixing and thus apply a degree of spring-tension to the fixing. That would not be improved or affected by screwing the stud into the diff tightly. Just as long as the stud cannot start to unscrew itself, which the loctite will prevent, all should be well. The nyloc nut with normal loctite on the other end should mean no more loose diffs.
I wonder if it is something to do with the Dana vs the GKN Sailsbury diff? I have taken out the diff in my 94 that had 150,000 km on it because the carrier bearings were completely shot, but the cage to diff bolts were tight. Now that I think if it, every other IRS I have taken apart with the Sailsbury diff has had those bolts tight, even when the car was in the junkyard.

 03-22-2020, 04:59 AM