When you click on links to various merchants on this site and make a purchase, this can result in this site earning a commission. Affiliate programs and affiliations include, but are not limited to, the eBay Partner Network.
Ahh, the first of many questions to come I'm sure.
I've been looking at Kirby's "Experience in a book" among a lot of other info. He seems adamant that the distributor will need attention. So on my short list of things to do to my car is to check the distributor advance mechanism to see if the weights are seized. I mentioned it to a friend of mine and he said why not just check it with a timing light? That jogged some old memories of doing just that in my younger days, with a light pointed at the timing marks while revving the engine a bit and watching the marks on the crank pulley change. Is that something you can do with the V12?
It�s easier to just check the distributor. Take the cap off and try turning the arm counter clockwise. It should go about 10 degrees and then spring back when released. Checking the timing will tell you if the timing is set correctly, but since it�s set at 3000 rpm or something like that it won�t necessarily tell you that the distributor isn�t seized.
It�s real hard since the timing marks are on the bottom of the engine, not visible from the top.
What I do since I race is put the timing mark on top dead center with a socket and big breaker bar then I make my own tab with timing marks and transfer them.
That way I can adjust my timing easily. From on top. Since I use E85. My timing is considerably advanced which gains me a lot more power than stock.
Ahh, the first of many questions to come I'm sure.
I've been looking at Kirby's "Experience in a book" among a lot of other info. He seems adamant that the distributor will need attention. So on my short list of things to do to my car is to check the distributor advance mechanism to see if the weights are seized. I mentioned it to a friend of mine and he said why not just check it with a timing light? That jogged some old memories of doing just that in my younger days, with a light pointed at the timing marks while revving the engine a bit and watching the marks on the crank pulley change. Is that something you can do with the V12?
Chap
Which year of V12 do you have? The ignition and distributor are different depending upon the model year.
OK, you have the Lucas ignition system, in which case the required work is to remove the distributor cap (three small screws) and then grasp the rotor arm and see if you can move it about 10 or 15 degrees against the spring, and then see if it snaps back. If it does not, then the system is gummed up at the bottom of the distributor. If this is the case, post again for what to do.
And as long as your checking that the mechanical advance isn't stuck you might as well apply vacuum to the vacuum advance canister and make sure it's working as well
OK, you have the Lucas ignition system, in which case the required work is to remove the distributor cap (three small screws) and then grasp the rotor arm and see if you can move it about 10 or 15 degrees against the spring, and then see if it snaps back. If it does not, then the system is gummed up at the bottom of the distributor. If this is the case, post again for what to do.
I lifted up the cap and was able to confirm that the rotor moves easily and does snap back without hesitation. With this engine and car being completely new to me I am taking it slow. I did have to remove the bellows to be able to lift the cap enough to get my finger under it and manipulate the rotor. The plug wires - I will need to make myself a little sketch I guess.
So I did that, the cap is off, the rotor looks to move freely as stated above, so does it just pull off? I wanted to pull it off so I could lubricate the felt piece that is supposed to live under there.
Research shows that it does lift off. So I got it off, a bit of surface rust on the shaft. Went to check the spring action, and now there is no return, it just rotates the 10-15 degrees and stays where I leave it. No felt piece either.
So I need to purchase a service manual as well. Recommendations?
Chap
So, a bunch more reading. Should have had a few more beers and read some more before jumping in. While there is a lot of good advice online, there is also some not so good advise, along with some really bad ideas. Unfortunately I happened onto one of those bad ideas first! It appears I have done something to the springs down below. Rats!!
I'm also going to need a parts source.- what is the best place to buy factory parts, non factory parts, NLA parts?
Refit the rotor, and mark the distributor housing where teh TIP of the rotor is pointing. This will be the place it MUST return to when refitting.
Getting the engine on TDC #1A Comp strake is also a pre removal setting suggestion, BUT, as you mentioned, this beast is new to you, so lets not DROWN you on day 1.
Once on the bench, that centre shaft can be removed, and it sounds like the "plastic" keeper under the felt pad is no longer present, hence the raising of said shaft to damage the lower springs.
Look at the springs, and, IF THE JAG GODS are with you, the springs may have only slipped off their pegs, they were NOT with me on my 1st one. If that is so, slip them back onto the pegs, push the shaft down, drop some ATF down its guts, and look around for a SMALL o/ring to fit the shaft peg where the plastic thing once was.
Jag once sold a service kit for these dizzies, but I think it is long time NLA.
Parts suppliers:
Any that sponsor this site are good, even for me way down here.
NLA stuff, HA, take a number. ?/bay, etc is always a good look out.
If you wish I will do a PDF on R & R the dizzy, etc for you, no problems, simply ask. I have a V12 HE dizzy base in the shed, so IF (oh boy) I can find it, I can tale snaps.
Thanks Grant. I did take pictures, and will do as you suggest marking the outer housing. The plastic keeper is still here, though a piece of the flange is missing. It appears to be quite brittle. The felt pad appears to be MIA.
A pdf would be much appreciated.
Thanks Grant. I did take pictures, and will do as you suggest marking the outer housing. The plastic keeper is still here, though a piece of the flange is missing. It appears to be quite brittle. The felt pad appears to be MIA.
A pdf would be much appreciated.
Thank you.
OK, the felt pad was really only the PreHE, and they had a SCREW down the centre shaft, so its rising on rotor removal was impossible, cost cutting I suppose.
I will hunt down that dizzy, and do the PDF. Its 2C out there now, so not even you could tempt me, the OLD bones are not cold friendly.
Have a beer or 3 or 4, calm down, these are SIMPLE engines and cars, all will be well.
It will give you something to read while I do the other one.
ONE major point:
NEVER EVER rotate this engine backwards. It normally rotates Clockwise, as looking at the front of engine, so Anti-Clockwise is a NO NO. There is a plastic chain tentioner inside that could/will snap if you do this wrong rotation, the last price on one was $650Aus, and about 20 hours lbr to fit.
If you are rotating this engine by hand, please pay attention, and if you miss the timing mark you are aiming for, simply keep going and catch it on the next round.
Chap
FYI in future, and any others reading, I have found that the best way to remove the rotor from the Lucas HE dizzy is to place a hand each end and rock it, pushing down one end while pulling up the other. With patience and solid but not drastic effort the rotor will come off, and the rocking means the shaft itself is not subject to upwards upwards forces.
....look around for a SMALL o/ring to fit the shaft peg where the plastic thing once was.
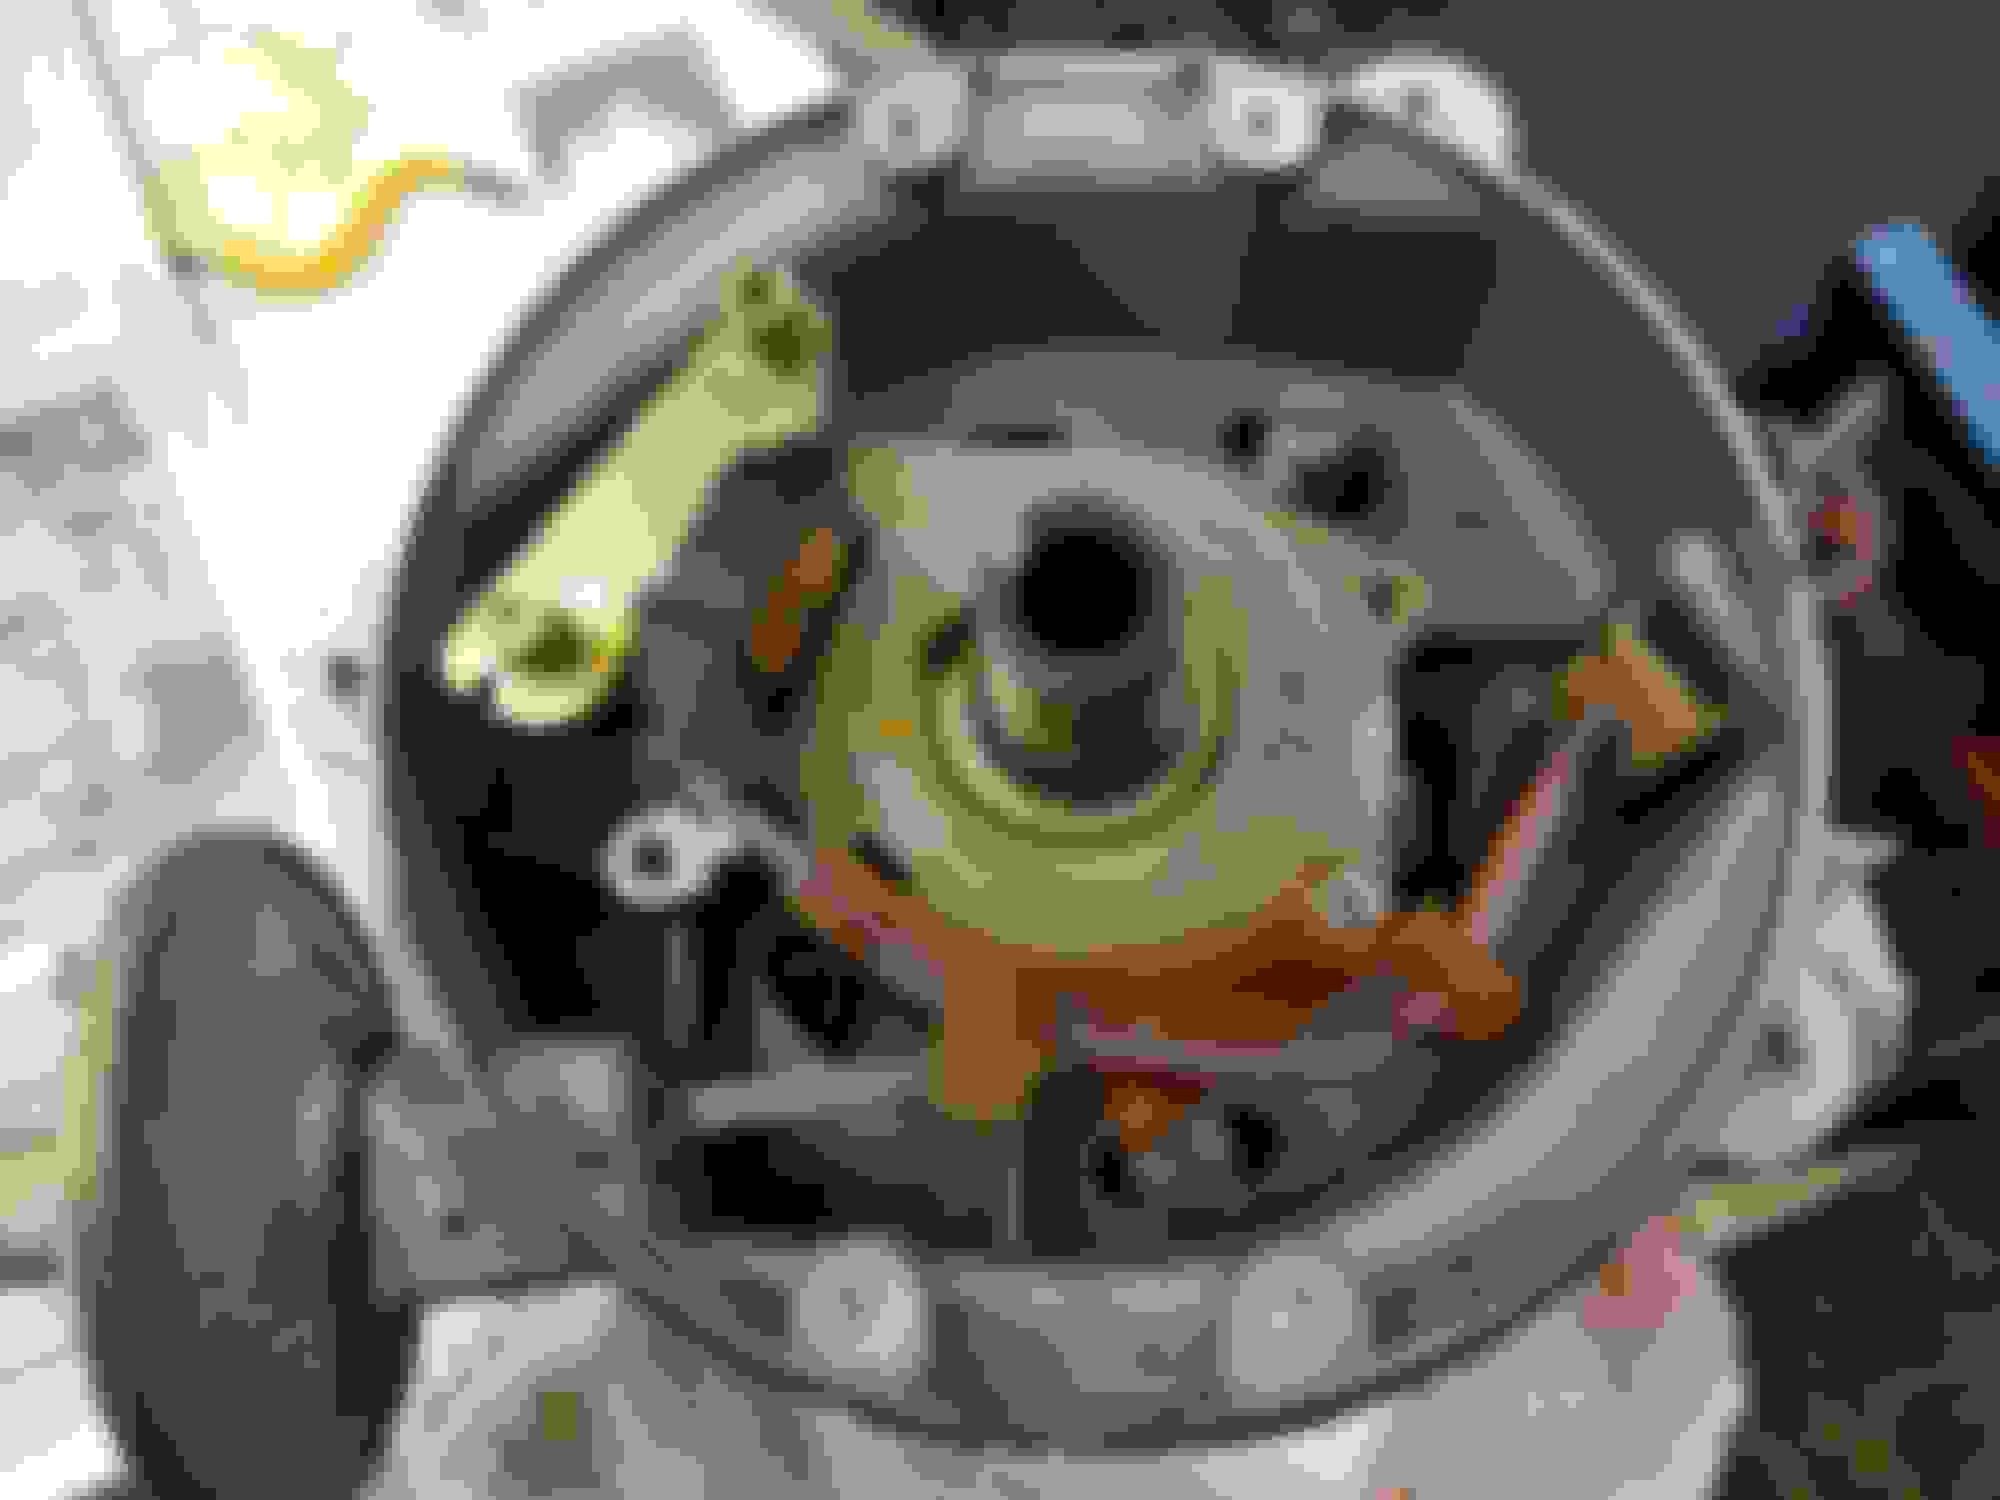
How important is this bit? This spring when I was doing the distro maintenance, I found plastic remnants on top of the shaft..I just removed them, added a few drops synthetic as usual and buttoned it all back up figuring it hadn't been doing anything helpful in that state anyway. It's all working fine. Do I need to get back in there and put in an O ring or can it wait until next time?
Thanks for all the advice. I pulled the distributor tonight and maybe the Jag Gods were smiling, because it appears both springs were off the outer posts. The 2 springs had become detached just like you had mentioned Grant.Turned out to be easily fixable I think. The heavier spring is a little loose, and the lighter one is just a hair loose at rest.. Pulled the distributor tonight and took it apart. It was actually pretty simple. I hope to get it all back together tomorrow night. The funny part is the counter weight mechanisms themselves were clean and well lubricated. It would have been fine for years. Put a touch more oil on them and it's all back together ready to go in. I also found a small o ring to use instead of the plastic part.
How important is this bit? This spring when I was doing the distro maintenance, I found plastic remnants on top of the shaft..I just removed them, added a few drops synthetic as usual and buttoned it all back up figuring it hadn't been doing anything helpful in that state anyway. It's all working fine. Do I need to get back in there and put in an O ring or can it wait until next time?
NOPE..
I mention it coz some people get all carried away with things not as made, I dont.
Gravity will take of it, as will the SMALL spring of teh carbon brush pushing down.
[QUOTE=Chap1958;2262479]Thanks for all the advice. I pulled the distributor tonight and maybe the Jag Gods were smiling, because it appears both springs were off the outer posts. The 2 springs had become detached just like you had mentioned Grant.Turned out to be easily fixable I think. The heavier spring is a little loose, and the lighter one is just a hair loose at rest.. Pulled the distributor tonight and took it apart. It was actually pretty simple. I hope to get it all back together tomorrow night. The funny part is the counter weight mechanisms themselves were clean and well lubricated. It would have been fine for years. Put a touch more oil on them and it's all back together ready to go in. I also found a small o ring to use instead of the plastic part.
/QUOTE]
FANTASTIC, and the snaps are good.
I will leave that PDF for now, as my X Type is having a hissy fit, so attention is required.
That heavier spring is as it should be, and the lighter one is possibly OK.
I will find that dizzy this afternoon, and check the spring play.
Both springs are a tad loose at rest on my dizzy. The bigger one the most loose. This is because it is designed not to act until the dizzy has advanced a bit.

 07-13-2020, 03:50 PM