When you click on links to various merchants on this site and make a purchase, this can result in this site earning a commission. Affiliate programs and affiliations include, but are not limited to, the eBay Partner Network.
Here is a Video of my Home Made Hand Brake Cable Wrangler/Remover which you can make in 10 Minutes with a Piece of Flat Strip and an Angle Grinder
No Need to Slacken the Hand Brake Cable either Taking it off or Putting it back on the Hand Brake Mechanism
Just disengage the Handbrake like you would if you had Parked your Car and were going to release the Handbrake in order to drive her away!
If you were to Slacken the Handbrake Cable (which could take an hour!) as the Handbrake Cable adjuster is Set into the Sill behind the Seat, if that Slack Cable jumped past the Ratchet (as can happen) then it could be the Job from Hell to get it back, which could involve Removing the Hand Brake Lever a Total PIA Job if ever there was one!
Again Controversial but I would leave the Bottom Plate on the Diff because there is not only a Danger of Snapping one or two bolts when you try and undo them (then what are you going to do!)
But I have done it Both Ways: Bottom Plate Taken Off and Bottom Plate left On, so Trust me when I tell you that in my own experience Removing the Bottom Plate of the Diff could prove a Big Mistake, as its easier putting everything back together if you don't disturb that Bottom Plate
Rear Brake Pipe CUT IT OFF! as it will be a Nightmare to Remove with the Cage in the Way but once the Cage has been removed then you can get in there with your 2 X 15mm Spanners to undo the Fittings
Same goes for Putting the New Brake Pipe on: Try and Connect it Before you put the Cage back as its easier that way
A few comments on red below on the items you list that need it: Step 1
Check fluid in the brake reservoir. Remove spare tire from trunk. Remove carpet trim. Remove the Speed Sensor, blue plug, grey wire. Loosen 7 baffle plate holding bolts. (1 hour) As you have a coupe, I do not think you have this strengthening plate, which is on convertibles only. In fact I do not think you need to do anything in the trunk (boot) at all.
Step 2
Loosen the radius arm bolts (1 hour) Loosening them is pretty straightforward, use an impact gun if they will not move, a long lever will probably just sheer the bolt head. BUT removing the radius arm bush cup from the chassis at the big end can be a problem. Get a cold chisel and a large hammer, place the sharp edge of the chisel on the join above the cup between it and the chassis fitting, and WHACK HARD. It will come free after a few whacks.
Step 3
Disconnect the ABS sensors. Unclear how this is done. They are on the outside of the hub casting and are secured by a small bolt, you just wriggle them out.
Step 5
Loosen the exhaust bolts (1 hour). Buy some new 13mm/1/2 AF headed 3 inch long bolts. It the old ones give you trouble just cut them. New bolts make refitting far easier too. You may, repeat may, be able to remove the rear tunnel exhaust boxes and the over-axle pipes as one. If not then they have to be separated. I would loosen off the clamps between the pipes and the exhaust boxes and PB blast them, and try to loosen them from the pipes before removing the exhaust. This too will make refitting far easier.
Step 7
Lower damper mounts? Unclear on this. Once the axle is off the car you must either support it in the middle, under the diff at a working height (eg on a table or similar) or turn it upside down on the floor. If you are doing Radius arms, brake calipers, discs and shocks (ie not just the first items but shocks too) then obviously the shocks have to be removed. The top is straightforward, the shock bottoms are secured by a foot long rod that goes through the lower wishbone. It has a spacer, and can only be removed by tapping it FORWARDS (ie assuming the axle was in the car the rod has to be tapped out towards the front of the car).
Note:
I do not think that you will be able to remove the old disc or insert the new one without undoing the shocks to get clearance, as from memory, the disc fouls the inner tubular end of he lower wishbone. You might also have to disconnect the outer fulcrum at the hub. This is far easier than disconnecting the inner one by the diff: just undo the nuts and CAREFULLY drive out the shaft, this will enable you (assuming the cage is upside down) to get clearance to remove the disc and replace it. Once you have disconnected the hub fulcrum, while you are working on the discs etc, replace the shaft to ensure all the bits inside stay where they should be.
Step 10
Remove the four differential/prop shaft bolts (1 hour) You have already done this! The propshaft like the exhaust must be supported.
Step 11
Unscrew or cut through the flexible brake hose (30 minutes) When refitting, ensure you connect the new one at the cage end before refitting the cage.
Step 13
Disconnect the handbrake (2 hours). Unclear how best to do this. I won't be able to craft a special tool The handbrake is not difficult. There are two sprung arms, one for each HB caliper. First unhook the springs (long nose pliers will be best to do this and usually it is easier to disconnect the cage end of the spring). Then if you squeeze the arms together, the large nipple on the end of the inner cable can be pushed out of the arm furthest from the cable. The the cable outer just comes out of its indent in the other arm. NOTE: when refitting, for reasons entirely unknown, the cable will not want to go bak and will seem to have reduced in length by an inch or so. This is the fix: Ask a helper to grasp the HB lever in the cabin BUTTON PRESSED IN AND HELD IN THE WHOLE TIME. The gasp the cable inner under the car with a decent pair of pliers. Ask the helper to move the lever up and down twice, leaving it down, while you pull hard on the cable inner. This will reset the cable. DO not ask me why.
Step 15
Remove fulcrum spring shafts. Which components are you referring to here?
Step 17
Remove the metal cage shroud from the differential (1 hour) see comment on 18 below
Step 18
Remove fulcrum shafts by unscrewing the nut a good bit and then tapping them flush with a hammer to the other side. (1 hour)
Get 1/2 inch copper tube (outer dimensions) for a dummy fulcrum shaft. Or solid piece of round bar Get a piece of �studding� (rod that will fit inside the copper tube) Are you renewing the lower wishbone (control arm) inner fulcrum bearings by the differential? There is no need to do this step unless you are. I would not advise doing this unless they are definitely shot. This is entirely unnecessary otherwise and greatly complicates the job.
If you are so doing , please post again as refitting and shimming the casting is difficult.
I HIGHLY doubt that these need any work at all apart from a grease up.
Must I remove the universal joint covers (hose clamp and drill out pop rivets)? Yes, remove them and throw them away.
Step 23
Remove the shocks/springs. Replace all four shocks. (2 hours) Need advice here on how to remove and then reinstall the shocks from the springs. You need at least two spring compressors of this type: https://www.amazon.com/OrionMotorTec...9682032&sr=8-5
But note that the coils are quite close together and you may have a job getting the coils compressed before the spring is compressed enough to release. If so, grind the compressor hook a bit to get more room.
Place the bottom eye of the shock in a vice, compress the spring, then the collars inside the top cup that jam the cup against the shock circular raised part on the shock tube can be prised out (might need a whack or two to loosen them) and the spring lifted out.
Flip cage upside down, reinstall fulcrum pins ONLY if you are rebuilding the inner fulcrum bearings by the diff, which should not be necessary. See comment on 18 above.
Reconnect the ABS sensor? Need help here see removal comment above.
Step 39
Reconnect the radius arms note do NOT tighten the rearmost (small end) bush bolt until the car has its weight on the wheels.
Step 40
Bleed the brakes. Need proper instructions. Paul is the Man for this procedure.
Greg, this is INCREDIBLE! Thank you for these thoughtful and really insightful notes. I�m reviewing the battle plan again and think that it might be best, given my limited time, to:
1. replace the brake pads only (not rotors)
2. replace the shocks
3. Look for any other worn rubber items that need help
I�m at the shop now, waiting on a lift, so will have a better idea once I get her in the air.
It's great that you're starting to lay out a plan. It's really important especially if you are time-bound that once you've started the job, you've got to crack it in 20 hours.
Ben and Alex have given you some great feedback there. I'd perhaps go just a bit further. On the basis that once you've started, you have to finish it in that timeframe, I would loosen almost every nut a 1/4 of a turn, and for those areas where you may be replacing them because of damage such as prop bolts,, exhaust bolts etc, I would remove and replace them all and just nip up the new ones not too tight. And if they use nyloc nuts, put the old ones on the new bolts and save the new ones for final install. Remember to scribe a line on the prop and diff flanges as you must install the prop back inexactly the same position if you don't want a prop imbalance problem.
It's also not just the radius arm bolts, it's physically separating the arms from the body which are very likely to be seized. So take them off before you raise the car, grease them and put them back before the job starts. It also enables you to see if you have any of the usual corrosion on the body mounts, which need sorting before your IRS drop.
I would try and go into the shop ready to drop the IRS KNOWING that everything (as far as is practical) is going to easily undo. It's your only chance of doing this job in the 20 hours allotted. I'd also try and get things like the lower plate removed, cleaned and painted before the job starts. Just as a personal suggestion, I'd also remove the annoying UJ dust covers off the shafts and throw them in the bin.
I'll send you a PM with the bleed instructions for the rear brakes. I'd also serious; consider fitting a set of the remote bleeders to those calipers as part of your refit.
Good luck
Paul
Your advice makes sense and I think, given your expert feedback and that of others, I should neck this down to more manageable chunks. My IRS looks good and as long as the rotors aren�t completely shot, I would prefer mot to drop it.
if you could send the Paul method for bleeding XJS brakes, I�d be grateful!
In the meantime, if you have the car up on teh ramp and you're not going to drop the cage and cut the brake lines, but still change the rear pads, you must NOT push back the old pads and pistons without first attaching a pipe to the bleed nipples and loosening them to allow fluid to escape via the pipe. Do not allow fluid to get pushed back up the brake lines!
In the meantime, if you have the car up on teh ramp and you're not going to drop the cage and cut the brake lines, but still change the rear pads, you must NOT push back the old pads and pistons without first attaching a pipe to the bleed nipples and loosening them to allow fluid to escape via the pipe. Do not allow fluid to get pushed back up the brake lines!
Good luck with the work.
Paul
Paul,
I would also appreciate a copy of the bleeding routine.
In the meantime, if you have the car up on teh ramp and you're not going to drop the cage and cut the brake lines, but still change the rear pads, you must NOT push back the old pads and pistons without first attaching a pipe to the bleed nipples and loosening them to allow fluid to escape via the pipe. Do not allow fluid to get pushed back up the brake lines!
Good luck with the work.
Paul
Yep. I�m sitting here staring at the rear end, which looks shockingly good. Only the pads are shot. I�m still struggling to find out how to replace them, as I don�t have the ROM and the Haynes manual is vague.
You have a big job ahead, at least one pad is down to the backing plate and the disc is ruined. The easiest path ahead probably is to pull the rear suspension, as the calipers, half shafts, discs, all need to be removed, which require partial disassembly of the rear suspension. Do a search here as there are numerous threads on the process. There are also Youtube videos on how to get calipers and discs off.
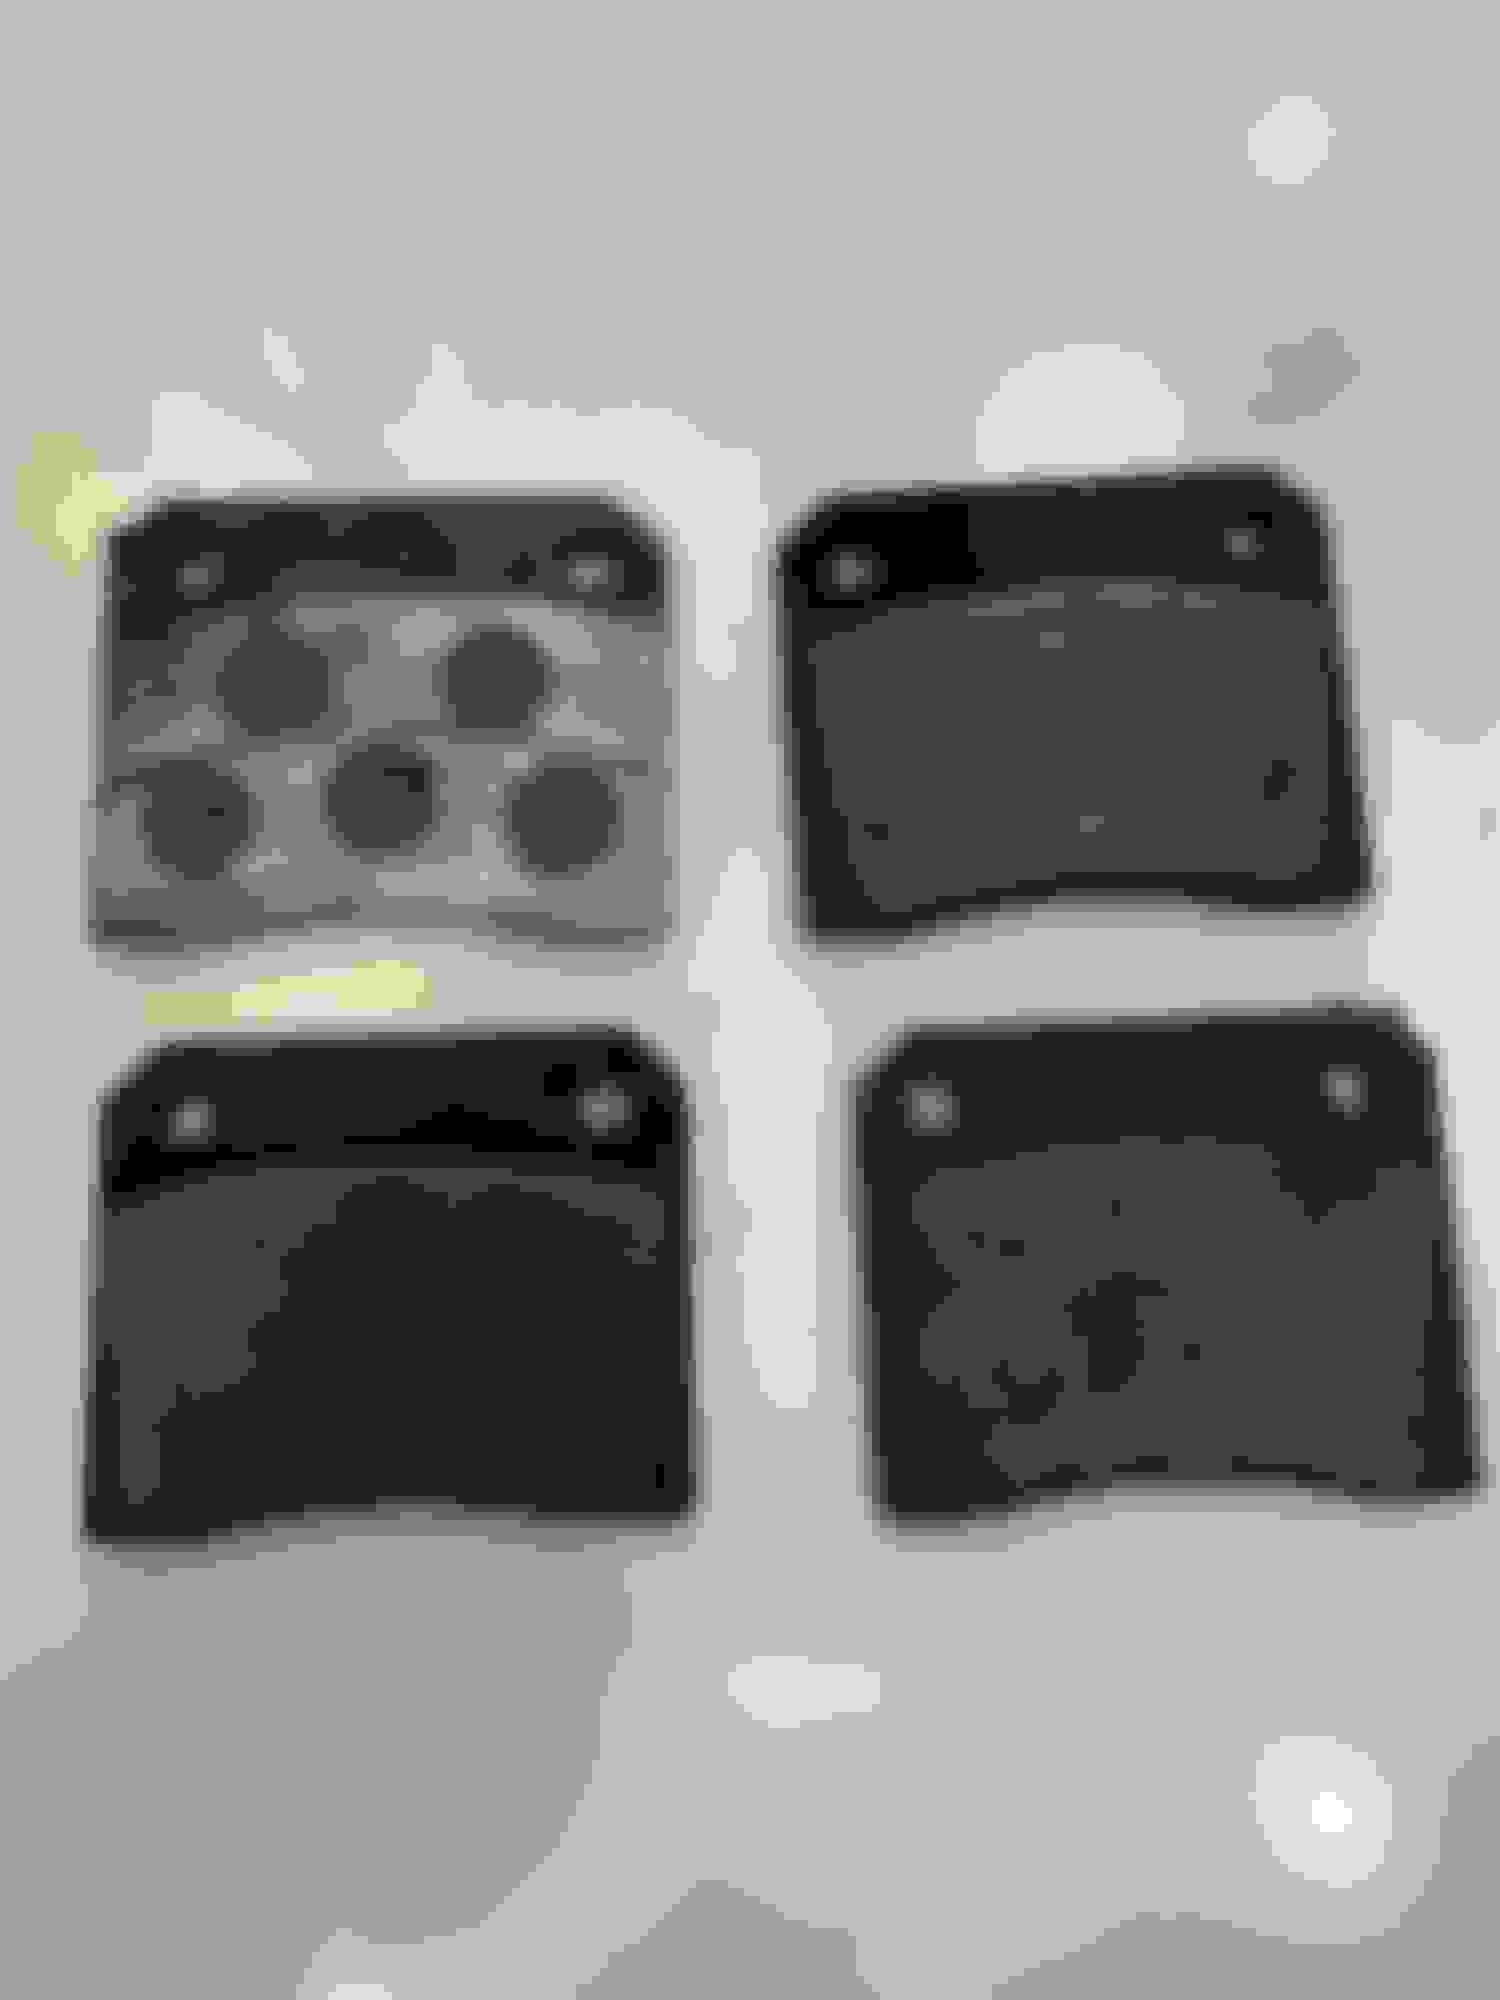
Rear brake pads & Handbrake pads renewal instructions from Jaguar workshop manual. Don't use a Haynes manual (I didn't even know there was one for your XJS?)
Rear brake pads & Handbrake pads renewal instructions from Jaguar workshop manual. Don't use a Haynes manual (I didn't even know there was one for your XJS?)
If you are a good part way through the 20 hours allocated for this, I would just change the pads and come back to this later when you have more time. The rotor face looks nasty for sure - but at least your brakes will be better than the metal on metal! Change pads again when the rotors are renewed. You might also consider temporarily swapping the pads so the really worn one is on the other side of the rotor. Just a quick check to see if the other piston comes out further when the brakes are applied. (Pad swap only to make sure caliper isn't stuck without risking piston coming out!) Hope that makes sense. Then change to new pads obviously
Welp, as we say in the military, no plan survives first contact with the enemy. Giant thunderstorms rolled through DC yesterday afternoon, so alas I missed the �safety class� at the MWR. They kindly let me come at noon today, but then I had to wait until nearly 3 pm for a bay. That meant I had 2 hours to work.
So as you can see, the pads were shot. One was to the metal. Not good. Fortunately the rotors are plenty thick and not deeply scored. The calipers don�t leak, either. I did struggle with the pads for the better part of 90 minutes. A piston got cocked and jammed itself up, but after some inspiration from my fine adjustment tool, I managed to get everything buttoned up and drove the old girl home. The pedal feels great and she tracks straight and true on a heavy stop. I�m so grateful to each of you for your insight and advice!
Next trip (maybe tomorrow), I�m going to tackle the struts. The shop has a fantastic spring cage compressor, as well as a 3,000 lb press. So that should be handy for that radius arm rubber. Oh, and the diff is definitely leaking. That will need some attention soon.
3,000 lbs press? I changed the radius arm bushes on an E-Type last month. My 12 Ton press didn't do it. It took a 20 ton press.. Its the same part number as the XJS for the bushing.
I made a short fill-in article for local Jaguar Club newsletter about the Jaguar tool loan program. The "satisfying pop" was a real loud bang when it went!
Access to a hoist is a gamechanger. It needs to be the frame type lift, not a 4 post drive on.
Asssuming you have access to that, then:
There are holes in the brake disk that you can access the caliper bolts, undo those and rotate the caliper off the brake disk once you have loosened the brake hard lines, then remove the brake disk. Reassembly in in the reverse order, as is the other side brake disk.
Wit the hoist you can leave the cage in the car and leave the driveshaft connection undisturbed.
It's been a while, but I seem to remember having to remove the parking brake spring and caliper before being able to remove the main calipers., Then the discs come out.
I have never pulled the entire unit out to do brakes, but I always had a lift.
In the meantime, if you have the car up on teh ramp and you're not going to drop the cage and cut the brake lines, but still change the rear pads, you must NOT push back the old pads and pistons without first attaching a pipe to the bleed nipples and loosening them to allow fluid to escape via the pipe. Do not allow fluid to get pushed back up the brake lines!
Good luck with the work.
Paul
Hi Paul,
Contemplating a brake fluid change and would also appreciate a copy of the Teves procedure which is presumably what would be used to change the fluid?
 08-05-2022, 05:57 AM