When you click on links to various merchants on this site and make a purchase, this can result in this site earning a commission. Affiliate programs and affiliations include, but are not limited to, the eBay Partner Network.
Does anyone have a part number or a vendor that sells pre-made spark plug wires in the OEM configuration?
I don't want to go with Magnecor. Too expensive for my liking.
I started to disassemble the top half of the engine. I have removed everything from the V with the exception of the distributor and the spark plugs.
If I have to remove the distributor, where do I set up TDC? 1A or 1B? Or should I just leave it in place.
Plan: REMOVE 35 YEARS WORTH OF CRUD.
Thank you Grant. As I go along I will have more questions.
I ordered the following to refurbish the top half of the engine.
Distributor Cap and rotor.
Spark Plugs (all I could get is BP6ES)
Intake manifold Gaskets.
Valve Cover Gaskets.
EFI hose repair Kit.
Wire and injector connectors to redo EFI harness and all other brittle wires.
12 Refurbished injectors.(from a reputable Jaguar injector service company) I do not know the condition of the ones presently on the car.
I do not know whether to replace the 8 wire plug with a new one (if I could find it)or splice the new wires to the existing connector.
The spark plugs are WRONG, sorry, they are the PreHE spec.
You need the BPR6EF or BPR6EFS, which are the taper seat spec and the smaller hex socket style. If NO #6, go with 5, car will not complain.
I spliced into that 8 connector in the early days, and went a different way later, when I rewired the engine bay and moved a number of things outside that bay.
Being picky now, they are sending the 2 "D" seals for the back of the camcovers with those gaskets, might pay to ask, before you get stranded.
Look at the alloy snout thing at the front of the B bank head. The gasket there leaks, but more leaks are from the bolts. Remove those bolts, apply sealant to the threads and a copper washer under the heads. The holes are NOT blind, so the timing chain oil drips on the threads, it seeps out, and does its thing.
Some call that the "Jaguar built in rust prevention system", I dont, these engines are oil tight when done right, neglect is the root cause here.
I called back the vendor and both the spark plugs and spark plug wires were incorrect. Vendor said a newbie took the order yesterday and he is going to correct that.
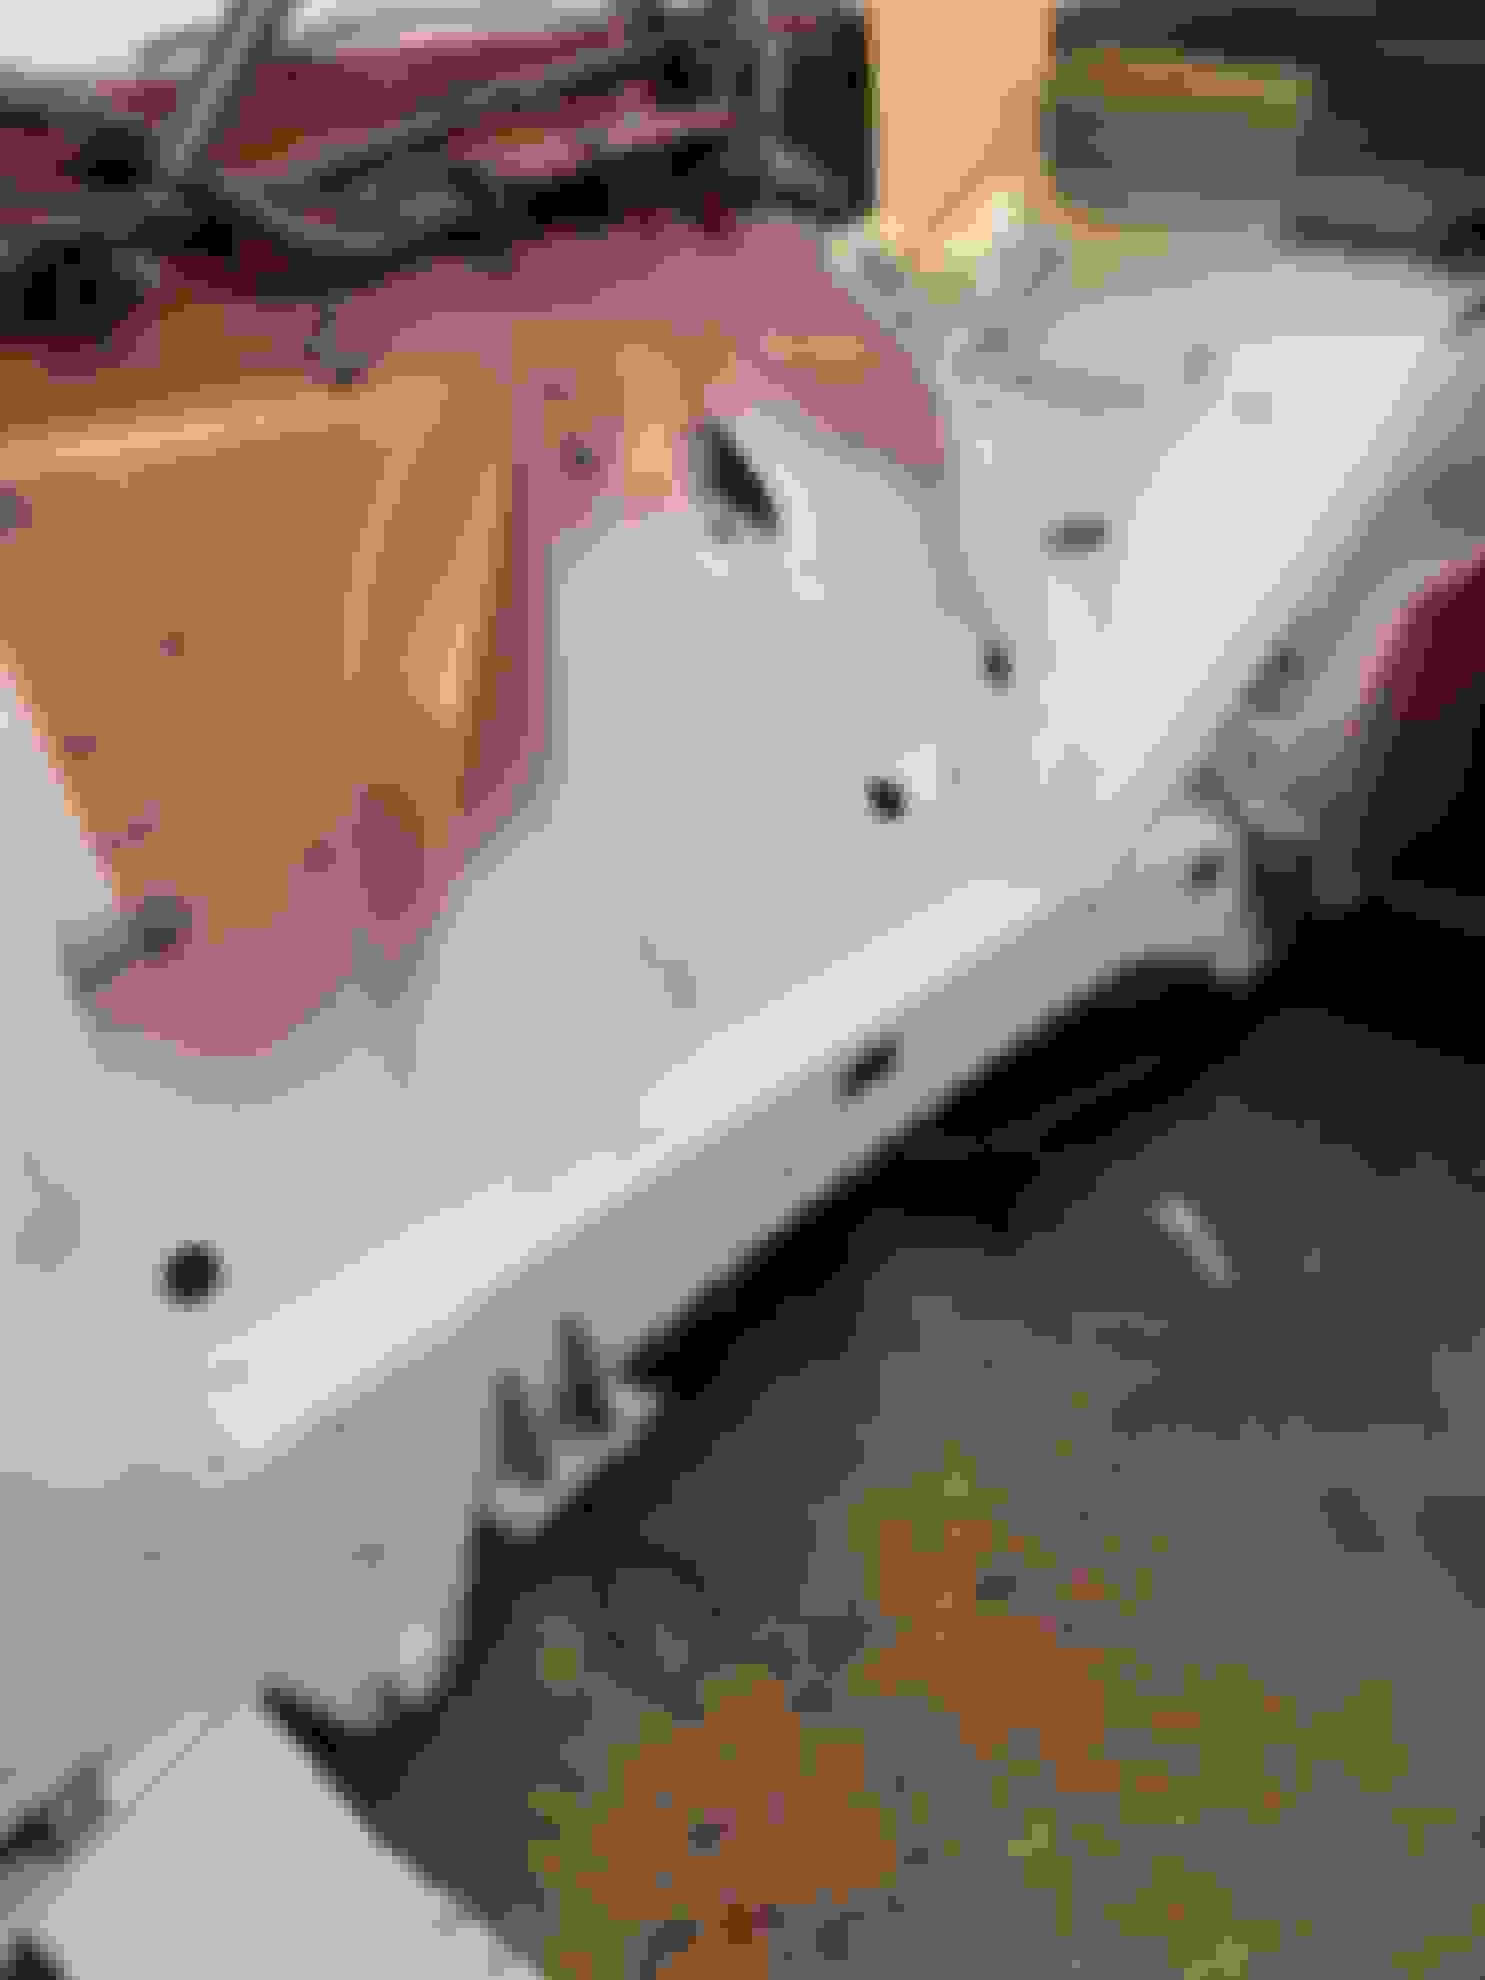
On the other hand, I spent over 7 hours cleaning the engine bay.
So far all I have done is the engine.
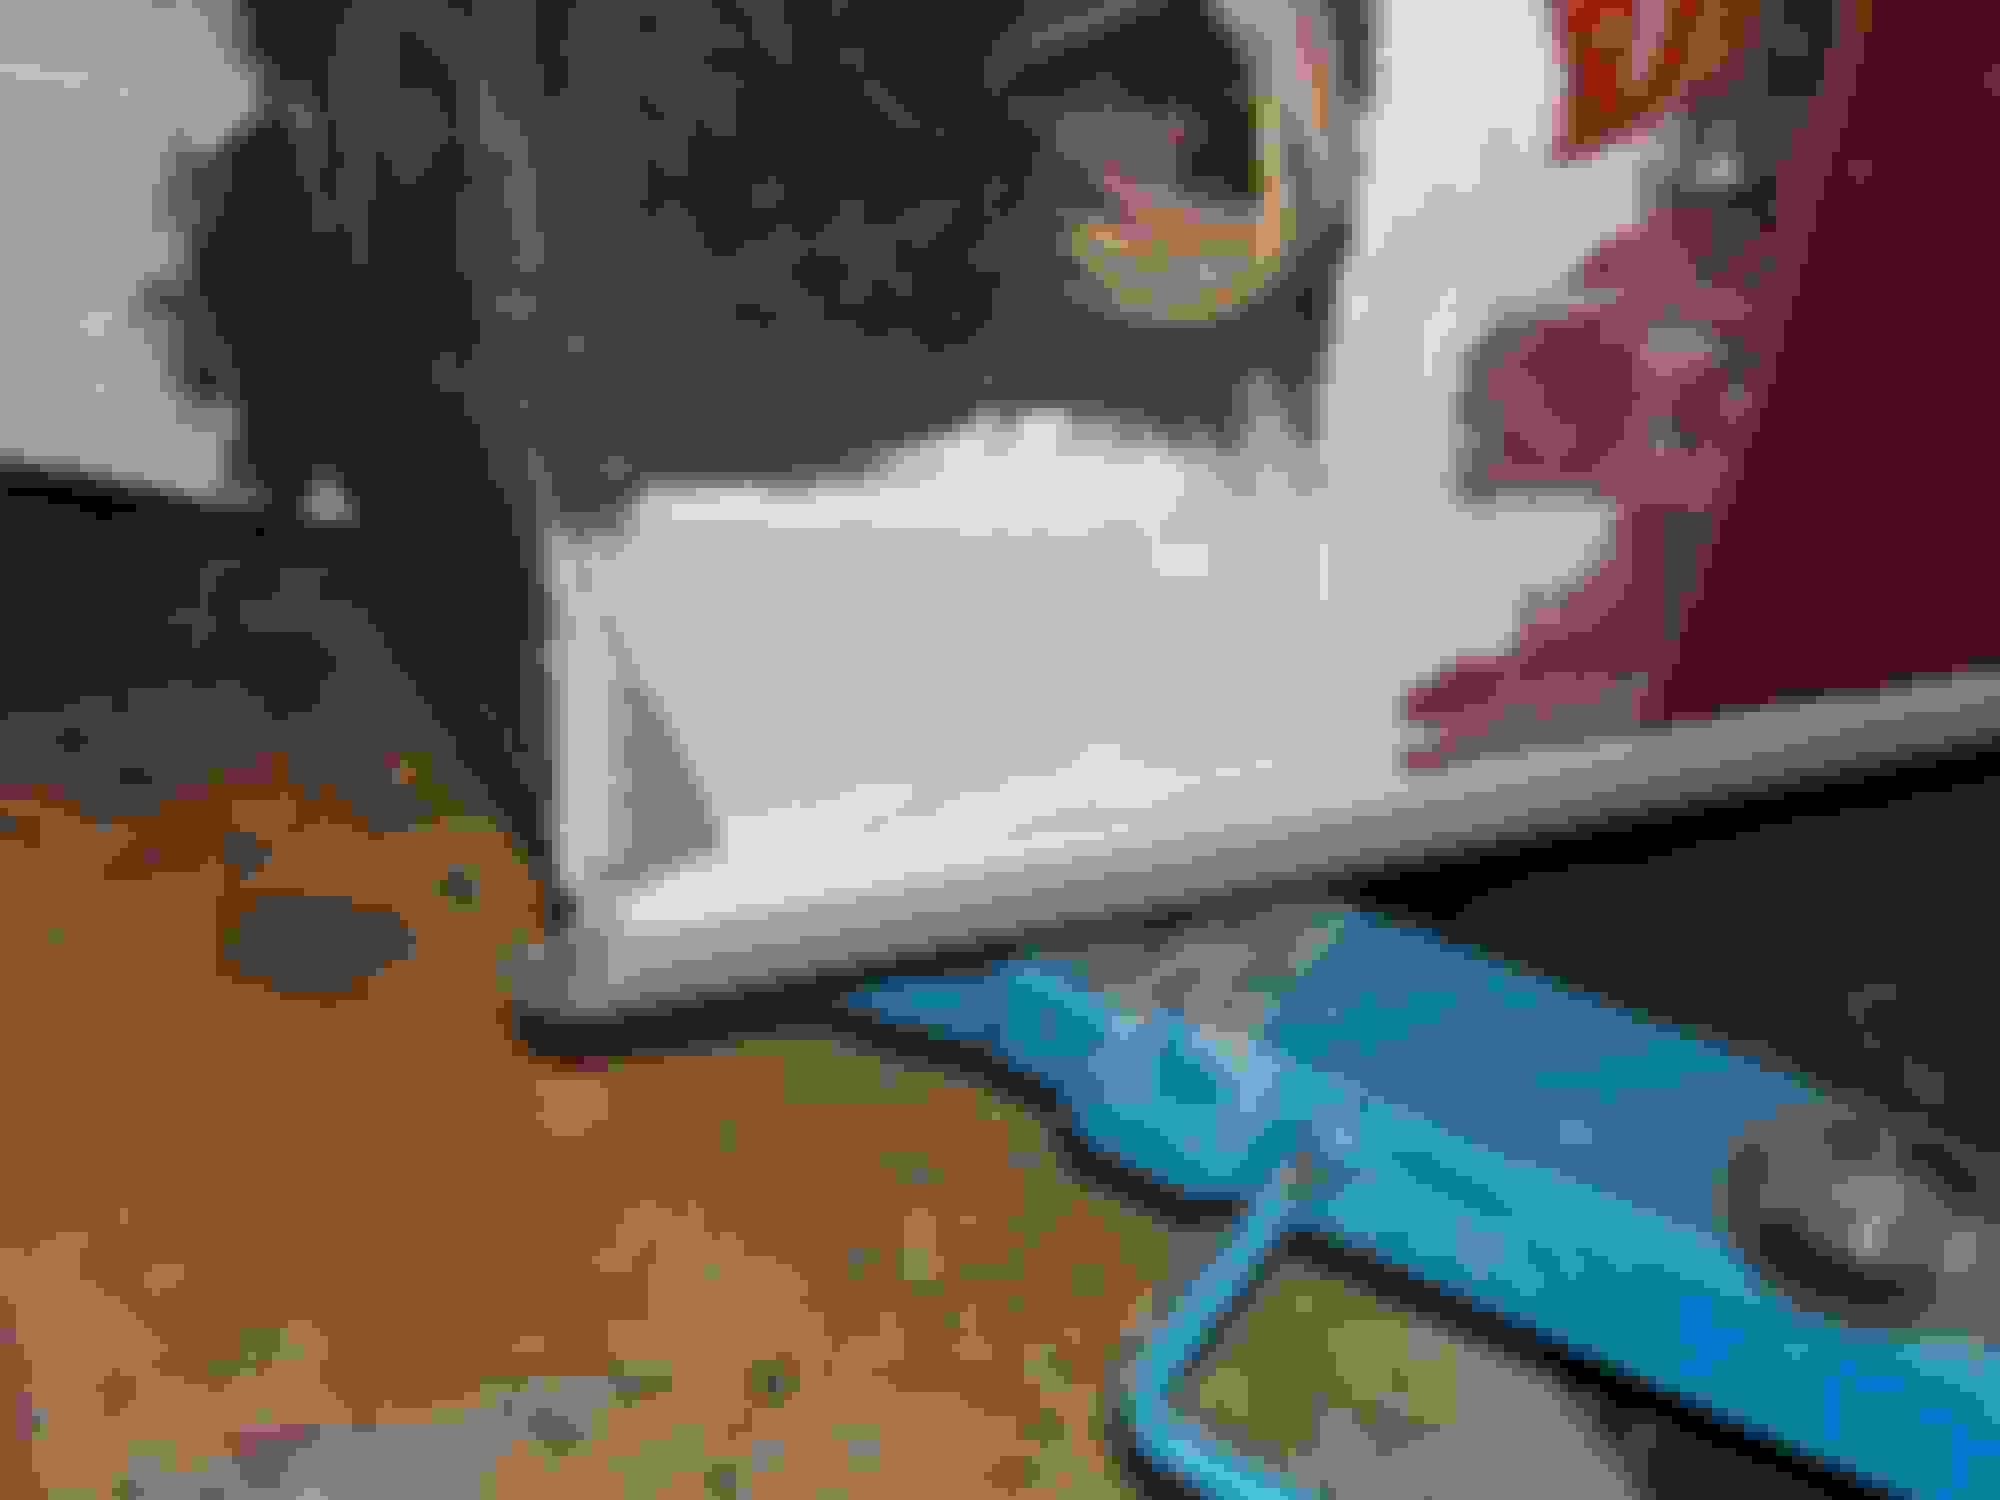
See attached photos from this to this Tools of the trade. Rather than use the commercial stuff. I thought that if DAWN removes baked on grease, it should work on the engine and biodegradable.
The DAWN Powerwash worked great. I soaked it for about 30 minutes then went to work with my scrapers and brushes.
I repeated the process 4 times and just used a spray bottle with hot water to rinse off the suds.
PB Blaster and an assortment of brass wire brushes( I lost a few small ones in the engine bay when I was using compressed air to dry out the V) did it's magic
Lots of work but I am very satisfied with the results
Yes. those fuel hoses are scary for sure. They are ALL being replaced. It would be a shame to lose the car to a fire after I made it look all pretty lol.
My 12 injectors will be shipped out to Jaguarfuelinjectorservice.com in Jacksonville, Florida tomorrow. (2 1/2 hours from my home).
I spoke with the owner this morning and he told me it will be a 2 day turn around.
He told me that if I sent him the fuel rail, he would assemble the whole shebang and return it to me ready to install on the car but..........
I purchased a kit and it has already been delivered to me.
Next, Intake manifolds out to refurbish the valve covers.
The engine bay will be cleaned when I remove the Intake Manifolds.
Make sure you keep loose items under control, remove all nuts and washers from the manifolds make sure nothing small is floating around before you remove the manifolds. Block off the open intakes before you start pulling the cam covers. If you can get airborne salt spray - or sand / dust - where you are make sure you have stuff to protect the exposed cams etc. If the tops will be off a while I'd recommend hitting the cams with bicycle chain lube and covering up the cams etc - large towel each side- I bought my cam covers already powder coated ahead of time but I have some heads in storage that I've treated this way and they are to date rust free. I'd trust Grants advice on putting the cam covers back on.
While you have the manifolds out check the inner wings in the area of the damper - the area should be flat - there should be no bulging or you have the same issue I did - it will be obvious without air cleaners and manifolds - I thought my car looked great till I started on Grant's list - I've suffered just a tiny bit of project creep.
Try to capture the fuel from the fuel rail, it will offer you some clue what condition it is in, it may be worth whacking the rails a few times before disconnecting to see if anything shakes loose internally. My rails were full of rust and what I can only describe as black sand, as were my fuel injector filters. Take the opportunity to blast some brake cleaner through the metal lines front to back mine were full of all kinds of nasty, or you can go down the length of the pipes and back flush them from the tank end if you don't want to disconnect both ends. I'm still considering replacing but I've no way to deal with the ends that are on the pipe and of course it is no longer available.
@ BenKenobi: Quote:"While you have the manifolds out check the inner wings in the area of the damper - the area should be flat - there should be no bulging". Please enlighten me more about this. I don't have a clue about this. If so, What is the fix?
I will definitely check out the fuel rail and take your recommendations about the fuel lines etc to heart.
Thanks.
You sure you are ready for this ... there are these components, you will see them behind the dampers behind the wheels.
Rust gets established in the gap behind these - in our climate at least, depends on your region, if you were up around Wisconsin / Illinois / Michigan type latitudes where salt is used on roads a lot then this is more likely - they use salt on the roads here and it is designed to stick to roads, it also sticks to cars though.
This causes the inner wings to bulge and eventually rot through. The only fix is to cut the bad out - which I have had to do. It isn't a show stopper by any means but it is challenging to fix with engine in situ and nigh impossible with the subframe in place depending on how far the damage goes but really I 'd recommend cutting till you reach good metal both in the wheel arch and the inner wing, I have since taken the engine out which I should have done from the beginning hence the last image.
Not tryiong to scare here - just check - this condition may not apply to your car - it all depends where it has lived.
No I did not use my damper mounts in the first image, they're made of unobtanium so I'm saving for a rainy day - or my convertible XJS when I figure out how to buy one without rendering myself bankrupt on the first XJS - I'm finishing one before getting another - may trade the SV8 for one though we shall see - may look for a pre HE instead - but the SV8 is a hard act to follow.
Sanchez
if you are lucky, it might just be the inner wing that needs welding, and the strengthener will be OK. Also, check the sill extensions under the rear part of the wing, behind the wheelarch stone baffle.
Finally, the OEM brake fluid reservoir on the pre ABS cars is a leaky piece of rubbish; the leaks, rather than fill spillage, are probably what caused Ben's paintwork problems. Best to fit something better. A few pics to help attached. Ensure you seam seal VERY thoroughly around the entire piece where the strengthener is against the wing panel.
I am in the process of making a new EFI harness using high temperature 16 gauge wire.
Does polarity matter at the at the injector or the injector does not care?
Thanks
They're polarity agnostic but keep it consistent as the ground (-VE) is what gets switched and there will be a number of splices to make - will be easy to lose track if you're not consistent. I used red for all 12V +VE and for each group of 3 injectors used a different colour (they are fired in threes).
Thanks for that. I have 10 different colors of wire, each 10' long. I will color code each group.
I should have the injectors back sometime mid week. Valve Cover and Intake Manifold Gaskets should be here on Tuesday together with the Spark Plugs, Wires, Cap and Rotor.
I have put everything on hold until I have all the parts I ordered.
In the meantime, I am doing some work on the 88 H&E.
Installed my seats and Center Console Rear Scuttle. Just put in place. Not affixed to car yet. Waiting on the proper color dye.
This was blue. I had some Sandstone color dye, so I used it as a base.
Update:
I ordered some parts from one of the Jaguar parts providers here and as stated in my earlier post, the vendor told me that they were going to send me the correct plugs.
Parts arrived today and they sent me 9 BR7EFS and 3 BR7EF.
I called them back and told them about the different Spark Plugs and they said that they would get back to me but they never did.
Research says that BR7EFS can be used and gapped at 0.25. No mention of BR7EF( these are V power plugs)
What say the gurus out there?
Even though the Injectors were clicking and the resistance of each one was the same 2.7 ohms,(isn't this a little high) I sent the injectors to get them serviced at Jaguar Fuel Injector Service in Jacksonville. FL. Should have them back by the end of the week. They claim a 2 day turnaround.
I also made a new injector harness.
Tomorrow, I will be eliminating the Supplemental Air Injection System. new harness with plugs
BR7EFS plugs are what I have always used. gapped to 25 thou, as you say. Car looks to be coming in really well, I do admire your thoroughness, it's the only way to get these cars right and to stay right.
 09-14-2021, 03:27 PM