When you click on links to various merchants on this site and make a purchase, this can result in this site earning a commission. Affiliate programs and affiliations include, but are not limited to, the eBay Partner Network.
Duke. Being a fellow Kiwi I’m kind of enthralled at what your doing. I just read your thread. I had a WOF before lock down and the drongo inspector told me all good but there maybe, yes maybe, not bloody definite, leak of oil from the mechanical seal between diff and inboard break disc, I have had a look, a little wet but certainly not dripping. I mentioned on the blog and was advised it’s a cage out job. Sh.t I thought. Now seeing what you have been doing I think I’ll just spray some more disc cleaner around the area. Well done, bloody proud of you. I’m too old to do what you’ve done but whatever you have given me a fair idea idea of what’s required and I have a lazy smart Aircraft Engineer of a son who has a 2 stand lifter but he runs away when I suggest he gets his Mazda Rotary he had up in the air for a year off so he can help. Otherwise Archibald’s in Chch will suck a few bucks off me. I’ll think I’ll sell, she’s perfect other than WOF guys comment.
Well done man you should be proud and so should the missus.
Thanks Mike.. nice to know more NZ XJS owners.
Yea.. I struggle to get my sons to help, but they do when the alternative is sleeping outside!
Lazy *****....
To be fair... it has not been a hard job, seems worse than it is.
Dropping the cage is a pain if the car is on the ground...
If you can get everything at bench height to clean and paint etc - life is good, and a bench is a place to rest your beer!
Once everything is clean - the rest is fun until it has to go back up...
Bugger - Grant - your reply came in to late.
I decided to do the reverse of what I had done to pull this thing apart.
But wishbones first - made sense..... it sounded logical... but.. it was sooooooo much easier taking the calipers on and off without the wish bones.
Easy as to get to the bolts.
I have been told.... do not touch the wishbones... so time will educate me I am sure about putting them back together ...
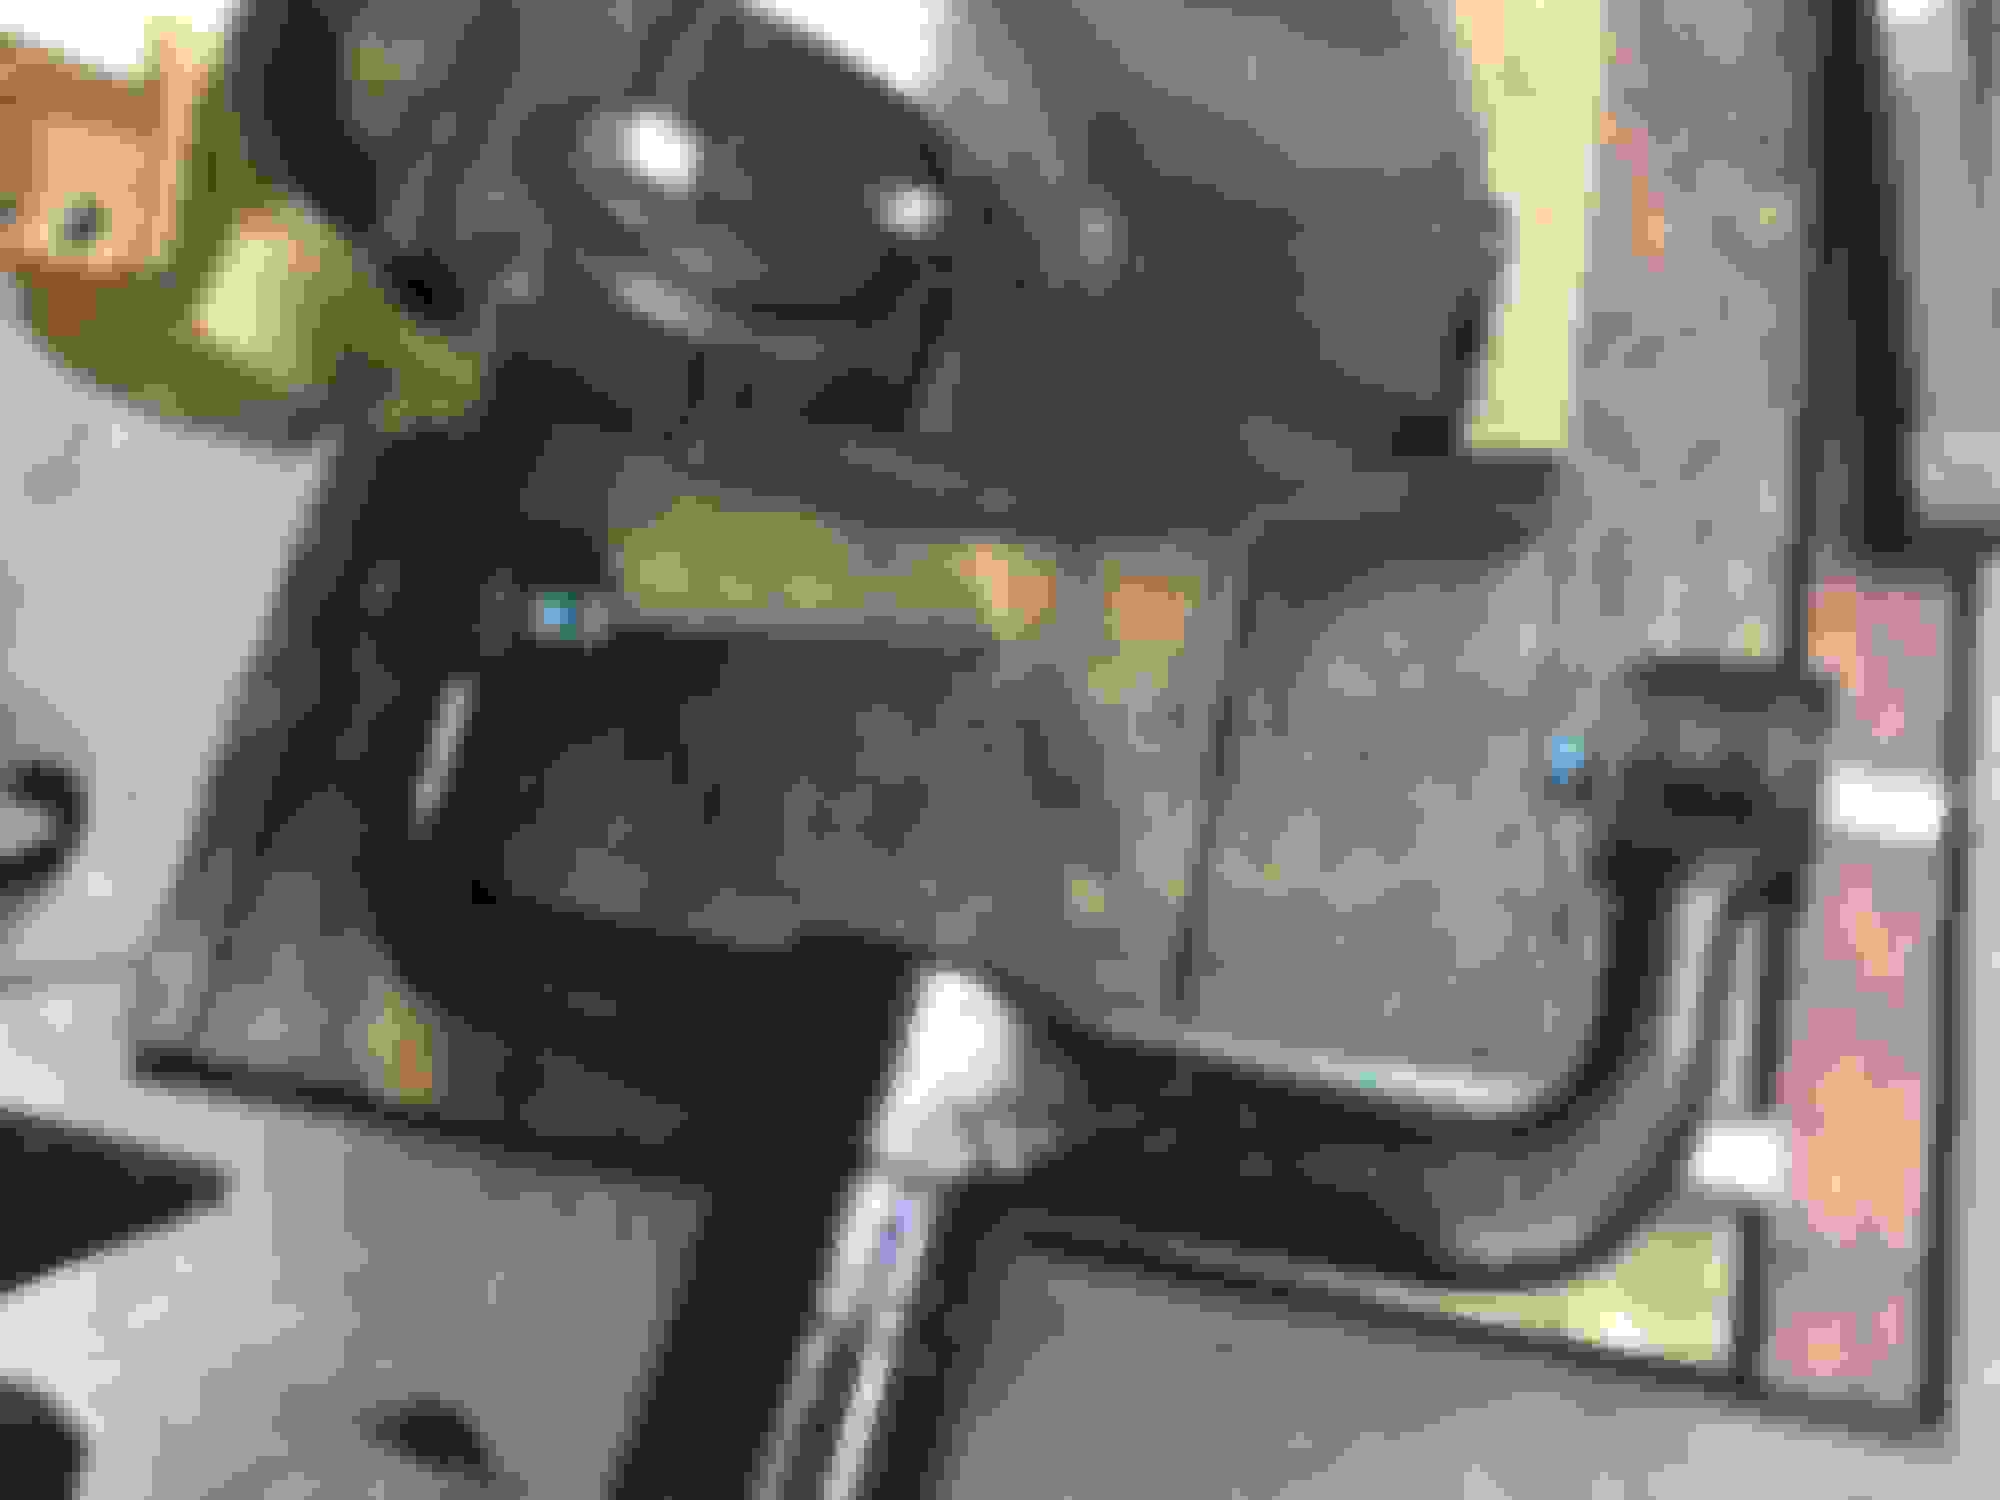
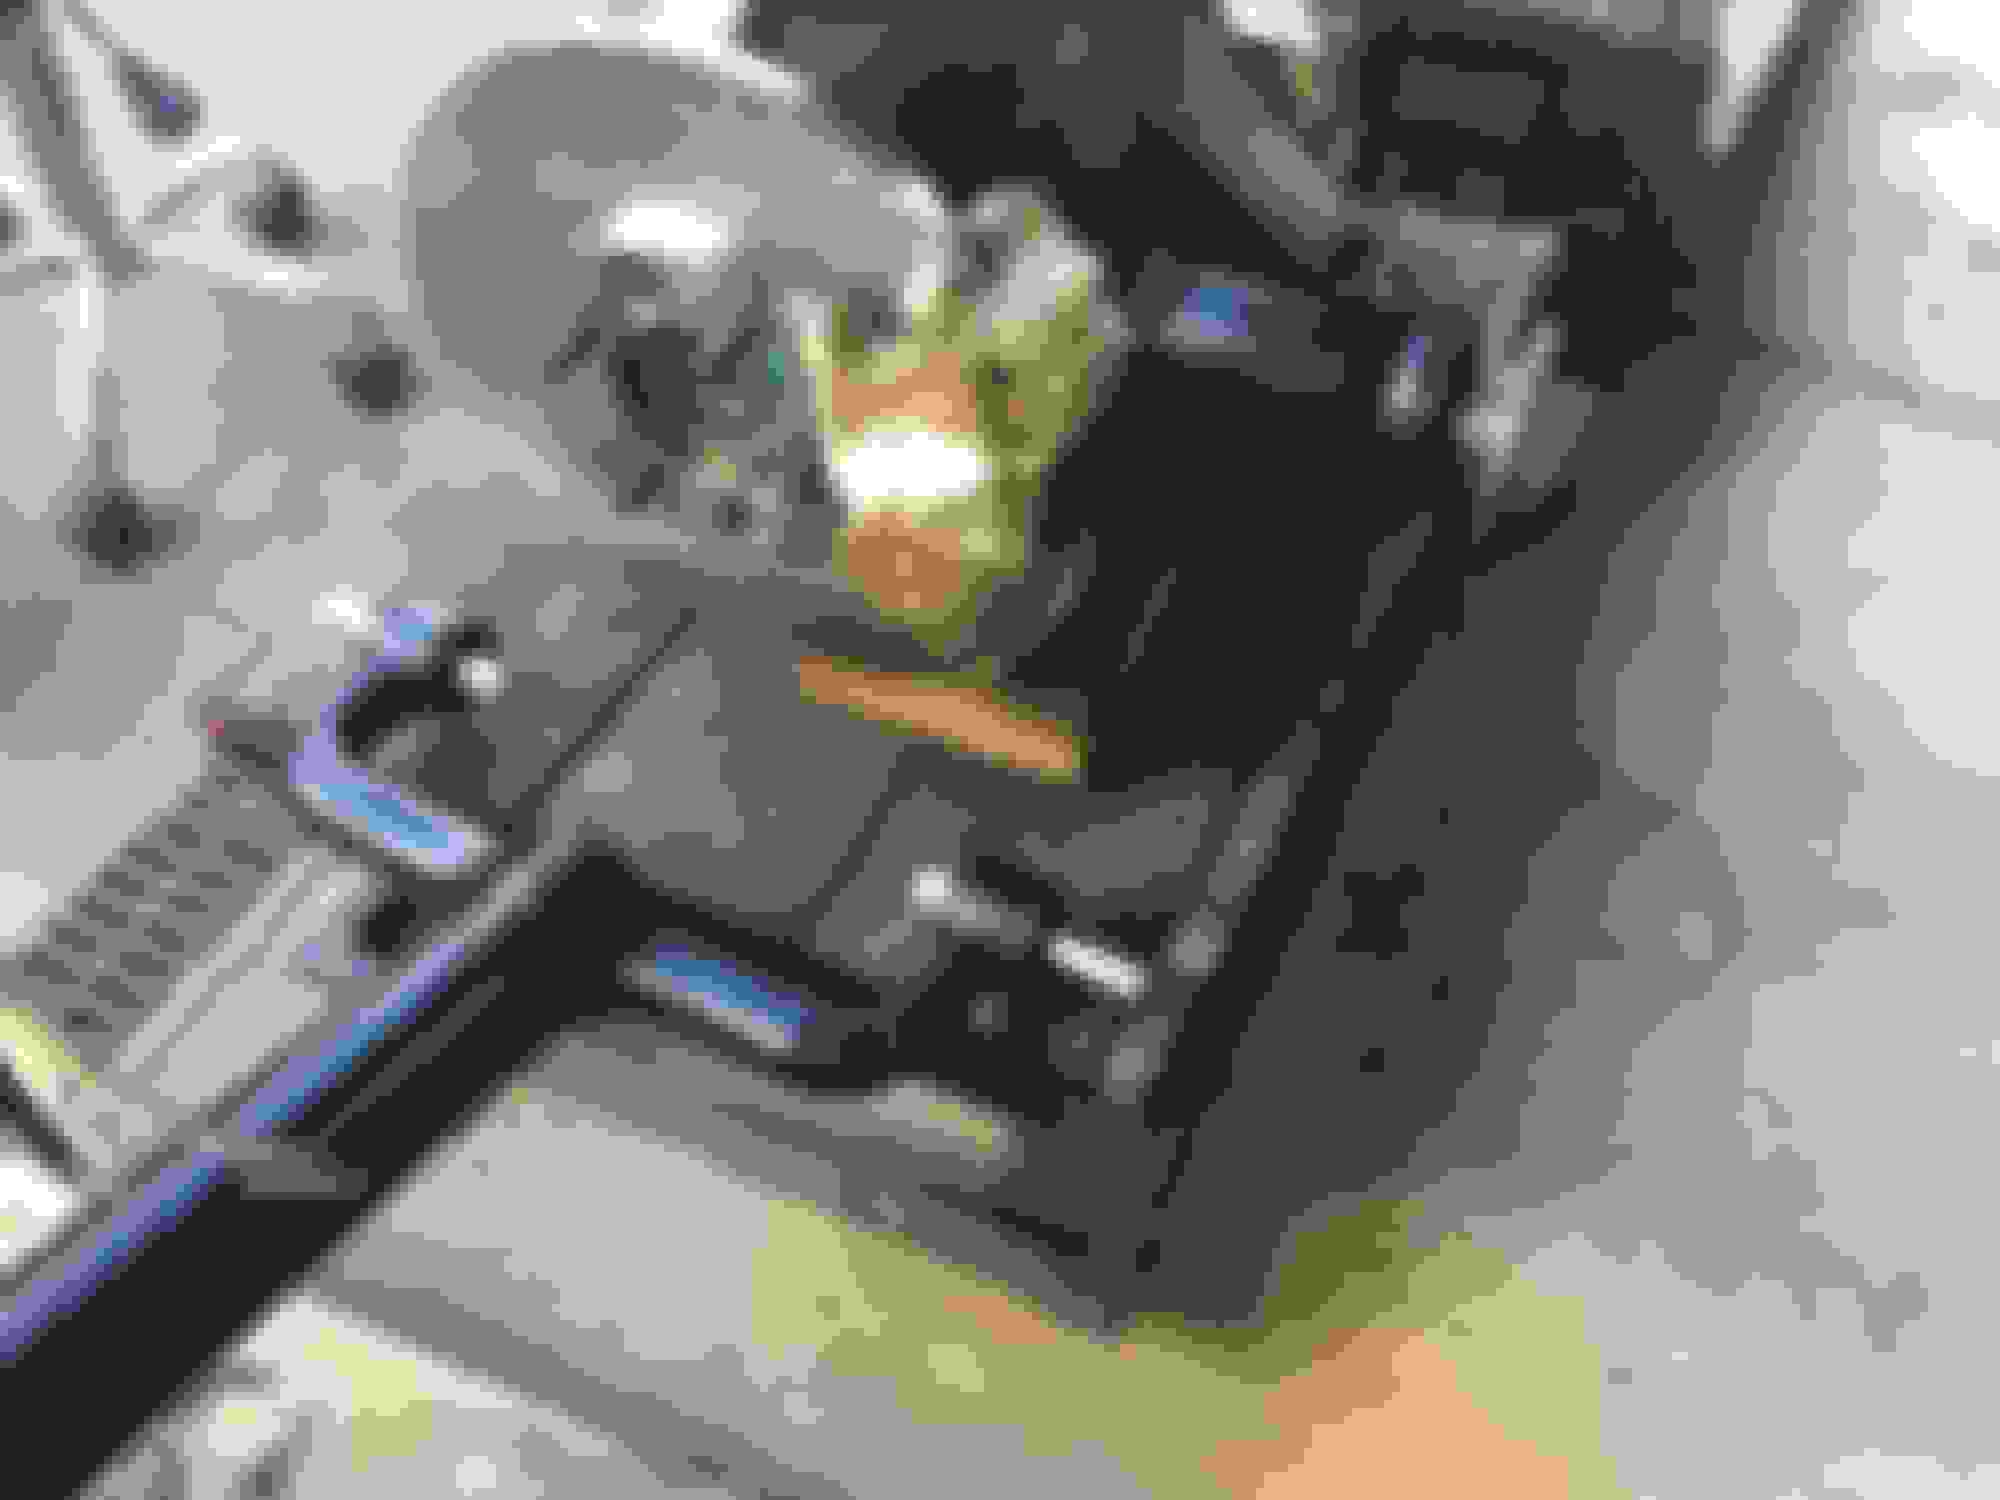
So I have bolted on the calipers... one twice, one once!
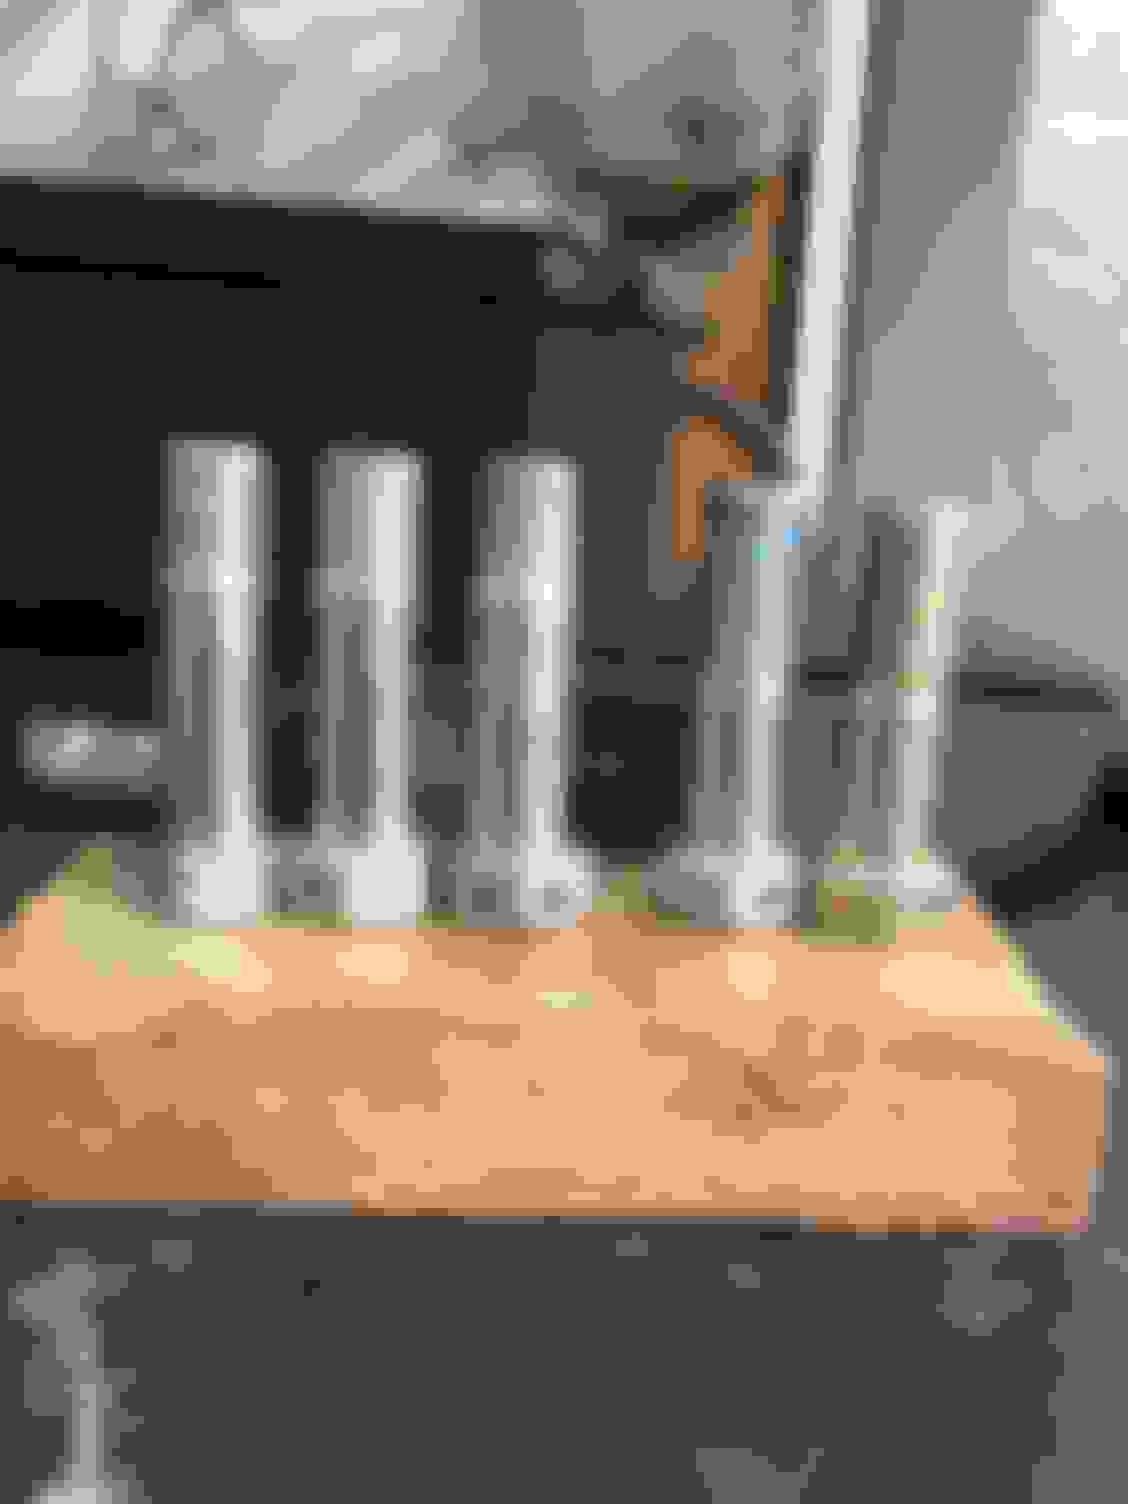
One was bolted up and this... WTF.... ****. I had to remove the bolts to find out what I had installed...
Yep - two new bolts...
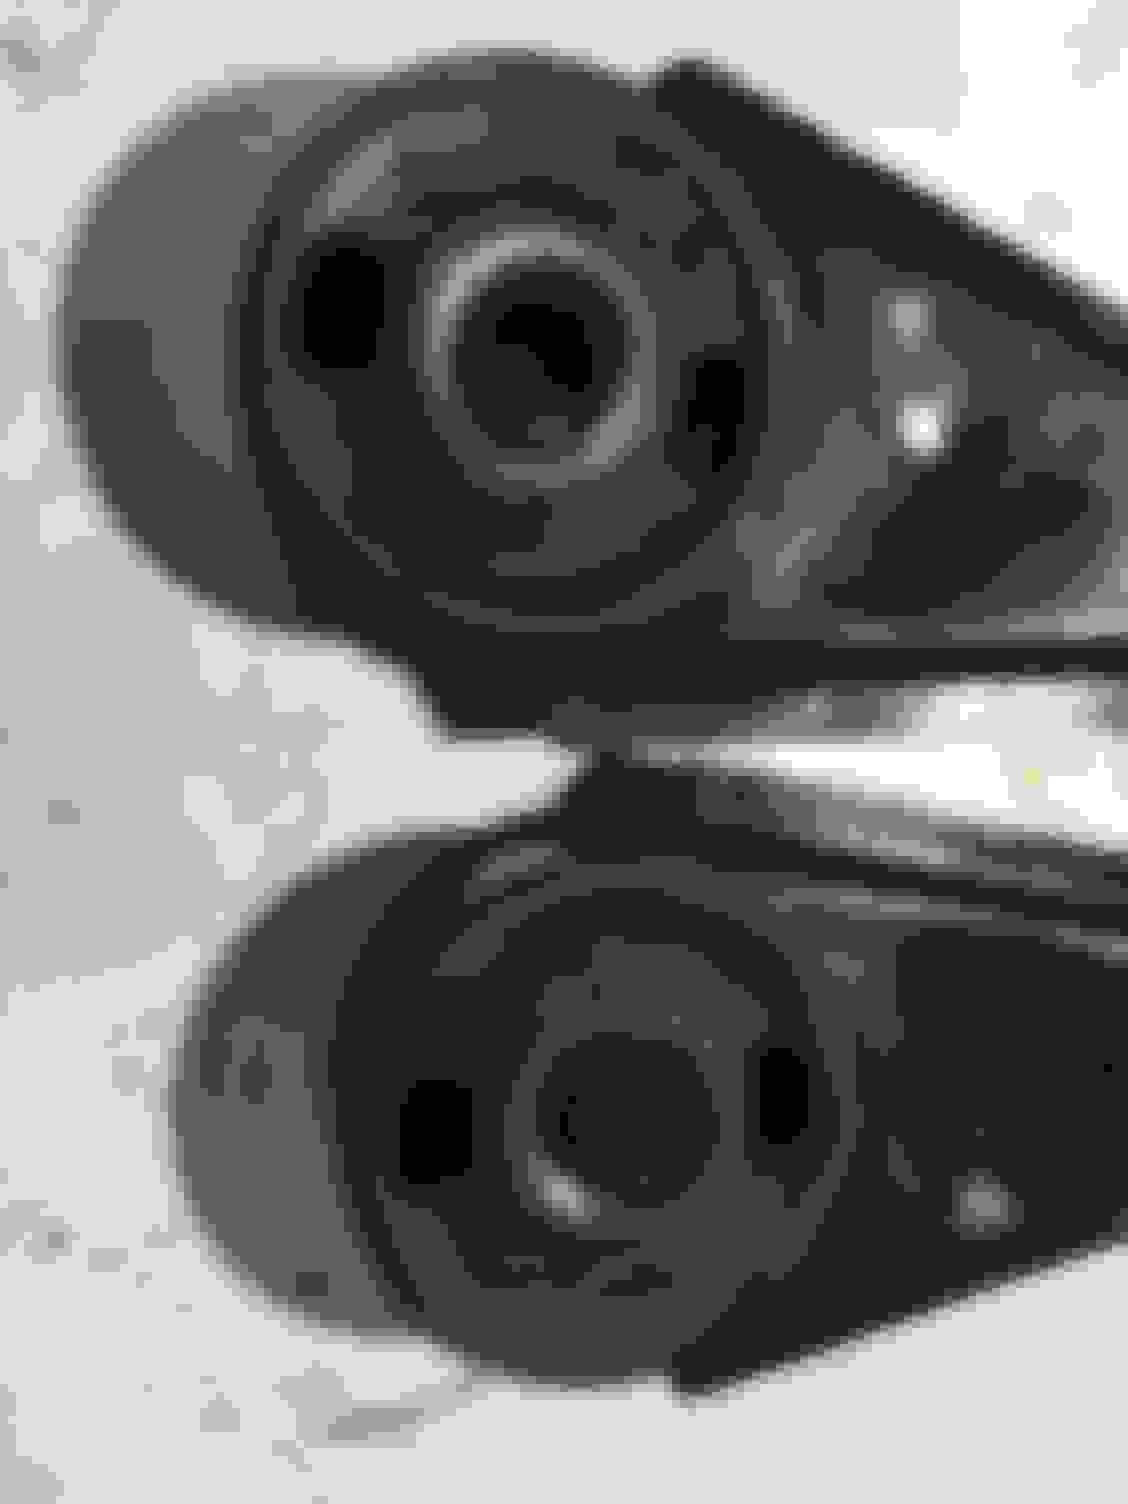
I measured everything up and both are ok.
I screwed in the bolt and measured the clearance.
There is a reassess in the thread for the bolt to locate, add a spring washer and the space when the bolt is tightened is 22.5mm for the caliper.
The caliper thickness was about 24mm - so your good to go.
Duke
Have you had those dogbone castings off? If so they will very likely need reshimming to get decent alignment with the cage. Even if not, as the diff is out of the cage it will almost certainly mean slightly different alignment.
If so, the trial fitting of the lower wishbones involves much labour and it is essential to have the best possible access. I strongly caution you to remove the discs and calipers, fit the diff to the cage on its own and do the wishbones first. For sure pull the discs off or they foul the wishbone when you need to pull it upwards out of the way.
Looks a great job on the axle generally though! 10 mins unbolting the calipers will save you hours of grief.
Last edited by Greg in France; 10-03-2021 at 01:25 AM.
Duke. Being a fellow Kiwi I�m kind of enthralled at what your doing. I just read your thread. I had a WOF before lock down and the drongo inspector told me all good but there maybe, yes maybe, not bloody definite, leak of oil from the mechanical seal between diff and inboard break disc, I have had a look, a little wet but certainly not dripping. I mentioned on the blog and was advised it�s a cage out job. Sh.t I thought. Now seeing what you have been doing I think I�ll just spray some more disc cleaner around the area. Well done, bloody proud of you. I�m too old to do what you�ve done but whatever you have given me a fair idea idea of what�s required and I have a lazy smart Aircraft Engineer of a son who has a 2 stand lifter but he runs away when I suggest he gets his Mazda Rotary he had up in the air for a year off so he can help. Otherwise Archibald�s in Chch will suck a few bucks off me. I�ll think I�ll sell, she�s perfect other than WOF guys comment.
Well done man you should be proud and so should the missus.
Mike in Blenheim
Mike,
BEFORE you get all warm and fuzzy with that cradle.
Drop and refill the diff with FRESH oil. That fixed 3 of mine 100%.
Remove HAHAHA, the diff breather and clean it, they do clog up, and the pressure inside causes those seals to WEEP. Done that to all mine, and they were all sad.
Wash that area well, and look again in a few weeks, probably dry as.
You beauty, thanks Greg. I�ll make the son an offer he can�t refuse to get that bloody Rotary Mazda of his off the lifter in his work shop. I paid half the cost of the dam lifter he bought 5 years ago and I haven�t used it yet. He has a small farm 50km away. Dam sight cheaper than going to Jag people in Chch.
Duke
Have you had those dogbone castings off? If so they will very likely need reshimming to get decent alignment with the cage. Even if not, as the diff is out of the cage it will almost certainly mean slightly different alignment.
If so, the trial fitting of the lower wishbones involves much labour and it is essential to have the best possible access. I strongly caution you to remove the discs and calipers, fit the diff to the cage on its own and do the wishbones first. For sure pull the discs off or they foul the wishbone when you need to pull it upwards out of the way.
Looks a great job on the axle generally though! 10 mins unbolting the calipers will save you hours of grief.
Have you had those dogbone castings off? - Nope - never touched them, they are still lock wired nice and tight.
10 mins unbolting the calipers will save you hours of grief - As I thought...
If so, the trial fitting of the lower wishbones involves much labour and it is essential to have the best possible access. I strongly caution you to remove the discs and calipers, fit the diff to the cage on its own and do the wishbones first. For sure pull the discs off or they foul the wishbone when you need to pull it upwards out of the way. - OK
I took the cage of with everything connected and was planning the same...
thanks for the help...
We are in lock down week 8... I think....
Worst Government ever... so bad.... slowest in the developed world to roll out the vaccine..... they say we will be locked up until Christmas................and we are heading in to summer holidays..
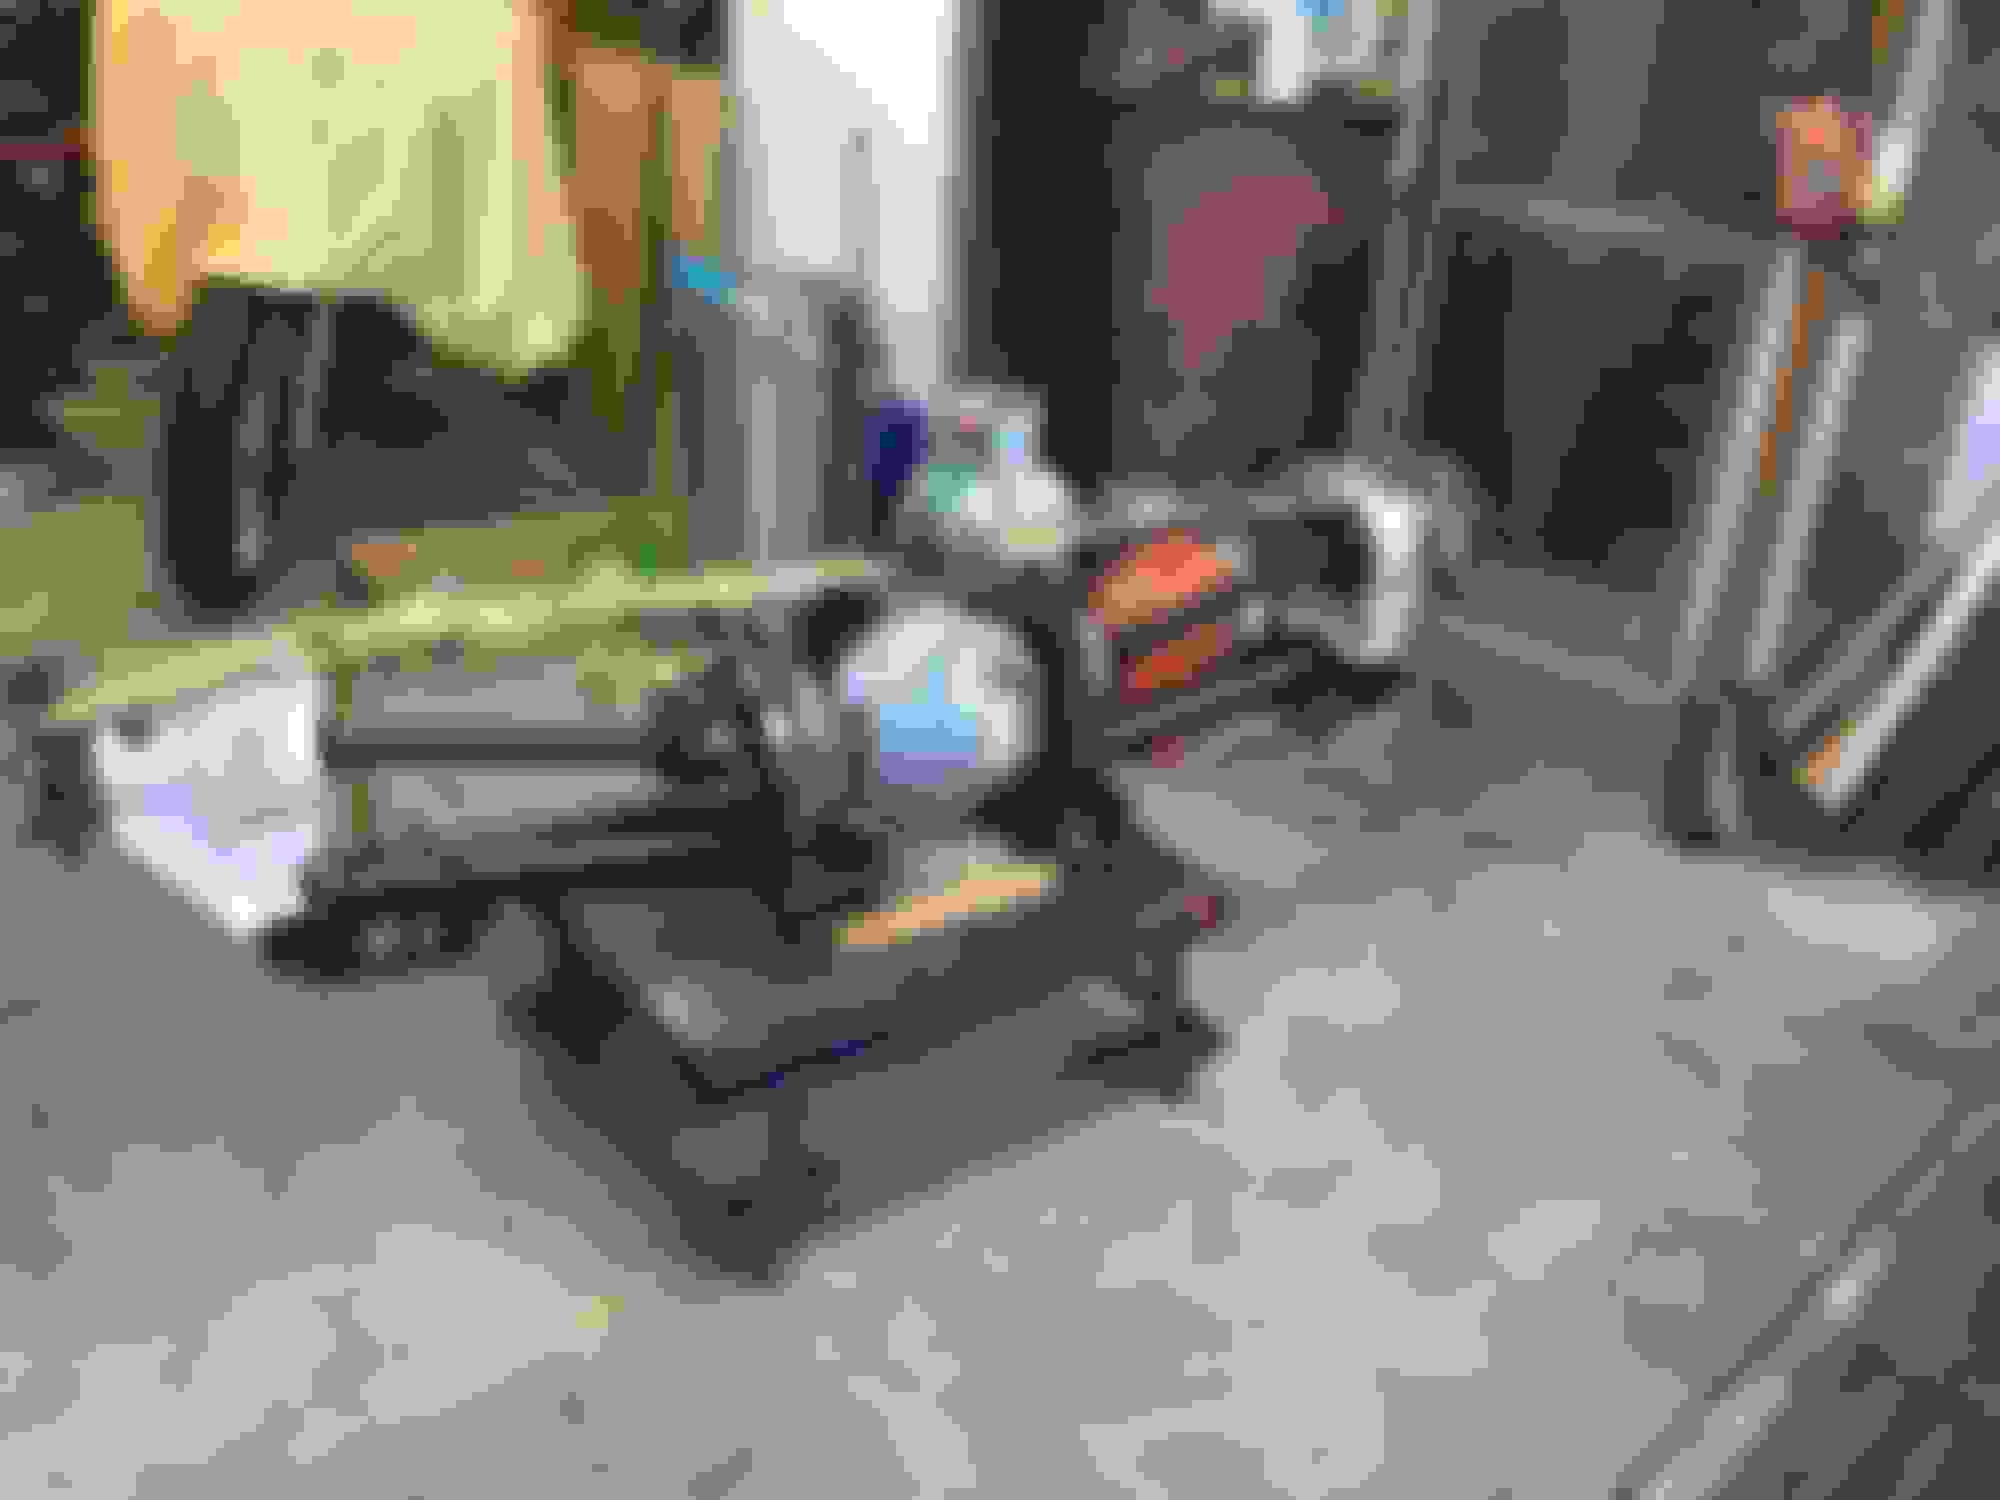
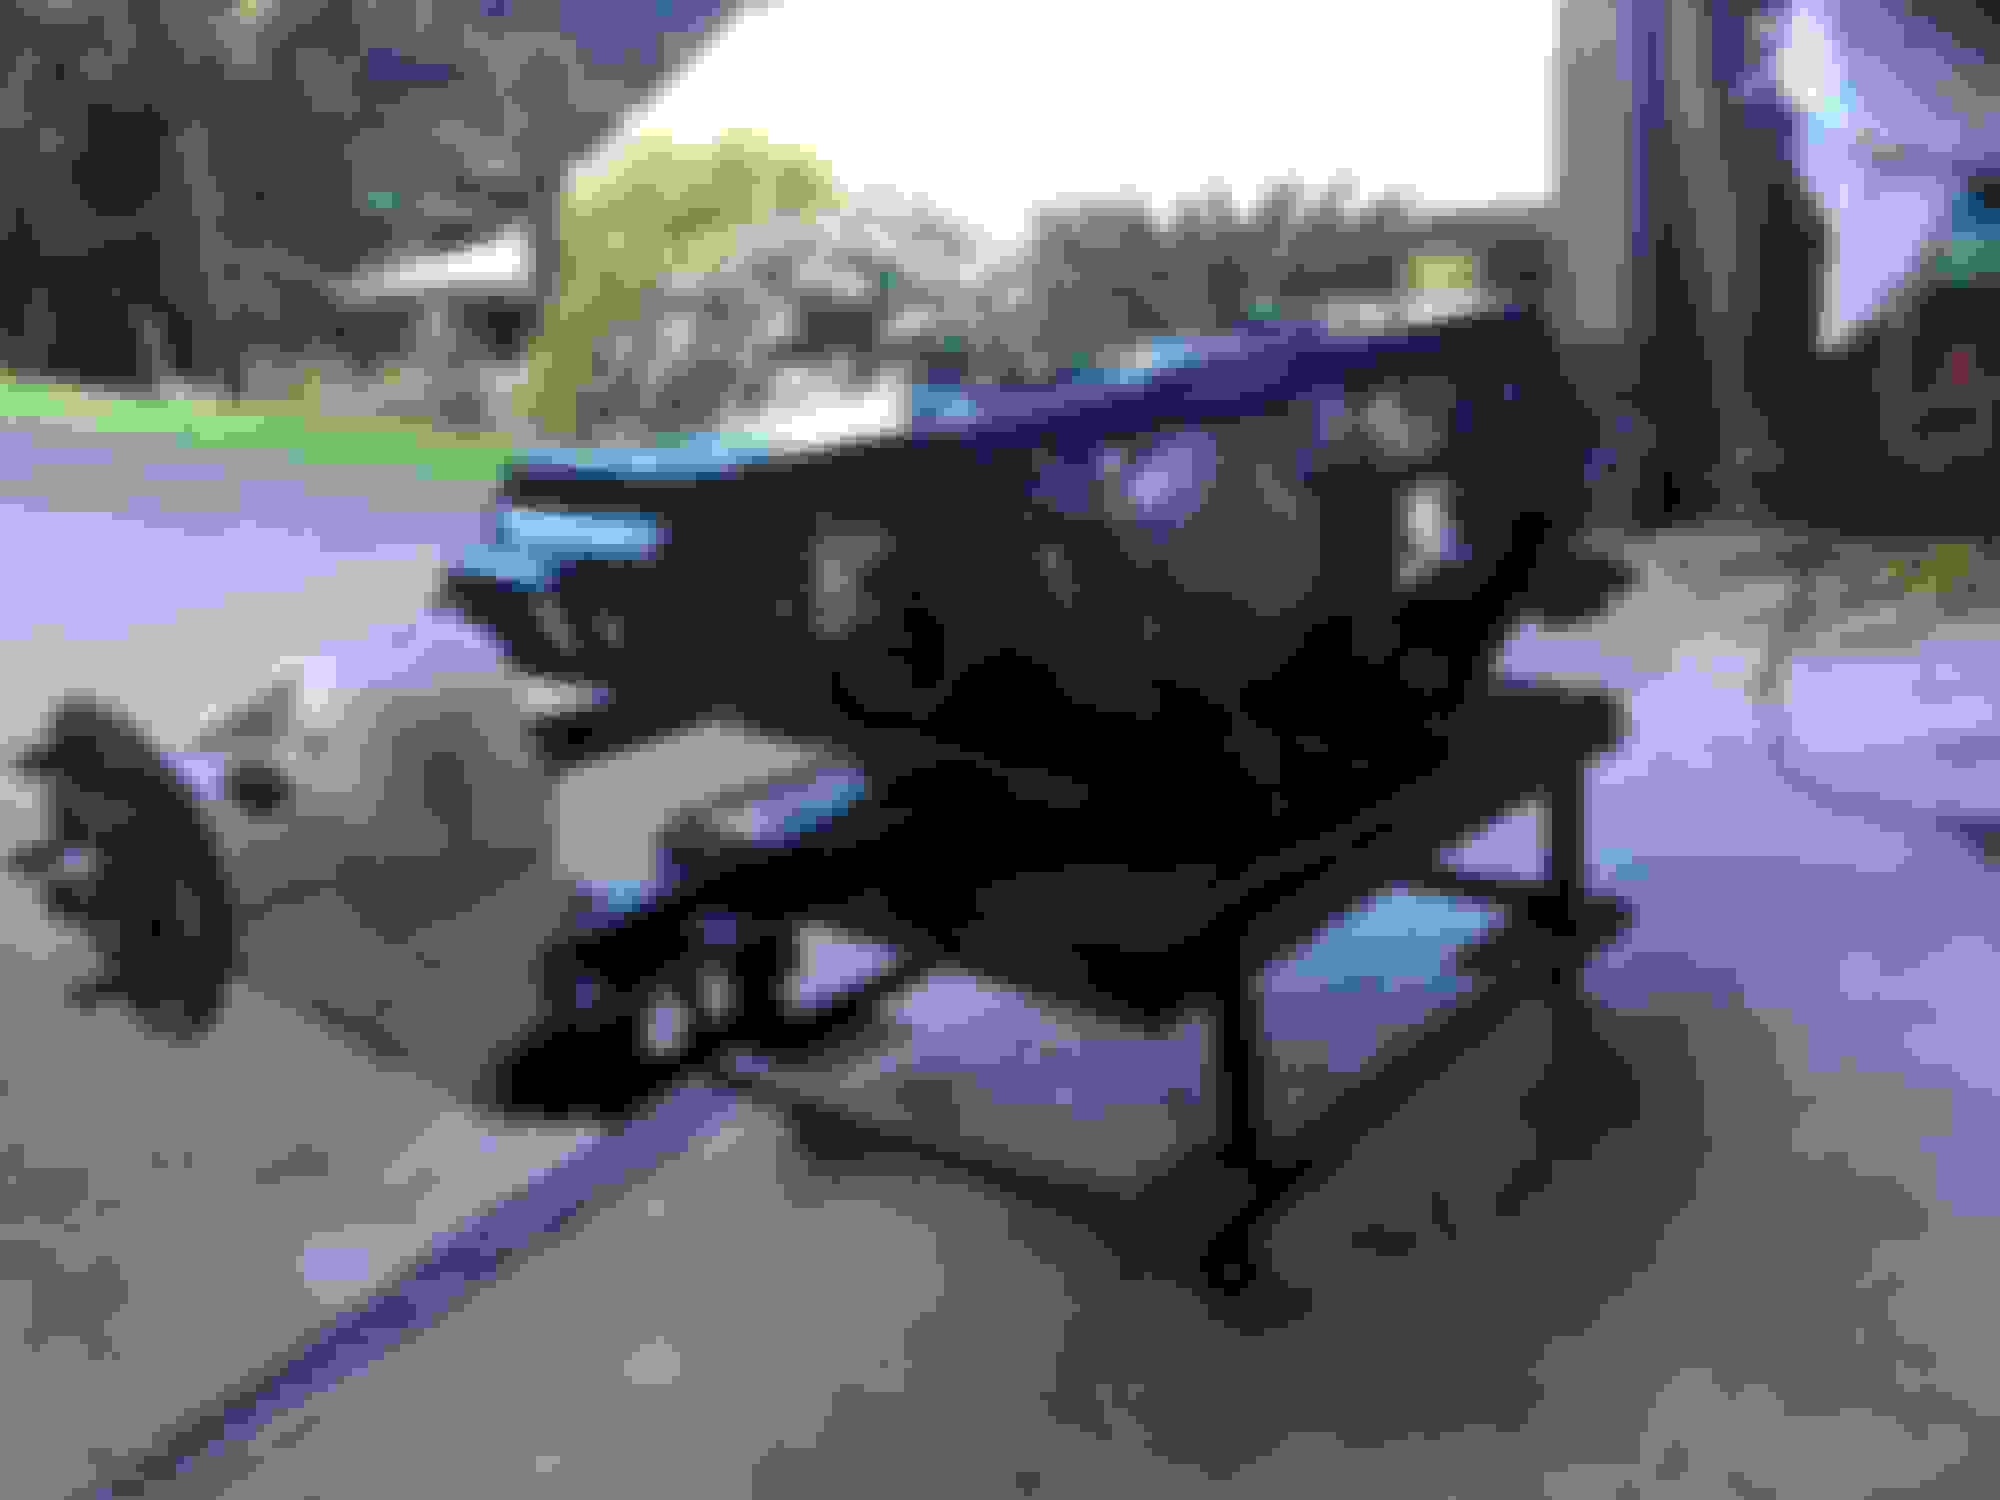
It was a nice day at home so I thought I would work on the cage.
Just checking to see how easy it is to fit the cage
Cage off... make sure the holes are nice and clean, no paint to cause problems and everything slides easy.
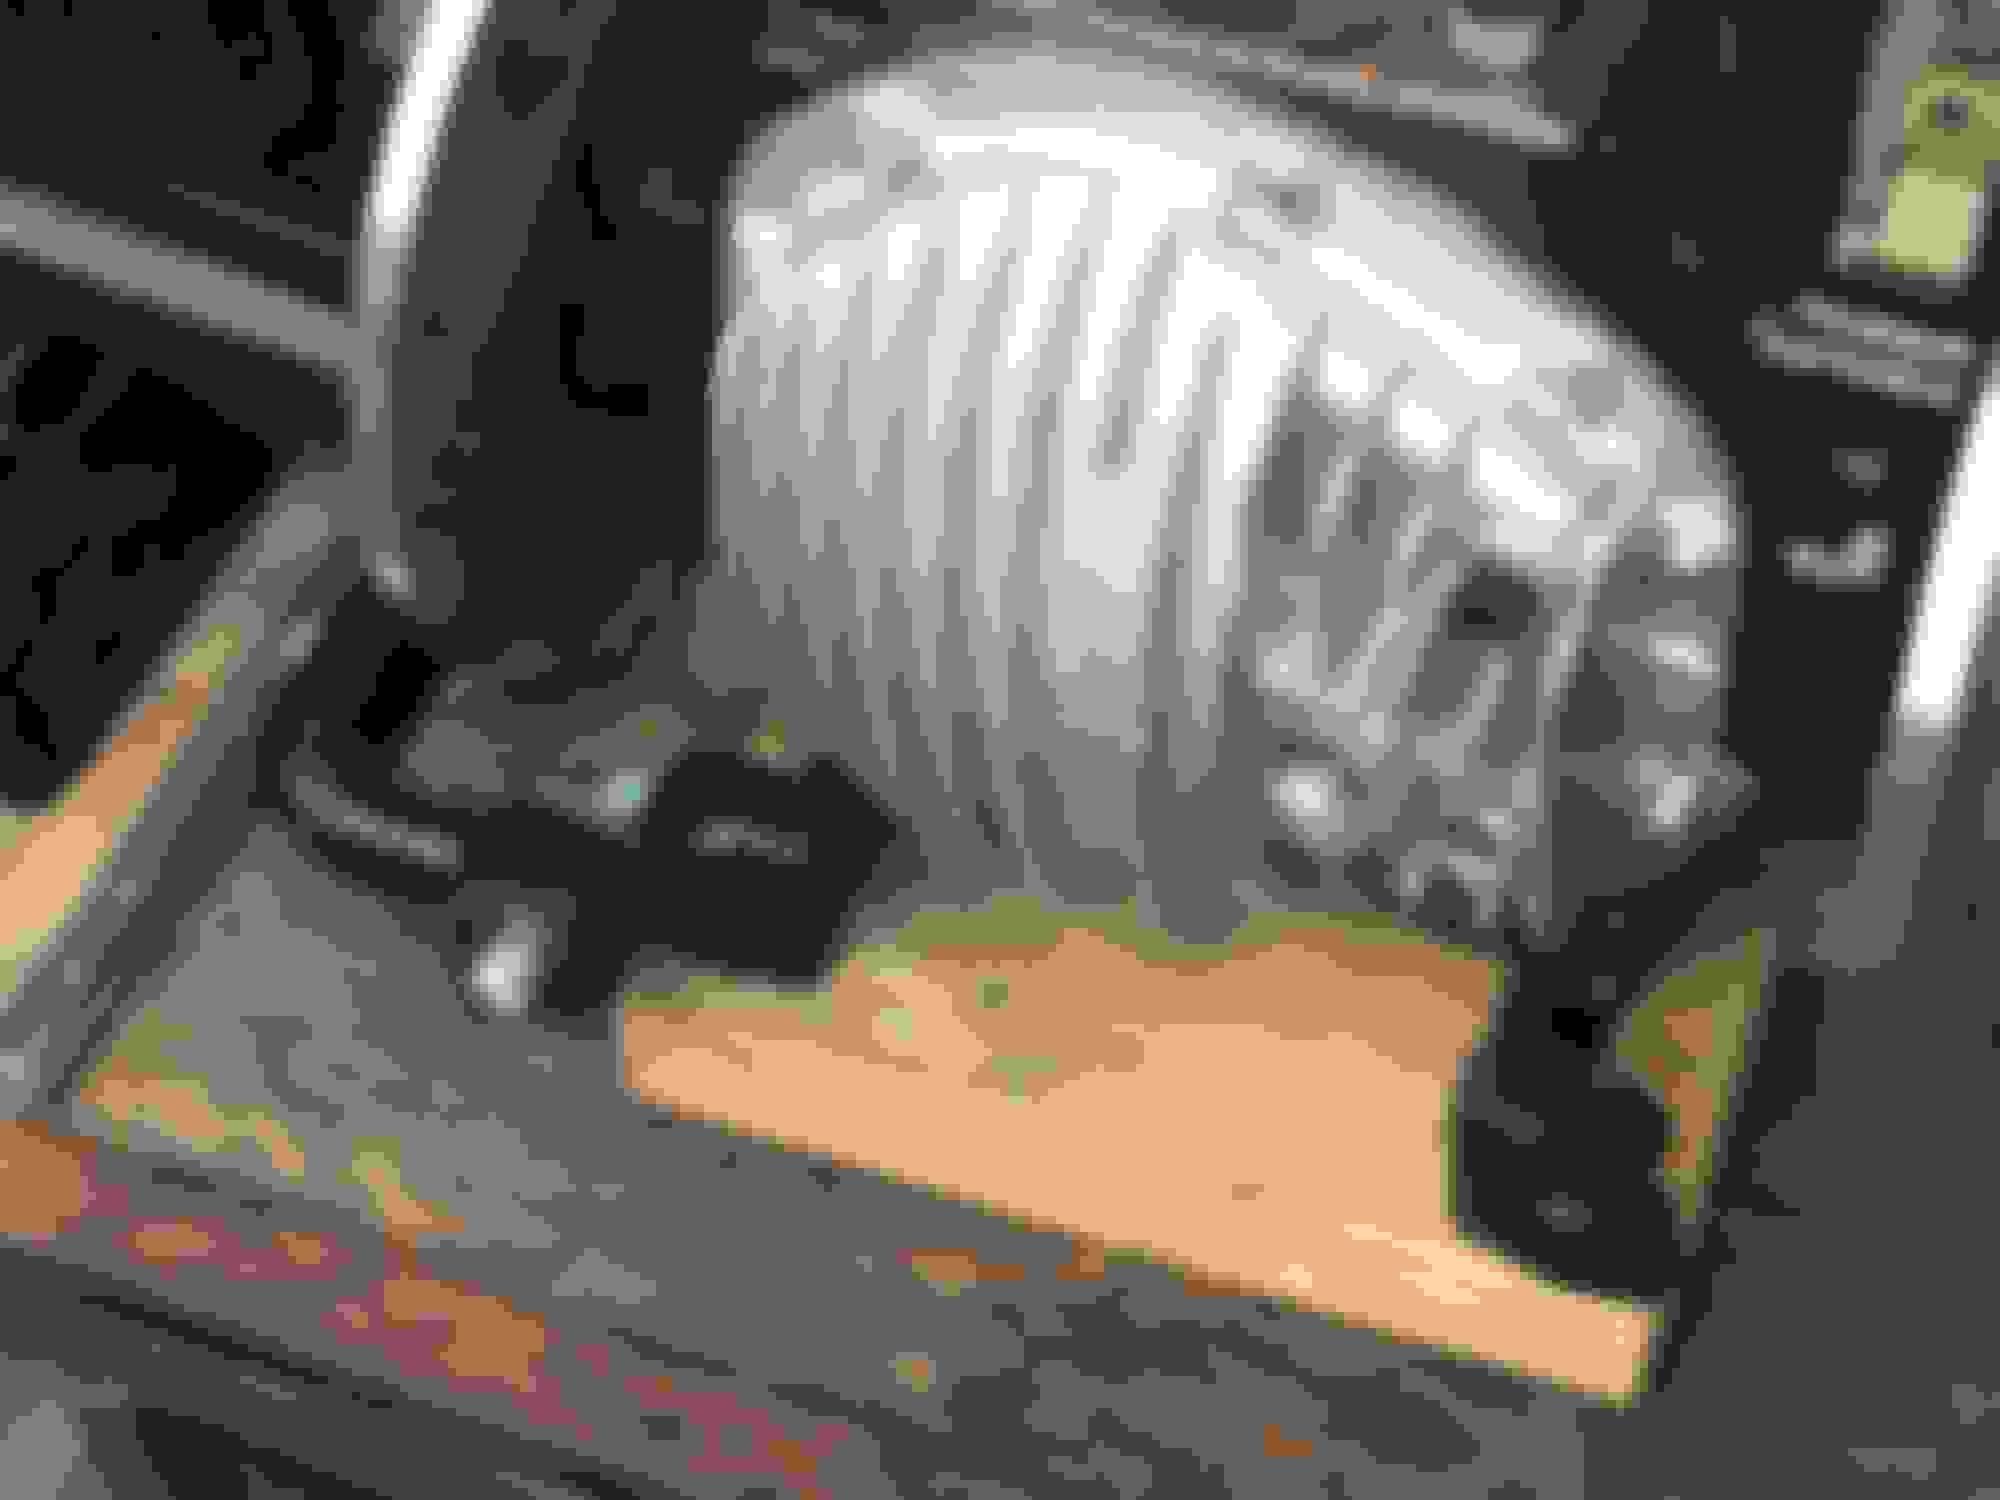
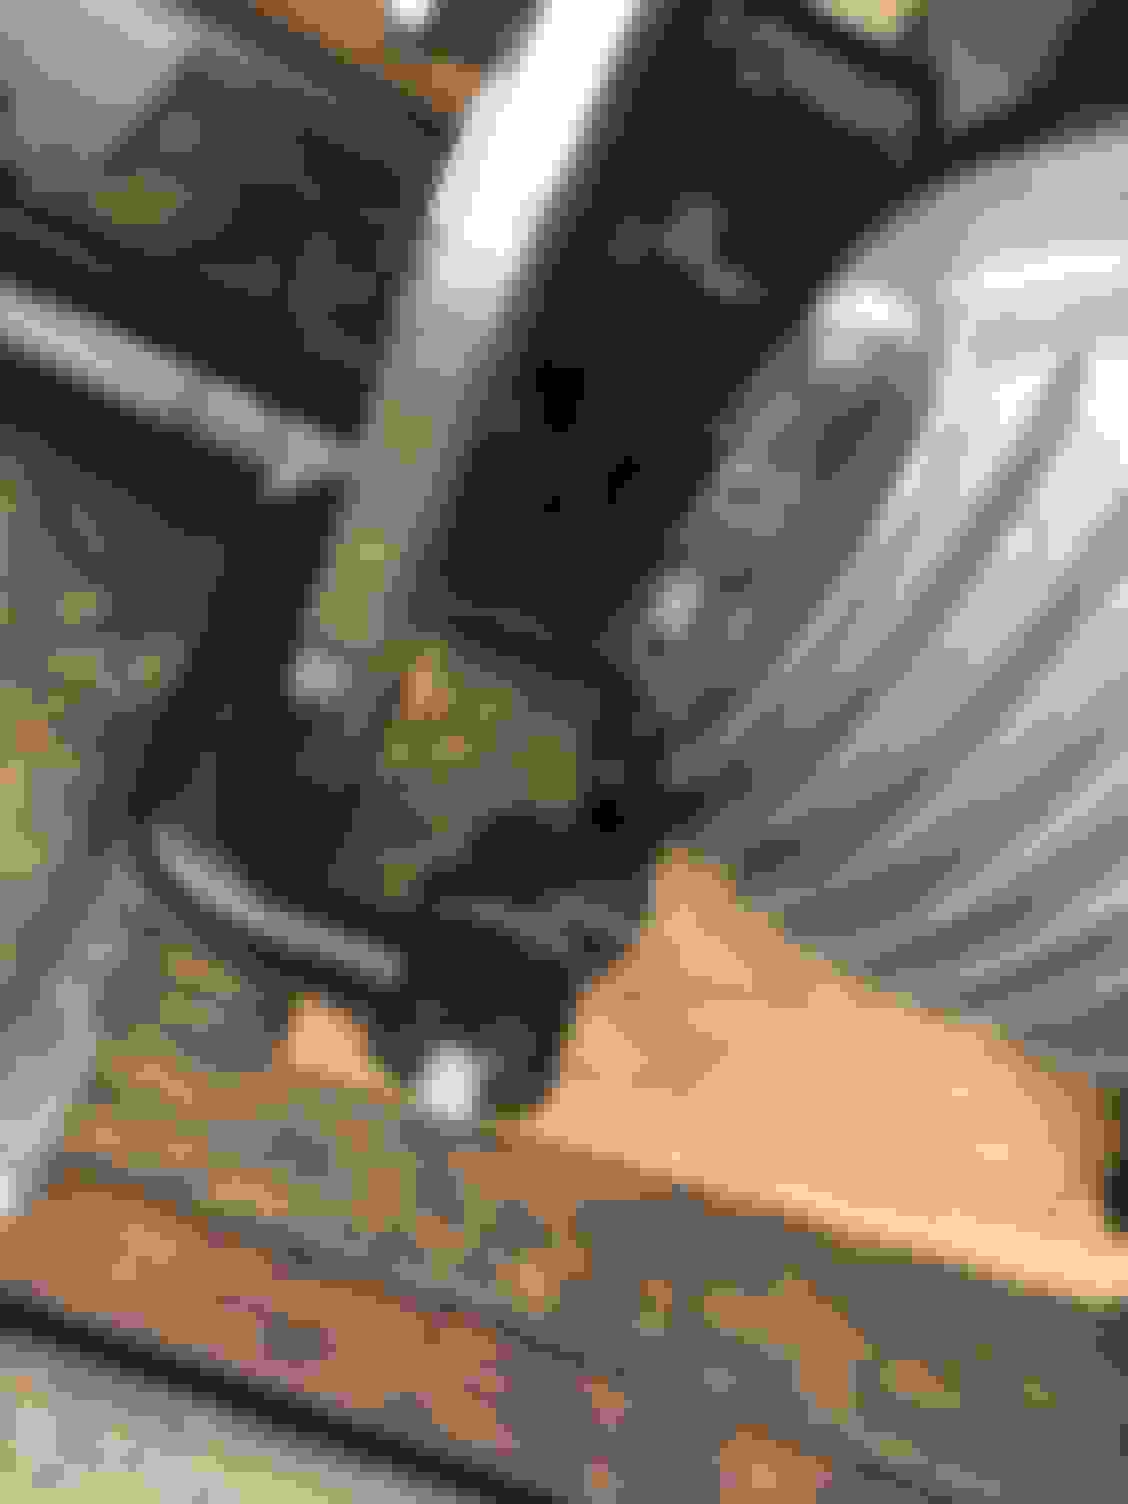
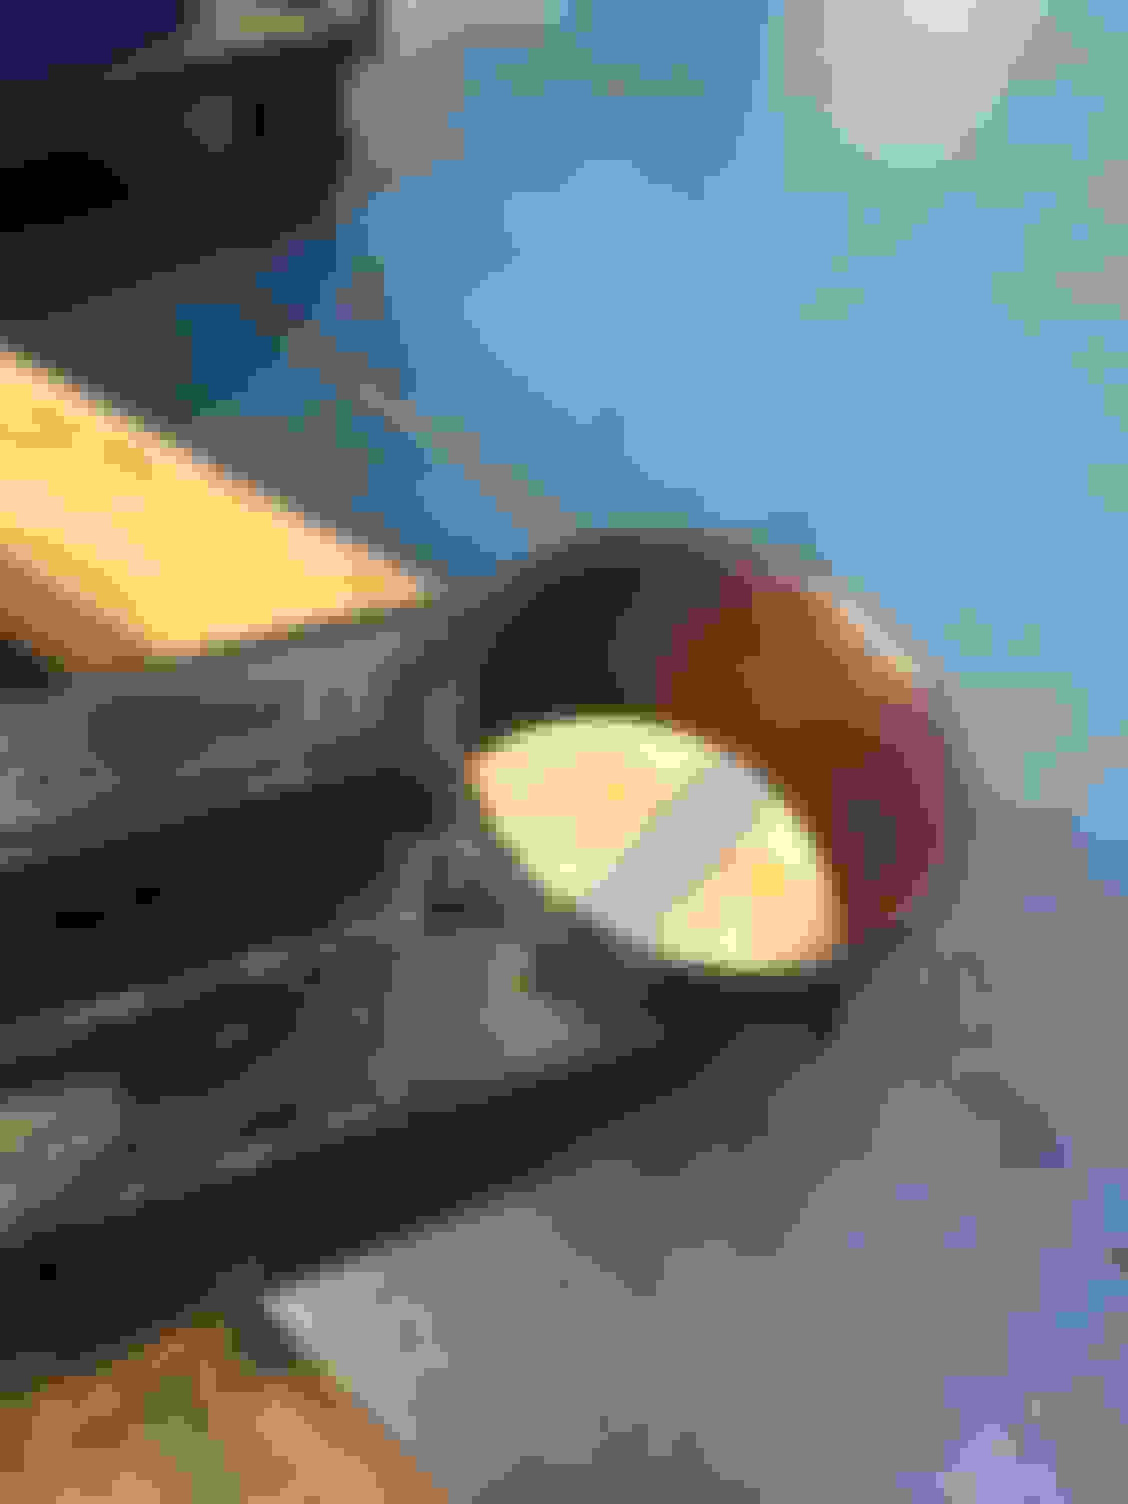
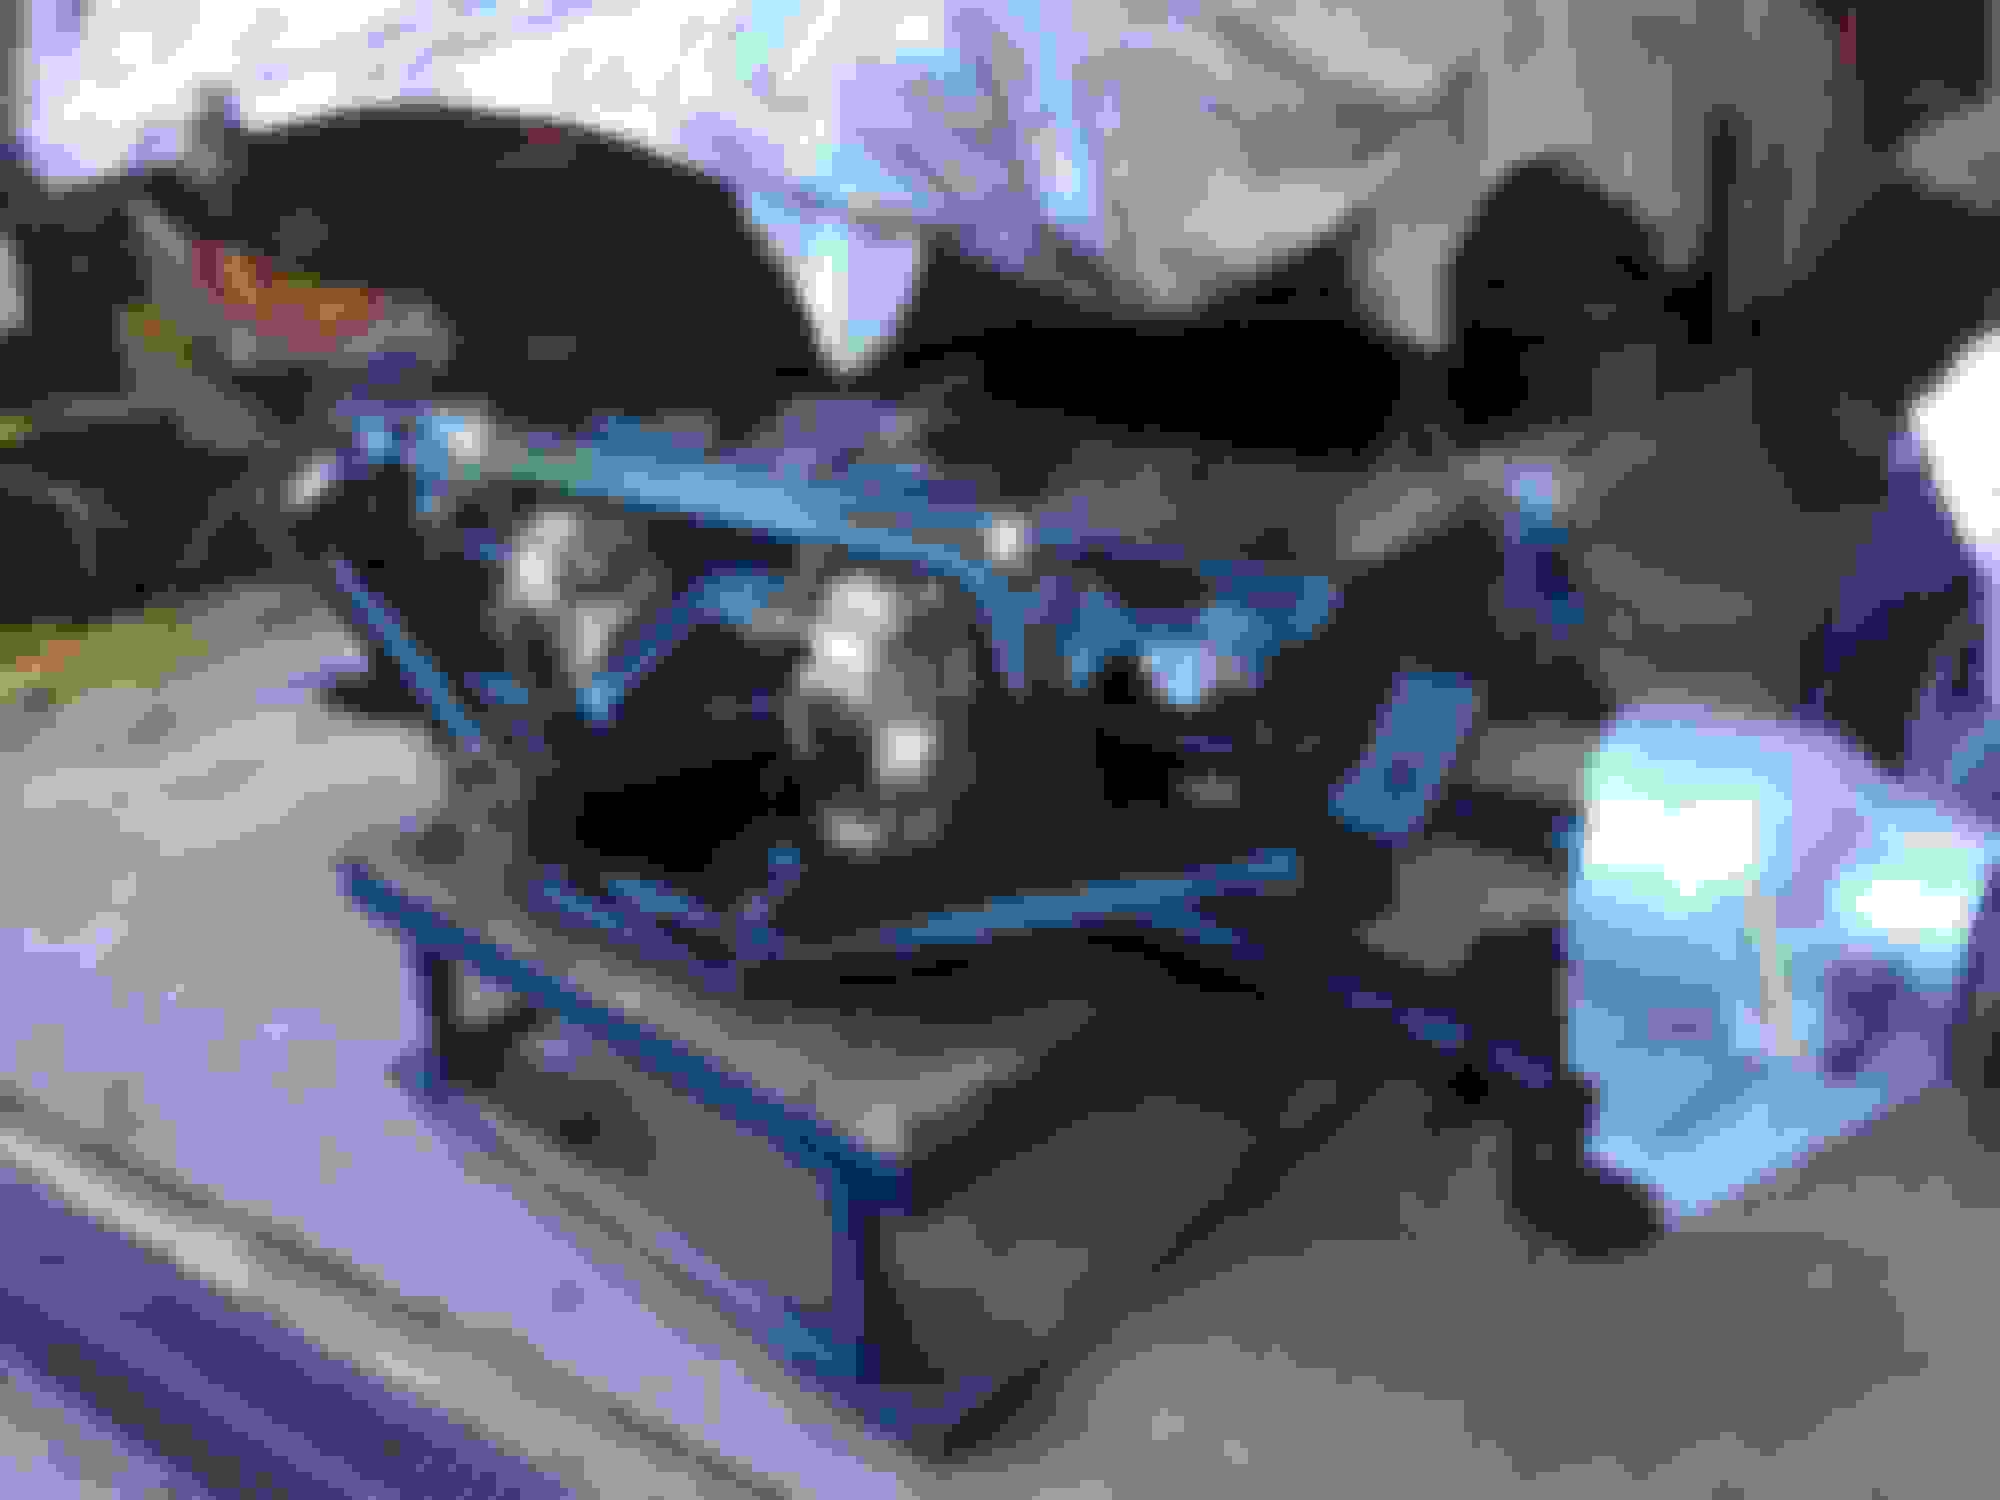
Time to have a look at these wish bones... I did not want to remove the caliper, just yet. I will if needed but lets have a play first.
After all its a nice day to much around, I'm in no rush. Radio is on... cool. Rods slide nice and easy.
The wish bone parts that need to line up when installing, one seal is toast. OB I did order some new ones but only 4, but they are all in excellent condition except the one.
A good clean up and ready to go.
Duke
Lovely looking job on the bits, really nice.
Where are the protection tubes that go between the dogbone eyes?
DO put some rag in to block the speedo hole into the diff, it is SO easy to get something in there that will ruin the diff internals.
Good luck with the wishbones.
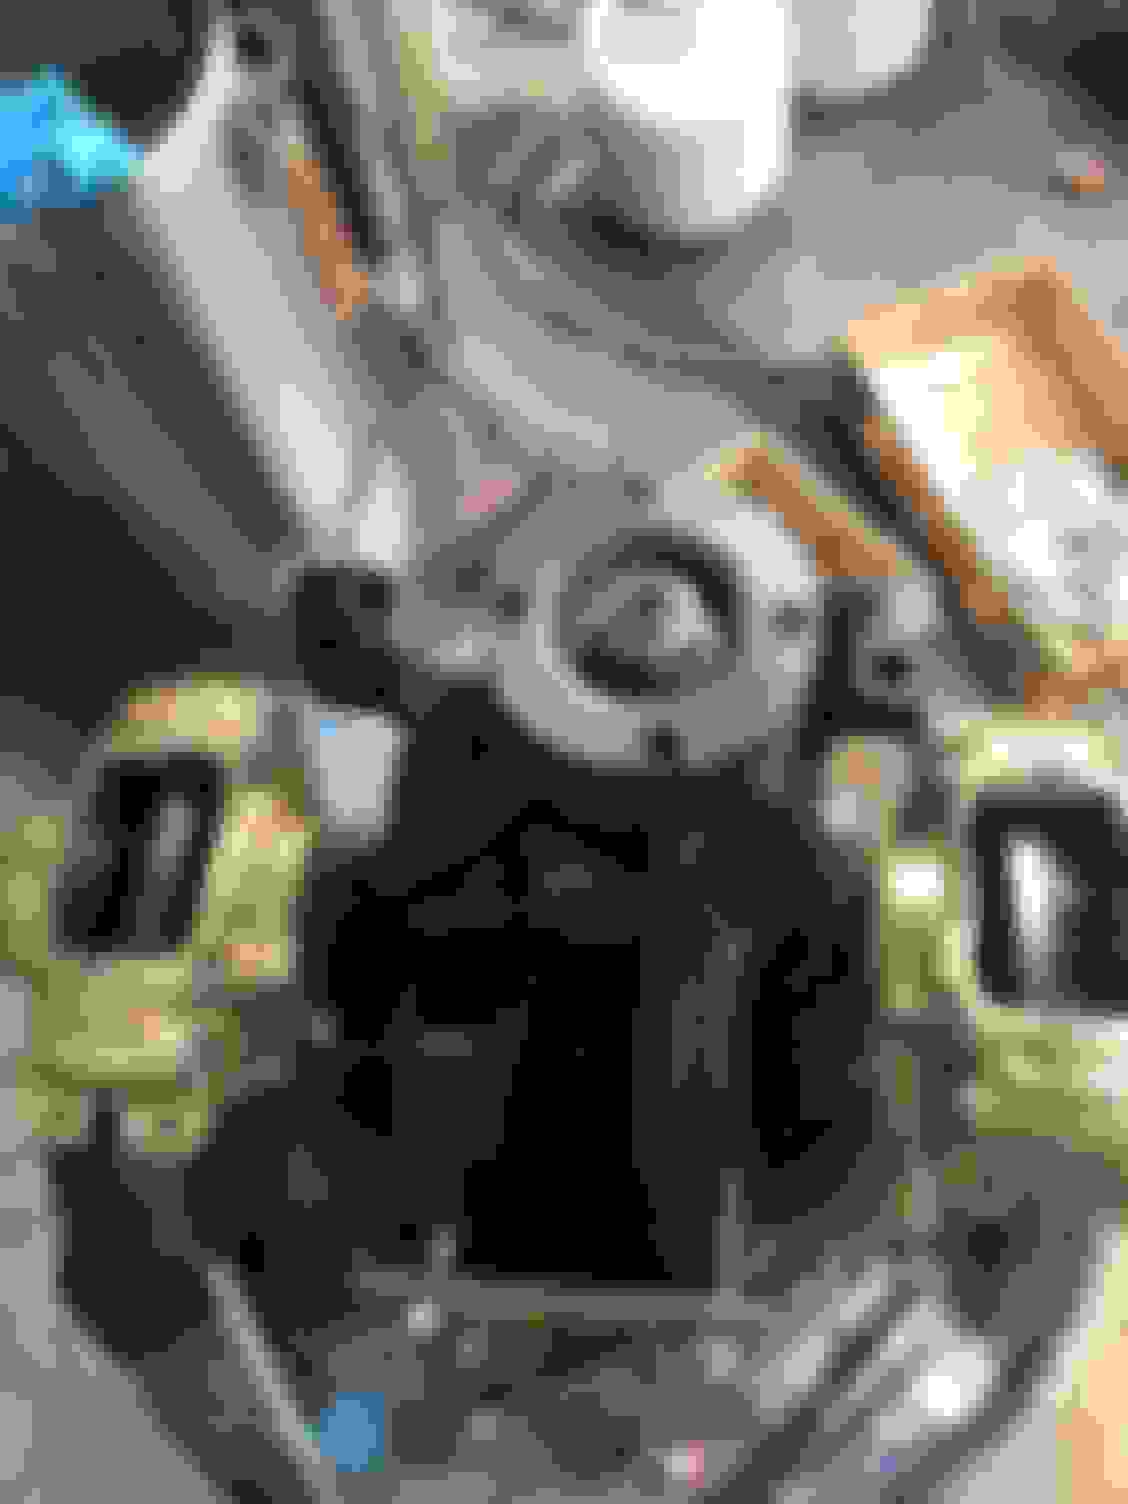
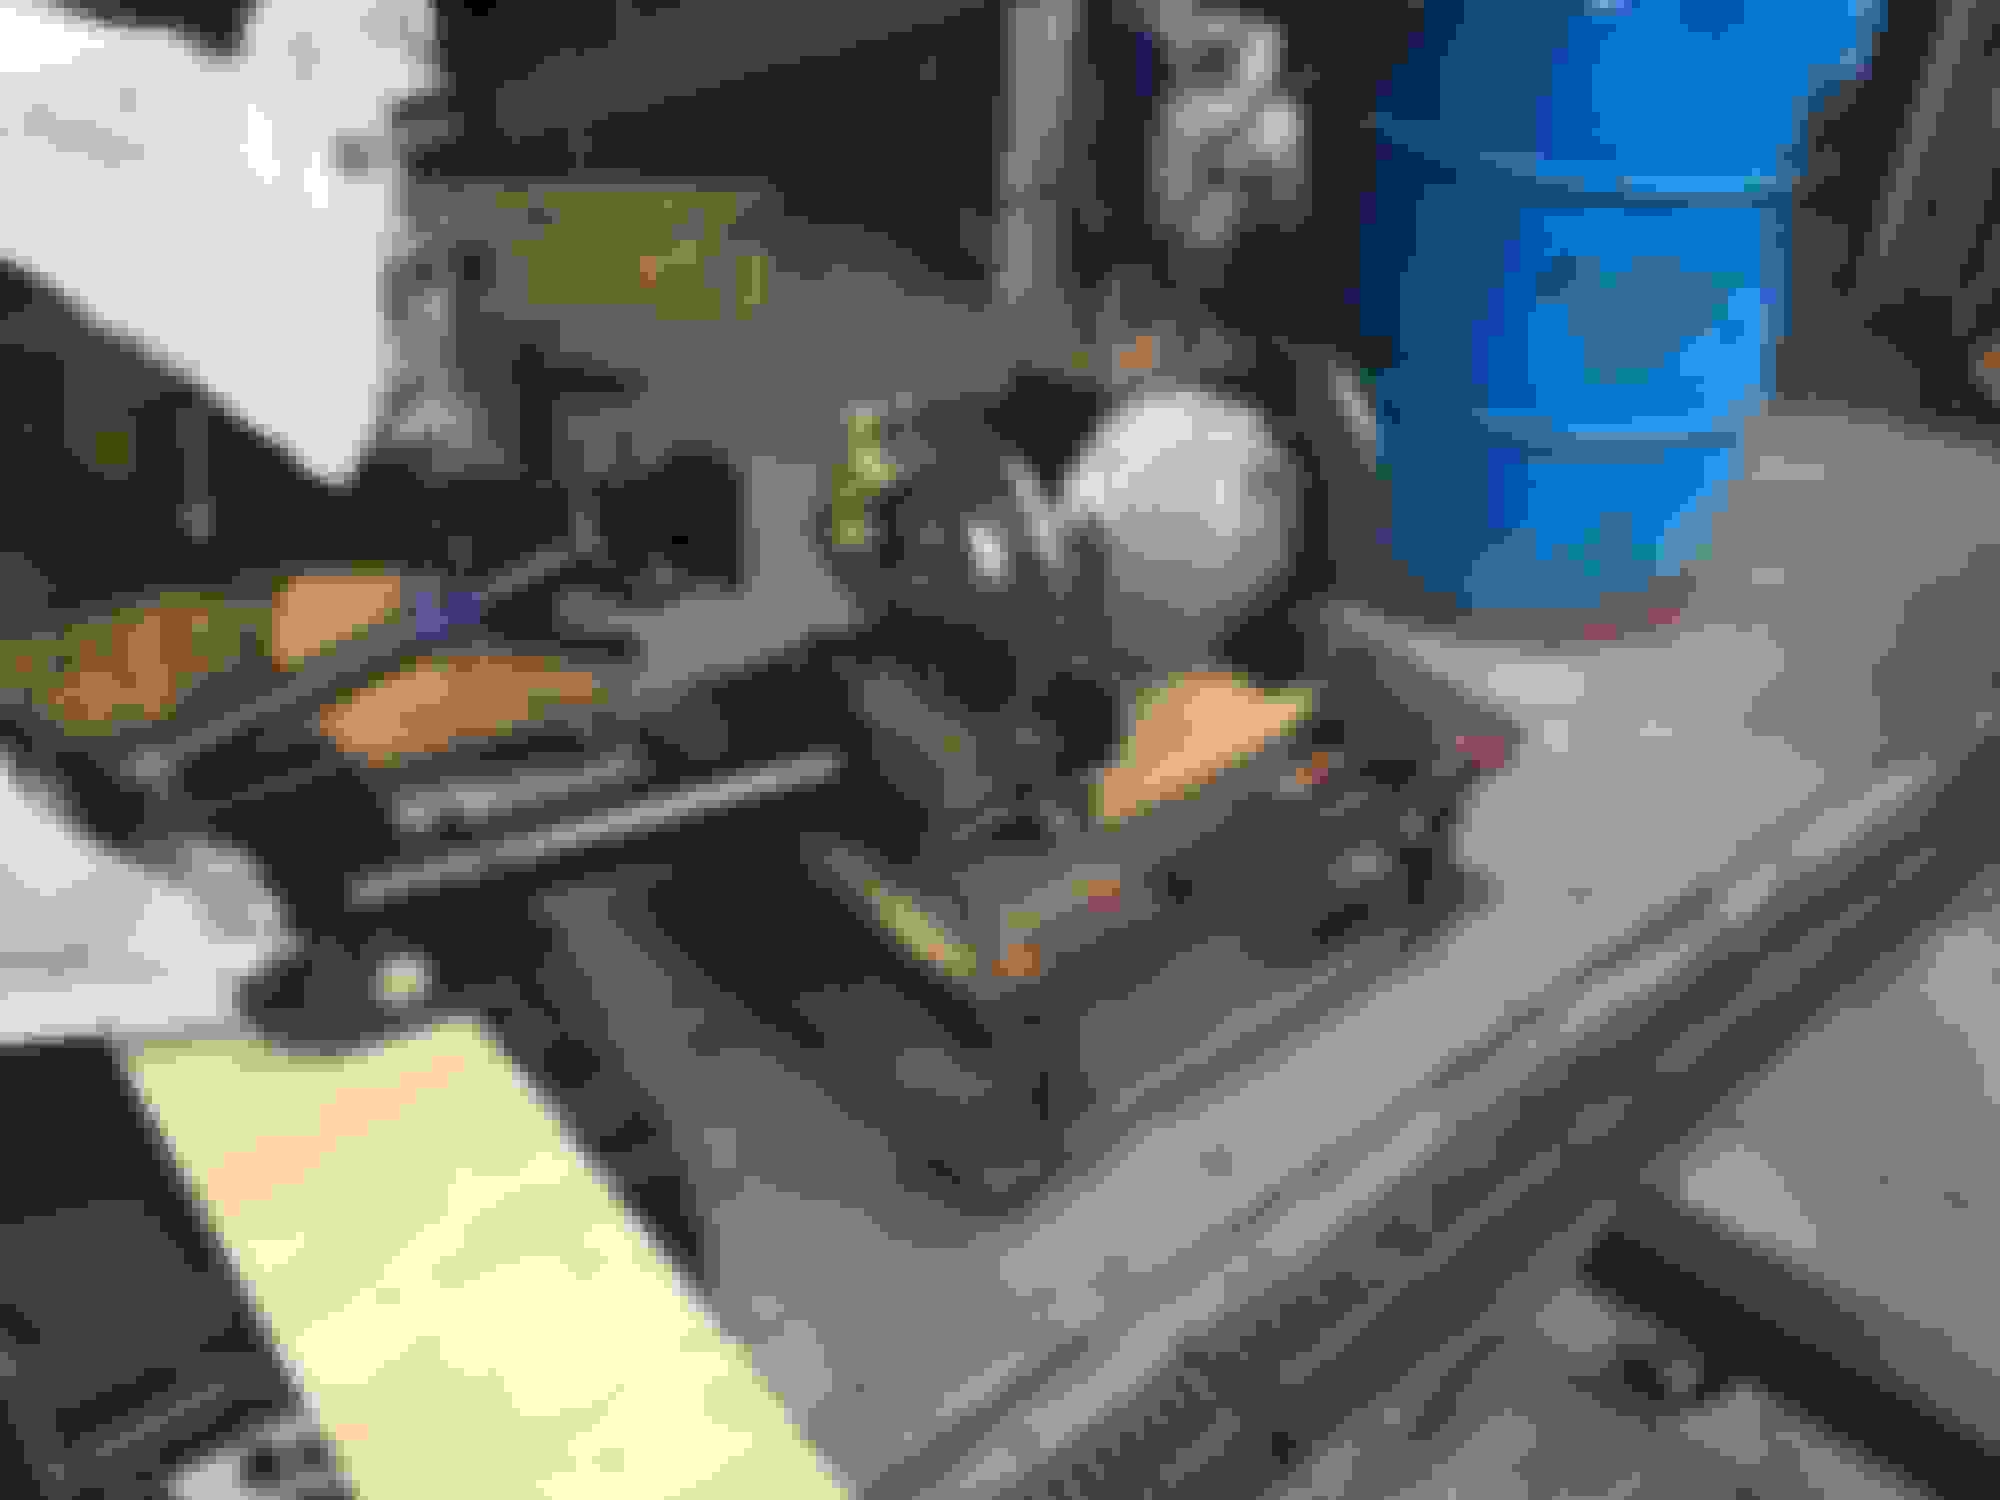
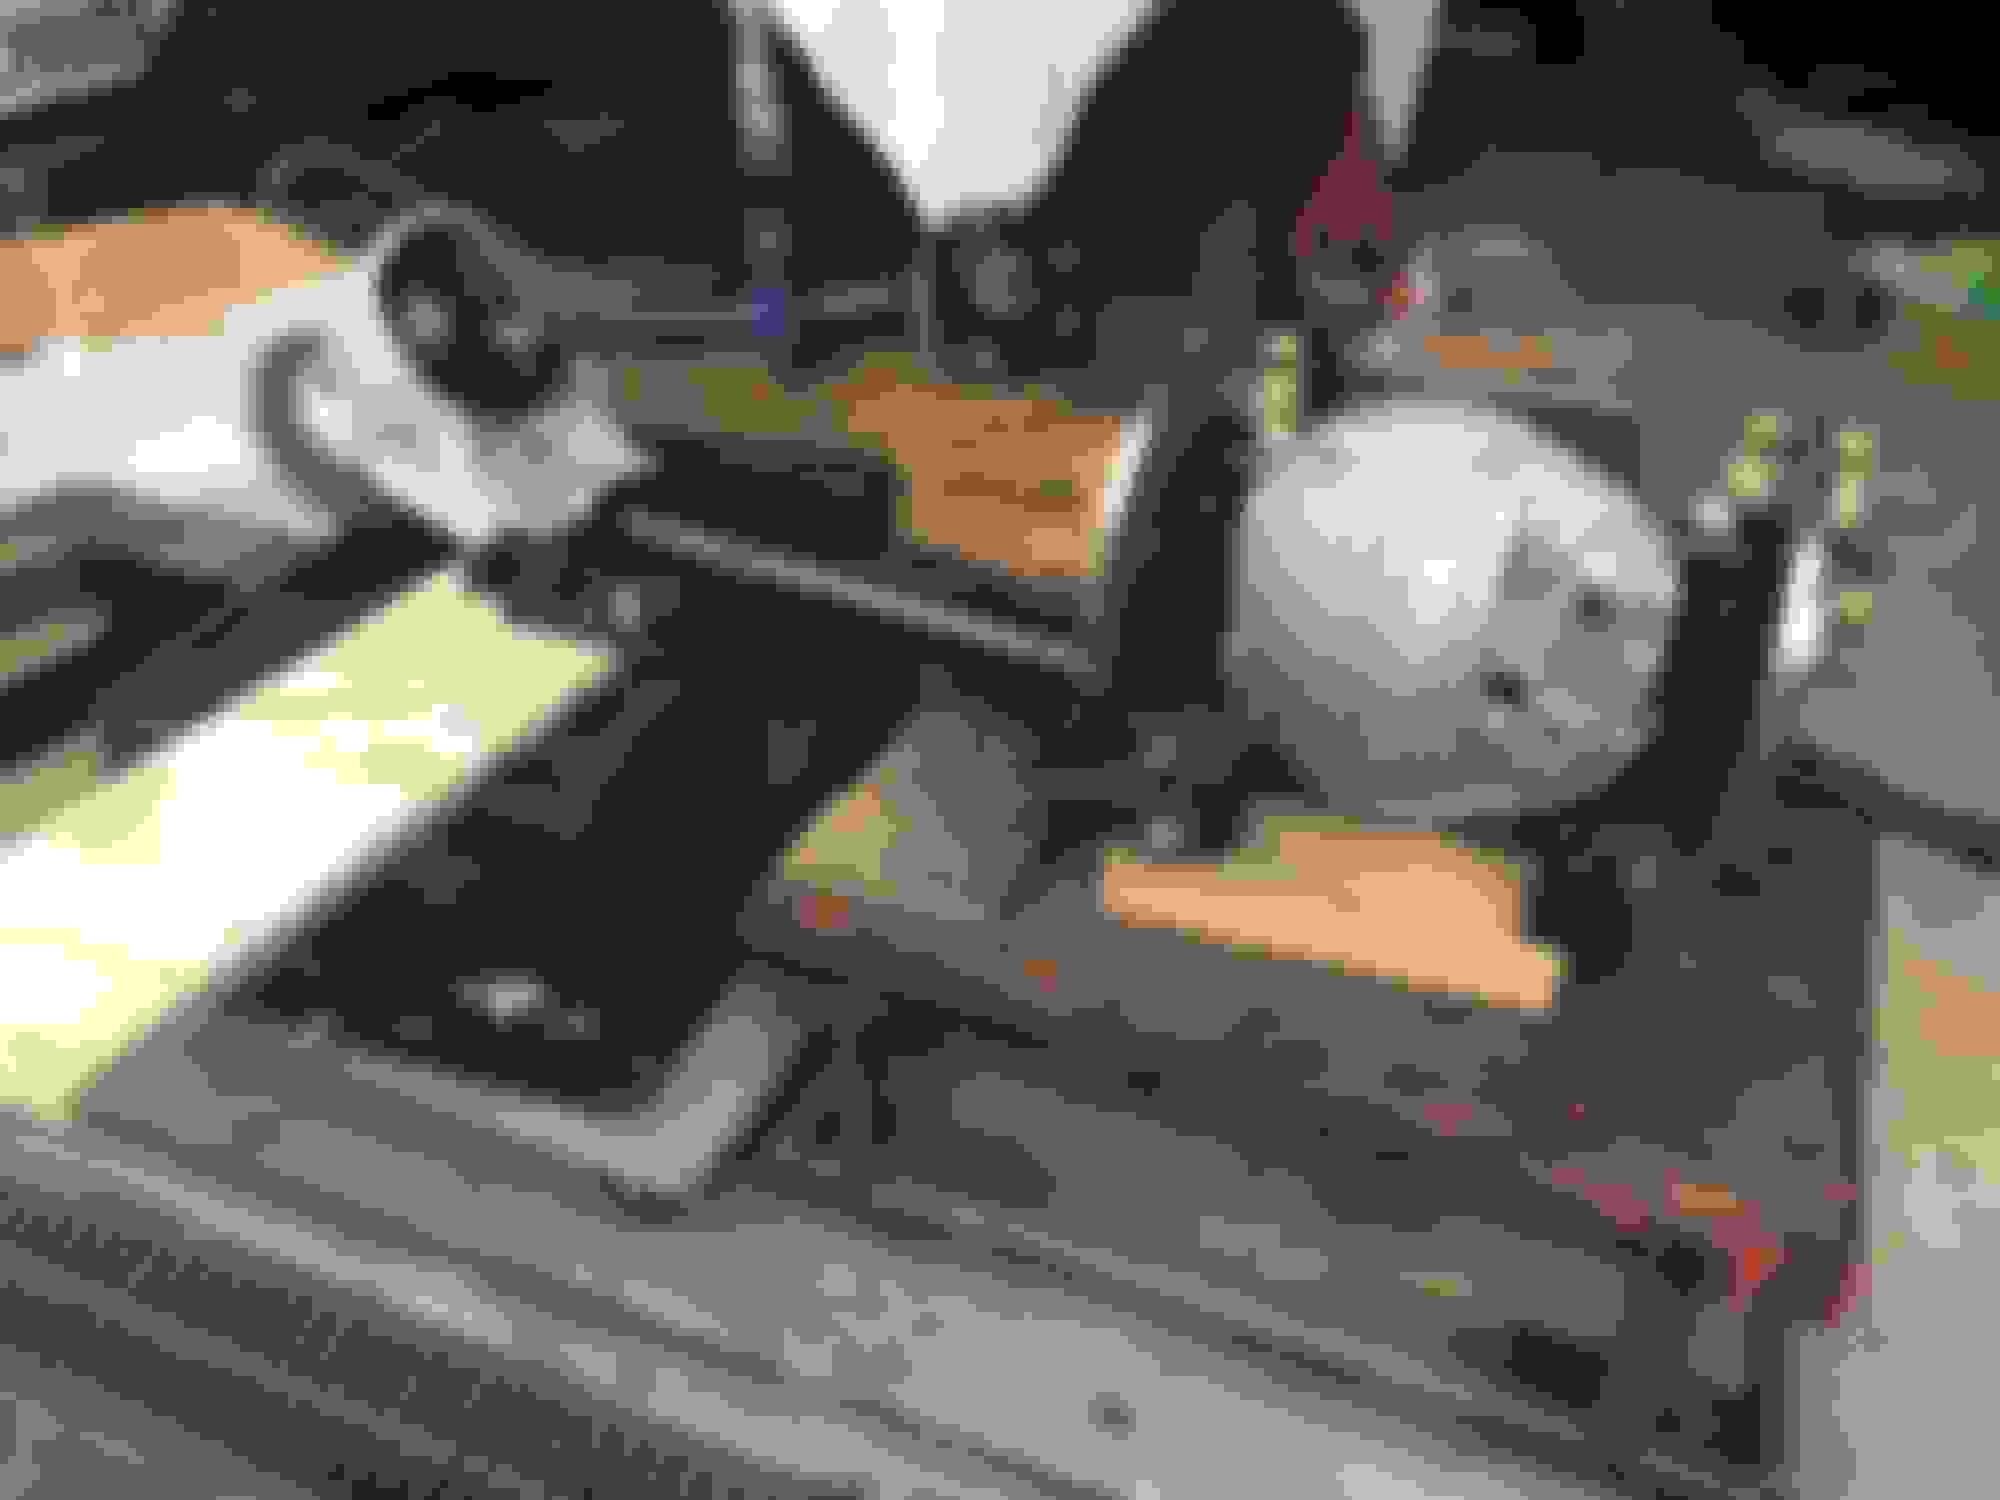
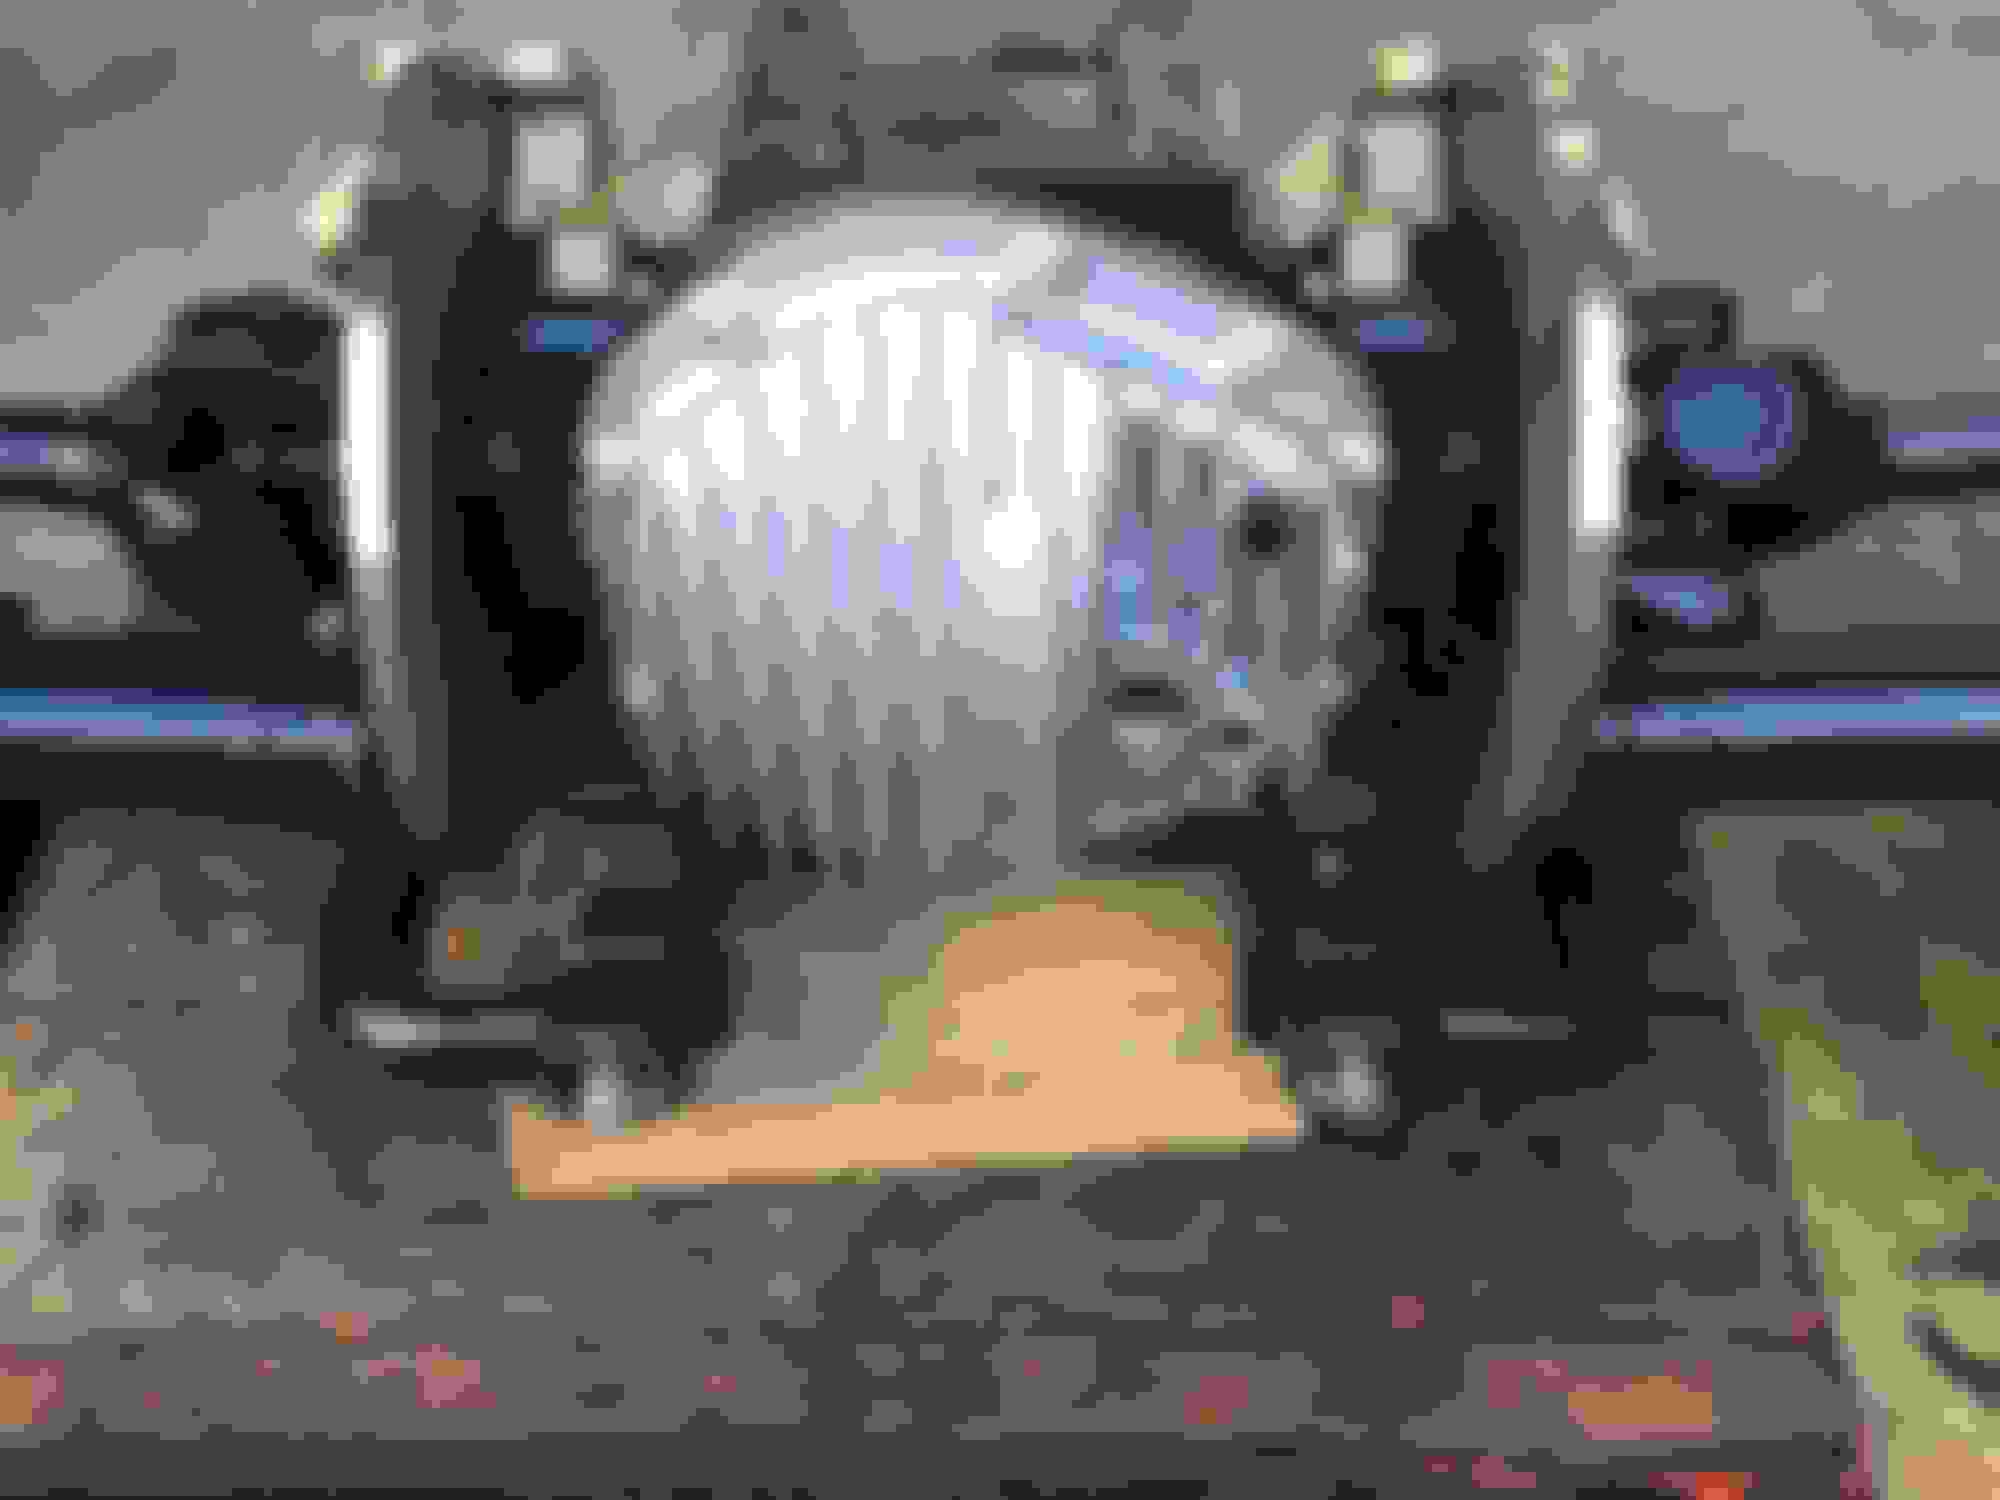
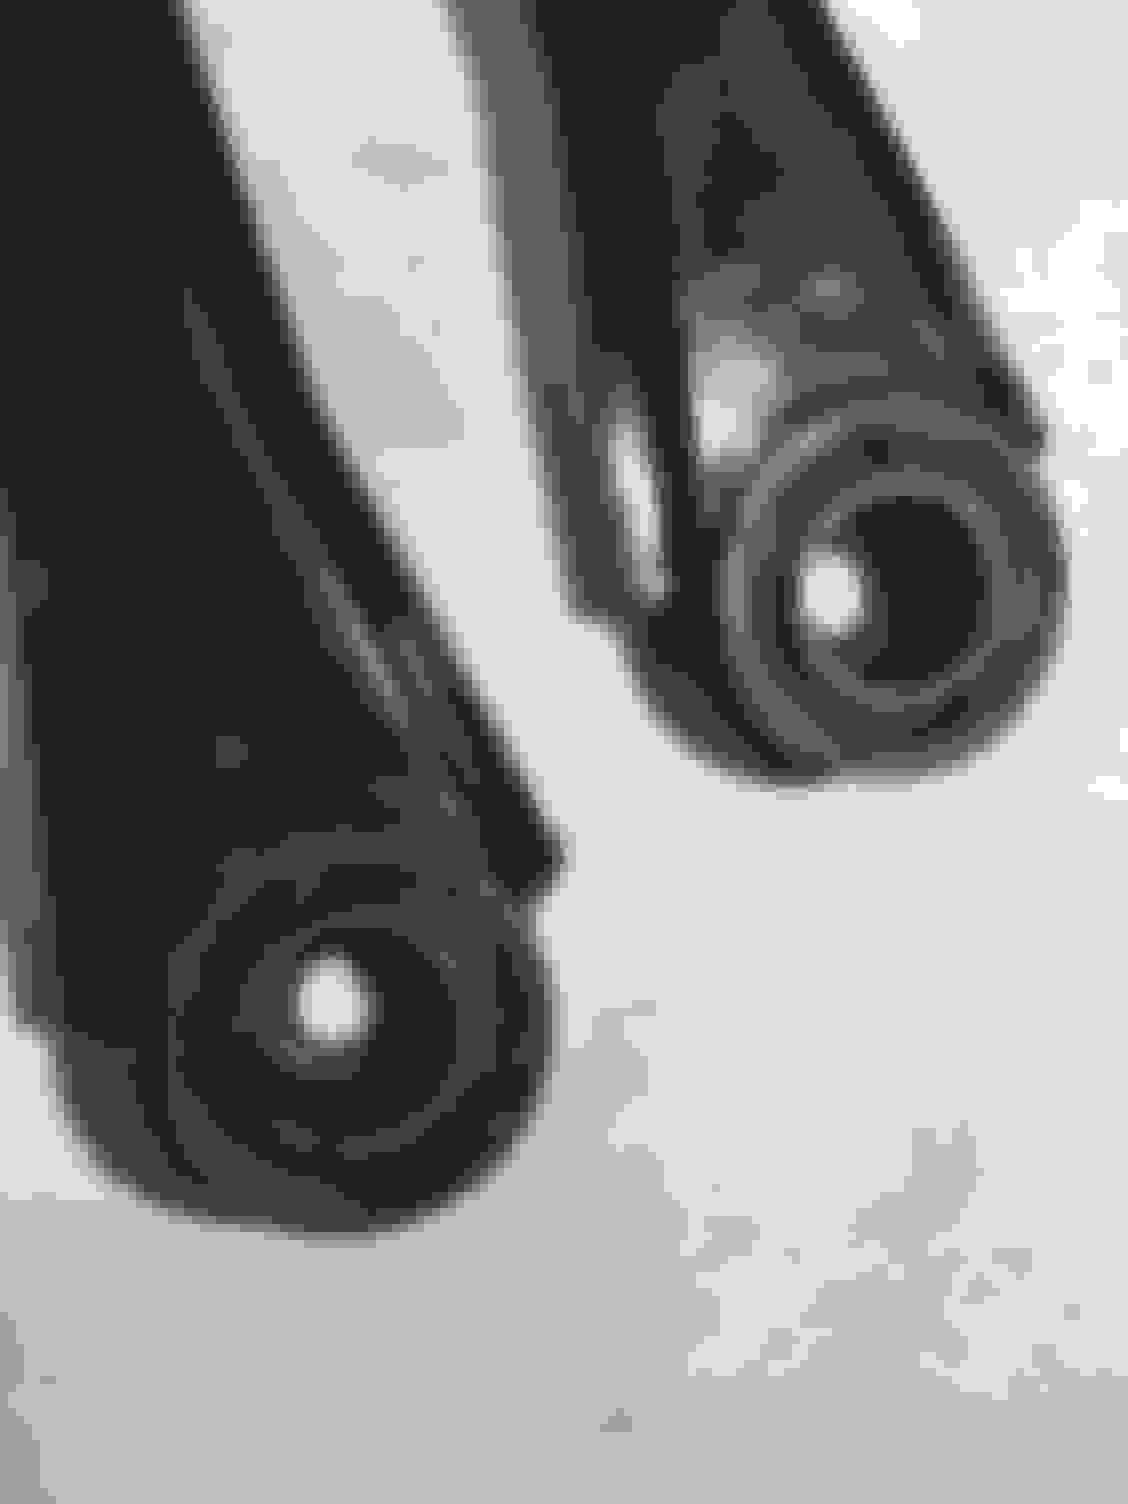
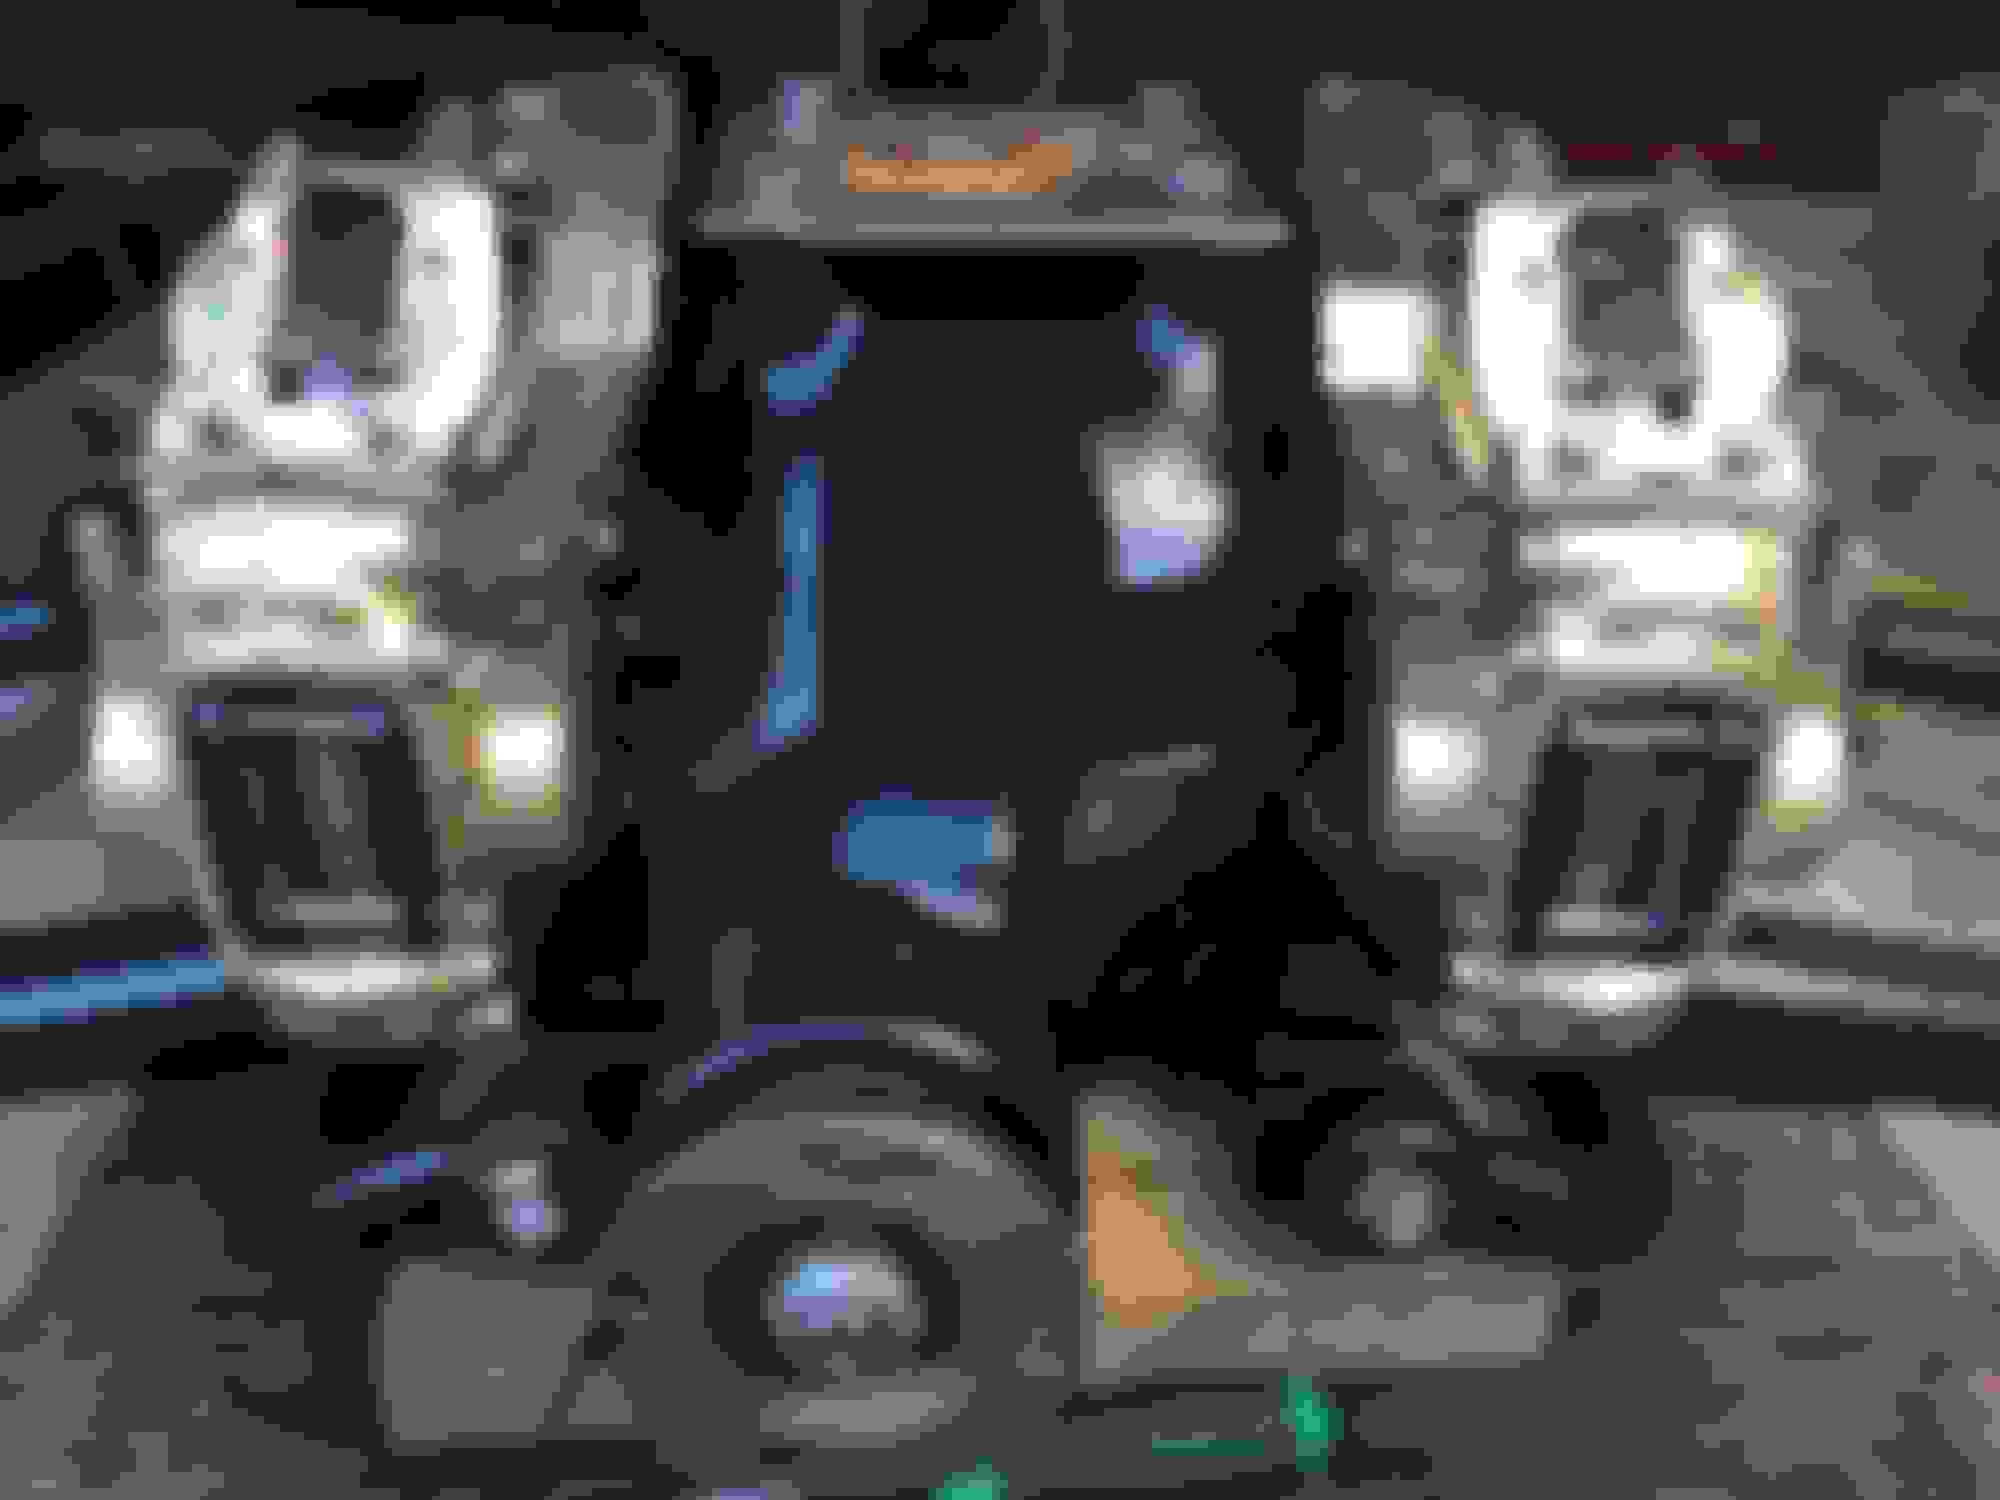
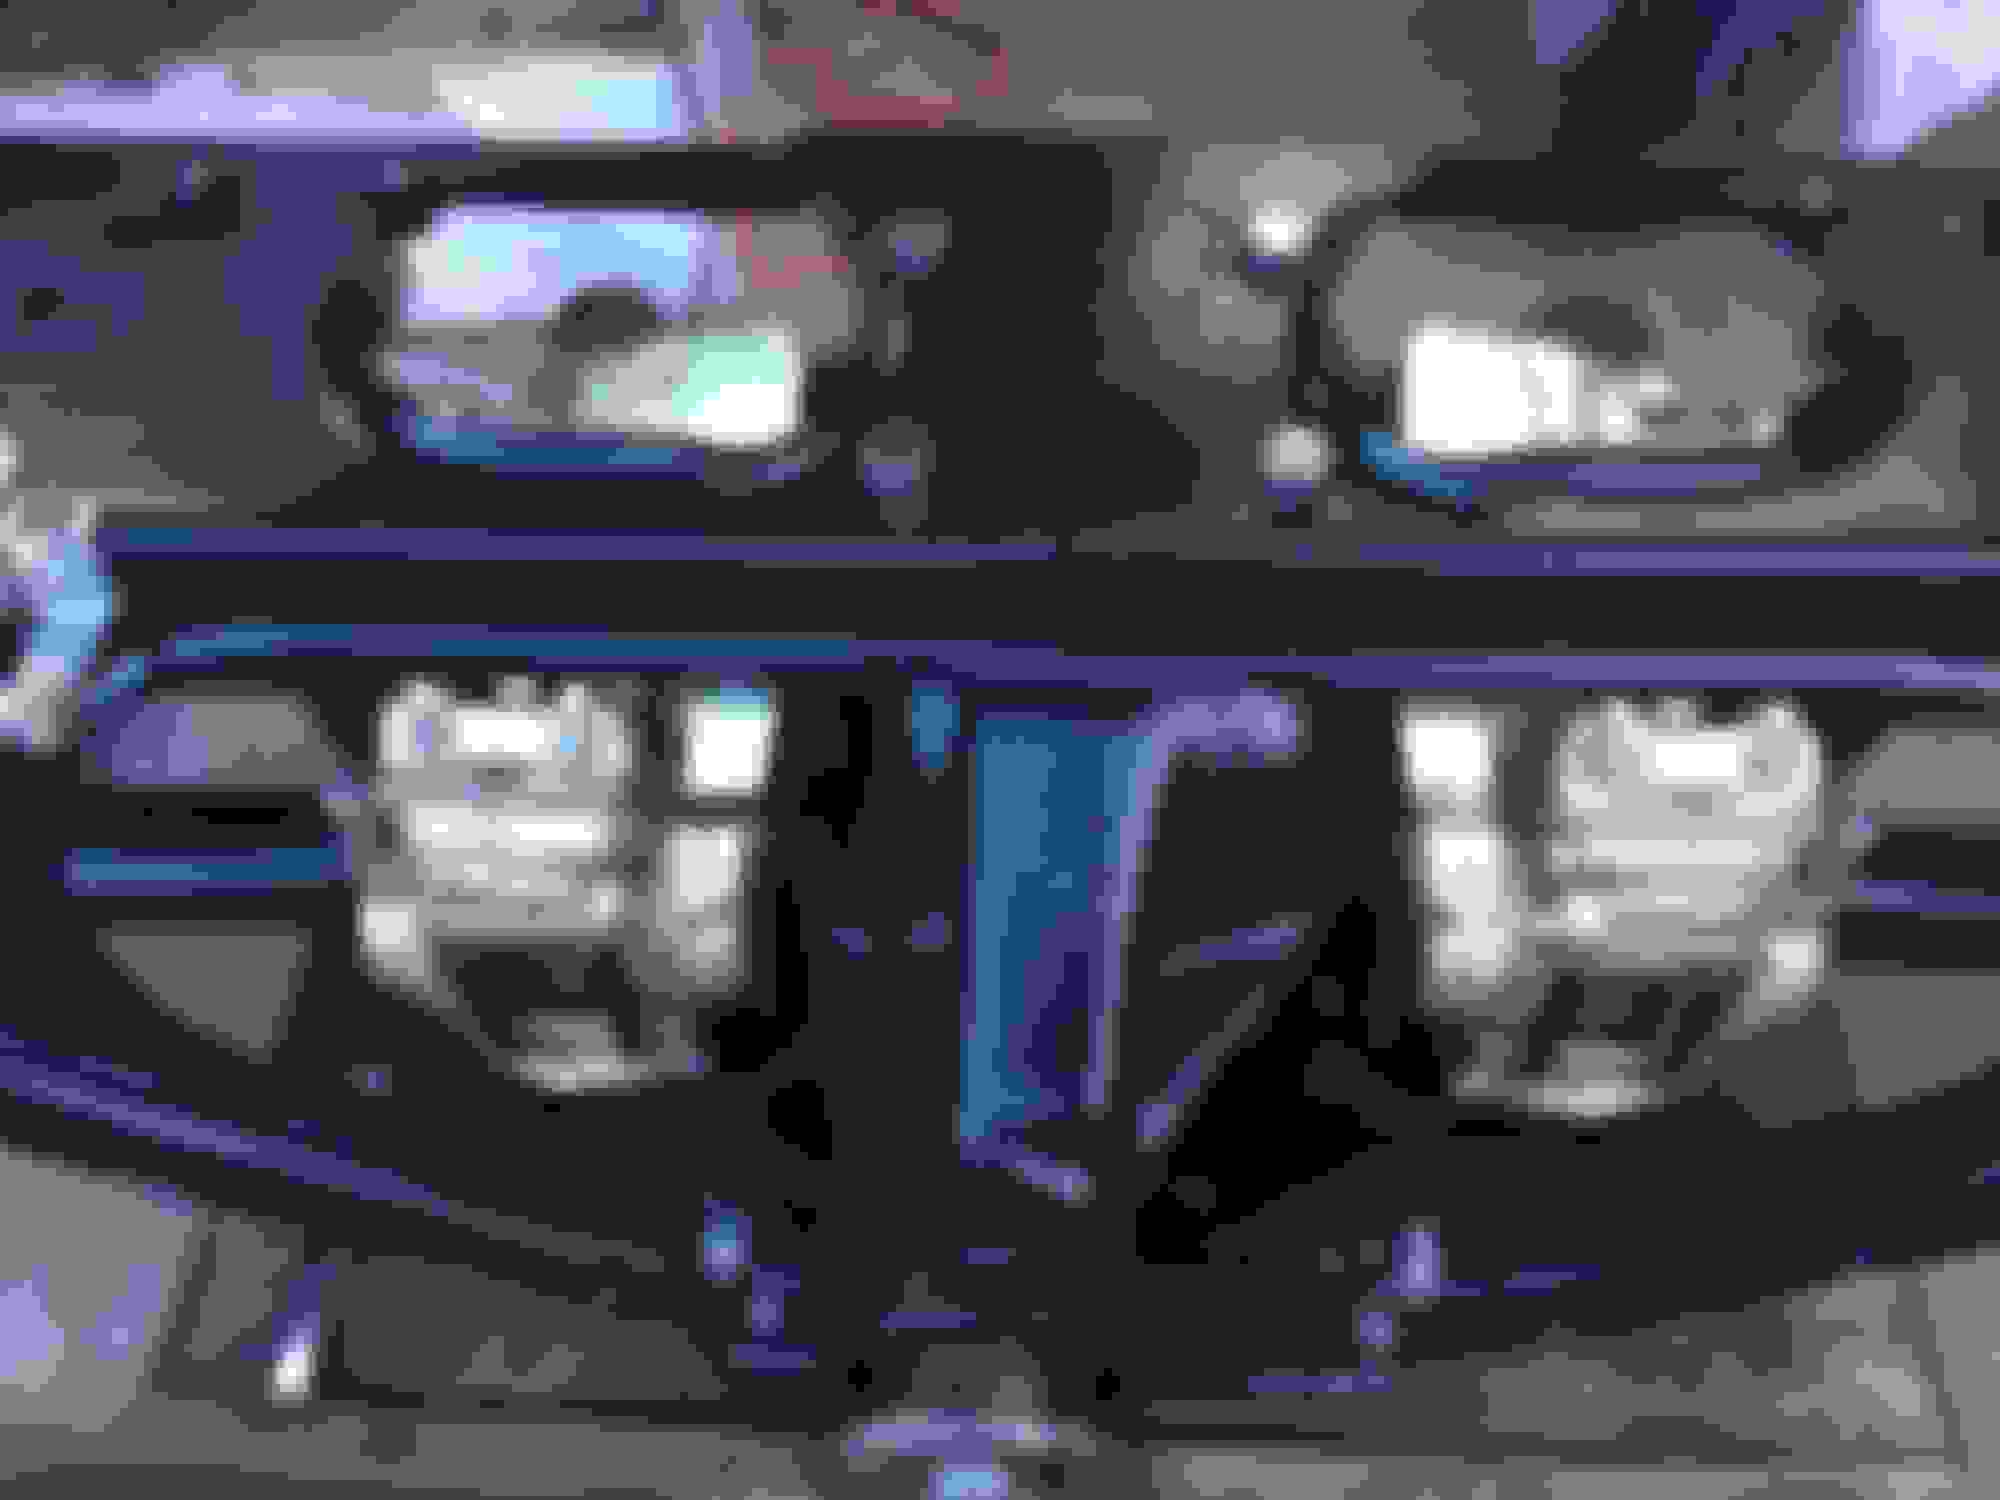
I cleaned the wish bone bearings and re greased them, I did not add a lot of grease as I will do that after they are assembled.
Added grease to the parts and assembled them, pushed in the ali bars to hold everything together.
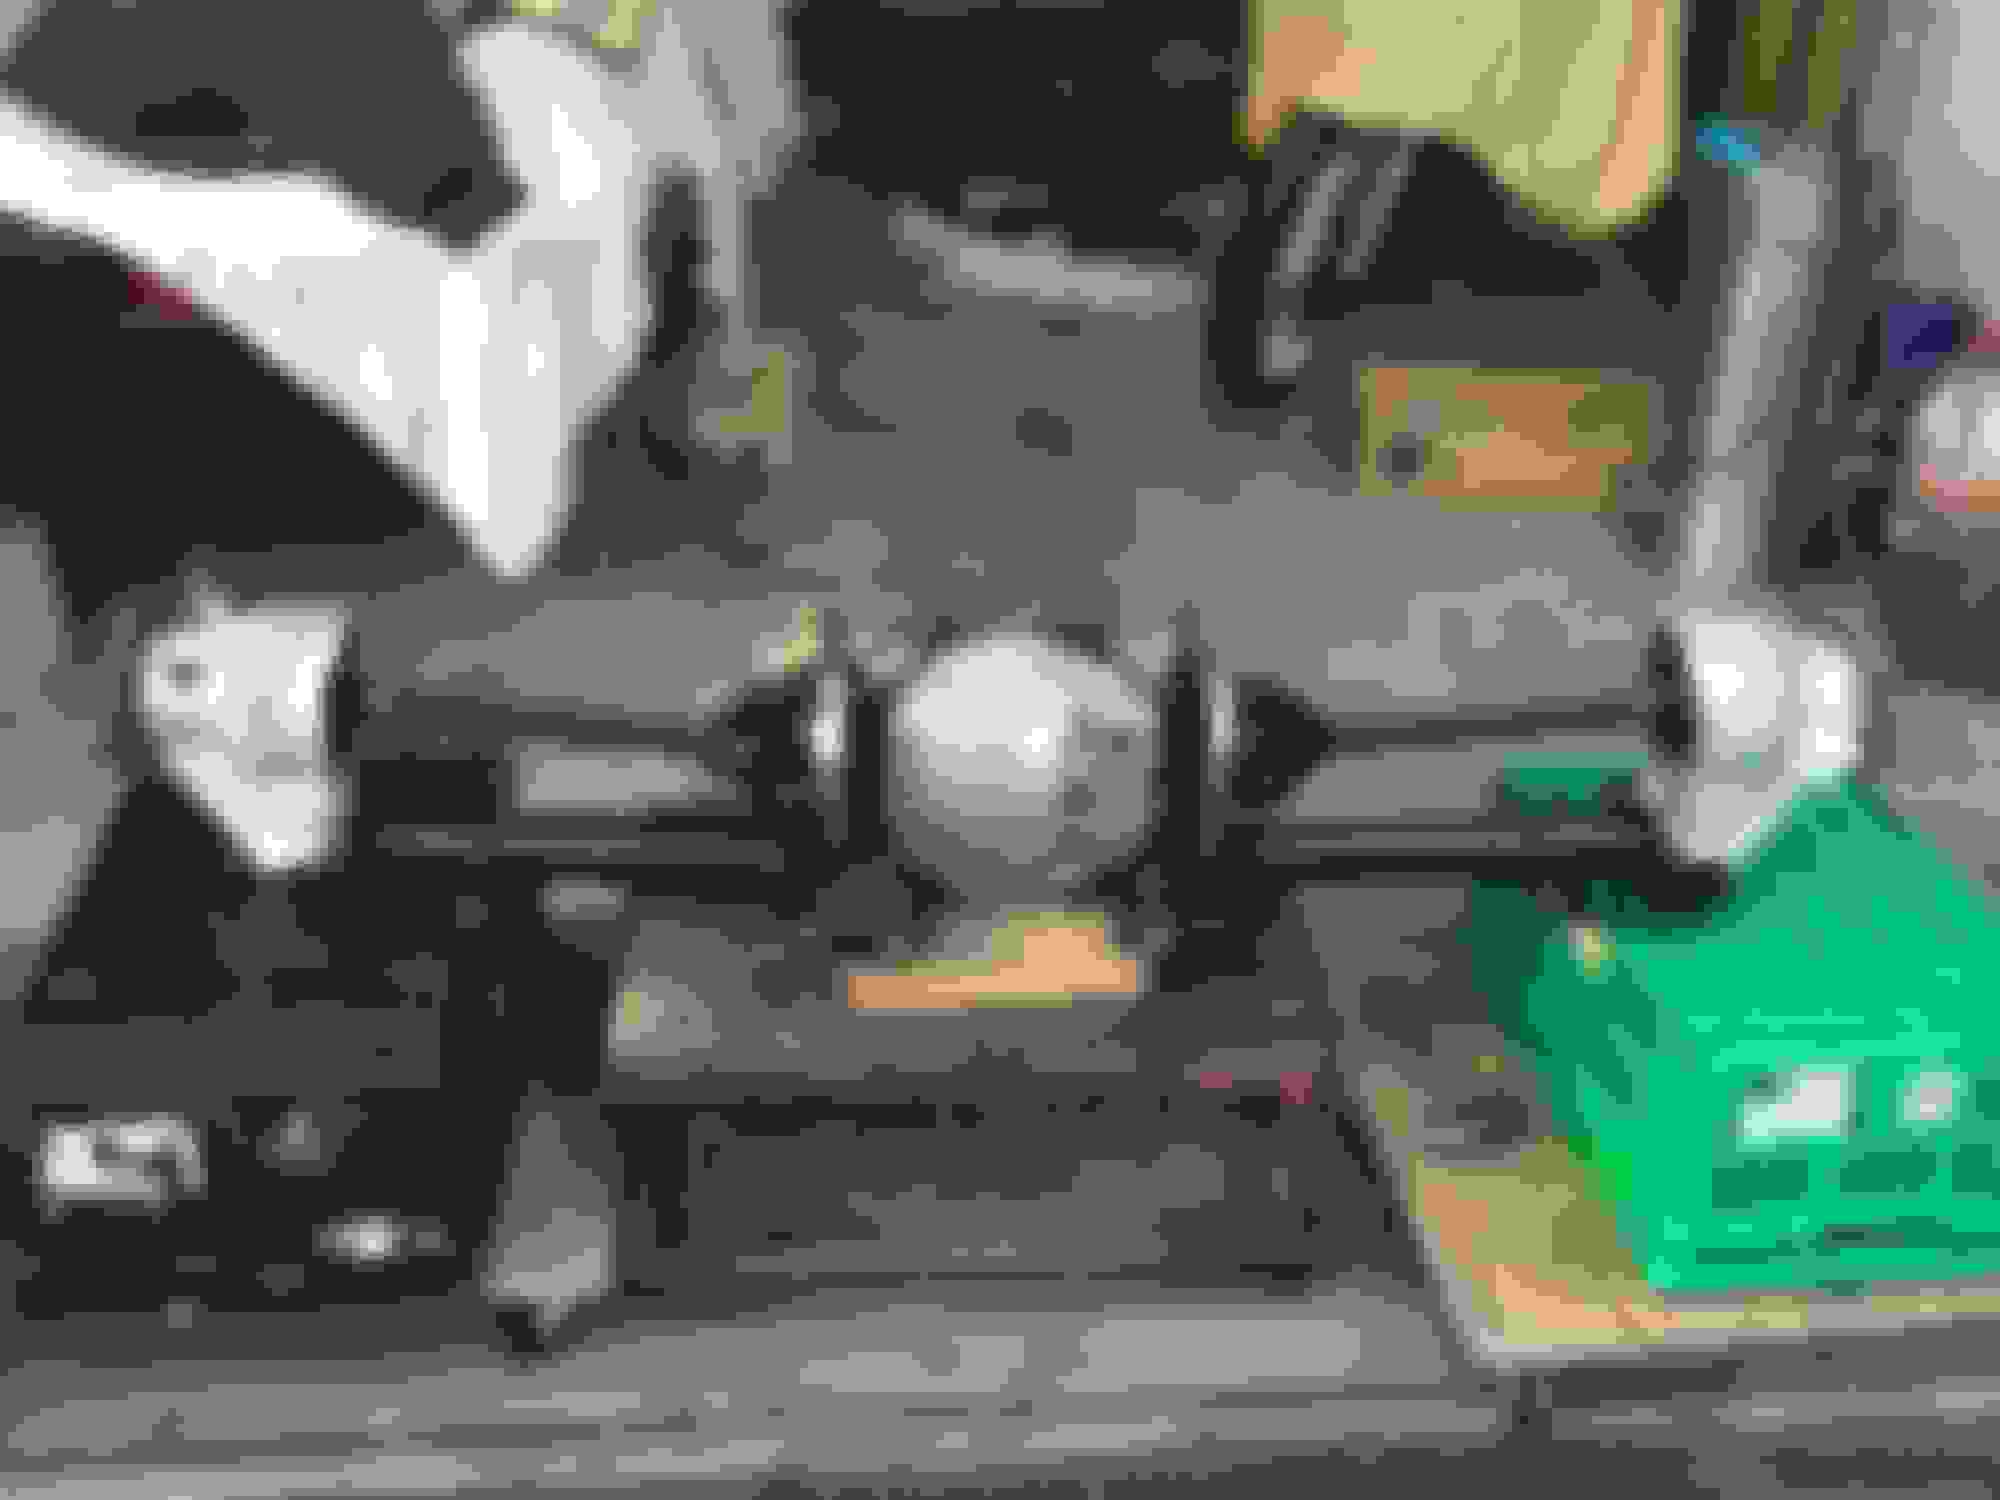
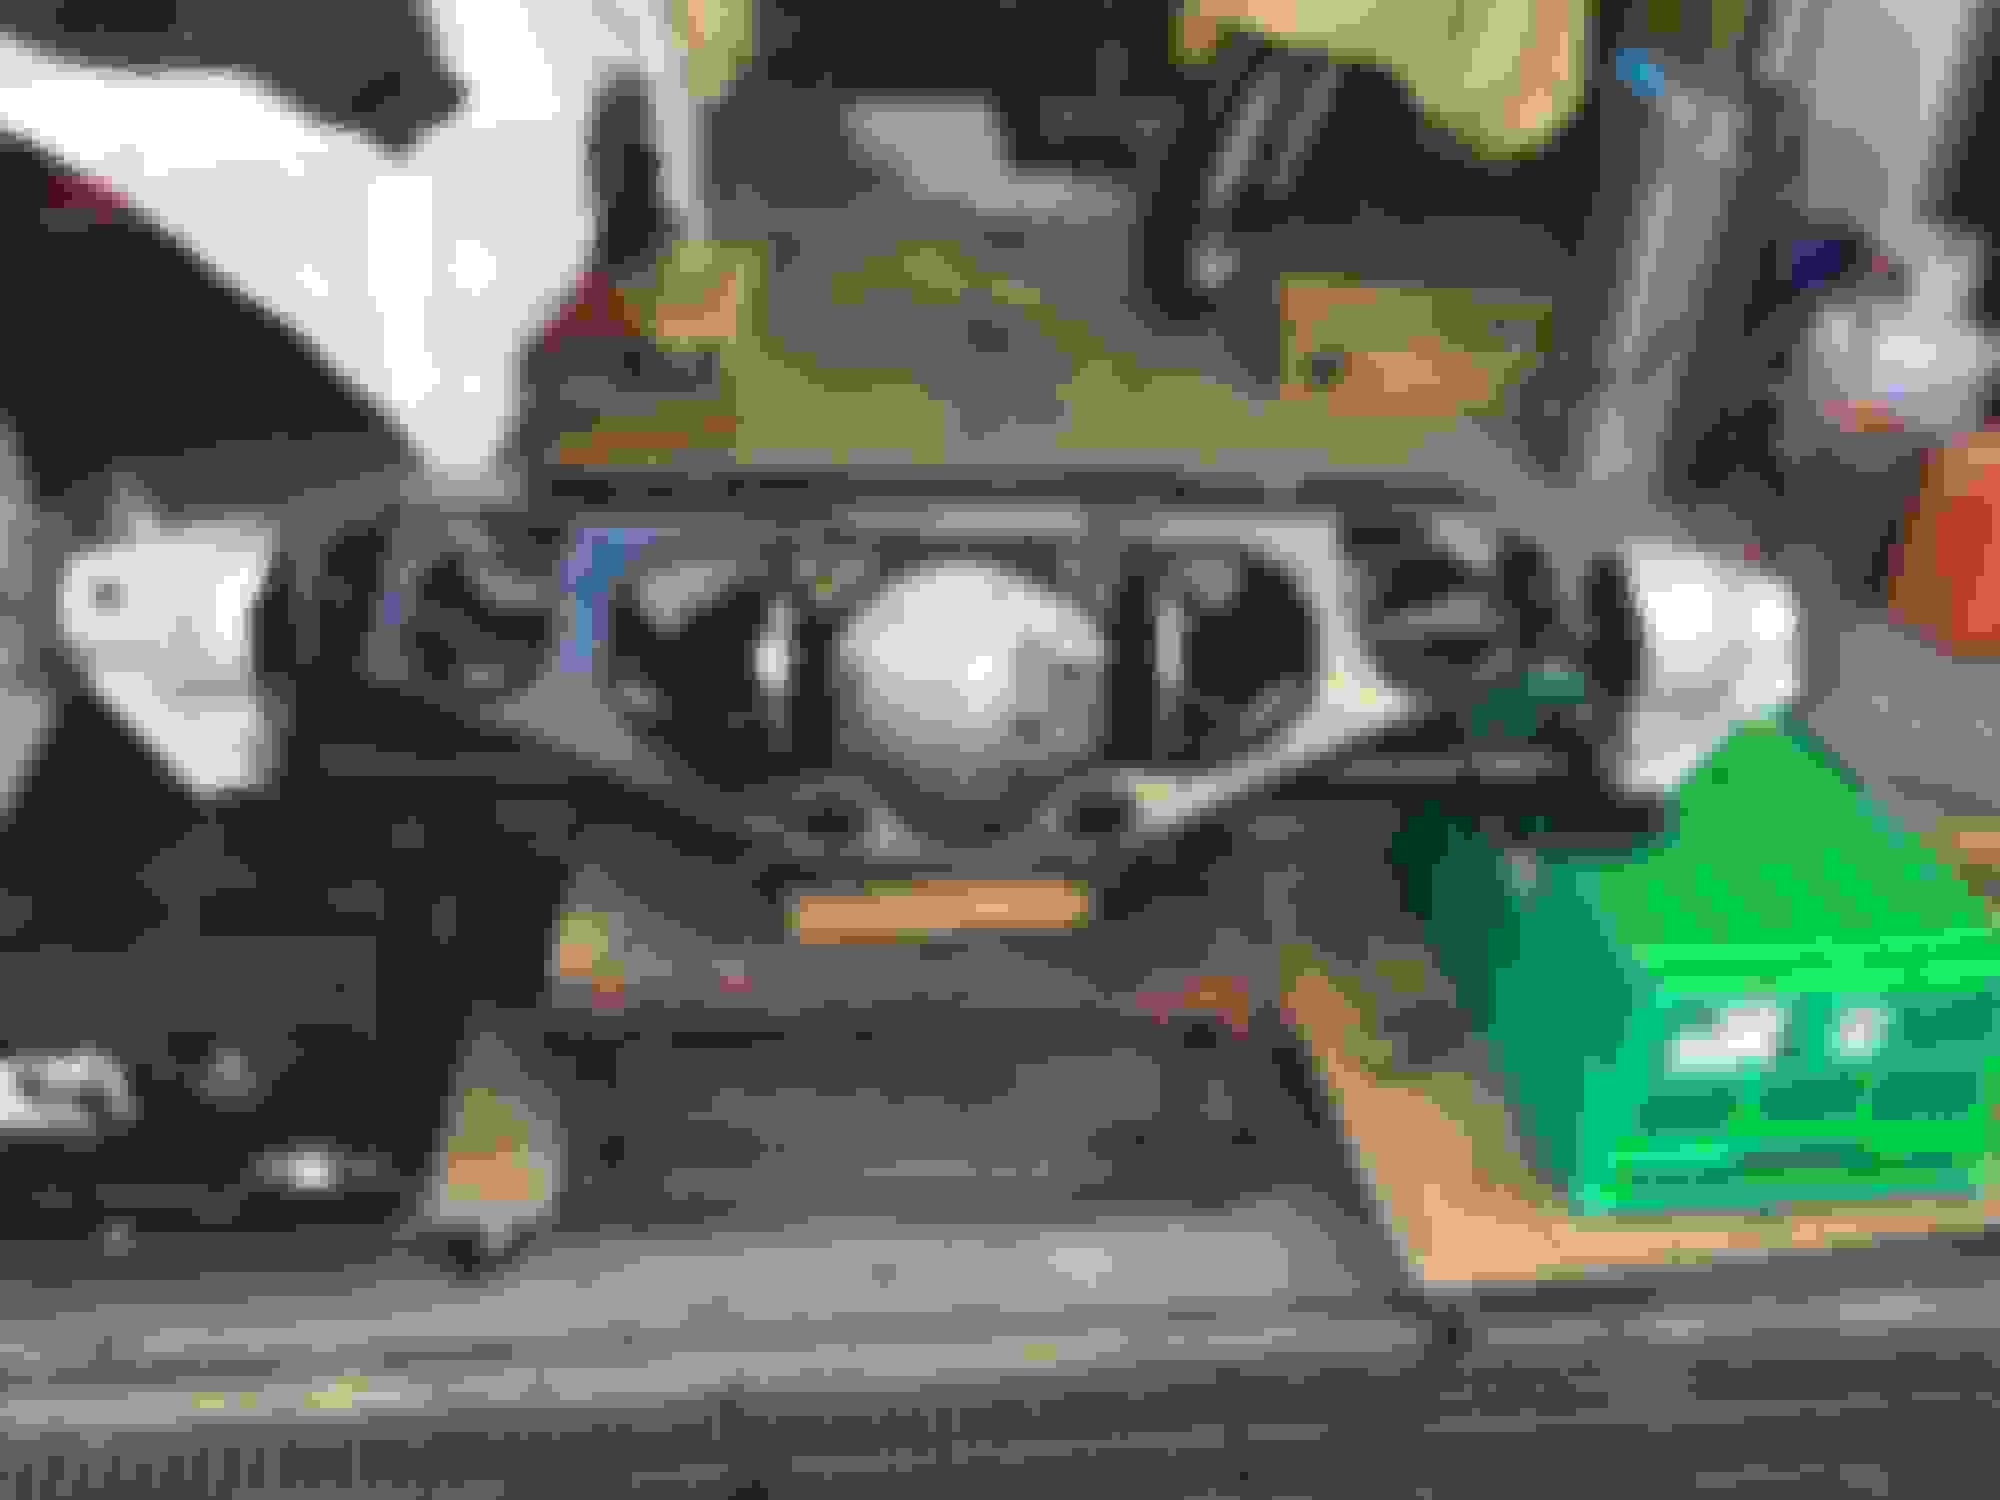
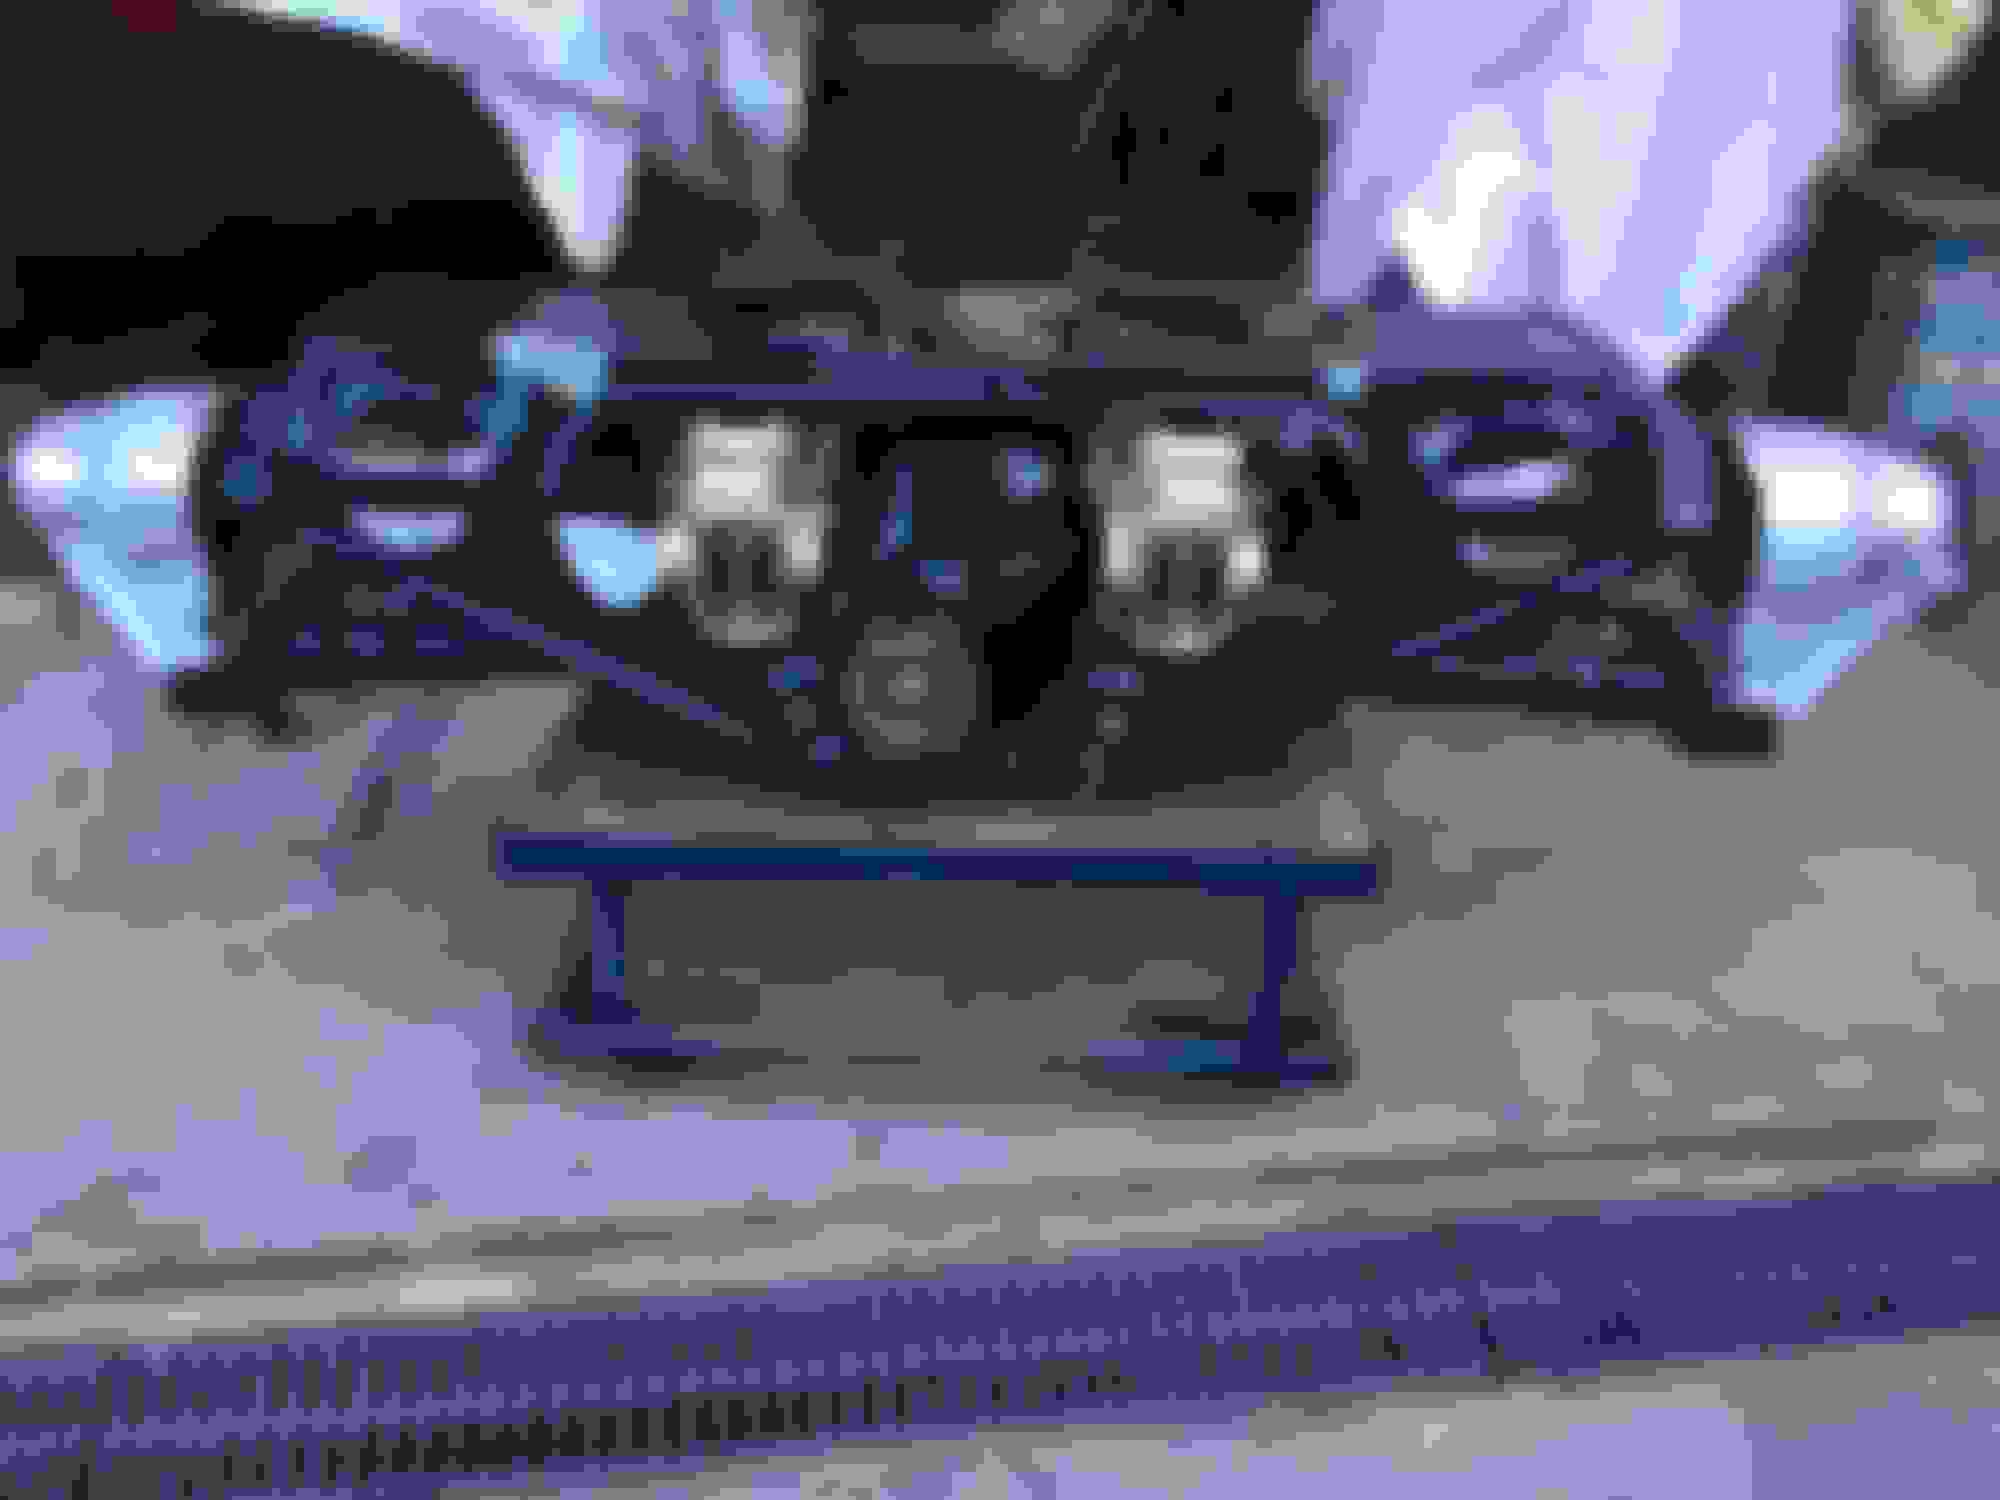
Both the diff and the wish bone are on rollers so the can move to help line everything up.
Lined up and ready to go..will this go smoothly...
I found this excellent video last night about a XJS 6L Cage assembly that gave me the idea about the short ali shafts...
This gave me confidence to try this...
About 5min pushing and pulling and in the shaft goes on both sides... yea! Hose clip on each end to stop the end washers falling off.
Lets start on the other side, clean the bearings.....
Shopping plastic bins... so useful. We are meant to return them ......
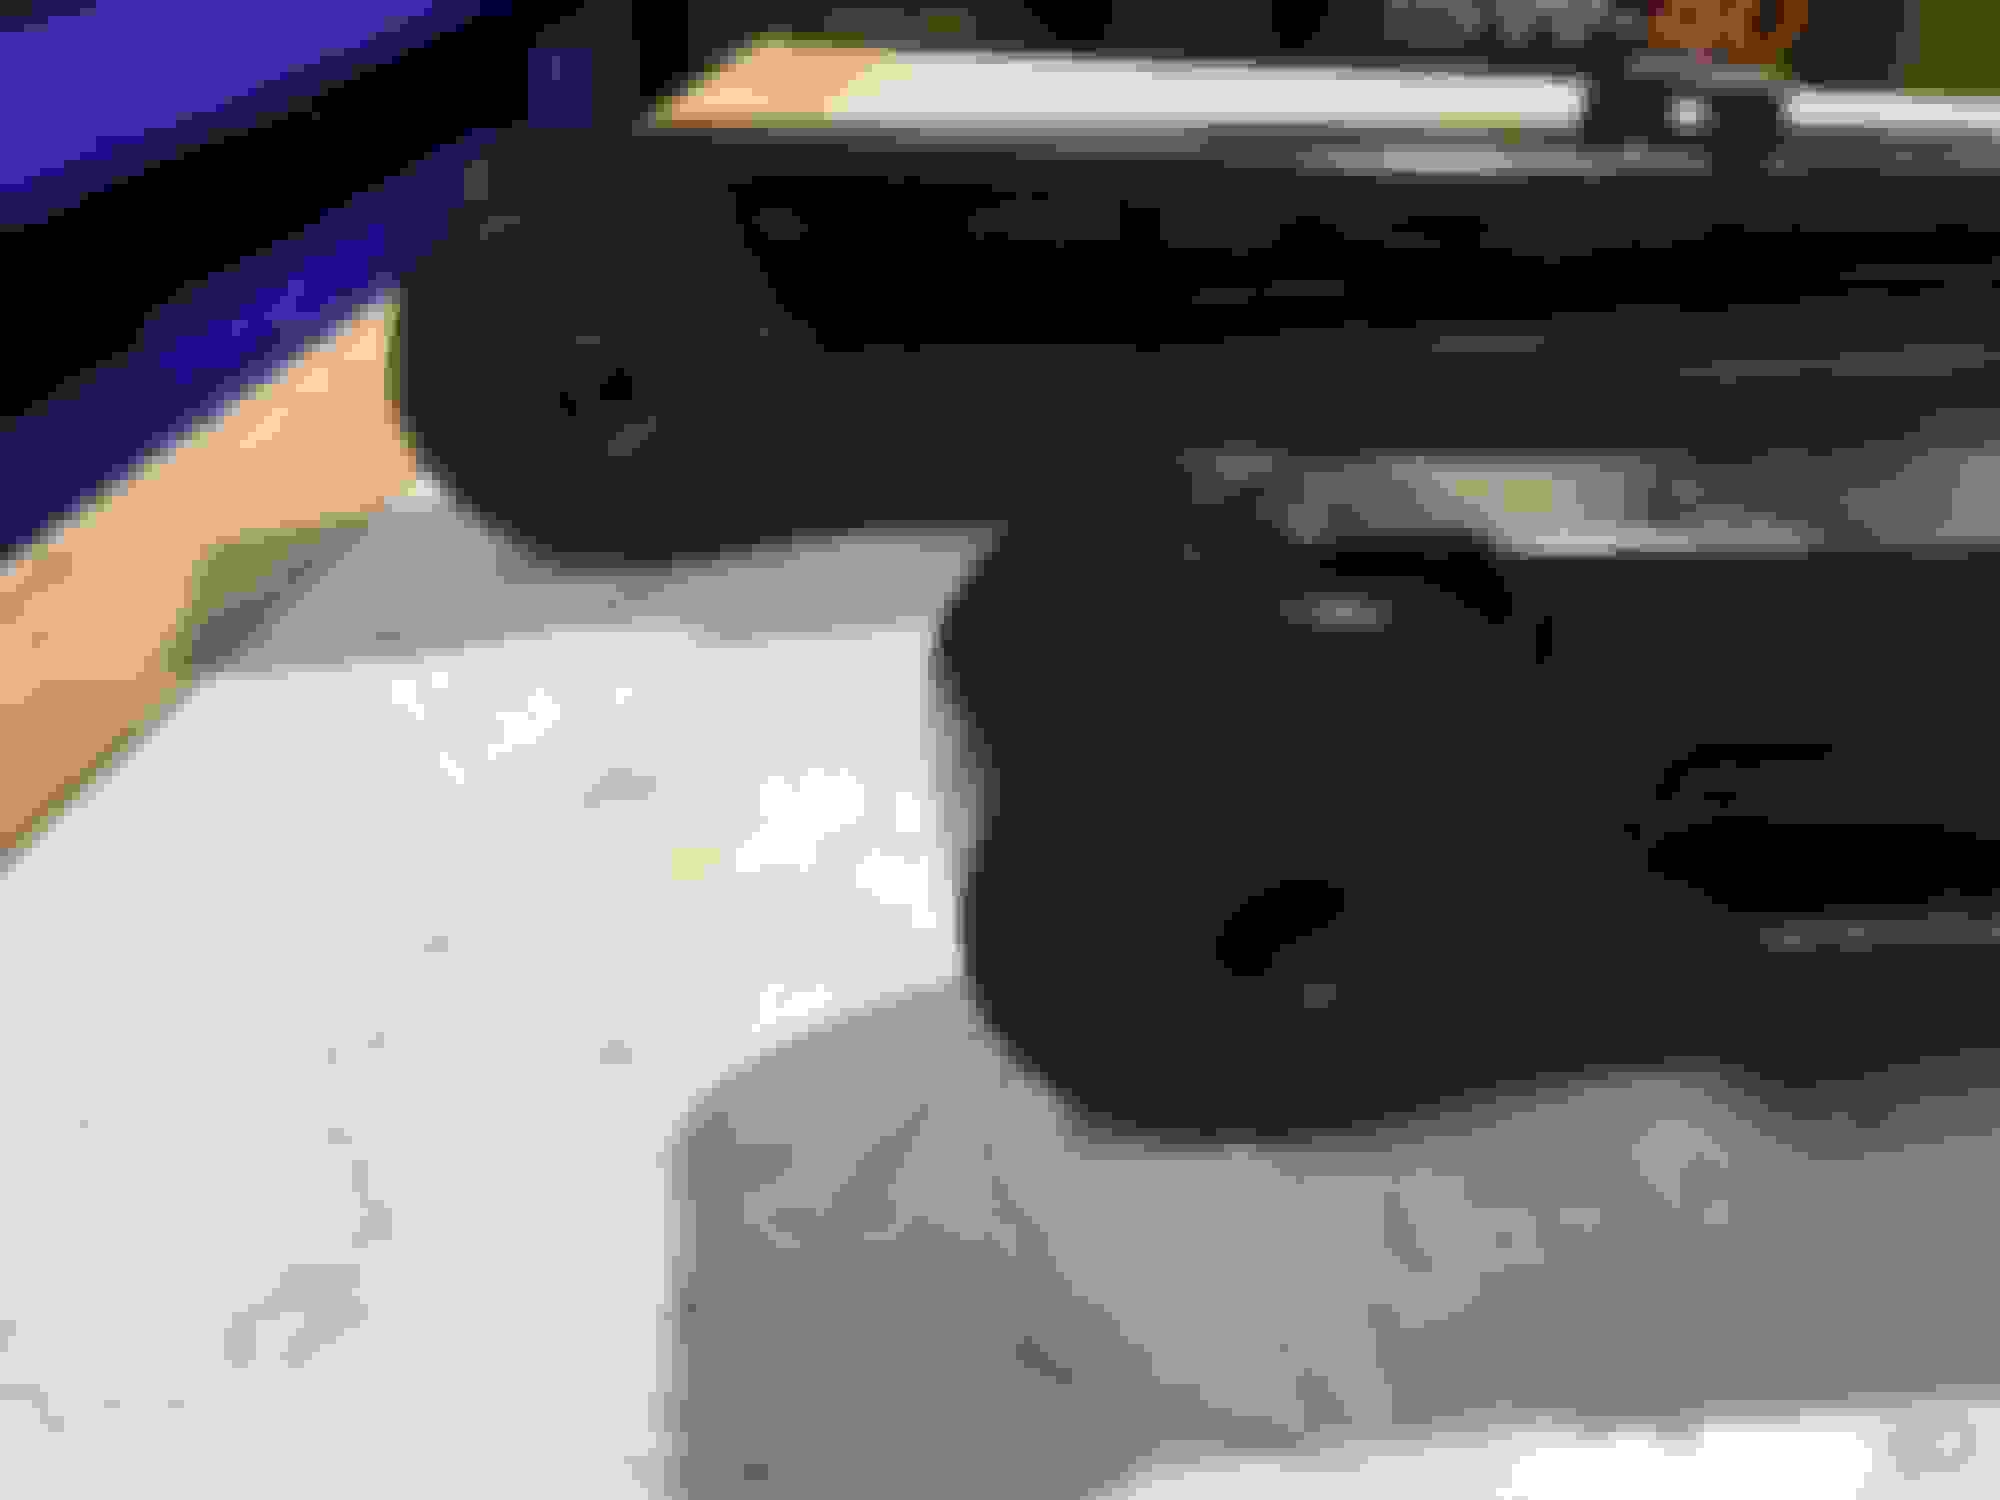
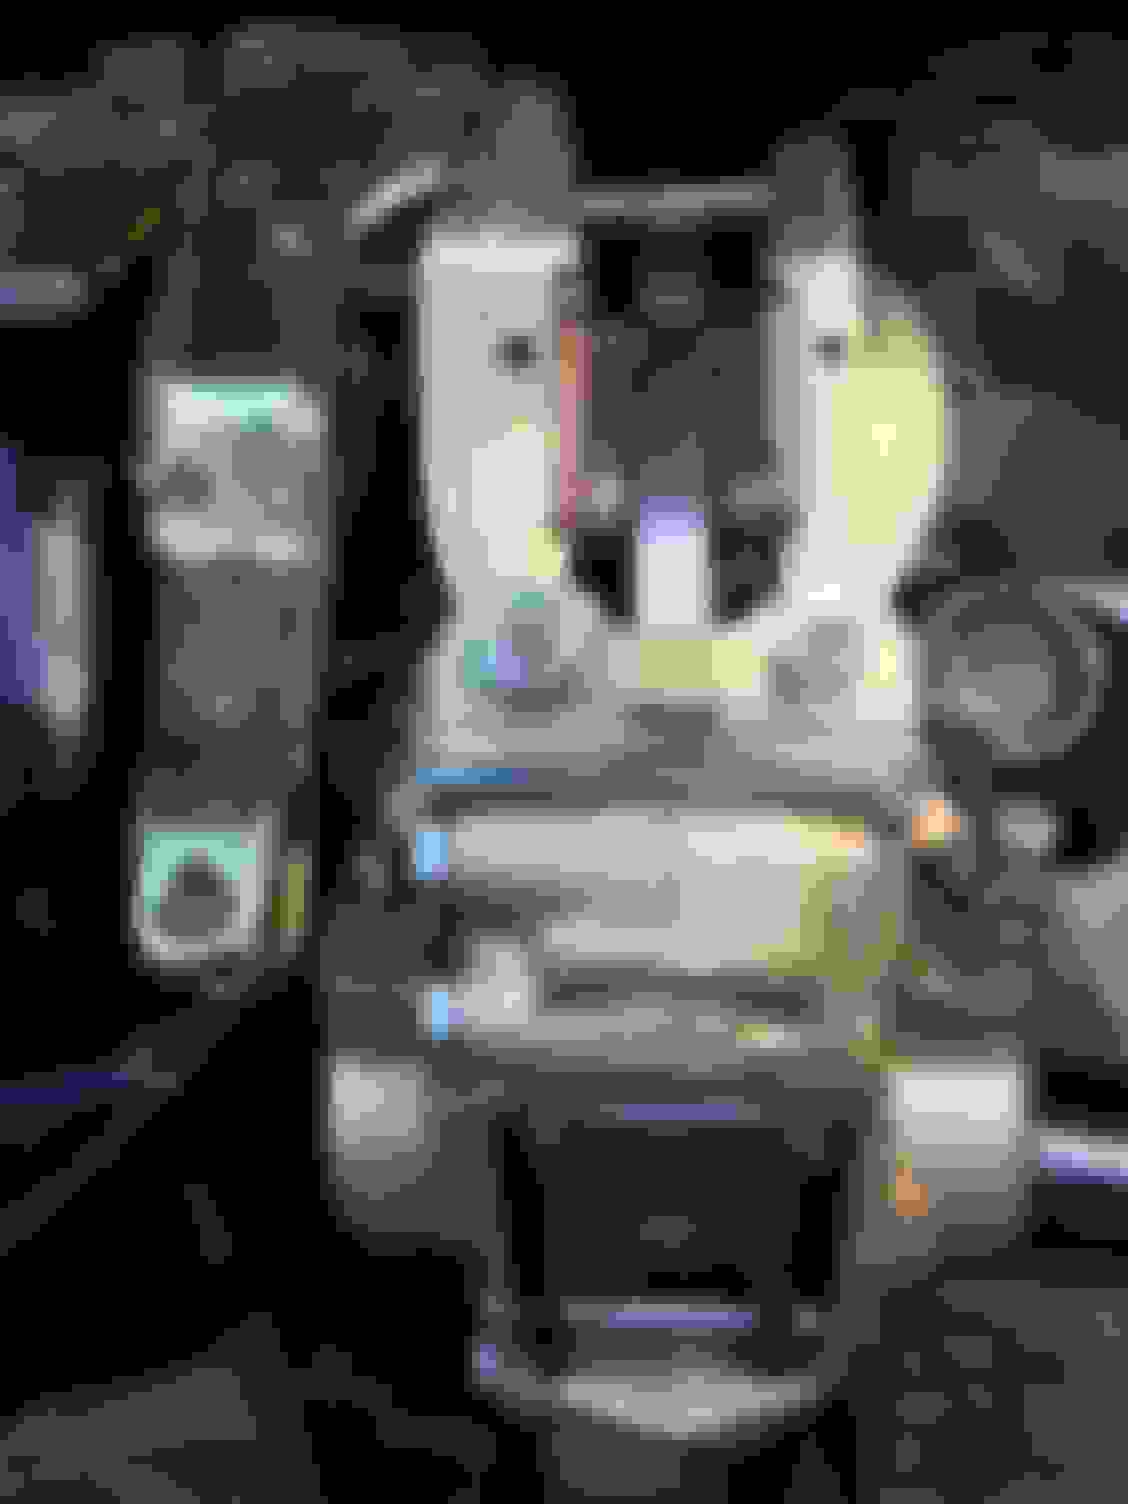
Clean up the shims - scrape off an crap to make sure everything is nice and clean.
The shims and the shaft ends...
Shim back where they came from, 3 one side and 4 on the other.
I have bolted the drive shaft up with an old nylock nut at this stage.
Nothing is tight.
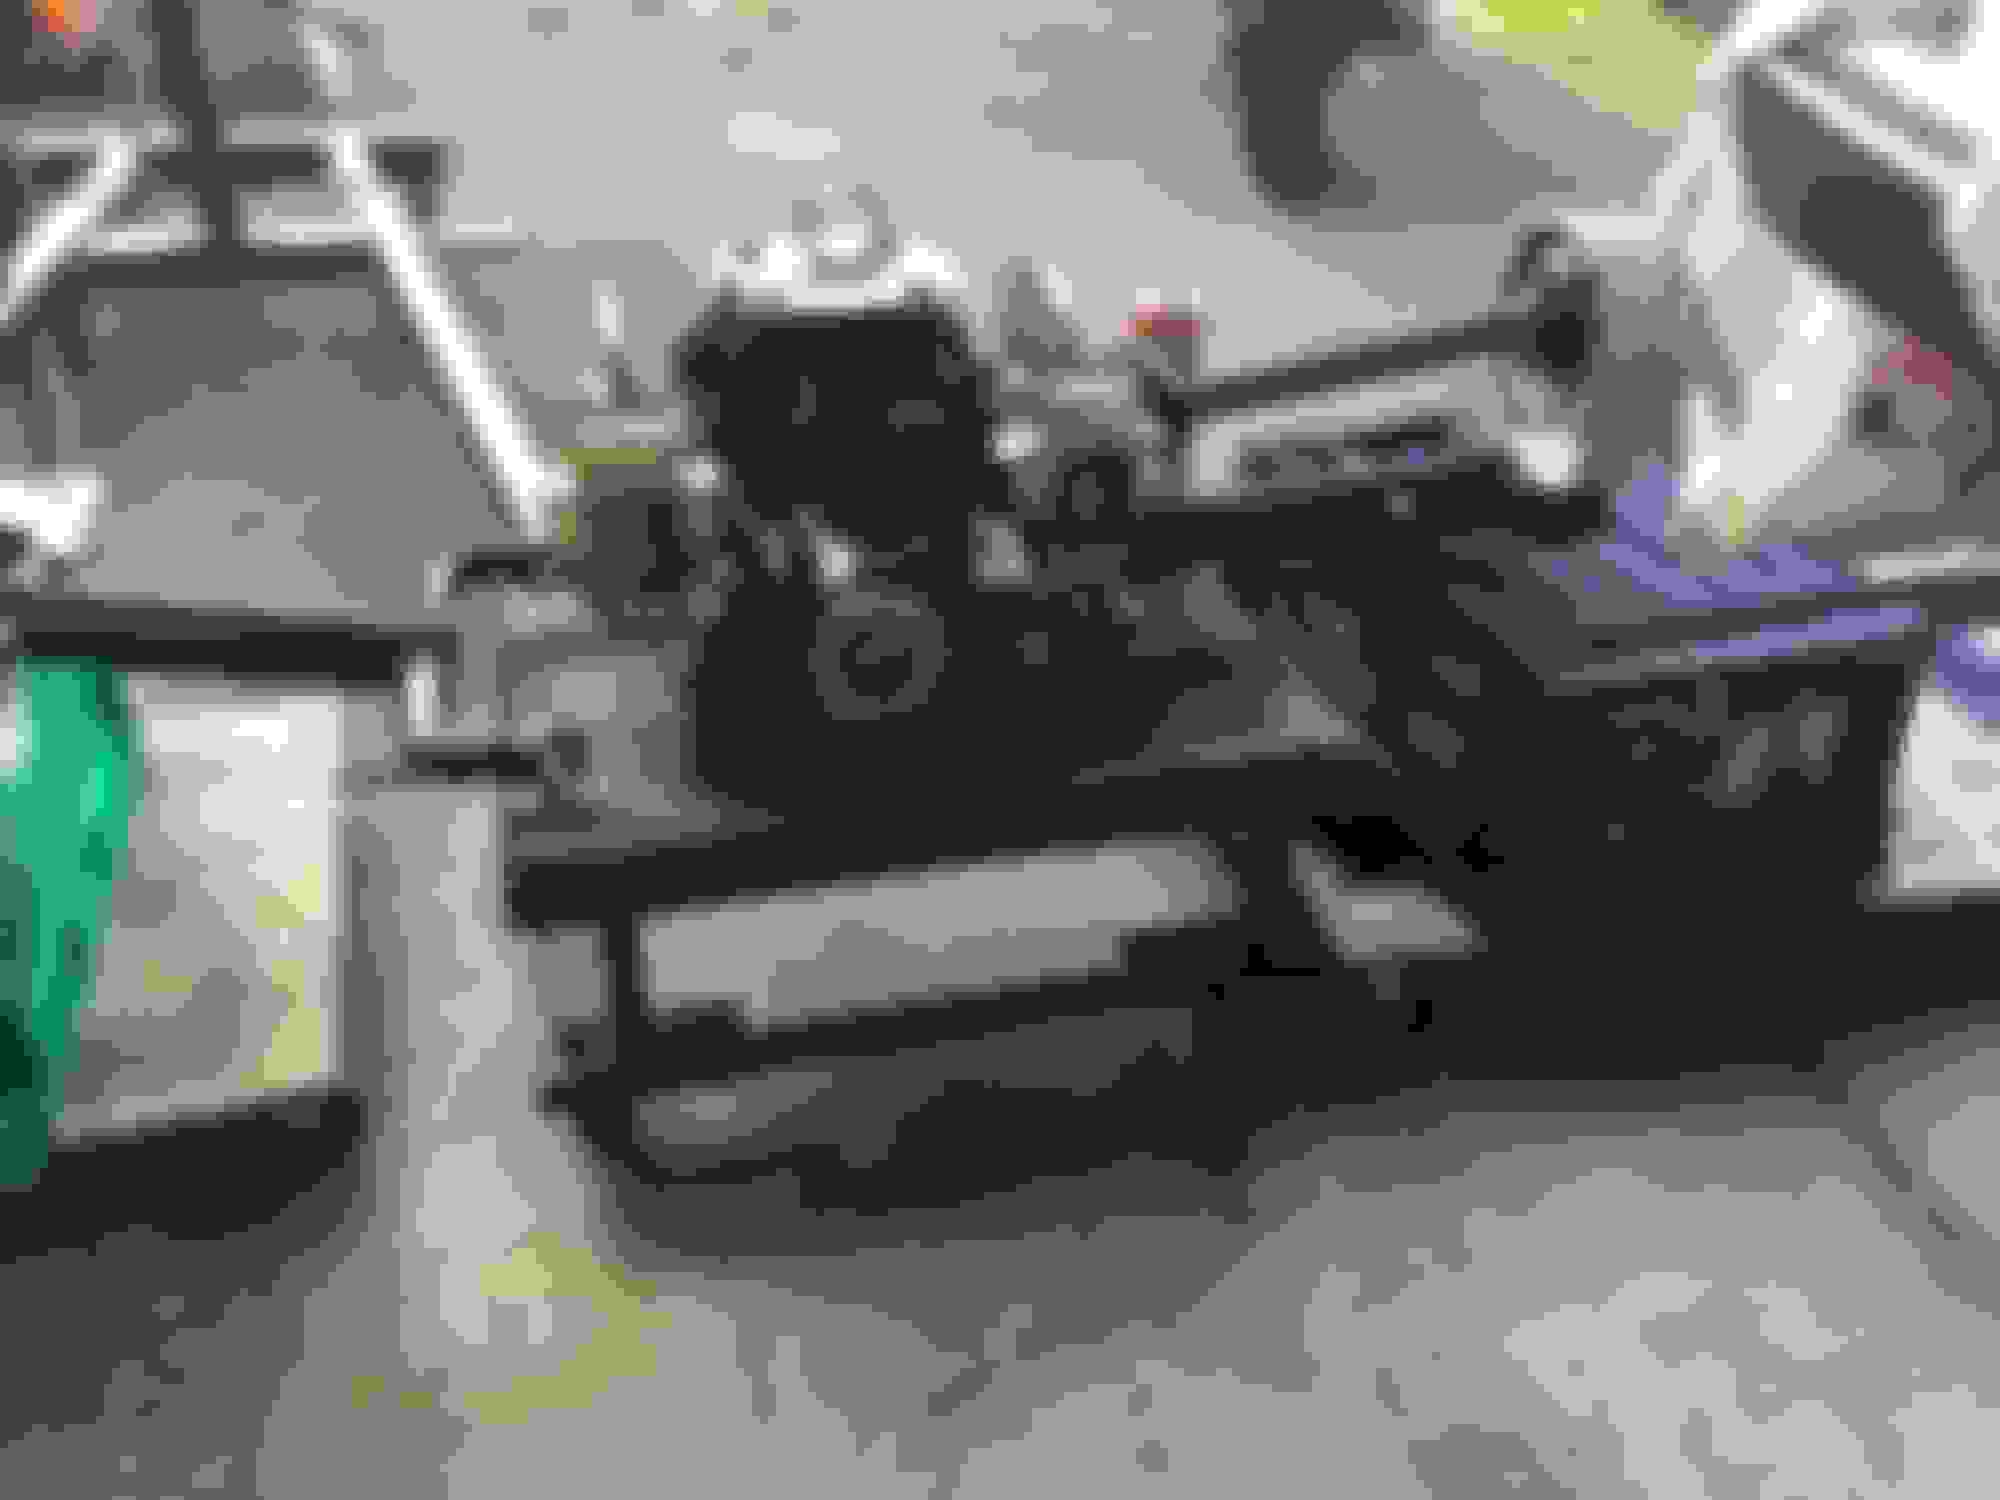
Cage off - and parked for the night.
I still need to fit the shocks, before the cage and tighten everything
Not sure about that one yet... tomorrows play.
Also the bottom plate, plan is to lift with my engine host and bolt it on from underneath.
The wish bone shaft spacers will be put in - I am thinking a long dummy shaft like OB uses would work to keep everything lined up when the cage goes on.
Or if I can reach inside the cage the short shafts will do the job... push the ali shaft through with the threaded rod, just enough to remove the ali shaft.
Install the spacers and keep pushing though the cage on the other side...
Hand brake calipers... brake lines etc...
But so far fingers crossed it worked and nothing has been left out...
Duke
Lovely looking job on the bits, really nice.
Where are the protection tubes that go between the dogbone eyes?
DO put some rag in to block the speedo hole into the diff, it is SO easy to get something in there that will ruin the diff internals.
Good luck with the wishbones.
Thanks Greg - the tubes are ready to go.
And yes - I put some tape on the hole... I should have done that earlier. your not wrong about ruin the diff, that would be a complete disaster!!!
Thanks to everyone for your advice and support without it I would not have even attempted this... actually with out this forum i would not own the XJS.
It was one of the reasons that made me swing to the XJS.
I went to work this morning and pressed in the new radius arm bushes...at one point I thought I had them upside down...the feeling of dread slide down my spine...
But a quick phone search and I was good.
Use this to press them in and it was applying some load, that quite a bit of force to put them in... I was surprised and worried all at the same time.
Applied some anticize
After a couple of moments they are done, original JAG parts.
A lot more expensive that copy parts I will add...
Fitting the brake pads and hand brake.
I will see if the cage will fit with the pads on, I am hoping it will.
Question - Brake Pad Grease to stop squeaking when braking, my car used to do that and I am hoping to stop it..
I have no idea if it was front or rear that was causing it.
Question - Setting up the hand brake calipers, I can unwind the screw and put the pins in and use the lever and the pads tighten up nice and tight where there is just a little clearance.
is this how it is done? I can not see any other way. once in this position, I will add the fork to keep the pads separated.
Question - The pads are only location on one small part of the pads, the will wear in and the contact surface will grow... normal?
No need to grind a larger contact area on the pads? Are the original pads on an angle to solve this ?
Over all - very pleased so far - Like OB said you get to this point and it cool, I really enjoy putting nice clean parts together.
Duke
I think you have a copy of my handbrake mod paper? I think the best plan is to:
I assume you are asking about the pad contact area? If so, initially use the screw adjuster to get the pad as close to the disc as possible (the self adjusters - the mechanism activated by the levers - are there to compensate for wear in use), then shim up the pads
As my paper explains, because of the position of the caliper pivot, the pads only touch at one end unless adjusted very close to the disc. I recommend using shim stock under the pad to get the pad as evenly spaced to the disc as possible, 10 thou or less. Trial end error is the only way using shims and adjusting with the screw, and it is a bit of tedious task; but once done the H/B will be good for years and years.
Once all done, the insert the split pin in the screw head to lock it.
The handbrake pads will not "wear in" as they are not subject to the disc significantly rotating. All you will have is a tiny contact area that will not be efficient and will not improve with time.
Handbrake pad perfectly placed across its entire area, a few thou from the disc
Last edited by Greg in France; 10-10-2021 at 05:50 AM.
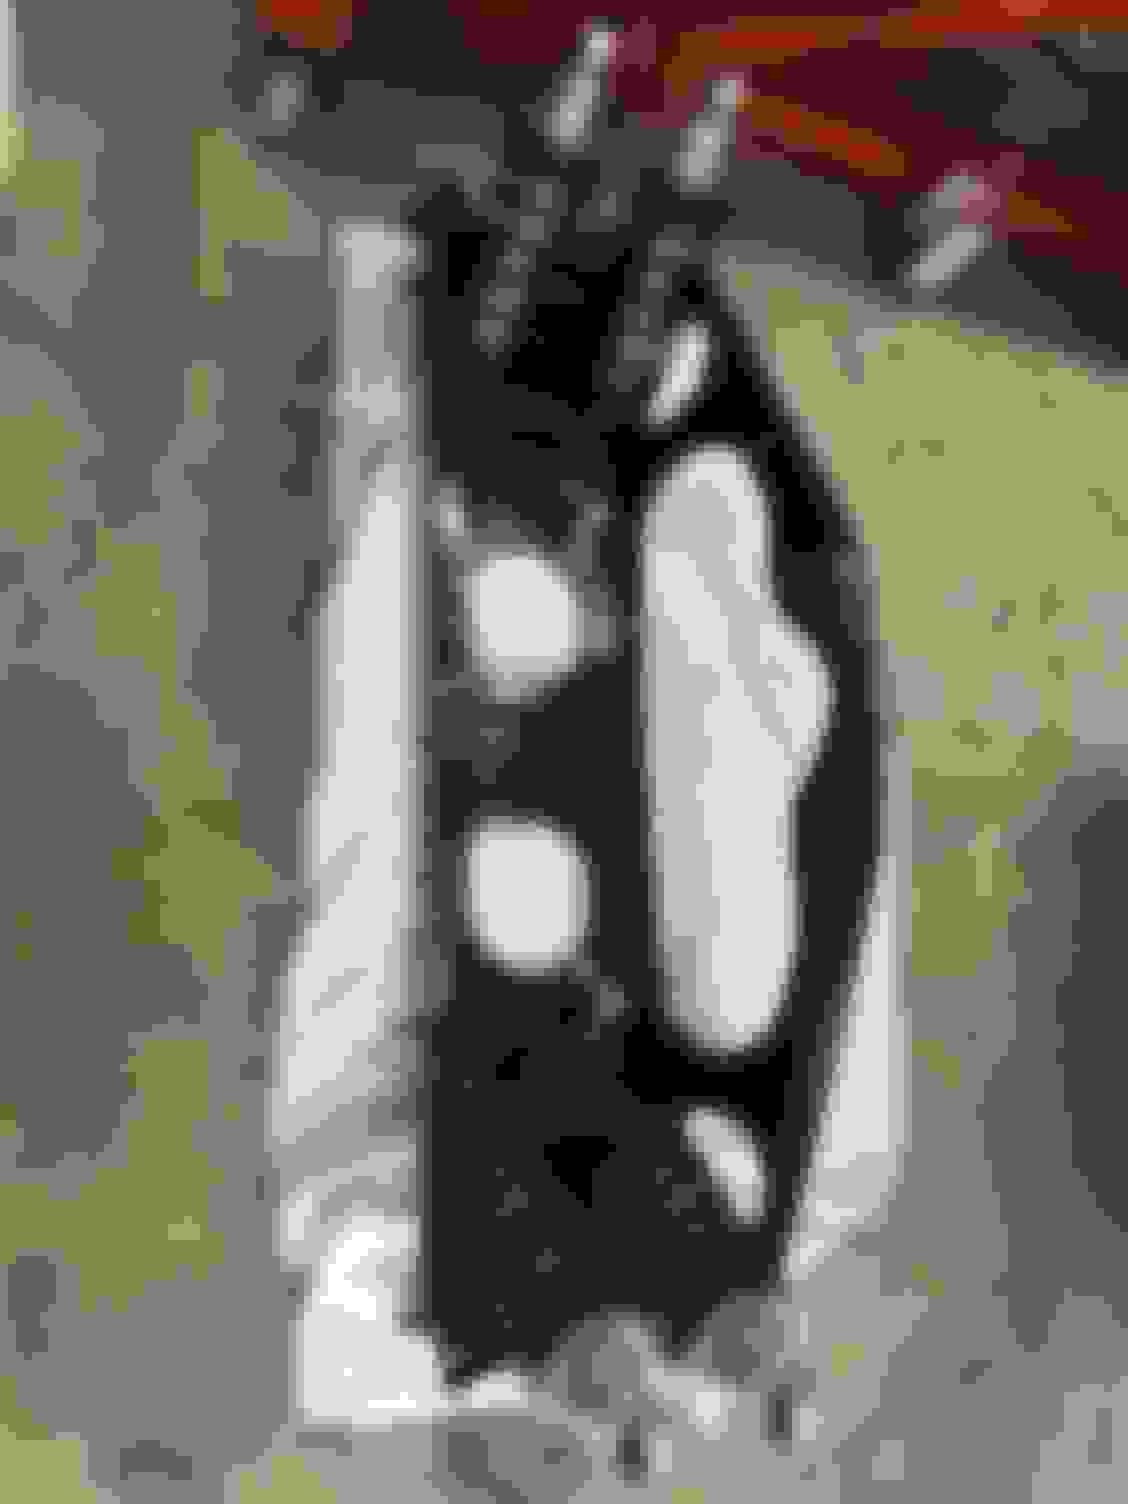
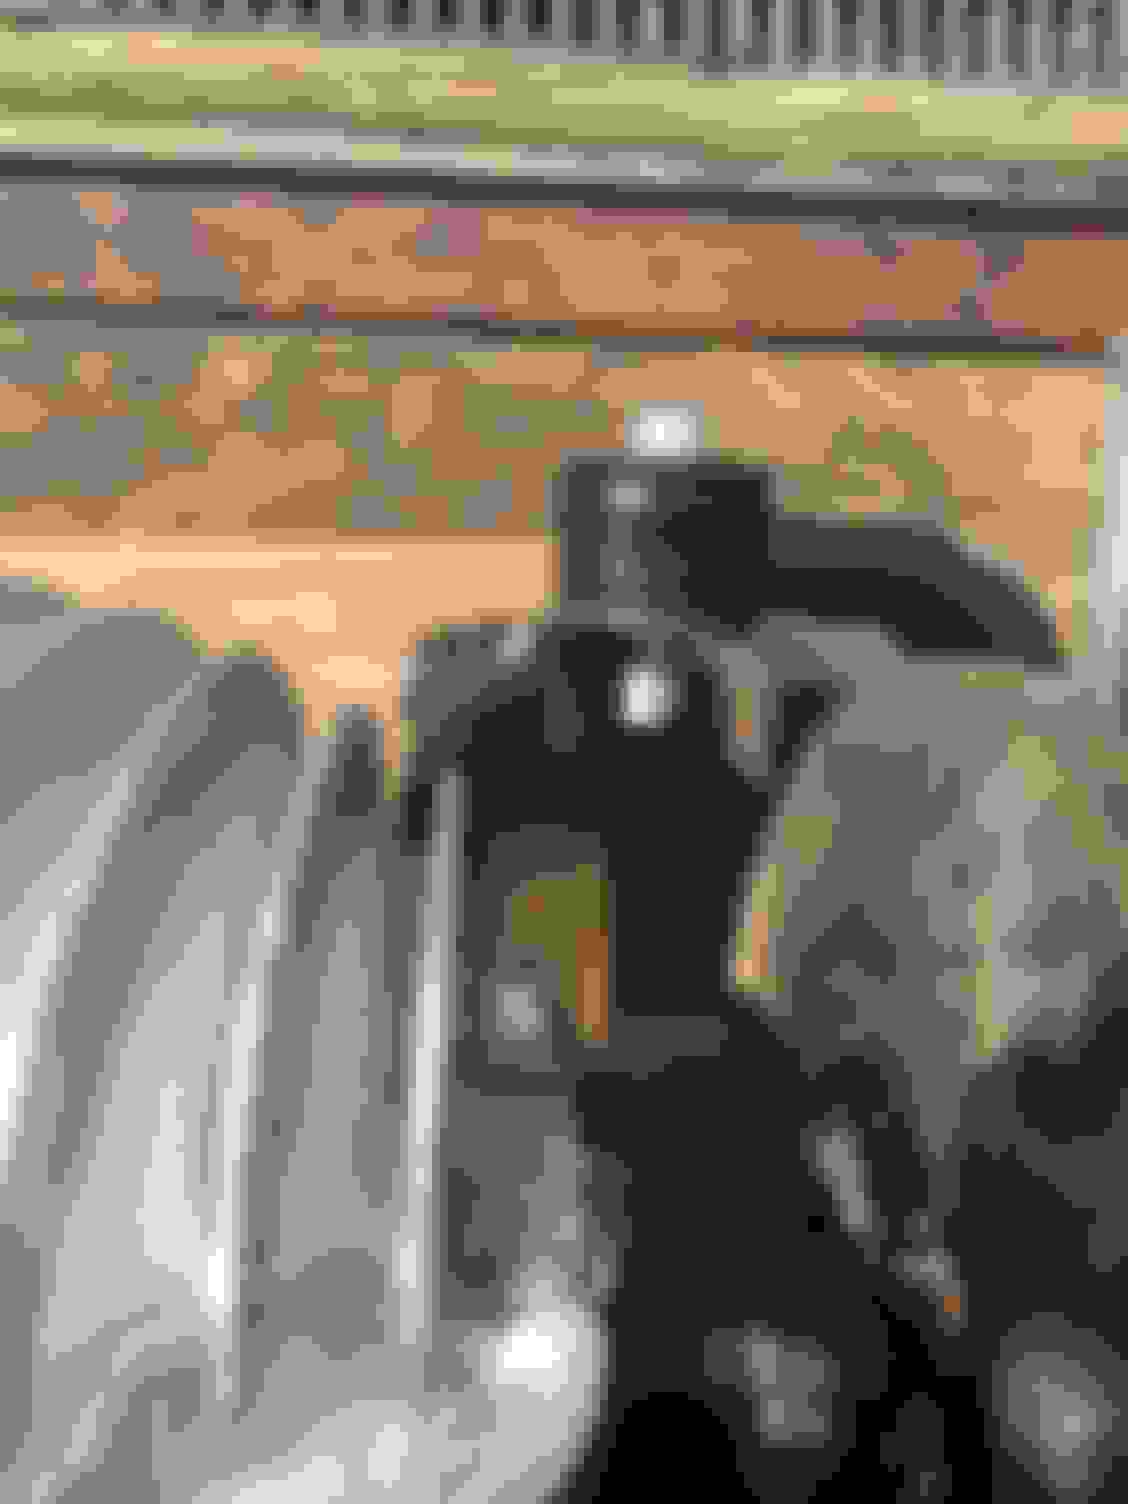
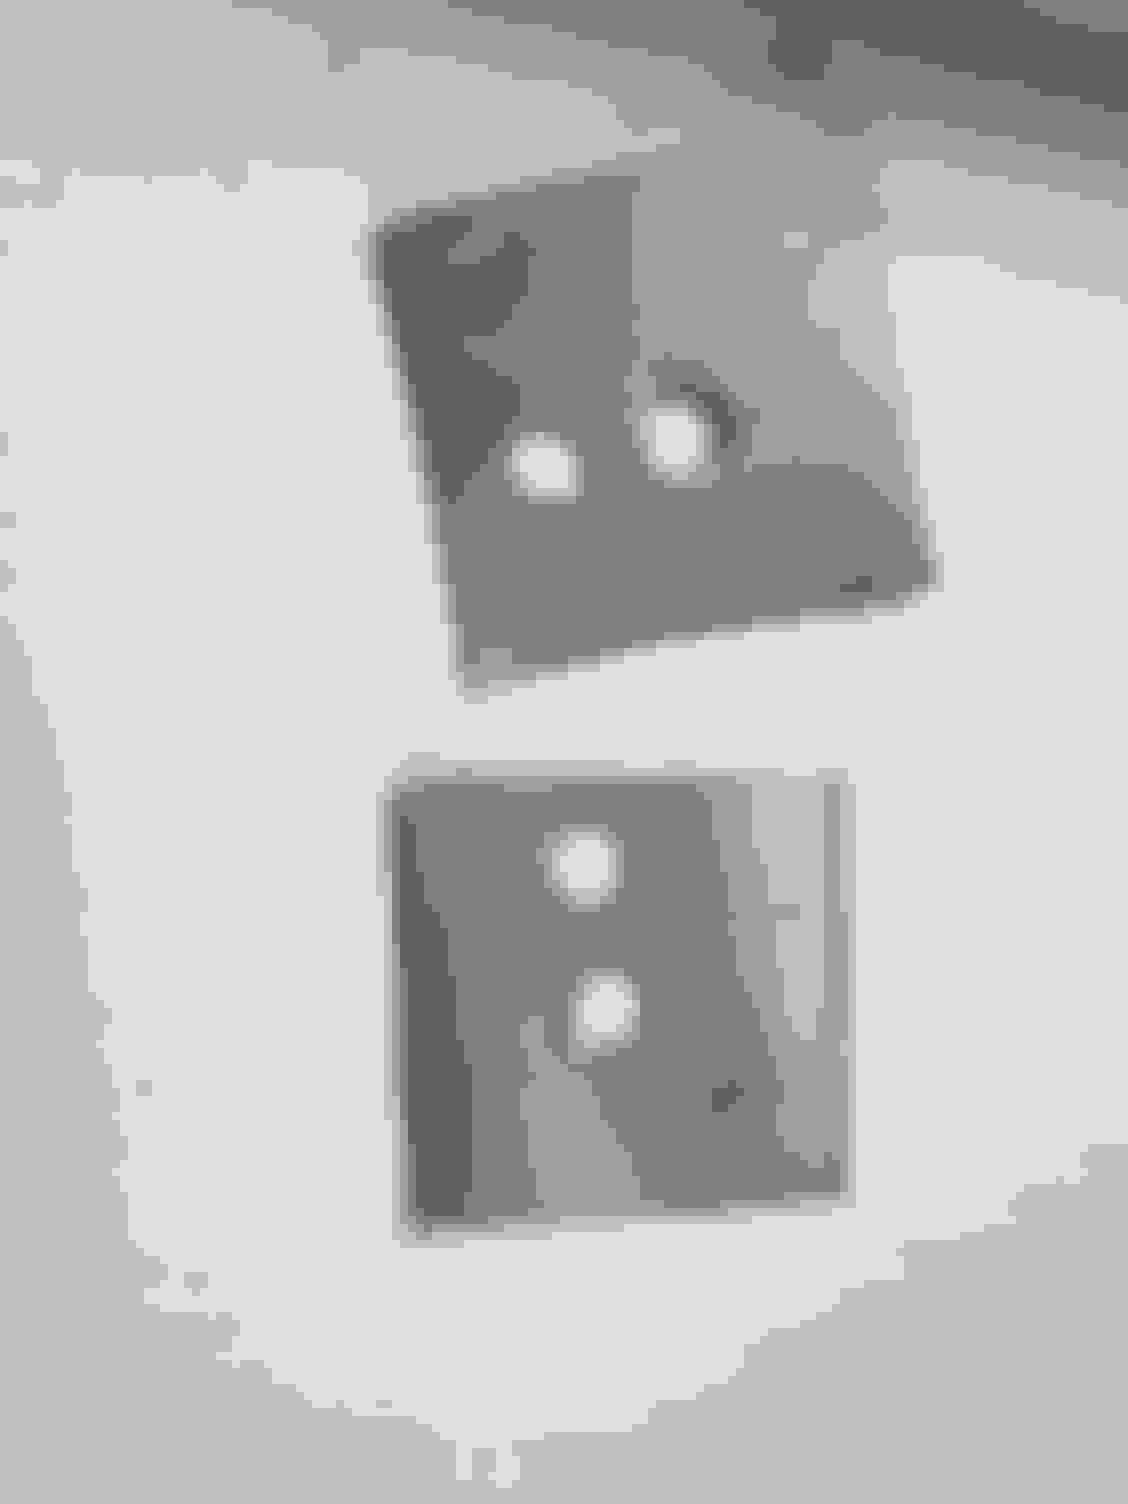
Hand brake pads sorted, I ground the pad to increase contact area with a sanding pad on the disc grinder... and used sand paper to flatten the surface.
Not the full face but 1/2 the pad.
I am thinking a little drive with the handbrake lightly on will wear them in.....
But I will add and I have done this many times know.... I open the pads, like 4mm gap and use the hand brake lever and it slowly closes up tight.
So based on this - it will tighten it self with a little use.... Maybe I need to pull some handbrakes with the teenager in the car lol.
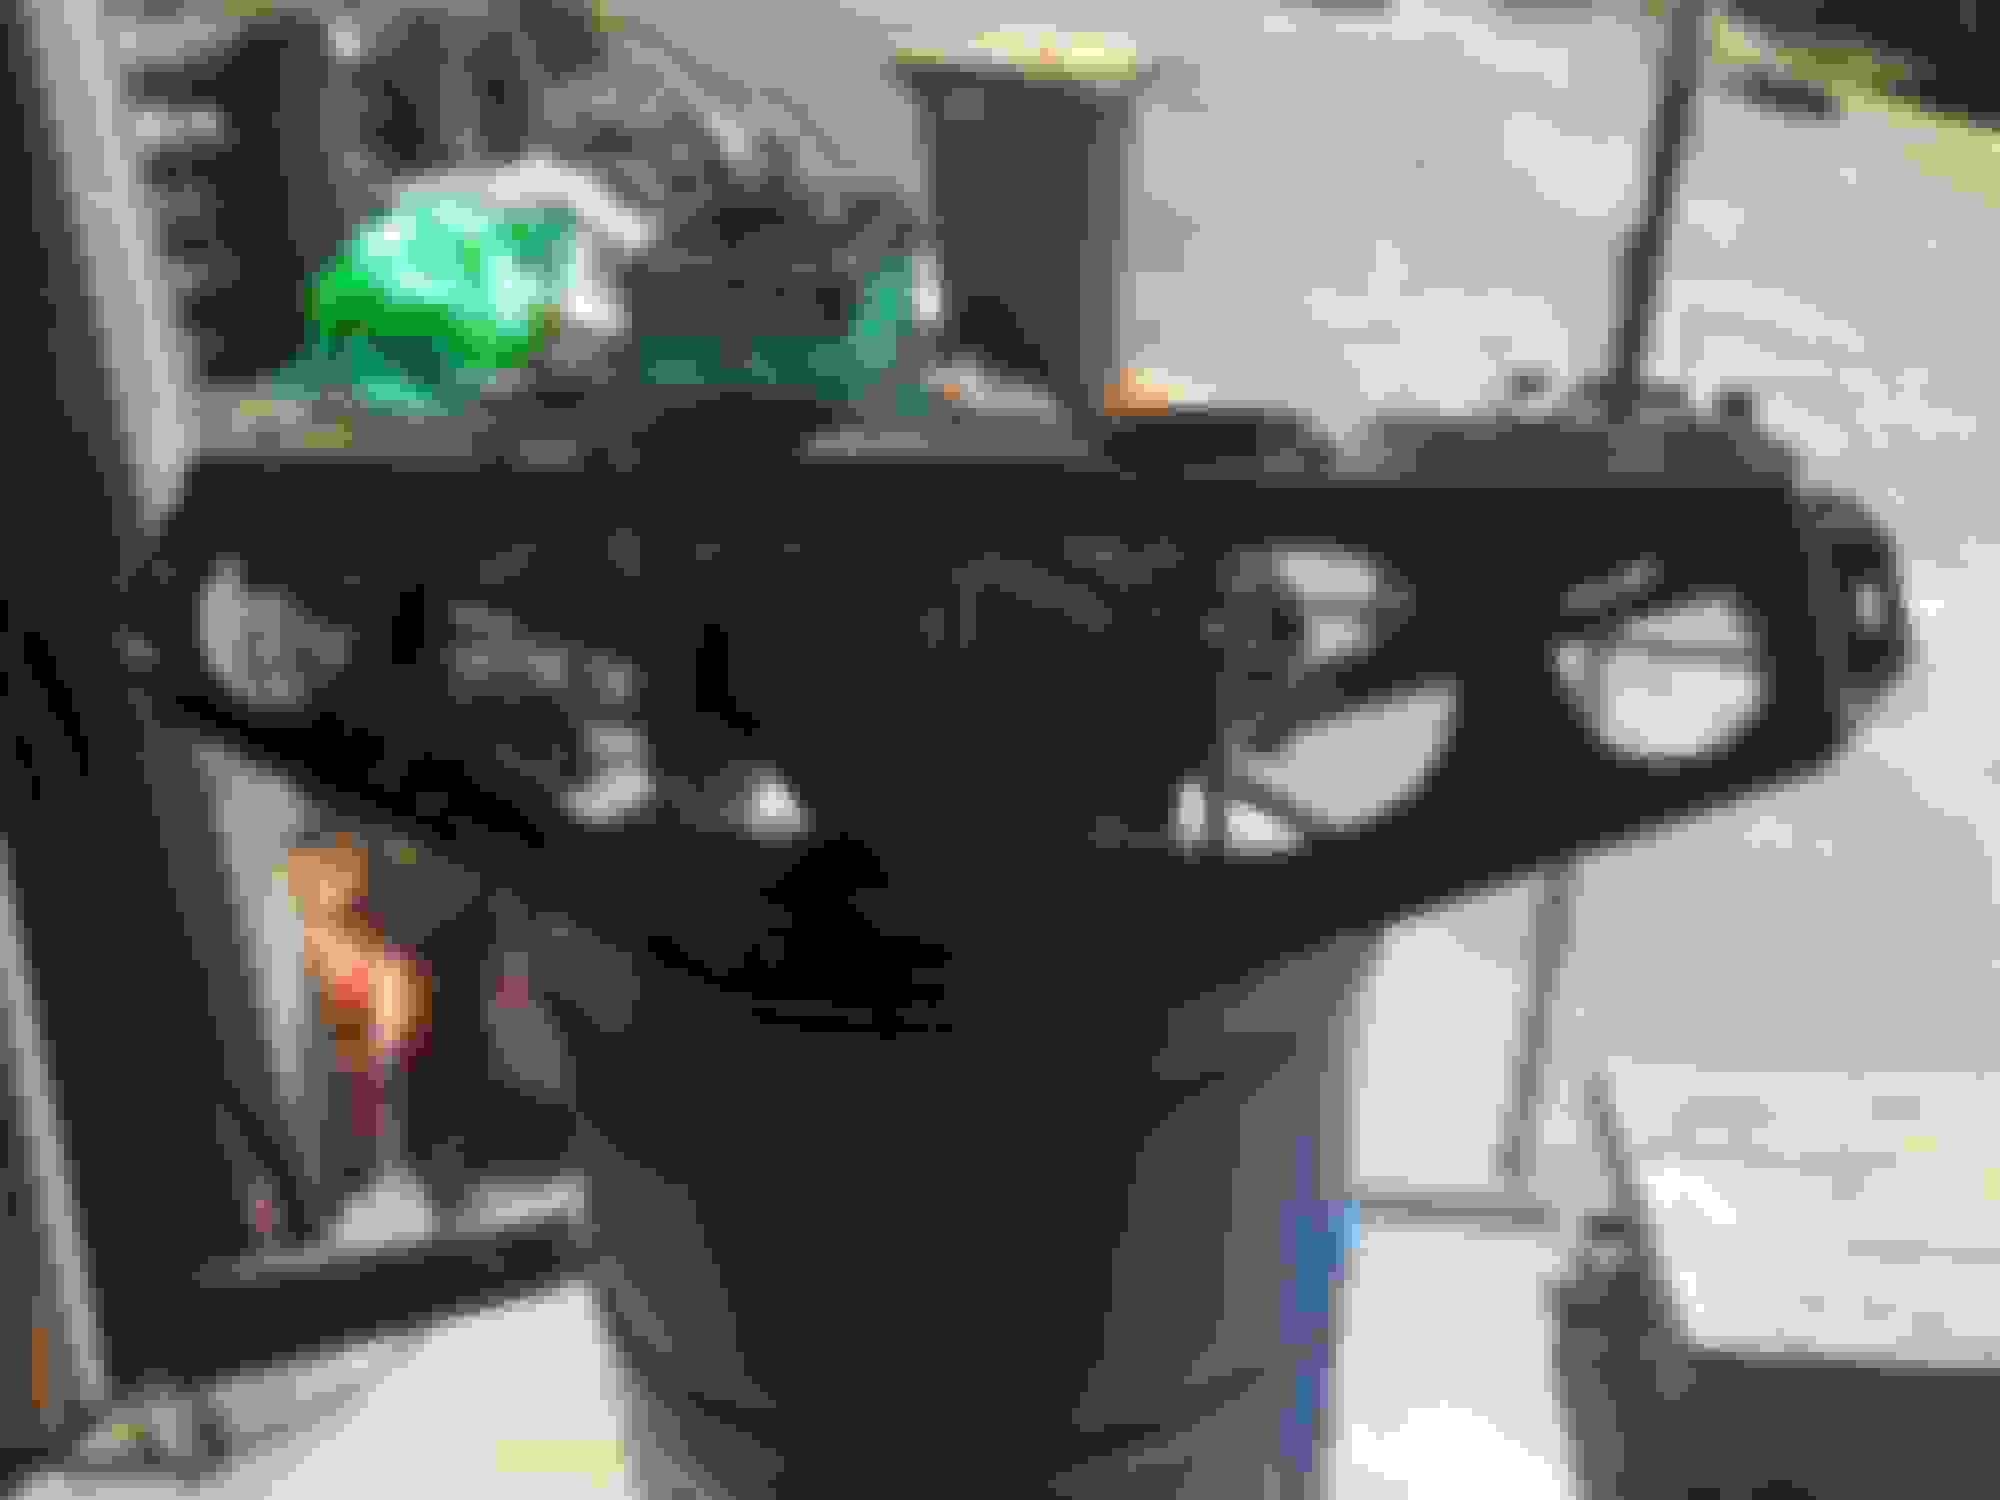
So it is time to put the cage back on, if you watched the video posted above you will notice he stops and adds a note.. "Some time later"
Understatement ............ all day later.... OK I was doing other stuff but this is not a quick job.
DO not and I mean DO not attempt this if your in a rush, this is a job to be done when you have all day... like in a lock down when I am meant to be working on line..
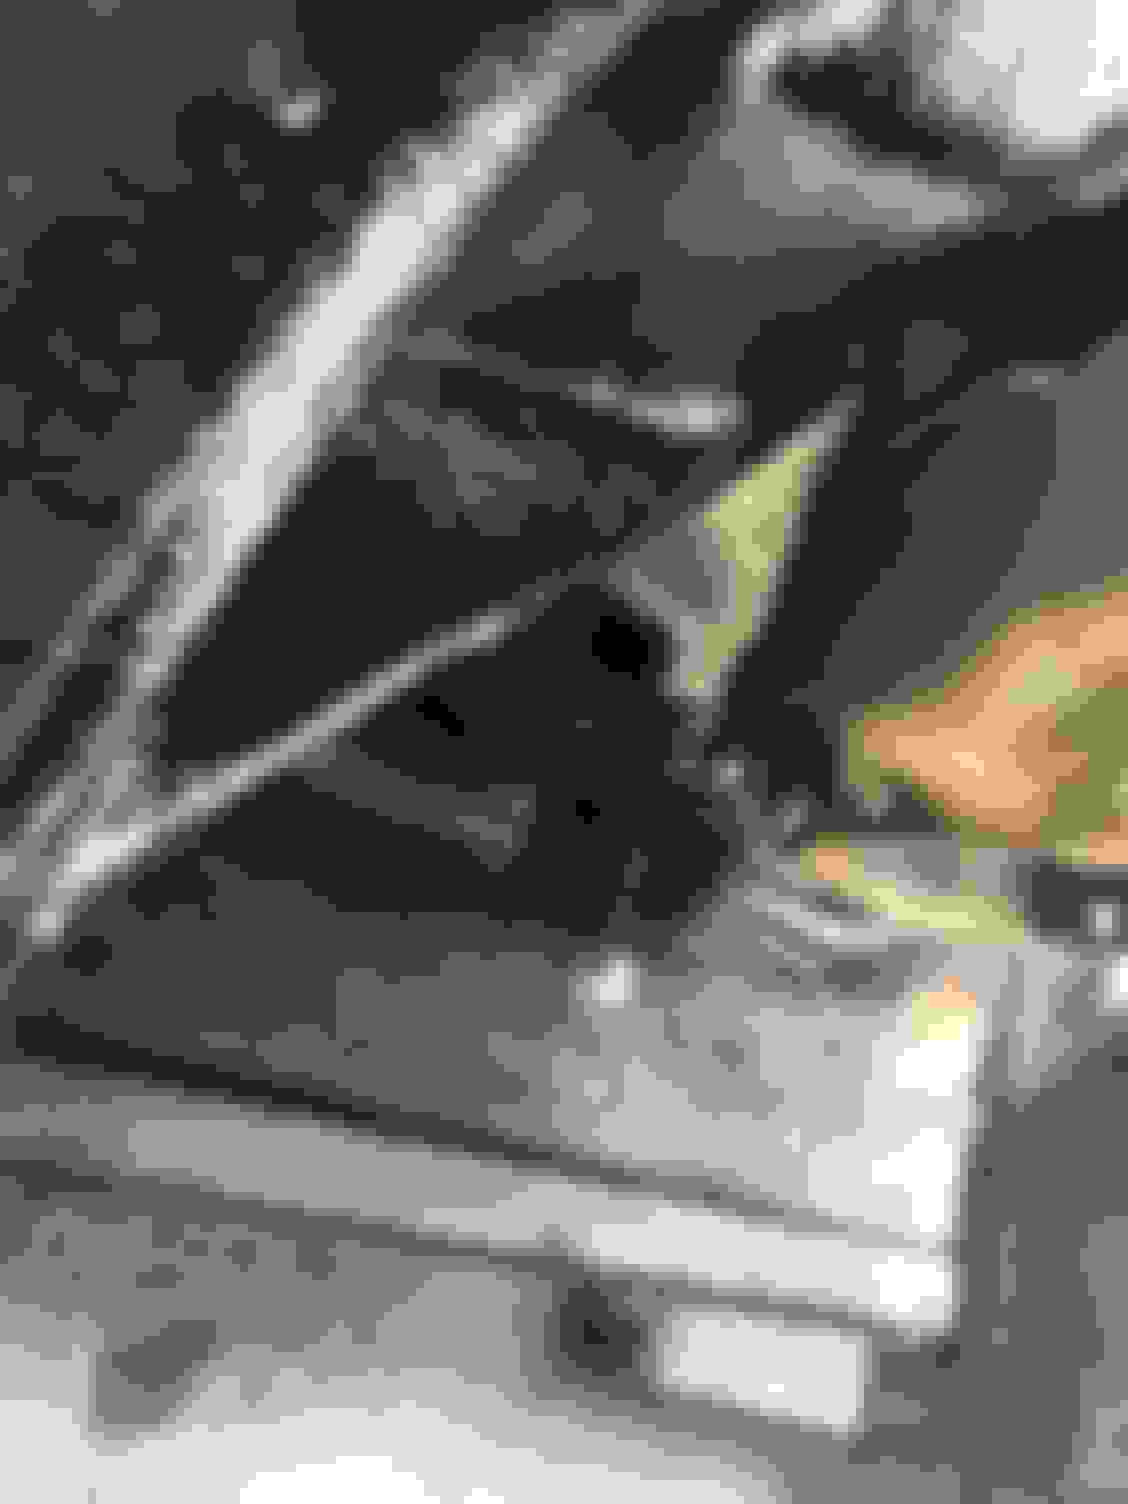
- The short aluminum shafts - are a must to get things lined up to start with, but you need a long one to line up everything before the shafts go in.
Nothing I could do made everything line up easily, with the long shaft... tighten everything, undo all the bolts so the cage and bottom plate are loose.
Jack it up, lower it down... the best was when it was flat on the deck. It took some effort to hammer the ali shaft in... It had to come out the same way !
I put a nice tapper on the aluminum shaft and hammered it in, then put a nut on the shaft and hammered that in from the other side pushing out the ali shaft out the way it went in.
It was not easy at all. The old nut on the shaft was well mushroomed when done as was the aluminum shaft. But there was no damage to the shaft.
I am not sure where I went wrong but bugger me this was the most time consuming job so far.....
But its done ...
Comments please... how could have this been done easier?
Everything is loose and needs tightening.,.
How tight do I do the nuts up on the shafts? in Ft/Pound?
I really wanted to add a washer before the nut but there was not one when I pulled it a part.
I have seen many places I would have used a washer when one was not used, was this to save money or weight?
But really why were washers not used?
I always find pictures helpful so I have added heaps for this reason.
I am not too good a reading a manual....
 10-02-2021, 03:34 PM