When you click on links to various merchants on this site and make a purchase, this can result in this site earning a commission. Affiliate programs and affiliations include, but are not limited to, the eBay Partner Network.
I recently had a very similar problem and have never used the Handbrake on an Automatic Car, as I just leave her in Park but need it to be working for her annual inspection where unfortunately they test this on the Rolling Road where there is a very good chance that this will rip the pads off with the torque
Which is exactly what happened and left me with a major problem to sort out, which can mean dropping the Cage in order to fix it and though I have done that before, in the interest of research I thought I'd try the way that 'Doug' suggested and that works and so which way you go is up to you
Last edited by orangeblossom; 02-21-2021 at 02:29 PM.
OB - thanks for the picture, when you did it none cage removal way what did you need to remove?
On my ramps I have room to work underneath so it could be worth a go, if that does not work then out comes the cage - nothing lost?
Wow, so all of this is structurally held in the car by something like 10 bolts. What a great piece of design.
LeeP
LeeP
The designer of the Jaguar IRS was a famous Jaguar guy called Bob Knight, and by rumour he was challenged by Lyons to design something on account of how he was not a fan of live axle cart-sprung axles still used by Jaguar at that time (the late 1950s). Every Mark II ever made had a live axle. Mr. Knight is again rumoured to have completed the basic layout over one weekend.
The axle fixings are always in compression remember so the bolts are not taking much strain, even cornering loads are taken by the metal structure of the cage mounts, via the rubber of course, thanks to their inverted V design. The only aspect of the design that might be criticised is that when on a two post lift, or otherwise jacked up by the body, the weight of the axle cage puts the rubber bonding of the V mounts under tension, and the axle can fall off if the mounts are old or the bond is failing. Unlike the front subframe rear V mounts, the rear axle mounts have no rubber-bond-failure-protection insert. Remember also that the entire engine and gearbox combo is only bolted in by two 3/8 inch studs at the front, and one thicker gearbox mounting at the rear! But again, the engine weight is only in compression on the engine mountings, there are no tension loads on those studs. https://www.jaguarheritage.com/jagua...le/bob-knight/
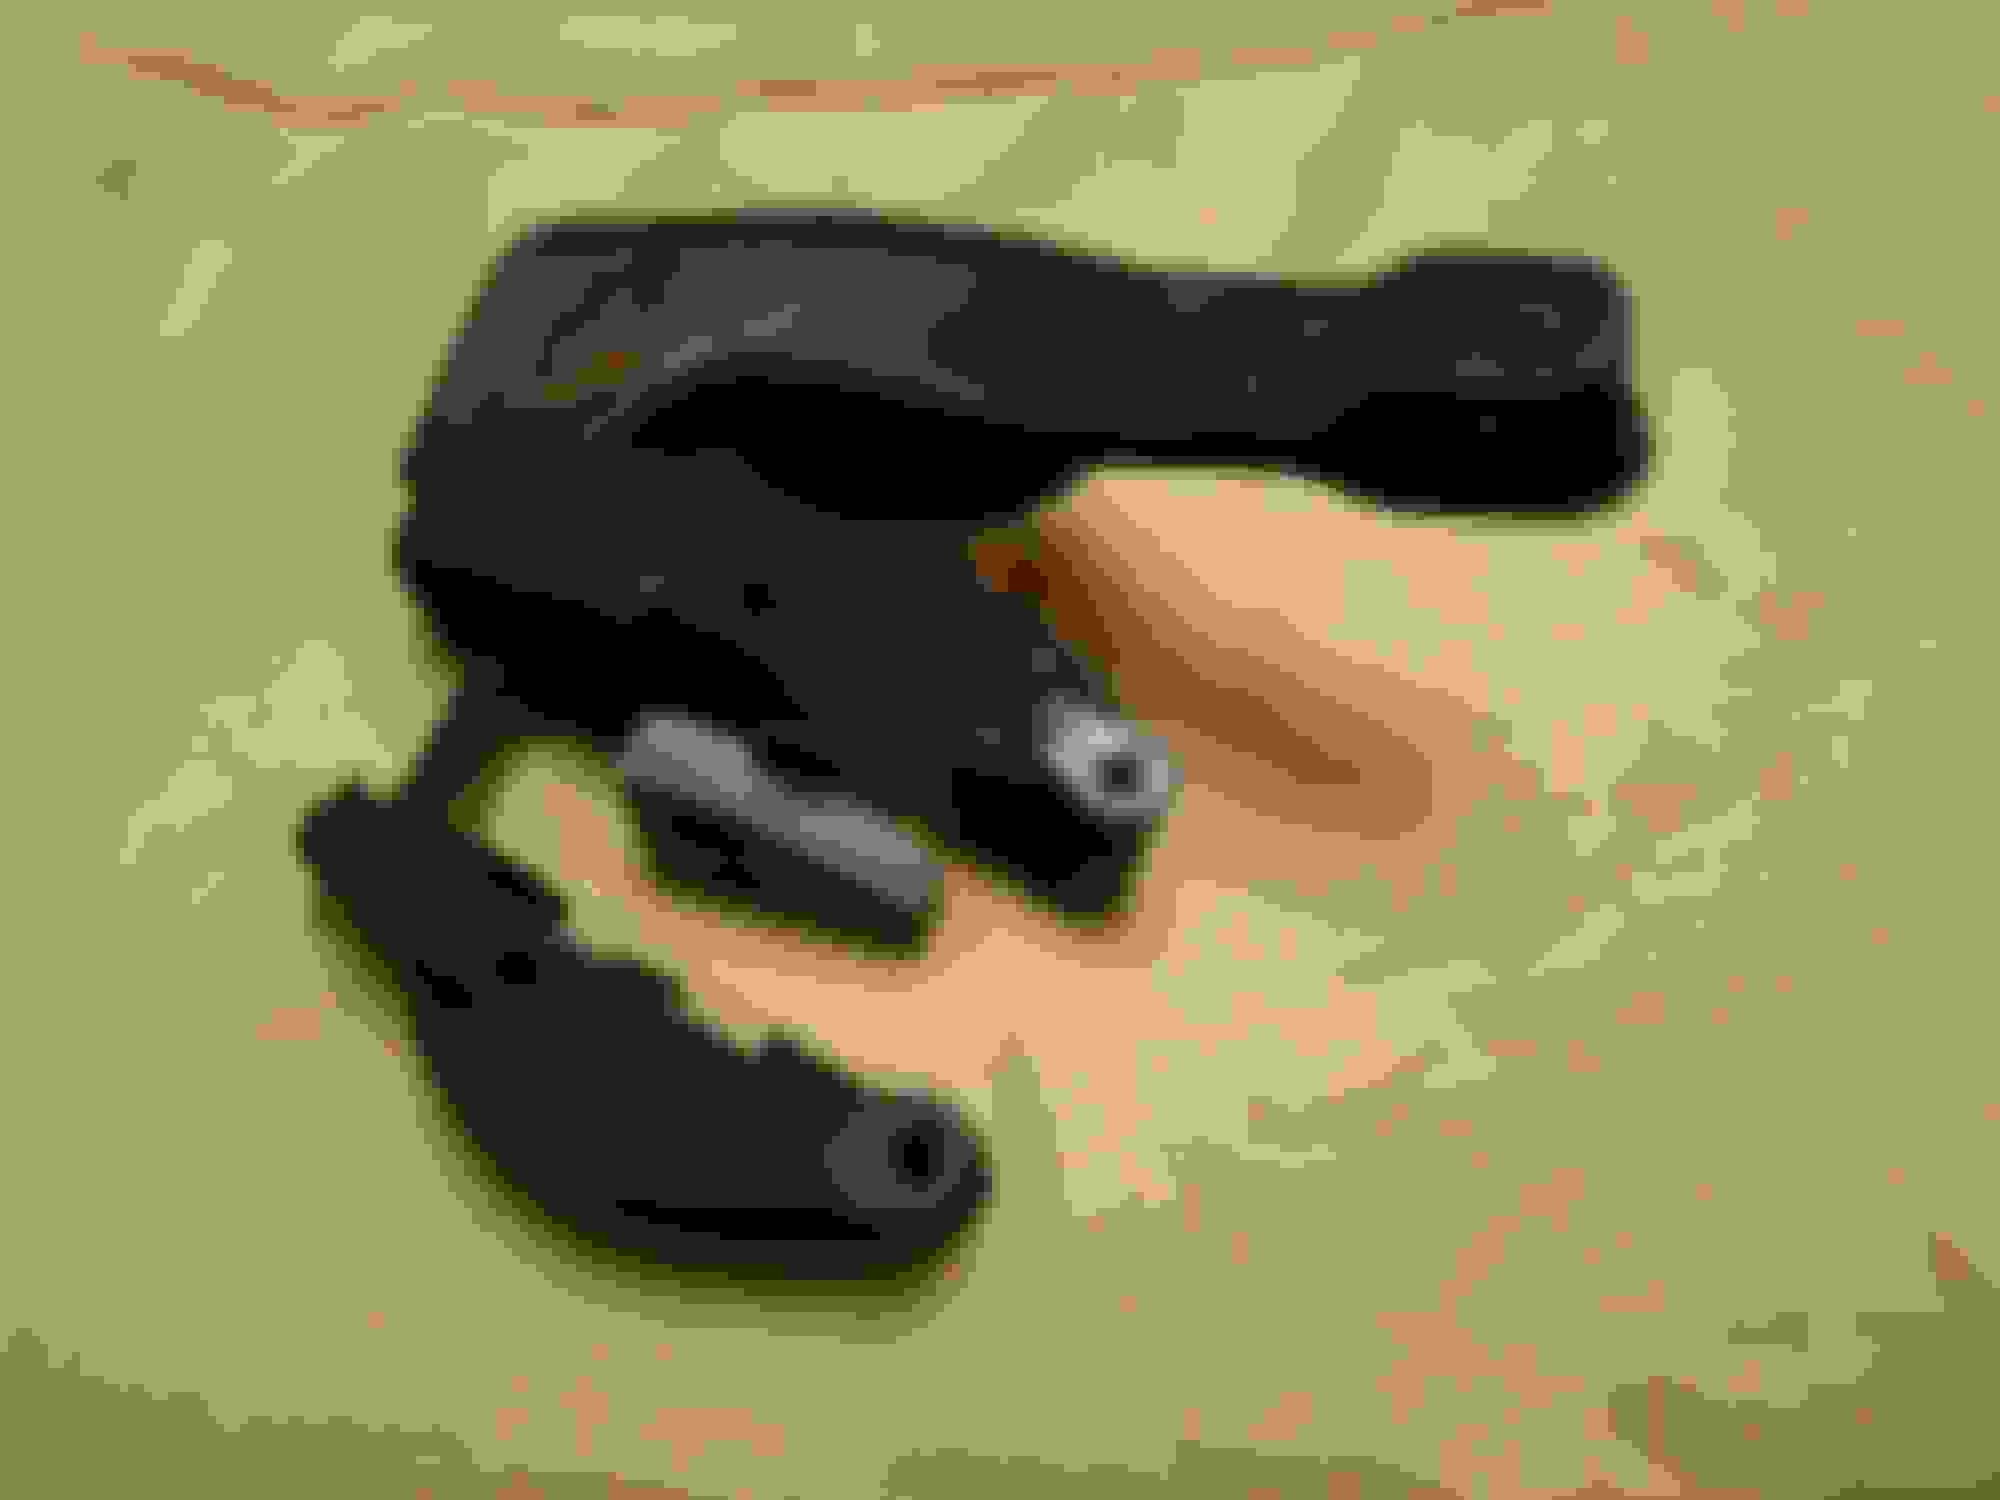
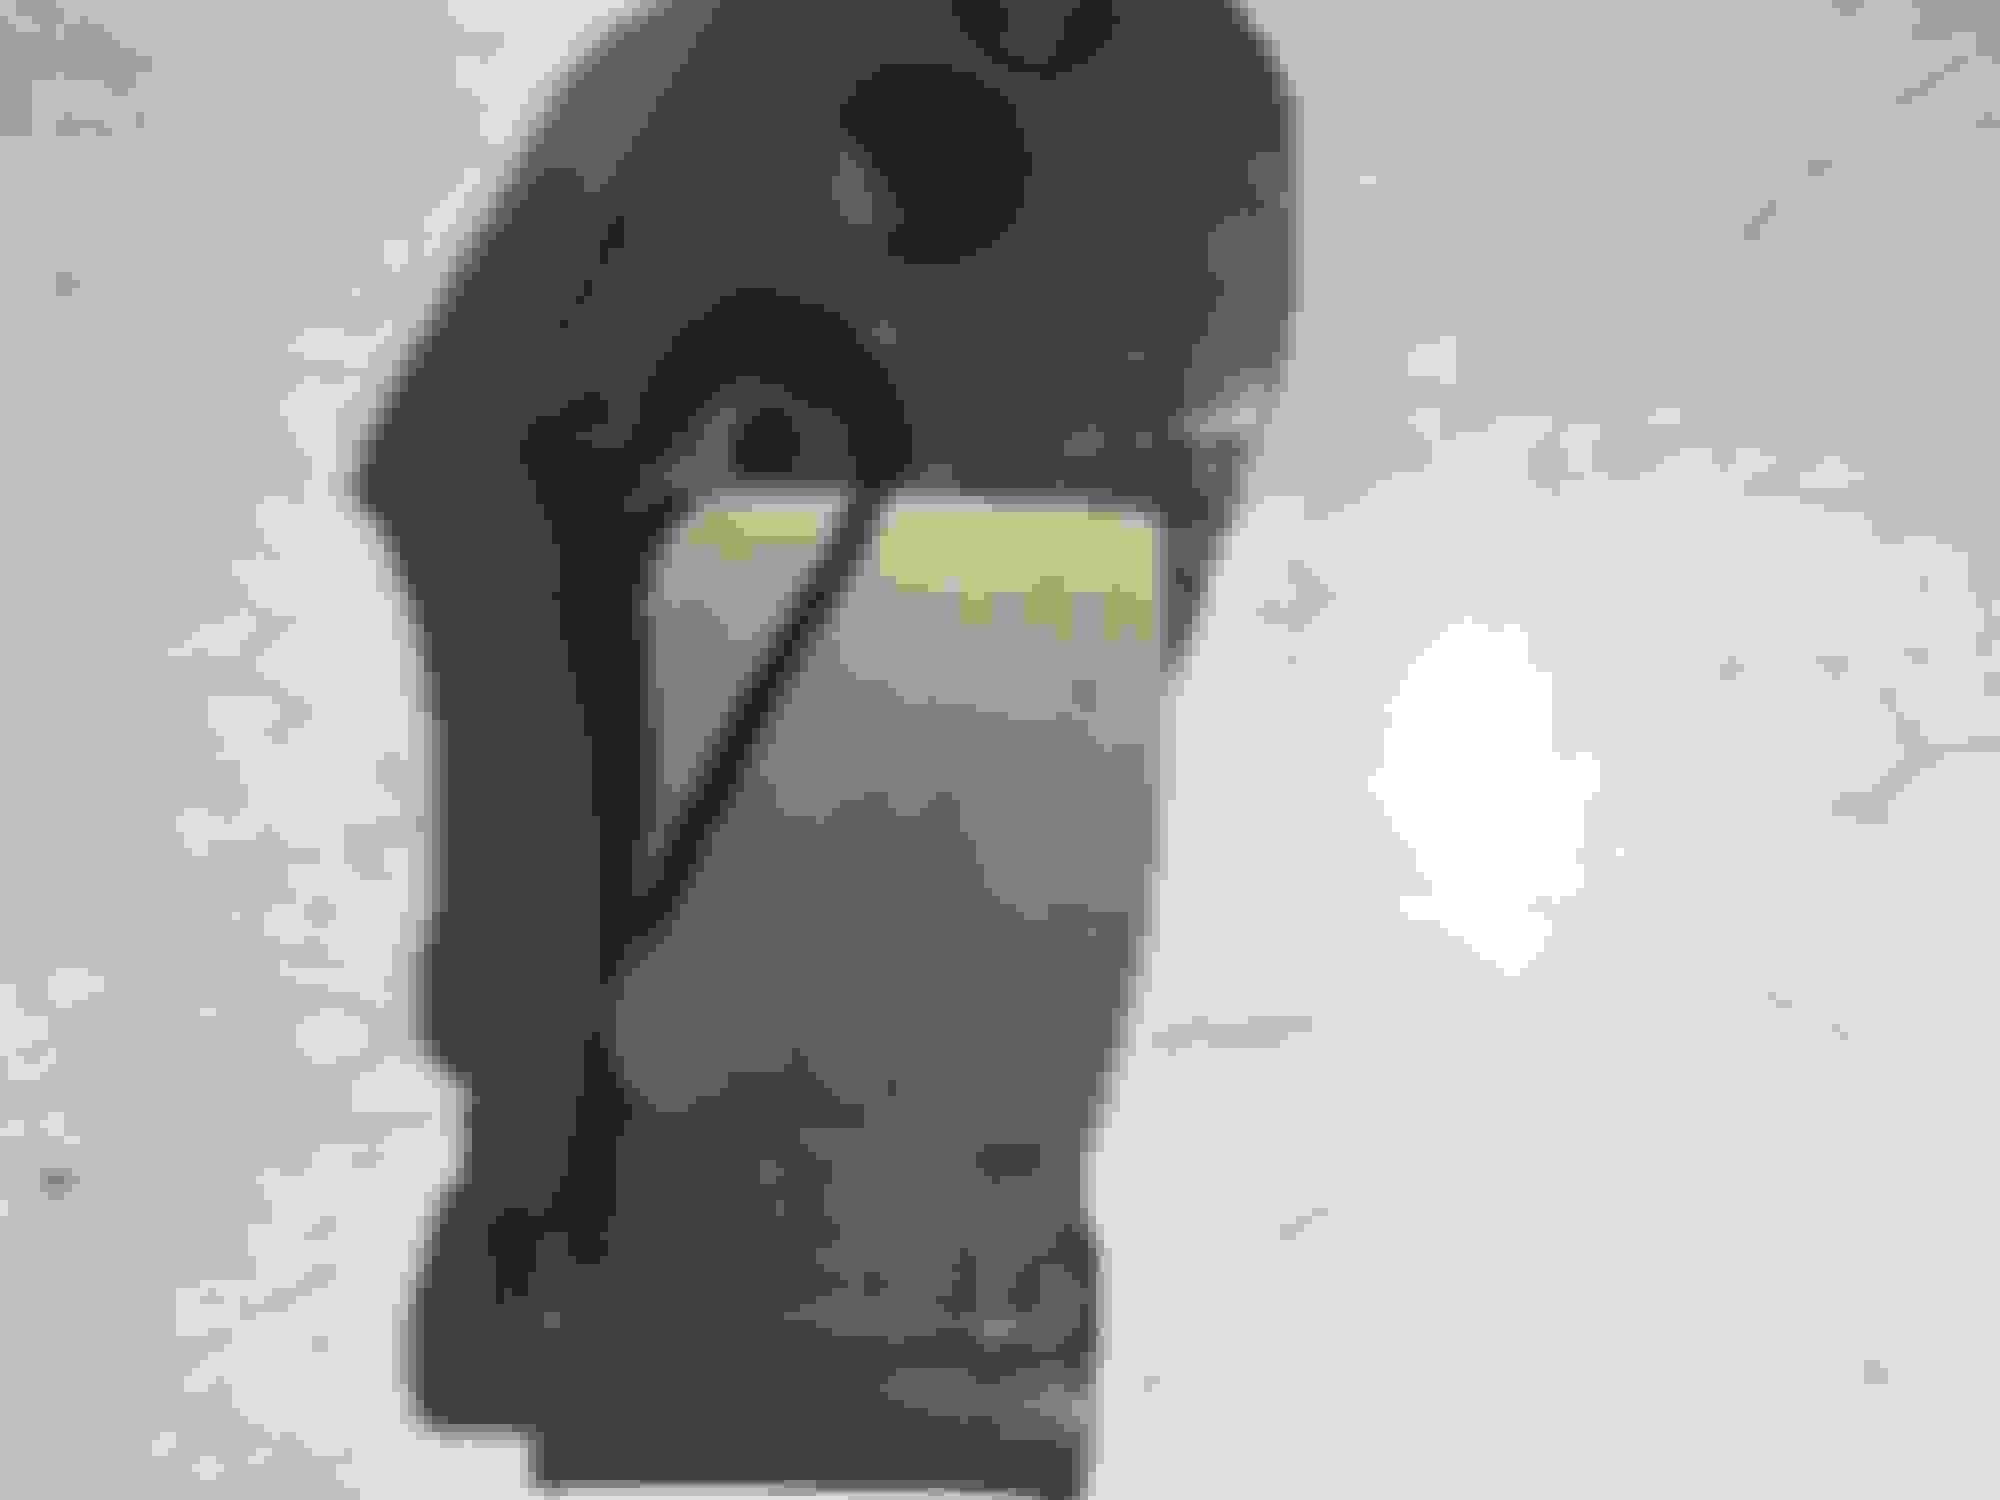
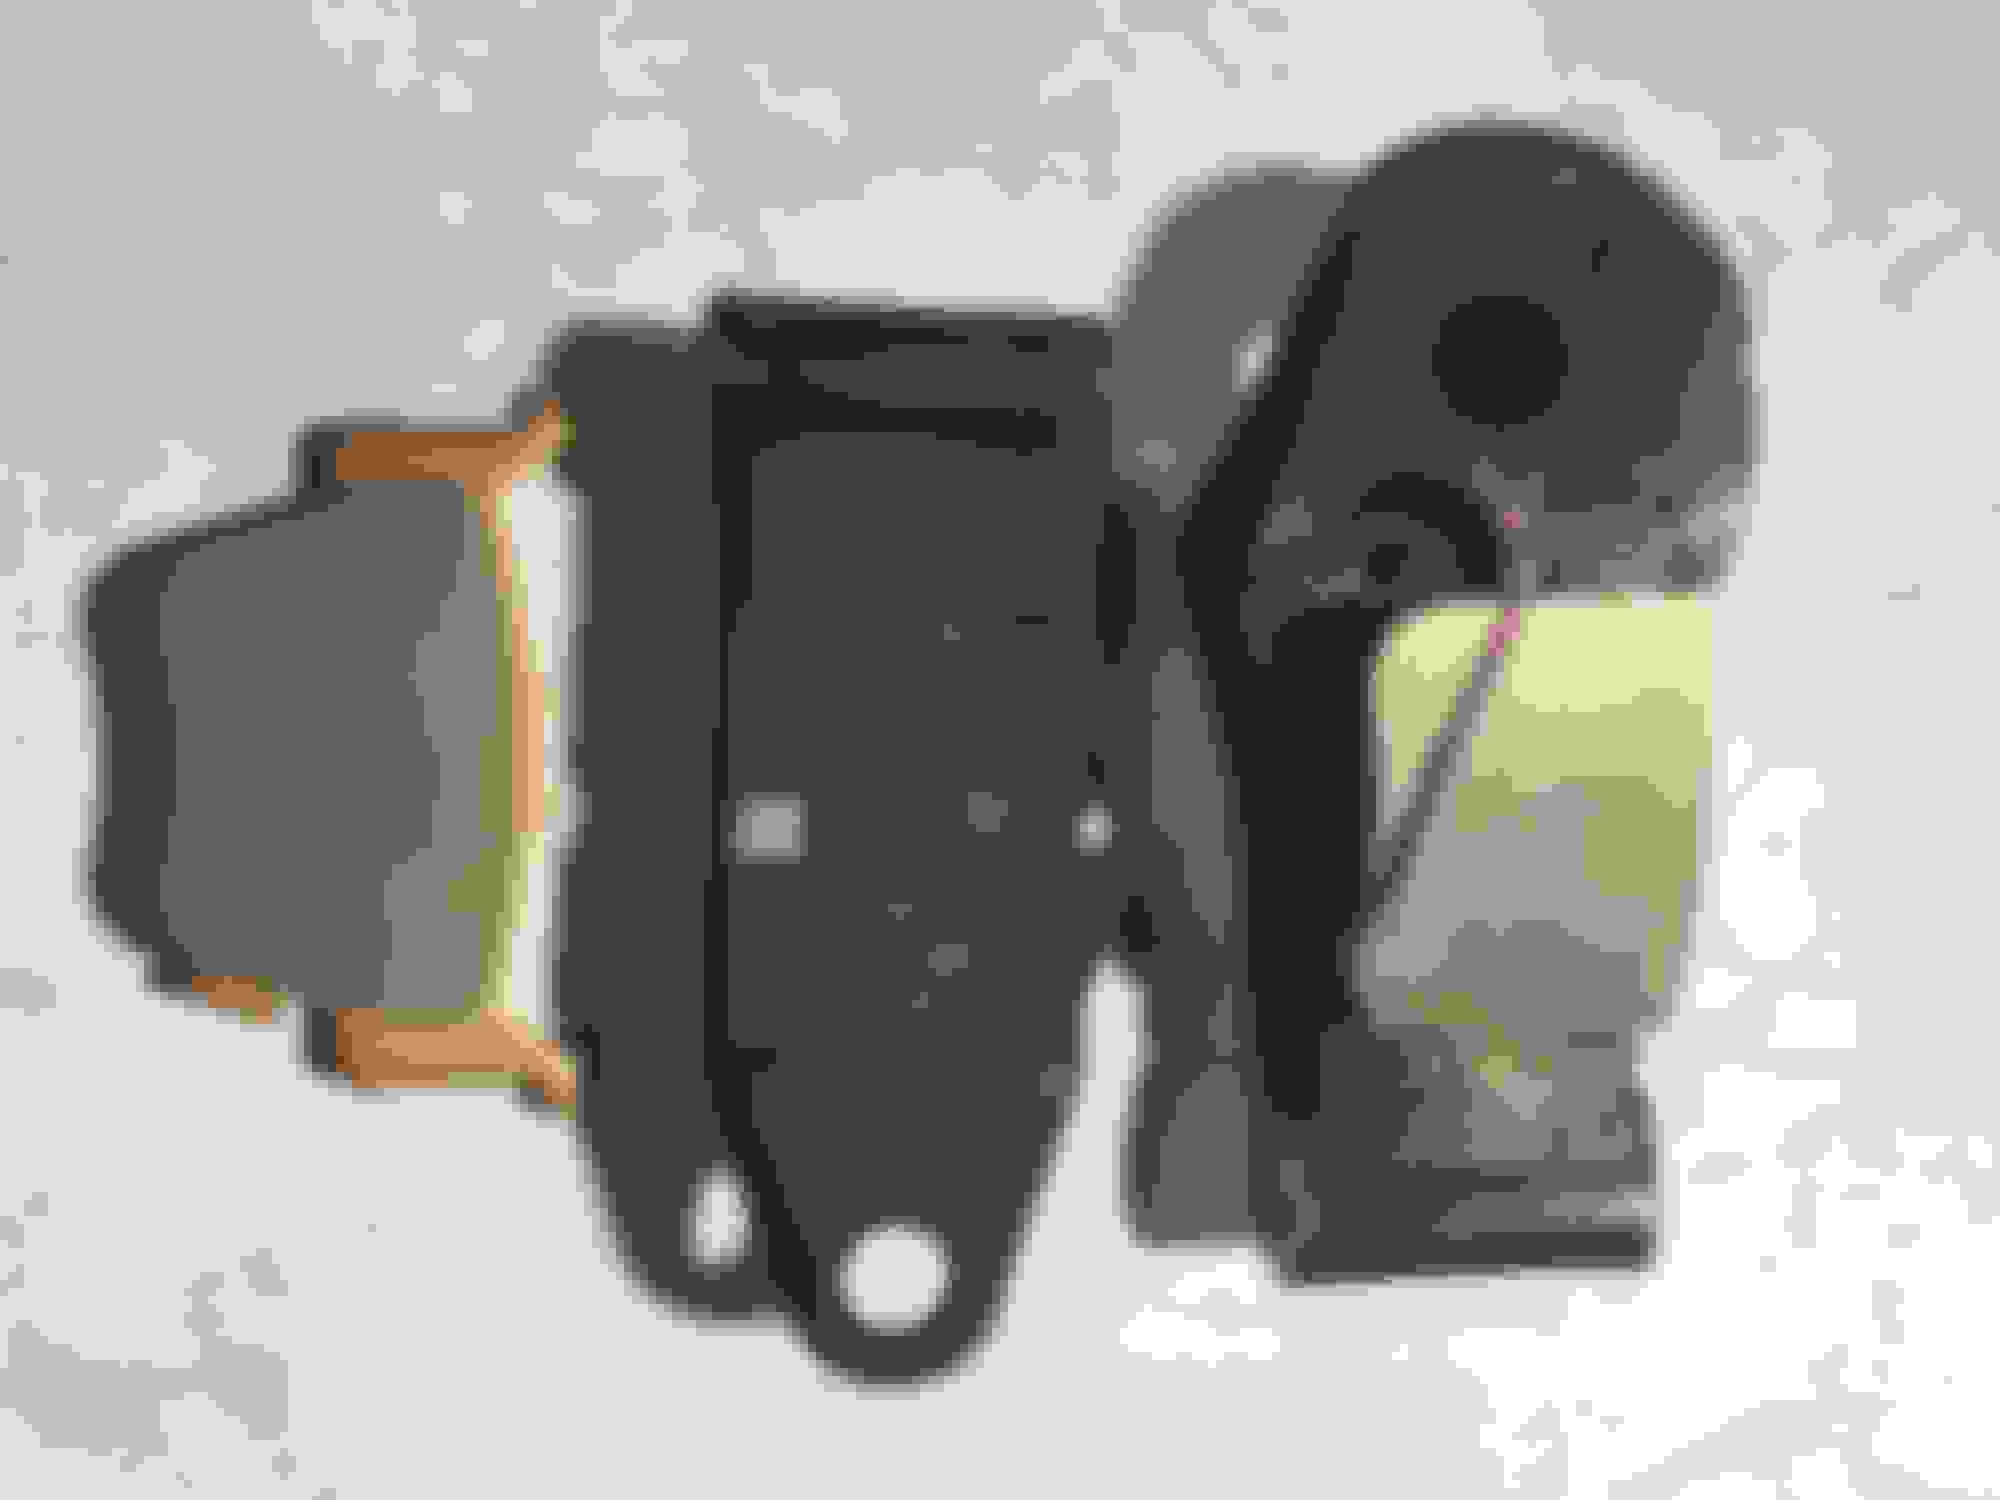
Apart from disconnecting the Handbrake Cable, there are only 4 bolts to undo which comprise of 2 bolts for each Handbrake Caliper which bolt the Handbrake Calipers to the Disc Brake Calipers and you can see two of the holes that those bolts came out of in the Photo
That's about it really, as once you have jiggled the Handbrake Calipers out of the Car then you can fit the New Brake Pads on the Work Bench, as the chances are that the little bolts that hold the Brake Pads to the Calipers could well be so Corroded that they will not want to undo and may need cutting off, as all mine do
Then its just a case of putting it back and hope you can either adjust them with the big slotted adjusting screw or if you get really lucky then they may not need to be adjusted at all but do make sure the big adjusting screw is freed off just in case
Having said that 'Greg' came up with a really stunning idea for making some bullet proof Hand Brake Pads out of Disc Brake Pads, so hopefully he may be sending you a pdf on what to do, as I am working on something like that myself
Having said that 'Greg' came up with a really stunning idea for making some bullet proof Hand Brake Pads out of Disc Brake Pads, so hopefully he may be sending you a pdf on what to do, as I am working on something like that myself
Thank you OB! The pdf is easily found by a search, Duke.
In any event I STRONGLY advise, as a minimum, that you cut your own brake pads out of a normal footbrake pad, which have the pad material far more strongly attached to the backing plate. The handbrake pads you can buy are just not strongly enough bonded to the steel backing plate to do their job.
Foortbrake pads have far thicker backing plates, they can be tapped so that the fixing bolt can be bigger diameter, and all you have to do is slightly enlarge the fixing hole. You can also make the pad a bit larger on the downwards, towards the centre of the disc, side, which is also makes a big improvement in handbrake performance. If the resulting pad is a bit too thick, sanding a couple of mill off it is easy.
This is not a great deal of work and you will never regret it.
Greg
LeeP
The designer of the Jaguar IRS was a famous Jaguar guy called Bob Knight, and by rumour he was challenged by Lyons to design something on account of how he was not a fan of live axle cart-sprung axles still used by Jaguar at that time (the late 1950s). Every Mark II ever made had a live axle. Mr. Knight is again rumoured to have completed the basic layout over one weekend.
The axle fixings are always in compression remember so the bolts are not taking much strain, even cornering loads are taken by the metal structure of the cage mounts, via the rubber of course, thanks to their inverted V design. The only aspect of the design that might be criticised is that when on a two post lift, or otherwise jacked up by the body, the weight of the axle cage puts the rubber bonding of the V mounts under tension, and the axle can fall off if the mounts are old or the bond is failing. Unlike the front subframe rear V mounts, the rear axle mounts have no rubber-bond-failure-protection insert. Remember also that the entire engine and gearbox combo is only bolted in by two 3/8 inch studs at the front, and one thicker gearbox mounting at the rear! But again, the engine weight is only in compression on the engine mountings, there are no tension loads on those studs. https://www.jaguarheritage.com/jagua...le/bob-knight/
Thanks Greg that was a really interesting read.
LeeP
OB - thanks for the picture, when you did it none cage removal way what did you need to remove?
On my ramps I have room to work underneath so it could be worth a go, if that does not work then out comes the cage - nothing lost?
Give it a try. As you say, you have nothing to loose.
I have an extendable dental mirror that I use for looking in difficult to reach places before you try and maneuver a spanner into place. Your wife may even have a small makeup mirror she would lend you!
With the car on the ramps, I climbed under and started looking.
I could get me head up high enough to see the two bolts attaching the hand brake caliper to the main rear caliper.
(Thanks OB)
Read all the post (excellent thanks) and read what Kirby said in his book and went to work... worth reading!
So pulled the handbrake cable off by pulling the two arms together - easy as - no need to touch the adjustment in the car under the seat.. thank Kirby.... 5min.
Two bolts were easy to remove which attach the hand brake caliper the the main.... had anti seize - 15min...max
OB said remove the two bolts and pull the caliper out... ok BUT NO... no F'n room. so left it after first hour!
Dreamed about how to remove that caliper... pull the lever down, must work. Nope.
So day 2 - 4 beers in, got angry and pulled the cable lever down/ up / side ways / round/ in / out and it felt like it twisted but the whole caliper moved and bingo (down won) ... it was free to slide back behind the disk.
2 hours so far!
Problem 10 - ok maybe 5 or 6 or 8 - cant get the A hole thing out the back... not much room but it came out.... no idea how I will put it back LOL
But it did come out and I have to say it was not as bad as I thought - once done... lets see on number two, Im going for 20min...... LOL
Looking at everything - this has been rebuild not long ago, plated and new grease.... everything working.
cleaning parts and will update soon....
And a few pictures after cleaning, decided not to pull it a part any further as it looks to have been done a few years ago.
I did notice when they plated the parts they did not do the main spring... I would have.. is that good or bad?
The platers do brake tubes with rubber attached and it seem ok?????
Maybe I just got lucky with mine but well done you got there in the end, except that my luck just ran out as I've got to take the Cage out but as I have done it before on another XJS this time I'm romping through it! or at least I was up until now, as I can't get the Gearbox out of Park!
Which is something you never think about when you are using the Car, where the thing I have forgotten is do you need the ignition on to get her out of Park? as I need to turn the Propshaft by hand to undo the other 2 nuts on the propshaft that I cannot get to unless I turn it 180/o (1989 Marelli)
I need to have the Gearbox in Neutral before I turn the Propshaft and don't want to try and turn the Wheels just in case the Engine turns over the wrong way which could be a major disaster all on its very own
As for the Cage it has to come out, as the Calipers are leaking and there is a big chunk of metal chipped out of one of the Rotors, though no idea what caused that, maybe I either picked up a stone or more likely a Handbrake Pad shattered during an MOT Test
But I'd rather have to drop the Cage than replace the In-Tank Fuel Pump on an XJS 4.0L as that is an even more difficult job to do !
I would like to do Gregs pad mod but I dont think I can do it without the cage out?
Thoughts?
You can make your own pads using footbtraake pads, tap their backing plates and use a bigger diameter bolt to fix the pads, and also slightly deepen the wide slot they fit into in the caliper with the bits you have removed so far.
Whatever pad you use, you greatest difficulty will be in adjusting the caliper using the big slotted bolt, and split-pinning it, once the handbrake calipers are back on the footbrake calipers. This is because the exhaust will be in the way.
Thanks Greg - perfect.
I want to make my own pads and do as you suggest.
Exhaust off if needed.
Right Greg you suggest Volkswagen rear footbrake pads.
I have access to a mill if needed, did you use an disc grinder and a thin blade to cut the pads?
Thanks Greg - perfect.
I want to make my own pads and do as you suggest.
Exhaust off if needed.
Right Greg you suggest Volkswagen rear footbrake pads.
I have access to a mill if needed, did you use an disc grinder and a thin blade to cut the pads?
thanks
Duke
The type of pad does not really matter, I used VW rear pads as the supplier (EBC) knew for certain that they were attached using the "metal velcro" new method i outlined in my paper. At that time they were in the process of changing all their pads to this new system, but were not sure which of their stock was using it, apart from the VW pads which had just come into stock.
You will be surprised to know that pad material is very easily cut with a hacksaw, and the backing plate with a fine-disc angle grinder (a 1.5mm thick disc for stainless is best).
It is also easy to use a sander to reduce pad thickness, if required, depending upon whether you increase the caliper slot depth or not.
Greg
I need to have the Gearbox in Neutral before I turn the Propshaft and don't want to try and turn the Wheels just in case the Engine turns over the wrong way which could be a major disaster all on its very own!
Your car is an automatic isn't it? It won't turn in park because of the parking pawl that locks the output shaft. Once that is disengaged ( by putting the shifter in any position other than P) the engine wouldn't turn because the engine isn't mechanically coupled to the transmission - it's a fluid coupling through the torque converter. Even if you had the shifter in D, you couldn't turn the propshaft fast enough by hand to move the engine.
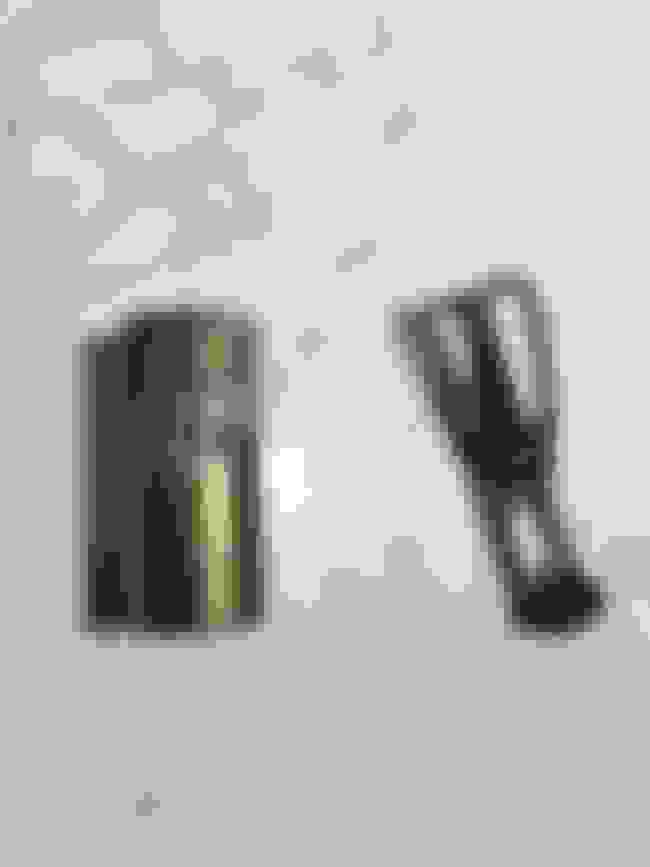
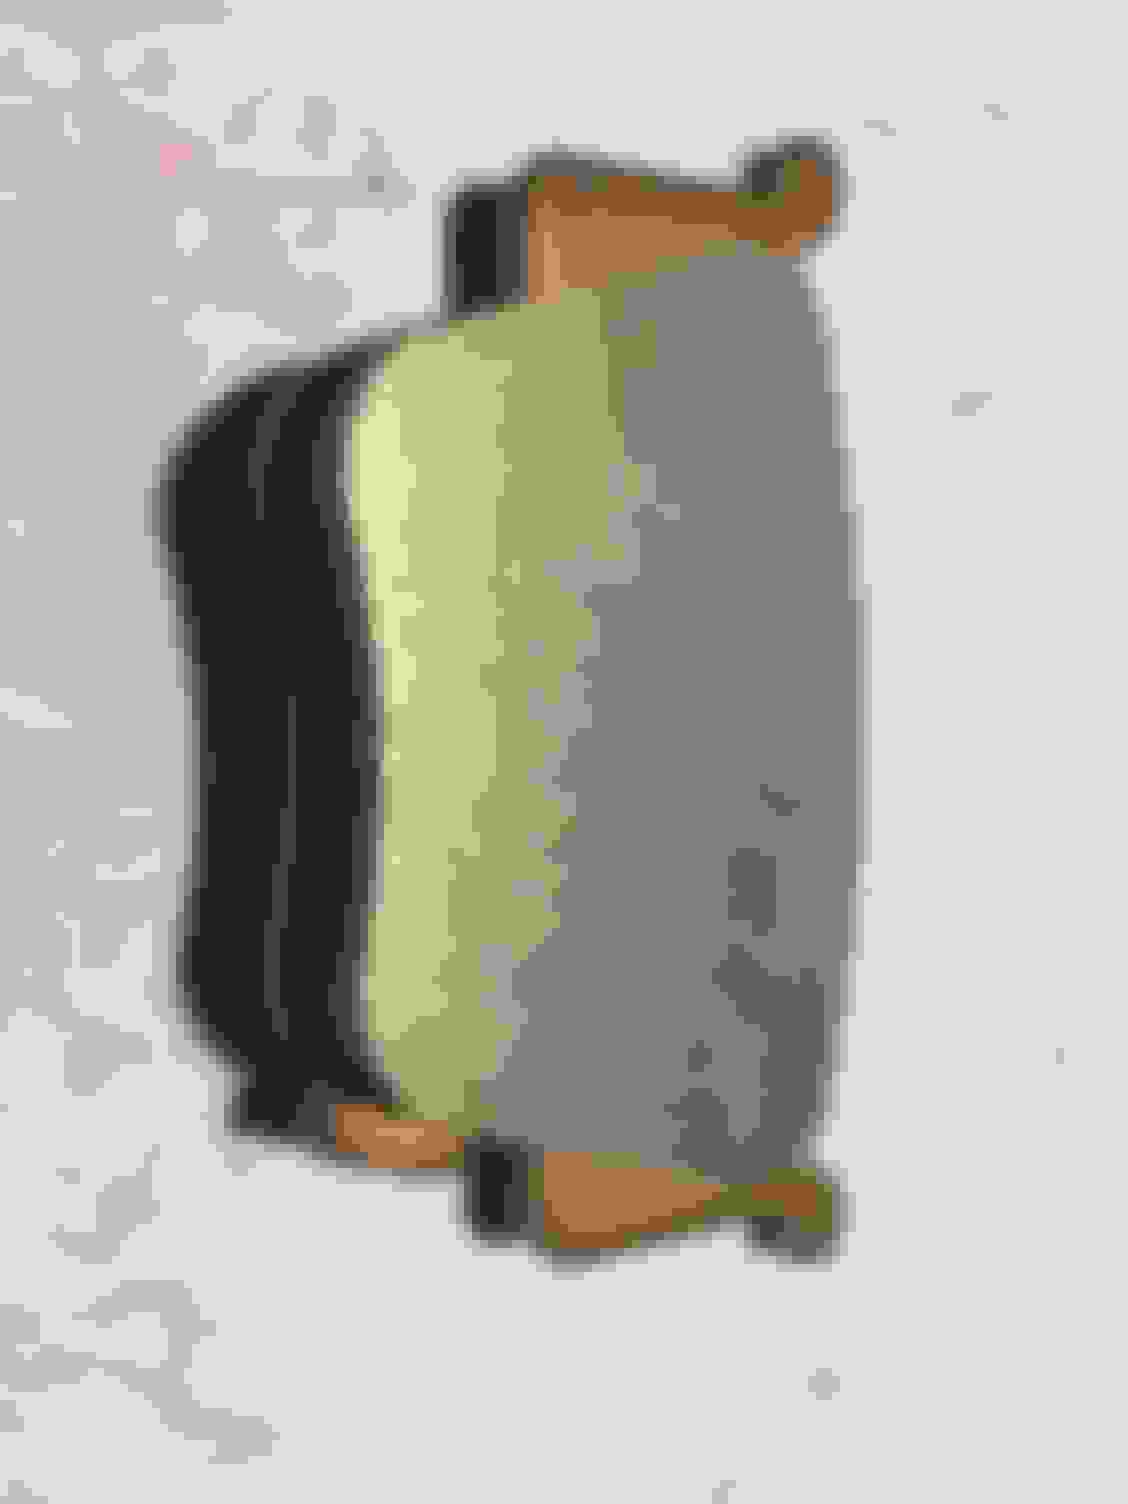
Here is my attempt on the Greg mod... thanks Greg!
Honda TRX500 independent rear end brake pads.
Overall thickness is 1mm less in thickness to the pads I have.. The XJS Pad at the thickest point was 13mm, while the TRX Pad was 12mm
The worn down point on the XJS Pad was 11.5mm.
I have cut the pad to fit, the base is thicker but fits perfectly ... imagine that!
Next is to cut the pad on an angle to suit.
I have thread the pad 5mm and will get a stainless cap screw to suit.
Check out the base fit...why is the XJS base so slim?
Sorry picture is upside down...
Here are pictures of the old pad on top of the new pad ... I need to cut the new pad on an angle, same as the old pad but the contact area is increased hugly and new technoly bonding...
Greg your thoughts?
And the new pads were $100 NZ
OMG - just worked out I need 2 x sets.. so that is $200 NZ or $135 USD
OEM Pad set (4) is $160 NZ plus shipping so this better work LOL. So $40 more expensive that using OEM.... add shipping this will be about the same cost.
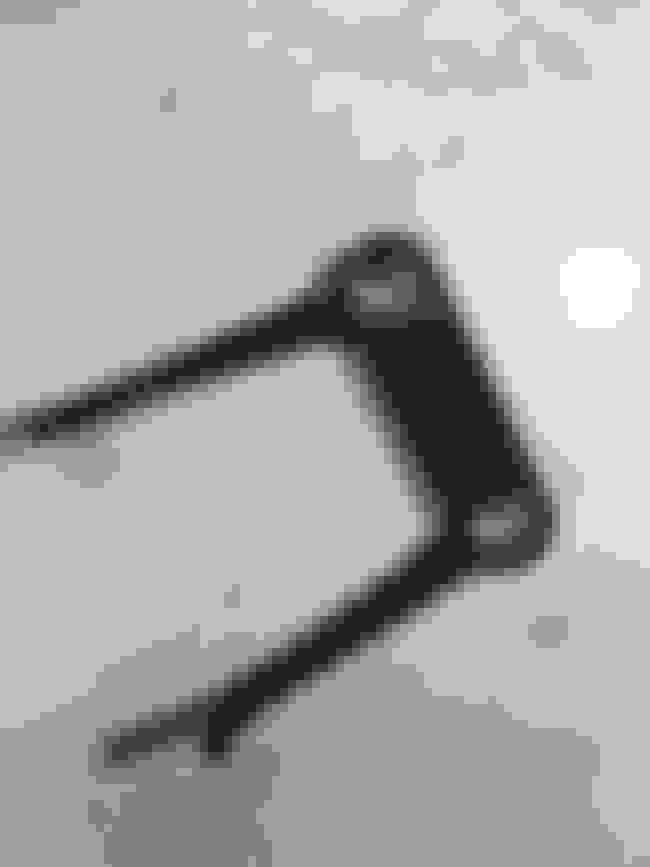
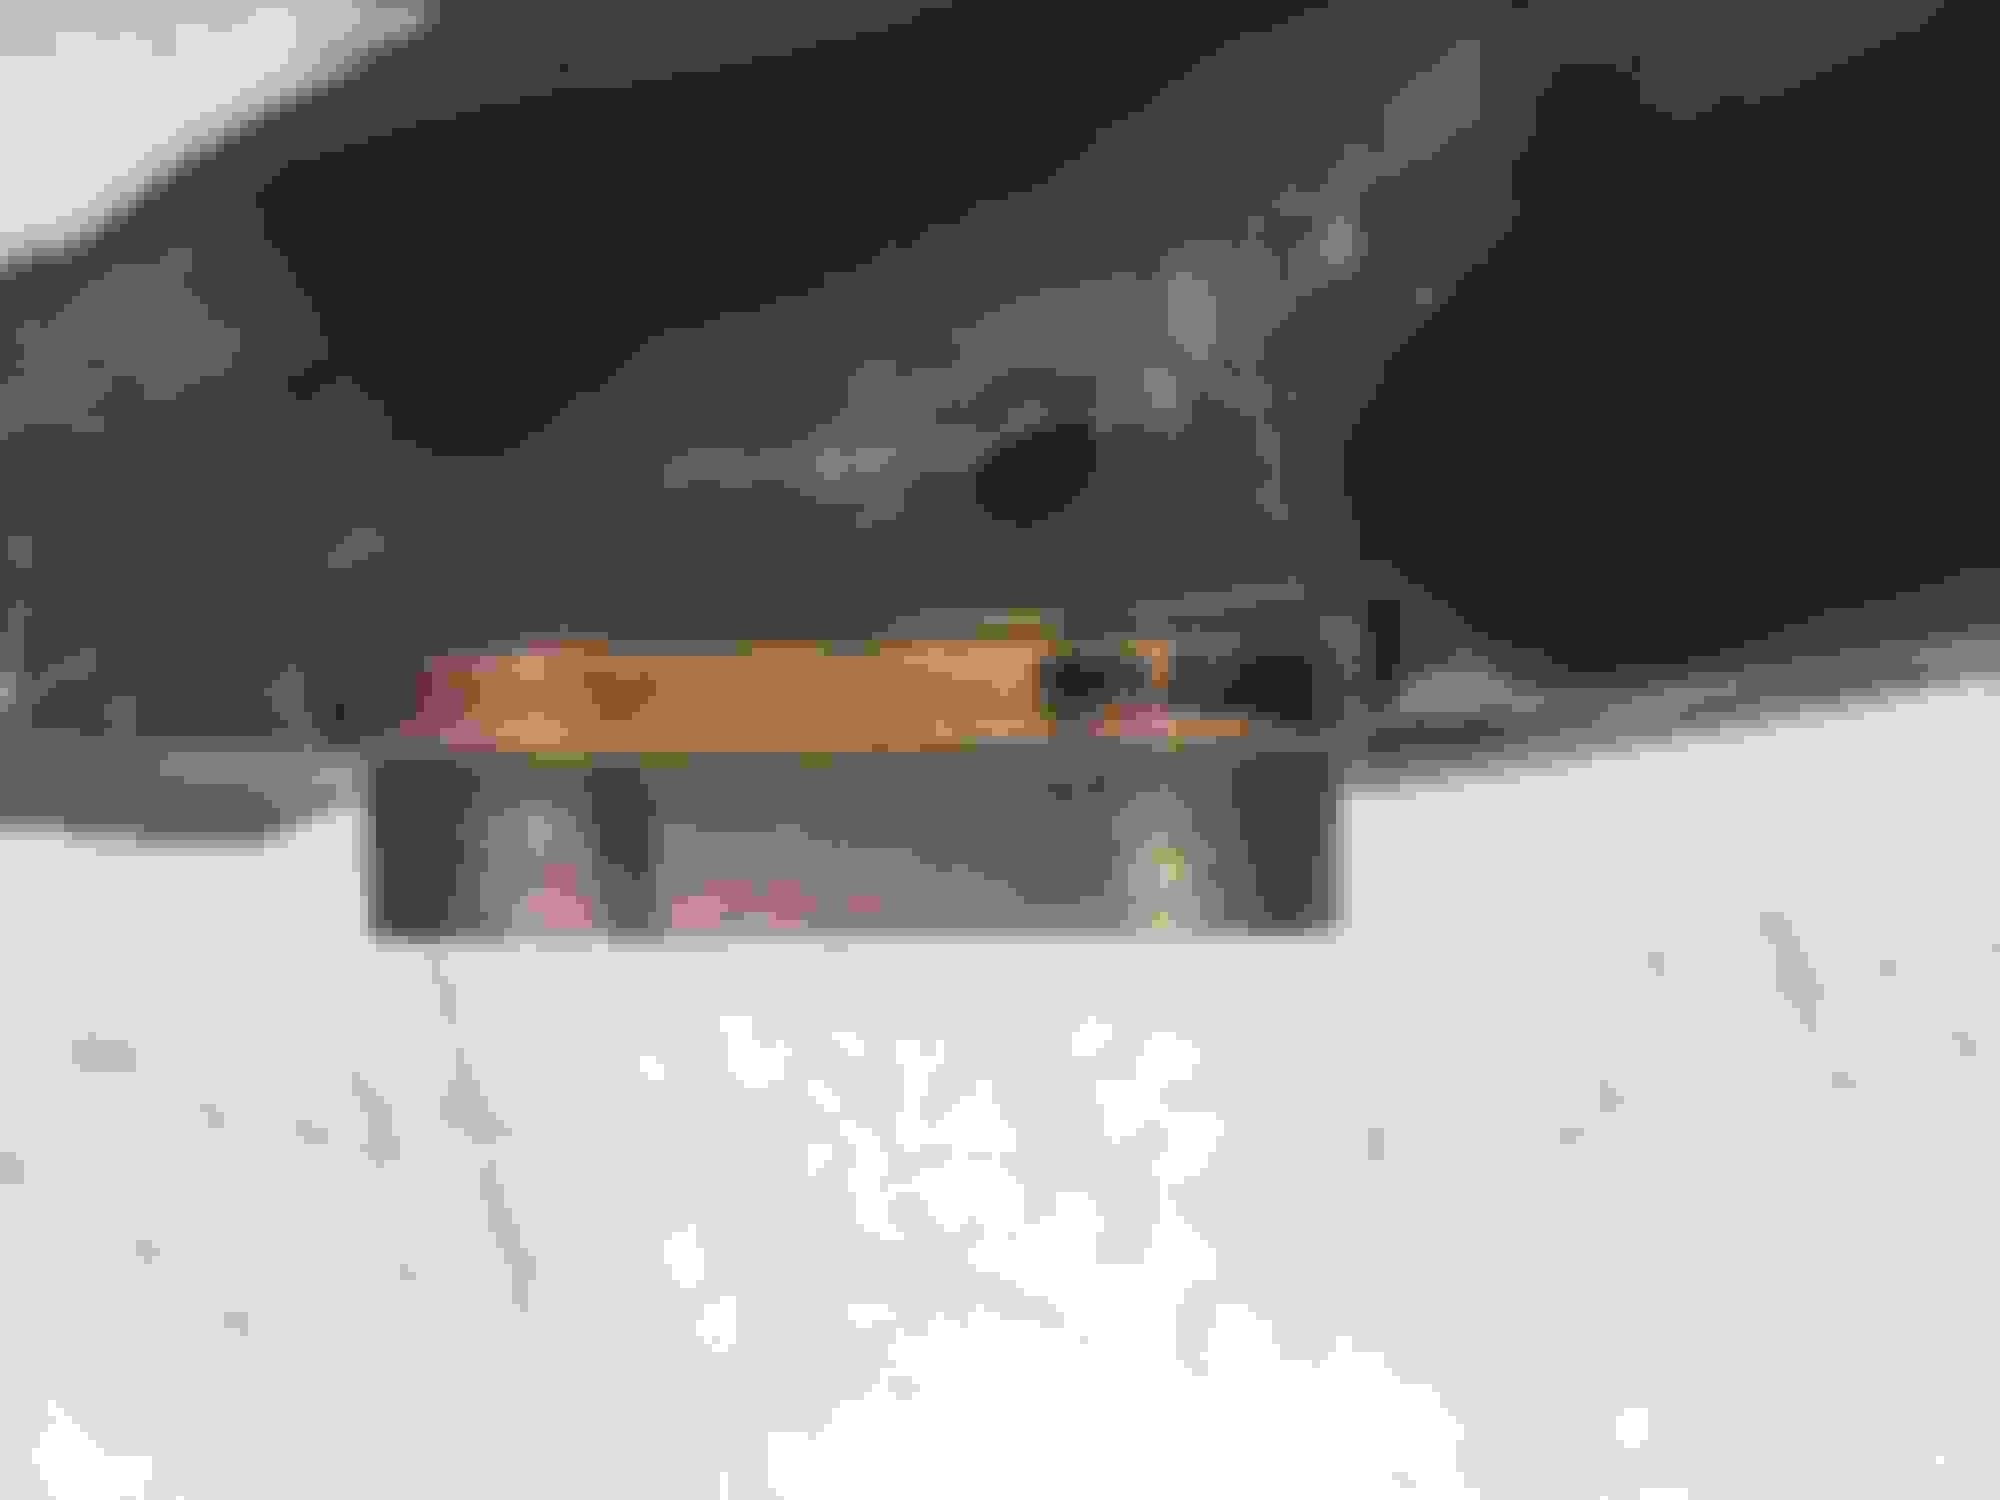
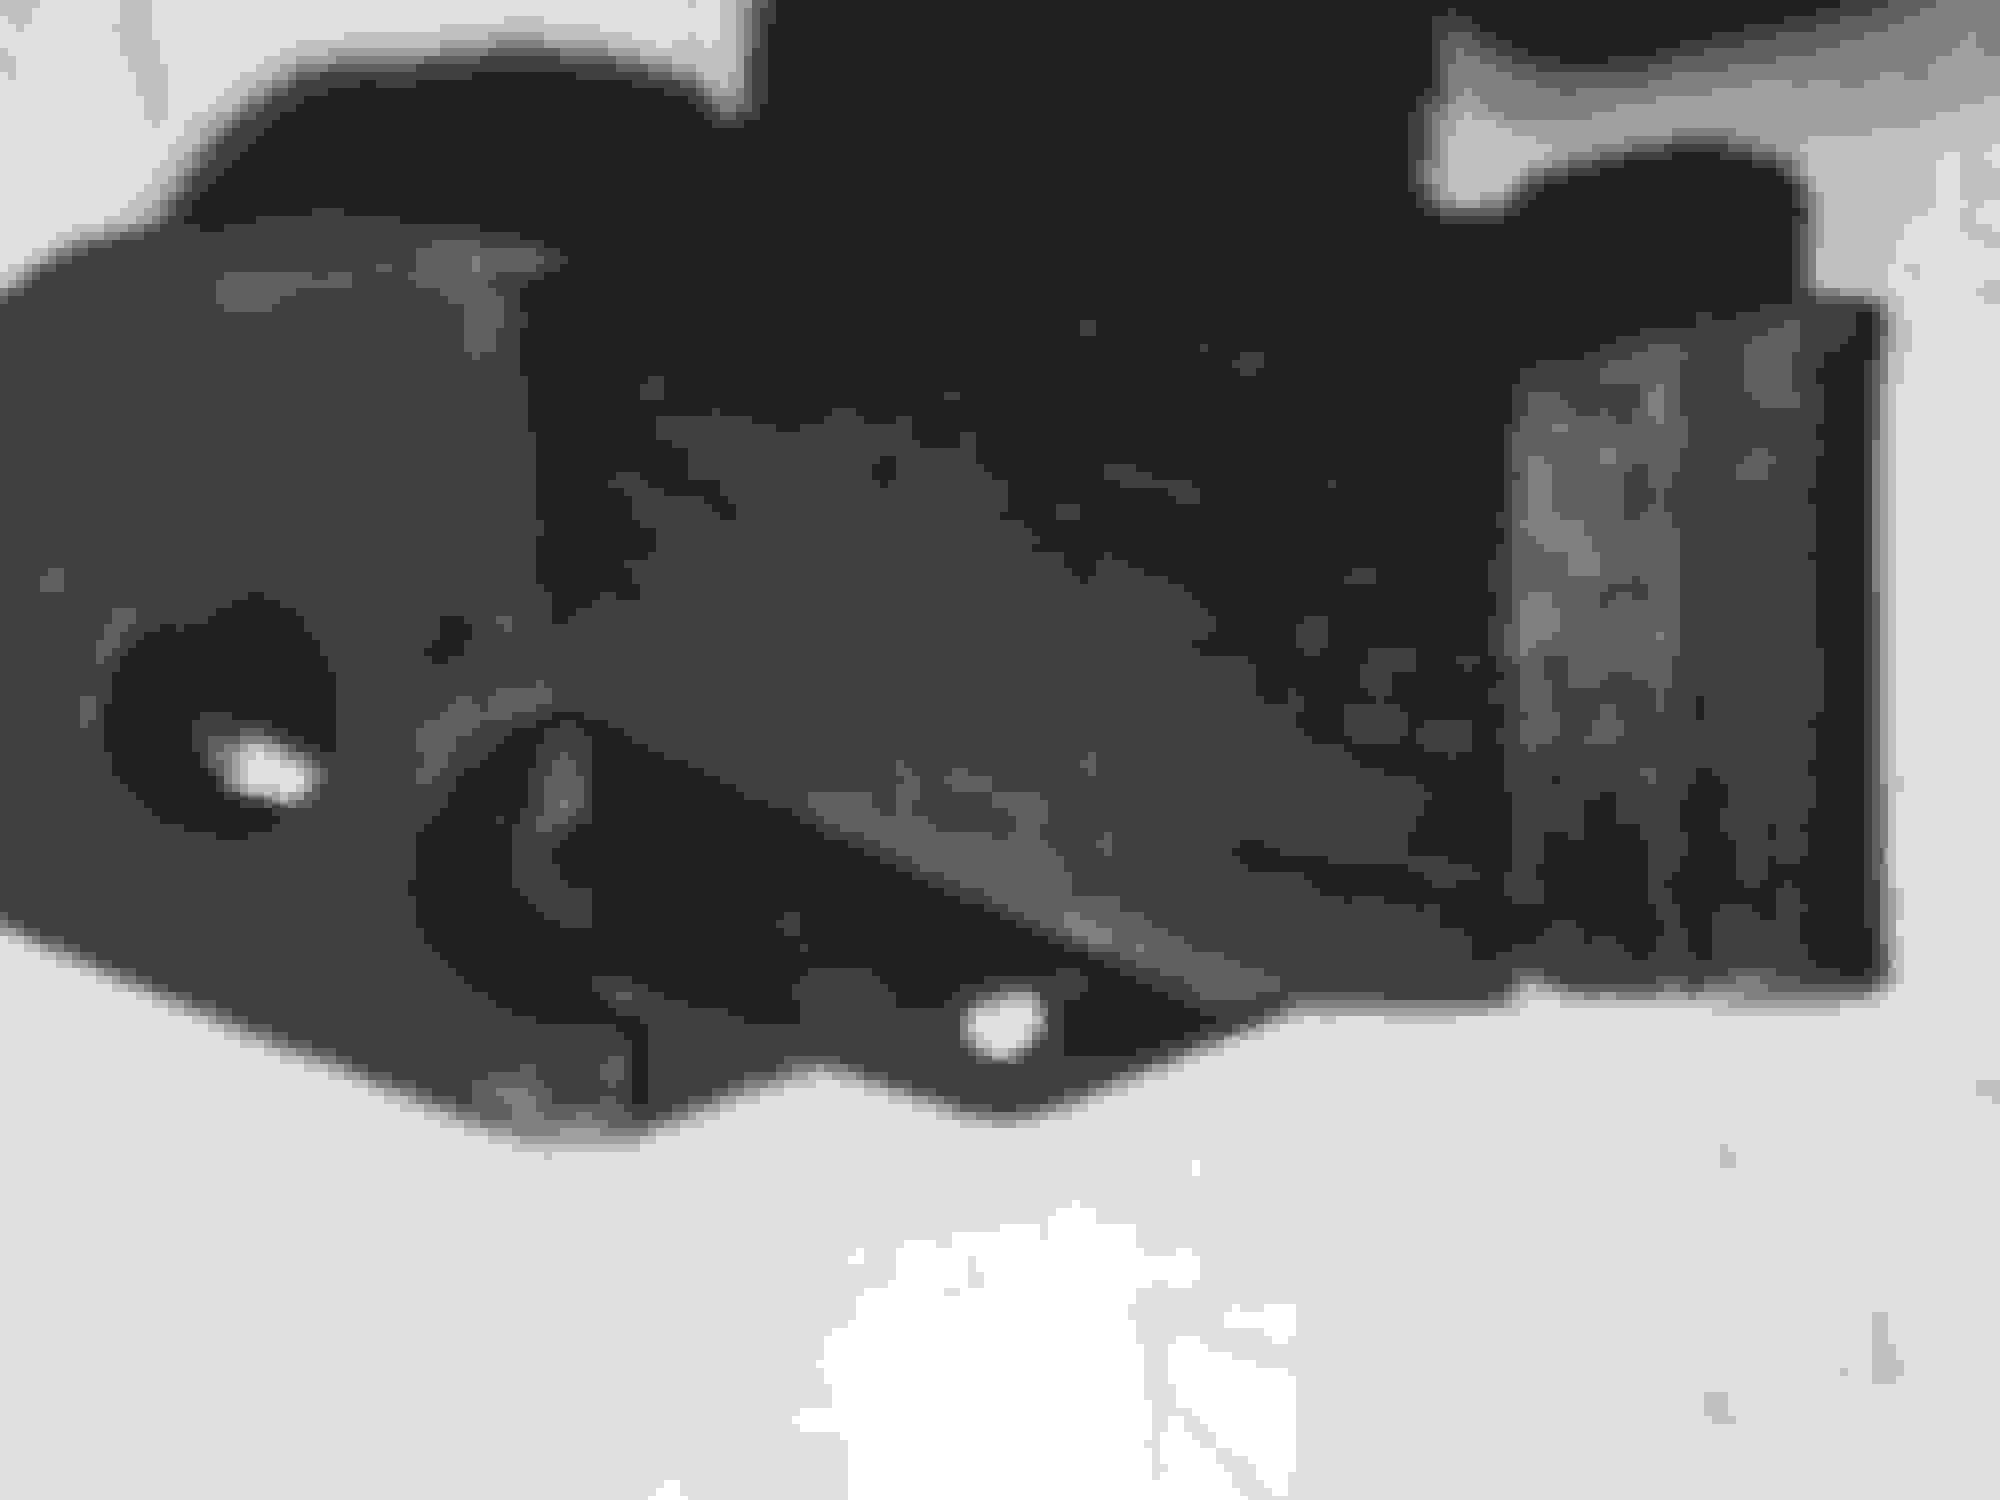
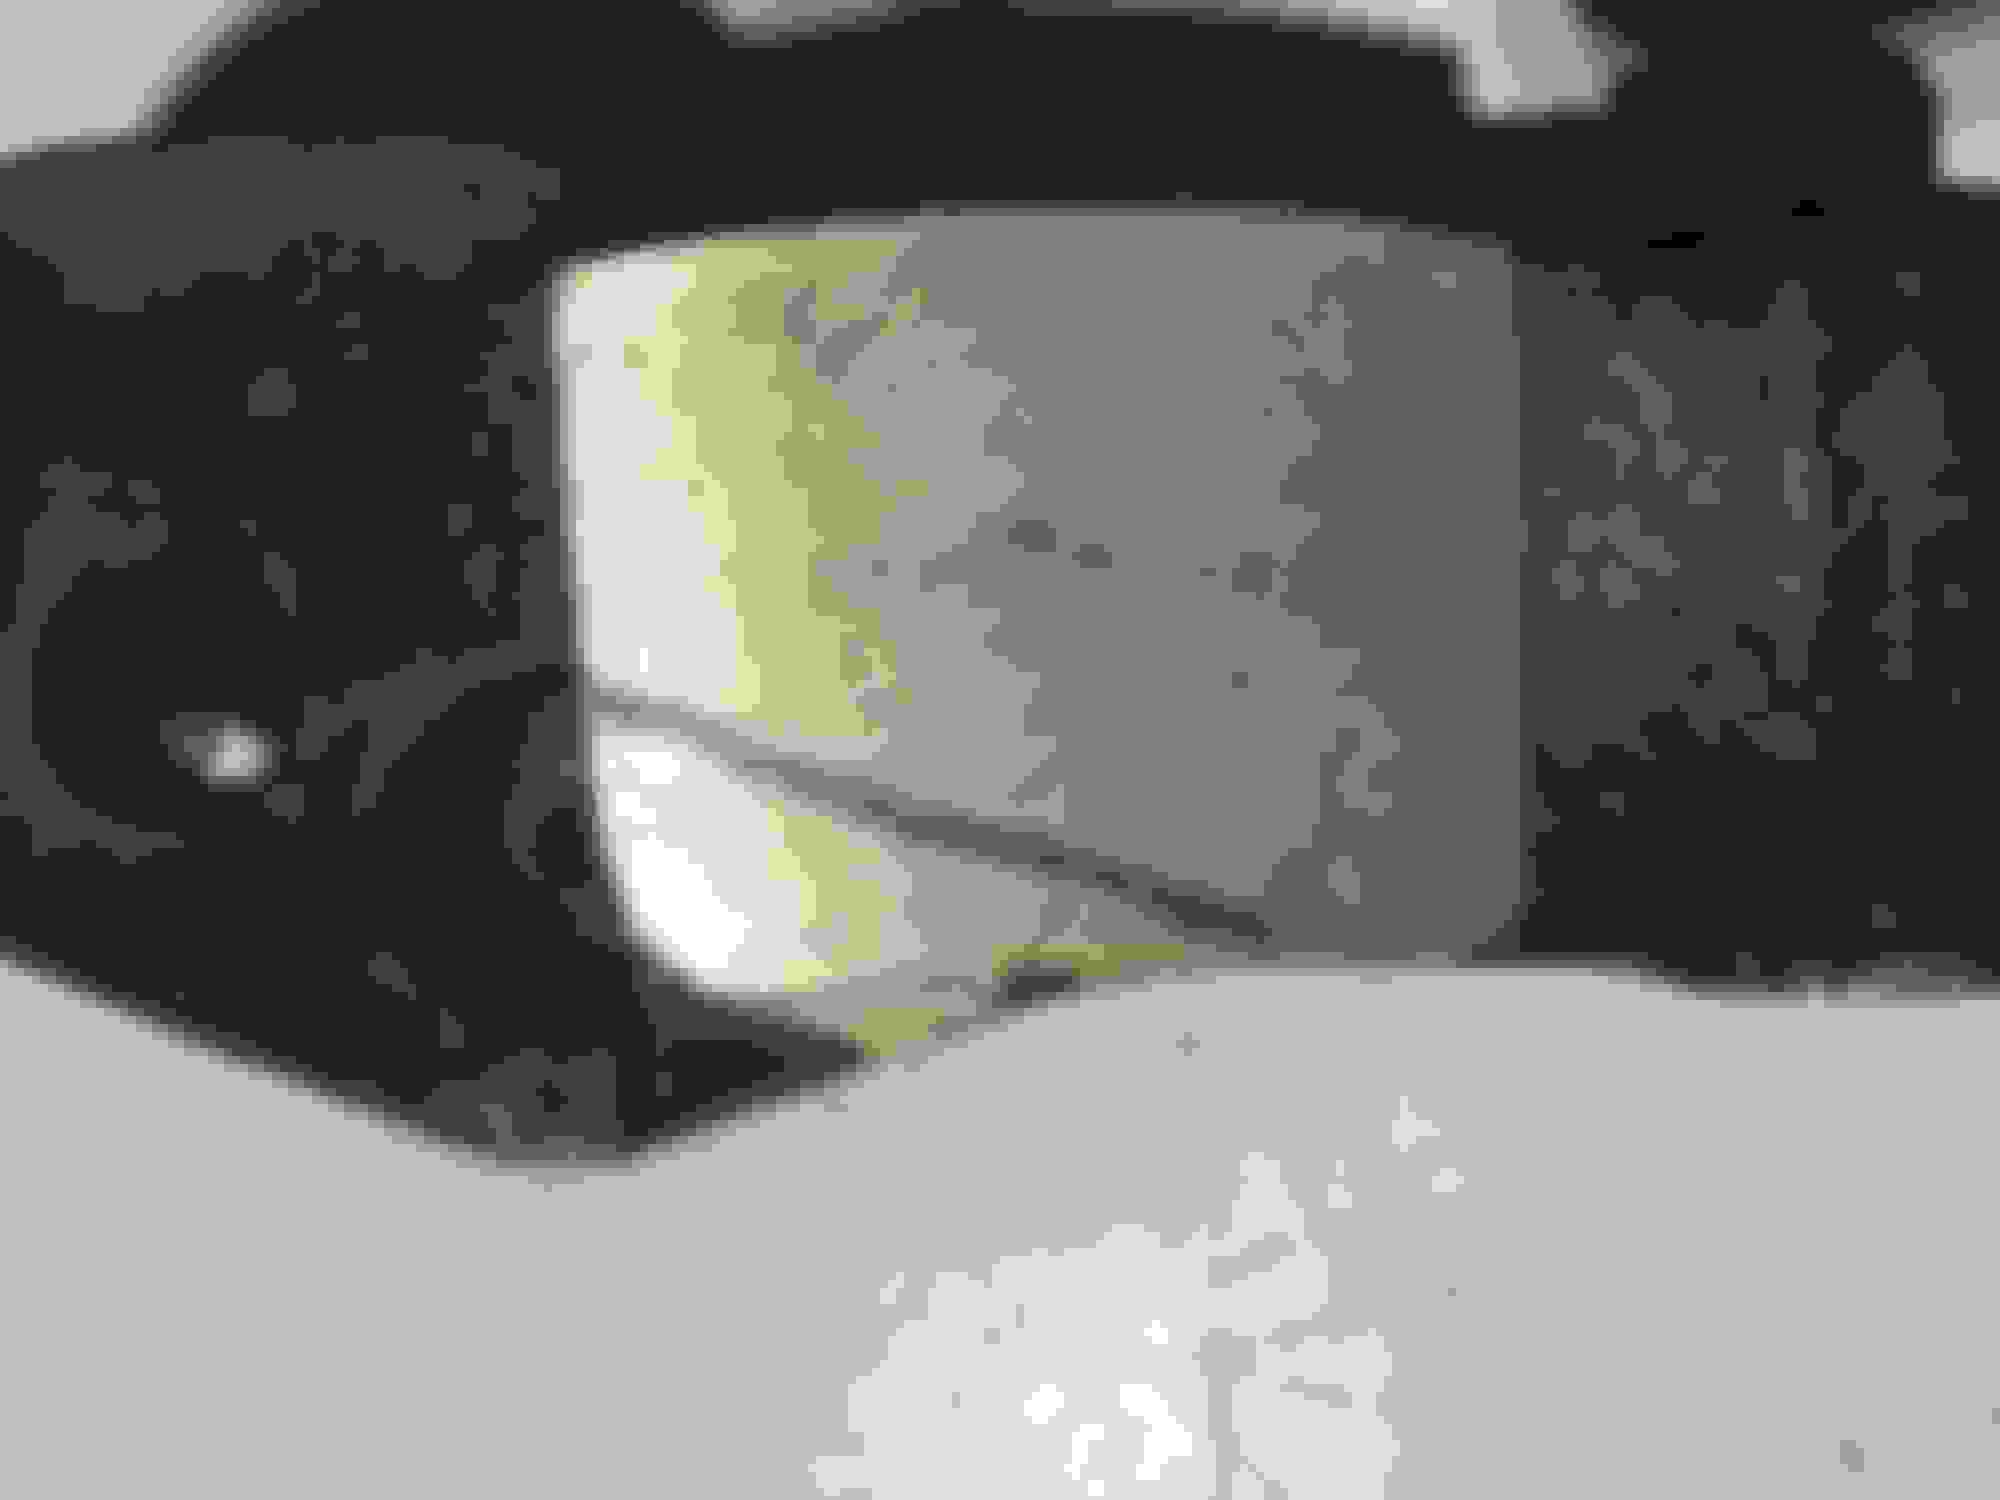
A couple more pictures - thoughts please.
Liking that cap screw ... better than that FA nut that fits no spanner in my tool box!
Just need to get a 5mm Stainless cap screw to fit.
Locktite will be used.

 02-20-2021, 05:45 PM