When you click on links to various merchants on this site and make a purchase, this can result in this site earning a commission. Affiliate programs and affiliations include, but are not limited to, the eBay Partner Network.
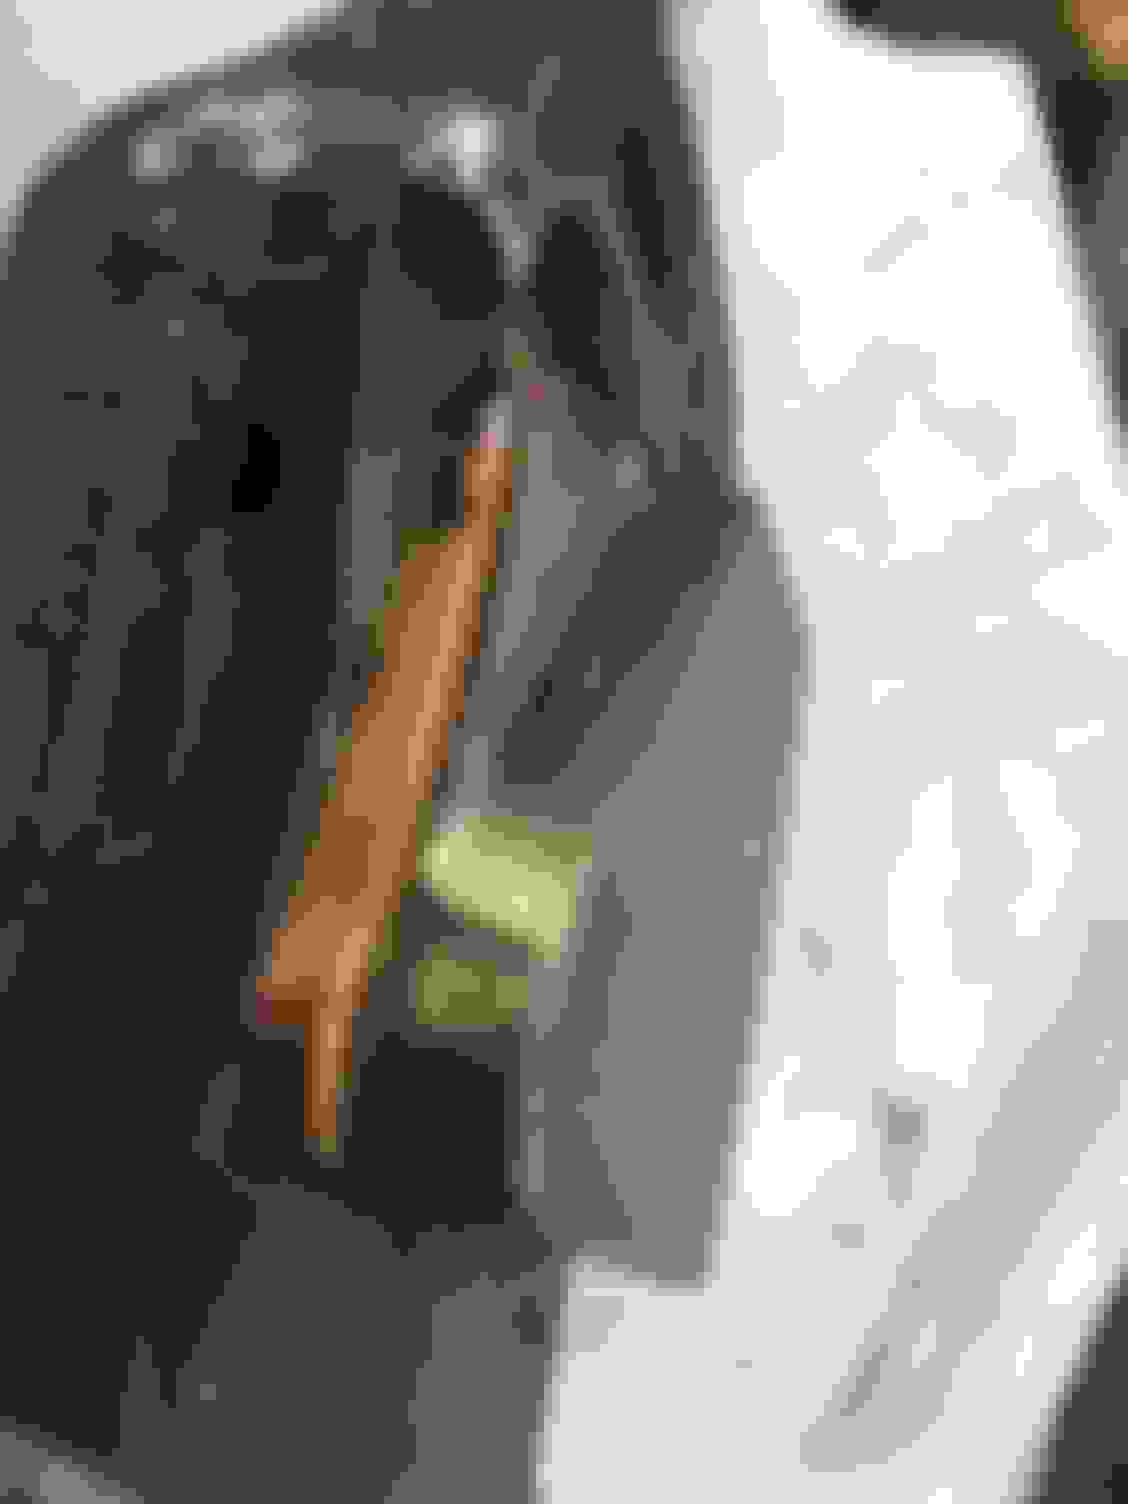
Used a slitting blade on my 6inch disc grinder to cut the steel backing, and as Greg said hacksaw through the pad material.
First I tried to cut the pad with the disc grinder and it worked ok... but slow and heat, so the hacksaw was the go, less heat, faster.
Duke
That looks a really nice job. Well done. I think I managed to get two pads from one footbrake one, but all in all a very cost-effective improvement.
The area increase is substantial, so as long as you adjust the pads close to the disc, but not binding, you will have a good handbrake. As I mentioned in my writeup, once you start using the handbrake, you will almost certainly find the travel increases on the lever because of cable stretch, as that cable has basically never been used. This must be adjusted out on the cable, just behind the seat under the carpet on the sill.
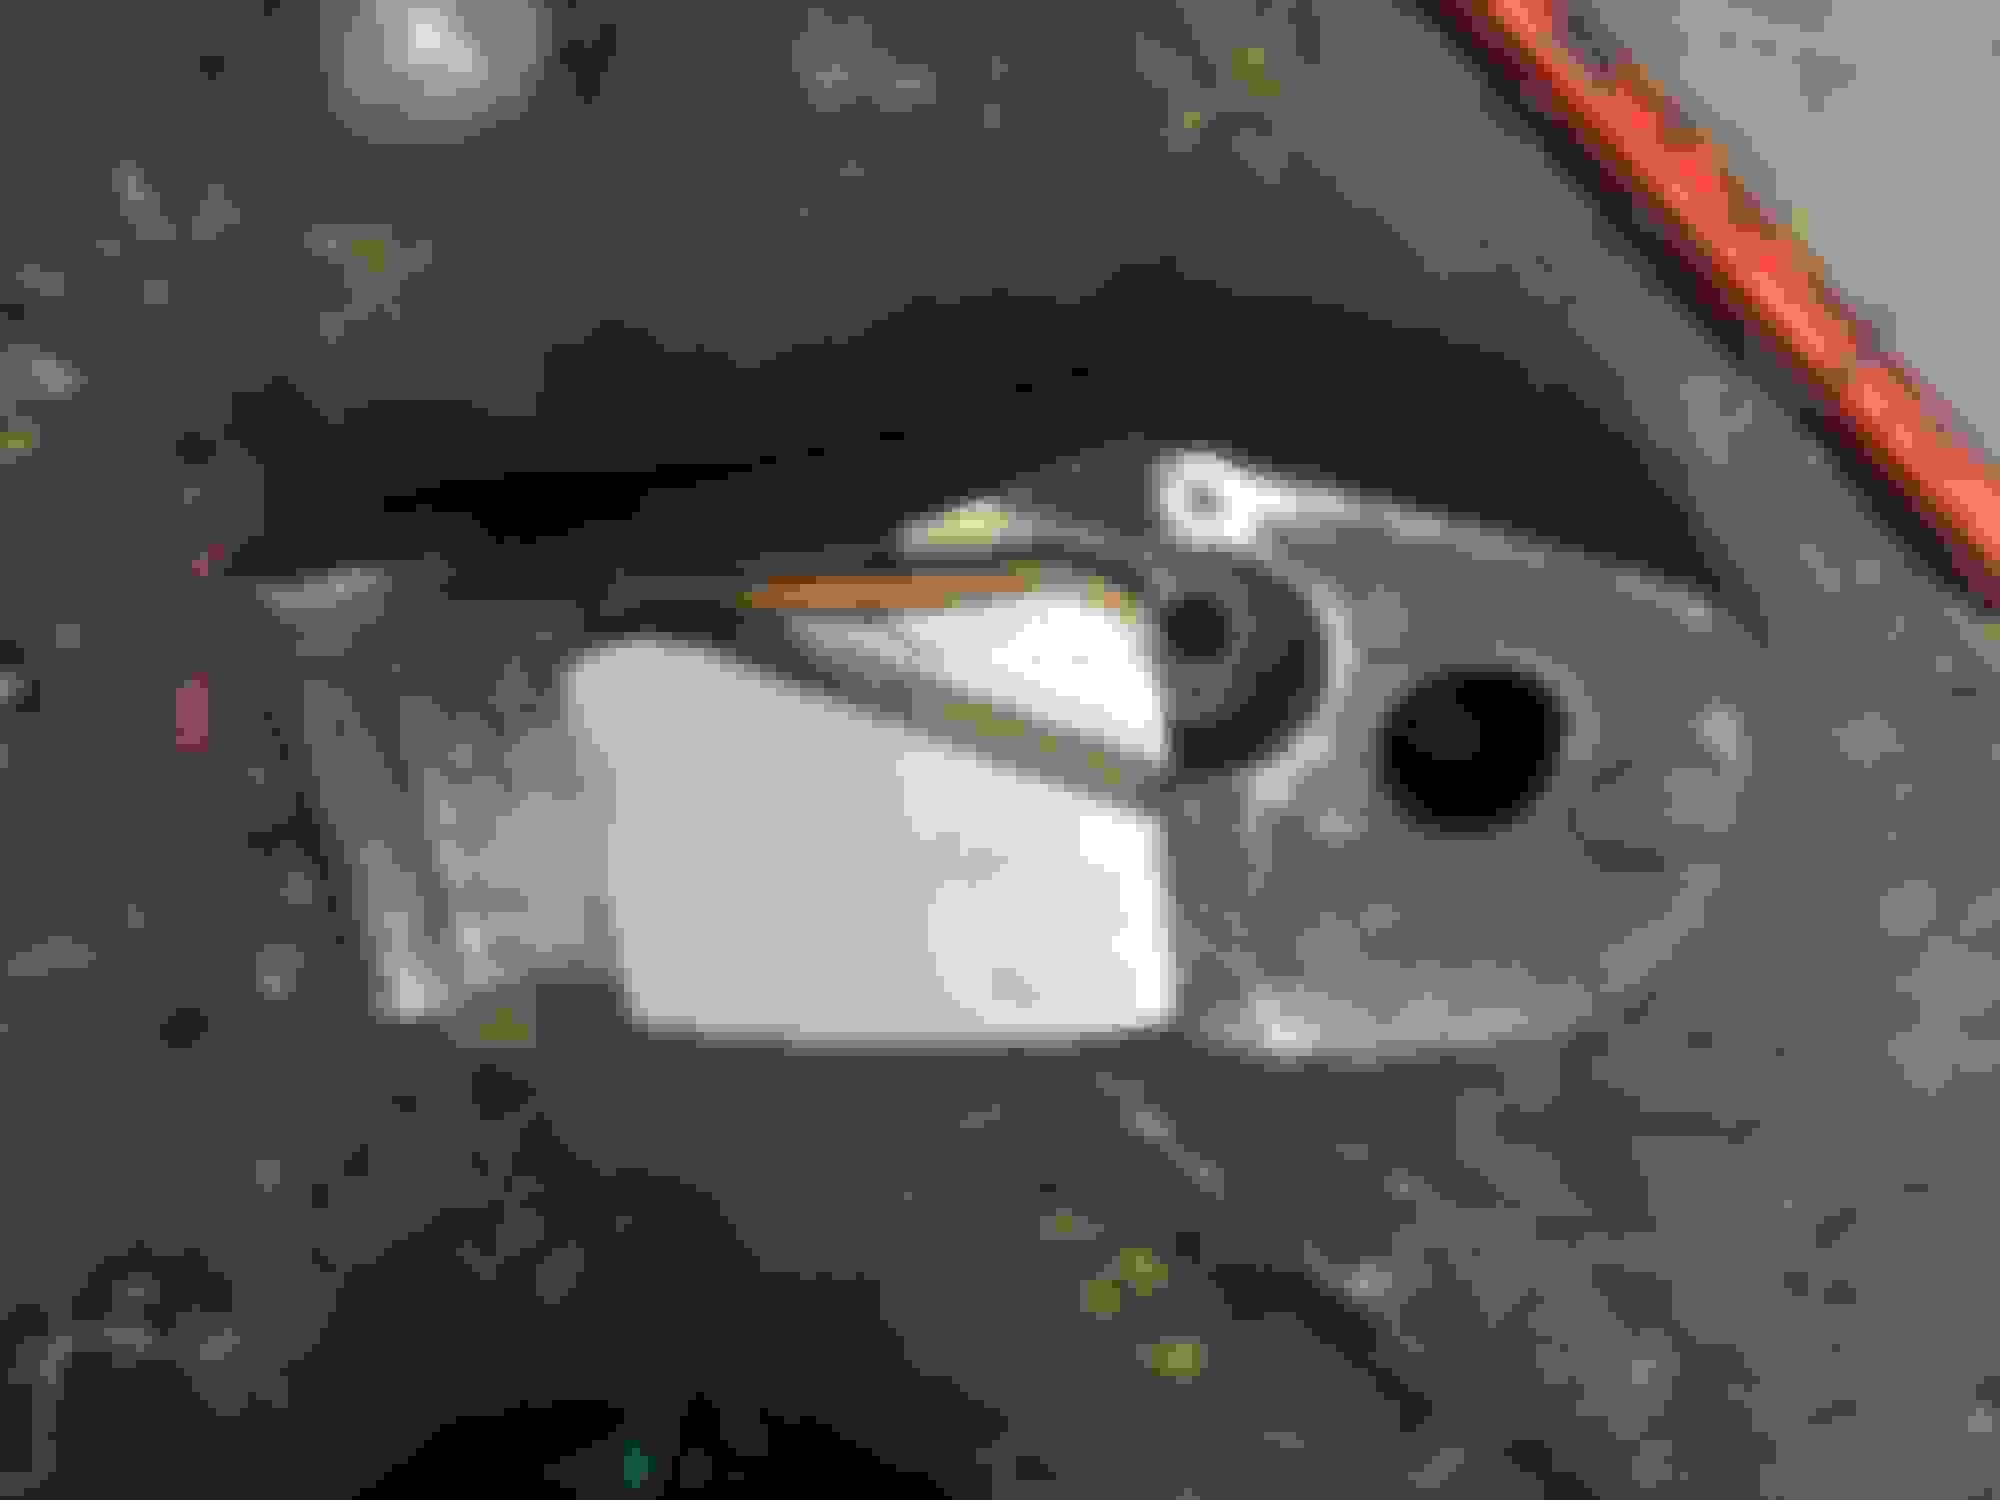
Pictures tell the story... I could not beat, smash the pad off cut from the base.
Disc grinder with a normal grinding disc did short work.
I do not think this will be a problem again... Thanks Greg!
There is no way driving with the hand brake on will remove these pads.
Update - removed the second hand brake caliper... I said 20min, well with mucking around it took 22min lol - remove the bolts, pull the lever down and push the calipers back over the disc. Hardest part is getting the caliper to separate from the rear disc... push both sides hard! once done easy as to remove.
Might have been helped with the fact both pads have been ripped off.... need to check the disc for wear...
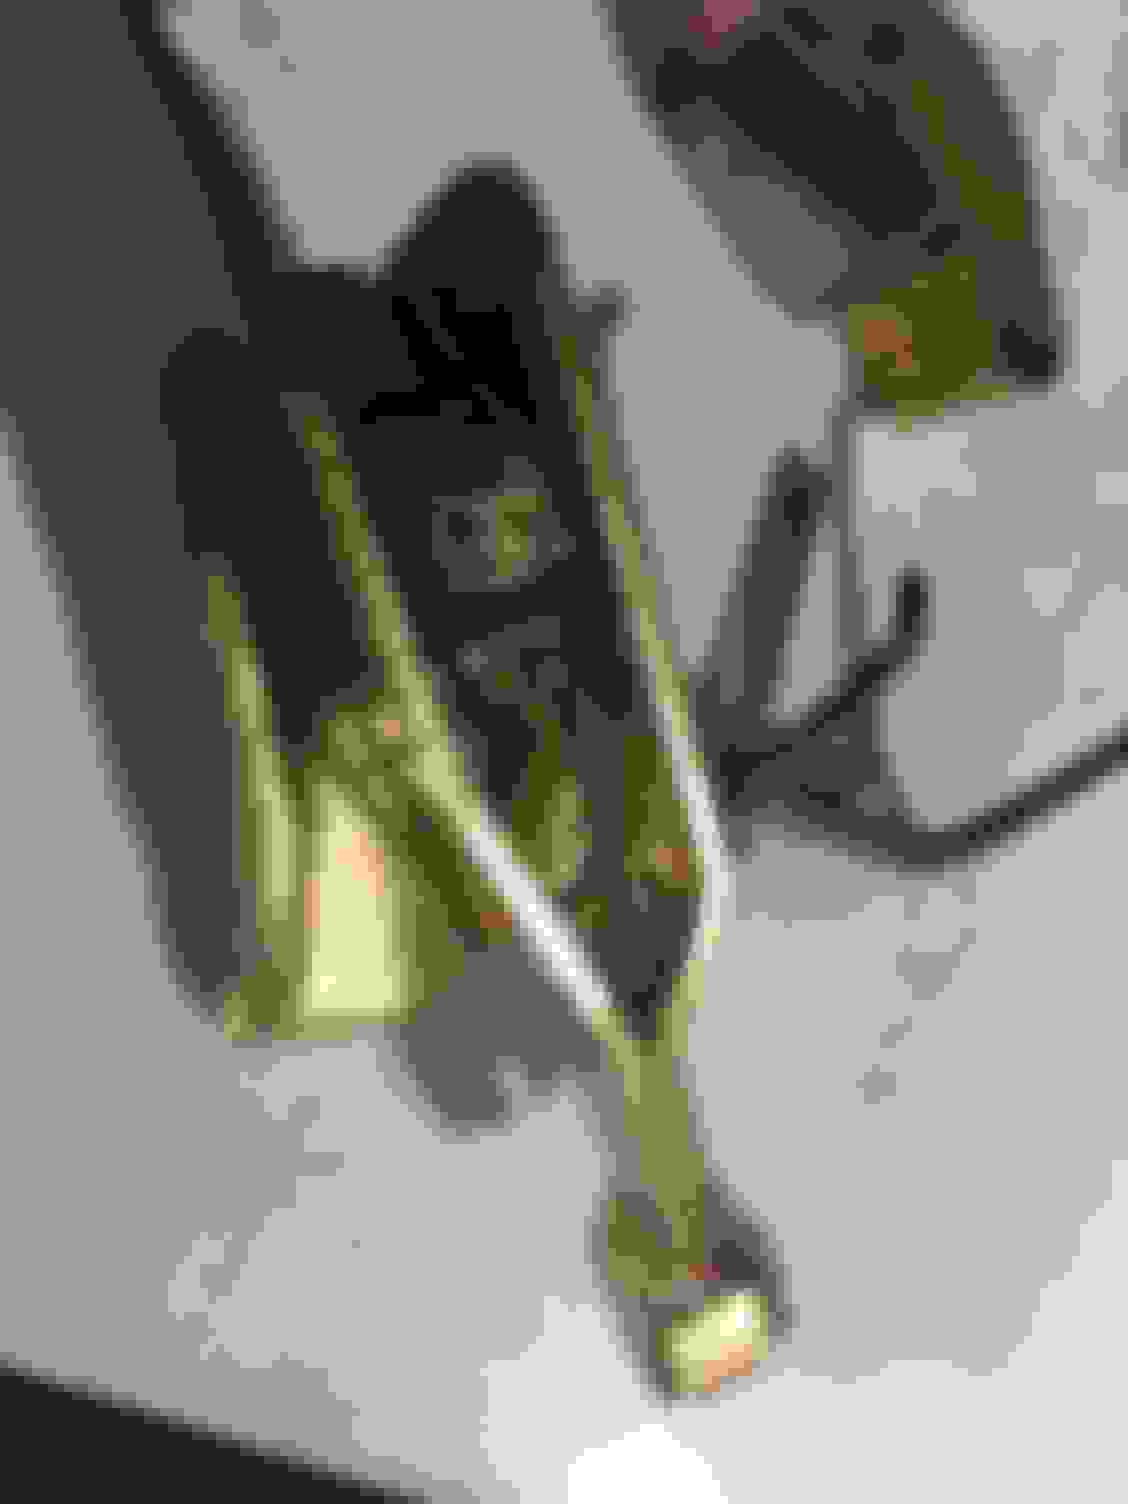
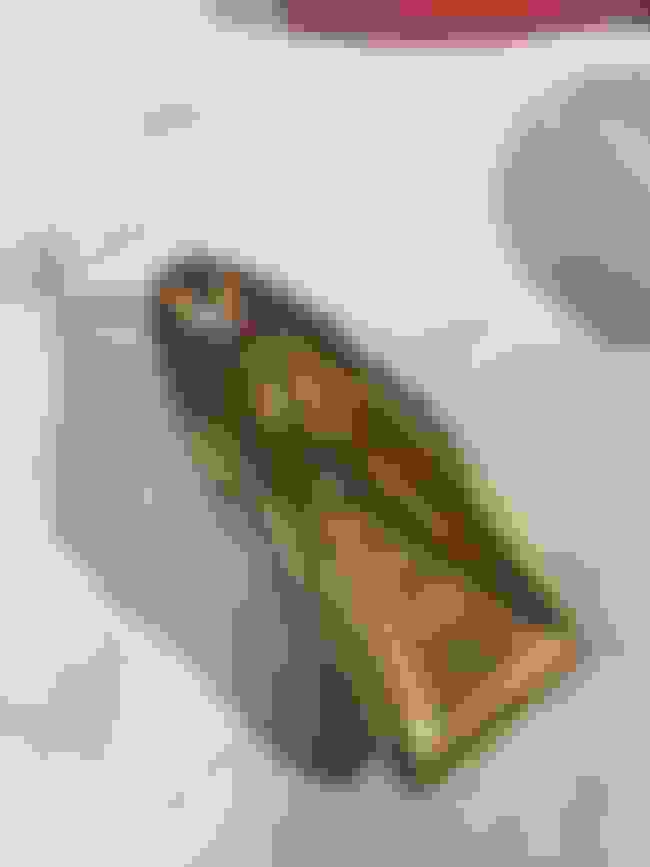
1 x caliper off for plating $10 and now assembled, and moving points greased. Only wanted to do one a time just in case I Fcked up and needed the other to help assembly which I did only for spring orientation.
All moving points have a spot of water proof grease, learned that a little grease even on points like were the springs attach make a difference to wear. Not covered in grease just a little in the right places.
Need to purchase new brass caliper tension thingy... that holds the pads apart #9750 ... will not use the old ones... BUT they look mint!!! (comments)
The next part is to remove the exhaust as Greg has said to access the adjustment bolt and try and fit this thing... not thinking it will be easy!
If it go bad, then cage out, but at least I have them ready to install and can drive the car until then. Winter is hitting soon so I will not need to have a WOF (inspection) until spring... and yes I will drive on fine days but who needs a hand brake? Hand brake Cable all tied up for safety.
Any way ... pictures tell a thousand words... let me know any areas of concern!... I was drinking beer during this process!
You are so lucky to have a Plating Shop that will do that Job for Beer money, please tell us more!
Nothing like that near me
But let me give you a 'Tip' in advance, just in case you have to drop the Cage
Any time you've got a 'Wheel/Wheels' off, Start swapping out any Cage and Exhaust Bolts for 'New Ones' even if its not a Job that you are planning to do, as when it gets to the point where you have no choice, undoing rusty Cage Bolts is a Total PIA where if you are undoing 'New Ones' it's dead easy!
Duke
Lovely job, really impressive. very sensible to leave one intact as a guide!
New bronze forks a VERY good decision, for some reason old ones seldom work properly, and the HB calipers are not held off the disc properly, then you get an annoying low-speed squeak, as one pad or the other rubs against the disc!
Ideally you need the rear end up at a minimum height of 38 ins if you don't have a Car Lift, which has the whole car tilted up at an insane angle of dangle!
Where you have to make sure it can't fall!
While Removing the Cage wasn't difficult, there are Multiple times when you have to get under the Car, so I would Strongly advise you to buy a Mid Rise Car Lift, which would be money well spent, as once you start this job there is no going back
Plan 'B' would be to replace all the Bolts that you can get to with New ones including the Exhaust and then if you're in any doubt get a 'Shop' to do the job, as if the New Bolts come out easy, then it should really cut down the cost of the labour
And also consider replacing the Rotors and Calipers while you are about it if they look a little bit worn
No Shame in getting a 'Shop' to do this if you're in any doubt as you don't want to get yourself injured in the process
How high should I get the rear tyres off the ground?
Doesn't need to be that high at all. If you lower the IRS onto your trolley jack you can pull it out the side of the car, so the tyres really only need to be high enough to take them off.
Started the cage out task yesterday.
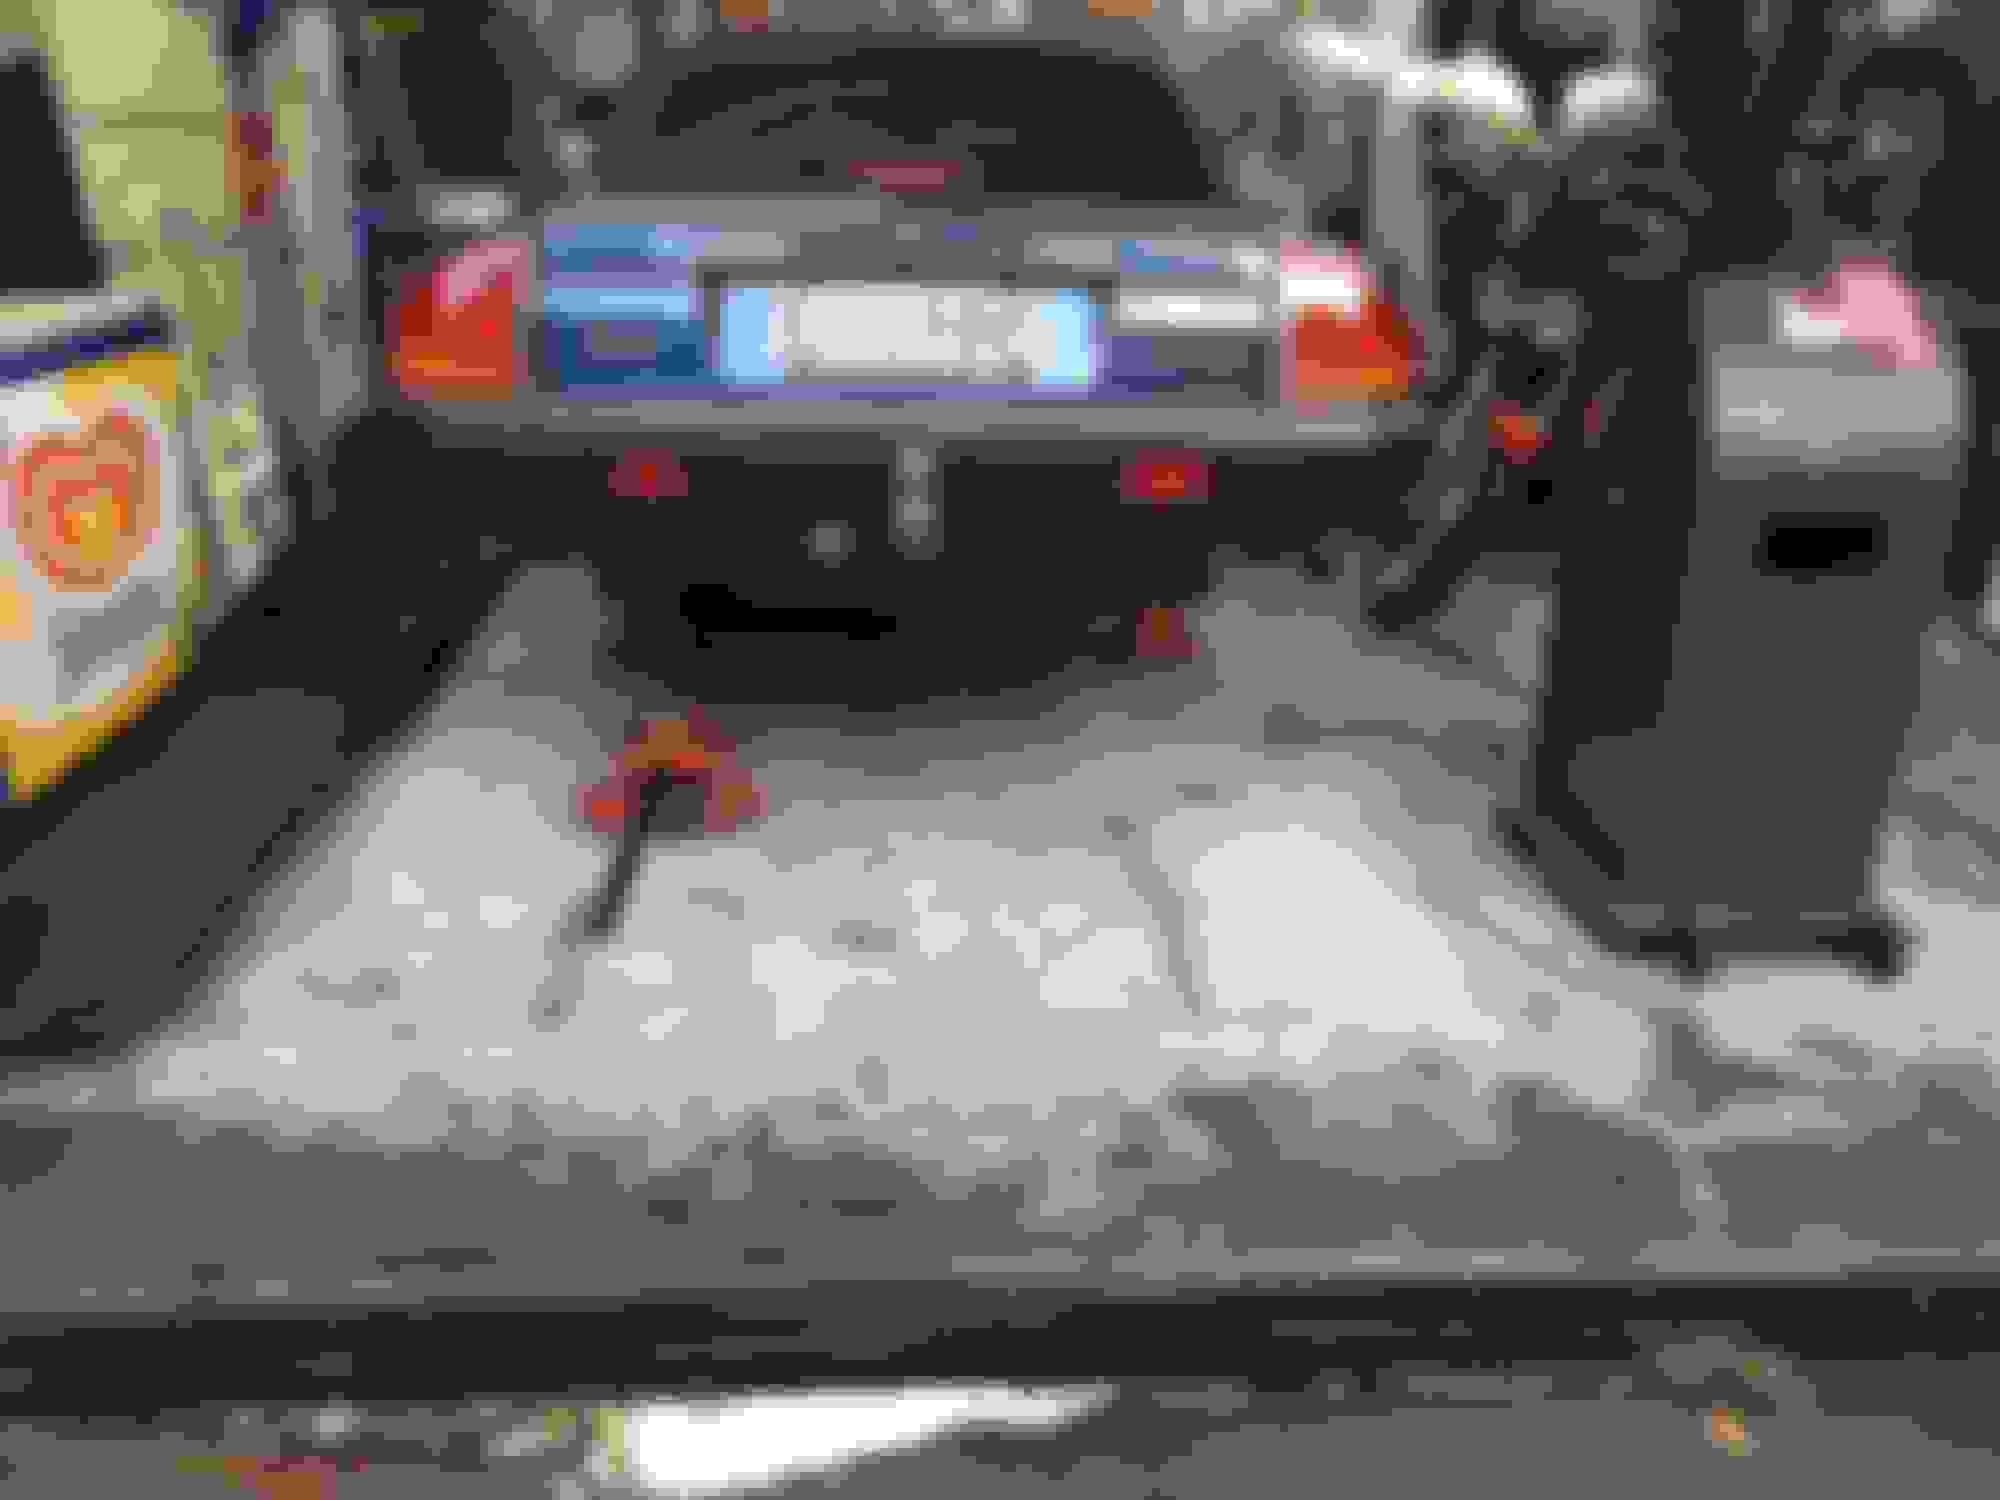
I got the car up in the air... it is rather scary getting the car on this angle.
I put wooden wedges in front of the tyres and knocked them in place, nice and tight.
The car is 500mm from the ground to the rear axles - .hope its high enough to pull the cage out sideways.
I should have done more underneath the car while it was still on my ramps..
so first up.... From OB's page
(1) Disconnect the exhaust(2) Disconnect the Trailing Arms
(3) Disconnect the Prop Shaft - mark which way it goes
(4) Disconnect the Wheel Speed Sensors - sounds easy as I can see them
(5) Disconnect the Speedo Sensor Wire - OK how is this done? OB said from the boot?
(6) Disconnect the Rear Flexy Brake Pipe and although I've got the Special Spanner with the Slot to do this, I am betting on this being a really Total PIA to do as I don't want to mess up the fitting from the Main rear Brake Pipe (Any tips on this appreciated) - Update? I read Gregs comments on the brake line.... Need to look for this.
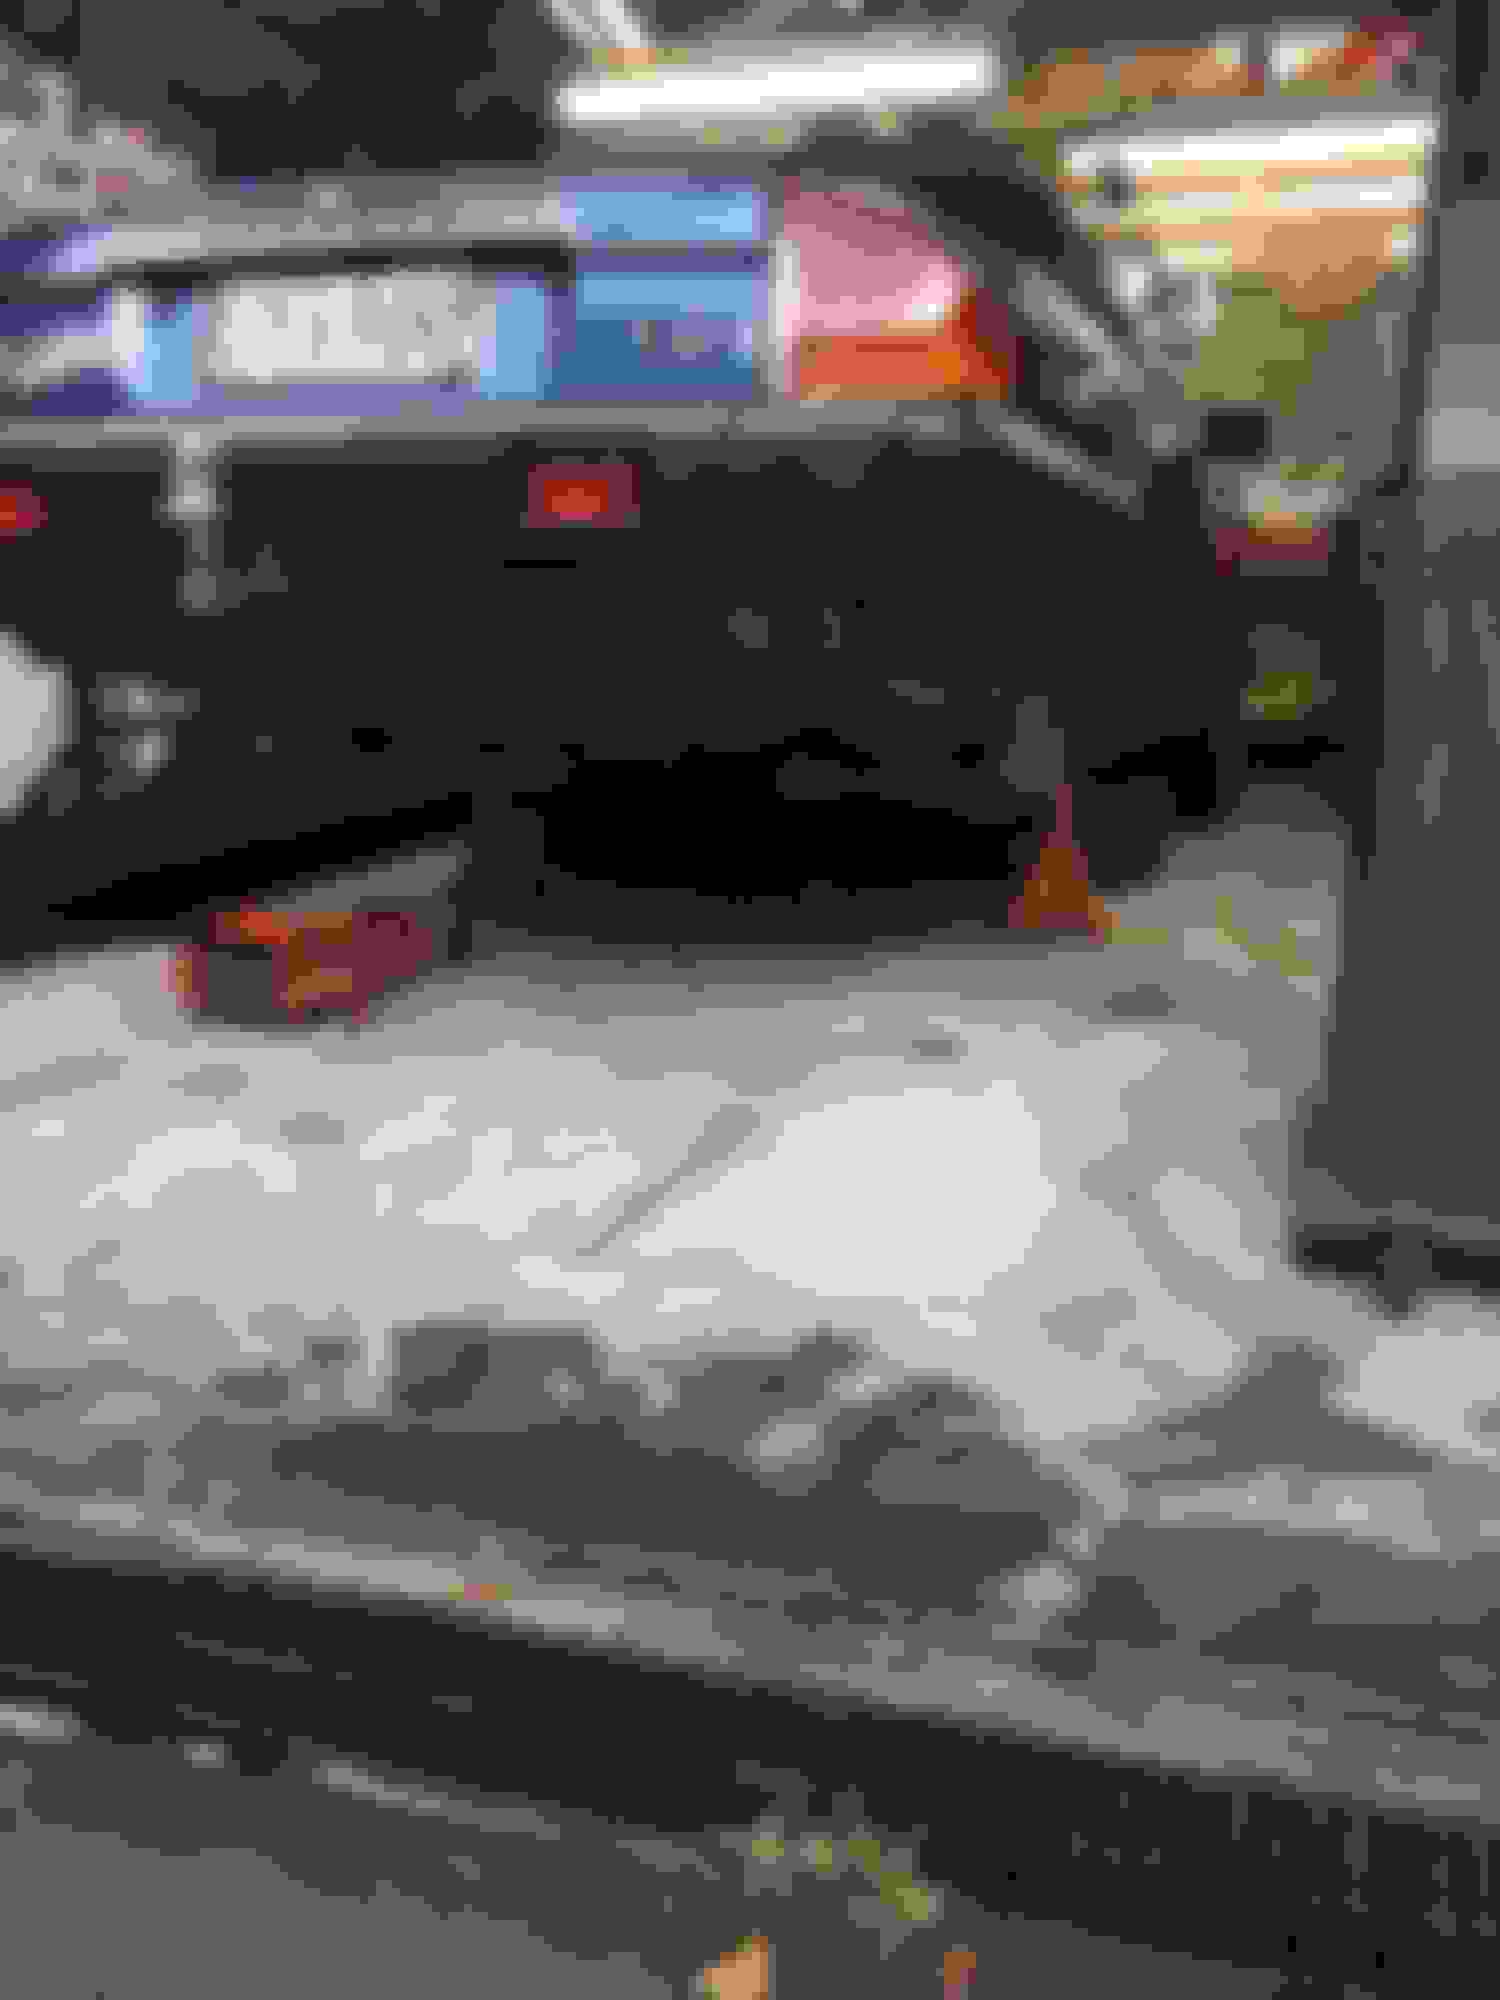
Looking at these pictures i am going to place a couple of pieces of timber across the tyres under the car for extra safety.
I pushed and shock the car like it is, while it rocked a bit it never looked like falling of the stands, but it only needs to fall once one to make me flat....
The brakes and rotors are all in good shape, pads look newish with plenty of meat left on them, i am thinking drop the cage, add the hand brake calipers and back up it goes.
Is there anything i should absolutely do with the cage is down?
Fun start tomorrow night with the exhaust / muffler removal.
I am thinking one job each night!
Looking good so far, although may be you should have loosened the Propshaft Bolts off first as they can be a real PIA to undo where the Spanner might also need a 'clump' from a FBH
Don't know if your Car has got one but on mine I had to turn on the Ignition and then touch the Foot Brake in order to turn the Propshaft (if you need to?) which I did as it has an electric lock on the gearbox
Also I would disconnect the Speedo Wire as soon as you can and then bundle it up inside the Cage so it doesn't get in the way and this is a grey wire which is hidden away behind some trim on one side of the Car, where after disconnecting the Plug, you feed it through its hole to the outside after dislodging the grommet
Unless you are going to take them off, either support or tie up the long exhaust pipes, so as not to put a strain on the Manifold
As for the Brake Pipe, I think you may have the wrong Spanner, as from Memory to undo the Flexy you will need 2 Spanners to Counter Torque them and I think they are both 15mm (I may be wrong on the size so you had better check)
Also one small job each day is the way to go
Keep us posted and let us know how you get on, as I am now in the process of removing Cage number 3
Might be worth having a word with Doug, as he removes these Cages a slightly different way, by removing the 2 Bolts on each side that stick out of the Rubber Bushes, which I have been reluctant to try in case the Bolt is so hard to turn that it shears the rubber inside the mounting
Though maybe I am being Paranoid, so I'll probably ask Doug myself
When you disconnect the Speedo Plug, follow the Wire until you get to the 'Grommet' then push the 'Grommet' right through the hole (from the Boot/Trunk to the Cage) then feed all the Wire through including the Plug, which goes through the hole quite easy
Then Coil the Wire up and put it inside the Cage to prevent it being damaged
Hard to tell from your Photos but you also don't want to leave the Cage unsupported and hanging by its Metal and Rubber mountings as if one or more of those come adrift then it could fall and maybe fall on you
Also when you drop the Cage, it tends to tip over and fall towards the gearbox, where being as heavy as it is then it could give the Car a clump and knock it off those Jack Stands, so watch out for that
So far so good and following progress with interest
I've never done the job on a V12, but on my 4 litre, I've managed to remove the sensor from the diff a few times, whilst the cage is in the car. It was a little bit fiddly but certainly possible. I'd at least try it if I were you. That seems a much more convenient way than all the work to get to the wiring connections.
It is almost impossible to remove the Sensor from the Diff on a V12 and so I wouldn't even bother trying, as you can't get a Spanner anywhere near it because the Cage is in the way, unlike on a 4.0L which has a bit more access
Thanks OB and Paul,
Started on the cage after work tonight.
Placed some wood across the tyres which was the perfect height to support the exhaust and stop them from dropping and putting stress on the manifold.
1) Started on the drive shaft - marked it for later install with pen and scribber. Got the spanners out and found the nut was 9/16 and the bolt 14mm.
This what I found... and I felt the dread building up....
All the nuts were rounded.
I attached the spanner and tried to loosen the first nut and NO go, so off I went looking for a pipe to add leverage.
Yep it just rounded the nut more, I am thinking disc grinder... NO.. please no.
So I tried turning the bolt head and it turned, and I found two flats that looked usable. Spanner and pipe.. Bingo it came undone.
Got two of the bolts out, put the gearbox in to neutral and turned the driveshaft 180, back in to park and got the remaining two undone.
Left one in loose.
2) Started on the exhaust joints in front of the cage, I had sprayed them days ago and one side came out easy.
That was it for today.
Tomorrow -
Other side exhaust joint.
Remove the mufflers
Rear Brake line... might cut this too, looks the easiest option.
Speed sensor cable removal
Questions...
Do I need to remove the mufflers before trying to pull out the exhaust pipe? (common sense says yes, just asking a dumb question)
How are the bolted up? from inside the boot?
What is the best option to stopping a flood of brake fluid?
I have a plastic brake line clamp.. can that be used?
Jagboi - yes I read that can be done but it seem most lower the cage enough to get to the sensor...
I like OB's option... not touching whats working.... if it take 2hrs to get the plug through the hole I think differently but still a nice safe option.
 03-24-2021, 12:47 AM