When you click on links to various merchants on this site and make a purchase, this can result in this site earning a commission. Affiliate programs and affiliations include, but are not limited to, the eBay Partner Network.
If you have a spare brake bleed nipple rubber cap, this can be placed over the flange on the end of the under floor hard line and stops the fluid coming out pretty well.
The tunnel silencers can, just, be left attached to the cage pipes, IF, repeat if, the car is on a ramp, but in your case I do not think you will be able to get the pipes and silencers out; but it is worth a try!
Last edited by Greg in France; 07-13-2021 at 01:33 AM.
Thanks Greg -
If you have a spare brake bleed nipple rubber cap, this can be placed over the flange on the end of the under floor hard line and stops the fluid coming out pretty well.
The tunnel silencers can, just, be left attached to the cage pipes, IF, repeat if, the car is on a ramp, but in your case I do not think you will be able to get the pipes and silencers out; but it is worth a try!
Can you explain this a bit more please? Where is this?
-this can be placed over the flange on the end of the under floor hard line and stops the fluid coming out pretty well..........
I need to replace the radius arm bushes.. are the Convert and Coupe the same?
Looked on the parts list but can seem to find anything different between them?
From SNG - are these what I want?
Small Bush: MHC3160AA# OEM Metalastik $24.50 MHC3160AA* SNG Barratt aftermarket copy $6.74 MHC3160U Polyurethane bush by Polybush $57.02
Large Bush: MHC3170AA# OEM Metalastik $28.00 MHC3160AA* SNG Barratt aftermarket copy $18.66 MHC3160U Polyurethane bush by Polybush $88.57
Trying to get the 'U' shaped Exhaust Tubes out of the Cage is a very difficult almost impossible job without a Car Lift as you won't have enough height to do it
As you will see from the Photo, my preferred option was to leave the Mid Exhaust Boxes attached to the Long Pipes after tying them up and then pulling the Cage out with the Rear Boxes still attached (because I found it easier that way) and then once the Cage is out it is easier to dismantle them that way
Once the Cage is back in the Car then putting the 'U' shaped Exhaust Tubes back is very easy, as is reconnecting the Exhaust Middle and Rear Boxes
Since you've only just started this job and haven't gone past 'the point of no return' I would 'Seriously' think about getting a Mid Rise Car Lift �1,000 which you could slide under from the side as this would make the whole job an absolute breeze as it could cost about Three Grand for a 'Shop' to do it
Though which ever way you decide to go be 150% Certain that no matter what happens the Car cannot fall and I would even put a stack of Pallets or Tyres underneath
OB - there will be no mid riser lift unfortunately.
The best I can do are my ramps and they are good except for something like this.
yep tyres under car with a piece of wood on top going across ways, also added another set of stands under the car but just sitting under the floor...
When you did your cage did you replace the radius arm bushes? big and small?
What about the cage rubber mounts?
As suggested I have placed a jack under the diff to take the weight and stop the pull on the mounting bushes.
It looks like the radius arm large definitely need doing. The look perished.
I have assess to a good size press....
And are the parts highlighted in Black the right parts? are the convert and coupe the same?
I have searched and cant seem to find any difference.
cheers
.
T
Can you explain this a bit more please? Where is this?
-this can be placed over the flange on the end of the under floor hard line and stops the fluid coming out pretty well..........
I need to replace the radius arm bushes.. are the Convert and Coupe the same?
Looked on the parts list but can seem to find anything different between them?
From SNG - are these what I want?
Small Bush: MHC3160AA# OEM Metalastik $24.50 MHC3160AA* SNG Barratt aftermarket copy $6.74 MHC3160U Polyurethane bush by Polybush $57.02
Large Bush: MHC3170AA# OEM Metalastik $28.00 MHC3160AA* SNG Barratt aftermarket copy $18.66 MHC3160U Polyurethane bush by Polybush $88.57
The metalastic bushes are the ones you want. Do NOT buy own brand and do not buy poly for this application.
All models are the same radius arm bushes.
If you look under the car to the point where the flexible on the cage attaches to the brake line under the car, you will see the join is a compression joint. If you undo this joint, which you must to remove the cage, there is a flange (ie the pipe end is flared) pressed into the end of the hard line, which the captive nut screws against the male end of the flexible to make the seal. Place the cap over this flange.
No I didn't change the Radius Arm Bushes because they looked in good condition and since I've removed the Trailing Arms once, then it would be a very easy job to replace them in the future if I needed to, as its only a bit of a PIA the first time!
I also didn't replace the Mounts as I didn't need to, as the Cage has never been left hanging unsupported and they looked as good as new
If you've got the Split Rim Rotors, I would definitely replace them for the Solid ones, even if they look ok as removing the Cage is one of those jobs that you only want to do once, unless you get a Car lift in the future
On the inside of the Fwd Cage Mount is a Bracket for the Brake Pipe where the Solid line Joins the Flexy and this will come free when you undo the Two Cage Mounting Bolts, so with this Bracket hanging free, now is the time to undo that Pipe as otherwise its a total PIA to get to and undo
Then once you have undone it you can reconnect it (but not so tight!) at least until you are ready to change the Flexy
Last edited by orangeblossom; 07-13-2021 at 09:18 AM.
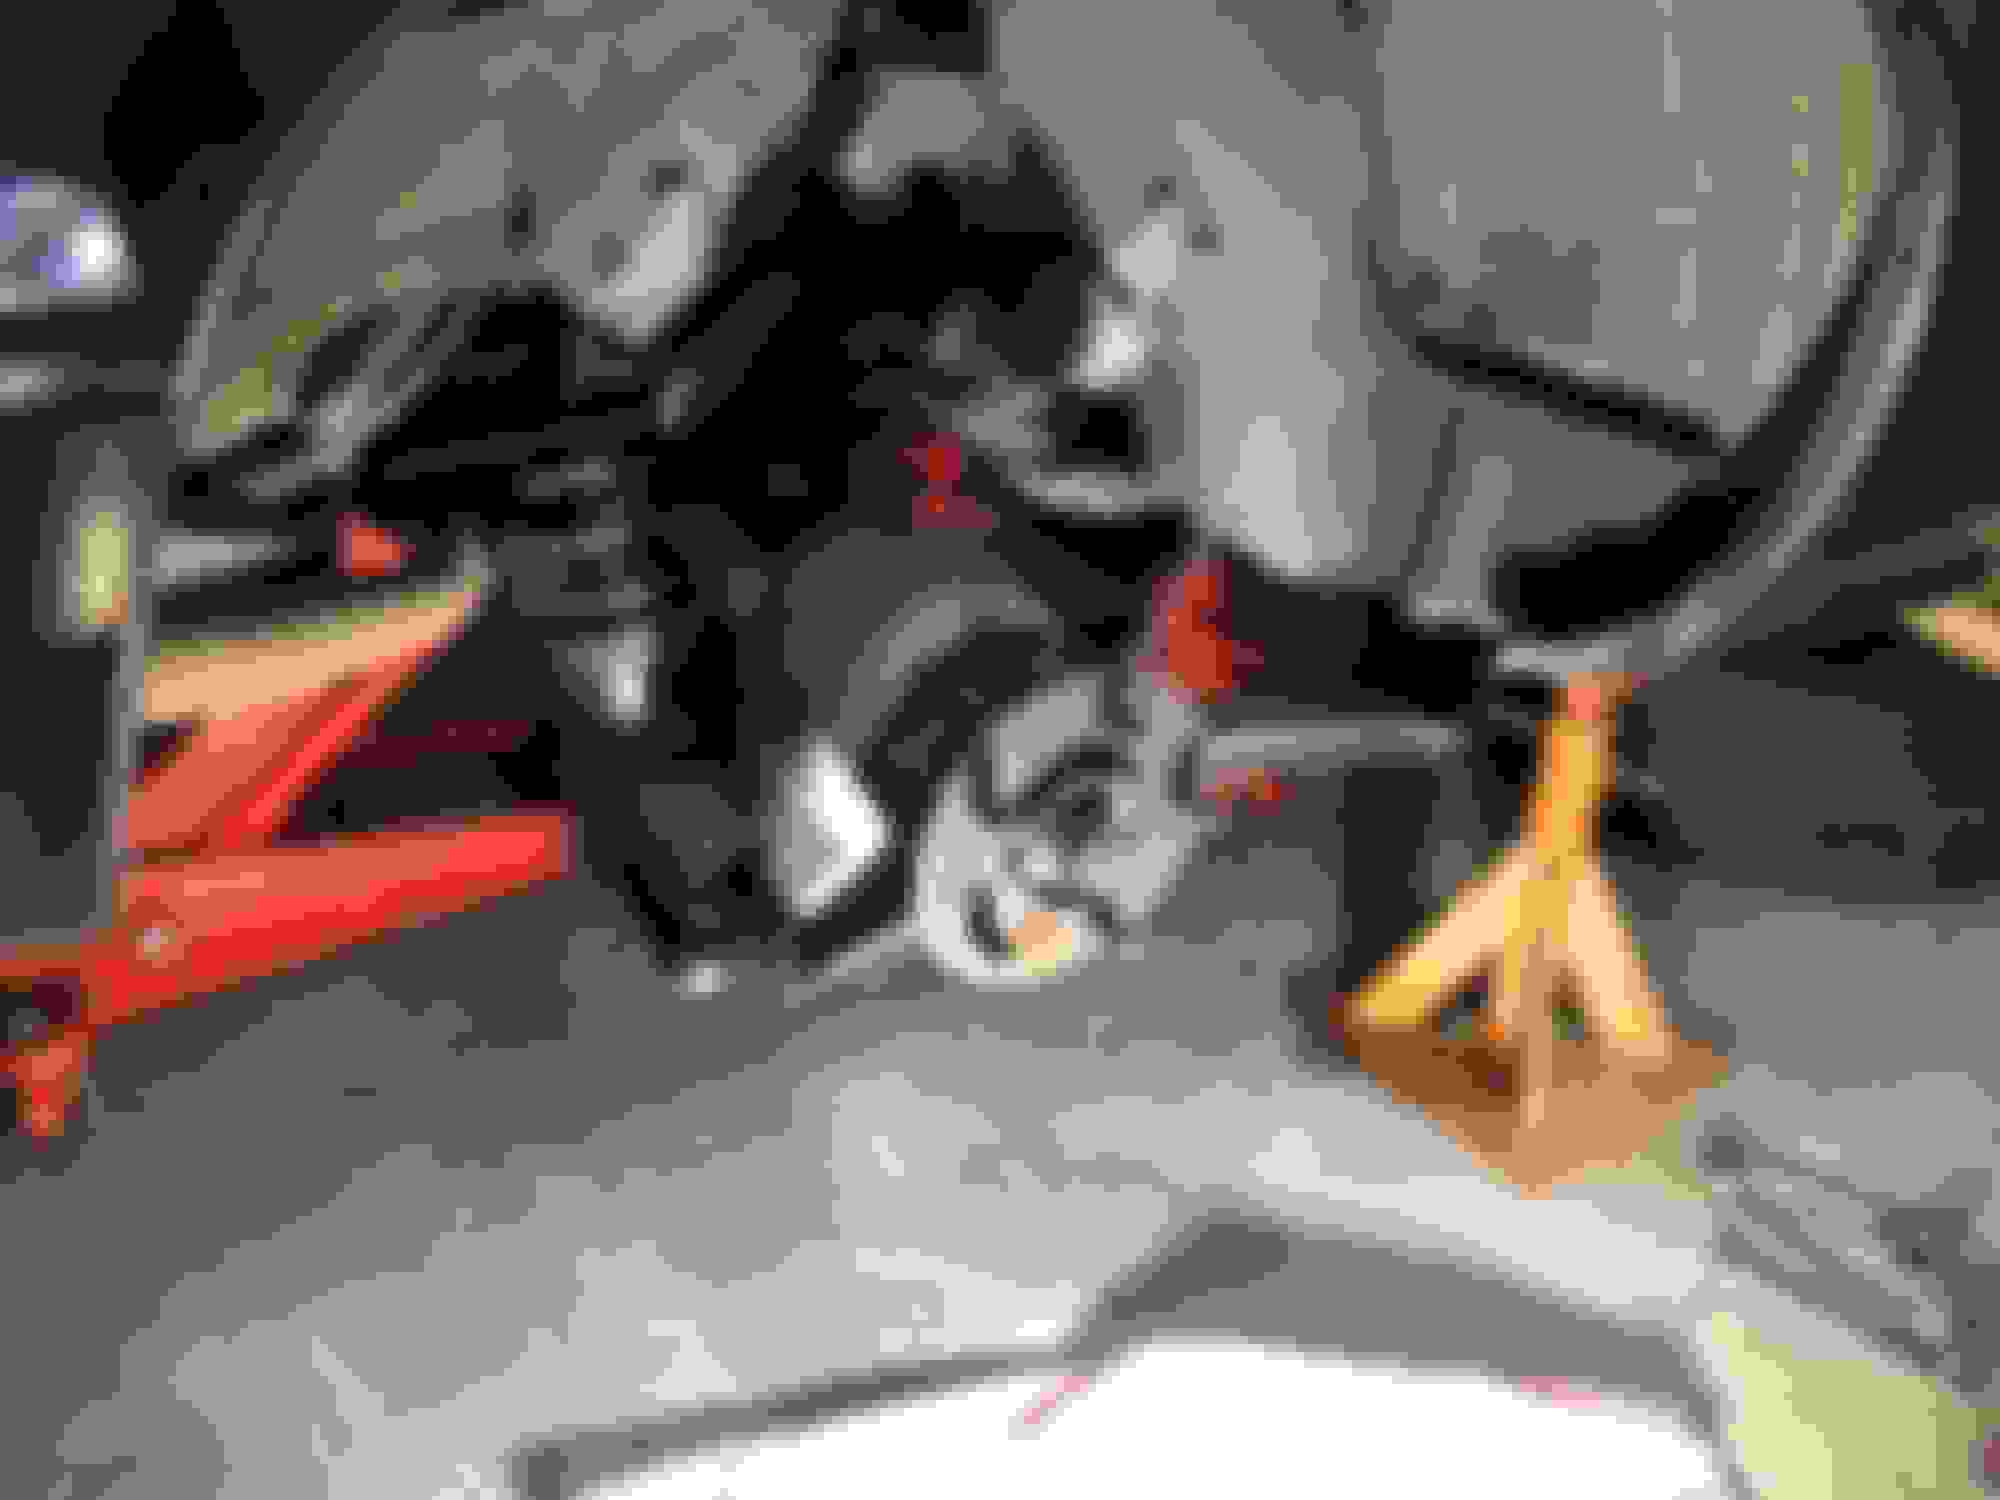
I got a bit more done today.
After reading lots about separating the radius arms from the floor pan I thought I would give it ago.
First bolt I undid was the retainer bolt, and it was not that tight, nipped up would be how I would describe it.
Lots of copper anti seize... so that was good.
The cage has been out not that long ago.. not in the last 6 yrs.
Then the main bolt, again not a lot of effort needed to remove & NO safety wire. I will be adding the wire for sure!
I used a large spanner and put one open end in to the bush, used a 400mm pipe as a lever and pop off it came.
I did both side in about 30min and that was while I was having a beer!
Only thing .......... who ever removed the cage last time must have had an issue because one of the arm bolt holes has been drilled out and threaded.
Like i said, neither were overly tight, I did use a socket with a power bar and not a ratchet.
The retainer bolts, both had the thread ground off for the first 10mm, my guess was to help start the thread ?
Also found the rear brake bracket tucked up as OB explained.
As stated by Greg..... If you look under the car to the point where the flexible on the cage attaches to the brake line under the car, you will see the join is a compression joint. If you undo this joint, which you must to remove the cage, there is a flange (ie the pipe end is flared) pressed into the end of the hard line, which the captive nut screws against the male end of the flexible to make the seal. Place the cap over this flange.
I need to get a rubber nipple cap and a new brake line.
I will need to undo the brake hose from the bracket before dropping the cage, so I will cut it and push a clean bolt in to the hose if I can to stop the dirt.
Not sure if I will rebuild the caliper as they look good, lots of pad left, no leaks and solid discs.
Its all been done at some point... but time will tell after i drop this thing.. my desire to clean and paint may take over...
Thinking about the brake compression joint, it would be cool if i could get another fitting, blanked off to screw on to the pipe.
Anyone know what size thread it would be... OR could that cause more problems than its worth a change the pipe end and cause a leak?
Oh and there are two threads stick out (see picture above and you can see one of them, to the left) two on each side.
What are they for?
Can't remember what those threads were for and not even sure if my Car had them
Don't forget some New Prop Shaft Bolts as if the heads are damaged you may not be able to get them done up tight enough the second time and don't pay �7 each for them either!
Good work so far! Great job on removing those radius arms so easily!
I've just checked with Jaguar and it seems the diff backplates and speedo sensors are the same on V12 and 6-cylinder cars are the same. So, 5 mins of careful fiddling and you'll be able to take the sensor out! The only fiddly out is carefully pulling out once the 2 bolts are undone. The bolts are definitely accessible, however, something makes me remember that they are imperial, not metric (just in case you want to change them)?
Remember to drain the diff first (I'm sure you were going to change the oil anyway, even if you weren't rebuilding the diff?). And also keep teh sensor shims together carefully. The air gap is critical on stopping the speedo fluttering.
A respectfully slight difference of opinion with Paul on the Speedo Sensor removal
When I tried to do this on my Car (while the back plate may have been the same) the design of the Cage on the V12 is different to the 4.0L which meant that I was unable to get a Spanner on it
Also when someone on here did this, they had to knock out one of those round paint Can lids in the Boot/Trunk and then undo it by feel (which sounded a Nightmare!)
Although in any event I wouldn't disturb that Speedo Sensor not unless I absolutely had to, as imagine putting the Cage back, only to find the Speedo isn't working as it was before and so unplugging it seems to be the safest option
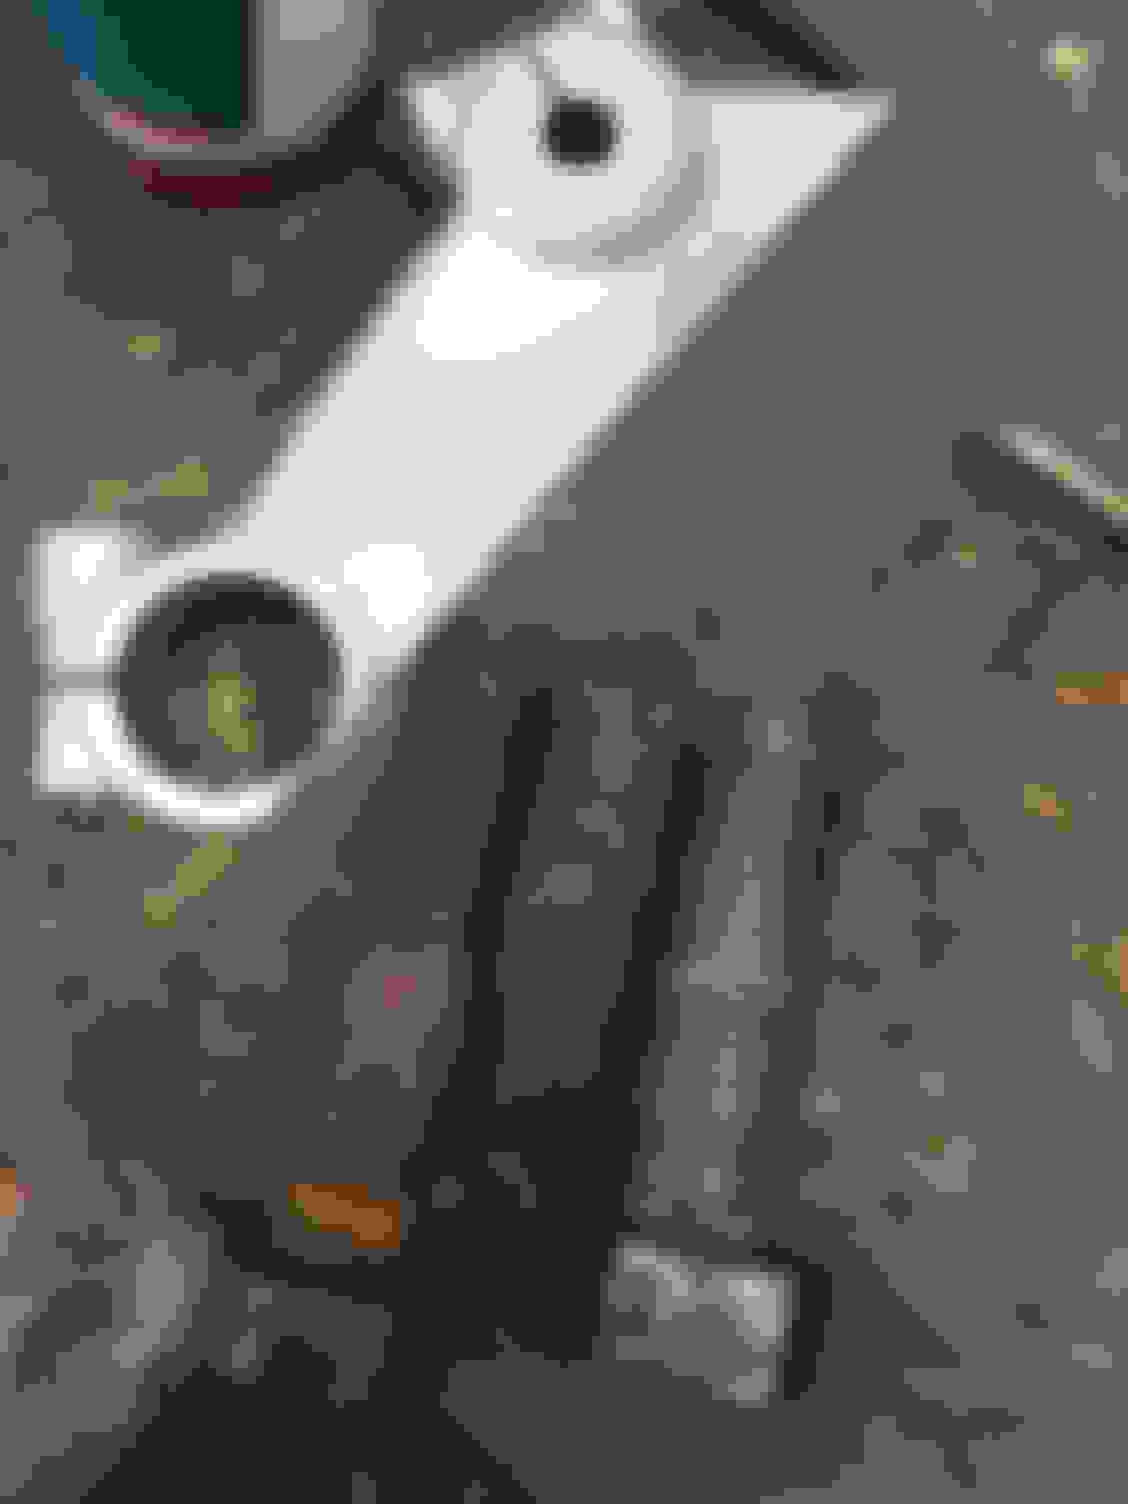
10min job ....... very easy.
Remove spare wheel,and floor lining.
Now for the rear brake line, this is a fiddly job. I went to a brake shop for a rubber cap, who sent me to a hydraulic hose shop.
And left with this.
Need to remove the hose from the bracket and go to go.
I will replace this hose with a braided steel hose if possible?
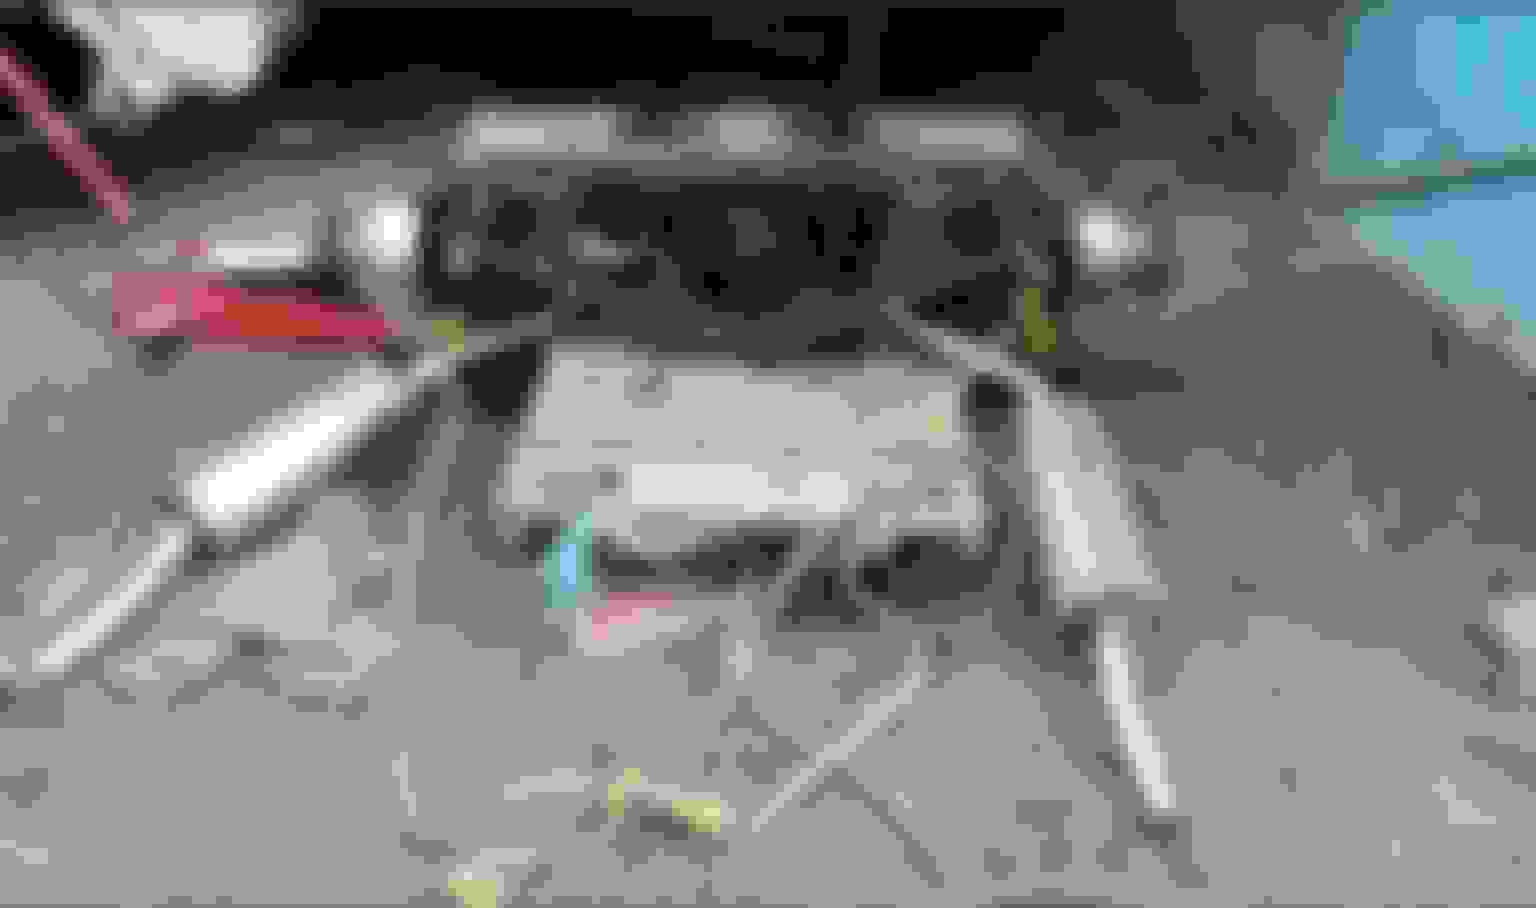
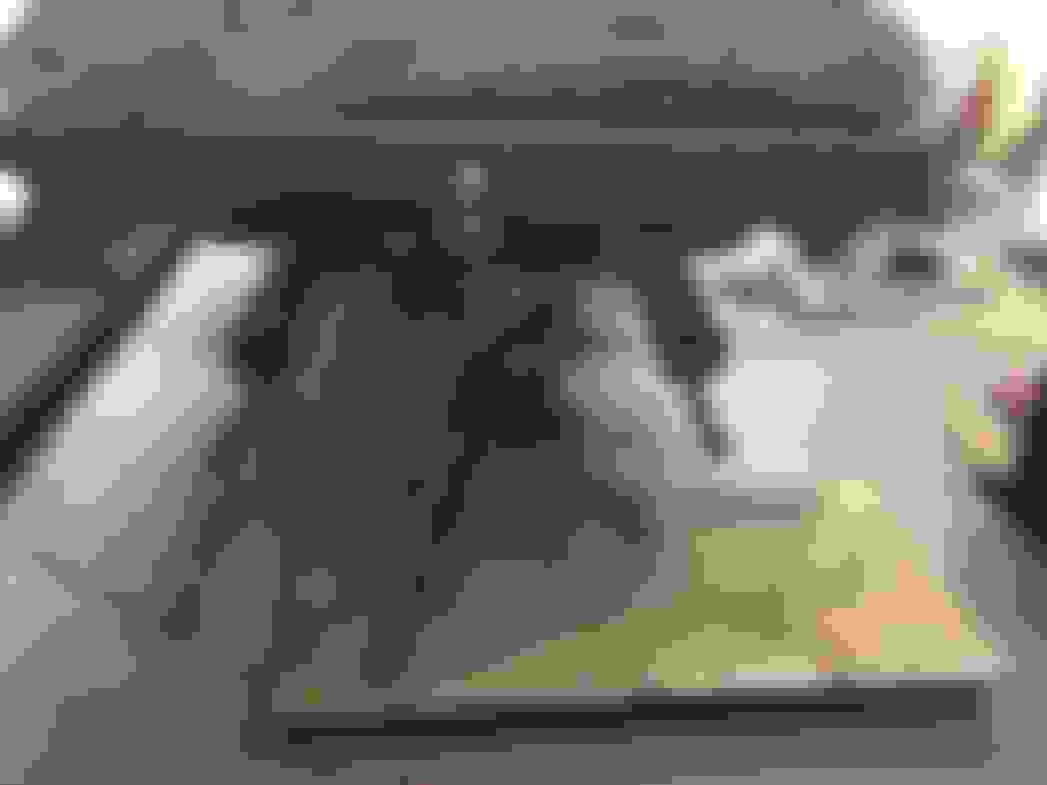
Exhaust separated... the mufflers are still attached and on the mount, they need to be pushed forward to get them off the rubber mount.
I am hoping this will happen as I drop the cage as it does not look easy to separate the muffler from the exhaust pipe after the cage.
OB said he dropped the cage with mufflers attached.
Jobs left to do..
Hub ABS sensors
Brake line - separate the nut from the fitting to remove hose, may try and buy a cap for this hose.
Tie up speedo wire
remove last drive shaft bolt
remove 6 x bolts that mount the cage to the rubber mounts, I am guessing the mount stay on the car?
Drop cage...
Have I missed anything?
Thanks Paul but I went OB;s way.. I did the diff oil only a few months ago so it is good to not have to drain it, but may do again?
Any point to doing it again? Not sure...
I am thinking of making a trolley to sit on my floor jack with wheels.
Large enough to support the cage, when dropping the cage I can lower the jack enough to remove it and leave the cage on the trolley.
Pull the cage out sideways on the trolley wheels.
Sounds easy enough...but do I have enough height?
How heavy is this thing?
Can it be pulled out easy enough on a concrete floor without wheels?
Even if you changed the oil recently, I'd change it again anyway, whilst you've got the cage out. I'm a great believer in frequent fluid changes of every part of the car. Diff oil gets put under significant pressures, hence the smell of used diff oil. Change it, it's so cheap, and madness not to do it.
As regards moving the diff, do remember that the cage isn't balanced when fully assembled, It will tip unless it's fully supported, so be really careful when lowering it.
Whenever I have done this job I have left all the Mounts attached to the Cage, so I really can't say if 'Jagboi's' way would be better or not
But if you decide to lower the Cage with the rear Silencers still attached, as soon as they pull out of their Rubber Mounts at the Rear, they will come Crashing down without any warning, which I can tell you really took me by surprise
So with the benefit of hindsight 'always a wonderful thing' I would try and release those rear Silencers from their mounting Pegs as soon as you can, then you can lower the whole lot down without any nasty surprises because as 'Paul' says the Cage will try and fall forwards towards the propshaft
So when you place the Jack under the Cage in order to lower it down, have the Jack a bit more forward to compensate for that and also make sure that you have enough height as when I did this the first time, I needed another 1/4 of an inch more height, which took another Two Hours to sort out!
Still on the subject of Cages, that Cage weighs a Ton!
So don't try and be a Hero and pull it out by hand, or you will very likely Rupture yourself!
Best to either pull it out while it's sitting on the Jack or make up a board with some Castors or something like that, though as my Garage has a dirt floor, I pulled the Cage out from the rear of the Car by towing it out the board it sat on with my Merc, as if you're having to use any effort at all then you are doing it wrong
As for the Brake Pipe, leave the Bracket on until it is out of the Car, so that you can do it in Comfort
Getting very close.... parents in-laws are here and are cramping my style.
I have to talk to them... but I still managed to slip away for a while.
ABS - sensors are removed and tied up, they came out super easy.
Pulled the mufflers forward off their mounts but the cage is too low to remove them... Thanks Greg... lowered the mufflers and pushed them on to their top cage mount.
Ready for the big drop...
Drained the diff... oil was nice and clean, still had a yellow glow to it, just, Thanks Paul, it always feels good when you replace fluids etc... like your being super nice to the car and it appreciates it!
Thanks guys for your support, without everyone's input and previous endeavours there is No way I would have undertaken this job, OK its not out yet but getting close.
How did OB put it... "Cage-phobia" .. the job just looks soo daunting but so far it has not been.
Right - here is my idea for dropping the cage.
The plate locates in to the jack, it can only tip forward if the whole jack tips forward.... Its a 3T jack... fingers crossed.
Jack it up under the cage and use tie downs, one each end through the tie plate on the bottom and around the plate.
Lower it on to the trolleys, one under each hub.
Grease nipples removed, the hubs might hang low enough to rest on the trolleys and allow the jack to drop out of the way.
That is the plan but I have No idea if any of this will work.
I was just reading through Thorsen excellent thread when I noticed he was painting his hub caps... mine does not have them...
Is this an issue and should i get some?
 07-13-2021, 01:30 AM