When you click on links to various merchants on this site and make a purchase, this can result in this site earning a commission. Affiliate programs and affiliations include, but are not limited to, the eBay Partner Network.
Ok a question on the wishbones... are the bearings standard bearings or loose rollers?
What is the danger pulling these apart?
Looks like there are spacers and seals on both sides and bearings... noting scary looking, but then i read about the rollers being missing etc....
I would like to pull them apart top clean and replace the seals only... that would be the best option.
I am worried the crap will get in to the joint with it sitting with wire going through only
I will look at getting a long dumpy shaft.
OB... I will be looking for a special spanner today!
In that diagram Paul references above, number 11 is a caged needle bearing. The problem is keeping everything aligned and in place while sliding the fulcrum shaft through the wishbone. The shims like to drop down and bit and catch on the threads of the shaft.
You really need a 'Dummy Shaft' to keep everything in line
All you need is a Standard piece of 1/2in Copper Water Pipe 13.25 ins long as the Threads of the Fulcrum Shaft will fit inside this Pipe while the Outside of this Pipe will neatly rest on the outside edges of the Fulcrum Shaft that by way of a Bonus is a Perfect Fit!
So as you Tap the 1/2in Copper Pipe in from one side, it takes the place of the Fulcrum Shaft which then gets itself knocked out of the other side! very simple really but it works a treat and is especially useful for knocking the Fulcrum Shaft back and forth, when it comes to putting the Cover back on the IRS
Use a very Soft Hammer so you don't burr the ends of the 1/2in Copper Pipe as you do so, although 'Worst Case Scenario' in the event that you do Burr the Pipe you can cut the 'Burry Bit' Off
How to easily make and use a 'Dummy Shaft' to keep everything together when removing the Fulcrum Shafts
Also Duke: If you decide to knock the Fulcrum Shafts through with my Copper Pipe device, there is less chance of 'Burring' the end of the Copper Pipe if you don't use any Grease on the Fulcrum Shafts, which can cause too much Friction and make it harder to knock the Shafts through, initially use some WD40 for Lubrication
As regards cleaning the Bearings, I just pumped a Can of WD40 all the way through and then I re-greased everything, when it was all back together
Well I am not pulling those wish bones out..... I will try and find 1/2 copper pipe this week.
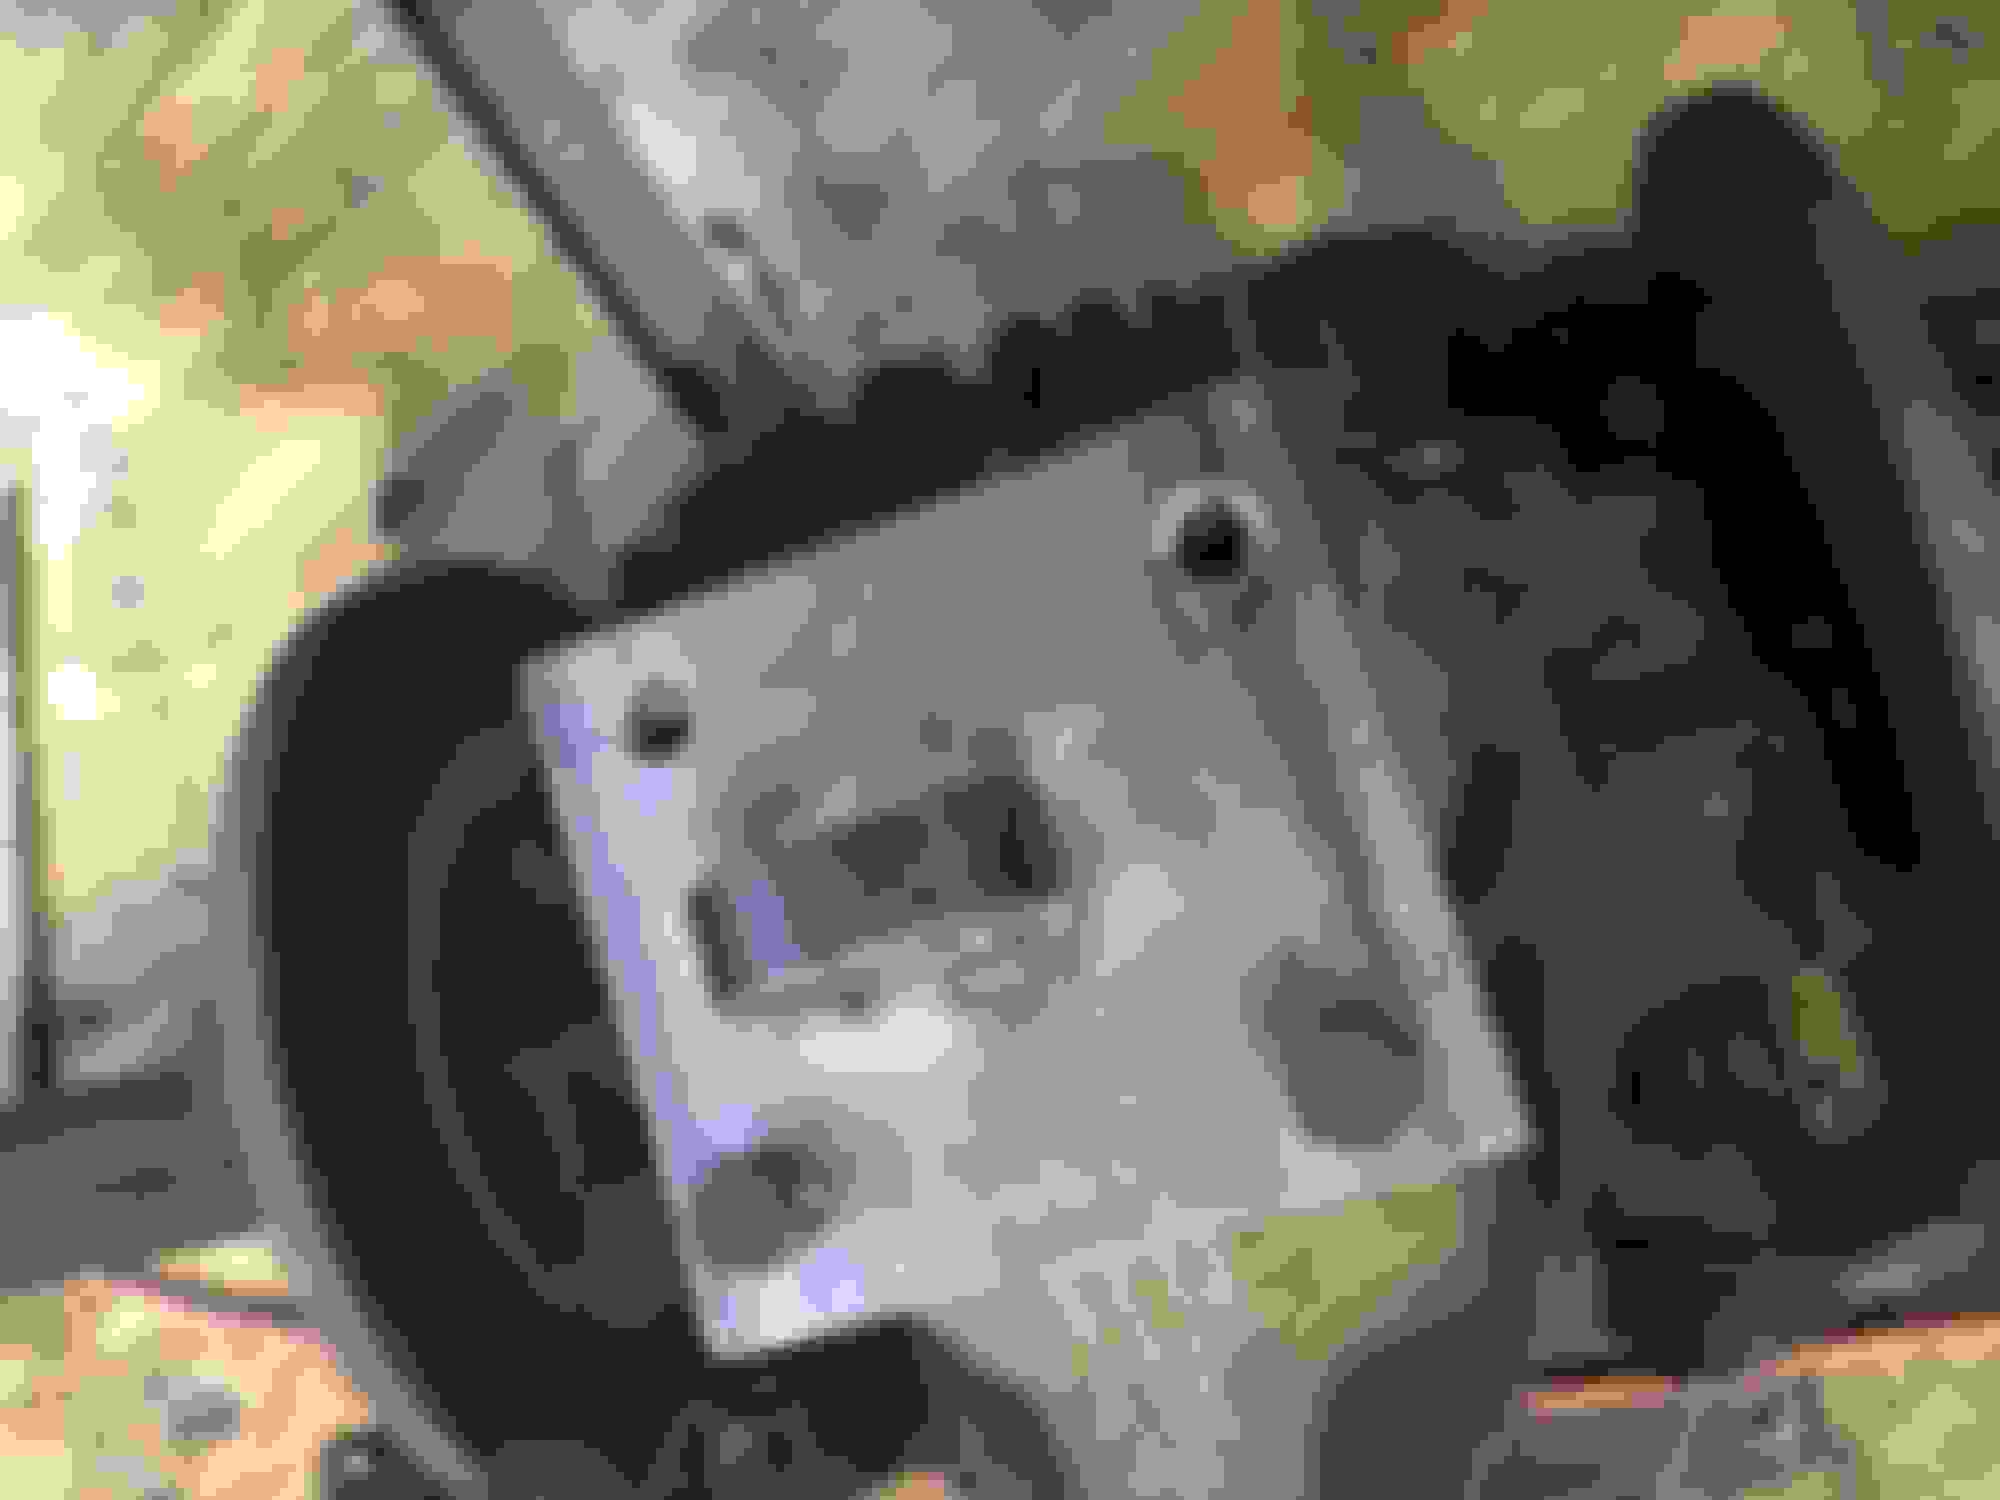
My wishbones have moved and are no longer in alignment.... I hope this does not prove to be a problem!
The other side is slightly worse.
So assuming I can get some 1/2 copper pipe and get the dummy shaft in place, I want to lift the diff from the top mounts with an engine hoist. This is to remove the bottom plate and clean everything. Can the arms hang from the universal joints? I'm thinking not but it would make life simpler if the can.... I will cut some plate, drill some holes and add a lifting eye...then it will be easy to lift.
If I were you I wouldn't do it that way, because the purpose of the 'Dummy Shafts' is to keep everything lined up, to make it easy to remove or insert the Fulcrum Pins, as otherwise there is a danger of any weight or movement applied to those 'Dummy Shafts' could cause them to kink, as they are only made from Copper Tube
In the event that happens then you may have to use a Fulcrum Pin with a Nut on the end as a drift in order to get the 'Dummy Shaft' out, which defeats the object of the exercise and involve some more unnecessary work
Since at the moment everything has got out of alignment, your best plan is to put the Fulcrum Shafts back, which may of course require a lot of jiggling about, so what would come in handy would be a 'Mate' to take the weight of the 'Hub Carrier' while you jiggle the Fulcrum Shafts back into position
Then get everything you can get to cleaned and reassembled (except for the Brake Pads) and also paint everything you can see if you want to and then put the Shroud back on the Cage, with those 4 Big Bolts on top only nipped up tight (at least for the moment)
Then turn the whole lot upside down, so the Bottom Plate is facing upwards and then Clean and Repaint everything that you couldn't get to the first time, when the IRS and Shroud were the other way up
With the Cage now upside down you should be able to get in there and clean the inside of the Bottom Plate and also Paint it but unless you are going 'Concourse' I would try and resist the Temptation to remove it FOR A VERY GOOD REASON!
Because the Fulcrum Shafts will eventually have to pass through the Metal Shroud of the Cage as well as the 'Wishbones' all of which has to be 'Perfectly Aligned' or else refitting these can be a 'Nightmare' as there is Absolutely Zero Room for any Misalignment 'As its a Jag Tight Fit' to the nearest Thou!
In any event you are going to want the Cage to be Upside Down to put that Washer Combo back on the end of each Fulcrum Shaft they way they were before you took them out, which can make the doing of a Rubik Cube look easy
Where if you leave the Bottom Plate in place as it is, that will really help in keeping everything lined up
I wouldn't hang the IRS up in the Air with a Crane, as it is far easier to do the whole job on the Floor, as that way everything should stay in place once its lined up
Last edited by orangeblossom; 07-26-2021 at 08:12 AM.
OB - great advice ...... shame I did not start with a dummy shaft... very stupid!
I got some 1/2 inch aluminum bar, but its to late... I was and still will drill the ends for the threaded ends to go in... like the bass option, but this was $15.. and I did not have to buy 5m.
I tried to put the XJS shafts back in and got one side - sort of... bearing inner came out and I'm sure crap went back in... but I got the shaft in, with some CRC..
Number two... OMG everything just fell apart... it was like trying to push a spider up a straw with a tooth pick.
Spacer every where. Oh well.
Put them in bags to remember were they go!
So they are coming apart for cleaning, re pack grease and in they go..., bearings and seal all look new.. certainly no need to pull apart LOL
spacers in bags ..........
Made a plat to lift the thing.. just taking the weight helped for the first shaft... lets not mention the second.
Security wire.. only the cage top bolts have been wired, the bolts that came loose .. I think Grant,, where it took two mornings to fit, because a bolt came loose.....are not wired.
So this maybe a good opportunity to wire stuff as it should be..
Oil leak on one side...?
Or might have been and not cleaned.
There was oil dripping under the diff but I think... reasonably sure it was the drain plug...
Oil leak?
Purchased a Chinese lift - cheap as.. but need to add a boom to use it.
What do you think will happen here?
And it did... not enough weight on the rear...
Who would have thought?
Just as well its under warrantee lol
With the benefit of hindsight 'always a wonderful thing' if only you'd used those 'dummy shafts' to begin with, you would be Sailing right now, although the situation is now what it is and can still be recovered, even though it is likely to take a lot of patience as well as a Beer full of Fridge
What I would do at this moment, is to get a couple more of those Breeze Blocks and put them under each side of the Axle, so that you can get the legs of the Crane right underneath so the Axle is preferably hanging from the Black Boom of the Crane and also keep it very close to the ground
As if something happens and it drops, then it could crack or even break the the Diff Cover, which of course you don't want to risk happening or you will have an even bigger problem to sort out
As regards the greasing of the Wishbones where the Fulcrum Shafts go in, I wouldn't put any grease in there until it is all back together, because the tolerances are so tight, that as you try and push the Fulcrum Shafts back and pick up those bearings and washers on the way, then you could get some Hydraulicing
Which could make pushing those Fulcrum Shafts back a real 'Nightmare' as I found out for myself
Also removing the Bottom Plate could well make everything worse, because when you put the Metal Cage back over the IRS Axle, the Metal Cage has a tendency to try and Spring apart, whereby Bolting the Cage to the Bottom Plate 'FIRST' will help to minimize that, although you are almost certainly going to need some big 'G' Clamps
To pull the Cage together before you can get the Fulcrum Shafts to pass through the whole thing
So what I would do would be to forget about the Cage for the time being and put a big piece of Plywood across the Legs of the Crane, so after you've finished Cleaning it you can rest the IRS Axle back down onto this and then get the Fulcrum Shafts back together with all there inner bearings etc
And then Tap the Fulcrum Shafts out again and replace them with 'Dummy Shafts'
Then Put the Cage back, bolting the Cage to the 'Bottom Plate' First but not too tight as you want to leave room for adjustment
And then pull the Cage together using 'G' Clamps but once again Not too tight
Then once you've got the Holes in the Cage lined up with the Holes in the Wishbones (which will need to be as perfect as you can get them)
Next with a Soft but heavy hammer (like a Copper or Rawhide hammer) Use the Fulcrum Shafts as a drift to knock the 'Dummy Shafts' out, so the 'Dummy Shafts' get replaced by the 'Real Fulcrum Shafts' where a lack of any Grease will make this easier, though you could use some WD40
Note: when you knock the 'Dummy Shafts' through with the 'Real Fulcrum Shafts' this has to be through everything which includes the Fulcrum Shaft Holes in the Cage But don't knock it all the way through because you need a bit of the Real Fulcrum Shaft a little bit exposed, so that you can get the Multi Washer set up on it
Which is best done with the Cage upside down (bottom plate facing upwards) then once you have got the Multi Washer set up in place on one side, knock the 'Real Fulcrum Shaft' back the other way, so you can put the Multi Sealing Washers on the other side (just make sure that you don't knock the Roller Bearing out)
Having done that then level the 'Real Fulcrum Shaft' up and then put a nut on each end just Finger tight to stop it coming apart while you do the same with the other Shaft then tighten the 'Real Fulcrum Shafts' up both ends and then you can re-grease them
Thanks OB great advice... and i started following it.. but that one caliper bolt was just to hard to reach.
Looks easy from underneath...
MY OCD... just took over, I tried to say NO.. Dont do it.
More cleaning to do... and a few thing to unbolt before I'll be happy LOL.
Putting it back together.. surly i can separate the hubs etc and just put the shafts back in as that could be much easier with all the washers.. then re install the hubs ...
Duke
LEAVE THE HUBS ALONE.
Now the lower wishbones are off, I very strongly advise you to check the tightness of the dog bone to diff bolts.
To reassemble, this is the procedure, it is not that hard to do as long as you are prepared to take your time and have a helper:
Bolt diff to cage, use VERY strong loctite.
Place cage on pallet/similar
Turn cage upside down, so wishbone fulcrum is upwards
Pull cage in with ratchet straps and fit the bottom plate.
do ONE side at a time and fully complete that side.
Now test if the shaft will, when greased, run through the four holes (cage/dogbone/dogbone/cage) reasonably easily, with no more than a decent tap with a copper hammer. If you have not undone the dogbones and lost the shims it should, but might not as the diff could be in a slightly different position re: the cage.
If the shaft binds and cannot be tapped through, the dogbones have to be undone and rershimmed.
NOTE the position of the dogbone holes used by the bolts, there are two possible holes for each bolt. NOTE that the bolts are different lengths, and ensure the right bolt goes in the right hole, or a cracked diff will happen when you tighten up! You need some shim stock to make the shims, or a set of Jaguar shims
To get the shims right, loosely fit the dogbone tightened so it has a mm or so of play on the bolts, slide in the shaft through the cage/bones. Use a feeler gauge to see the clearance between the dogbone and the diff by EACH bolt (the values will very likely not be equal).
Make the shims, fit them and bolt up the dogbones and trial fit the shaft. If/when all good, use the strongest loctite and bolt up the dogbone bolts permanently.
Now you are ready to fit the wishbone. The tricky part is getting the washer/grease seal/bearing assembly for each side actually into place in the space between the dogbone and the cage, with the bottom plate still on the cage. My solution to this problem is as follows:
Remove tie plate, use a ratchet strap to pull the cage together at the cage side you are NOT fitting the wishbone to. This keeps the cage side close enough but allows a few mm of space between the cage and the dogbones to fit the wishbone and washer/bearing assembly.
Now you get the washer assemblies all ready and laid out (I assume the bearing cage is in the wishbone eye already): inner flat washer, rubber grease seal, outer ring, plus the large thrust washer that goes on the top of them all. Glue them together with grease.
You have the greased shaft ready to hand too.
You have NOT forgotten to fit the protection tube between the dogbone ends!
You have NOT forgotten to fit the bearing tube inside the roller bearing in the eyes.
Your helper holds the wishbone, you guide the eye end into the exact position and "glue" the first washer stack in place (this involves much fiddling about to get the inner washer over the bearing tube in the eye, etc etc.
Then you shove the shaft though the cage into the eye. One done. Now you repeat the process three more times! Note sometimes as things tighten up as you go on, you have to get the grease-seal stack in place and "glued" and then lightly tap the large thrust washer down the gap that is left.
Once you start, you will gradually get the hang of it, so have no fear.
Last edited by Greg in France; 07-31-2021 at 03:54 AM.
Ok thanks Greg... I will not sleep tonight, might I need (having) a few more beers.
It did not look that hard to pull apart.. I wonder why everyone said not to do it... OMG.
The wife said.. do you know what your doing... "sure easy as.. "
There will be questions by the 100000?
F what have i done!
Thanks for your time to answer Greg, OB ... same. Good advice not followed.
I just saw crap go in the bones bearing and had to clean them,,, .
I did undo the hub bolts when i pulled everything apart!
God forgive me as i am a SINNER! lol
This is a PDF I wrote ages ago for this.For some reason this Forum does not like Word Doco's, So I had to convert it, bugga.
All those inner bearing washers etc, EASY, smear with Wheel Bearing Grease (the sticky stuff), assemble, slide the pins in SLOWLY as you go, done, beer time.
I have read all this good information and have a few questions.....thanks, I really am learning a lot here.
I have not undone the dog bones... now that I knew what they are... I was thinking the dog bones were the shafts and bearings... combo
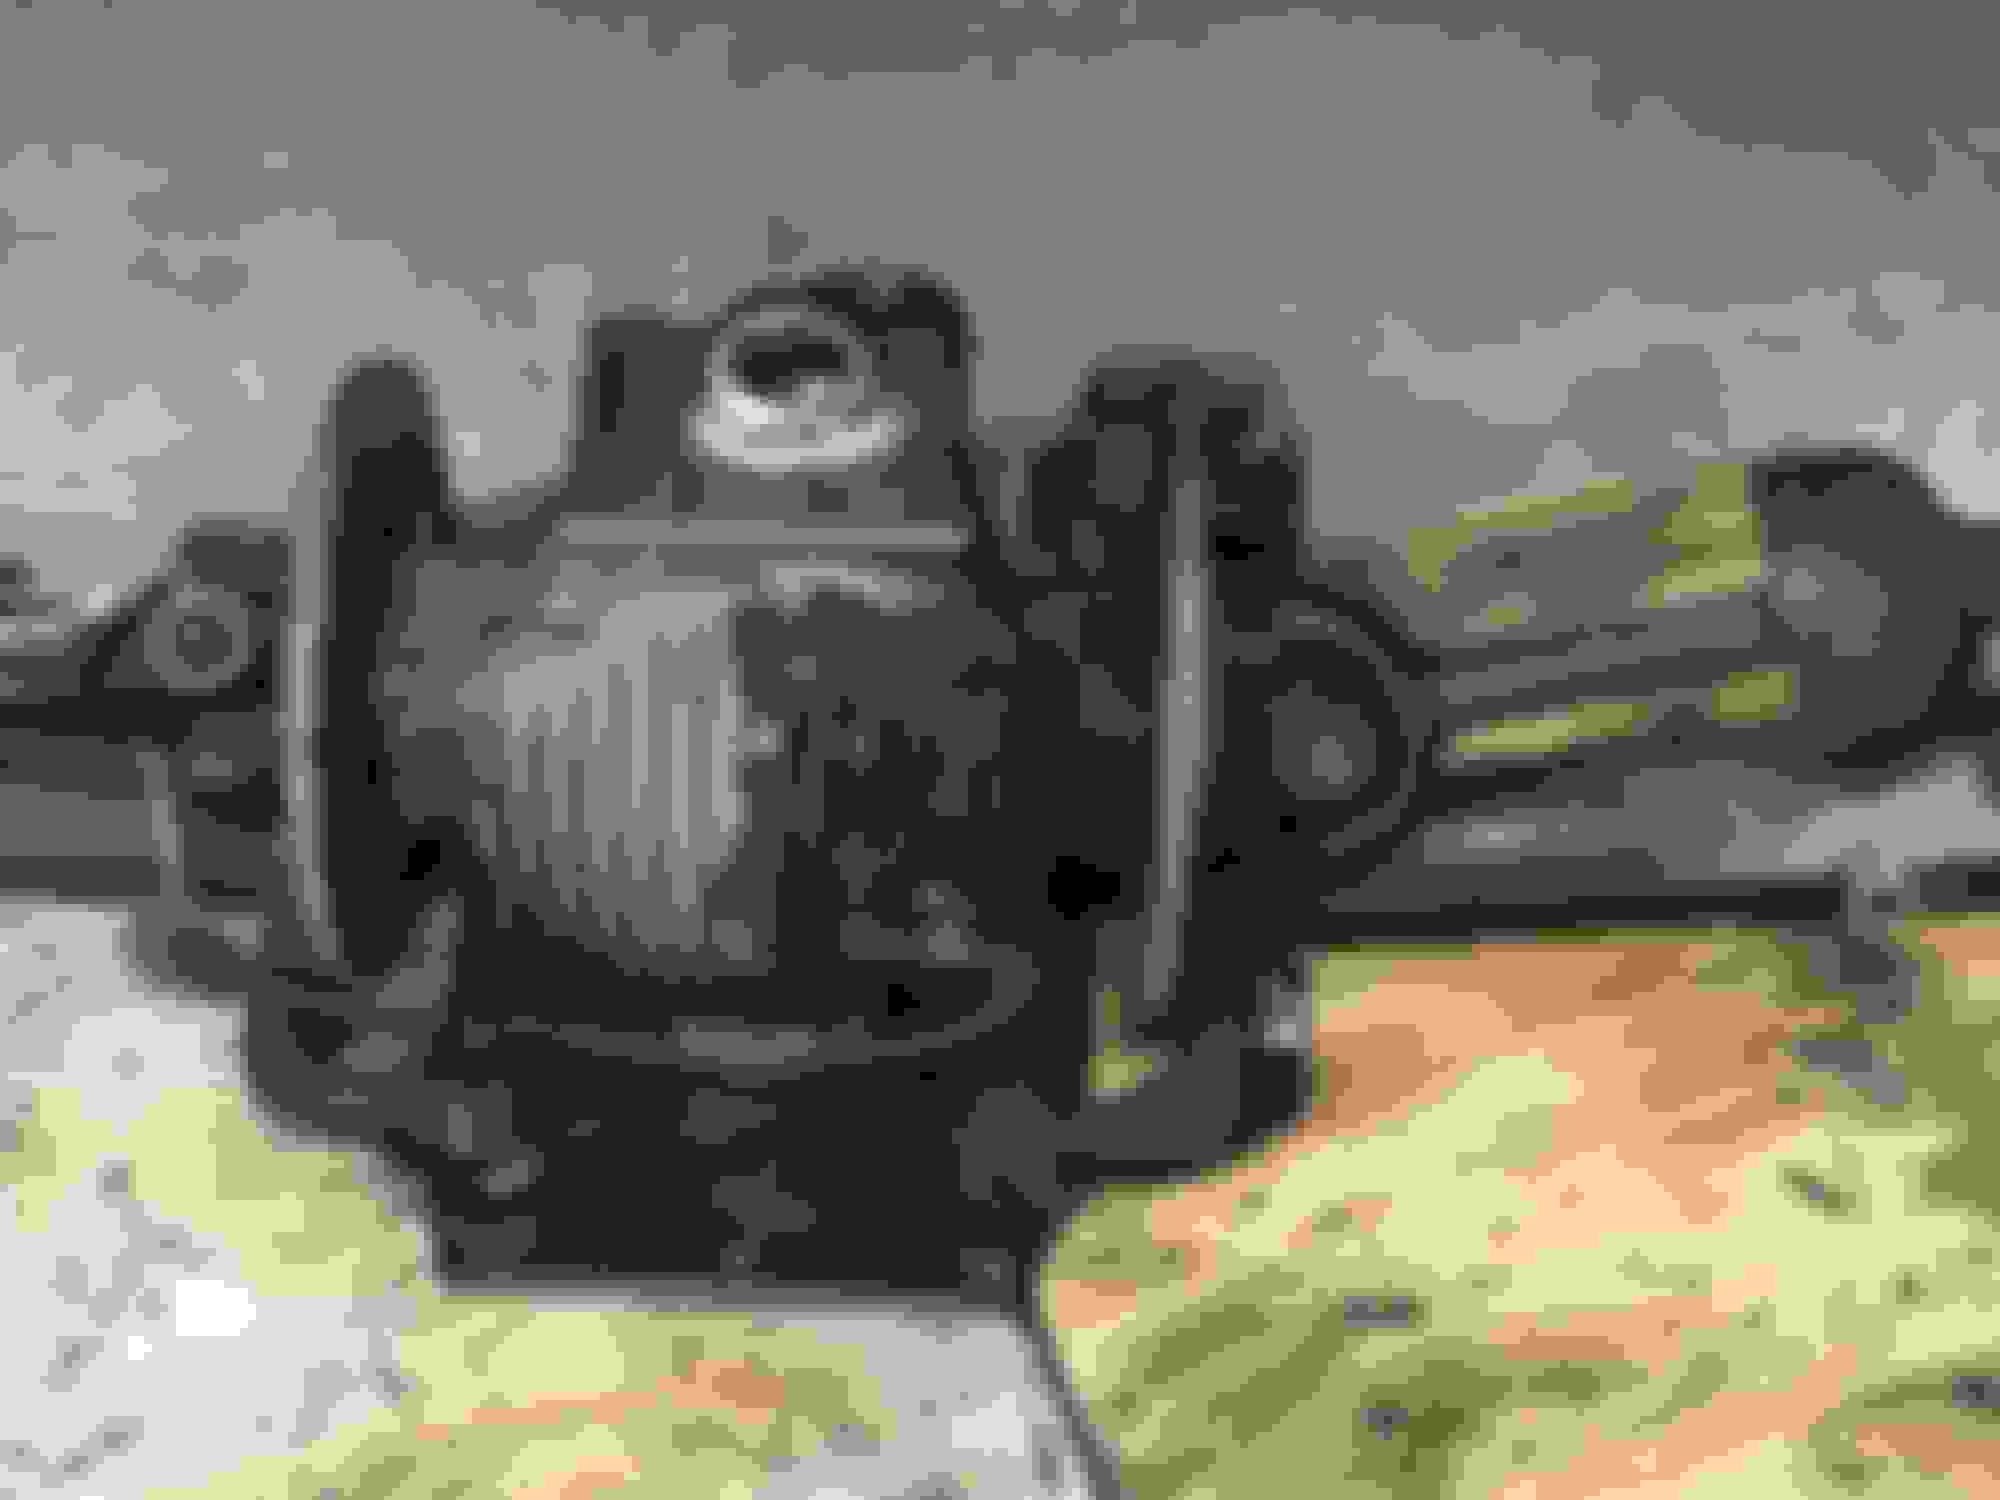
So the two brackets bolted to the diff and wired are in fact the dog bones... cool.
They are wired up nice and tight... I have not touched them.
Dog bones.........Do I need to undo them and reset them?
That there is the dog bones... who knew! Its the terminology that I need to know.. What are the parts called?
My thinking was clean everything and put the two sides assemblies with hubs back in to the diff (what are those shafts the go from the diff to the hubs called?) with dummy shafts ready for the cage.
I was also thinking leaving the bottom plate loose, put the cage on with dummy shafts, replace the dummy shafts with the real shafts tough the cage, tighten everything, grease, install?
I plan to remove the bottom plate... even at this point is it still unwise?
This makes getting to that caliper bolt easy as...
Stupid could be a good word here... the hubs.... I removed the grease nipple at the bottom to stop it getting smashed on removal.
I have now scrubbed to remove the greases and am 100% sure crap has gone in the hole...
My thoughts were to remove this shaft, clean everything and put them back together... is this wises? what is the reason not to?
Undo this bolt and remove to clean?
As always - big thanks to everyone for there input.....
Dogbones. Leave alone IF they be TIGHT, AND the pins slide through nicely, which they probably do.
Bottom Plate. NOTHING will jump out and snap at you. The cradle will "spring" apart, coz you have the pins out, no big deal, but leave messing with those inner pins until that plate is back in place.
Grease nipple blunder. NOPE. The small amount of shiit that may have seaped in is going to do nothing.. While its accessible??, plug that grease bleed hole. Read the attachment, your car, your call.
Wow Grant that is cool.
I will do just that and leave everything alone.
Easy to do now, I will see if I can pick the crap out, this is a good plan and grease it.
My current problem... is THAT bolt holding the caliper on, I can not undo.... 2 hrs trying.
Tried heat gun, spray liquid wench.. cut and ground a spanner to fit.
I am rounding the bolt.
Only way would be undoing the dog bones for more access... but I do want to.....
So I am thinking of leaving it and pulling the caliper apart in place, put a new seal kit in it and reassemble.
Does that sound like an option...
Duke
You need a mains powered rattle gun on that bolt, it needs shock loading, not just grunt. I am with Grant, remove the dog bone, note the shims position, and keep each bolt's shims in a separate labelled container. Then use a single hex socket on the rattle gun on the bolt, file the bolt head to a smaller size if necessary, to get a proper drive. Believe me, there is nothing more annoying than doing a job and knowing that, at the heart of it is a bodge.
Greg... you could not have said it better... LOL
not sure I can get a socket on to it but I will go ahead and remove dog bone... how the hell someone came up with that name is beyond me...
Monday tomorrow so back to work.. it will be a few days before I get a chance to have a go...
 07-25-2021, 02:43 PM