When you click on links to various merchants on this site and make a purchase, this can result in this site earning a commission. Affiliate programs and affiliations include, but are not limited to, the eBay Partner Network.
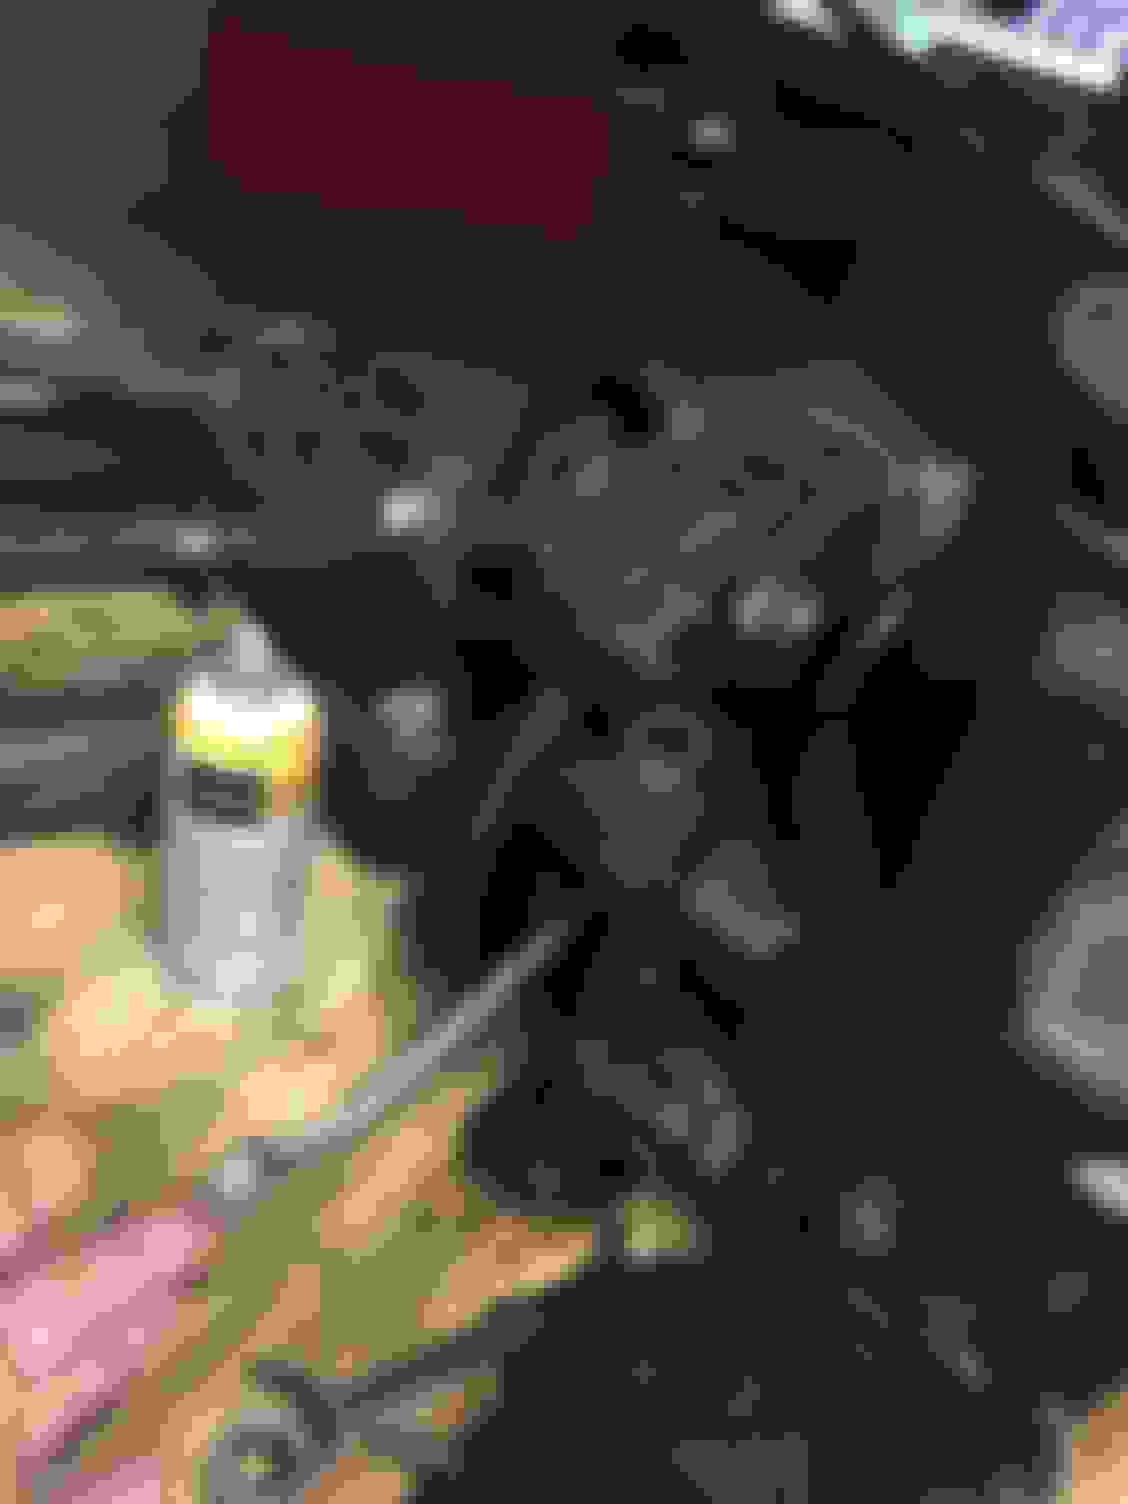
The Quest for OCDness can sometimes take you further than you ever need to go but if you don't remove that Caliper Bolt, then its going to Haunt you for ever!
Weld a piece of Flat Bar to the edge of that Bolt Head (at the Top edge only so you can break the Weld later) then give that Bar a Clump with a Big Hammer a FBH to be precise, as that Bolt needs Shock Treatment to undo it
There are not many threads on those Bolts, so even if you get it to move just a little bit, you should be able to undo it with any old close fitting Spanner or even a pair of Mole Wrenches
As trying to rebuild a Caliper while it is still on the Diff would be just like trying to Climb the 'Haiku Steps' in Carpet Slippers!
Then it may be a good idea to replace those Rotors, if they look Glazed and Shiny, as they are only �14 each (UK) and if you pay any more than that, then I'm not going Shopping with You
You can go on your own (Lol)
As for me I would not even touch those Dog Bone Bolts, if they are wired as Original and have not been undone in the past, as sometimes it is better to leave stuff well alone in an ('if it ain't broke don't fix it sort of way')
As for removing the Bottom Plate, I would also rather leave that alone as well
Why?
Because at sometime during the life of the Car you can bet your bottom dollar, that someone has used that Bottom Plate as a Jacking Point, which could pull the Metal in very tight to the side of the Bolts that hold it in place
Meaning?
That those Bolts could be hard to undo and as they are only very small Bolts its possible one could shear off and putting it back could be equally interesting, as once again if done up too tight, then one of those tiny little bolts could shear off in the diff
As for putting the Calipers back, although those Bolts need to be tight you've got to get a feel for when to Stop, as if the thread gets stripped out of the Diff, then that could be a Cataclysmic disaster of Epic proportions, that even a Brewery Full of Beer could find hard to fix
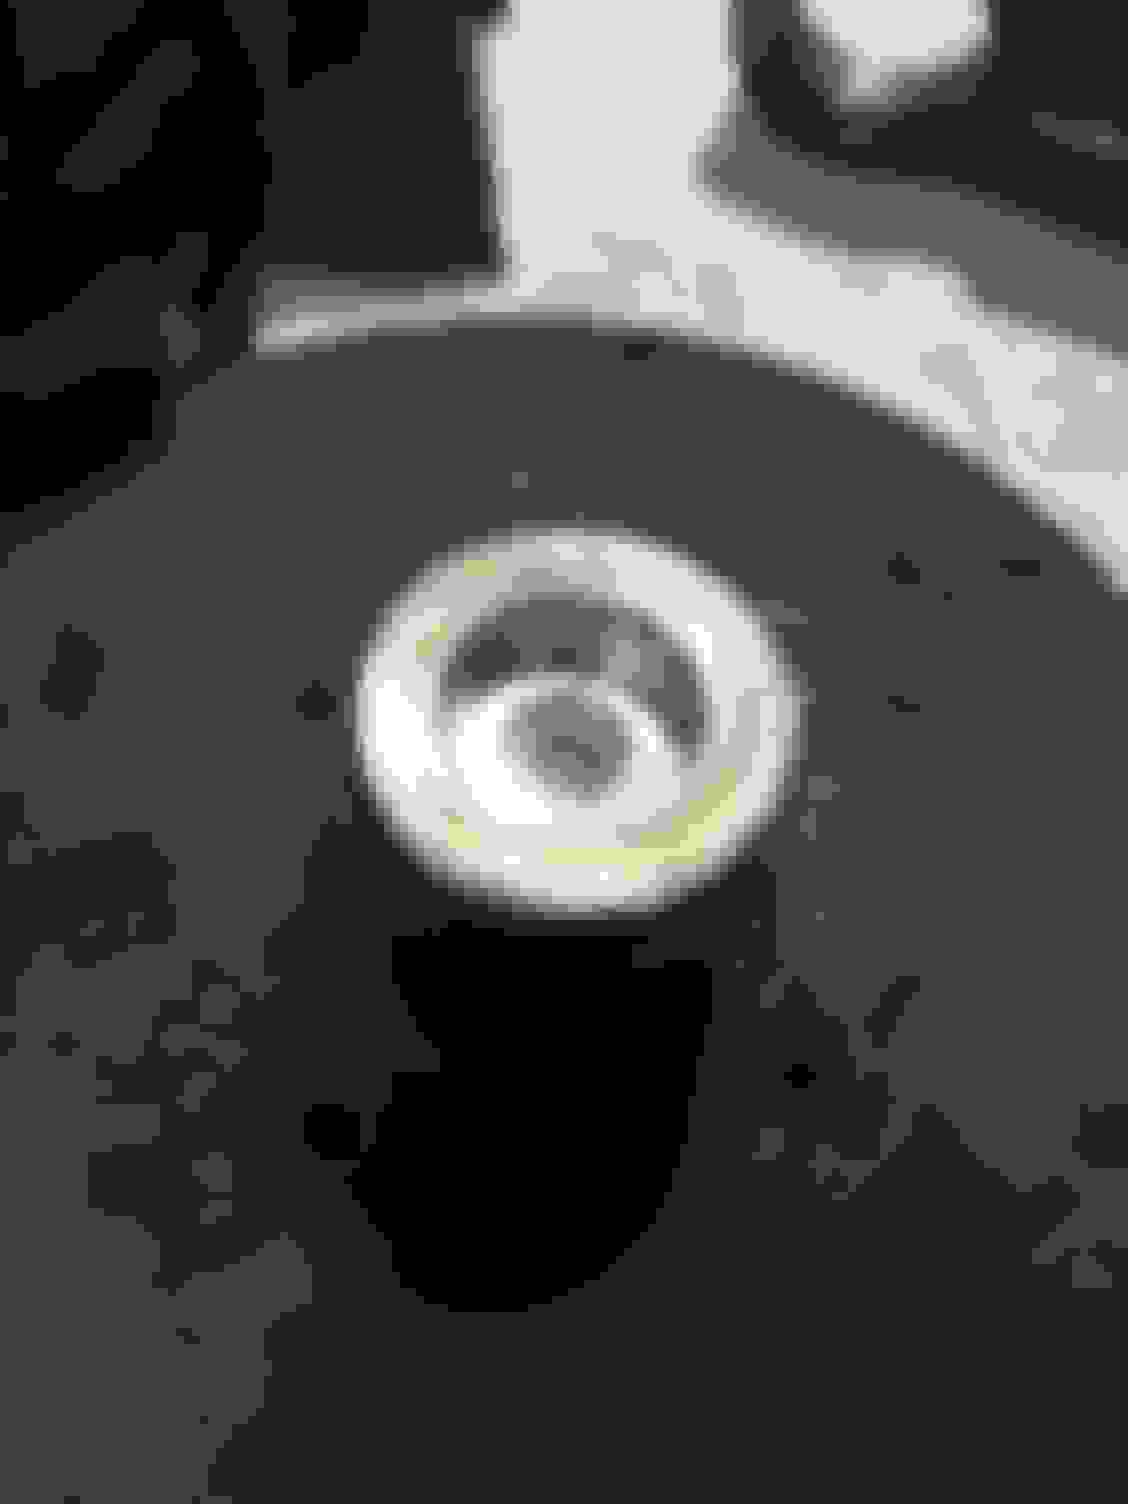
I had another look at THAT bolt, and there is No way I can get a socket or a ring spanner on it... welding is a no also!
Only an open ended spanner...
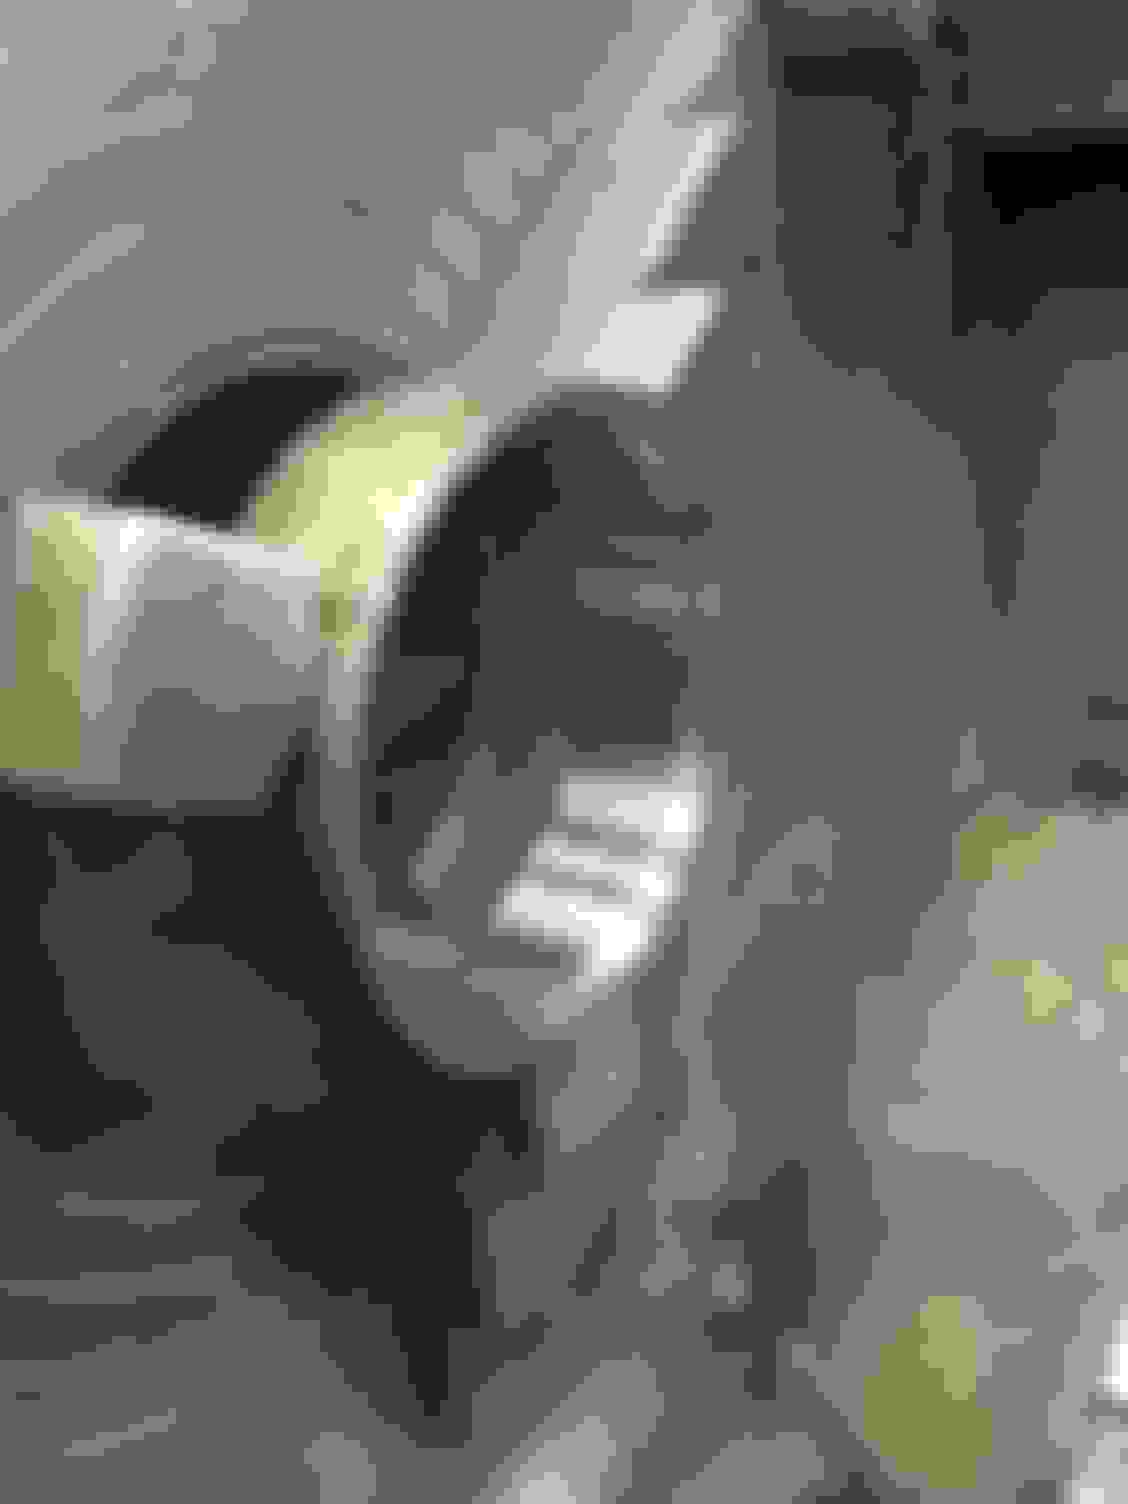
I have tried again and with a different 5/8 spanner I can get a good grip with the diff upside down, supported on some wood.
Spanner on, 500mm pipe on the spanner and a lot of force it will not budge.. tried a cold chisel... back to the spanner and no.
How much force can i go before I break the bolt?
It seem to me I maybe better to leave it... if the bolt snaps I am up a **** creek.
I could no leave it alone... it would have bugged my all night.
Particularly on a Monday beer free night!!!
So back I went... I thought I would try my 5/8 off set ring spanner that would not fit yesterday.. but with the diff in a different position, it fitted sort of.
So I used a big screwdriver to hold the spanner on, add the 500mm pipe and it just can undone with minimal effort WTF... super easy to undo with the bottom plate removed.
This is how it will be re installed... easy as.. so pleased!
Rather you than me! with those 'Dog Bones' something I'd leave well alone unless I absolutely had no choice, as they may not go back as good as they were to begin with, unless you're Greg or Grant or Doug (to name but a few) and really know what you're doing
A Piece of Bar would only need a Tack Weld to the edge of that Caliper Bolt (just at the Top) as after you have Clumped it downwards with a Hammer, then you can lift it up to Break the Tack Weld
Or You could drill a hole in a Ring Spanner, then when you've got the Ring Spanner over the Caliper Bolt Head, continue drilling the Hole you drilled in the Spanner, right through the Head of the Caliper Bolt Head (if possible) or even into it as much as you can
Then you can insert a Pin or a Nail or something, through the Hole that you drilled through the Ring Spanner and also the Caliper Bolt Head 'To Lock The Spanner onto the Bolt Head, so that it cannot slip round as you undo the Caliper Bolt
There are even Holes already drilled through the Caliper Bolt Head for the Locking Wire, so you're half way there already! as even a piece of Locking Wire, through the Hole in Ring Spanner and the Locking Wire Holes in the Caliper Bolt Head, should be more than enough, for you to be able to Turn that Caliper Bolt to get it undone
Though if you do it this way, then I would lever the Caliper Bolt to undo it, rather than hit the Spanner (now locked onto the Caliper Bolt) with a FBH
Or you could Tack Weld a Spanner onto the Caliper Bolt Head and then use either Leverage or the FBH Technique
Once you've got it on the move, then it should undo easily, with any old half decent Spanner
Thanks OB- but was there another option.. if I did not want to be reminded of the bodge for years to come.... lol.
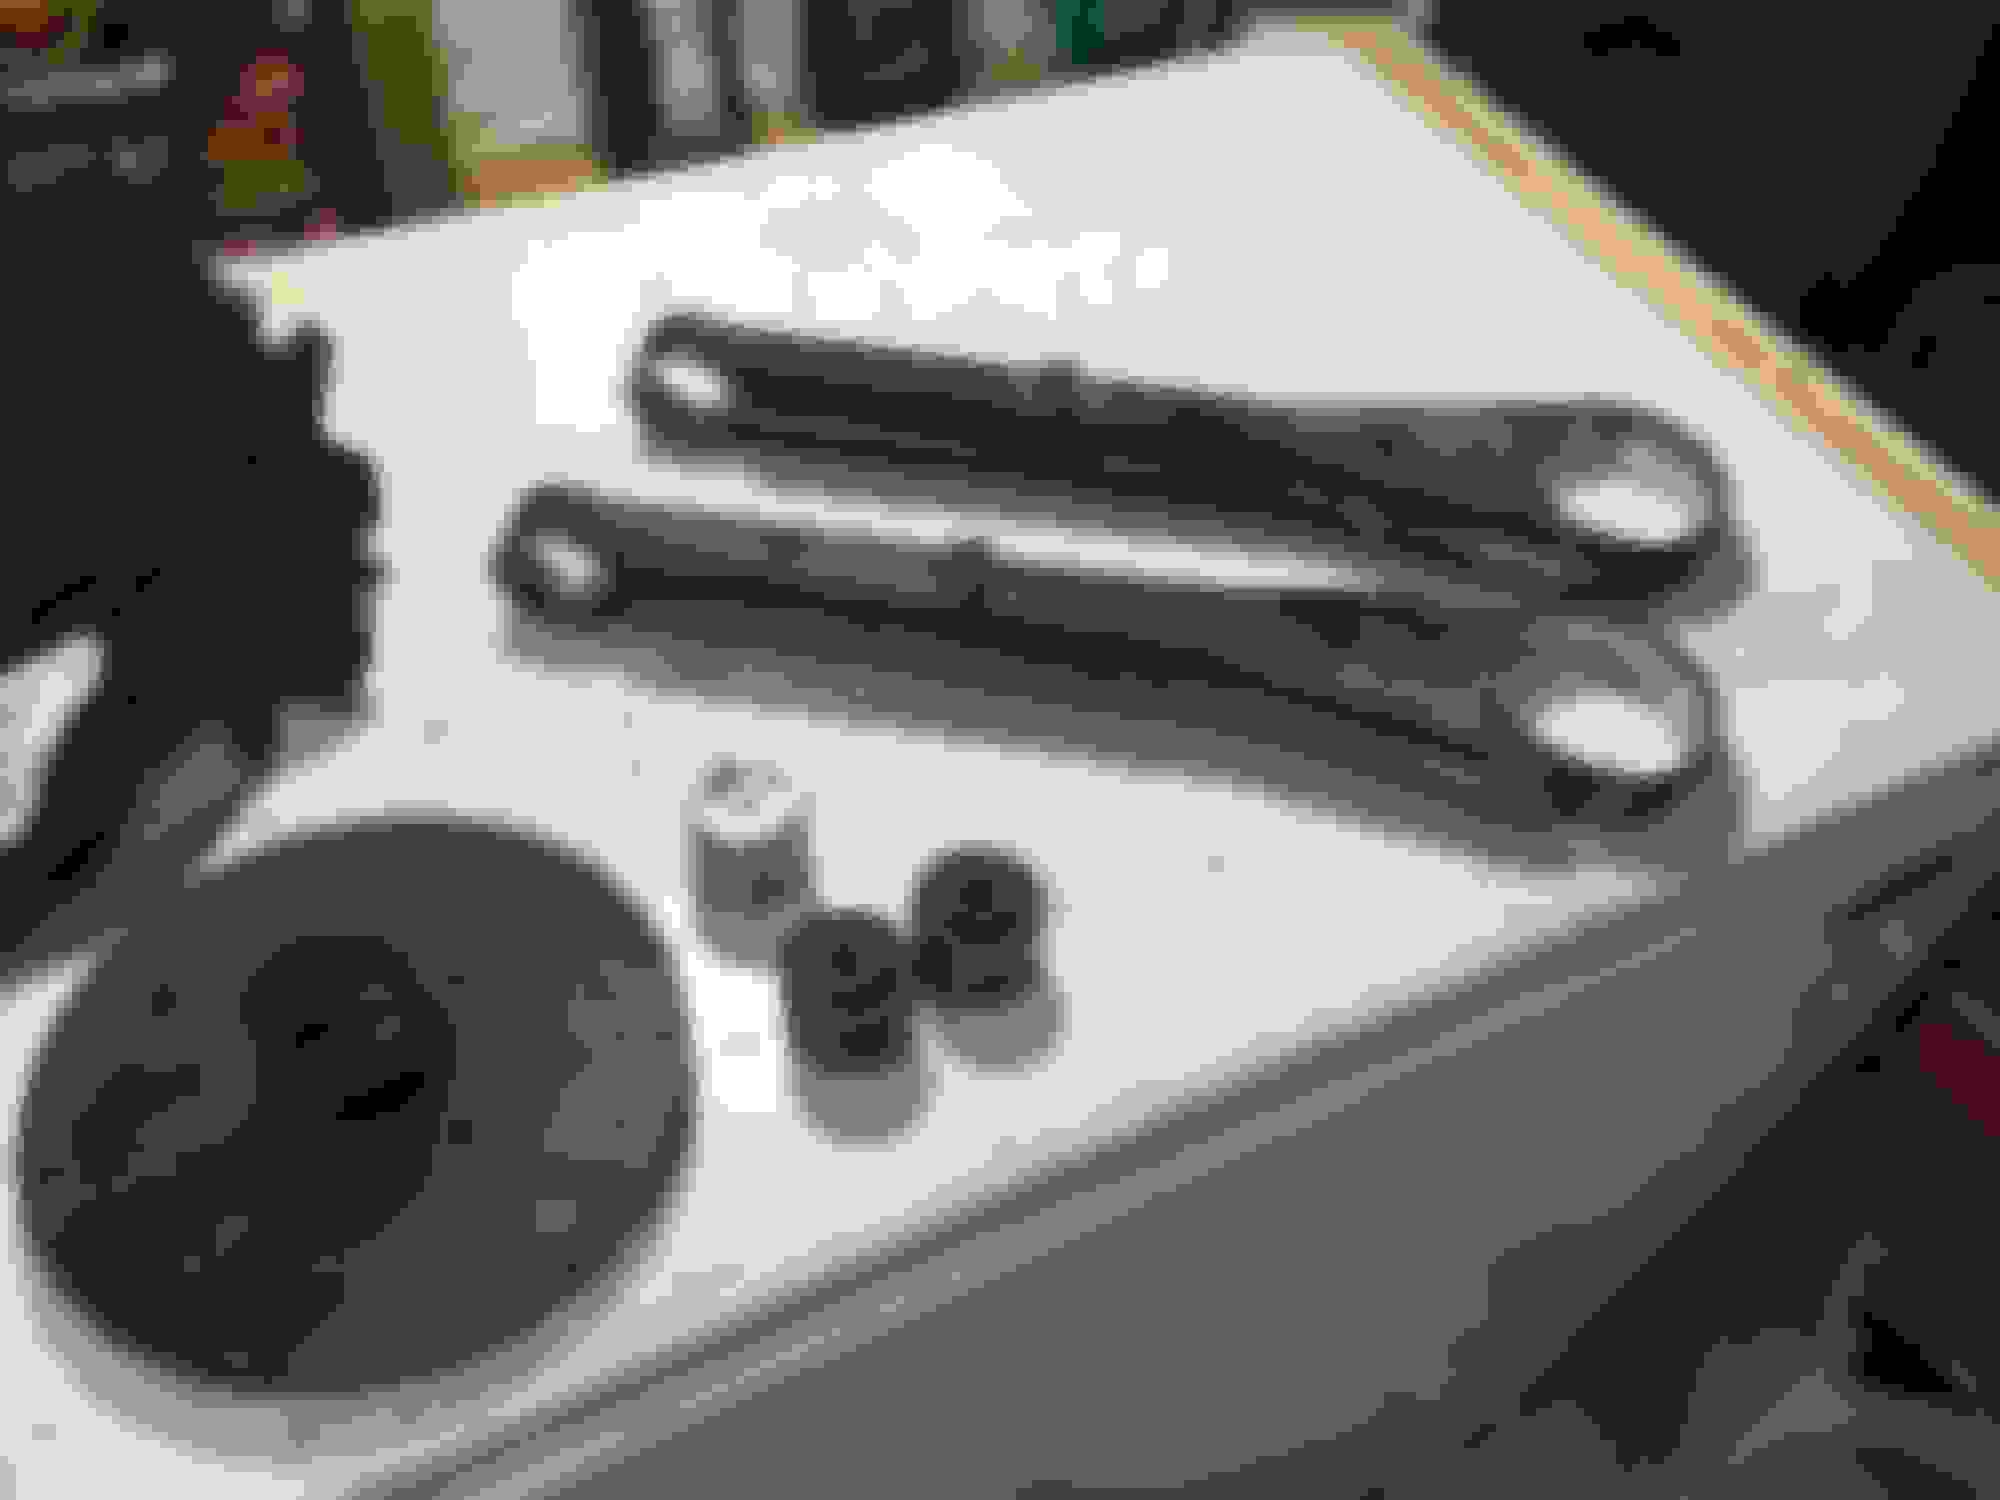
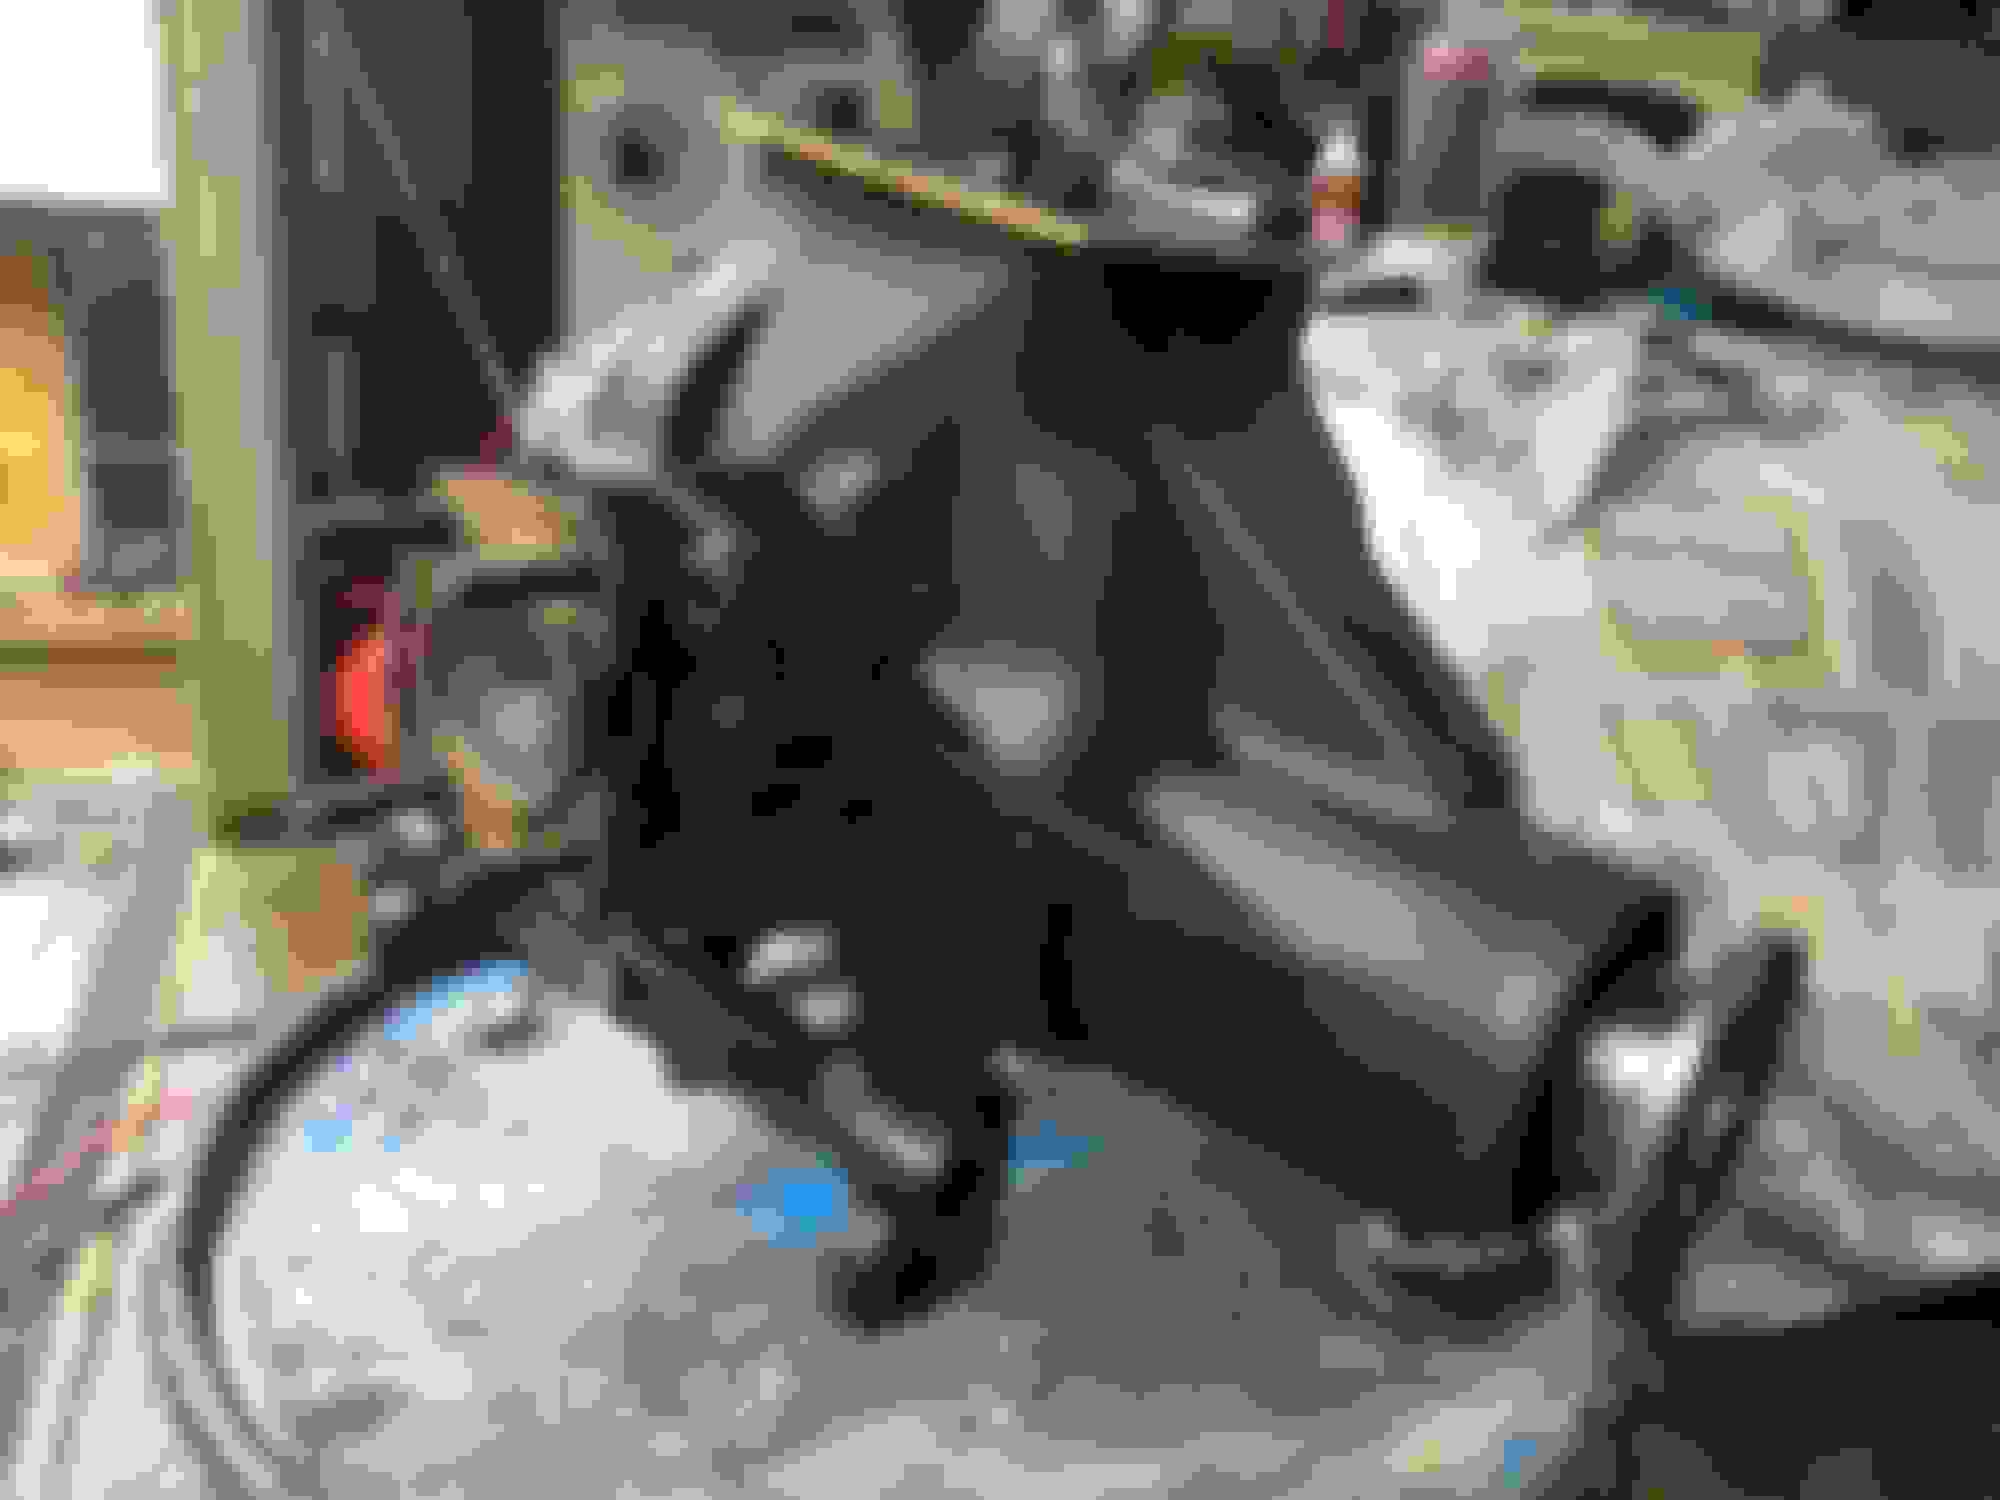
I took the radius arms to work to clean them during lunch time and got a little carried away.
1hr 15min later....
Took some time walking around looking for off cuts suitable... I work for a packaging company not a engineering firm so you have to use what you can find. Ready to go.. Fits nicely with room for the bearing to drop out. Supported - like the Jag tooling. Machined a press tool with minimal clearance. Worked perfectly Job done, only the small bushes to go.
I was amazed at the power it took to push these bushes out... I was only worried for a while... basically when ever the press was under load.
I got the idea for the tooling from this video...
I will add that the support tool could have been deeper but that was all I could find, once the bush was at the bottom of the support tool I then rested the edges on some plate and finished press the bush out.
This guy makes me laugh, he is certainly not an expert but I like his style for having a go.
I went for a wander this morning in the workshop, after 15min I left not being able to find anything for the small bushes removal..
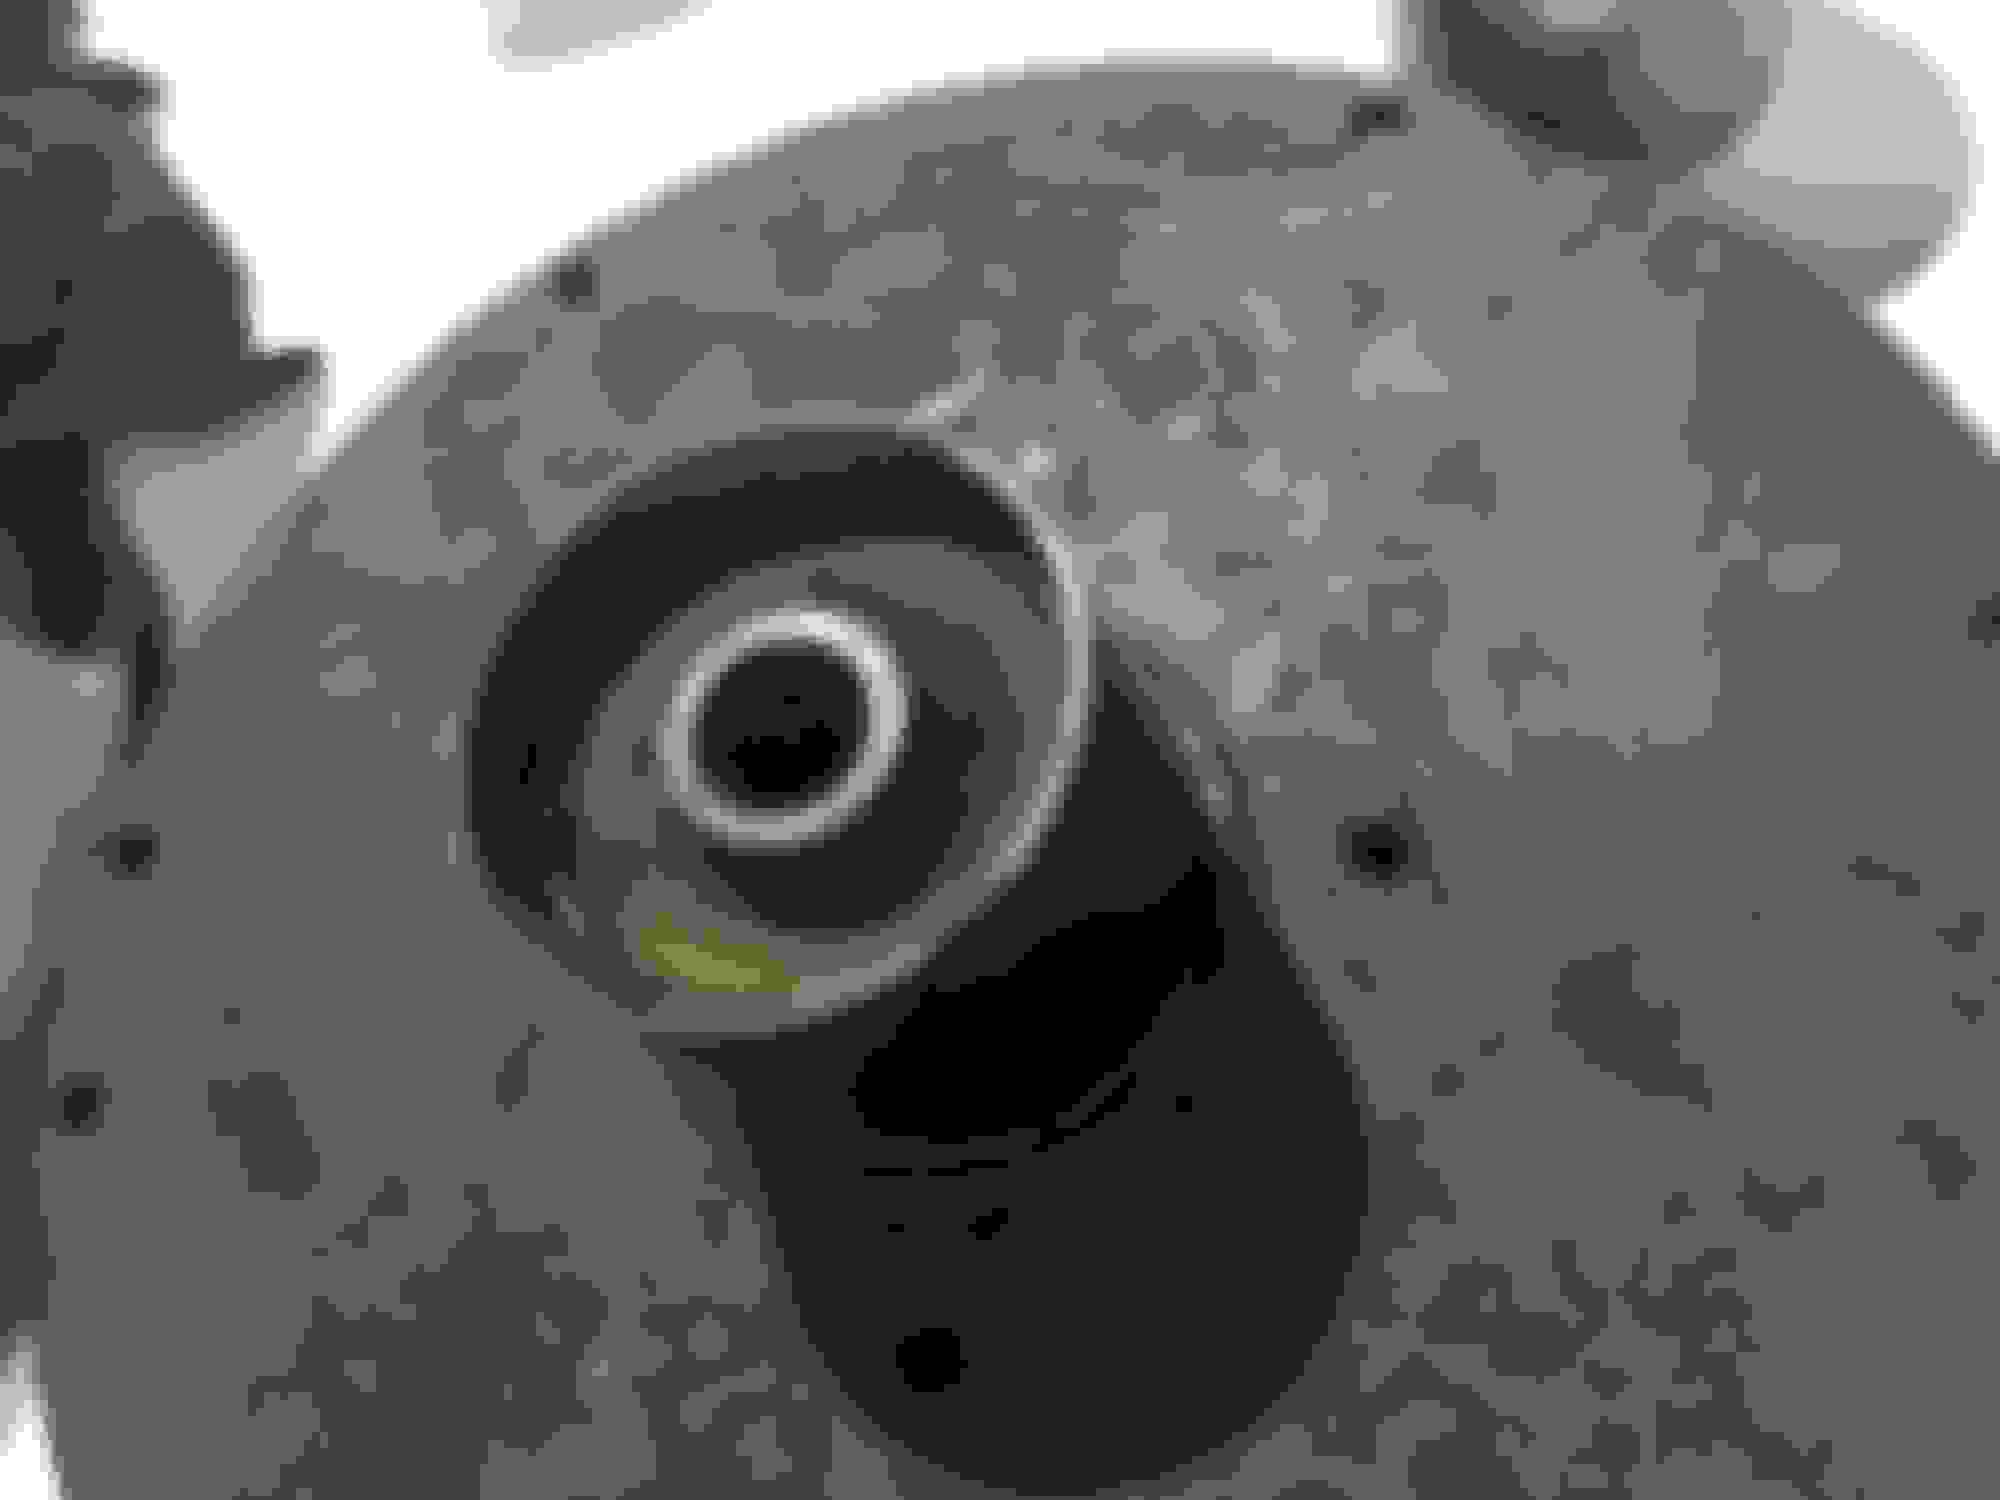
I had another go in the afternoon.....I found a round disc thing at the bottom of the press, 10min in the lathe and it was at the right size, found a piece of ali bar machined a recesses for the steel insert and we are good to go.
All the steel bar was 50mm, as was this hub thing, but it was the best I could find and it worked.
Ideally it would have been 55-60mm with a location groove like I made for the large bush, but beggars cant be choosers when you want free.
Yes the ali bar is upside down.. just showing how it looks.
To be honest the big and small bushes looked ok and most likely have lasted for years.. but you know!
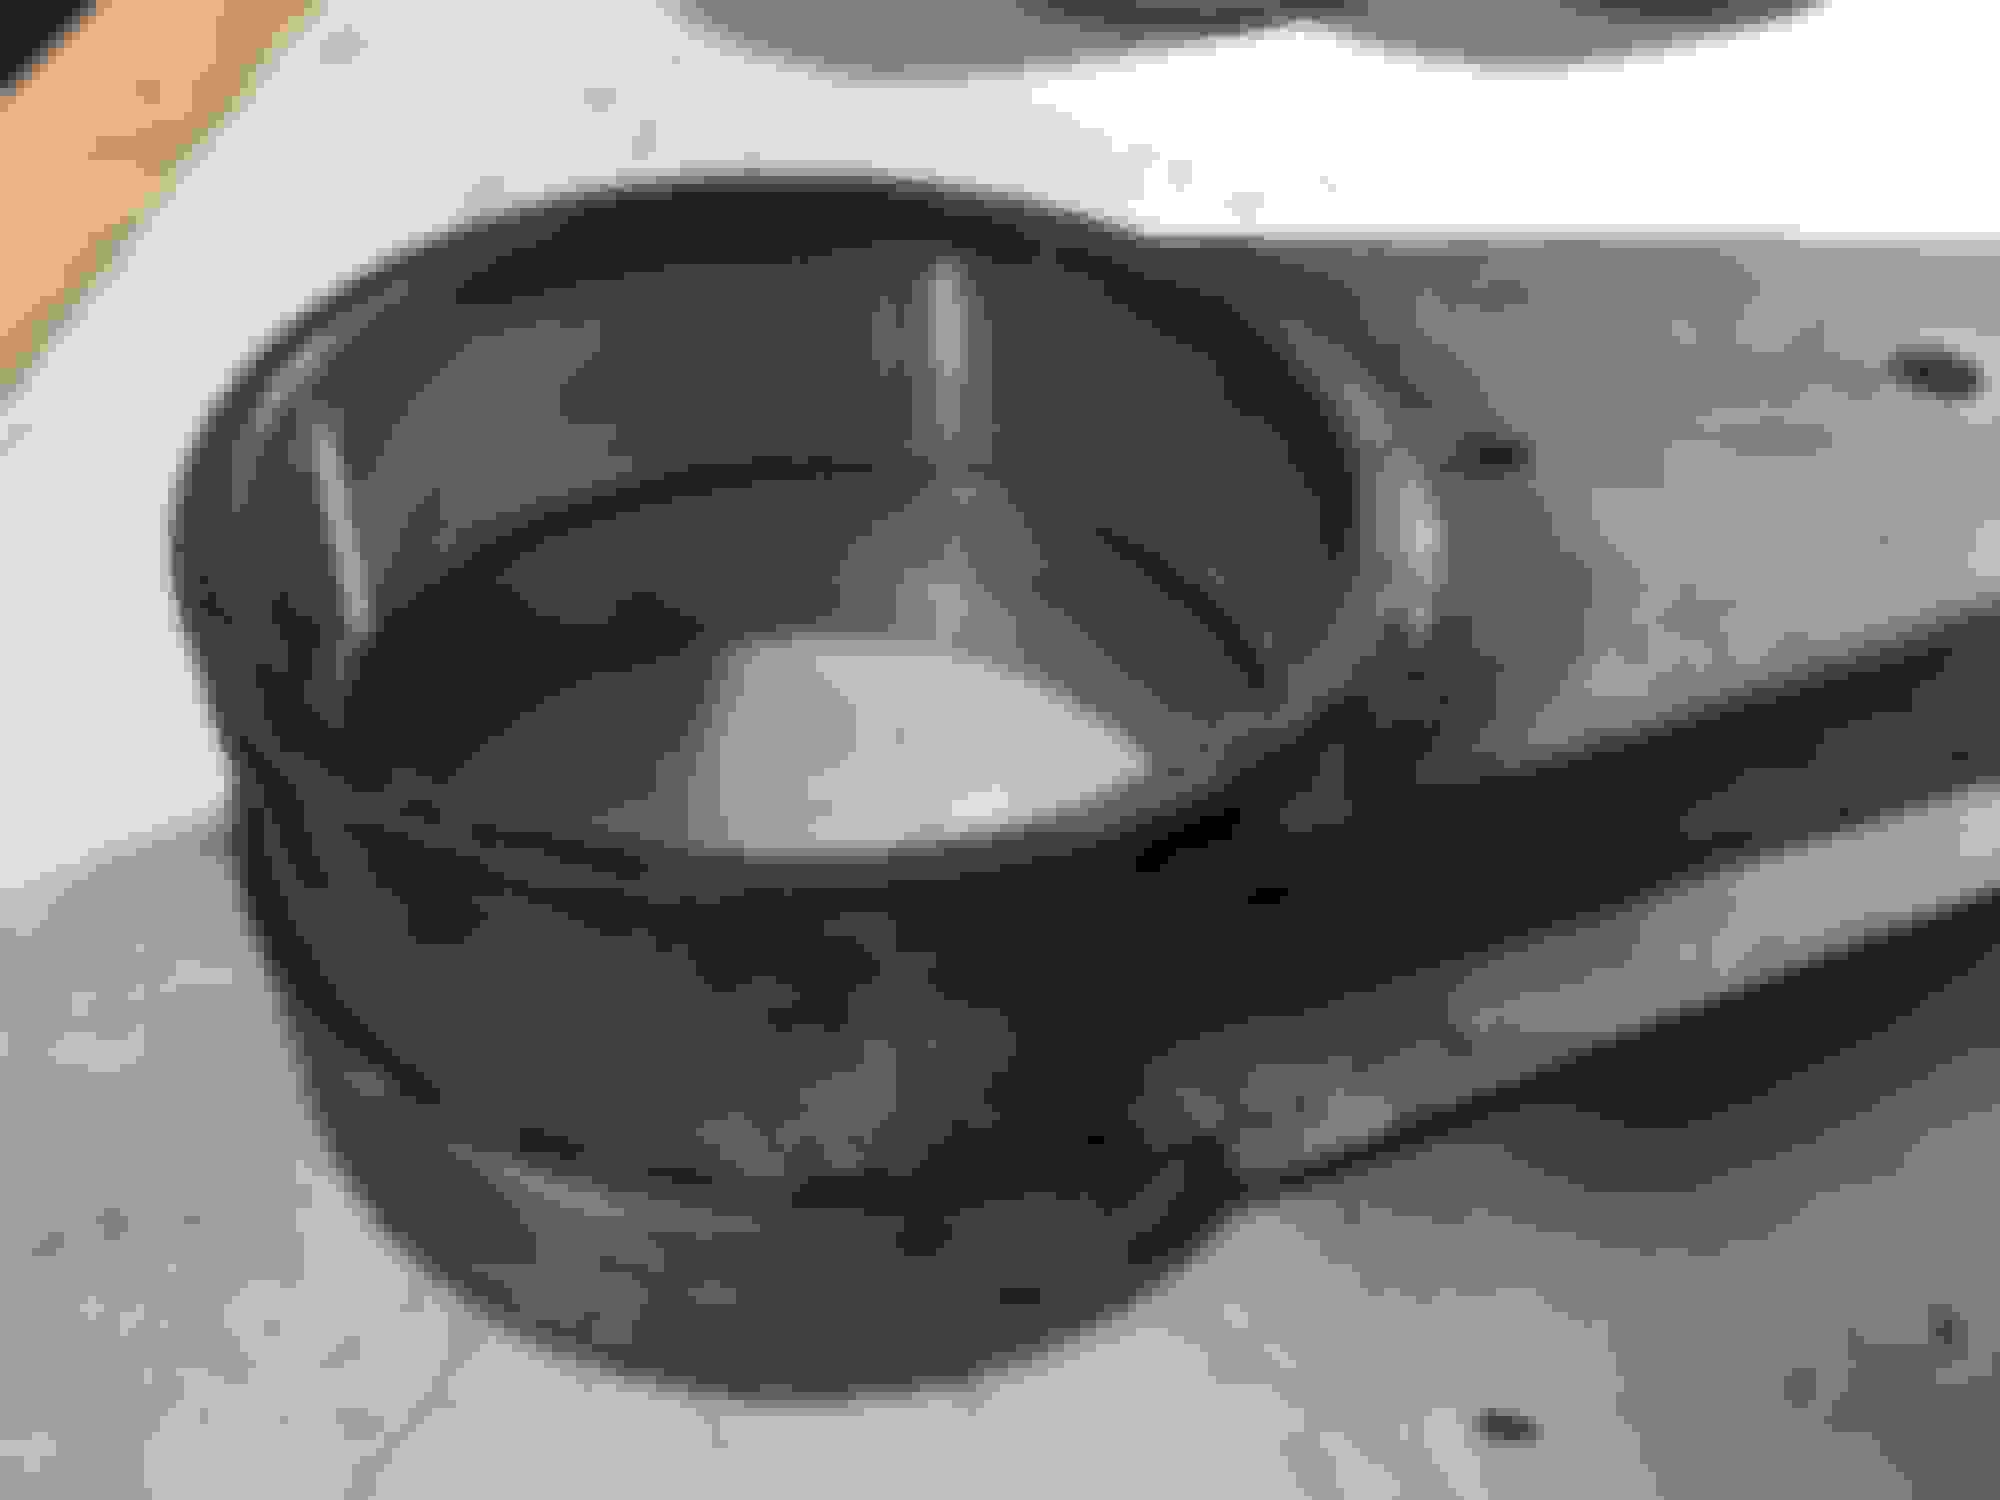
Next up on the list were the calipers, they came apart with the help of the impact gun...
The pistons removed easily with a small shoot of compressed air.
A couple of the bolts had a small amount of rust on the threads, which in time could have been bad.
The pistons have some rust marks, especially above the seal, which I will talk about soon.
I dot punched this caliper so I know these two go together. The other two will not, easy as.
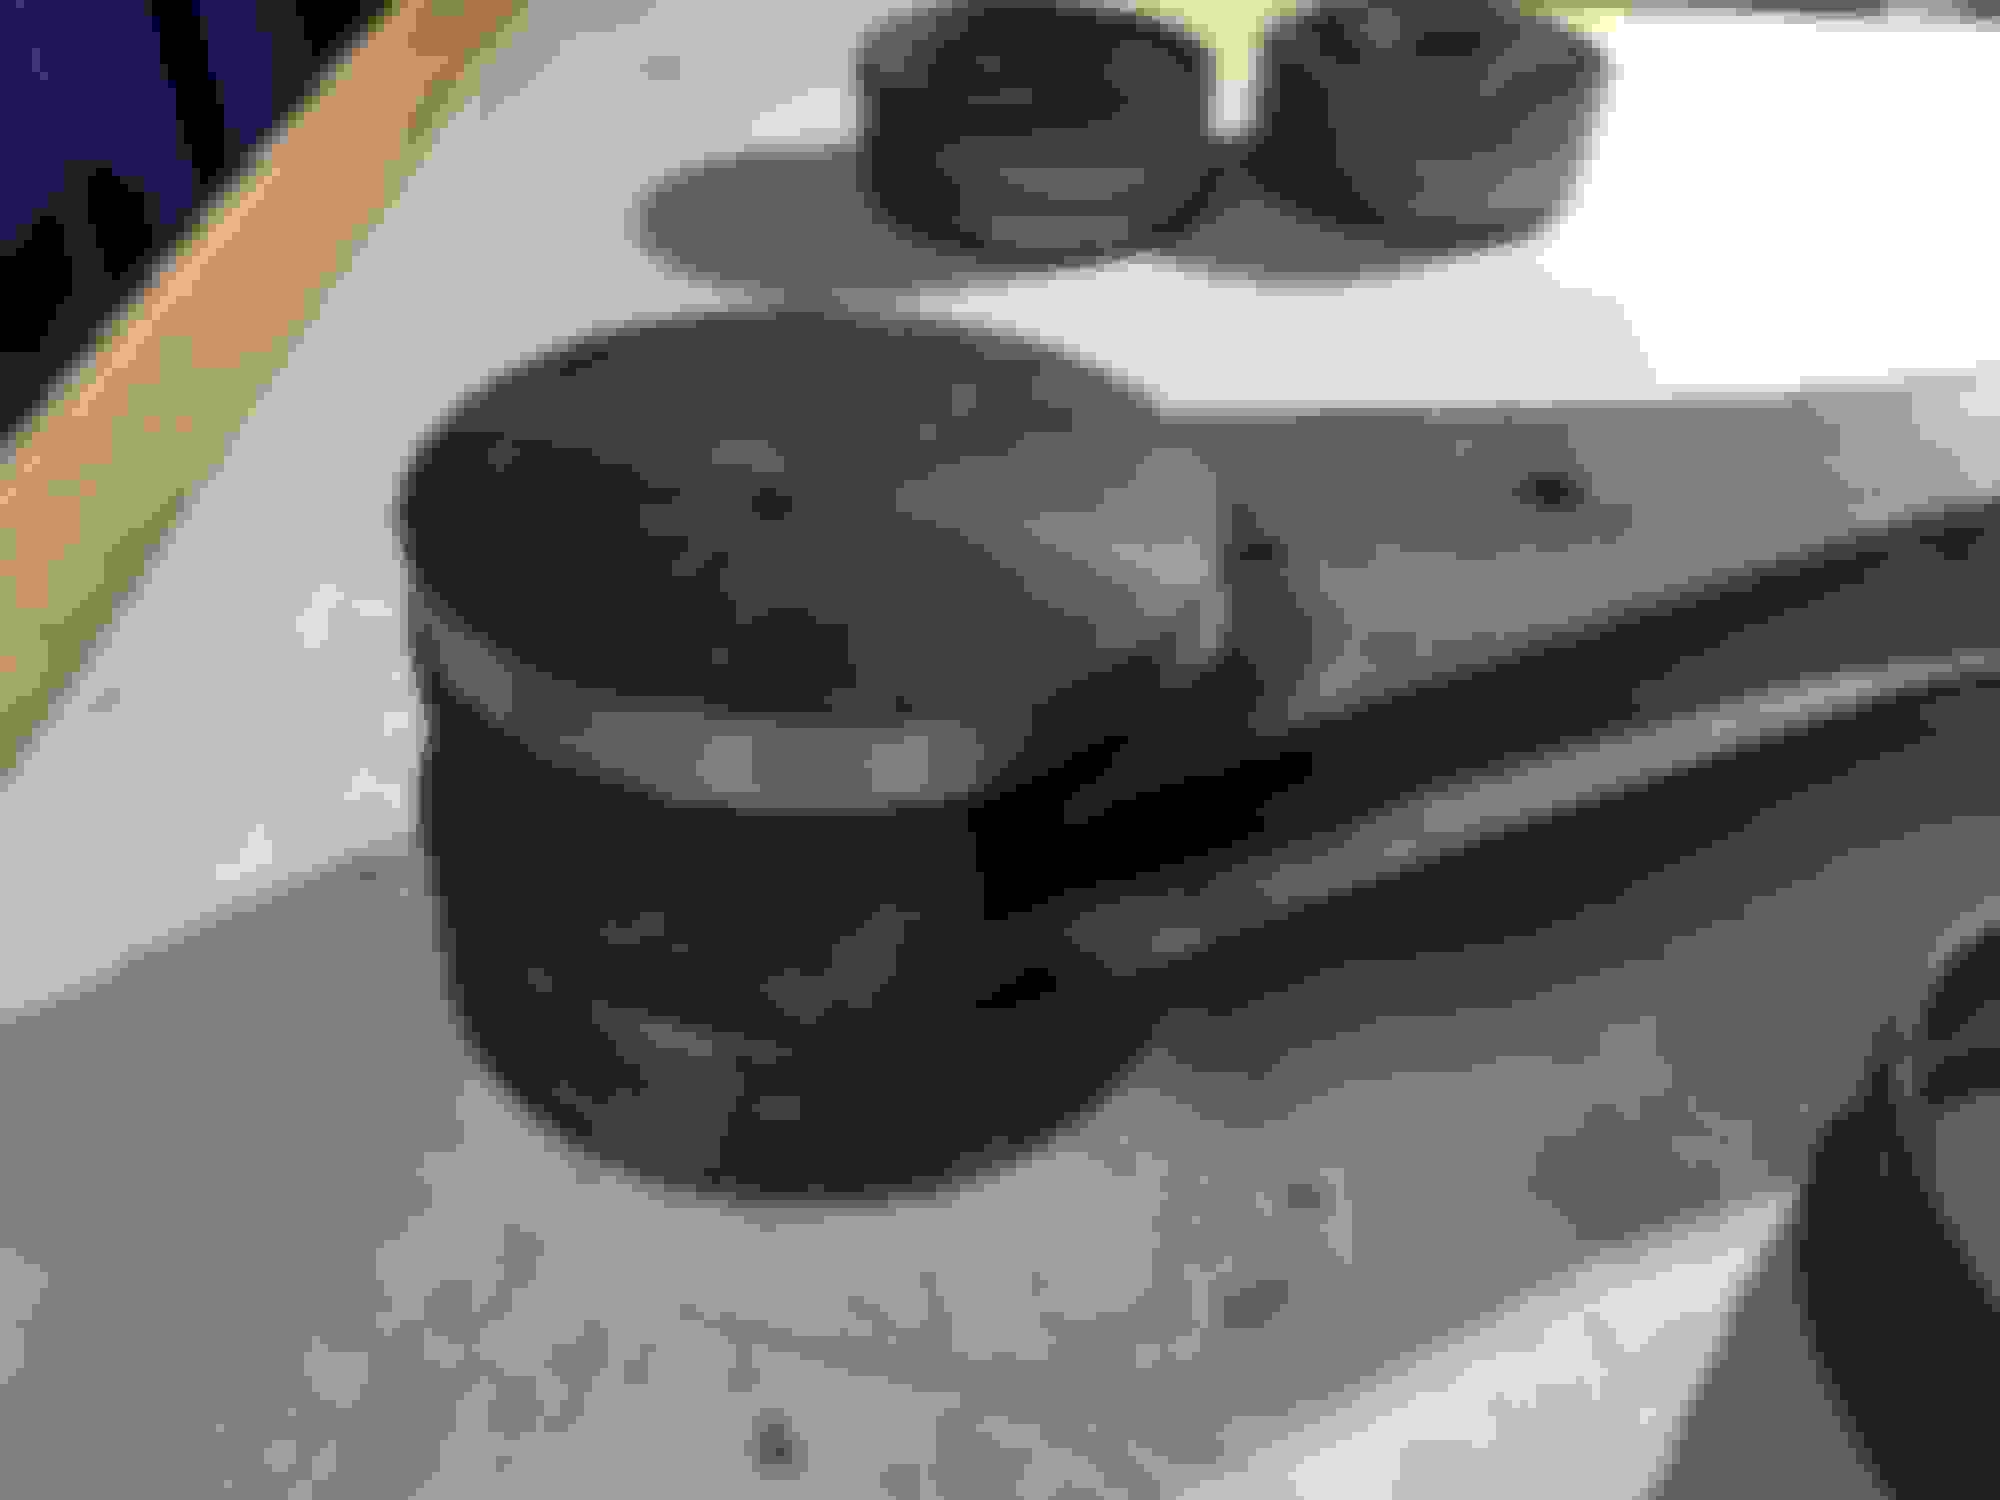
Yes those silver things are brake bleeders.. German and are amazing.
Push on a hose, one end in a bottle and pump the brakes, one man job!
I have these on three motorbikes and the jag. They are not cheap but I pay... they are that good.
The end that screws in to the caliper can be sealed with sealant as it will not be undone again unless they need to be removed.
You unscrew the hex above to bleed the brakes... full turn to flush, 1/4 turn to bleed.
When you price them up... it take a moment to recover, swallow hard and buy them!
I have not removed the seals yet as I am thinking of hitting that rust with some emory cloth... Question... can I add some grease around the face when rebuilding these after adding the piston. Not is my guess after reading the piston and cover go on together? So how do you stop this rust? I nearly did not pull the calipers apart as the pads are at half and would have lasted years! Pleased i did... it would have only got worse from here! Clean.. and some paint! And a few new seals etc.
May be a bit controversial but there is no way that I would have Split the Calipers (wonder what Greg and Grant think) as for one thing I cannot see that there is any need, as even professional Caliper re builders, almost never go as far as that
Only use Scotch Bright for cleaning the Pistons and the Piston Tubes and keep away from anything abrasive, as it's only after the Sealing Ring where everything has to be perfectly clean and shiny
The Pistons themselves don't come into Contact with that rusty bit around the edge, so that's the only part you could clean with something a bit more abrasive, which would need to be done very carefully as if you score the Piston Tubes then it could be game over
Rears to split, easy as. Fronts, Yeh/NAH, they have square section seals between the halves, and I have never been able to find those suckers. Once upon a time, "dime a dozen".
I use 1200 Wet/Dry with WD40 as the lube, and POLISH those pistons by hand. Never replaced pistons, YET.
Same with the bore of the caliper.
A good wash in Metho after, and prior to assembly, using clean brake fluid on the seals and pistons, and great care not to nick the seals.
It's clean...... and what an effort to clean it!
Ready for a coat of PA10.. Black paint.
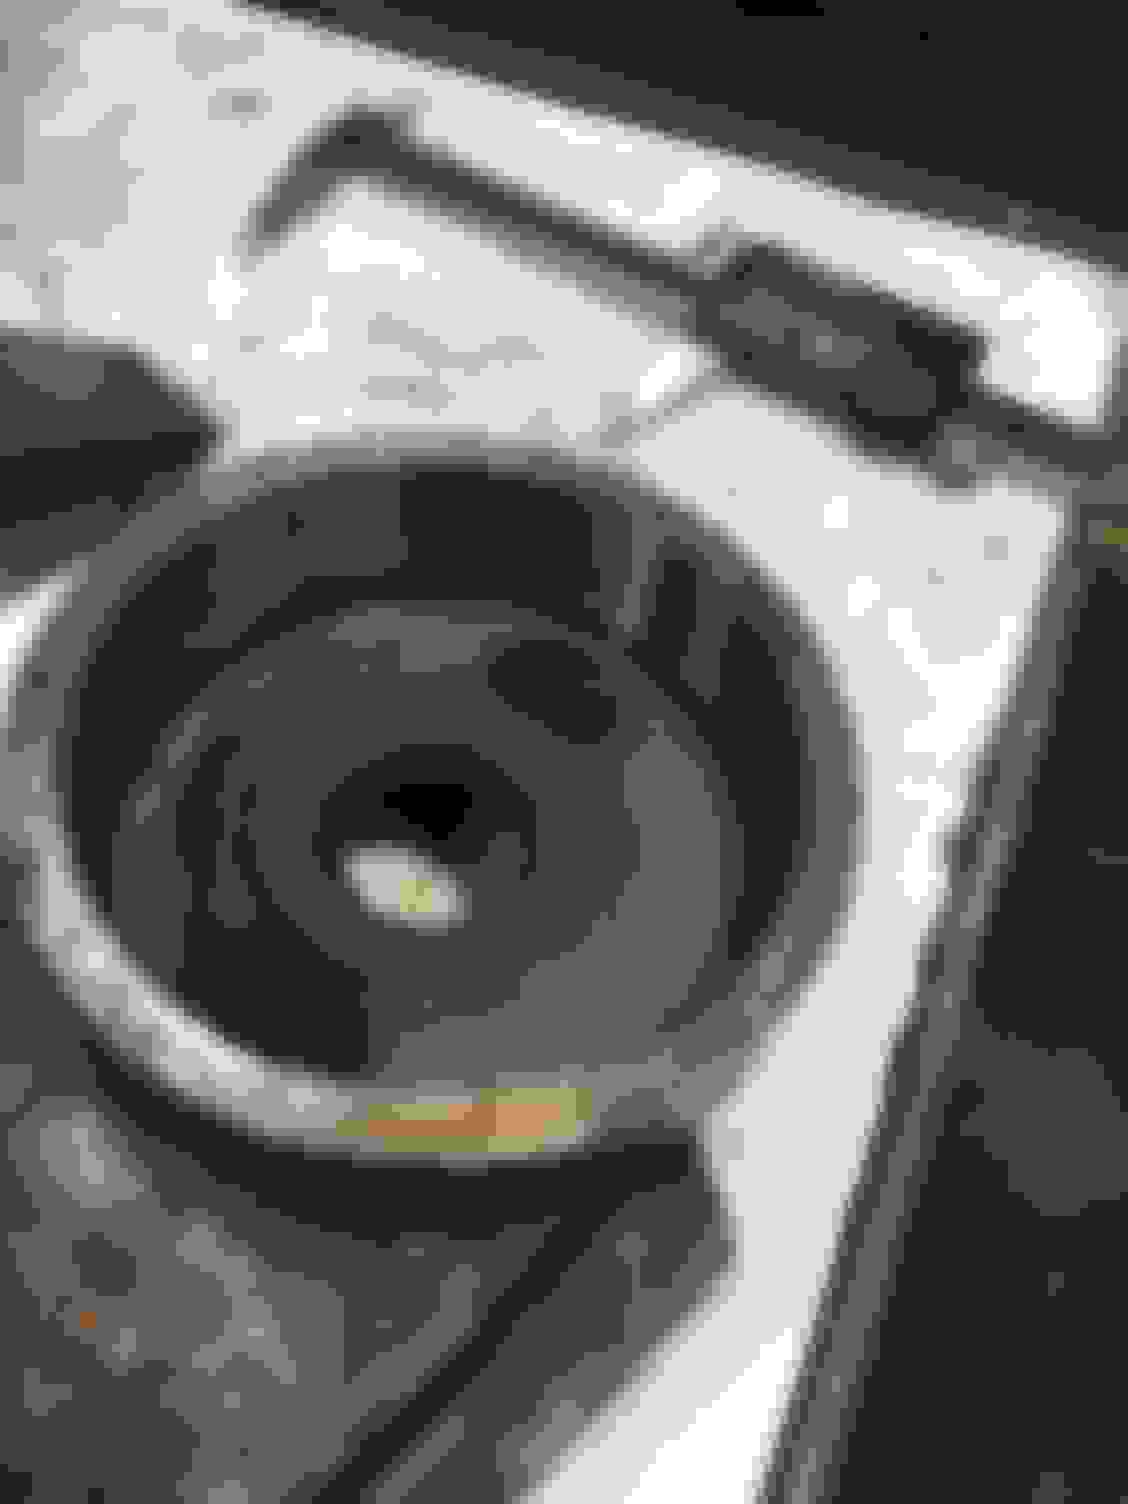
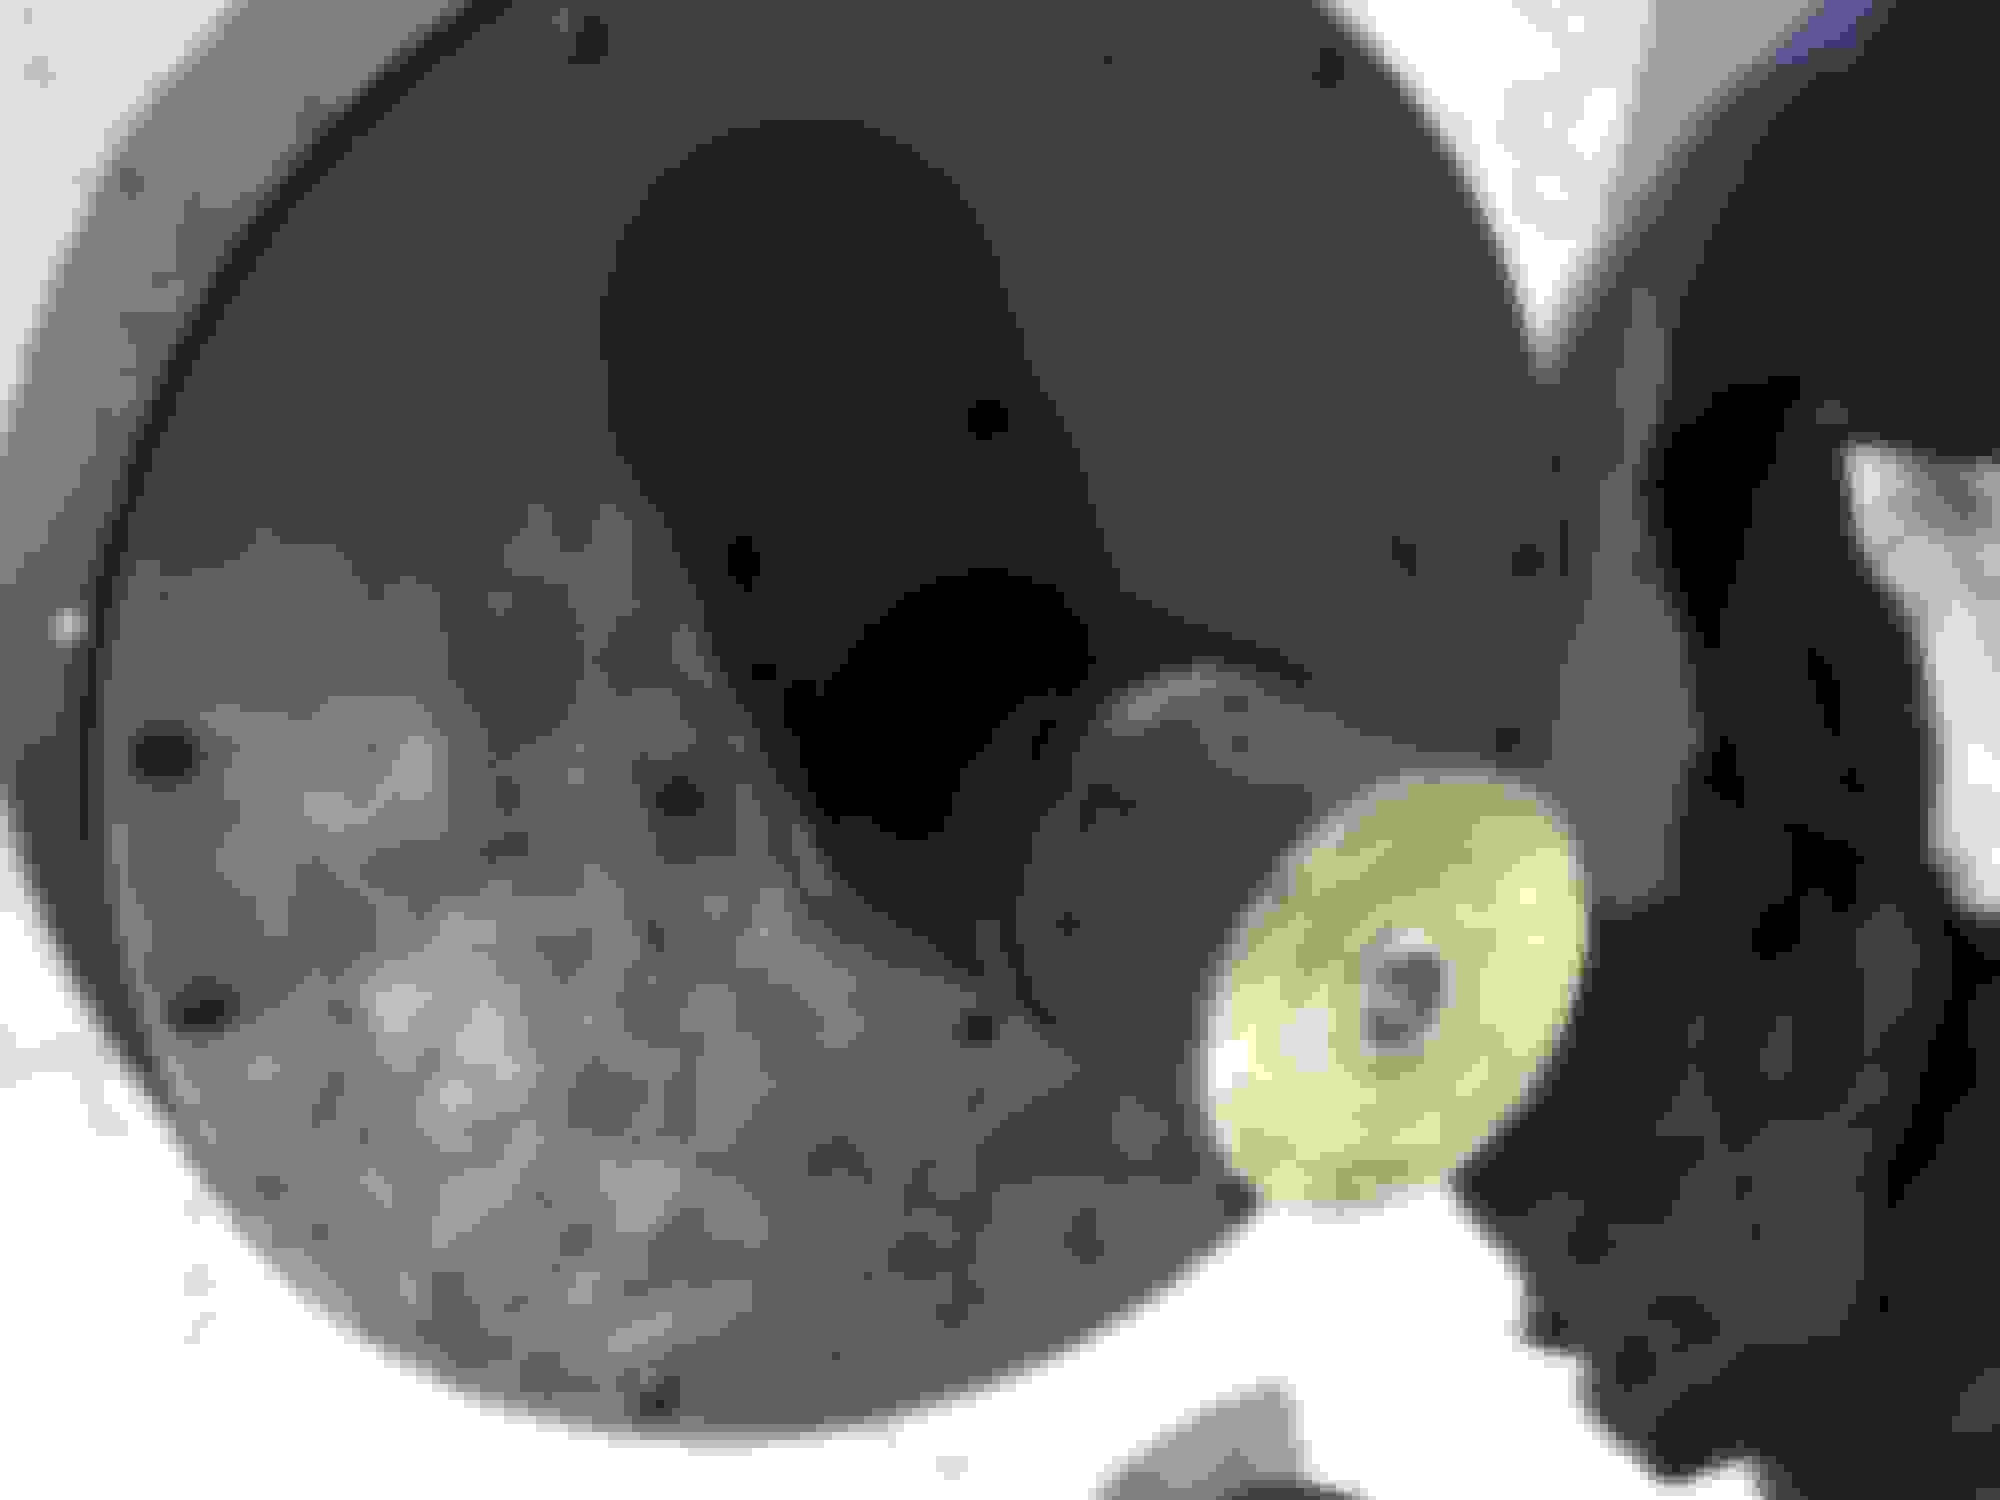
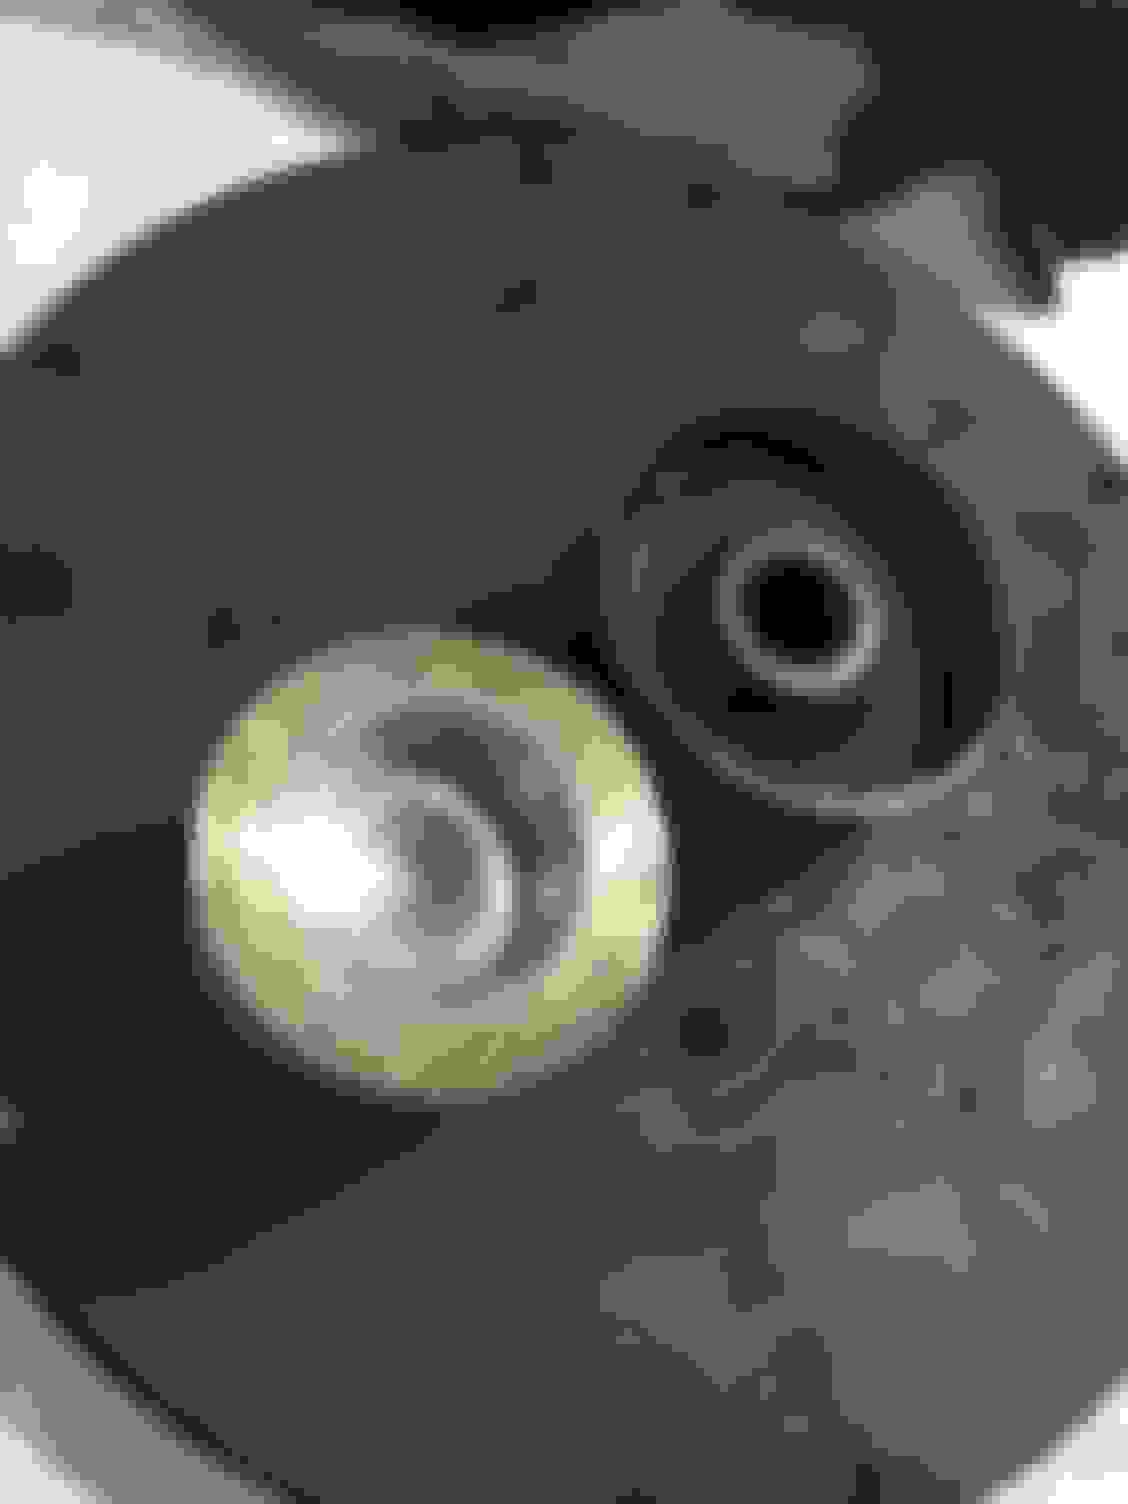
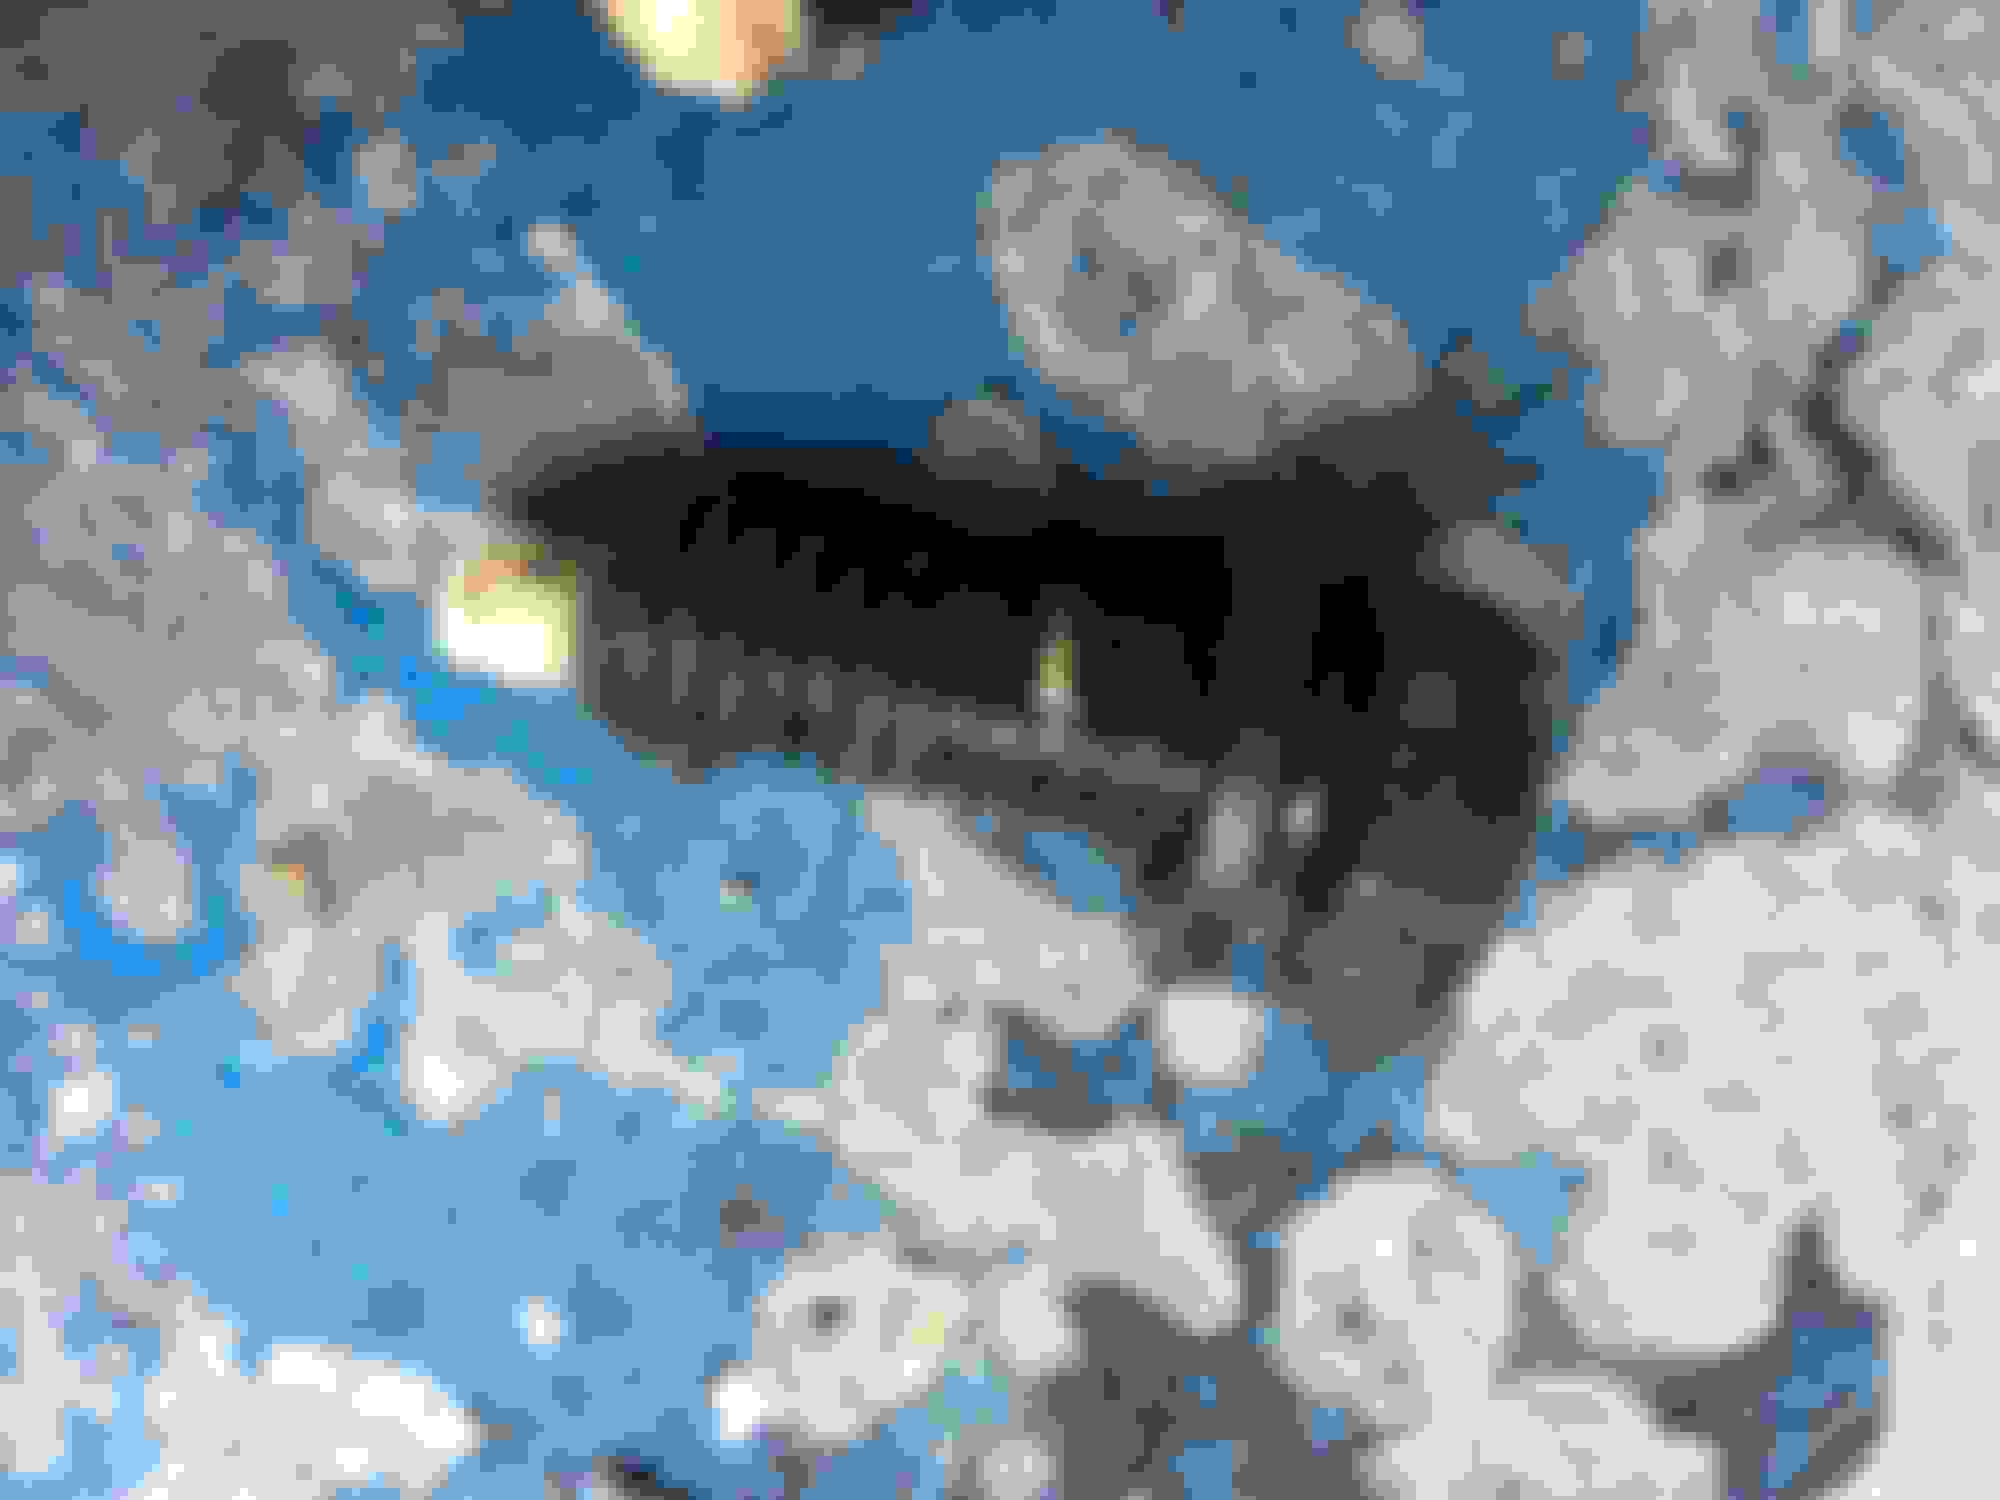
Removed the diff cover plate, found one of the bottom screws wet with oil, I am sure that was the leaker....
Pleased I have done this as the thought of putting it back and having a leak is a nightmare thought.
Cover has been cleaned as is ready for a coat of silver paint!
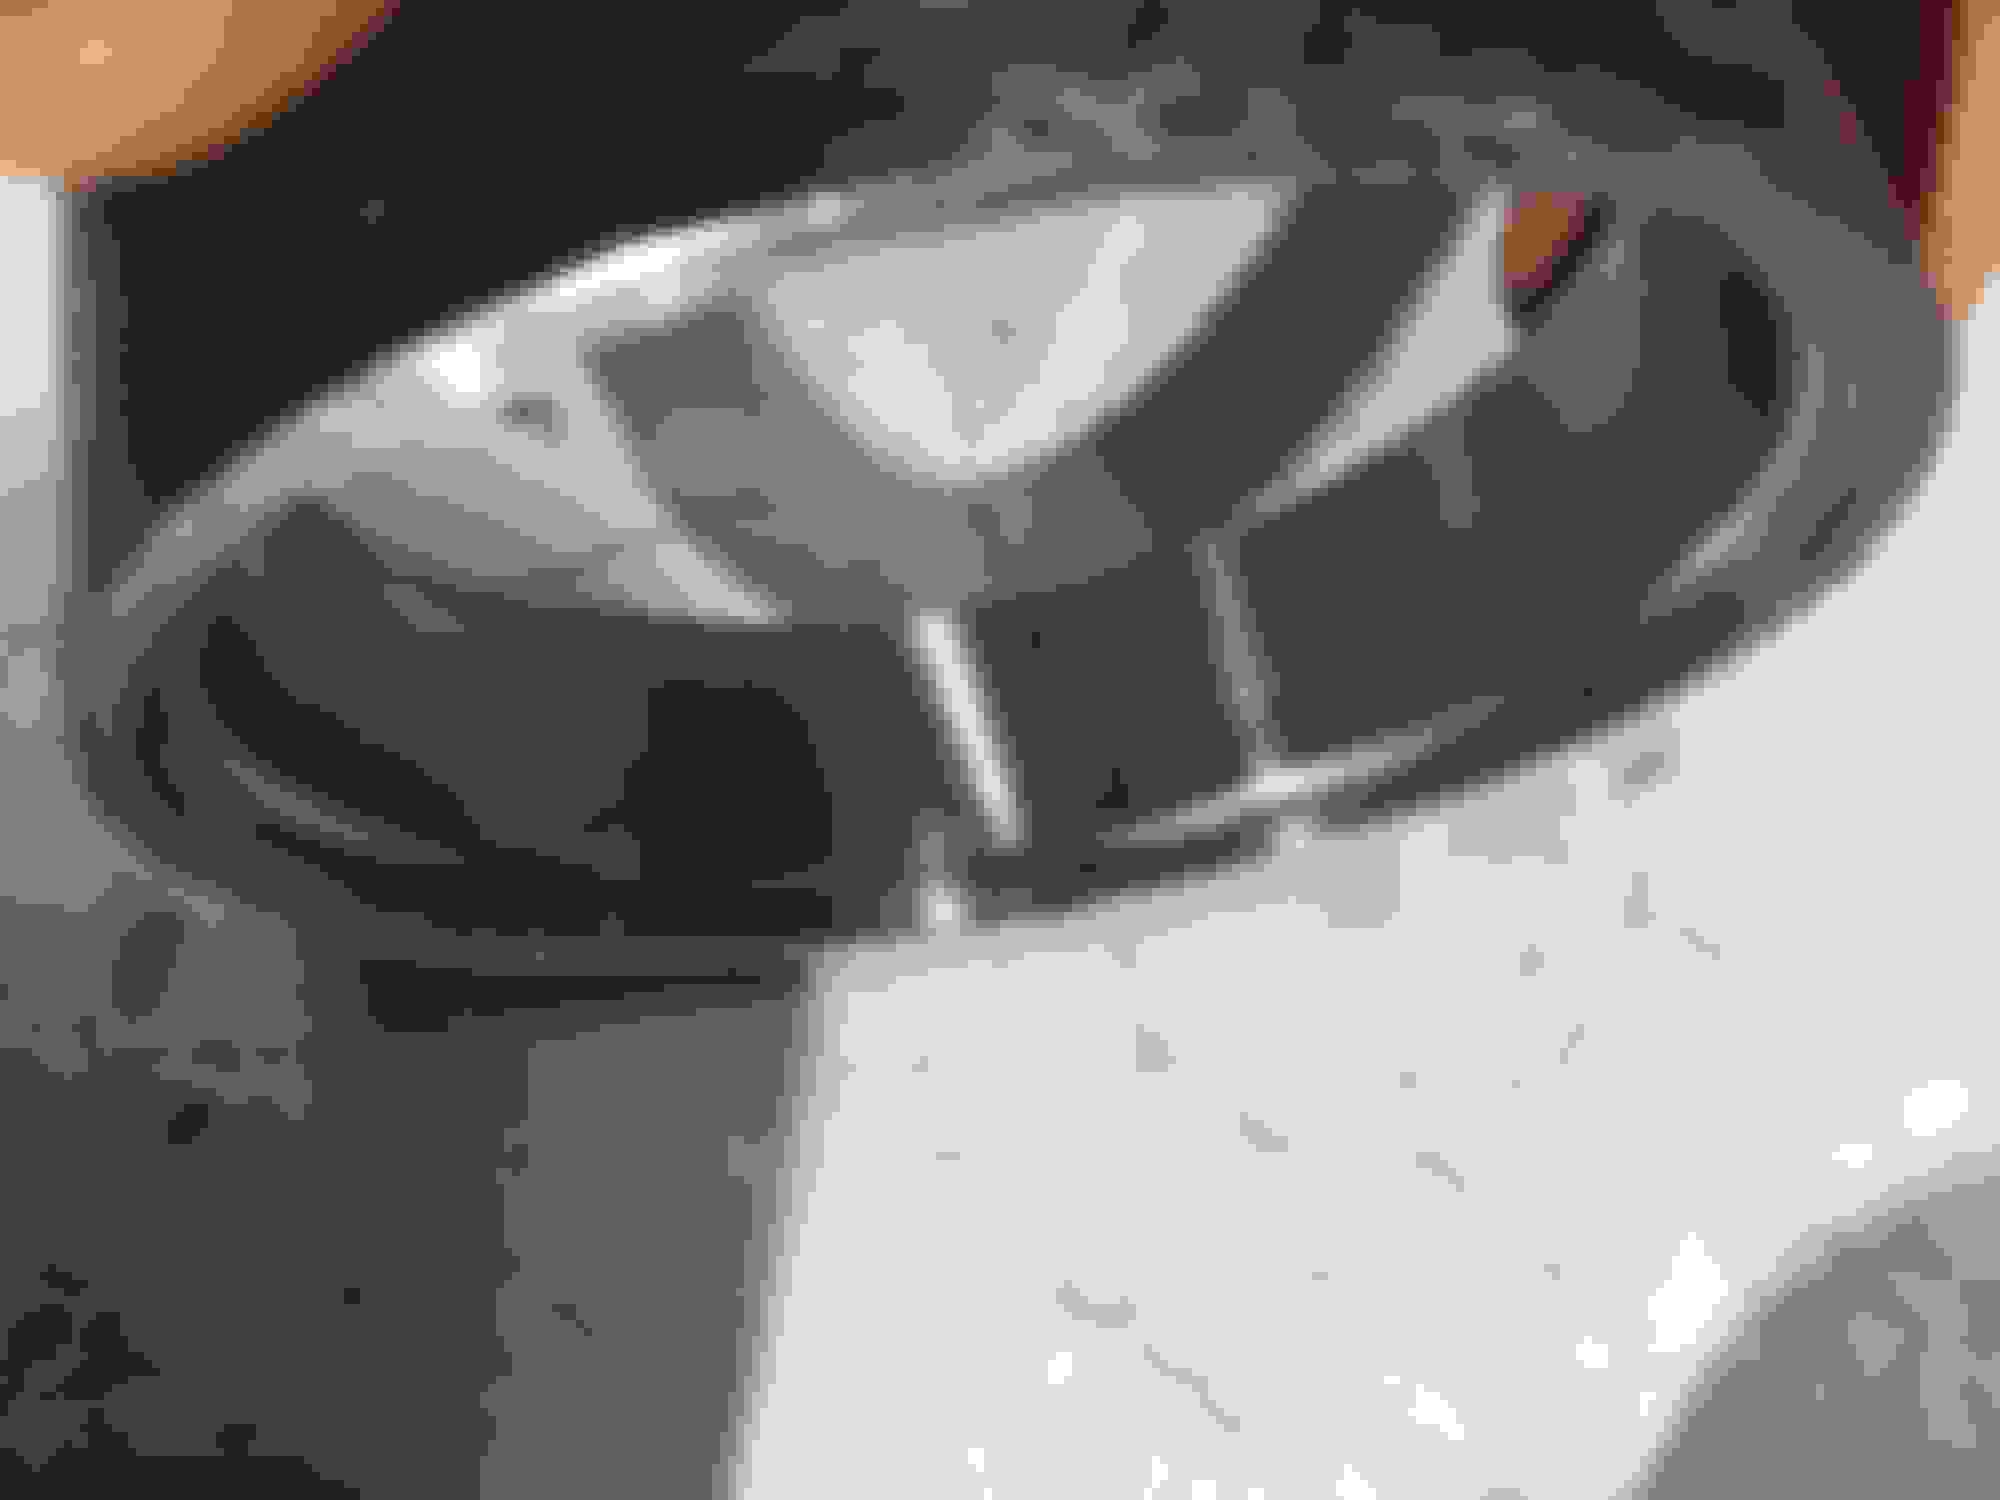
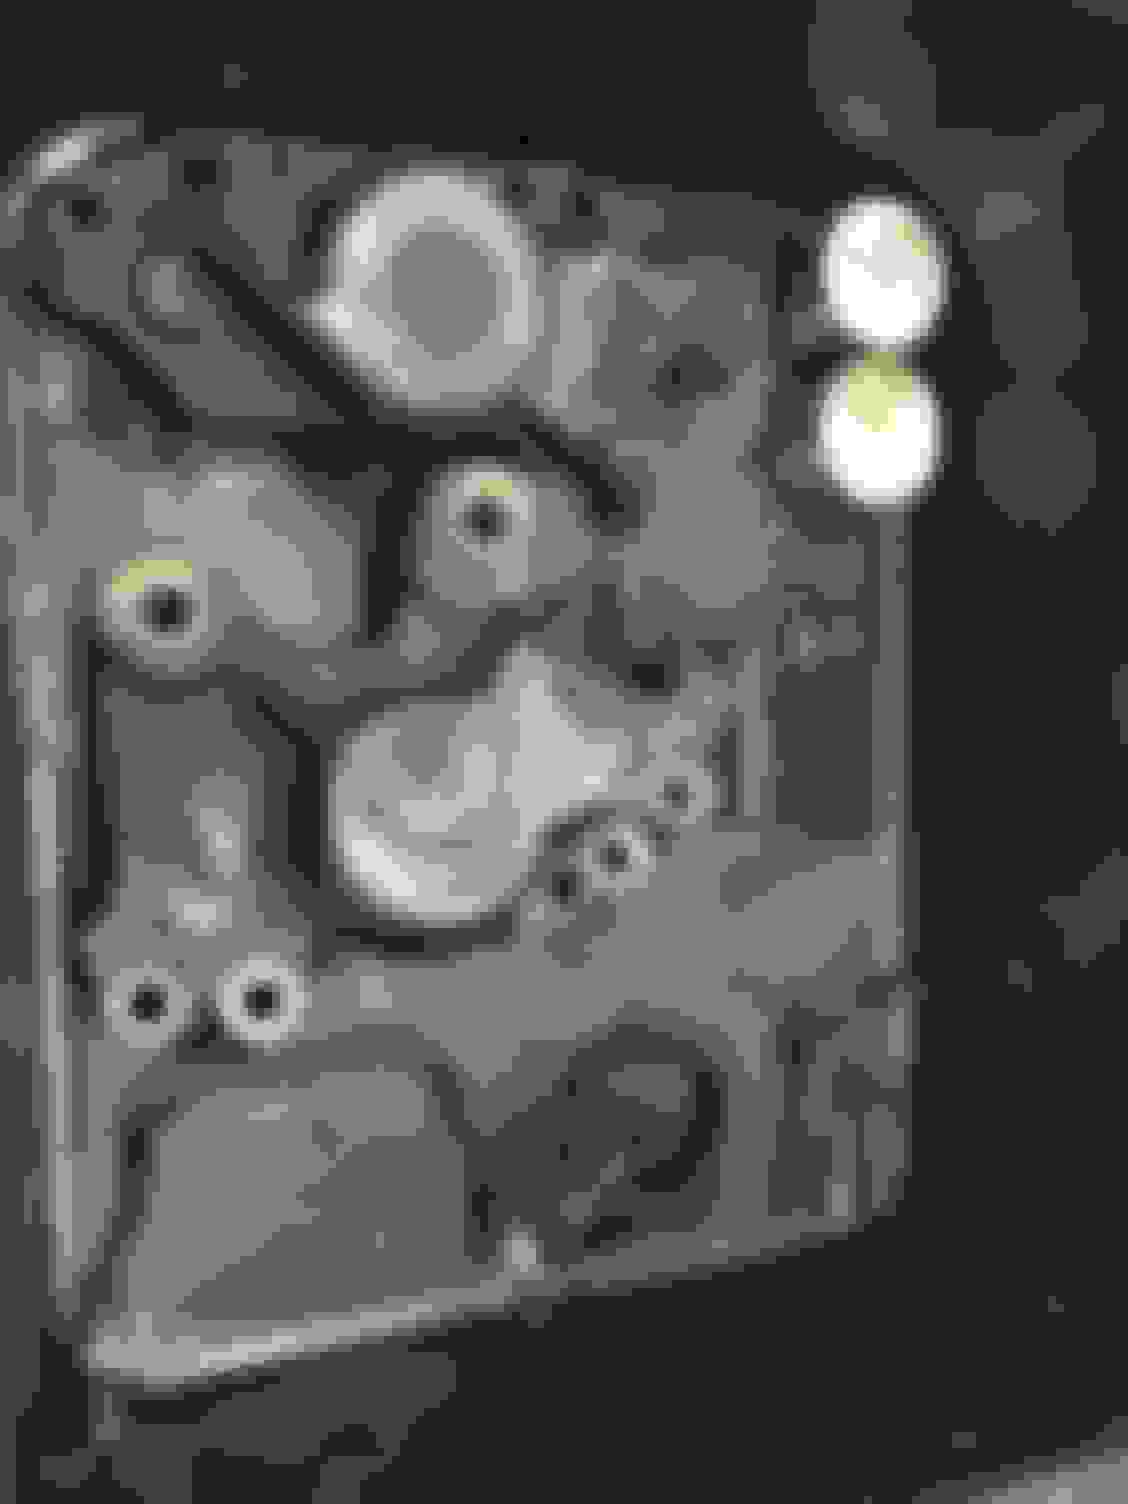
I had to file the edge of the dog bone to make room for one of the bottom bolts to be removed... otherwise the only way to remove it would have been to remove the dog bone... and we have had that discussion....
Filing look worse from this angle but not much needed to be removed... just the edge.
And that looks to be the leaker!
Although I can also go OCD sometimes it can be a better idea to replace with New rather than try and Embellish what you already have and sometimes it pays not to disturb what is tight and doing its job, as sometimes Bolts don't go back so well the Second Time Around
Not sure why you would want to use 'Locktite' on the Diff Cover, as you already have Spring Washers to hold the Cover as tight as it needs to be and so could well be a better idea to replace the Gasket or else use some sort of RTV (Grant will know)
Yes: to Brand New Caliper Bolts if the Heads were damaged when they were undone
Yes: To Brand New Diff to Propshaft Bolts
Yes: To New Locking Nuts that Hold the Rotors in place (Not Nylocks though) although you may be able to reuse the original ones depending on their condition and on how tight they feel as you are screwing them back
Fulcrum Shafts only if they are worn as they will always be covered in grease anyway
Once the Shroud Cover is back on the diff you are never going to see it again for many years to come, so going OTT on these things is sometimes not worth the Candle as long as you are satisfied the Engineering side is 'up to snuff'
As for using Plated Bolts, the only place I have used them so far, is for securing the Metalastic Cage Mounts to the Car, that I was able to buy already Passivated Plated, with a Zinc Chromate Finish like 'Thorsen' had done, as they can be a bit of a Nightmare to undo if they go rusty
Also going to use these on the Exhaust Pipes for the same reason
OB - great advice as usual... I had to stop and think for 5min about what I am trying to achieve and it is not a perfect, spotless cage setup.
A few beers later and I have a road map...
Bolts and shafts will not be plated if they look like high tensile.
So those are the caliper joining bolts and the 4 x shafts.
The rest are off for plating, cost $30... and a few new bits like the those funny nuts and drive shaft bolts and nuts. Yes: To New Locking Nuts that Hold the Rotors in place (Not Nylocks though) although you may be able to reuse the original ones depending on their condition and on how tight they feel as you are screwing them back
Yep them ones... all news, a couple were nylocks...
Loctite...
For the Diff cover, this stuff has to be better than the RV option, its made for it!
I do not want a leak!
Here is a question, does the breather tube ever leak... i am looking at it and thinking, I need to know it will not leak!
Do not think it was leaking but there was soo much built up **** on this you never know.
Gut feel... no its not a leaker. So leave it alone.... thanks OB!
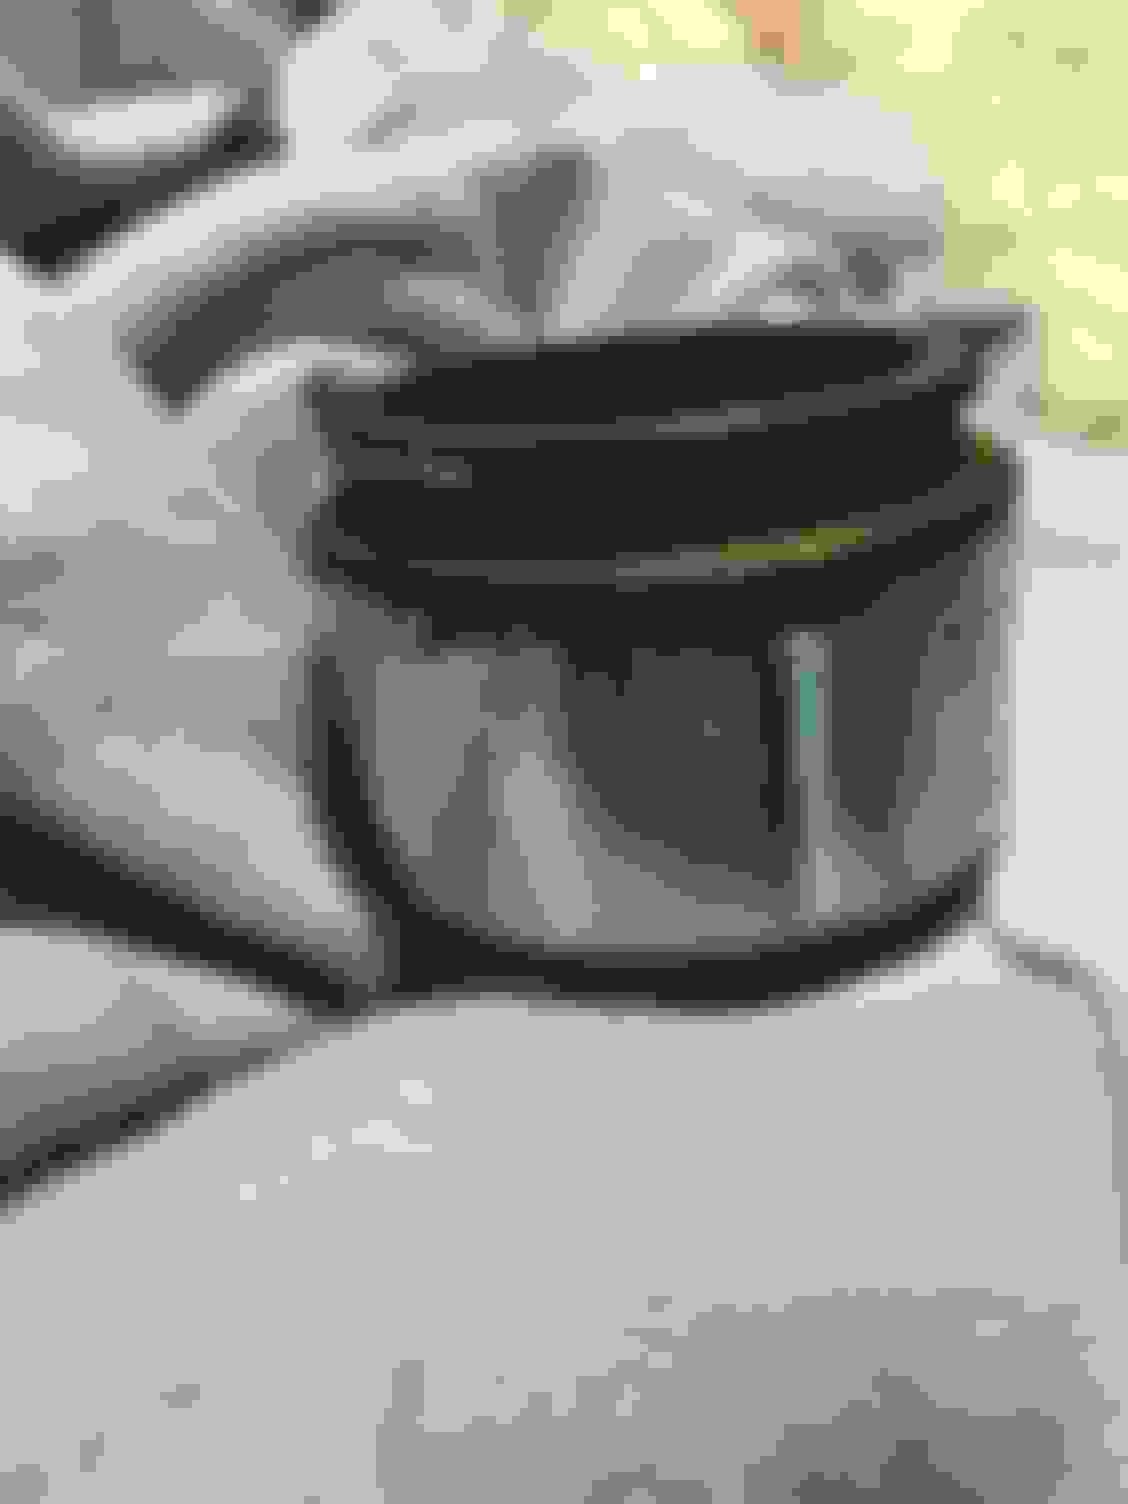
Calipers, scrubbed and scrubbed some more....BEER and scrub again OMG.
Used scotch bright on the rust! Great result and with the brake lube stuff and the anti rust properties, I hope not to see the same.
Might be a dream but at least I am making an effort which is more than the last owner!
Calipers will be painted... why would you not?
Sorry but new pistons will be ordered.
I could not sleep putting these suckers back!
Good advice from Grant on stainless pistons... if they are so good why dont new cars have them?
Like OB, I am enjoying the build, except the scrubbing of grease, my garage stinks of grease but when stuff is clean it does make you happy, so much so a beer might be needed just to admire the results.
And the only reason to open a beer, besides being after 4pm is that my hands ache. And I purchased water based degreaser, it works well and the wife is happy.
cleaning again!
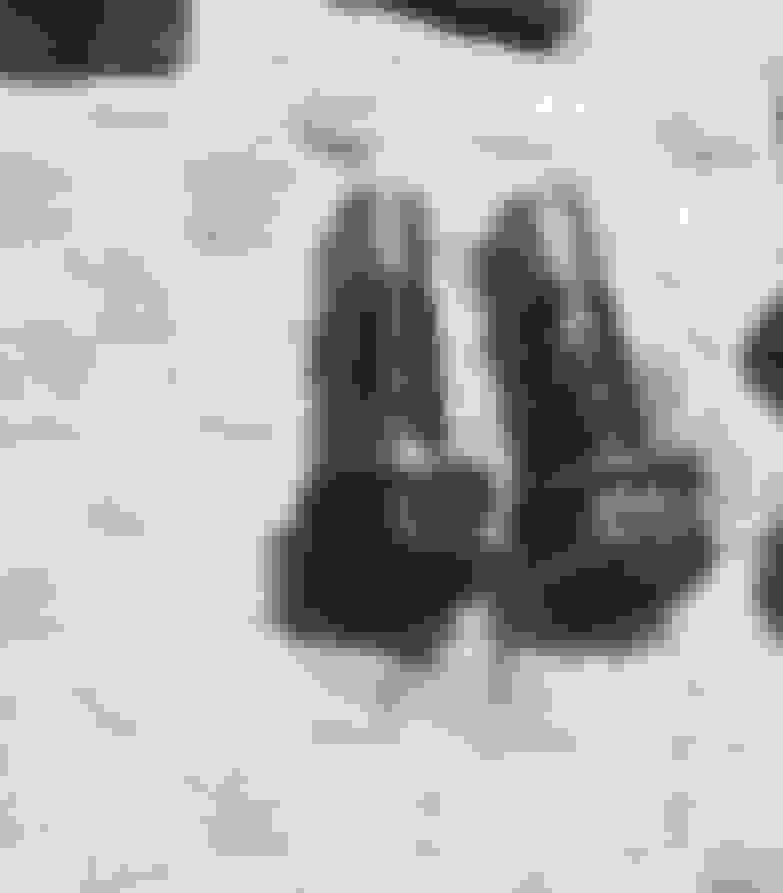
Lots of nuts and bolts are the same... But F me where do they go lol
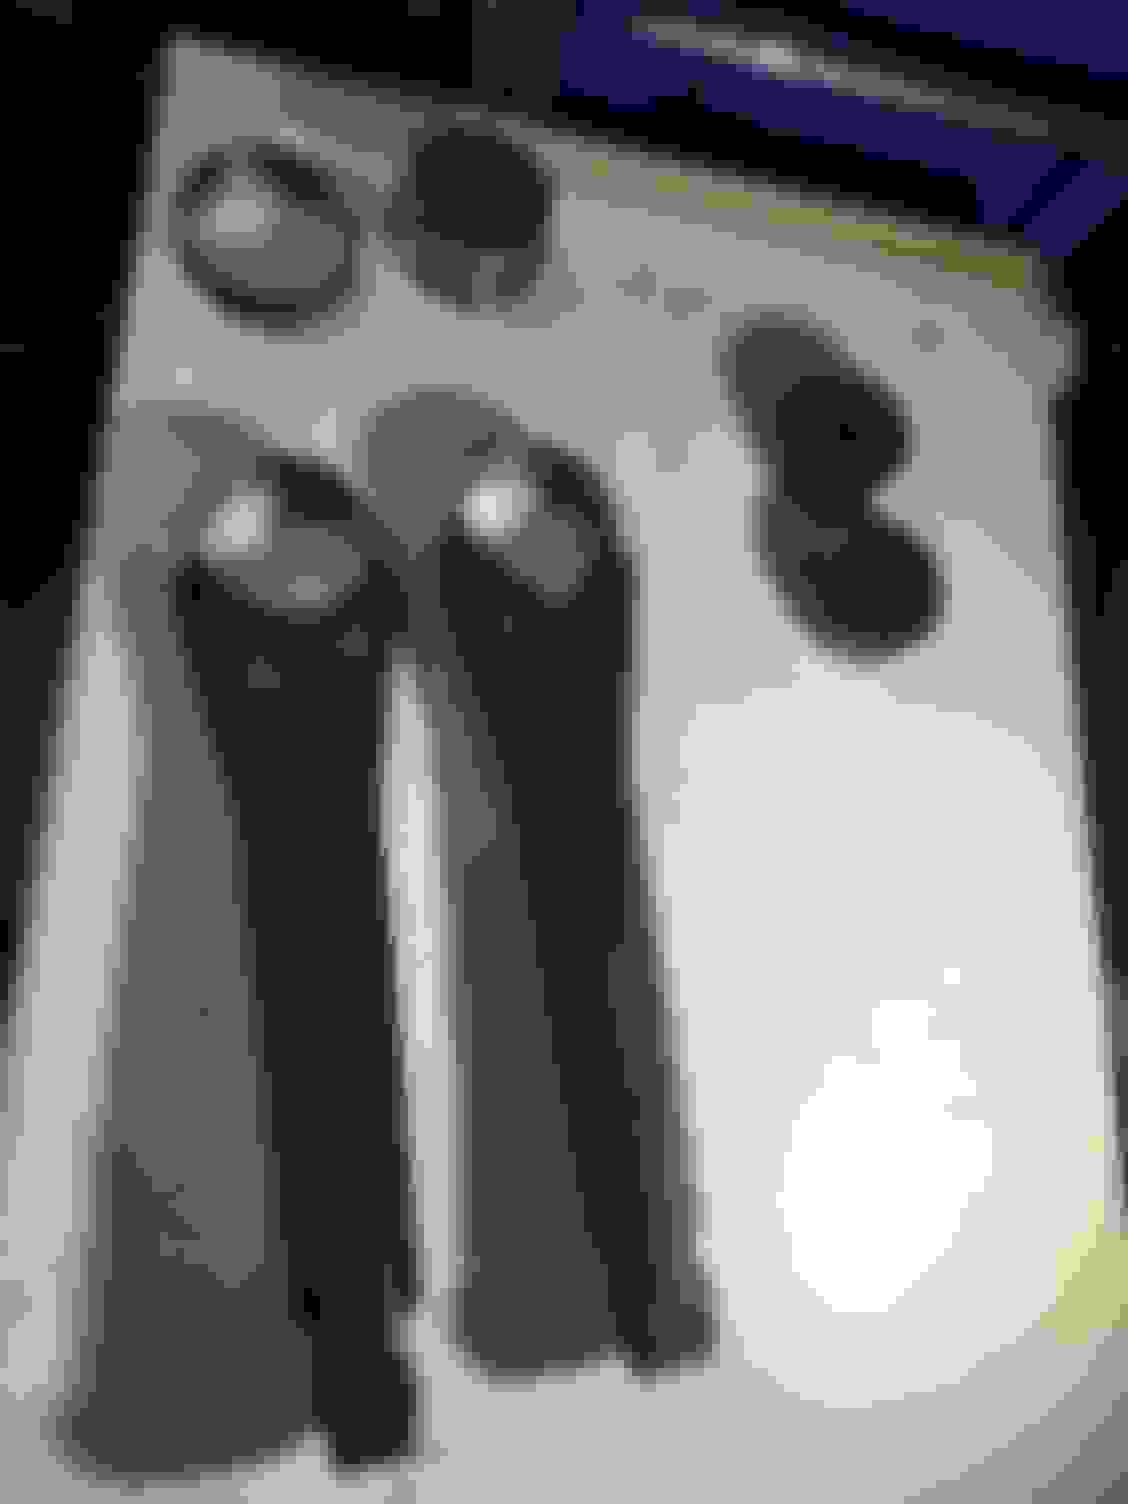
When removing the cage I only removed one mount and these are the bolts that screwed the cage mount to the car...
Are they normal?
They look like you drill the hole the small diameter size and they self tap?
I asked the engineering manager and he has never seen anything like these...
thoughts?
Tomorrow I plan to remove the other 3 just to see, and plate them.
On closer look thanks to this picture.. the ends look like someone has hit them with a grinder?
 08-01-2021, 03:40 AM