When you click on links to various merchants on this site and make a purchase, this can result in this site earning a commission. Affiliate programs and affiliations include, but are not limited to, the eBay Partner Network.
Well, I did it. I replaced the bushings in one of my radius arms. Going back tomorrow to seal the deal on both ends.
I used my indie garage to press out/in the bushings. No way to get around that.
I ended up going to Advance Auto and rented a tie rod puller to pull out the large end of the the radius arm. It ripped the rubber apart. I bought the tool from Sears in an attempt to separate the large bushing from the car. Didn't work. The puller yanked it out, effortlessly in seconds. I then used a Dremel to cut out what was left of the bushing stuck to the car. Didn't take long, and wasn't difficult. Just be careful.
Again, ended up making good use of my black self priming epoxy paint to coat over any bare metal.
You will need your 1/2" drive sockets. 9/16", 18mm, 3/4" and 5/8" sockets and wrenches. BUY A RATCHETING 3/4" BOX WRENCH. Thank me later. It is a luxury you will want to have when removing the bolt holding the small end of the radius arm to the wishbone. You'll also want an 18mm standard wrench.
The toughest part was learning that the 18" bolt that ties the two rear shocks to the wishbone can be drifted; and that's how you get the 3/4" bolt that ties the small end of the radius arm out. Remove both nuts and slide it out of the way. I needed my impact gun (Bosch battery powered kind, not air tool kind) to get the second nut out. There was no other way to have pulled that other nut out without spinning the shaft that goes through the wishbone.
The safety bolt for the large end is a 9/16" bolt and the bolt that holds the large end is a 5/8". The 5/8" definitely had some red locktite on it, I replaced it with blue. Should be fine. It has safety wire through it.
Again, use a puller to rip the large end of the radius arm out, you will need something that can grab on to something 5" wide.
Again, use a puller to rip the large end of the radius arm out, you will need something that can grab on to something 5" wide.
Vee, please excuse this question if you already know about it, but when you pulled off the large bush, did it come out with the centre steel semi-cup shaped bit as well? If not, how did you remove that piece from the bodywork fixed cup that the new radius arm bush bolts up to?
Greg
It most certainly did not. The puller tore the rubber apart removing the outer ring with some of the rubber, leaving the metal cup part still on the car (with some remaining rubber as well)
After trimming the rubber off with a knife, I used a Dremel tool to carefully cut the metal cup off. I almost did a perfect job, I managed to nick the part of the car that that bushing clung on to. I shot a bit of paint on it have it some time to dry.
I slathered on anti seize all over that cup before I inserted the arm with the new bushing in place. Not sure I'll ever go back in there, but just in case, I'm hoping that anti seize will save the day next time.
All in all, not a bad, or particularly time consuming way to get the thing off. No nectar necessary, and the kids were absolutely fine with the language. To top it all off, my local shop didn't even charge me to press out/in the bushings!
Well the drivers side was a little more complicated:
First of all the bolt that holds the large bushing in place, not the safety bolt, is heavily corroded. It has a hole in the head for the safety wire, so not easily replaced. I wish I had ordered two in advance, CBC9362, still available.
Second, since I had not tried to pry off the large bushing, when I cut off the old bushing, it didn't pop off as easily. It was more of a pain. Still better than pounding, but ultimately I think it proved that I was making progress banging away on the end using a pry bar and spraying in some PB Blaster.
I bought some 19ga galvanized steel wire to replace the old safety wire, in case anyone is wondering. Coat hanger wire is too thick.
That's all I have to report. This is a two hour job once you know what you're doing.
Great work my friend, it's not the easiest job but once you completed the procedure once it becomes much easier!
Like you mention when I did the Radius Arms on my car I made sure I put lots of grease on the bodywork points so if I do have to eventually replace them again, hopefully they will remove from the car a little easier.
One tip I can pass on but this all depends on how brave you're feeling at the time.
The larger bush simply refused to pop off the car so I played around with a few ideas and did this...
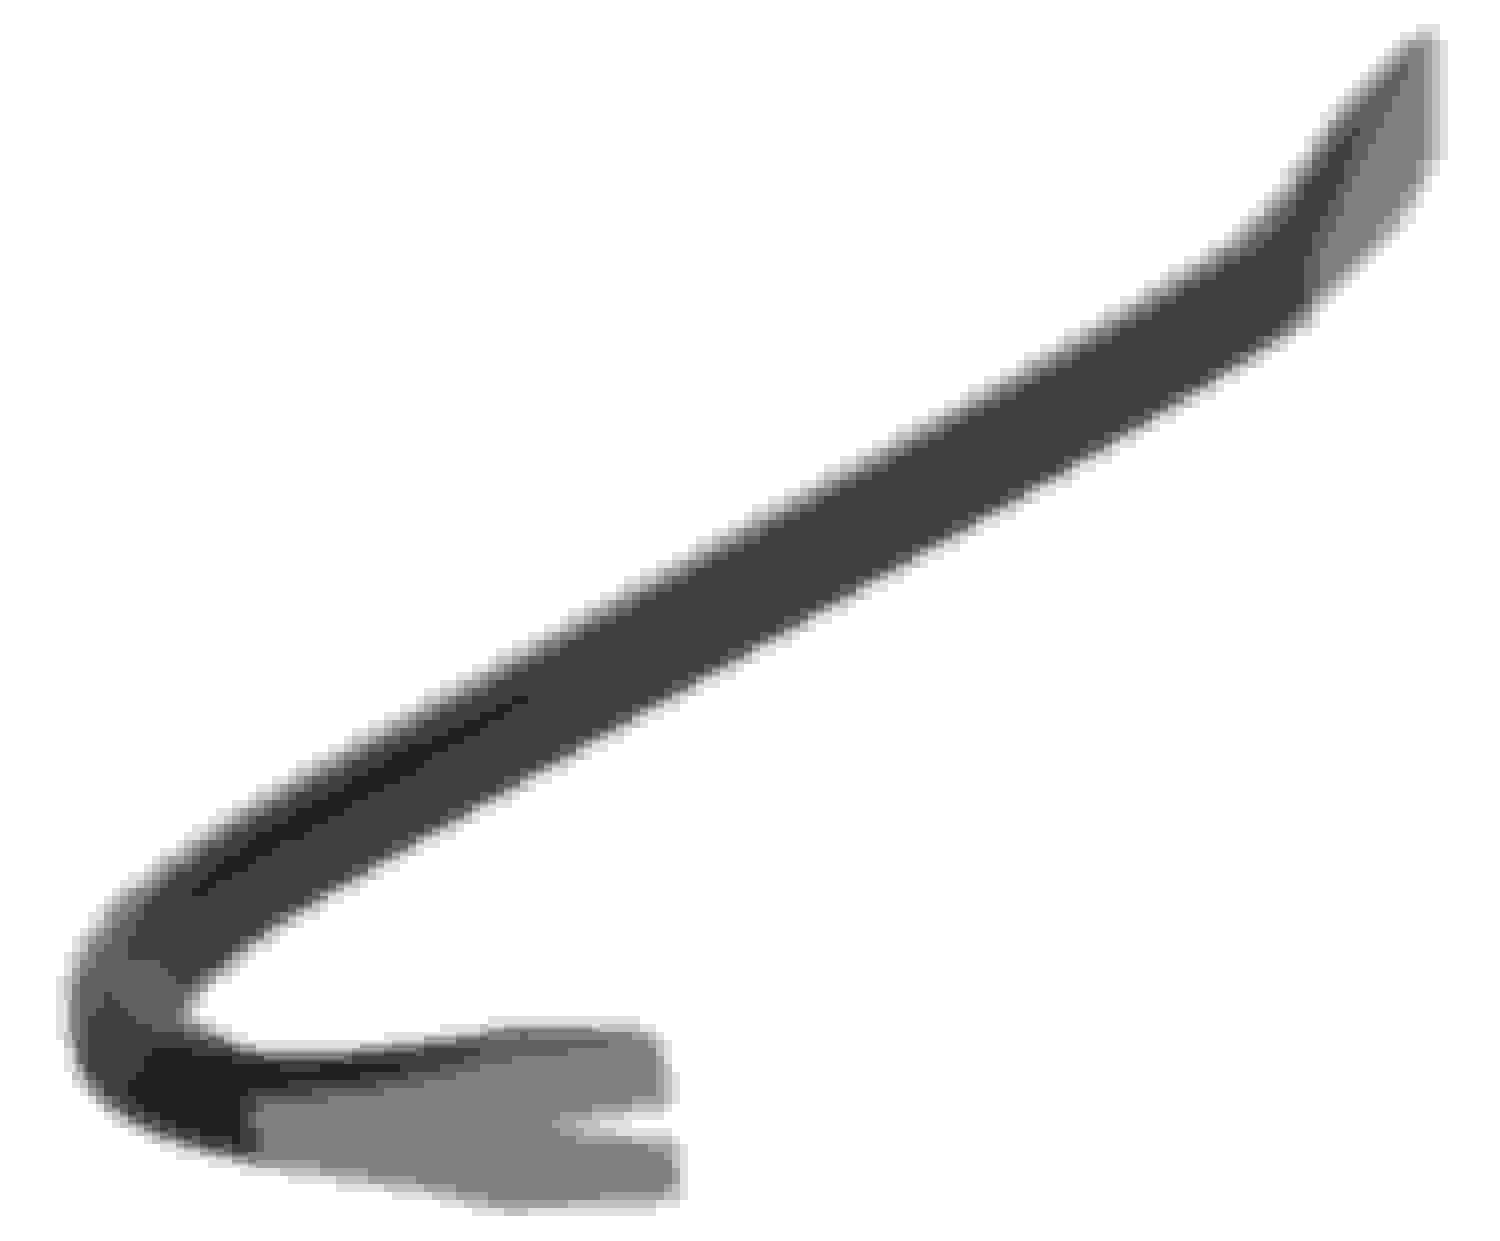
I used a standard length Crow Bar, like the one pictured below...
I put the flat part of the bar against the top metal part of the bushing. I could then rest a part of the bar against the jacking point underneath the car. Using a jack I placed the cup of the jacking head on the radius part of the bar. Held the bar in place and very (very) gently raised the jack.
After about one and a half gentle applications of pressure the bushing popped off, it is quite sudden so make sure your hands and anything else you have that's important to you is out of the way!
The only thing that slightly saddens me is the new arms have been on the car for about 3years and they are starting to break again...
Make sure you have the suspension loaded normally BEFORE you tighten the bolt on the rear of the trailing arm and the shocks, else they end up in tension, and fail prematurely.
In my experience, the arms often tend to rust out before the bushes wear out. And it's often much more cost-effective to buy bushed arms and change the whole assembly. Certainly in the UK, that's the case.
As the arms tend to rot from the inside out, it's worth spraying the inside of them with wax and then checking them by tapping with a screwdriver once a year.
Make sure you have the suspension loaded normally BEFORE you tighten the bolt on the rear of the trailing arm and the shocks, else they end up in tension, and fail prematurely.
Damn, I did not do that. How am I supposed to wedge my body under the car?!? I guess I can try to back it up on my ramps.
Well the drivers side was a little more complicated:
First of all the bolt that holds the large bushing in place, not the safety bolt, is heavily corroded. It has a hole in the head for the safety wire, so not easily replaced. I wish I had ordered two in advance, CBC9362, still available.
Update on the CBC9362 bolts. They are Class Five 7/16-20 bolts 1-3/4" long. They come with blue loctite smeared on and the only thing that makes them special is a hole through the head for safety wire. They are NOT shouldered bolts, as I thought hey were. (The corrosion was apparently THAT bad)
If you're working on this and come across a similar corrosion issue, and don't mind being without safety wire, then you now have the specs for this bolt that you can replace on your own. I'd probably go Class 8 just for the hell of it.
 08-24-2016, 09:06 PM