When you click on links to various merchants on this site and make a purchase, this can result in this site earning a commission. Affiliate programs and affiliations include, but are not limited to, the eBay Partner Network.
Front Caliper Seal leak... need to remove calipers.
Hi People – it has been a little while since I have done anything to the XJS…
It has been going well BUT then the front caliper started to leak and I lost all brakes... I though a few pumps and it would be OK.
So up the driveway I go...but NO brakes at all....so I had to go down a VERY steep drive way in to my house, I should not have driven up thinking the brakes would get better LOL.
So DOWN I go using the hand brake only. This is a dam step driveway and I was think about death at any time.
Put it this way, we have friends that are scared of our driveway lol
My actual plan was to Slam the gearbox in to park and pray if the handbrake let go.
But my modified hand brake held and we slowly made it down and in to my garage.
You have no idea how it felt to make it to the bottom... thinking about it now I should have used a strop tied to my Ute as a safety back up.. Oh well.
ANYWAY… I though super quick easy job, remove the caliper, fix and replace.
This is what I would do on my motorcycle- easy as. But NOOO this is an XJS and bugger me it does not look easy.
How the hell do you undo this thing?
Can someone offer me some advice on how to remove the calipers?
Plan is to clean them up and re install with new pads.
Duke
Jack up and support that corner,
Remove road wheel,
Remove flexible and cap off, at least so worst of leak stops
Then remove pads,
The caliper is held by two bolts, easily seen from the inside of the caliper,
These have 5/8ths heads but the threads are METRIC FINE.
It is best to loosen them with a rattle gun, they will probably be very tight indeed, if not rusted into the fixing holes if never removed before. A long lever on a socket may well just twist off the bolt/shaft and leave you with a big problem.
NOTE: the upper bolt goes through the caliper into the upright. The LOWER bolt goes through the steering arm, then the caliper, and then into the upright. There are shims between the arm and the caliper, to ensure the bolt does not try to bend the arm into the caliper/upright when tightened. (FYI, the steering arm is attached to the upright in two places, the top fixing is just above the inside of the stub axle. The bottom fixing is the one through the caliper lower bolt described above. When replacing the caliper, you must i) fit the top arm bolt and tighten it reasonably; ii) fit the caliper top bolt, ditto, then iii) measure with a feeler guage the gap between the caliper and the steering arm where the lower bolt will go; then iv) make up a shim/shims to fill this gap, then v) hardest of all, somehow keep the shims in place while you push the bolt through the arm, through the shims, through the caliper and then screw it into the upright.)
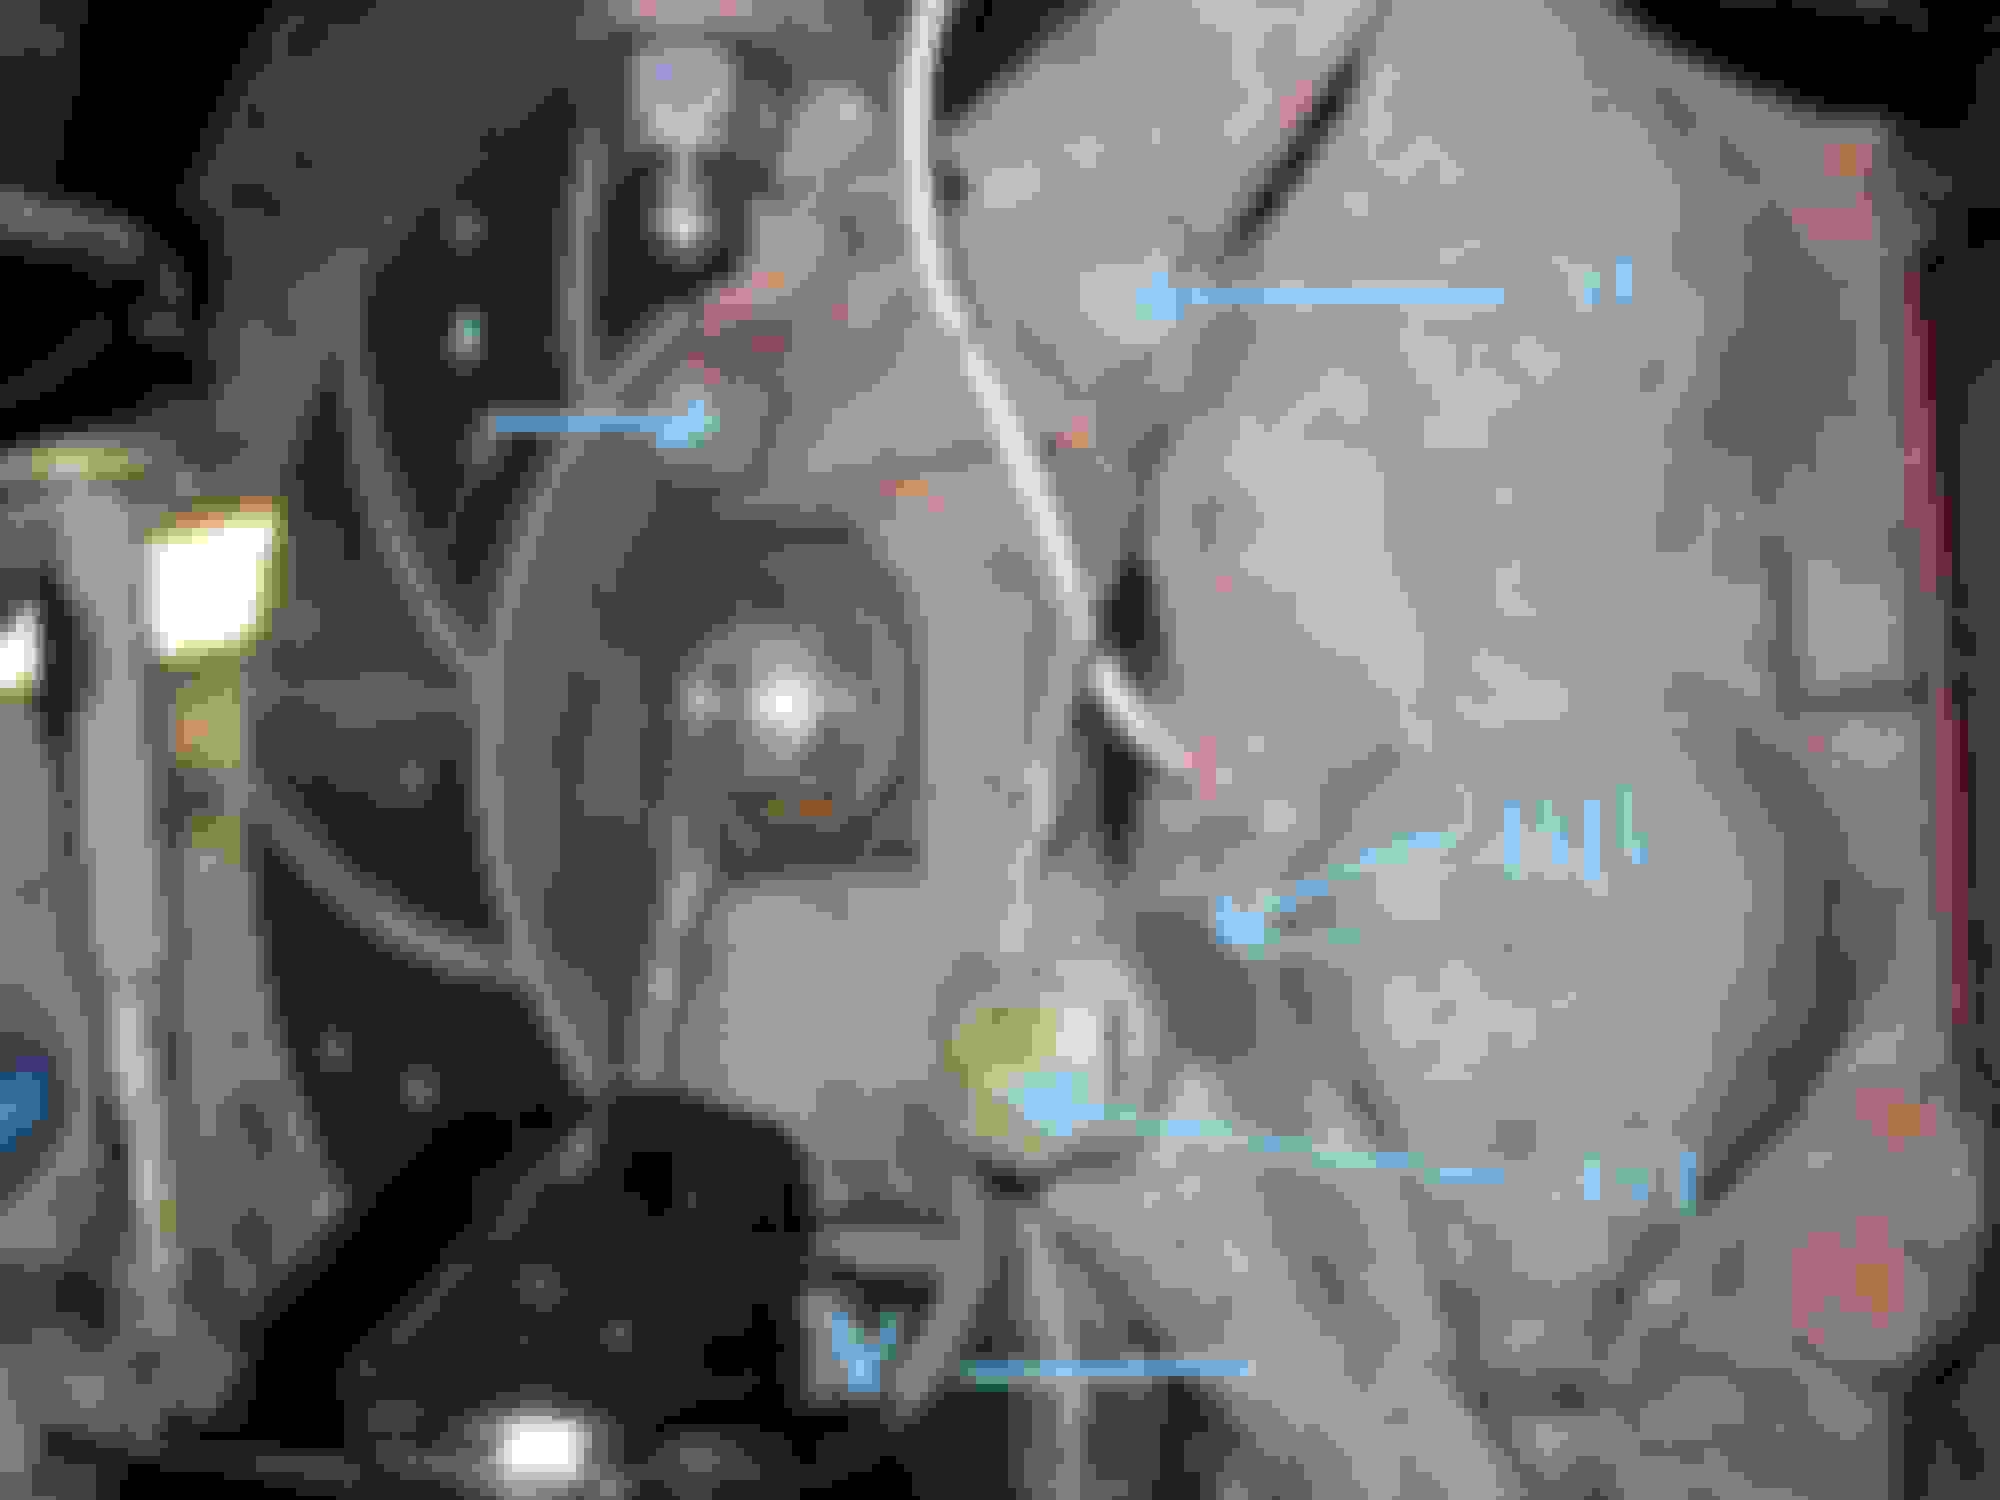
Pic for reference:
I = STEERING ARM TOP BOLT; II = CALIPER TOP BOLT; III = CALIPER BOTTOM BOLT GOING THROUGH STEERING ARM AND CALIPER; IIII = SHIMS IN HERE IF NEEDED; V = STEERING ARM.
If you rebuild the original caliper, save carefully the shims and you can then just replace them without measuring. If there are none, this may be because you are lucky, or because someone replaced the caliper and did not bother, so measure carefully to check.
Last edited by Greg in France; 09-12-2022 at 12:50 AM.
DO NOT press back the pads and pistons without first connecting a pipe to the bleed nipple and undoing it to let fluid escape. Do nor push fluid back up the lines to the ABS valve block.
Well done for not bailing out, as the Captain always goes down with the Ship but even more important you can't buy these Cars anymore!
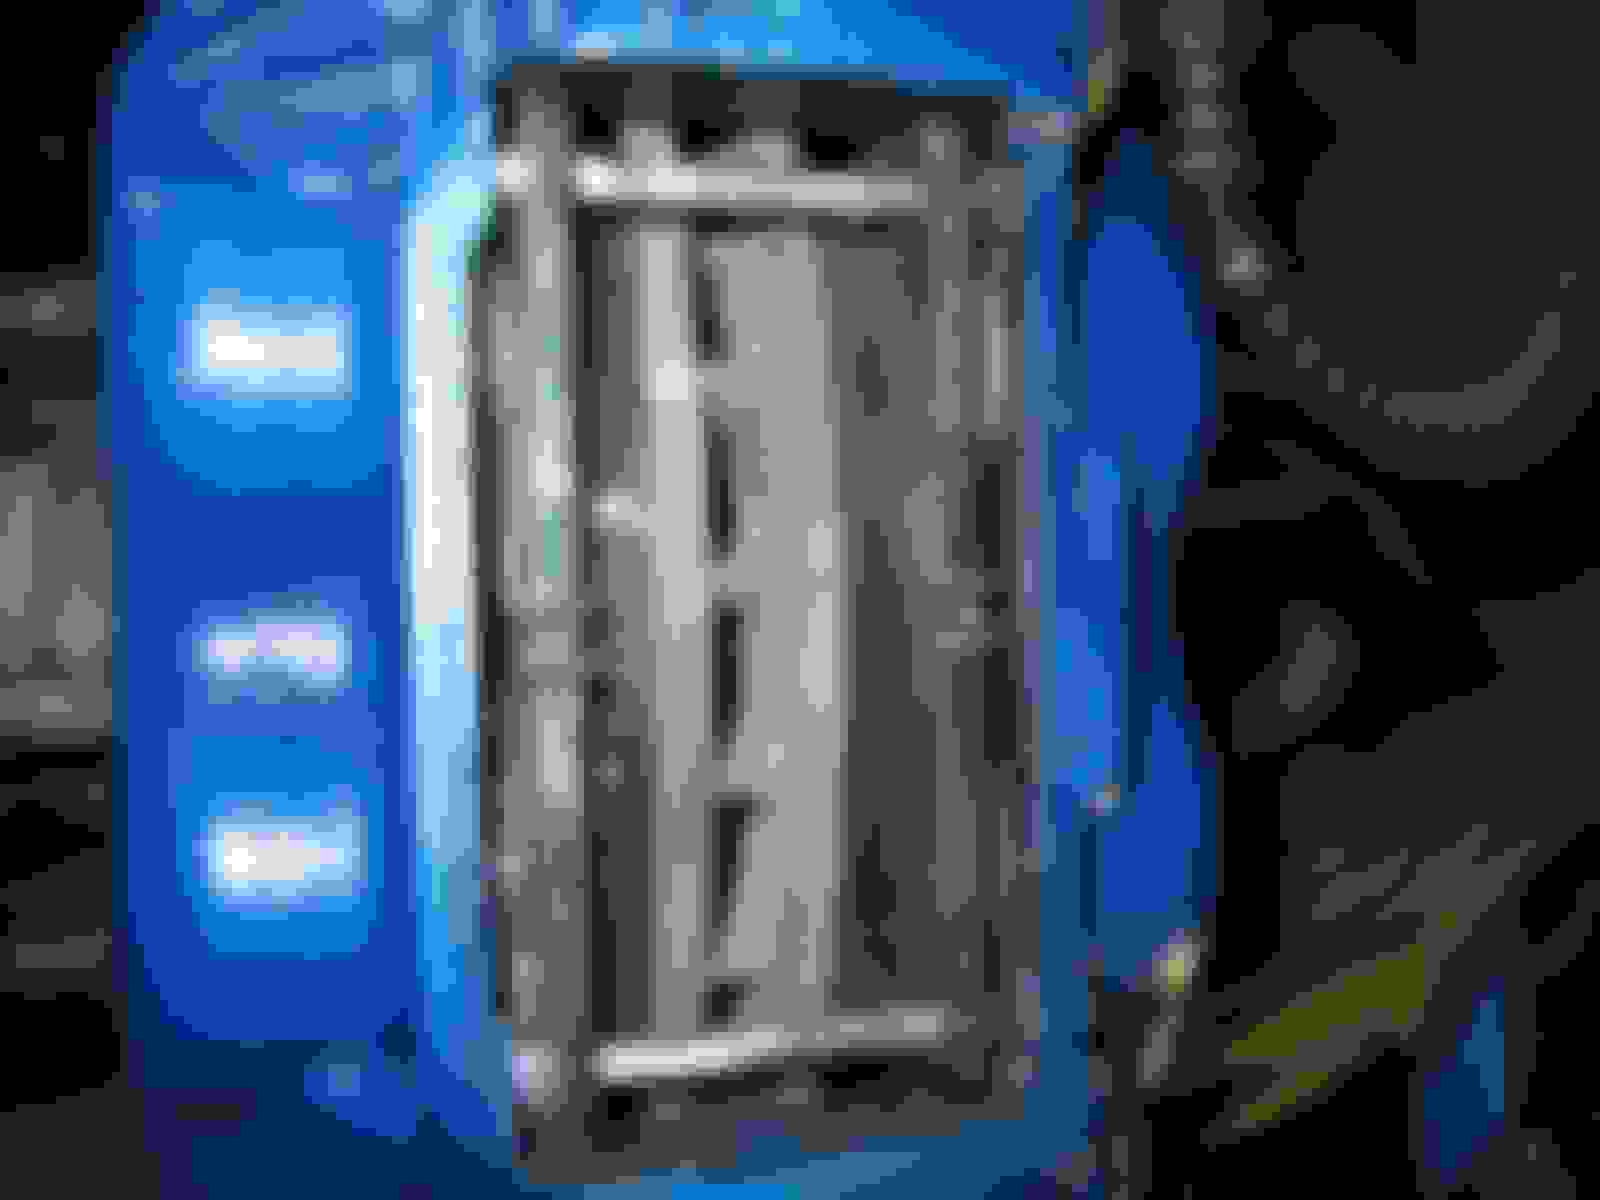
Before you even Start this Job, go and buy yourself a Mains Powered Impact Wrench from Amazon about Ł40 I was the one who put Greg onto this and he has never stopped thanking me to this very day!
So pleased in fact that word has it that he may have built a Shrine for me on a Dung Heap near his Chateau!
Because those Caliper Bolts are a 'Nightmare' to undo and these Electric 'Rattle Guns' can out perform an Air Powered one on any day of the Week, as when I tried to do mine I used a Socket on the end of an 8ft Scaffolding Pole and they still wouldn't move!
Not a shrine, Alex, a TEMPLE with the rattle gun on a plinth of marble, surrounded by eternal flames with local virgins (very hard to find) tending the flames day and night.
Snap attached!
LOl - Thanks for the great info...
Off Shopping I go for a mains powered rattle gun!
I went to load my parts CD in to my new PC and yep... no CD Rom player.
I am thinking..
New seals, pistons and pads, sound right?
Am I missing anything?
"Owning and maintaining an XJS required regular input of alcohol, AND, a sense of humour"
Without that step, you are knackered 100%.
Duke,
Sounds about right to me
BUT
DO NOT separate the caliper halves. Last I heard, the "special" seals between the 2 halves is NLA anywhere, and it cannot be reused once disturbed.
I had a bad experience getting the right sized seals that I ended up returning. I found rebuilt calipers at RockAuto for $50 each, after cores are refunded. Seemed like a deal I couldn’t resist.
Originally Posted by Dukejag
OK... do not separate the halves - can the pistons be removed?
Most calipers you have to separate the halves to change the seals.
I have rebuilt front calipers, Duke. Blow the pistons out with compressed air. Clean up the empty caliper and refit the pistons with new seals, using plenty of red brake grease. It is dead easy. No need to separate the caliper at all.
Just in case it crossed your mind to have a go at undoing those Caliper Bolts with a Breaker Bar instead of a Rattle Gun
Incandescent Happiness, could be something you may not ever get to experience any time soon, as if the Caliper Bolt has gone and seized in the Steering Arm then after very many hours of unsuccessfully trying to drill that Bolt out, you could well find your only other option, is to cut off the Steering Arm with an Angle Grinder
That was what I was wishing I'd done on day one, instead of spending a Week in Trying everything else I could think of (if only I'd listened to 'Greg'!)
Like you, Alex, I learned the hard way, cut off arm and all! but the rattle gun transformed the world of XJS maintenance!
The carrier bearing caps on my diff would never have come undone without it.
The pistons may not be in good shape.
The rubber seals do not last the distance and so water can get into the caliper bore.
You can probably shop around and find stainless pistons for a price close to any OEM pistons.
It is much easier to clean the bores if you split the calipers. You do need the correct seals for a rebuild.
One tip: Those 4 bolts holding the two halves together can be super tight, and with the caliper held in a vice very difficult to get enough torque on them.
If you plan to split the halves crack the bolts with the caliper still on the car where it is held solidly.
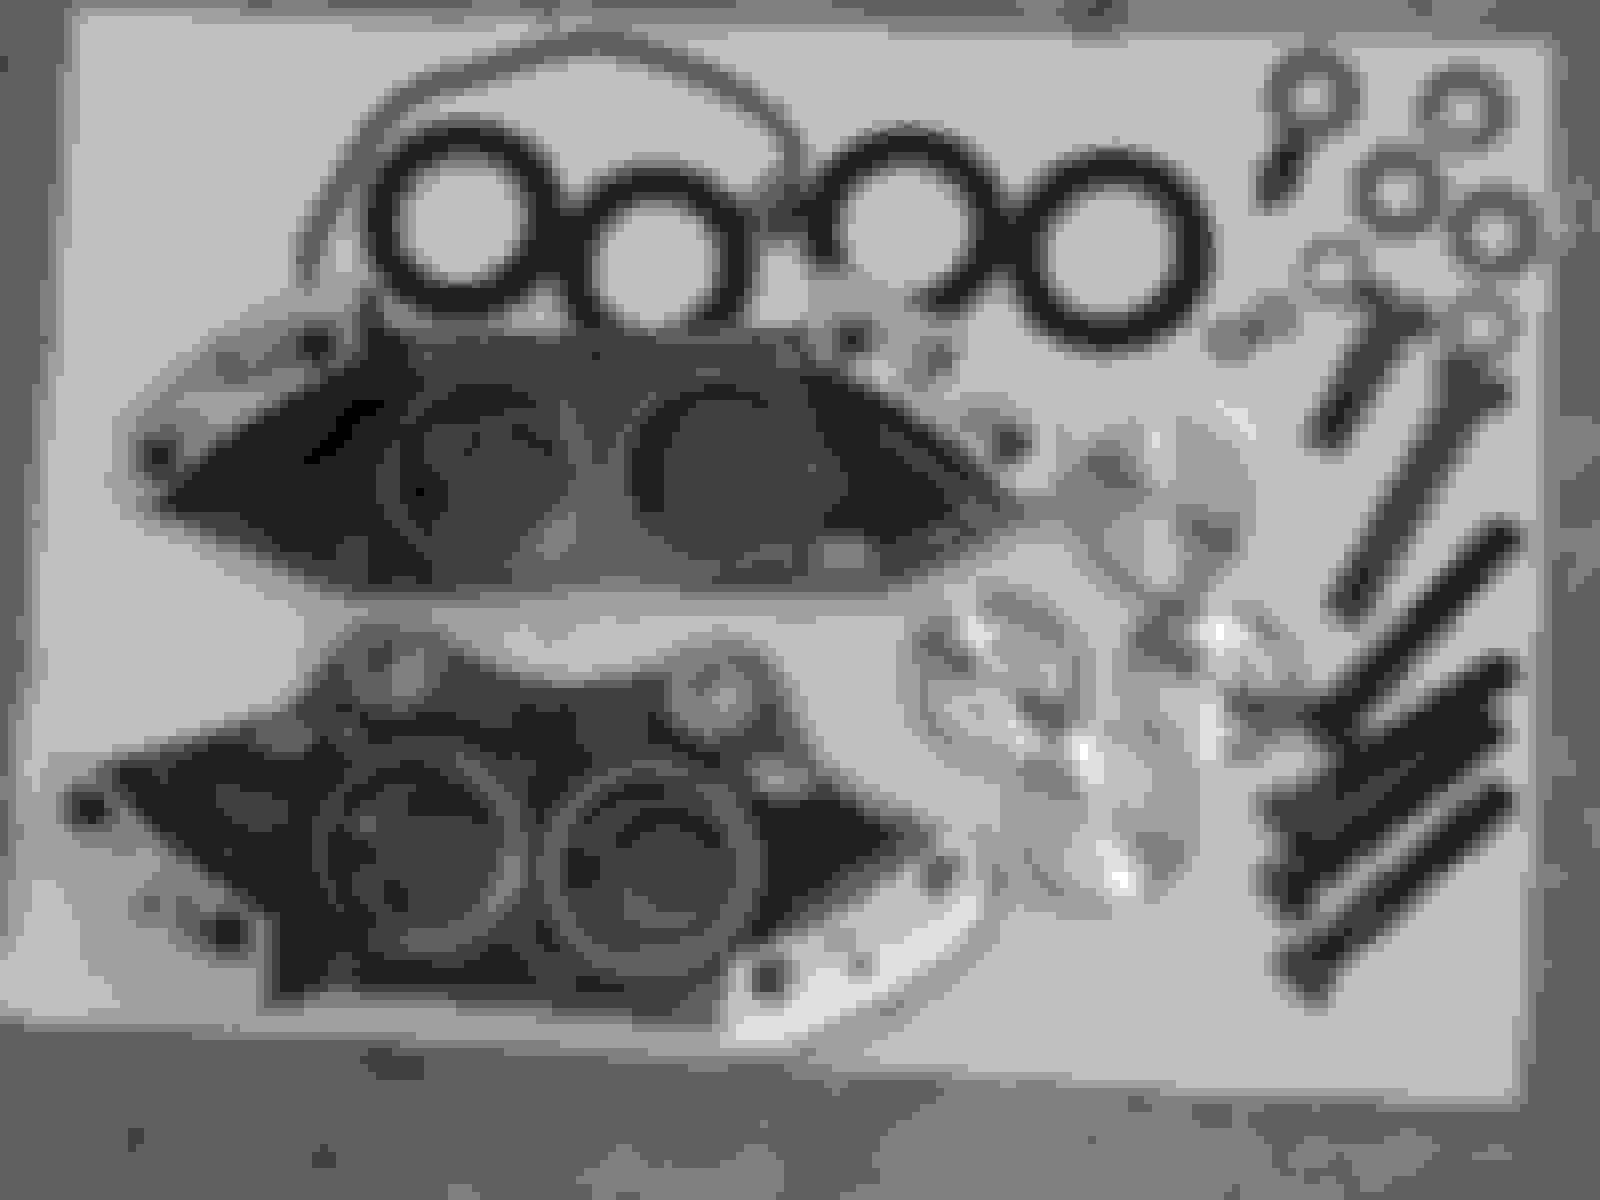
All cleaned up and ready to assemble.
The pad retaining pins are held by clips which often rotate around so the clip ends gouge the rubber bore covers. That does not help to keep water out of the bores.
You can use a bit of wire through the clips as shown to stop that rotation.
I was able to pop out the pistons without having to split the caliper open. Had I had the right parts sent to me, I would have refurbed them, but they were not correct.
Instead of trying again, I just went with refurbed calipers and will return mine for the core fee. RockAuto made it too affordable.
 09-11-2022, 10:57 PM