When you click on links to various merchants on this site and make a purchase, this can result in this site earning a commission. Affiliate programs and affiliations include, but are not limited to, the eBay Partner Network.
Does anyone know of a place capable of sorting a subframe, one of my turrets is bad, I can weld but it looks like you need to really start hacking the turrets to bits to get into the spring support itself - looks like this is two pieces of pressed steel welded together - so welding inside the turret where the spring sits isn't the place this needs to be done - too much is hidden above the spring plate.
I'm not in the mood for this kind of job either at a hassle or practical level. SNG Barratt let me down and can't supply a replacement.
If anyone
Has a good right hand drive one they're prepared to sell - must have ZERO penetrative corrosion - I want only the subframe ideally. (not sure if the LHD is different the parts book doesn't list multiple - one part number only)
Knows of a good engineering place in the UK that can refurb the metalwork
Has any experience repairing these subframes can confirm the hassle level to repair
Good luck. Car is pretty in the photo. Got photos of the turret?
They are sturdy steel - they can be quite visually rusty but not lost too much thickness.If you get it back to clean, is it driveable right now? A thickness gauge might be good value for money.
Hard to say without seeing, but maybe you could keep it going a long while if you're willing to drop it every so often and really inspect it. More thorough than the MOT guys eh
If you find a rust-free subframe in the 2020s in the UK, let me know
The car is pretty, I have only (had only) two spots of corrosion requiring attention - the areas behind the shock absorbers - I actually got new replacement rocking horse parts -
Damper inner wing stiffeners - new.
so I've been preparing to drop the subframe to get at the inner wings better, and also do a 100% refurb on bushes / brakes etc. Doing the job once - doing it right !!
I was pretty devastated to find this problem, given the overall condition of the car I wasn't expecting this, it was totally invisible with the spring in situ. Looking at how these are constructed I'm not surprised they all rot out - there are places for water to get in but no places for it to get out - the seam between the parts forms a pocket from which there is no escape.
I am well able to weld this up but the OCD knows that welding plates over stuff like this is simply delaying the inevitable, to do this right the outer cover needs to come off and the spring guide be removed so that the actual seat can be replaced, Done any other way and I'll always suspect something nasty is hidden above that spring seat, which appears to be spot welded to the upper section, the whole lot is encased and impossible to get behind without use of the angle grinder. I'm not attempting anything until it is on the ground *well up on the bench at a hieght I can work at comfortatbly.
I was all set to buy a new one until SNG Barratt advised that they were no longer able - but they still show as available to order on their site.
I can take some better ones once the wreck that I am is able to lay down on the ground and get up again without waves of agony coursing through the hips (old age / high mileage diseases)
Toward the rear hole
Toward the front (concealed in other image by wishbone)
It sure seems to be but I put that through with my fingers after the first chunk came away with the spring complete with what I believe to be powder coat holding said chunk together. I'll get it on the bench and have a really good poke at it but my concern (OCD) is what is lurking behind, I also don't have the tools to shape that, at least not in the 2mm or so metal that would be appropriate in that location. I suppose I could stitch weld smaller plates - would still need to cut the bad metal back some though, the guide cone itself is in pretty good order. The passenger side seems solid - but there's that OCD again wondering what is lurking. I drove the car around like this too.
It seems the early cars had better sub frames. Maybe Jag changed suppliers at some point.
I've heard about several cars, say 88 and up using '70's XJ replacements.
Rob
Thanks, I'll check him out, he may get a job, getting the paint stripped off and a decent job done is on the agenda but it won't be this year though, I doubt I'll be taking to where Harry took his - thorough job but I don't want a garage queen and I don't have Harry's seemingly inexhaustible funds - I'm not in the league where Aston Martin will lend me a car just because I like the colour ....
I think I've found a good subframe, not going to say where so I hope that doesn't offend, the price - well just lets say 4 digits and leave it at that - just waiting on some more detailed pictures. Replacing the subframe isn't is a spend I planned on this year, I hadn't bargained for how hard a good one would be to find.
I suppose that there is a footnote here - get your subframe checked thoroughly, get the turrets flooded with Waxoyl or similar (old school would be old engine oil) - don't believe that pretty powder coat it can not only hide nastiness but water creeping behind it can cause the nastiness - if yours is good go out of your way to keep it that way - good ones are NOT easy to find - I scoured Europe and the US, all those I did locate are in need of repair, some that were described as good were worse than mine is currently.
Places I've seen bad are suspension turrets inside and out, area around the rear mounts, inside of the subframe where it ipasses down and under the chassis of the car, generally the centre sections seem OK beyond the numerous ones damaged by inappropriate location of trolley jacks.
As far as getting the bodywork tidied up I'm afraid I won't be so passive as Harry if they come back with a �10k estimate. I was budgeting for 4 or 5k when that day comes - depends how good my the bonus is this year. I just want the car back on its wheels so it doesn't get the abuse it got over winter this year (couldn't get it into its Car Coon).
Replacement sunframe bought and paid for - ouch ... I chased Keith but he sent me back to the place I was already getting one from ... the concensus in both places is that these things in good order are becoming very scarce, the price of a good one reflects this.
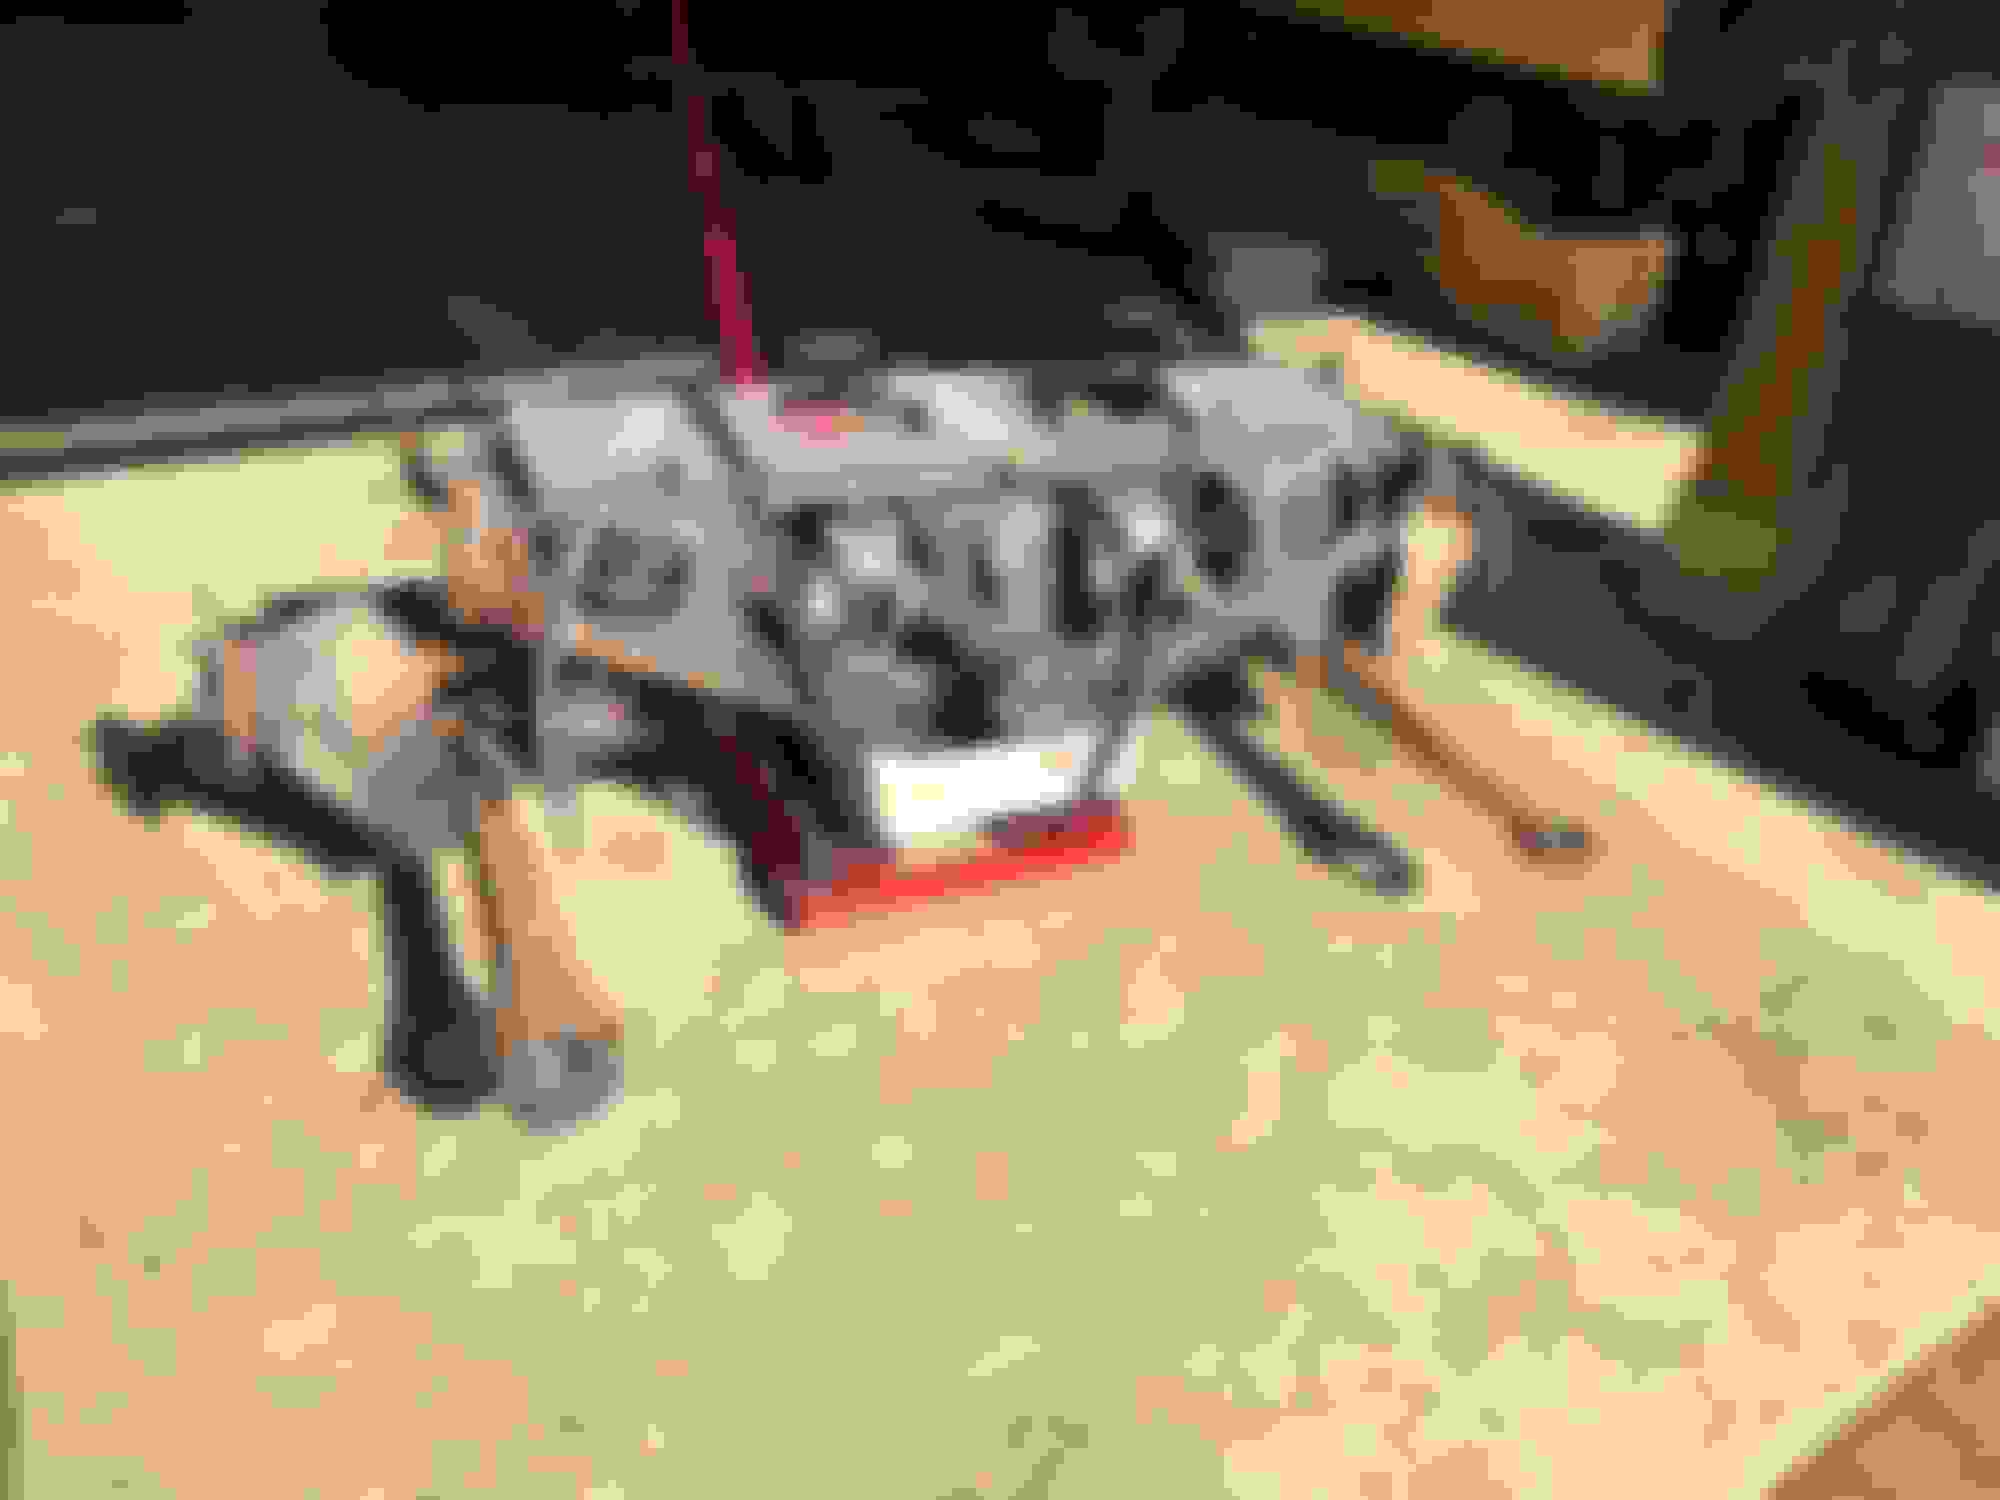
The old subframe is on the floor and the engine isn't so that's not a bad thing as the old subframe is a lot worse than I thought, it has been botched previously, I don't doubt that some will have the ability to repair properly but that ain't me as I just don't have the shaping tools that I think will be needed, nor do I have the inclination.
Passenger Side
Previous Botch
50% of the spring seat support is just gone.
The lower wishbone shaft is solid on both sides and not removeable (so glad I have new lower wishbones and shafts) - the large captive even twisted off - somebody else can have the joy of removing them because I won't be.
The inner flitch damage that started all this does not extend down into the chassis, the chassis is solid so dodged a bullet. Ignore bushes and mounts - I have new ones of everything, there's a lot of cleaning up to do while stuff is out of the way, never mind repairs.
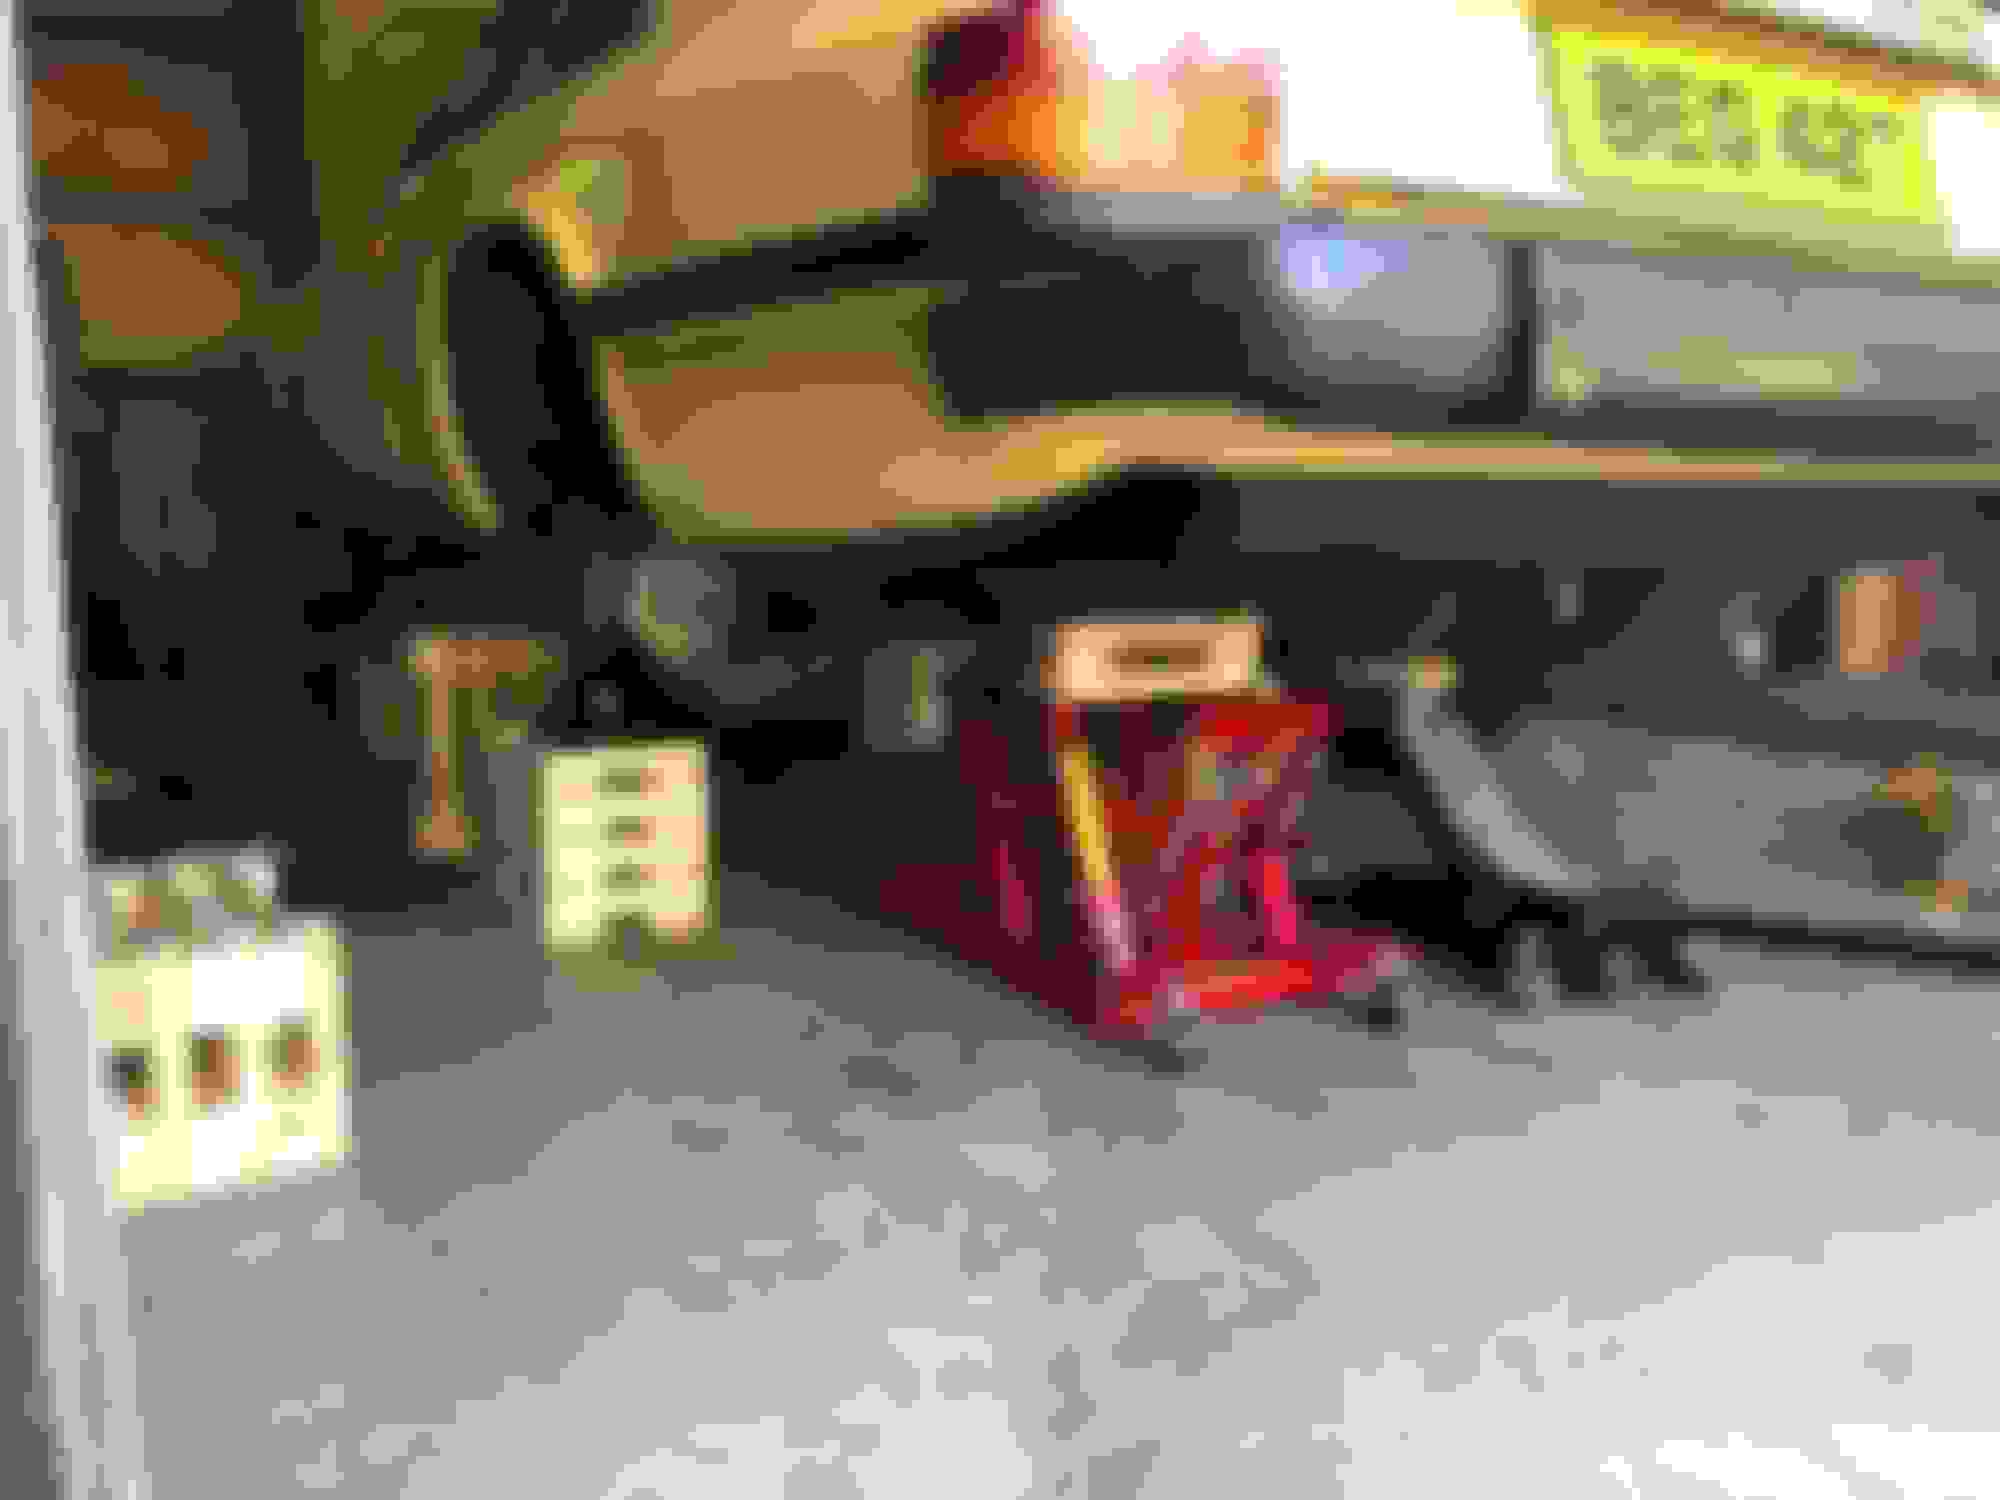
Corrosion removed top centre. The chain was attached to my support brace while I dropped the subframe, the engine mounts are sitting on top of 6 ton commercial axle stands
I'll post some pics of the repairs when I really get stuck into them - -weather is too bad today and I'm low on gas in any case. I think it is time for me to look for a decent sand blast pot so if anyone has any recommendations fire away.
Subframe replacement - blasted and given a coat of Red Oxide - two very tiny opportunities to pop some weld in (wonder if anyone can spot where) - not even worth a plate - but I'm 100% certain now that the reason these rot out is design - water can get behind the spring turret but it cannot get out, especially if you have a nice build up of road sludge and other gunk, compound that with a salted road and the end is certain. The outer cover of the turret is largely seam welded in place, slap underseal or paint in there and you just created a water trap - a big one. This area will be getting absolutely flooded with wax, I'm also going to explore preventing water getting in there as a backup measure (something printed perhaps with O rings - not figured out that bit yet. It looks like the only reason this hole exists is for the spring removal tool - you can see the slots it fits to prevent it rotating on the last image.
The existence of this design flaw is further support of the advice on here to keep hoses and pressure washers out of the engine bay - I'd go further and say keep the pressure washer away from these cars period - never ever get tempted to blast stuff off under the wings - do it the hard way.
The End Cap sorrounding the spring turret.
Stripped
There can't be many left that look this good ... although this one cost a kidney ...
It has been almost two years - doesn't time fly - and how a simple weekends cleaning turned into a one after another issue, but it is coming together - at least at the front - still a massive amount to do unfortunately.
Every nut, bolt, bush, spring, stub axles joints are new, the rest has been blasted and coated, no I've not popped the straps on the dampers yet just in case I feel the urge to pull them out again.
With any luck the wheels go back on temporarily next weekend (6th Msy) - but only so I can move one of the sill jacks as it is fouling the left hand rear radius arm and I need to drop the rear subframe (another can of worms) I also need to figure out how - since I have insufficient height to come out backwards and no space to go out sideways on either side. I have new calipers, handbrake mech's, brake discs, remote bleed system and radius arms to go in. I've been looking for a decent complete rear subframe to do on the bench to see if I can speed things up a little - one out, one in same day .... anyone knows of one in UK drop me a line please.
I built 8 of these using 3x1 or similar - very easy with a circular saw, set square and electric screwdriver.
Then I found it was easy to lift the front about a foot and chock it with the first two� raise the rear and level it with another two� then you are a good foot high already.
Next (from memory) you repeat the process - of raising one end, then the other - but this time supporting each end by raising a little further on the jack, freeing up the wheels, removing the crib and then sitting it back down on an axle stand (on a low setting) that itself sits safely locked into a crib. In the video the guy shows how to build the stands so they safely encase the base of a axle stands - when you build your cribs, make the dimensions correct for the exact size of axle stands that you have.
When the car is supported by four axle stands (on cribs), on low settings, the final step is to again raise one end and then the other - and this time you can use the ratchet mechanism on the axle stands to gain the last few inches.
You finish up with car supported by 4 axle stands, on the jack points, and each stand sitting securely in a crib.
The method involves a lot of incremental raising - front, back, front, back etc. - and by the end you will have to block your trolley jack with heaps of 4x2 to get the height you need for a straight lift each time (rather than having the jack strain at the end of its radius and swivel the car). But I would trade a bit of patience for a safe and methodical lift where you can stop when you like for a cup of tea etc.
Once up the car is rock solid. For me it was the first time I ever felt really safe under a car that wasn�t on a professional lift. That didn�t stop me placing lumber (and the removed wheels) strategically under the car so that even if something failed, the car would drop on something other than me.
It had worked perfectly for me and, working off a level screed floor which is vital, I got the car up sufficiently in a normal height garage that I could drop the IRS using a motorcycle jack that I think I got from machine mart.
It would come out rear or side, I had so much height to play with comfortably and safely.
You need to securely strap the IRS to the stand before removing the final bolts as the weight distribution and radius arms make it pivot forward otherwise and you will struggle to hold it if you are not ready.
As I say I am not a pro and this was not a difficult job. You could easily have cribs made and IRS out in a weekend.
I planned to do the IRS but I simply didn�t have time so sent it to Simply Performance for a refurbishment. It�s possible they will swap you one they have already finished, so there is no delay getting it back on, but I doubt it - there can�t be
many being done at any one time and there are so many customisation options that it is probably too risky for them to try and guess what spec someone would want.
Thanks Greg, much appreciated - helps the motivation.
Adrian I have a transmission jack similar to yours, once fully down I am still at least 10cm too high on the jack according to the tape measure. I have the car on Quick Jacks (sill) which has it sitting at about 61cm to the sill, I may try the cribbing idea though - I have some old 5 x 20 cm timbers from a decking project so I could crib the wheels and also the sill jacks between lifts - sounds like a plan albeit slightly different. If I put the wheels on, crib them, lower the jacks, then crib the jacks and lift again I should be able to get the necessary space
I had already reached out to Ben @ SimplyPerformance, I am seriously considering a ready refurbed rear end - I don't fancy another 3 years on the jacks. That despite already assembling most of the parts for the refurb I hadn't planned to touch the bearings and pivots - at least not this year - I only really want to drop the subframe to replace the discs and calipers but I'm sure the OCD will kick in ... I already have replacement pivot shafts and such on the bench
Yep I decided instead of repairing get a good used subframe. In North America I found 2 for sale. I took the better one on ebay lol. Rust free from Texas and an 86. Should be here end of month then I'll start pulling parts from the old one which is still in and put it on the new to me one.
God I can't wait to be done with the underneath stuff. After the rear end and transmission rebuilds this will be it. We'll besides the 2 front jack points that need repair. But at least they are kind aon the sides lol

 04-26-2021, 12:32 PM