When you click on links to various merchants on this site and make a purchase, this can result in this site earning a commission. Affiliate programs and affiliations include, but are not limited to, the eBay Partner Network.
You seem to be enjoying tinkering with the car! I understand the car is not running,so what made you hit the gas tank first?
All the advice Iĺve ever seen on starting a car thatĺs been sitting is fresh oil, fresh gas, fresh battery. Iĺm now at that point. Iĺve sent the injectors out to be cleaned and tested, when theyĺre back Iĺll try starting it for real. In the meantime, spark plugs!
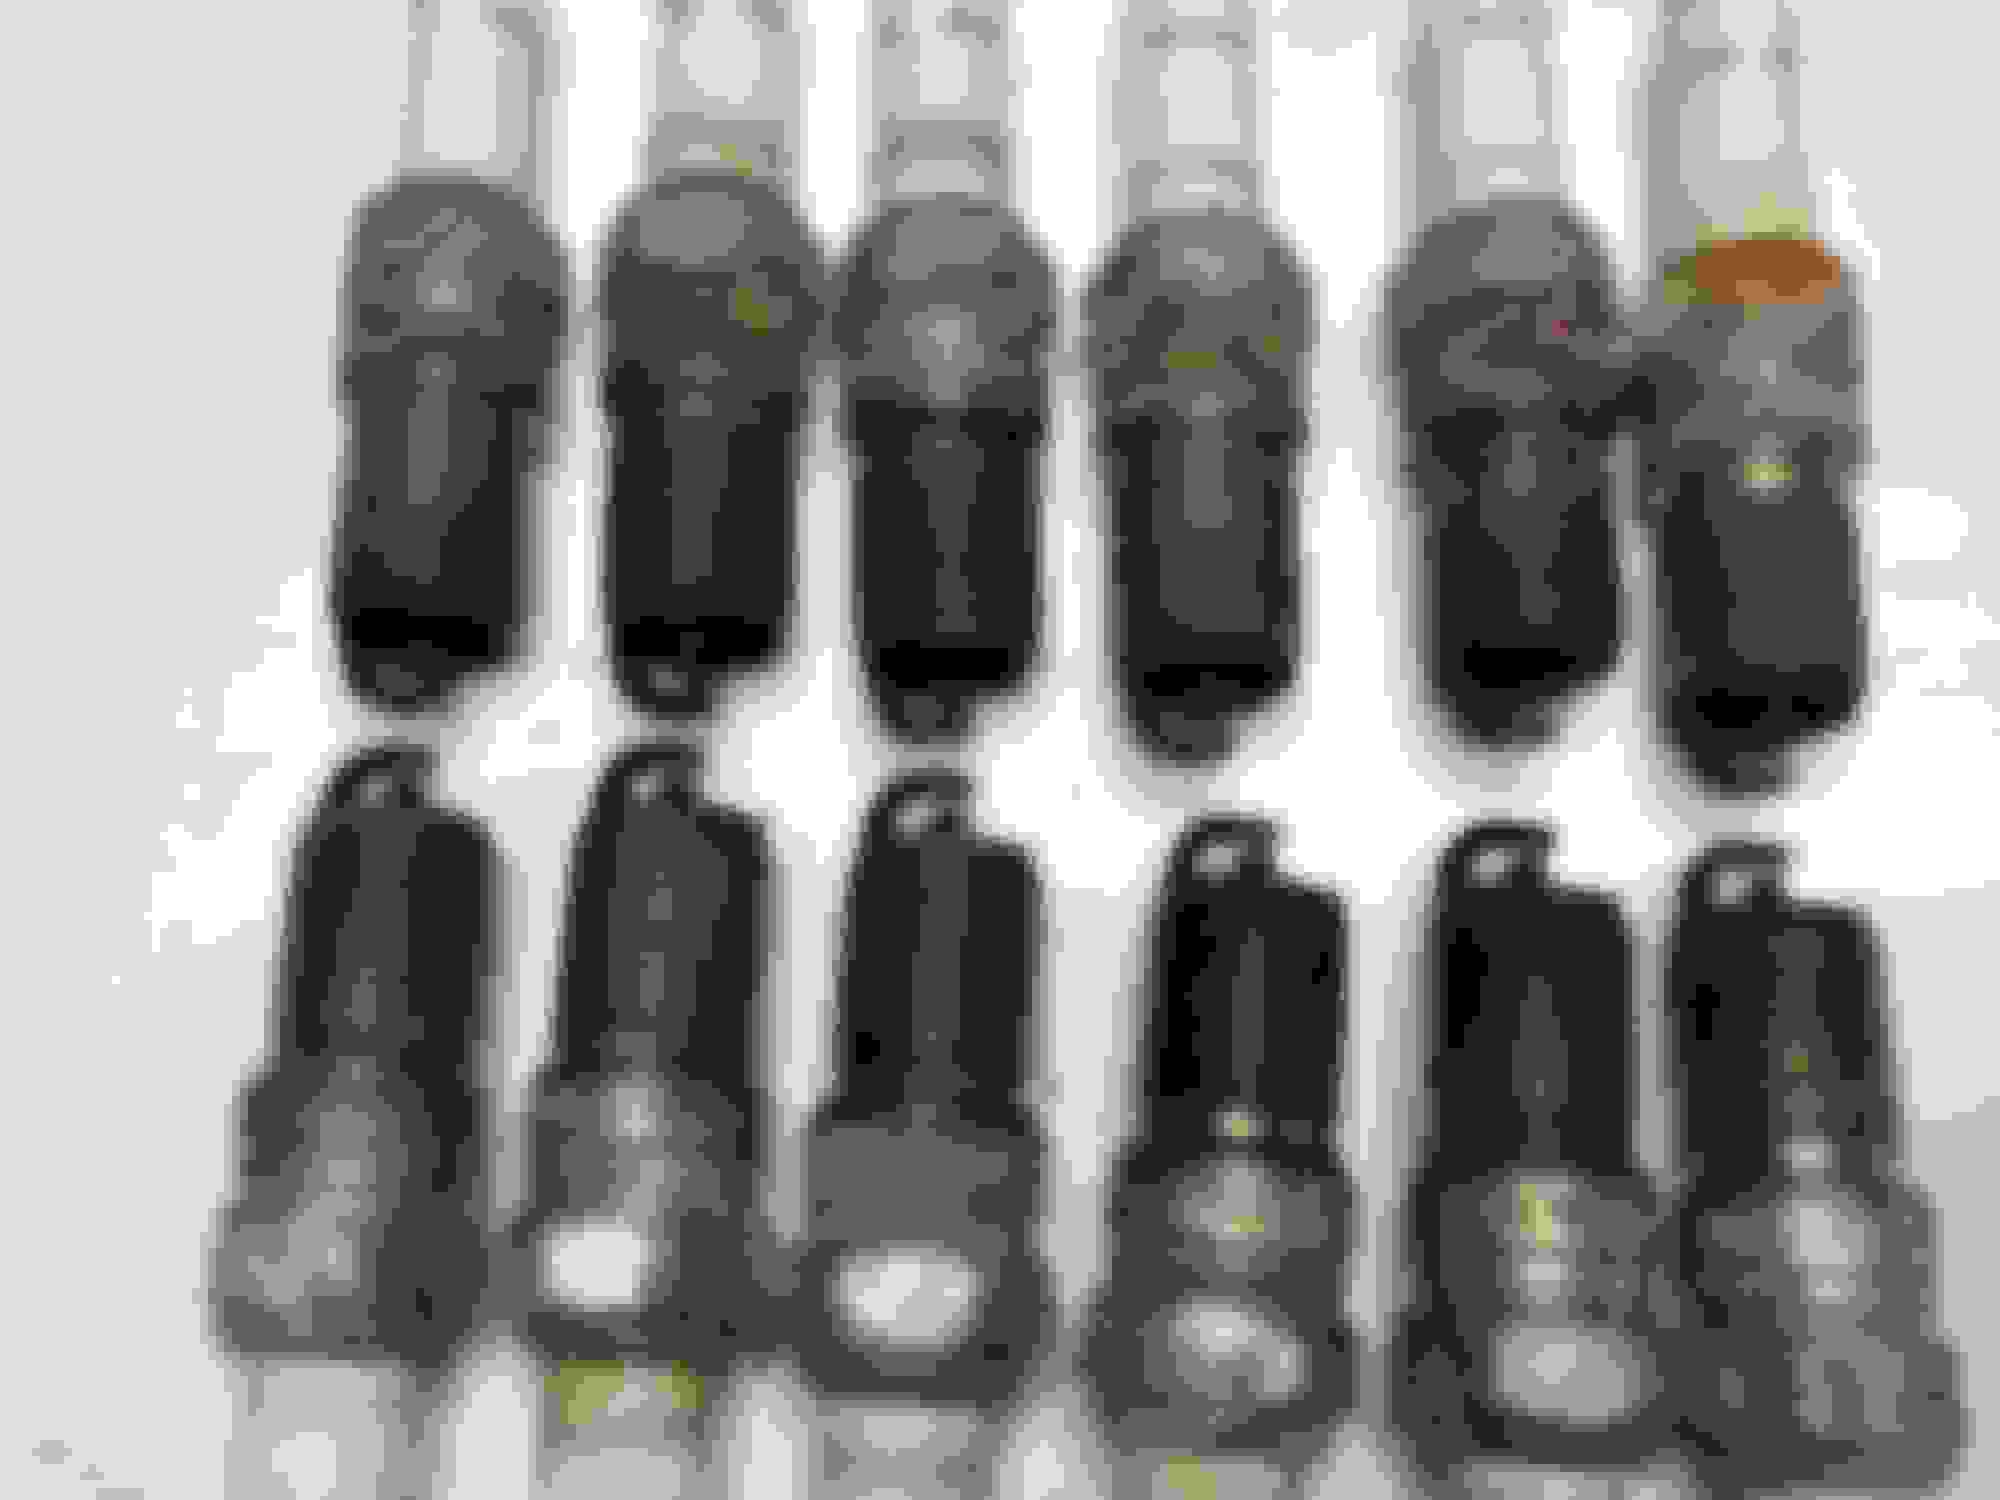
Got the plugs changed. It took maybe an hour and a half to actually change them, I’d disassembled everything before. I put in NGK T5s, the old ones were Champion RS9YC. I’m not an expert on spark plug analysis, but I think it’s been running rich, they’re all quite black. A6 looks almost normal, but still rather black. The gap at the moment is more like .030” than .025”, I suppose that could be wear.
1A top left, 6A top right, 1B bottom left, 6B bottom right. The rest are in order.
There is another problem I’ve run into just now. The car has been parked in my driveway since I brought it home and it’s rained heavily a few times. The carpet is now wet. It’s sunny and I have the doors open to dry it out, but how do I go about finding out which seal is leaking? I suspect it’s the windshield, it looks as if someone has tried to fix it, there’s sealant all around which I don’t think should be there. Any thoughts?
Got the plugs changed. It took maybe an hour and a half to actually change them, Iĺd disassembled everything before. I put in NGK T5s, the old ones were Champion RS9YC. Iĺm not an expert on spark plug analysis, but I think itĺs been running rich, theyĺre all quite black. A6 looks almost normal, but still rather black. The gap at the moment is more like .030ö than .025ö, I suppose that could be wear.
1A top left, 6A top right, 1B bottom left, 6B bottom right. The rest are in order.
There is another problem Iĺve run into just now. The car has been parked in my driveway since I brought it home and itĺs rained heavily a few times. The carpet is now wet. Itĺs sunny and I have the doors open to dry it out, but how do I go about finding out which seal is leaking? I suspect itĺs the windshield, it looks as if someone has tried to fix it, thereĺs sealant all around which I donĺt think should be there. Any thoughts?
Take the carpet and underlay out to air dry, most likely the windscreen seal failed but the doors can leak to where it curves down toward the floor. Get a garden hose running on the roof of the car while you sit inside, you'll soon find the point of entry.
I pulled the carpets and underlay, the passenger side was damp, the drivers side was dripping. The carpet on the sill has a wet spot. It’s not wet throughout, just in one place, kinda in line with the bottom of the windscreen and the kink in the door.
Mine was leaking in the windscreen scuttle area (Where the windscreen wiper motor lives). It has 2 drains which clog up, it then over flows down the side vents. Or it has a small hole (rust hole) that the water goes down .
Great job. Just keep going. I finally got mine to move under it's own power after owning it for about 7 months. Was so happy. You can take a browse through my thread if you get a minute.
for gas for first start I used a combo of 91 oct fuel , octane booster, and fuel stabilizer. And a fresh battery. Nothing else. Prime the fuel pump a few times , on key til pump stops prime, off, repeat 2 more times.
I didnt change any fuel filters plugs etc as I'm working from the ground up. About to start on dropping the rear cage next
I pulled the wiper motor assembly out and the scuttle was bone dry, so I poured some water in and it a
l came out by the front wheels quite quickly. I’ll pull the drains anyway to check, but I don’t really think that’s the leak. We had lots more rain yesterday, over an inch, and I was fully expecting a puddle on the floor this morning, but the floor is dry. The carpets are currently in the trunk because I knew it was going to rain and didn’t want to them to get wet again. The only wet spot I found was on the seat covers. The passenger seat leather is torn, so there are some sheepskin covers on the front seats. They are both wet at the front, you could almost sit in the seat and stay dry, it’s just in line with the top of the windscreen. I’ll remove the seat covers and get someone to spray the car with a hose while I’m inside.
in other updates, the injectors are on their way back to me and I have a set of plug leads to install. The car came with two new rear brake discs, so I assume that means they need to be replaced, but I’ll jack it up and measure the existing discs first, maybe tomorrow.
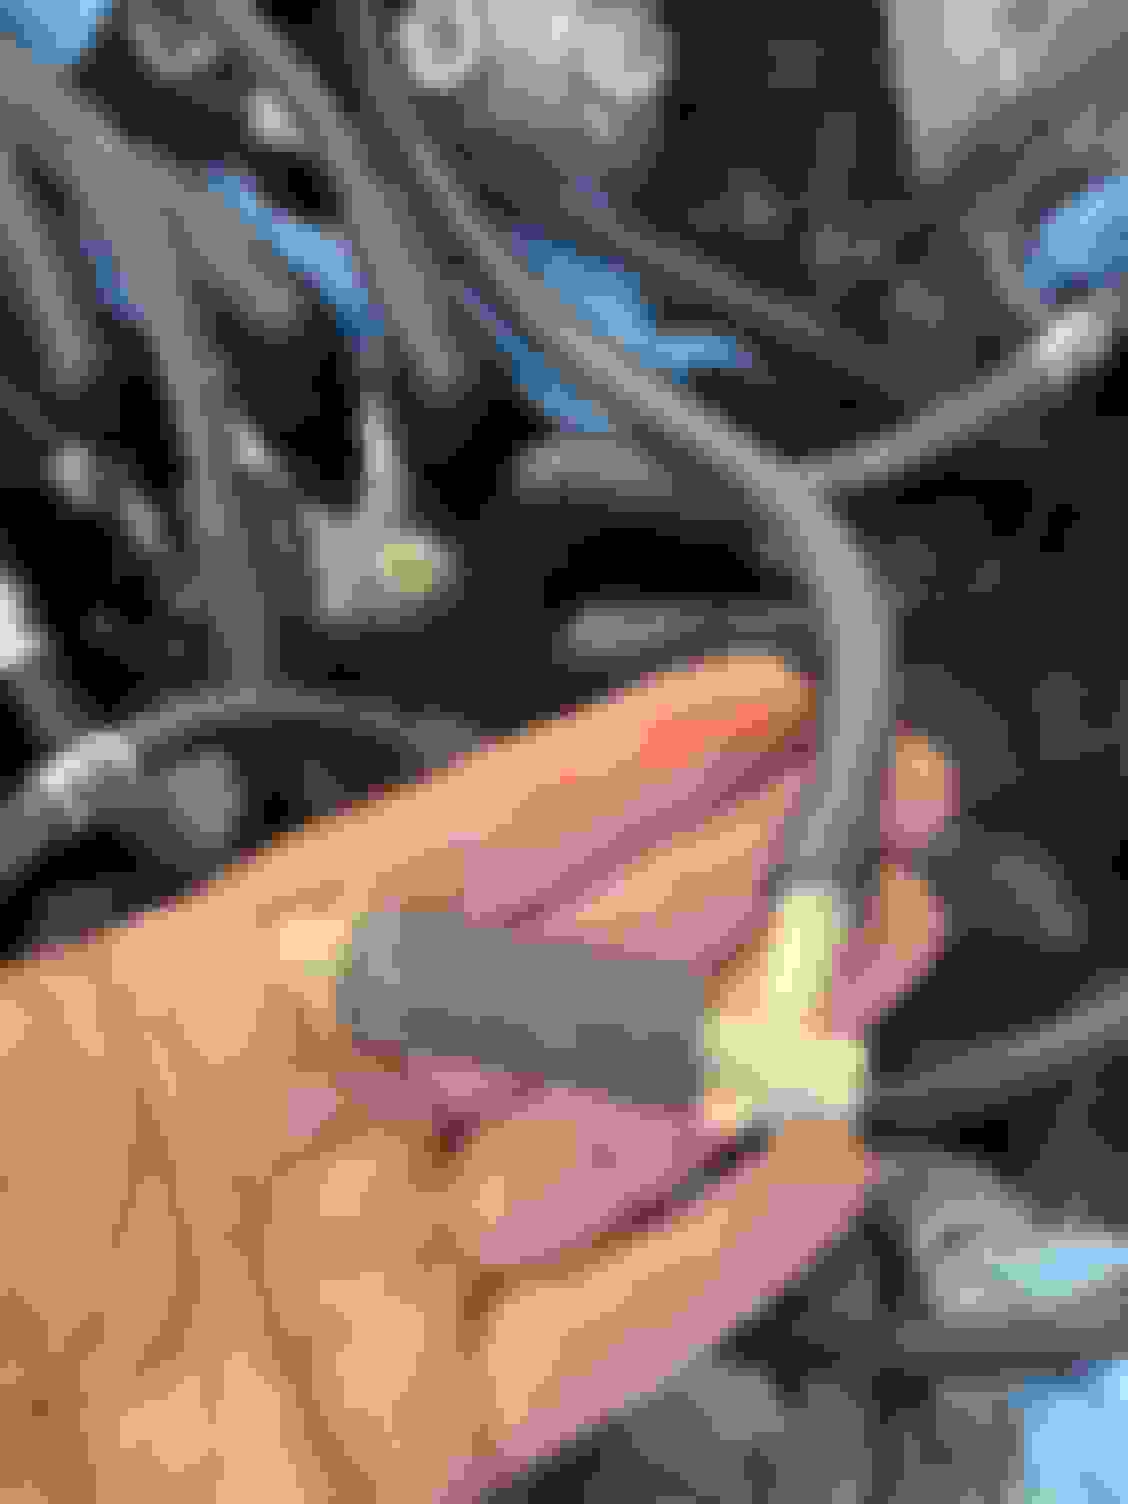
Plug leads are all installed, although I do have a question about one of the vents on the distributor cap. The one that goes to the filter is self explanatory, But there is a vent on top of the cap as well. It kinda looks hacked together, so I wanted to check before I reinstall it. The insert in the cap pulled out of the old cap when I was disassembling things, so obviously it needs to go, but what about this little piece of hose and T? Are they really supposed to be there or should it just be vacuum hose going straight into the cap?
I also am wondering if anyone has a good explanation of how the seat recline mechanism works. The drivers seat rocks a bit and if you happen to touch the passenger’s seat if springs forward. I don’t think either of them are latching properly, but I’d like to know how it is supposed to work before I take it apart.
The top exit from the cap is for the "pull" that draws air through the filter and up through the base and out the top. Assuming a :Lucas car, that hose should go to a rubber fitting below/inboard of the B bank air filter box that joins on to the AAV pipe. This draws air through the dizzy and prevents fume buildup and possible explosion. Glue that insert into the cap with some epoxy. I have never seen that fitting stuck into the pipe before, could be a bodged repair by the PO? Normally on UK cars the rubber pipe goes straight onto the cap insert.
This is the diagram for Lucas cars: https://parts.jaguarlandroverclassic.../brand/jaguar/
Got the injectors back. Eight were working well, two were working adequately, two weren’t working at all. They are all working well and evenly, so back in the car they go!
I reinstalled the injectors last weekend. While I was doing it I found that the fuel feel hose was quite perished. A new one has been ordered and will be here Monday. In retrospect, I should have ordered all the fuel hoses, since they are probably just as old. I will replace them before putting the car on the road.
This morning I jacked the car up to have a look at the front brakes. The car came with a set of rear discs and pads, but nothing for the front. I haven’t actually looked at the rears yet, but if they’re to the point that someone ordered parts I’m going to assume they need to be replaced. The front spec is .950” new and replace at .900”, I measured the disc at .0899” so that’s right on the point of needing to be replaced. While I was in there I had a look at the front suspension bushings and they’re all shot, so more parts to order. The small amount of fluid in the reservoir is very black. Is it ok to just bleed that out normally or is it indicating something bad is happening somewhere in the system.
The other system that needs addressing is the cooling system. I have just received a full set of hoses. I would like to replace the mechanical fan with an electric one, I feel like someone said a Ford Focus fan assembly fits, but can anyone confirm that? A previous owner/mechanic cut the hoses going into the radiator and installed clear tube, presumably so that the level can be checked. Is that a good idea or is Grant’s idea of clear hose going to the expansion tank better? This current situation looks kinda ugly.
Another question, there are some really big crosshead screws in the engine bay, I assume they’re pozidriv, but can anyone tell me what size they are and where I can get a bit for them? One holds down the fuel return line from the rail, then there is one each on the diagonal braces.
Another question, there are some really big crosshead screws in the engine bay, I assume theyĺre pozidriv, but can anyone tell me what size they are and where I can get a bit for them? One holds down the fuel return line from the rail, then there is one each on the diagonal braces.
I bet if you take those clear plastic tubes out you will find they are actually Gano filters. I put them in one of my cars. Theyĺre a decent idea but I couldnĺt be bothered beyond the first set I installed. No reason to remove them if thatĺs what they are.
If you’re doing the front suspension bushes, consider skipping the lower control arms. They are an absolute bitch. If you do them I can loan you the JD6 spring compressor but it requires the car to be very far off the ground to use, or the subframe tilted forward. You will have to unbolt most of the front subframe and tilt it forward so the lower fulcrum shaft will clear the engine. That’s why I just took it off. You’ll need one of those things to hang the engine from while the subframe is detached. Then once the spring is off, the lower fulcrum shaft is very very hard to push out. That’s why everyone skips the lower control arms!
Most of the pozidrives are either M6 (mostly) or M8. I have been putting Allan screws in
You can buy correct tooling bits for the pozi drives though
Cheers
Steve
what Steve said. I bought a bit set from amazon. Was like 20 bucks. Worth it. But I will be replacing a lot with another type downed the road
probably allen head as well.
Another question, there are some really big crosshead screws in the engine bay, I assume theyĺre pozidriv, but can anyone tell me what size they are and where I can get a bit for them? One holds down the fuel return line from the rail, then there is one each on the diagonal braces.
Hi... I would like to know what you guys are talking about with the PoziDrives... New to me. Anyone have a photo of one and where in the car? I'd be grateful

 04-04-2020, 05:03 PM