When you click on links to various merchants on this site and make a purchase, this can result in this site earning a commission. Affiliate programs and affiliations include, but are not limited to, the eBay Partner Network.
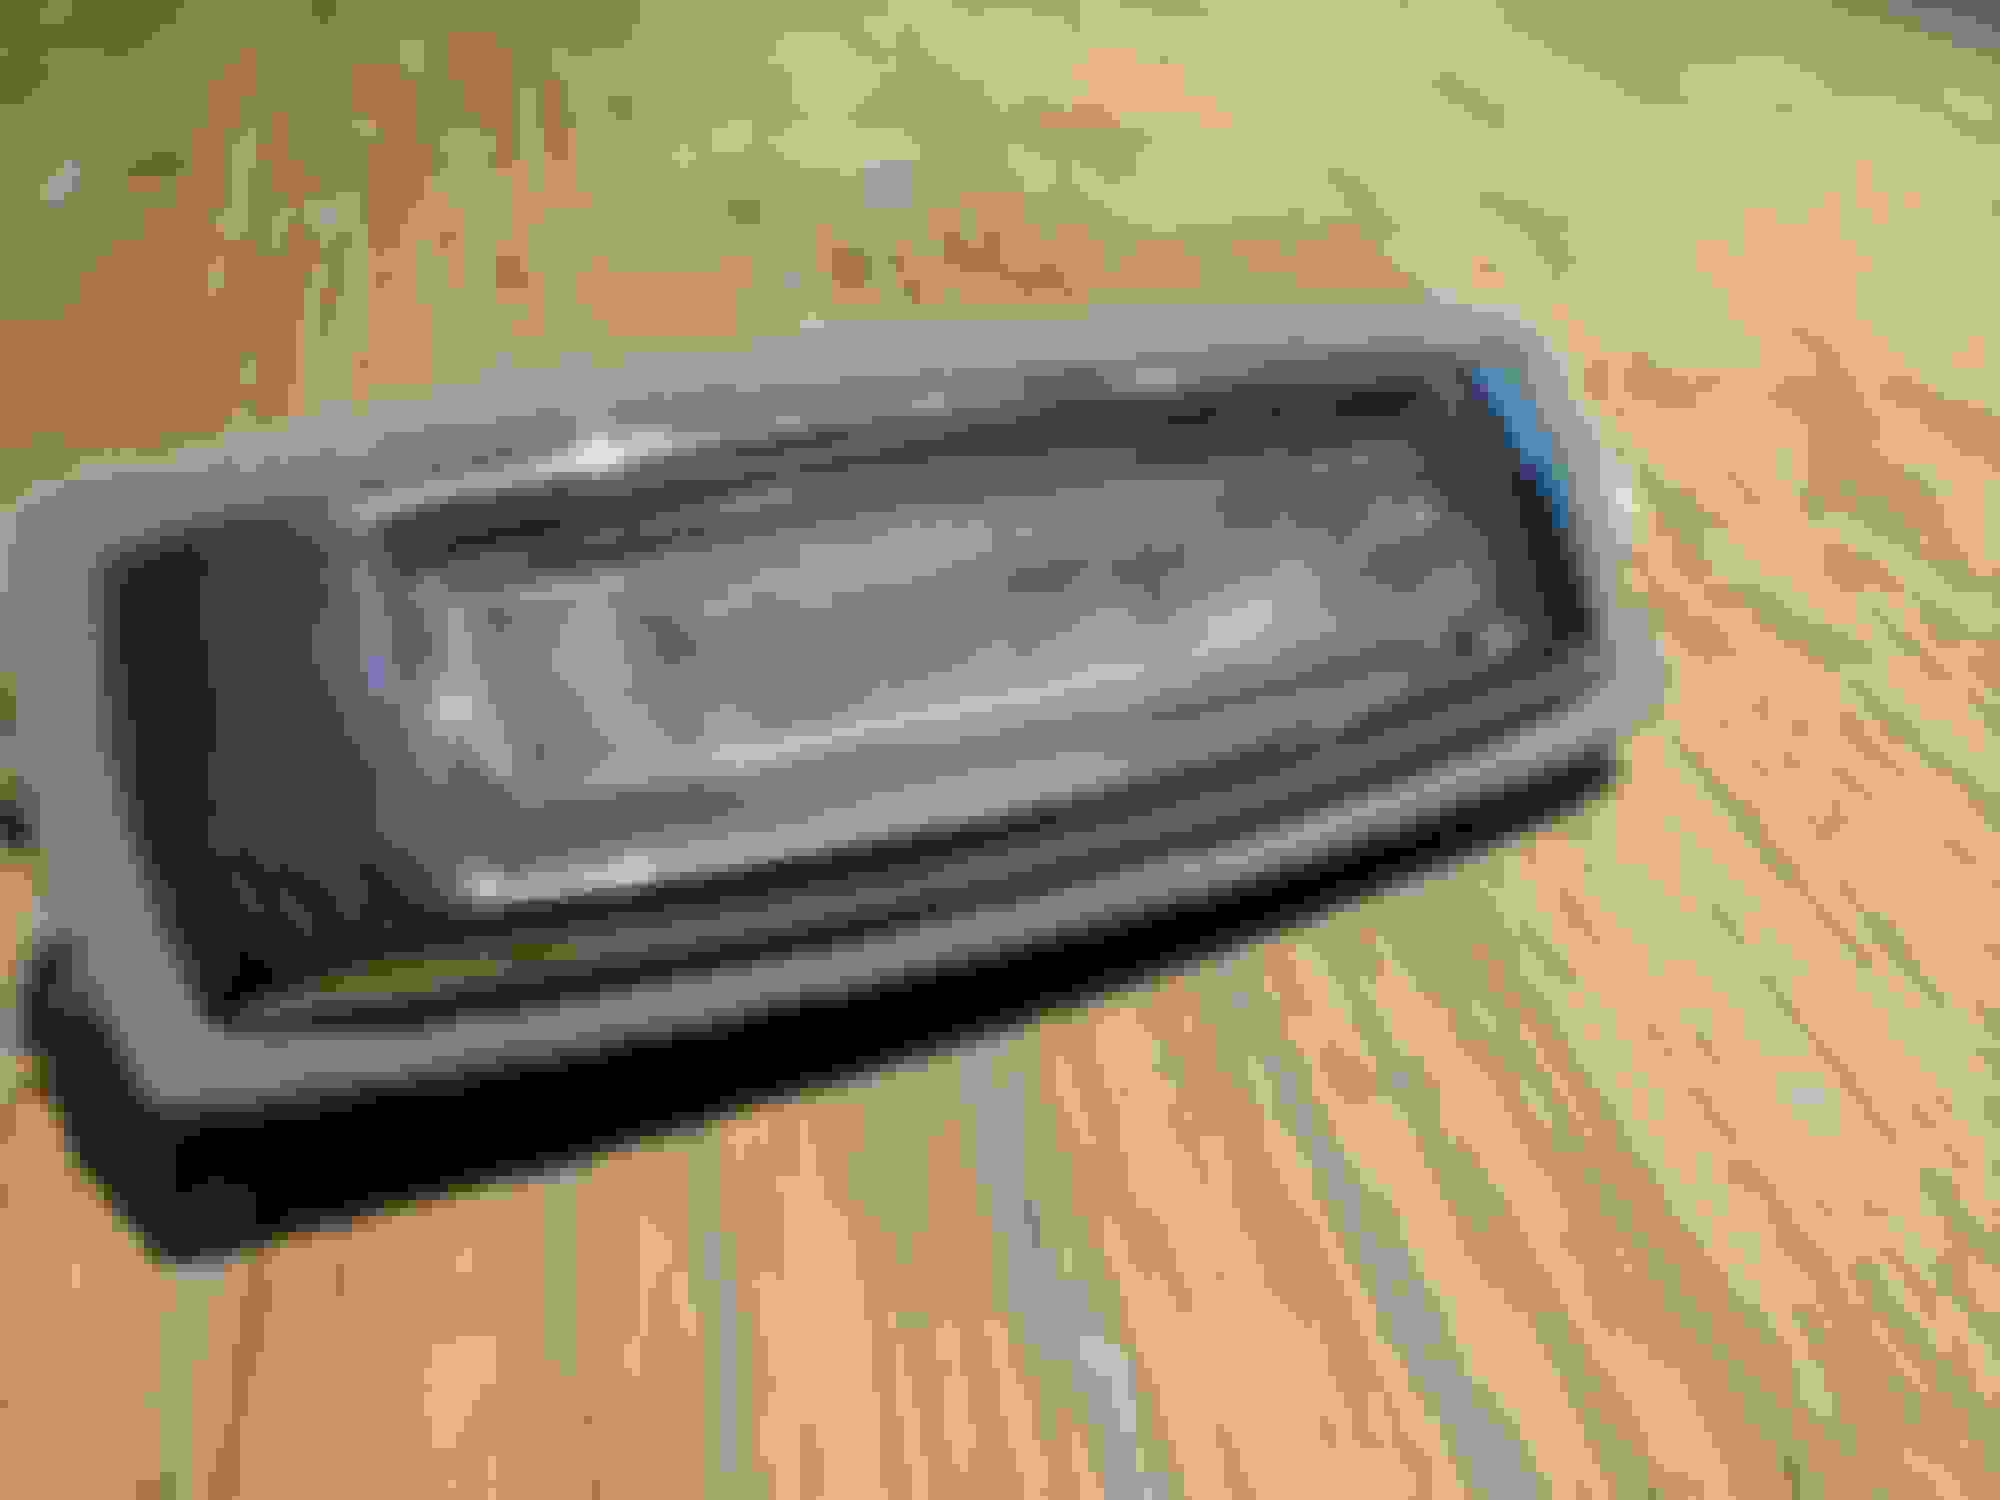
My 89 XJS was getting serviced and sat outside for 2 weeks. Now when I picked it up there is a giant bubble in the headliner. See photo. Presumably it got hot and melted the adhesive.
any advice on how to fix it? It isn’t torn, thanks for any advice.
Once that happens, the foam backing on the back of the headliner has usually disintegrated. The only way to fix it is to replace the headliner.
Even if it's just the glue that let go, trying to get to that area will likely rip the foam from the cloth when you pull the cloth from the edges. So again, replacing the headliner is the only real solution.
Complicating replacing the headliner is the fact for the backing board, Jaguar used a compressed fiberglass batting material with a stiffening substance on it to hold its shape. Think of compressed fiberglass insulation batts with ultrahold hairspray on it. If it's in good shape, it can be reused. But often it comes apart, as it is really delicate. If it's in good shape, you can reinforce it with polyester resin carefully brushed onto it to provide it more strength and rigidity. If your backing board is falling apart, there is a company in the UK that sells replacement headliners complete with a hard fiberglass shell as a backing board.
NK,
I agree with jal1234 100%.
You need to remove the kant rails and A post covers then the headliner backing board.
Don't try to remove the fabric while inside the car, you will get a blizzard of old foam.
I had mine restored at a local shop for $85 and they did a great job.
Of course they didn't have to pull the old board or reinstall it.
thanks but $85? I was seeing estimates online for $1000.
My headliner went into a huge sag and I got a new one from
'info@headlinerworld.co.uk'
The funny thing is the person I communicated with told me to order it not from them direct, but through EBAY, as it was much cheaper that way for shipping to Canada!
Dont know why that shipping was cheaper but that is what i did with no problem.
My local mechanic installed the new one without any issue. I dont remember exactly what it cost for labour but it wasnt much.
You have a choice of two colours - apparently Jaguar used Oatmeal and/or Light Grey.
Bill
I was in contact with the latter in 2020 and they wanted 400GBP to ship one to Ontario, but said they could fit two in a box for the same rate. I should try that through their eBay site...
Still stings to pay more for shipping/duty than for the item itself.
Yes, I am happy with the new ehadliner. It was the right colour, easily installed, etc. I dont totally understand the shipping issue but the Headliner people in the UK emailed me and said buy it through ebay. It is the same company. I think it might have been something to do with quantity - if they ship one headliner as a one off to Canada it is really expensive but through ebay they are getting a large shipping company cost savings. So i thought is was really good of them to simply be open and suggest ebay.
did you install yourself? Website makes it sound manageable….
thanks
Originally Posted by billmgeo
Yes, I am happy with the new ehadliner. It was the right colour, easily installed, etc. I dont totally understand the shipping issue but the Headliner people in the UK emailed me and said buy it through ebay. It is the same company. I think it might have been something to do with quantity - if they ship one headliner as a one off to Canada it is really expensive but through ebay they are getting a large shipping company cost savings. So i thought is was really good of them to simply be open and suggest ebay.
It isn't hard at all, the headliner backing is the only real problem, as when I removed mine it will need some gluing, and some repair to regain it's shape and form. That being said. All in all it's quite doable by the average guy who's handy. Remove the headliner form the car, then lay it on a large clean table fabric side up, even a pair of saw horses will work but make sure it's strong enough not to sag on them. Gently pull loose the old fabric, and begin gently rubbing your hands on the exposed deteriorating foam, usually a circular motion worrks best continue this until all the old faom has been rubbed off, for tough spots use a small scrub brush LIGHTLY! Then use an air hose, or small leaf blower, and gently blow off all the old foam. Keep you hands CLEAN! Use Permatex Super 77 adhesive. Spray the liner about 2 medium coats, criss crossing the spray patterns to achieve even coverage, (read the instructions on the can) let it stand for a few minutes until lightly tacky. Have a helper hold one side, and you the other side. Slowly lower the foam, letting the center touch the headliner first, then ease the outer edges down . Start in the middle, and gently smooth the fabric down onto the head liner / adhesive, working from the middle out to the sides, being careful to smooth all areas, following the contours of the head liner. Let it set for a little while. Then flip it over and spray a small amount of adhesive around the edges. Then carefully wrap the excess fabric onto the back of the headliner making a nice smooth edge, you only need a small amount of material. Cut and trim as necessary. Reinstall in the reverse order you removed it. Viola Nice New Headliner. The only thing I can stress, is Make sure you hands are CLEAN!!! otherwise you will hate yourself. Ask me how I know. LOL! Give it a go, and with a little effort, and patience you'll be quite pleased with the results. Hope it helps.
Thanks for the suggestion of where to buy a new headliner off eBay. Looks very high quality.
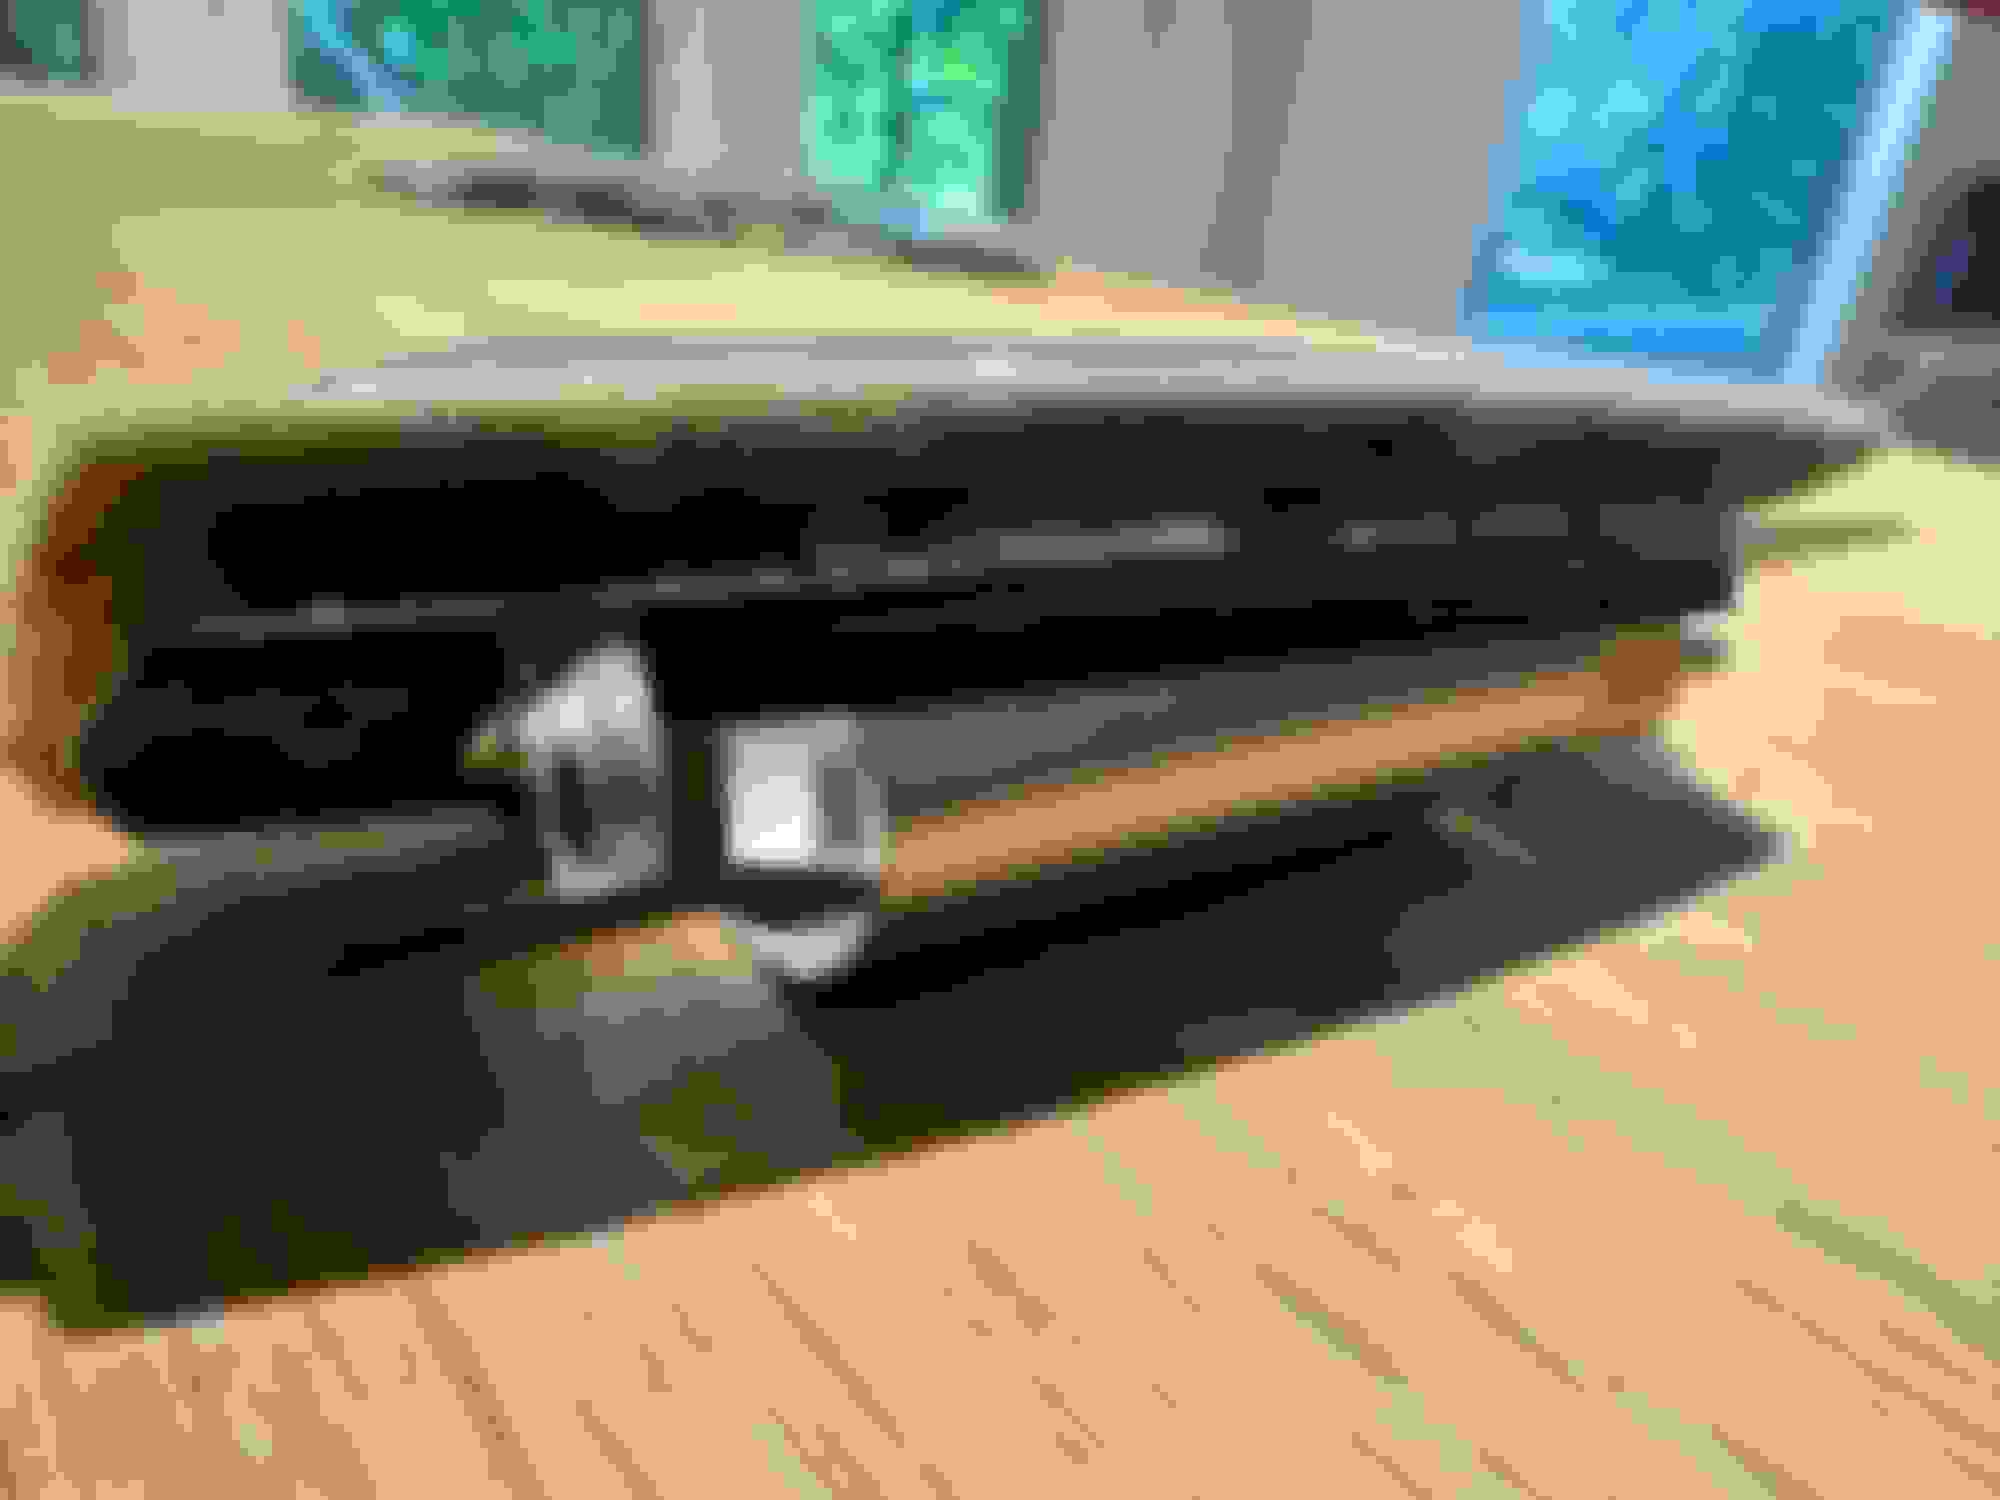
i have removed the old one (what a mess as the fiberglass disintegrated).
ready to install the new one.
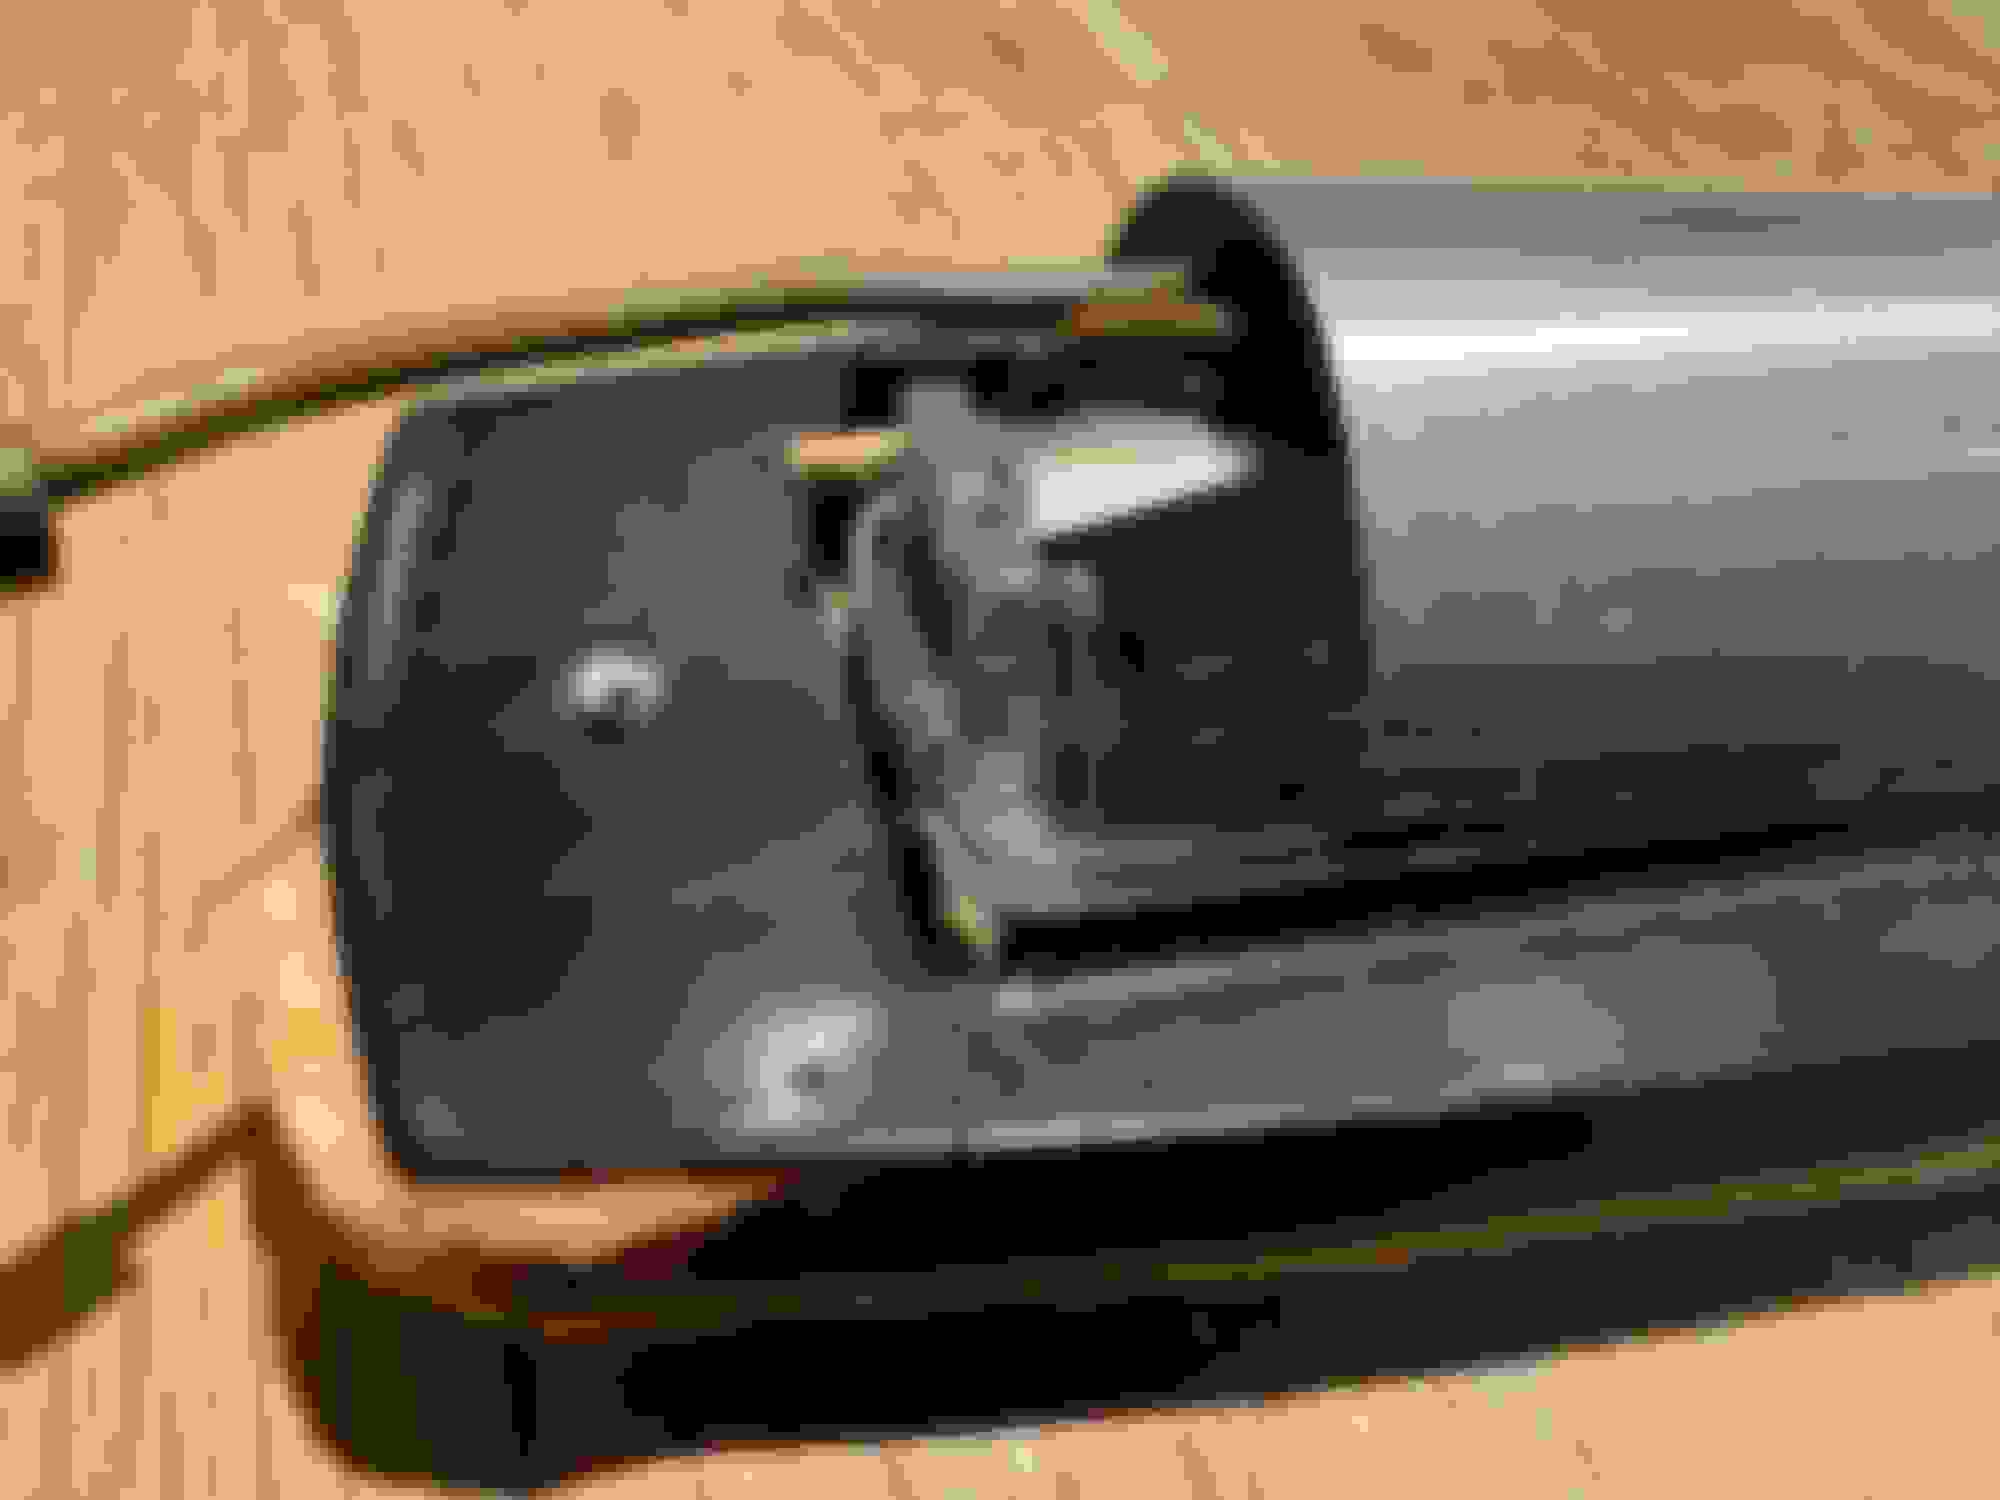
one question: how do i take apart the dome lamp to install it? It appears to be held together by rivets. Everything else was simply screwed in. I can just drill out the rivets unless there’s another way.
The light snaps into the two piece base. You have to take the light out of the base. The base sandwiches the headliner board and is riveted in place. Then you snap the light into it. Here is a diagram of the two piece base, items 2 and 3, with the pop rivets shown as #4.
Jon
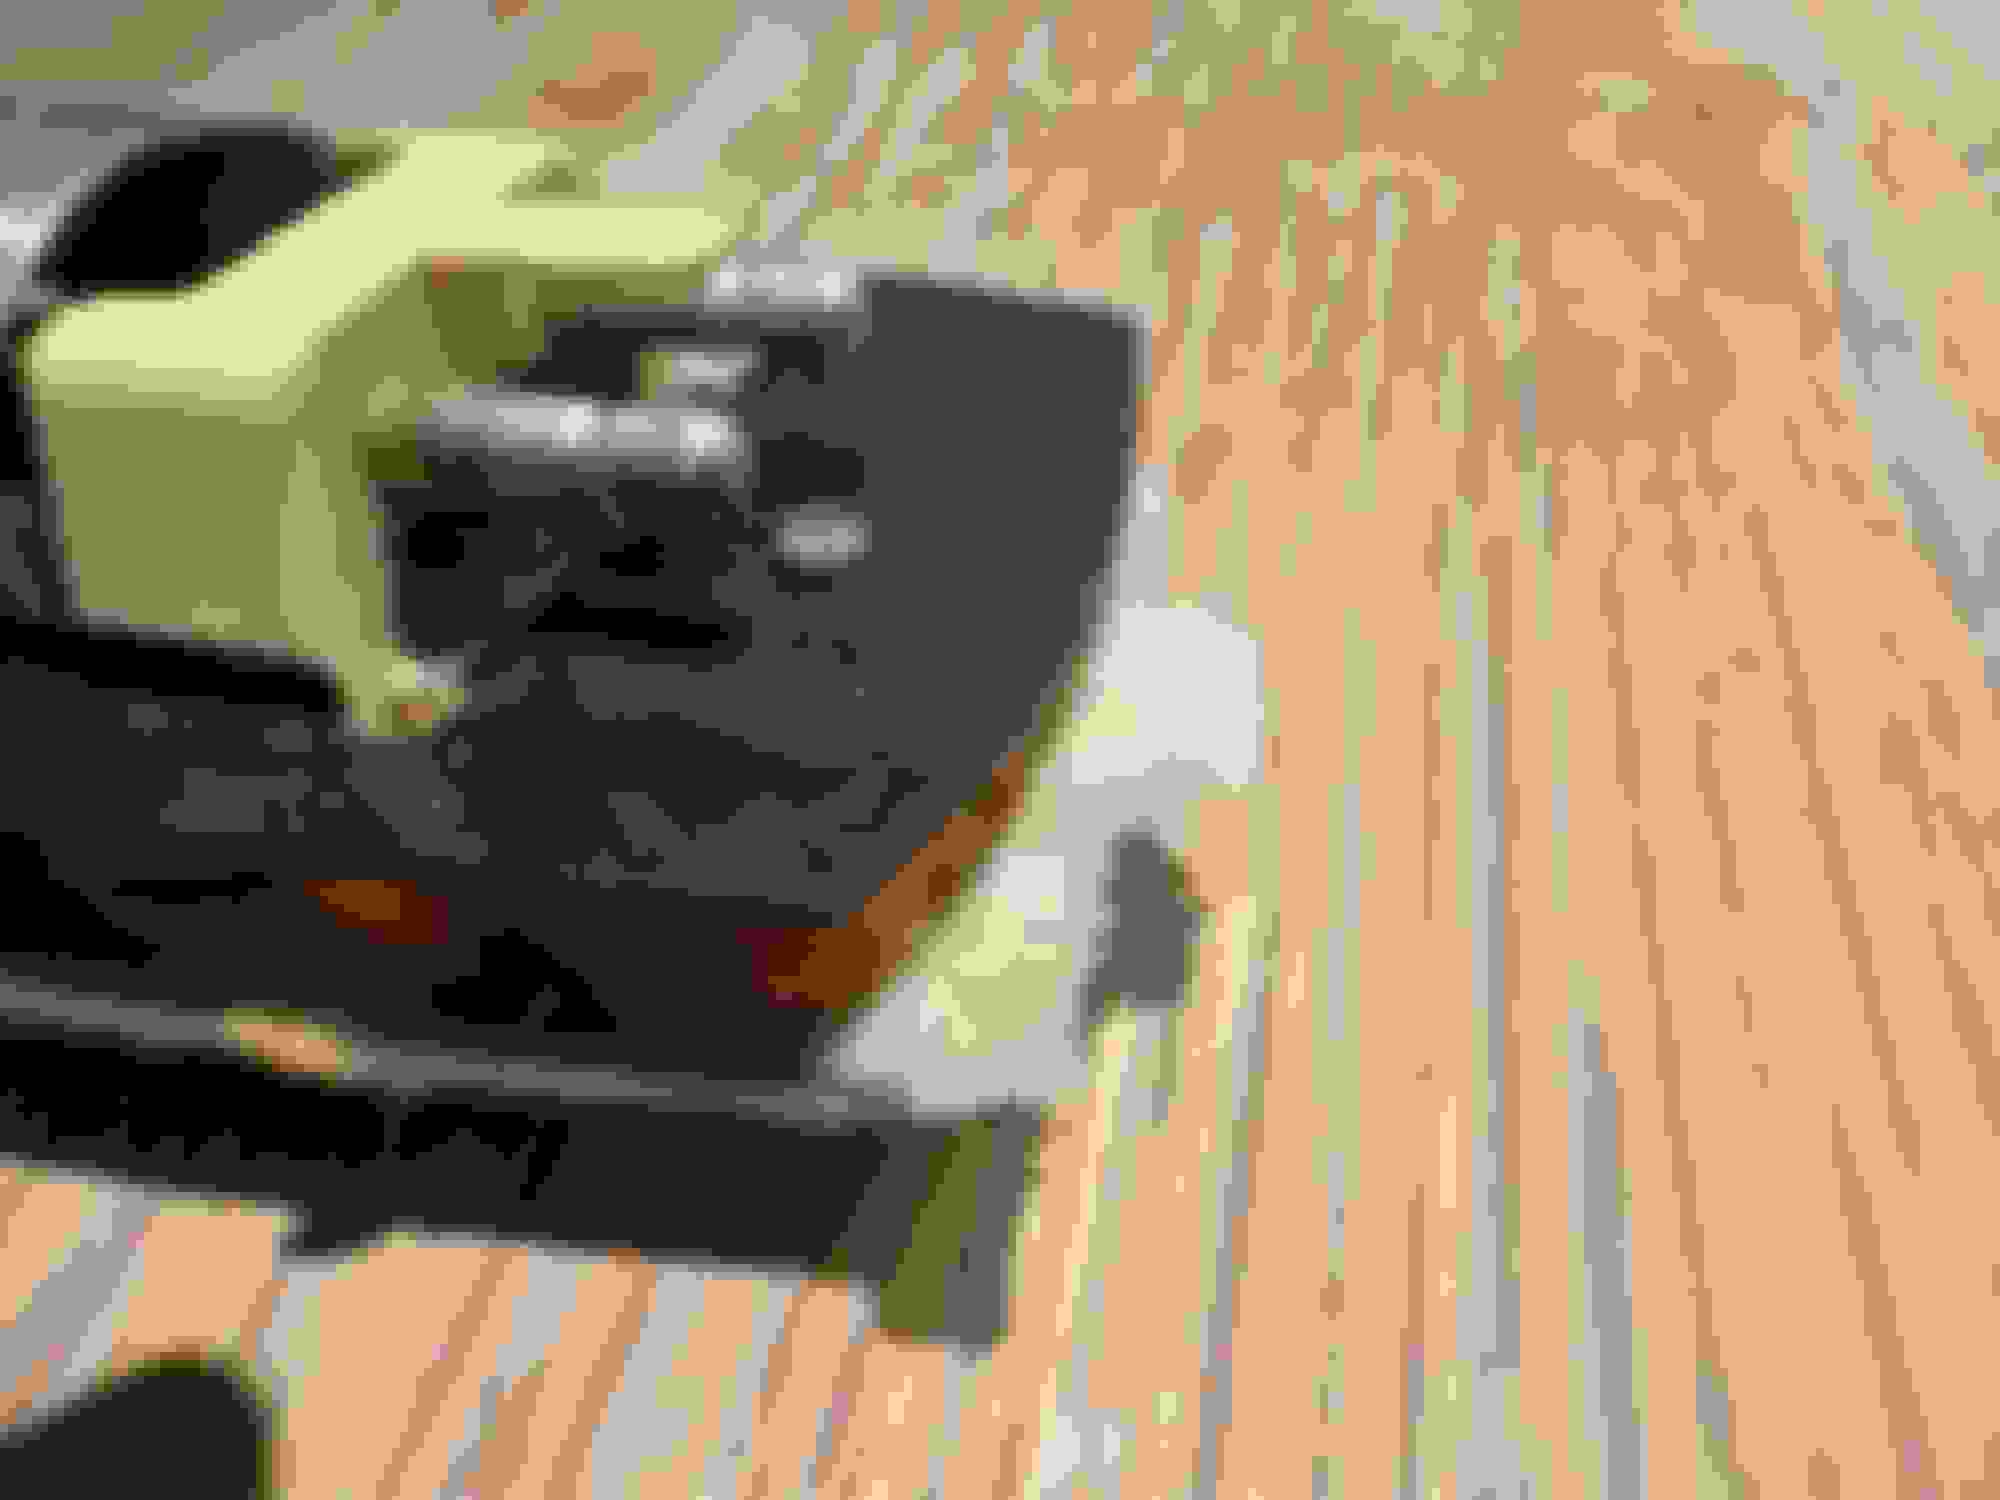
Ok. One more question, I’ve replaced the headliner and it went fairly smoothly but I can’t figure out how to remove these old side pieces. I removed the one screw that I can see but it appears to be held in by something I can’t see. I don’t want to force it.
the replacement headliner came with replacement pieces for these as well. Thanks so much

 09-22-2023, 08:00 PM