When you click on links to various merchants on this site and make a purchase, this can result in this site earning a commission. Affiliate programs and affiliations include, but are not limited to, the eBay Partner Network.
I’m new to the forum so I thought I’d give you all a flavour of where I’m up to. My hobby is buying and restoring classic and sports cars, playing with them for a while and passing them on (keeping the ones I like most, which I think is the category the jag will fit in to).
I bought my car, an XJS Facelift Convertible 5.3 during the summer. It was imported from Japan and is rust free. The first thing I did was buy the manual and I have worked through the car end to end, so far I’ve:
- Replaced Door Seals
- Replaced Boot Seal
- Replaced Discs and Pads all around
- Replace front ABS sensors
- Replaced brake fluid
- Regreased front hubs
- Changed sump gasket, cleaned sump and replaced oil and filter
- New plugs, leads, distributor cap and rotors
- Replaced Cam cover gaskets
- Replaced intake gasket
- Replaced water pump
- Replace belts
- Cleaned and high temperature waxed engine bay
- All new coolant hoses, thermostats and radiator
- New power steering pump
- Replaced steering rack seals
- Replaced gearbox filter, sump seal, fluid and mount
- Had a custom ski slope made without ashtrays
- Replaced front cross member bushes, mounts and engine mounts
- Replaced front suspension and drop pink bushes, universal joints, springs and shocks
- Replaced rear springs and shocks
- Installed a toad alarm using the prepared alarm wiring (with some minor mods)
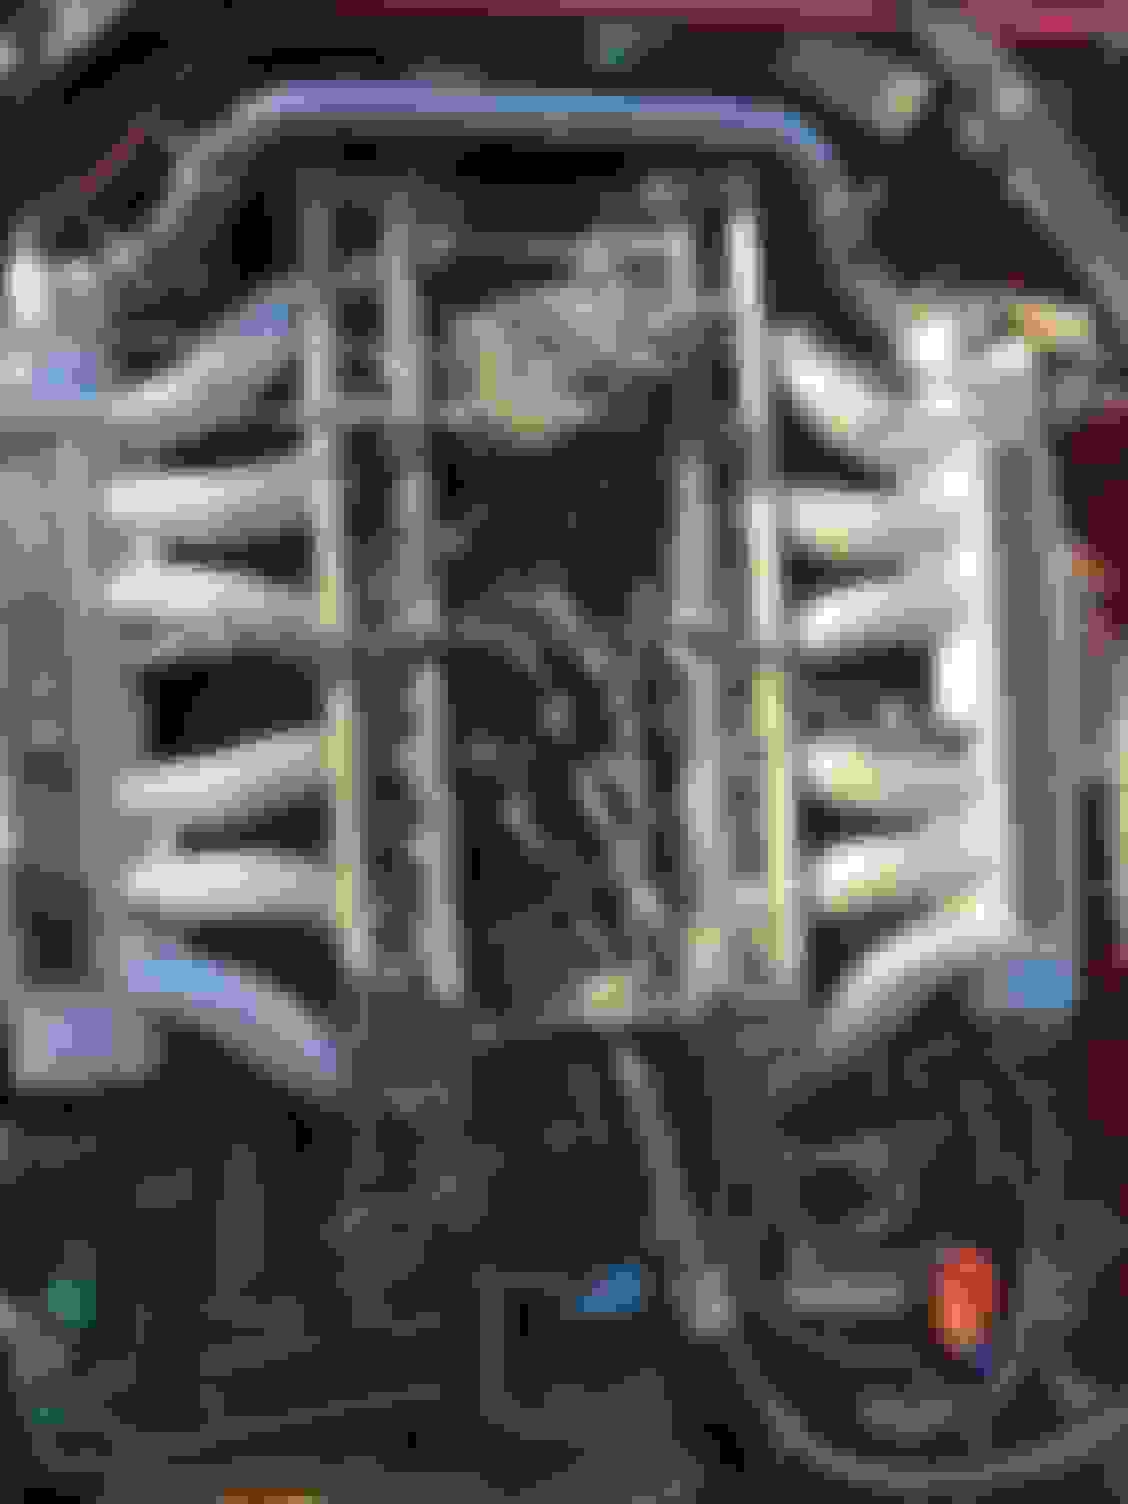
- Made a new engine loom using new plugs, silicon cable and shielded wire (old one was toast on inspection, amazed it ran)
- New radio and aerial
- Repaired boot lock
- Replaced all fuel tank hoses
- Replaced rear fuel filler gasket, o ring and flexi tube
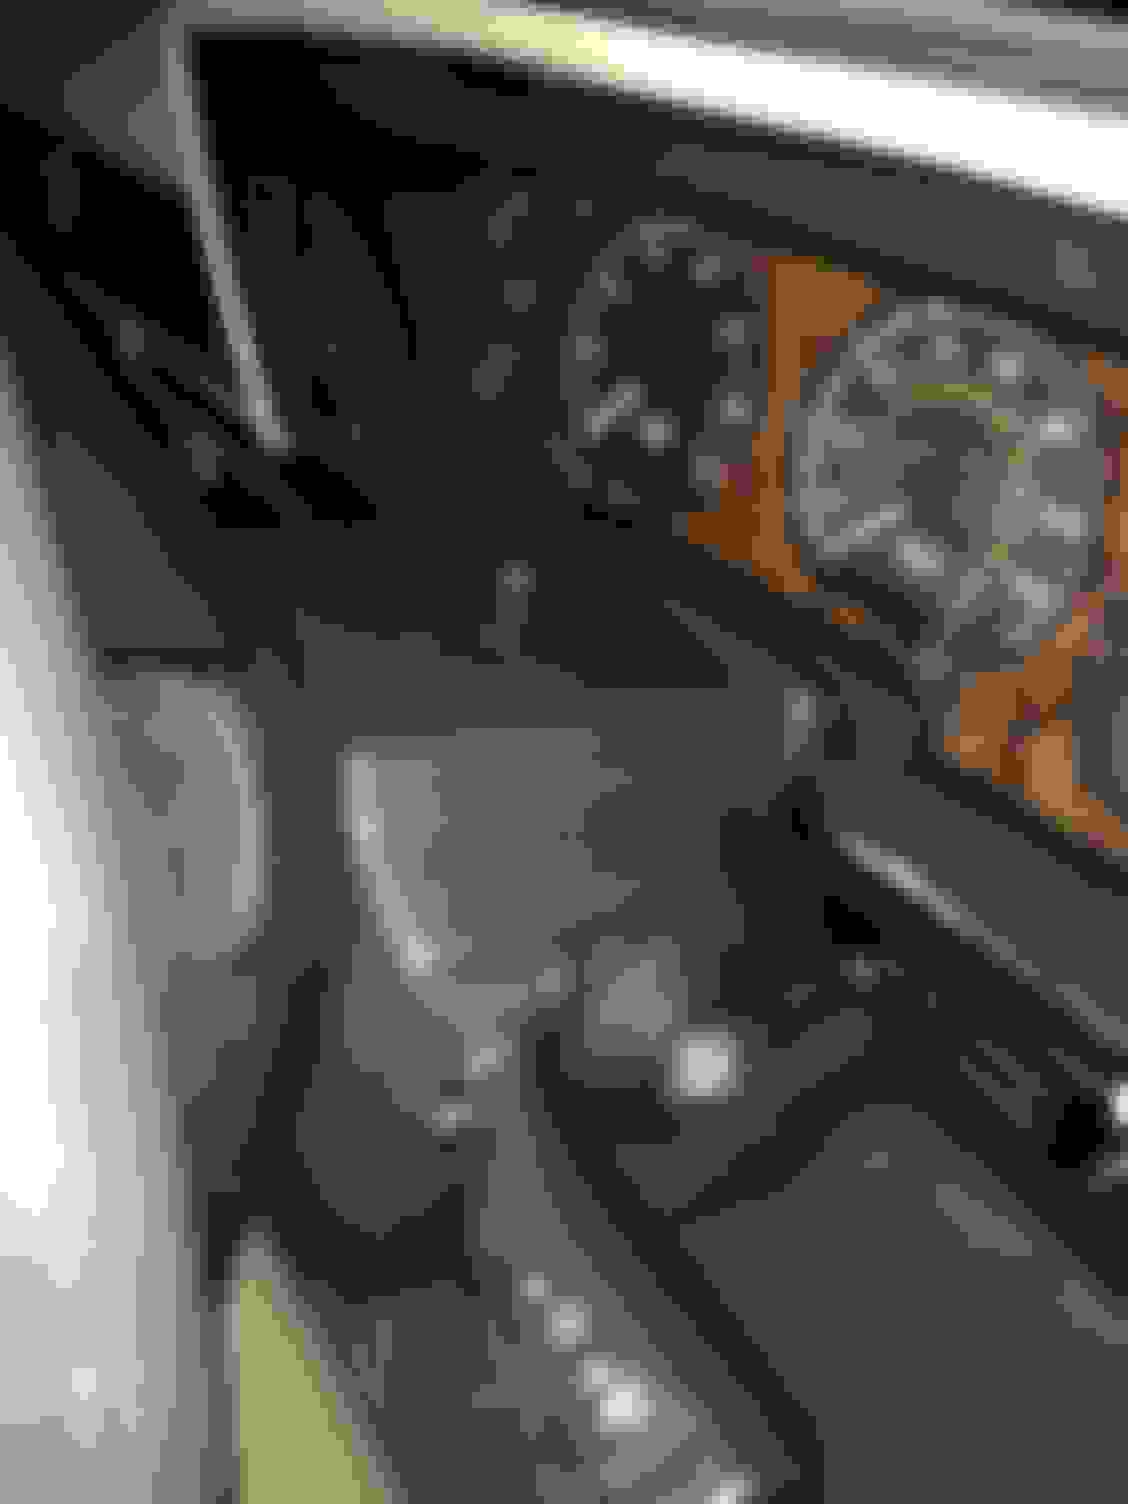
- Replaced KMPH Speedo with MPH speedo and corrected miles odometer to match old KM odometer (took pics for when it comes time to sell)
What I’ve still got to do:
- Fuel tank lower hose o rings
- Adjust door clearances
- Replace rear quarter seals
- New tyres
- Small paint dent to be repaired
So, what I need help with. My rear quarter window seals are done. I bought replacements from the US which are original and are a superseded part from facelift 2.2 but they are quite different to the original felt / rubber ones on the 2.1 and before. These are rubber only and the top of the rubber is a different shape and doesn’t appear to work with the metal strip attached to the window without modification. Has anyone else purchased one of these seals and successfully modified it or the metal strip on the rear quarter glass to make it work?
Ps if anyone want info on the tasks I’ve completed just shout. Mostly managed with workshop manual.
DAMN, that is a "to do list" to die for, WELL DONE.
The Parts suppliers that support this Forum are always at hand with their knowledge.
SNG in the UK have always got me out of strife.
Cheers Grant, yip most of my parts have come from SNG in UK, great service. I also purchased the wiring diagram for the alarm provision from jaguar, much better than hacking the loom. Fog lamp lenses (missed from my list) I got from US, significantly cheaper than UK.
I did enquire with various suppliers (including Jag) re the superseded rubber rear quarter glass seals I have for installation procedure, but all said as they are no longer produced they cannot help. I was hoping someone had faced the same issue. It may be you also have to buy the 2.2 rear quarters with differing metal strip...be good to hear if anyone has worked around this. I’m tempted to get the dremel out :-)
That's a shed-load of work that you've done! Congrats! Your car wasn't the one auctioned at MB-World was it?
From your list, I want to do the ones above on my pre-HE and wondered how much stuff you had to strip down to do the water system work and the ca cover gaskets?
As regards the rear window seals; do you mean the ones attached to the body or the ones attached to the hood that seal against the rear quarters?
It’s the seals attached to the rear quarter window itself. The old ones attach to the metal strip on the window. They also have a felt covering, the new ones which I think are meant to be possible to retrofit are quite different especially where the top of the strip fits.
I was expecting replacing the coolant pipes to be much worse than it actually was. I took the bonnet off to make getting the radiator out easier and access the water pump and belts etc. I spent a couple of days on it, but I also did a lot of cleaning which slowed me down a fair amount.
The cam covers was a different story. It was a real can of worms. I hadn’t realised how badly deteriorated the wiring in the V was. As soon as I touch it it crumbled and I had exposed conductors. I stopped and considered replacing just the wiring in the V, I got some quotes for purchasing (US and UK) all around Ł2.5k, not available off the shelf, so in the end I decided to rebuild it. Cost me Ł280 for all the wiring and connectors. Three evenings work to make up the new loom.
Removing the intake manifolds is straight forward. I found the air injection holes plugged with carbon on head and intake. Spent a while cleaning out with strimmer line and a hoover. I didn’t realise I needed the rubber D seals at back of the cam cover which delayed me a couple of days. I would have also have changed the sealing rings on the oil line at the back of the heads (to pressure sender) had I known they were also prone to leaking. Other than that, cleaning up the surface was easy with Stanley knife blade and I used loctite (the anaerobic one) on either side of the gaskets. If you do the plugs, leads, wiring all at the same time (and clean it all) the end result is great. Over the winter I plan to get my air injection and fuel injection rails replated as they’re the only thing really letting down the engine bay.
I bought the car from a guy specialising in imports from Japan.
I removed the bonnet to get better access. It took a couple of days to replace all the hoses, the rad, thermostats and water pump. I did a lot of cleaning too though. It was much easier than I had expected. None of the hoses were difficult to change.
One piece of advice though, do the water rail seals and change the pipe for a stainless one while you’re at it. The pipes are cheap as are the seals and gaskets to heads. I realised mine leaking afterward which was a bit of a pain.
The cam covers was a whole different story. Carefully check the condition of your wiring in the V before doing anything or plan to do that too. Mine literally crumbled leaving exposed conductors. I spent a couple of days considering what to do. Got some quotes for new, not available of the shelf, built to order. Quotes all around Ł2.5k. I decided to do it myself, buying the wire and connectors. Cost me Ł280 and a few evenings work.
The air injectors pipes and holes in head were plugged with carbon. I cleaned these out using strimmer line. I didn’t realise I needed the D seals at the back which I had to wait for and if I’d realised they were there I would also have changed the sealing rings on the oil level send pipes coming from the back of each head. These are prone to leaking apparently...
If I had known about the above issues and planned for them I’m sure I’d have been able to do quicker. If the aim is to have a reliable car I thinks it’s well worth while. I’m hoping to use mine for weekend trips to Europe.
I'm in Canada and have a car that was a US import and has a MPH speedo, which isn't appropriate. If you'd be interested in selling the KM/h speedo please let me know.
As regards the rear window seals; do you mean the ones attached to the body or the ones attached to the hood that seal against the rear quarters?
Cheers
Paul
It’s the seal attached to the rear quarter window. It fits in a channel on the rubber strip. The old one is felt covered. The new one (which is meant to be a superseded replacement) is different at the top, seems to fit in the channel differently and would require the metal strip to be modified at the top or the seal to be modified. It would also be useful to have pics of a 2.2 facelift rear window seal fitted so I can see how it’s fits and how the strip differs...
I'm still slightly confused. Do you mean the seal that is attached to the bottom of the glass and fitted into the regulator top metal channel?
I've never heard of references to 2.1 and 2.2 when talking about an XJS, so not sure what you mean. However, I have a 1994 2+2 convertible and am due to take out the rear 1/4 casing in the next 2 weeks. So if it is the mounting seal on the bottom of the glass, I may be able to photograph that fairly soon, if it helps you.
Also, did you take any pics of the work when you did the cooling hoses or cam cover gaskets?
Hi Paul it’s the seal on the edge of the rear quarter window that the front door window seals against. I hope this is clearer. The seal which sits in the metal strip attached to the window, the new seal I have which is a superseded part isn’t covered in felt like the old seal and the fitting at the top of the metal strip is different. If you could send a pic of yours including the way the top of the seal is fitted to the metal strip that would be brilliant. The shape at the top is different and I’d need to either adjust the strip or the rubber to make it work. If I could see how yours is fitted that would help. Mine is the facelift without the later bumpers ie the rear lights etc are face lifted but the bumpers aren’t. Post 93 the engine became 6l and the bumpers were changed...
I didn’t take any pics I’m afraid. I was trying to get everything down as soon as possible before the winter :-)
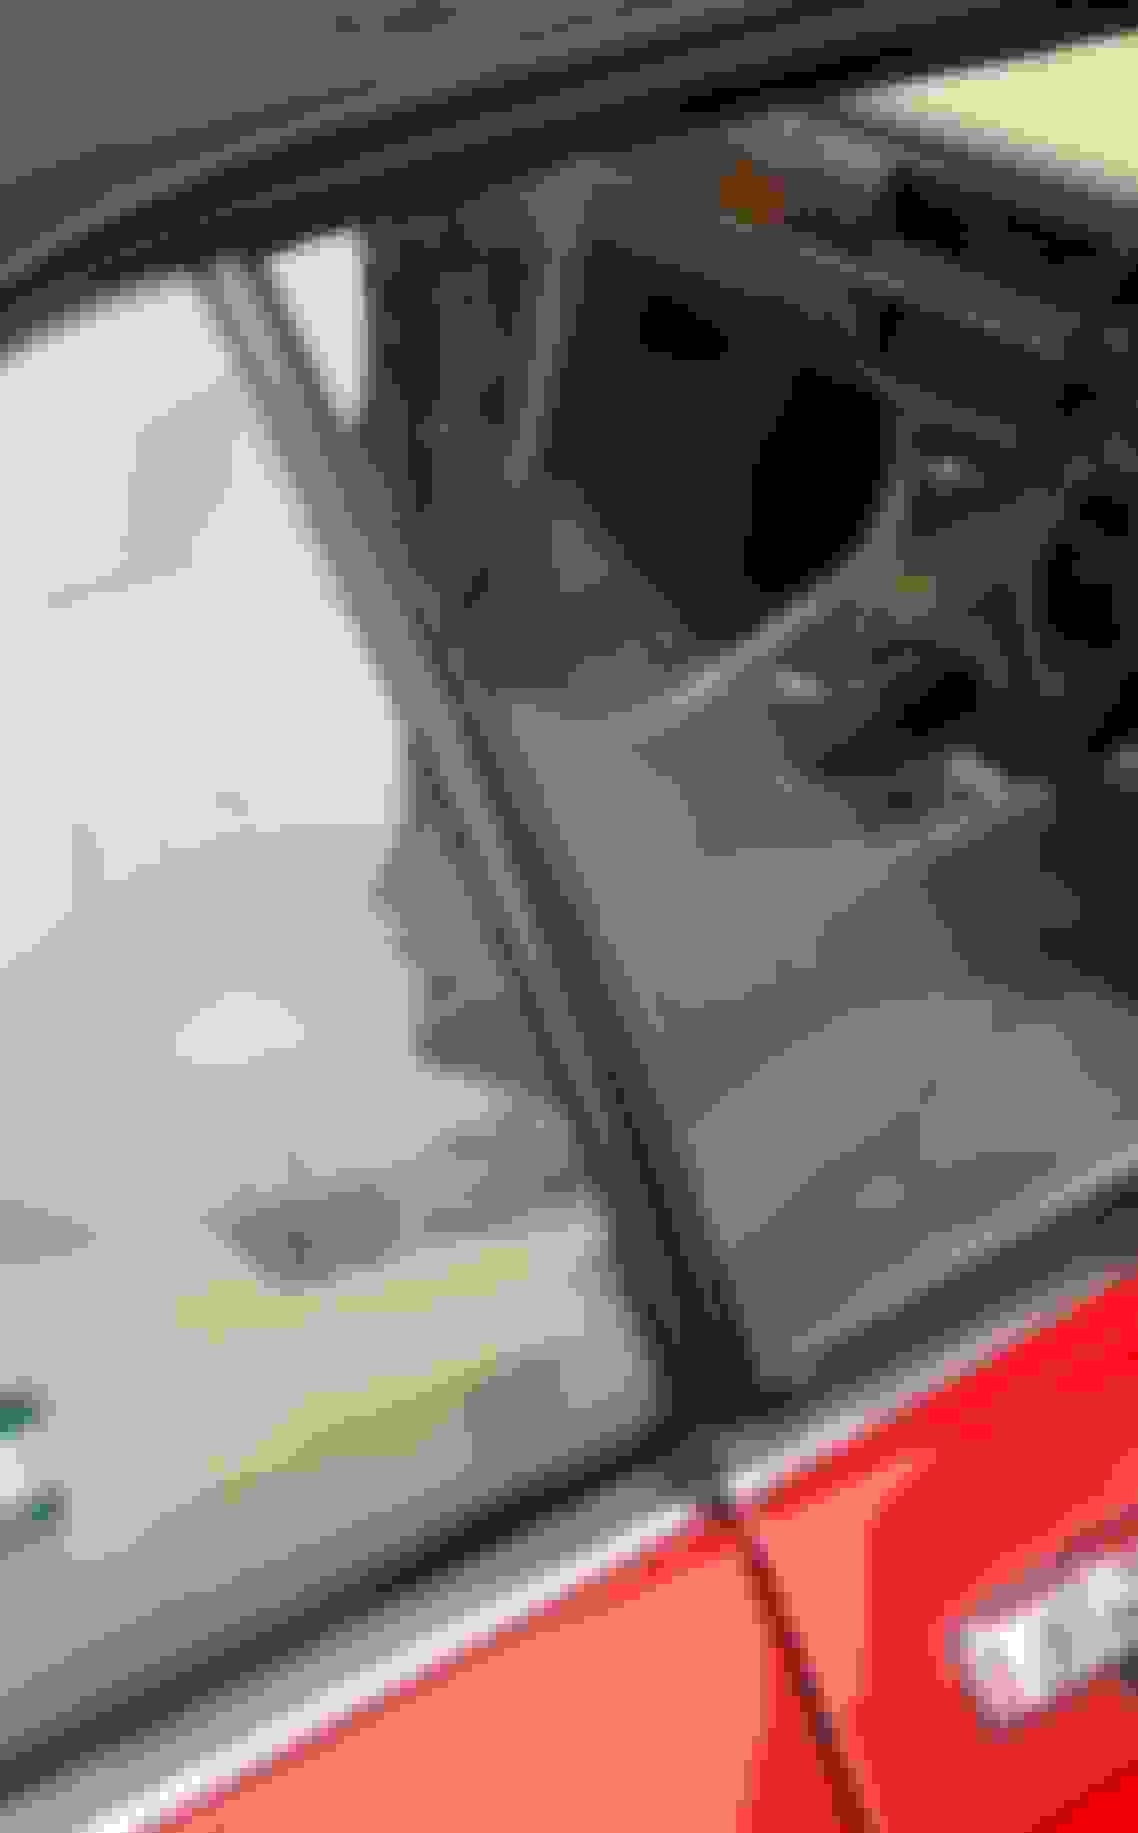
This is what the actual one on my car looks like. You’ll notice the way the seal fits the metal strip is different than the pic above (from the web which is on a post 94 car). It’s not clear enough to see the profile of the metal strip at the top with the roof up. I couldn’t find any other pics or documentation on the difference...
I'll also find when was the changepoint. That photo isn't a post-94 car, so either the change happened earlier or that car has upgraded to the later seal.
Yea, really don’t know when the change was. I’m guessing they intended you’d also upgrade to the superseded quarter glass. There are some on eBay for Ł400 each new but I’m hoping I can modify the old metal strips to fit them.
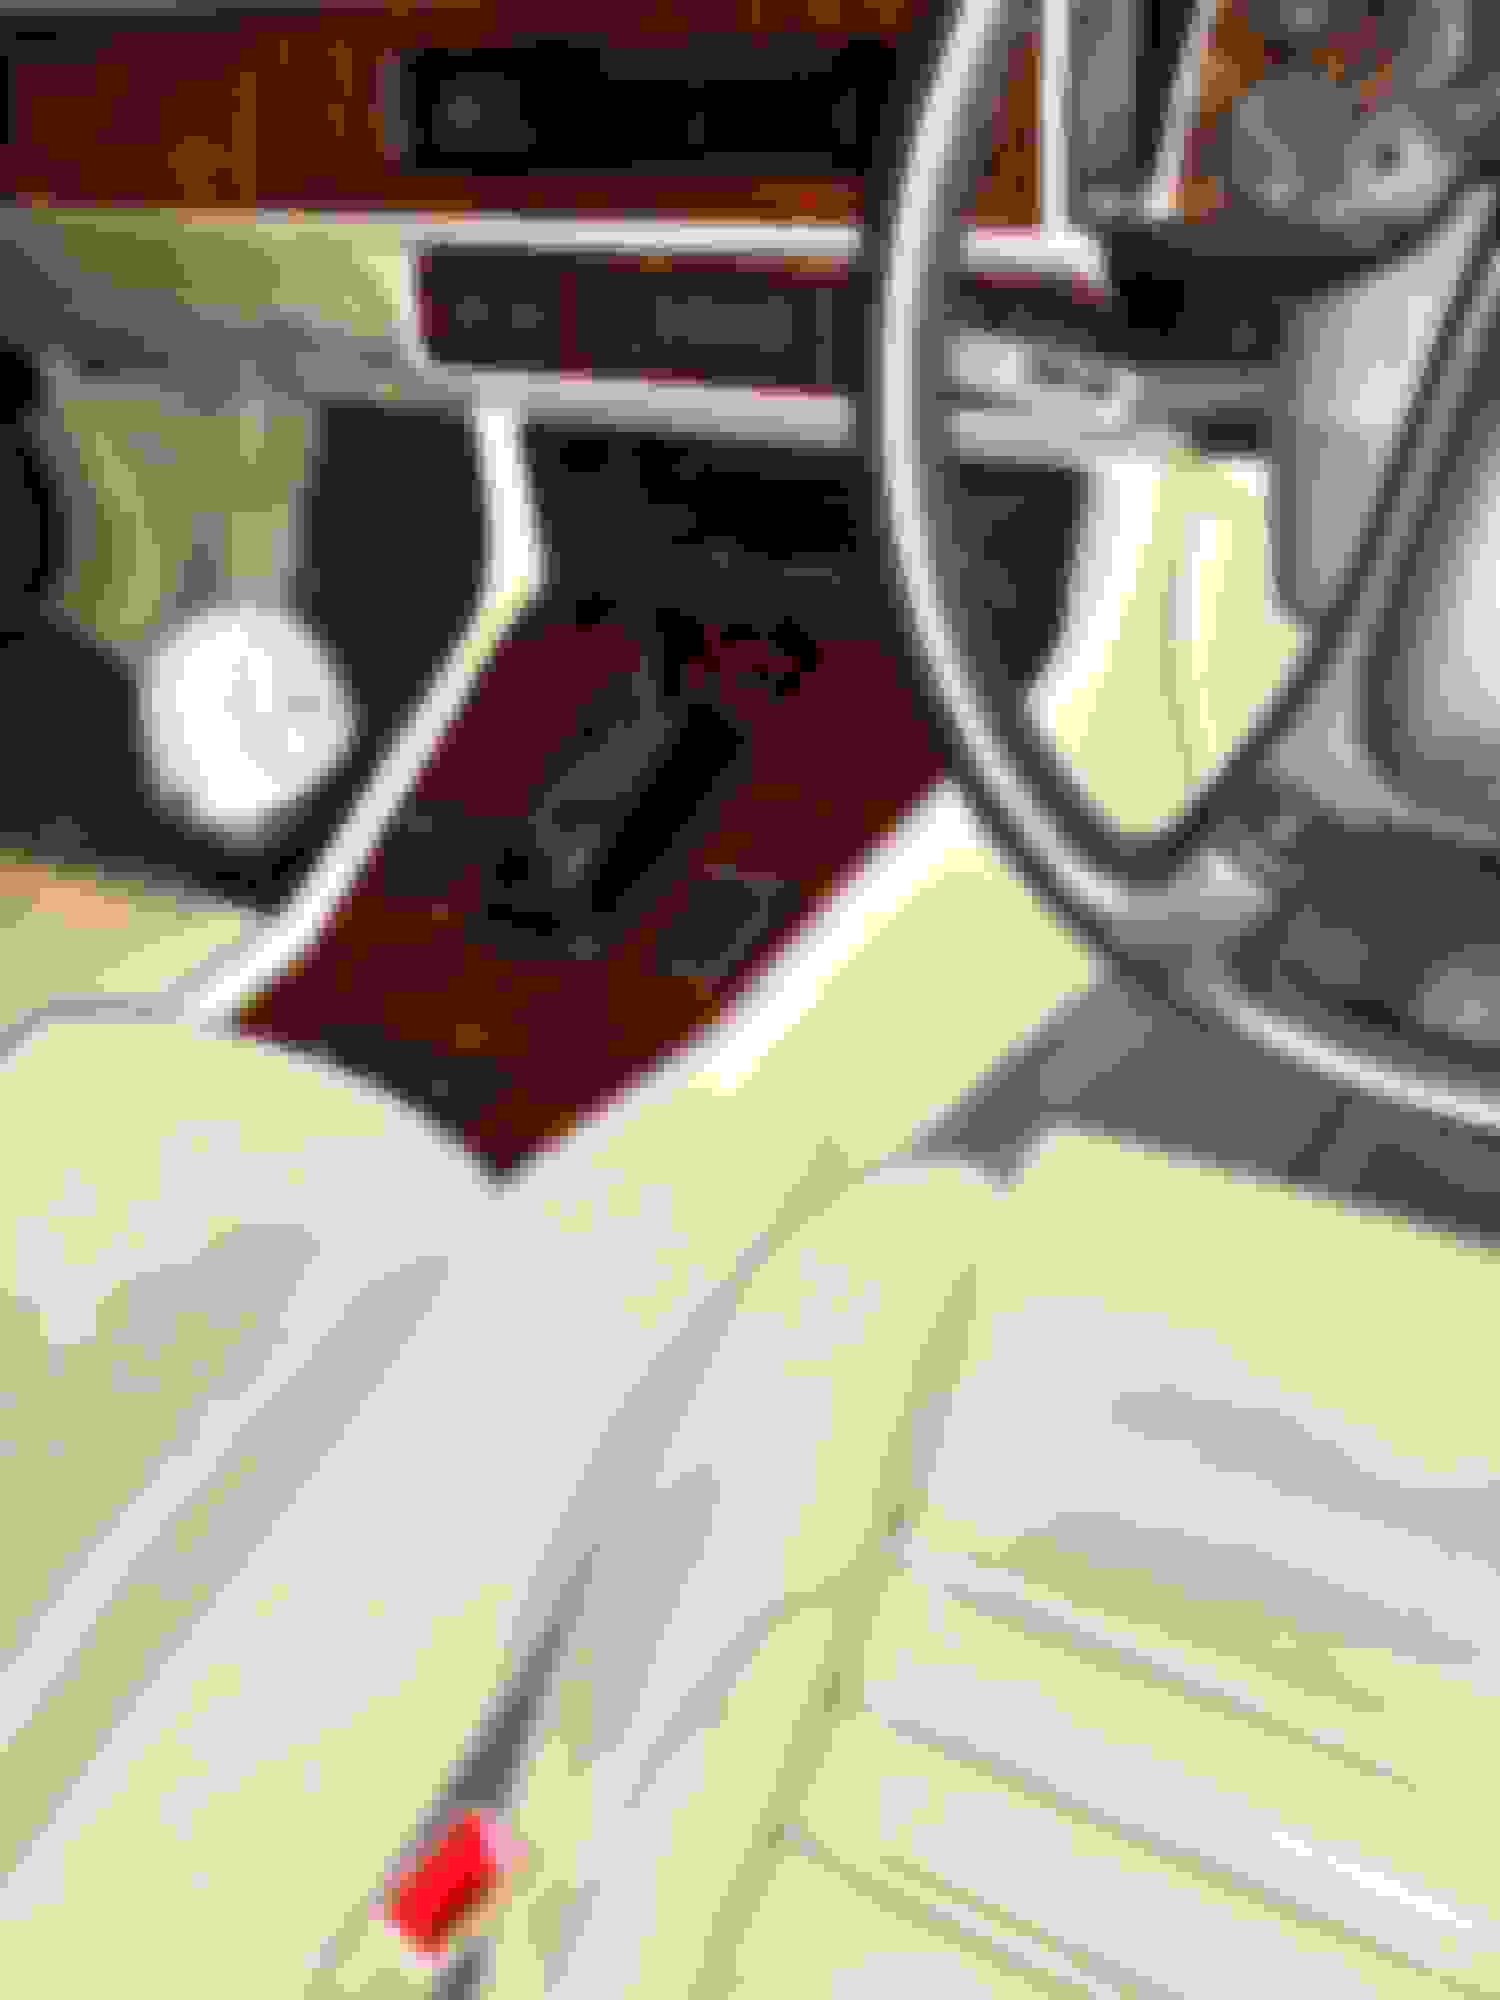
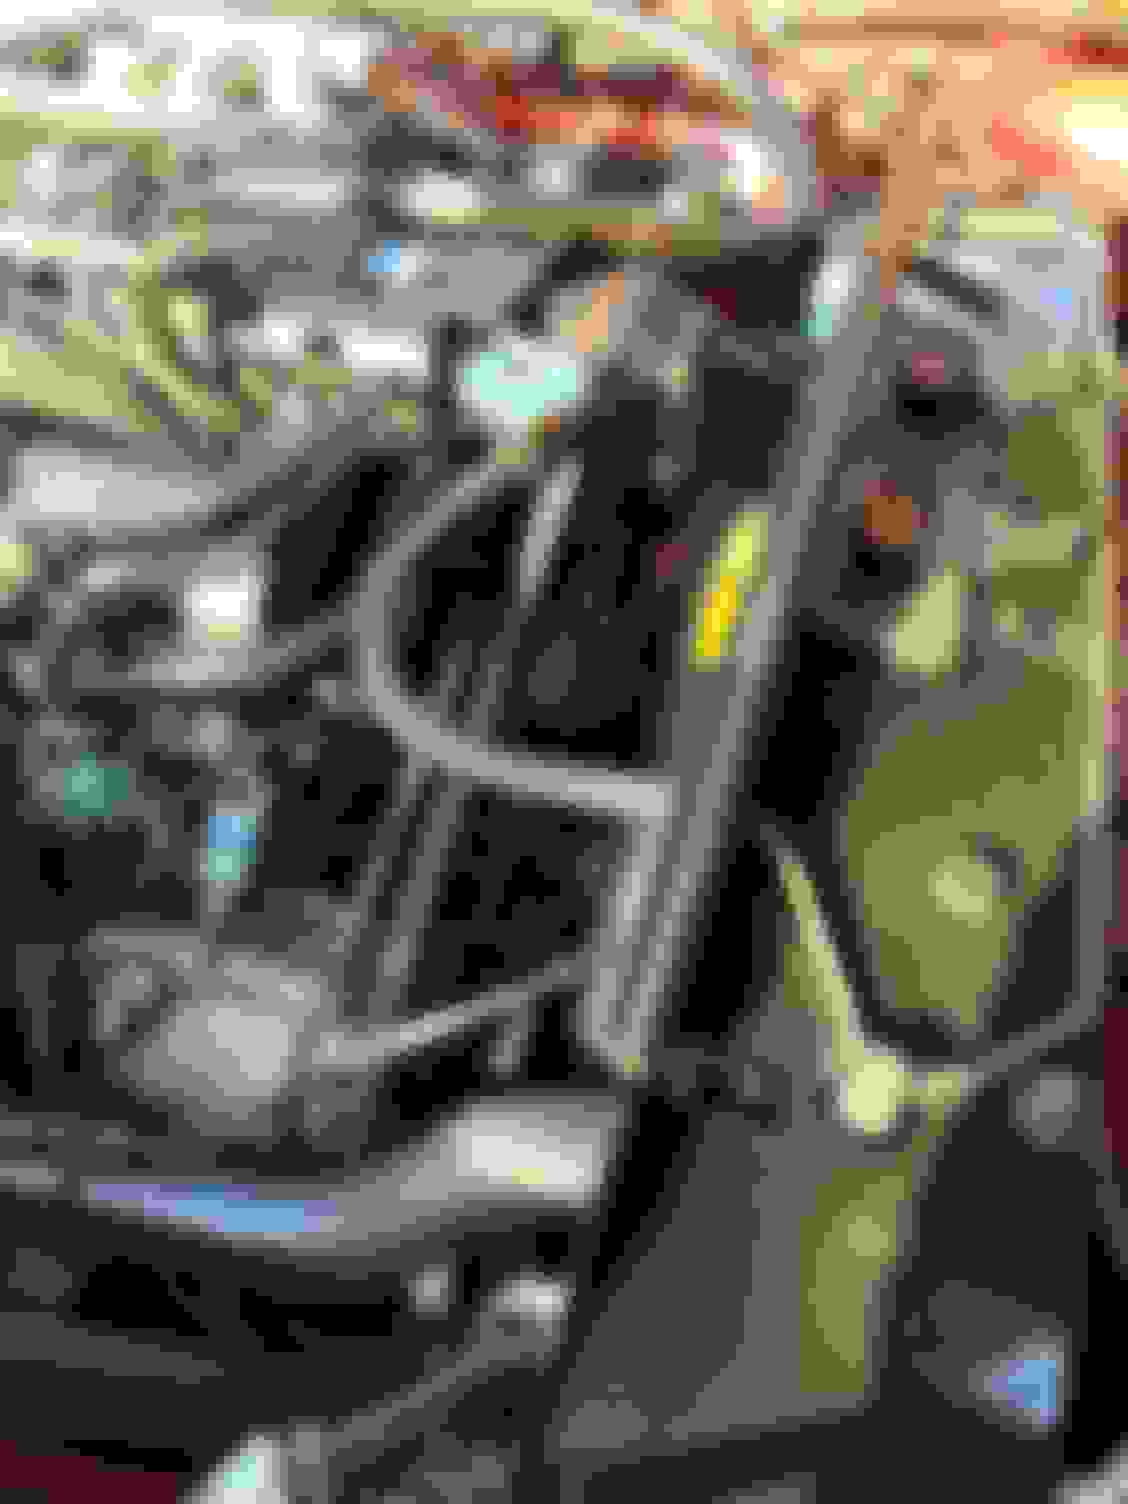
some pics for you. Just taken in the dark, but give an idea. The new ski slope, alarm led, if you look closely you’ll see my new loom plugs on injectors and somewhat shiny engine :-) Note where I’ve put the bonnet switch for the alarm by the fuse box. It’s a blaupunkt Toronto 420bt fitted which doesn’t look too out of place...
Impressive work. I can't help but wish you'd joined the forum ages ago and posted all your adventures. I'm sure there are a lot of people who would have been very interested. You clearly know which of a car goes in front.
How much did the ski slope set you back, and who made it? I'm tempted by the ones made by the Florida guy, British Autowood, that come with cupholders, though I would insist on book-matched veneer. Though I do like the colour and pattern of the wood that's there already, and even the solid thunk of the metal ashtrays even though I don't smoke.
How did you clean and wax the engine bay? Come to think of it, with all that work, you might have had the engine out at some stage.
Anyway, if your car came with any service history in Japanese, if you post images I should be able to tell you what's been done. Assuming your import specialist didn't give you a full translation when you bought the car. (I'd also be interested in what markup a Japan-sourced Jag gets in the UK, in case I ever want to sell mine....)

 10-26-2019 | 07:49 AM