When you click on links to various merchants on this site and make a purchase, this can result in this site earning a commission. Affiliate programs and affiliations include, but are not limited to, the eBay Partner Network.
2. A ratio change depends on what sort of driving you do and how important fuel economy is. 3.07 is a difficult ratio to find for Jaguars. I personally think 3.54 is too much for a 3 speed transmission. My Daimler limo had a 3.54 and I was typically turning 34-3500 rpm at 110 km/h, and it has taller tires than in an XJS. It makes a lot of heat and noise you don't need to make.
3. Sort of. Dana 44 gears will fit, however, the ring gear bolts are different and need sleeves to properly center them. The pinion splines are different, so the standard flange to bolt to the driveshaft won't fit. I think you can make it work with a different yoke and a different driveshaft, but I have no experience of that.
If you have incorrect lash, which you need to measure with a dial indicator and I think spec is 0.006-0.010", then it's likely the bearings went bad. That was the case in mine and I did not need to replace the ring and pinion. They are very tough, I would be quite surprised if they were worn to the point of needing replacement. On mine, the cross shafts in the limited slip had broken and the case itself had warped from the impact, the bearings were completely worn out, yet the ring and pinion was fine. After I rebuilt it, it is nice and quiet.
I completely agree with Jagboi. The ring and pinion gears are almost certainly fine. If the carrier is toast, then 600 USD will get you an Eaton TrueTrac Torsen-type carrier. Fitting this is quite doable, they come pre-drilled for the Jaguar bolt diameter as well as the other size, and they transform the car. DTS supplied mine, details in this link. Your guys could easily fit it in a day, or you could do it yourself as this explains. (Never mind that mine was a DANA diff, they make a model to fit the GKN spline count too):
That might be a little much. Don't forget because of the gear ratio the backlash there gets multiplied by the gear ratio, i.e. about 3.
Have you drained the oil yet? If so any metal particles in it? The drainplug might be magnetic too and you can see any metal there.
My next step would be to disassemble it down to the differential, by removing the wishbones and shroud, then remove the back cover and measure the backlash as described in the manual. You'll need a magnetic base and a dial indicator to do that measurement. You'll get an idea of what you're dealing with once you know that number.
Here is the backlash procedure. The pinion is held stationary to do this measurement. These instructions are near the end of the assembly and setup, so ignore the part about moving shims. A lot of other setup has preceded this step.
Have you drained the oil yet? If so any metal particles in it? The drainplug might be magnetic too and you can see any metal there.
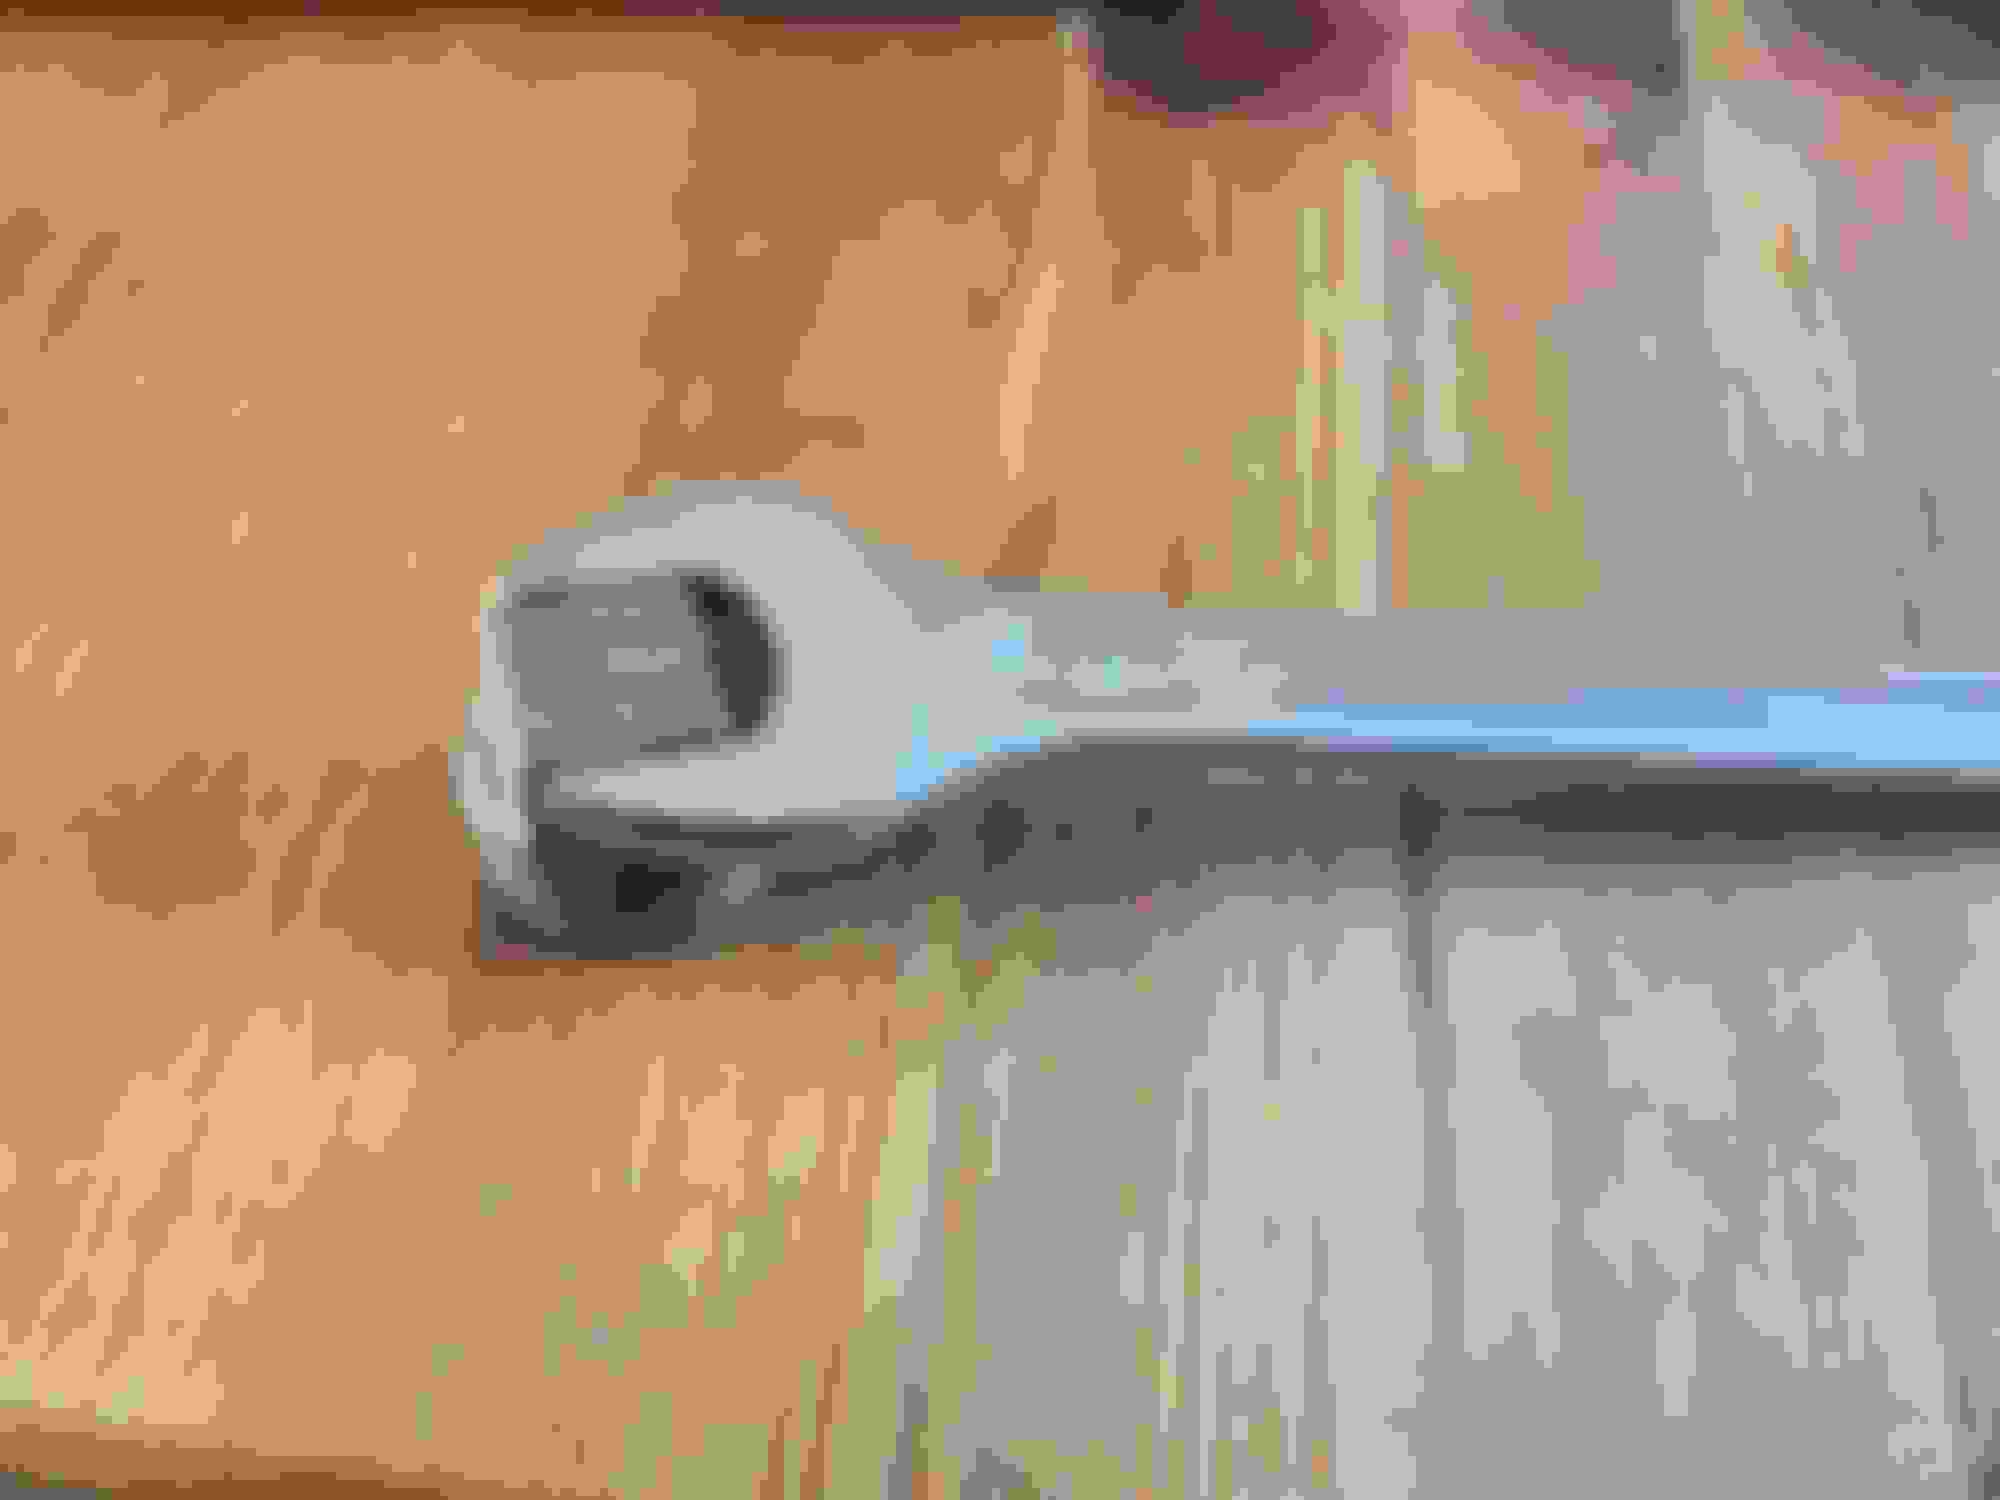
@Jagboi64 I think before I do anything else, draining the remaining oil and checking for metal debris is a great idea. Only problem, the drain plug isn't what I expected. I removed the fill plug using the male end of a 1/2" extension and didn't have any problem. But a 1/2" open end wrench doesn't fit the square drain plug, and a 13mm is just loose enough that I fear if I put any force on it will round off the corner. The female end of a 1/2" extension won't fit onto the square plug. I've heard tales of a breaker bar either snapping off or rounding off the plug so I don't want to add to my woes doing that. I cleaned the area and sprayed it with some PB Blaster. Is there some special tool or technique to safely loosen the drain plug?
I have a set of sockets that are designed to be used on square headed fasteners, that's what I used. You could always carefully file one of the flats slightly so it fits a 1/2" wrench tightly, then give it a solid hit with a deadblow hammer. The plug is tapered threads, so the shock will help break it loose and then it will undo easily.
I have a set of sockets that are designed to be used on square headed fasteners, that's what I used. You could always carefully file one of the flats slightly so it fits a 1/2" wrench tightly, then give it a solid hit with a deadblow hammer. The plug is tapered threads, so the shock will help break it loose and then it will undo easily.
I found a set like that and ordered it (free overnight delivery from Amazon), will spray it again with PB Blaster and let it soak overnight.
I also tried an adjustable wrench. The difficulty was that you can't keep it absolutely square on the head of the square plug because the head is not very deep and it puts the wrench tight up against shroud and wishbones.
I'm hoping that the new plug I've ordered (which is a superseded part from the original NLA Jaguar part number) has a deeper square head.
I use a 1/2 drive socket as large as my bigest allen key... The socket goes to the plug and the allen key is used to turn the socket, use a lever if needed... If the plog wont go into the socket drive, use a hammer, it will take the proper shape...
Really like that idea from alpecsa! Wish I'd thought of that beforehand!
Mac,
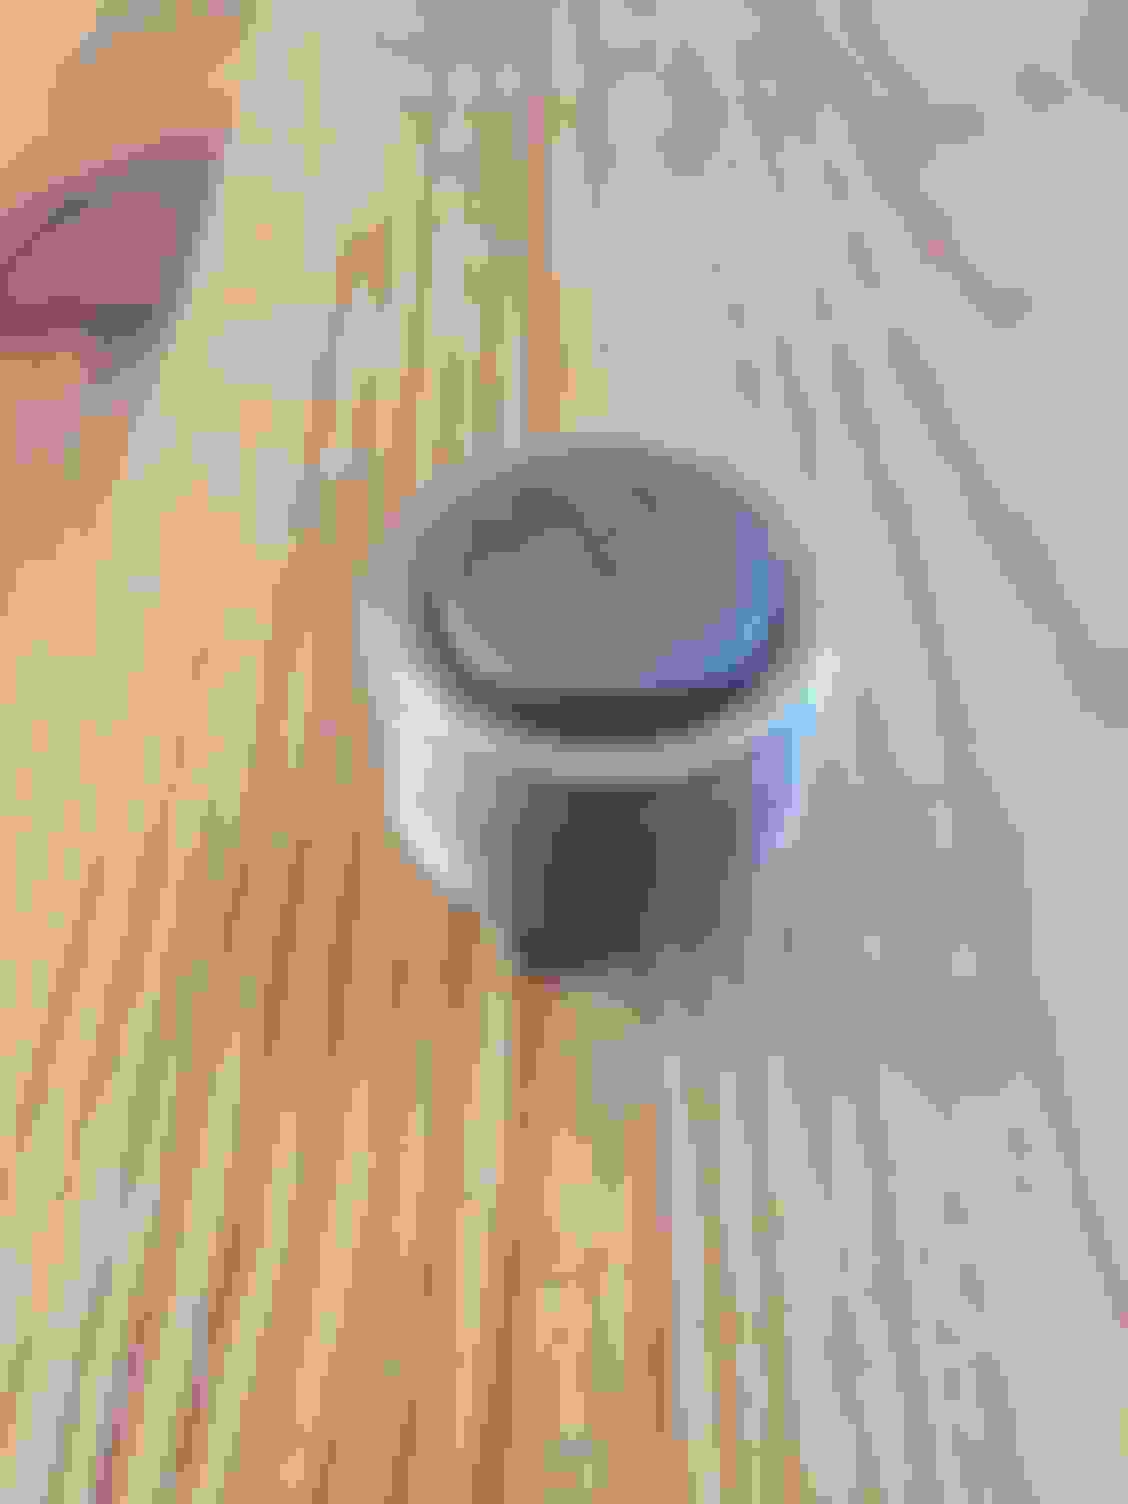
In case you order up a replacement plug, I've just received mine today from SNG. the original part number isn't available but there is a replacement that they sell. I could see from their photo that the male head was going to be bigger than the original 1/2" plug.
Anyway, the new plug has a head for which a 17mm spanner is a good fit. And being a 17mm, it has better leverage than a 1/2" spanner. An 11/16" will do at a stretch, but it's not as good a fit as a 17mm.
Also, the new plug isn't magnetic, but I found a magnet lying around which I've ground down to be nice snug fit in the hollow of the plug
2. Since I might have to buy new gears, should I consider a change in ratio? I was thinking the 3.07:1 might be a nice upgrade, from 2.88:1 without the higher revs of 3.54:1 on the highway. But would appreciate the opinion of the experts.
FWIW, I went from 2.88 to 3.31 and am 100% happy with the result. The improvement in acceleration and response is significant; it transforms the feel of the car.
There is some increase in noise at highway speed, yes. I lost about 2-3 mpg in fuel economy at highway speeds but no meaningful difference, if any, in city driving.
For ME the tradeoffs are worthwhile. For others, maybe not so much.
After some research and getting some helpful advice, I decided to leave the diff in the cage, pull the output shafts to completely rebuild with new bearings, seals etc. When I drained the diff, though the old oil was black, smelled bad and was low, there wasn't any metal debris. When I put in fresh oil to help flush out more of the old oil or grime, there was a lot less play when I turned the pinion flange. The most likely damage from low fluid is the bearings on the output shafts, particularly the side opposite the leak. My risk is that if there is damage to the diff beyond the output shafts, I will have to drop the IRS again. My thinking is that since I now know how to drop the IRS, and I have a great setup for doing it, my worst case is I have to do it again and have the remainder of the diff rebuilt. Upside is I don't have to mess with fulcrum shafts or further teardown of the cage. Consensus of advice was that the main gears in the diff are pretty tough, and the first point of failures were the bearings on the output shafts.
To my surprise, when I related my plan to the rear-end speciality shop, they agreed that was a smart step and offered to do the output shaft rebuild at a good price if I sourced all the parts (about the same as I would had to invest in tools to do it myself). Since I was going on a couple of separate trips over a couple of weeks, I was able to order all the parts, drop them off at the shop and have the rebuilt output shafts waiting for when I returned. Output shafts are back in place and I'm starting to put things back together as time allows.
A couple of questions regarding putting the calibers back on:
1. Getting the bolts into place is pretty finicky, and there isn't a lot of space for anything other than an open ended wrench, so it's time consuming to get them in and tightened up. Typical thread-locking products like Loctite or Permatex do not have very long working time and I fear would fail by the time the bolts were torqued down. Any suggestions of a thread-locker with more open time, or something else for this application?
2. With so little room, how on earth does anyone get a Torque Wrench on those bolts? Or does everyone just 'feel' or guess it's tight enough?
Loctite 242 blue is the medium removeable thread locker. I use it on everything I don't want to come loose from the lawn mower, motorcycle and the Jag. The working time is long , like days. The activation time starts after the bolt is screwed in, they say 10 minutes or more. It doesn't take much like a drop. Tightening the bolts to 50 lbs or so with an 8" box end wrench is tight, more than snug. Just put one side on tightnen the bolts and you'll be fine as long as long as you put the shims back behind the rotors.

 08-08-2023, 08:19 PM