When you click on links to various merchants on this site and make a purchase, this can result in this site earning a commission. Affiliate programs and affiliations include, but are not limited to, the eBay Partner Network.
That is Really Cool!!
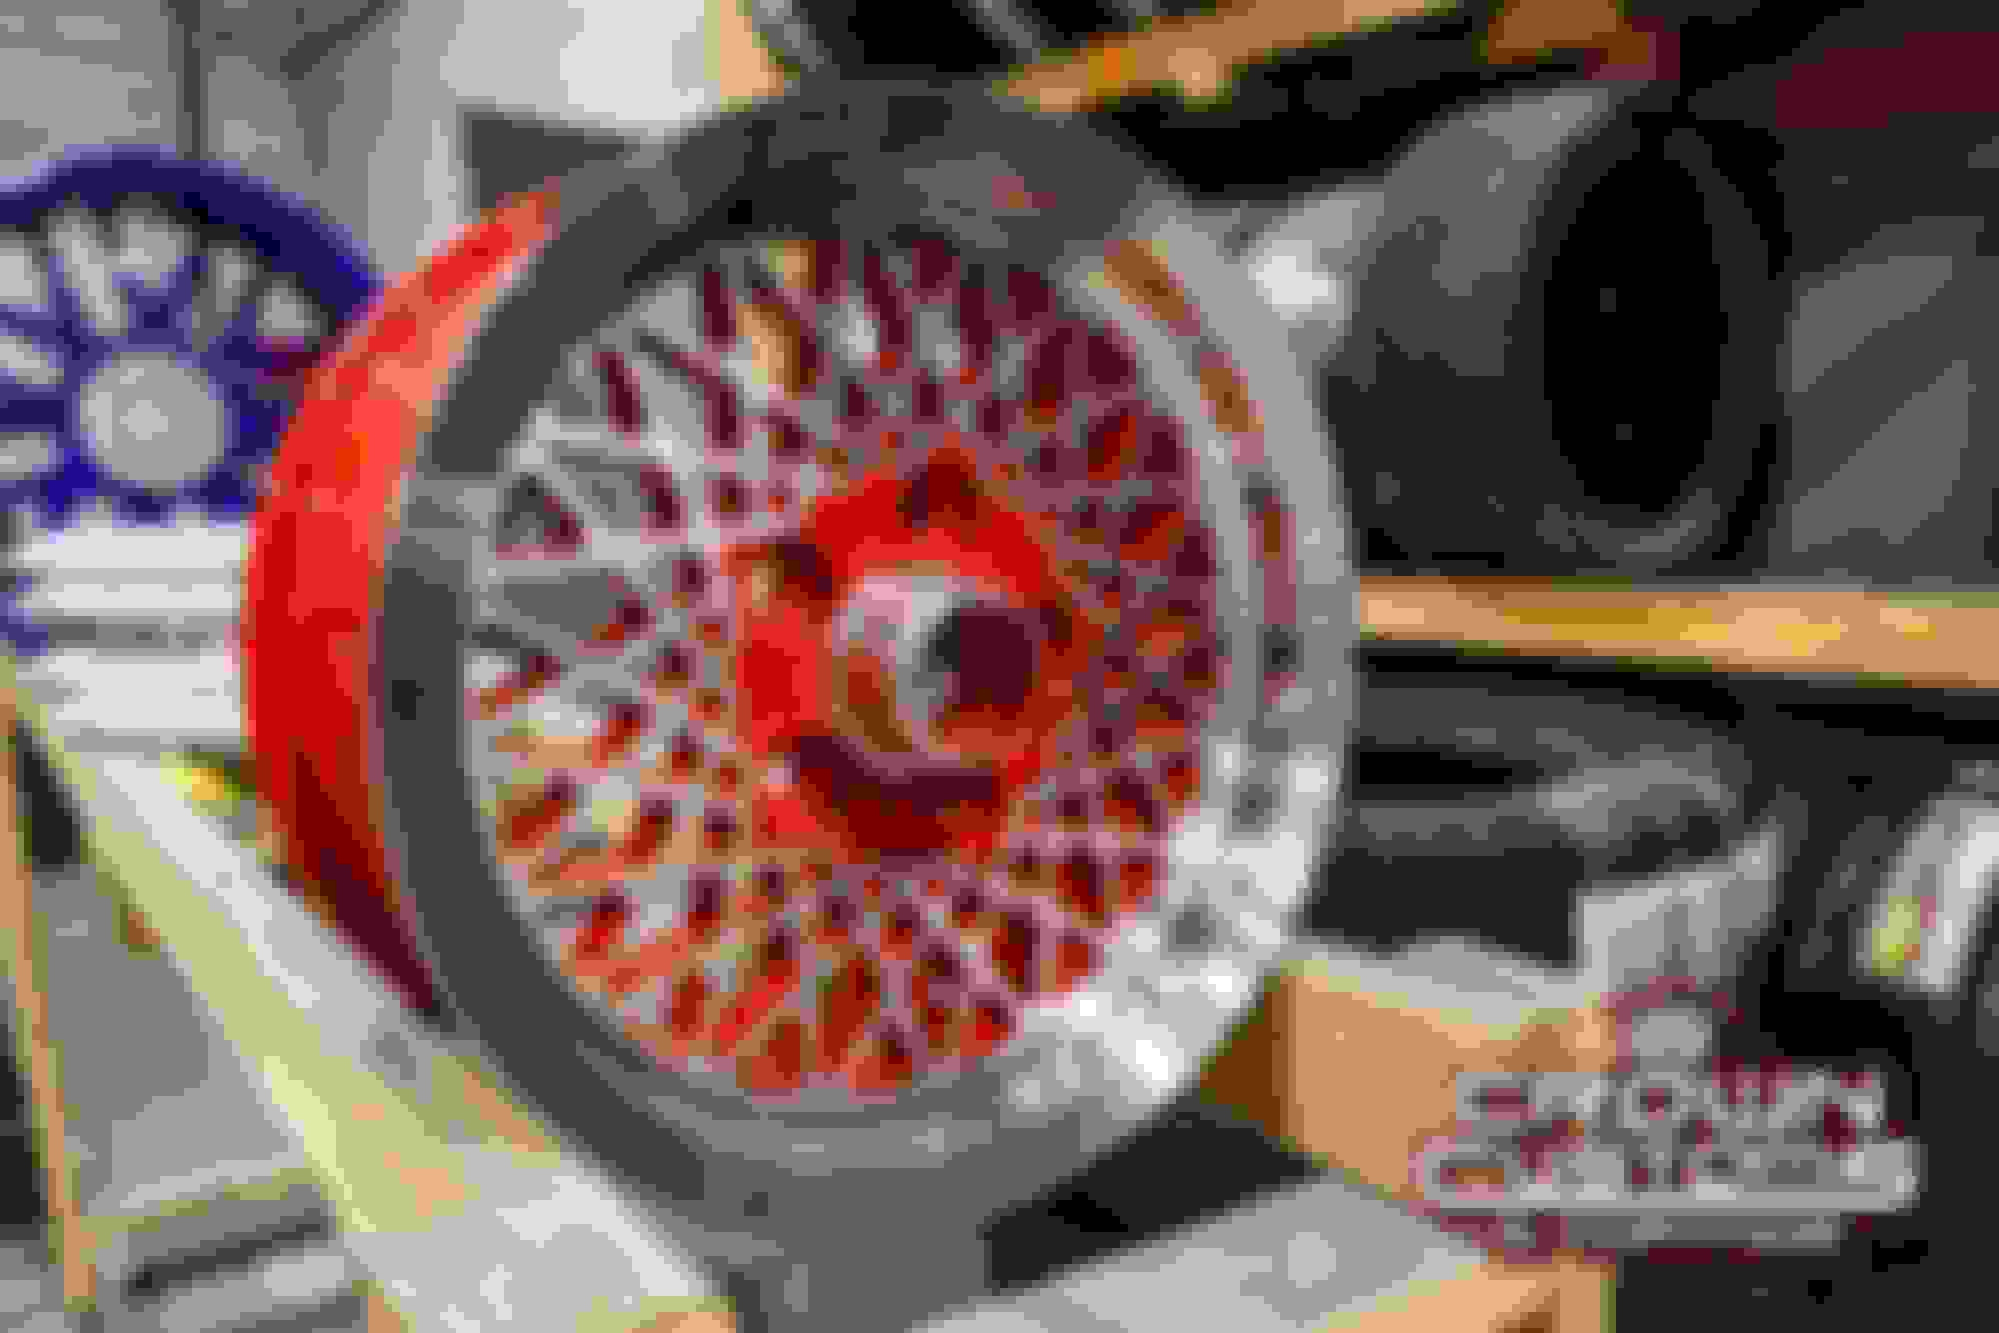
Reds oxidize/fade the worst, I think, even worse than Green which is bad enough. But covered with clear coat should protect them from that.
Very nice!
(';')
Between family and work December is always a busy month, but I have been making progress. I have the dash partially in but still need to work through a thousand things like controls and wiring up the new system. I am super tempted by the Digital Controller that Dakota Digital makes for the Gen II systems but I think I am going to stick with the knobs.
Just got home from the wheel shop and I am super pleased with the way the wheel turned out. The color match is perfect and pictures don't do justice to how good the wheel looks.
I left the other 4 wheels there and I should have them back by the end of the year.
And I shamelessly stole this picture from their Facebook page.
My 2 cents:
200 psi per cylinder on an engine that has been sitting for a while is not too bad.
I would suggest putting a couple ounces of Marvel Mystery Oil or even WD40 into all of the cylinders and let it soak for a couple of days.
Focus more on on 5B and 6B
Then turn the engine slowly by hand clockwise. It is pretty tight trying to get to the crankshaft bolt but is doable (since you are going really deep into this project, pull the radiator if need be)
Do not turn the engine counter clockwise. you will damage the timing chain tensioners if you do.
The Marvel Mystery Oil or WD 40 will eventually cause the rings on 5B and 6B to free up.
oil will give you better numbers but do little to solve the underlying problem. Carbon build up behind the rings. Fill the cylinder with denatured alcohol. You can find it at any hardware store or big box store (Home Depot Lowes Menards. ) buy a gallon). Alcohol is very good at dissolving carbon. Fill the cylinder then screw in a spark plug so it doesn�t evaporate too quickly.
This is a slow process. (But faster and more efficient than anything other than driving it aggressively) after a couple of days remove the spark plug, crank the engine over with the ignition off, pump out the alcohol and do it again.
Depending on the build up you may need several treatments.
Denatured alcohol is also good for carbon build up behind the intake valve. Here the job is harder. You need to take off the intake manifold in order to pour in the alcohol to the port. Then tape over the port with tape to prevent evaporation. You�ll find you can do it again the next day . Oops. I forgot to add make sure the intake valve is closed.
Are you getting paid by the ethanol/alcohol lobby? 20 of your last 25 posts are related to alcohol and/or ethanol.
The post you quoted was from 6 months ago. Marvel Mystery Oil did the trick in my case. It freed up stuck piston rings and a sticky intake valve. After I got it running I kept MMO in the tank and crankcase to help clean things up and keep it cleaned.
I wish. Actually I�m a racer who tries to help others.
Ethanol is one of those things that most misunderstand. Just like Jaguars.
Ask the average person about Jaguars and they they fear them. As you and many others here prove they are great once you repair the neglect or correct others mistakes. What very few understand is how great they are as race cars on a modest budget.
When I was working on Jaguars as a side line I spent the money I earned on racing on a very tiny budget. I got to race Sir Stirling Moss when he was paid by the Aston Martin factory and several Indy car drivers as well. All on a modest budget typically less than others spend on fuel. So I know what pays off.
I wish. Actually I�m a racer who tries to help others.
Ethanol is one of those things that most misunderstand like Jaguars. Building my XJS V12 Group 44 tribute car
Ask the average person about Jaguars and they they fear them. As you and many others here prove they are great once you repair the neglect or correct others mistakes. What very few understand is how great they are as race cars on a modest budget.
When I was working on Jaguars as a side line I spent the money I earned on racing on a very tiny budget. I got to race Sir Stirling Moss when he was paid by the Aston Martin factory and several Indy car drivers as well. All on a modest budget typically less than others spend on fuel. So I know what pays off.
I�m impressed by the quality and creativity you are showing in your work. Clearly you understand Jaguars.
As a matter of chemical fact, solid carbon will not dissolve in alchohol, whether ethyl or methyl. What these compounds do, as does WD40, MMO etc etc, is dissolve the varnishes and gums that hold the specs of carbon together, and thus appear to dissolve the carbon. Pure carbon is only efficiently soluble in hot, concentrated sulphuric acid - not something you want to fill your cylinders with!
I'm waiting on some hose fittings to finish plumbing the engine side of the new system, so I decided to start working on the HVAC controls. My plan is to put the blower switch in the right hand spot and the AC thermostat in the left hand spot. The heater control and mode selector switches will be somewhere in the center console.
My goal is to keep the appearance as stock as possible. I did have to order some new retaining rings that hold the switch spool to the bezel. I have 23 left over so stop by if you need any
The stock knob fits the Vintage Air switches so I don't have to fight that battle.
There's not much to see on the backside but it all fits together like it should.
I'll put this to the side as I can't do much more until the center console is back in. And I'm not doing that until I'm certain the HVAC unit does not have to come back out, for something silly and totally predictable like a heater hose bullkhead fitting that's pointing right at the left hand cam cover.
The wheels of progress have been moving slowly lately but I was able to spend some quality time in the garage this morning. Most of it was wiring and plumbing and that's not very exciting, but I started working through the controls and vents.
I was able to get the AC thermostat connected to the left side of the factory bezel. This one was slightly more difficult than the blower speed switch on the right because I had a caillary tube to fight with. But I was able to get everything all connected and working.
Due to space limitations, I had to use the aftermarket vents. The factory vents would have had another 1" of depth that would have made it very difficult to attach the hoses. The aftermarket vents only required some light sanding to the outside edge to get them to fit in the dash.
I am able to point both center vents at the driver so if it's just me in the car I can have all the air.
There's still plenty to do but I took the week after Christmas off from work and I am hoping to button this project up.
Now that Christmas is over, I have plenty of time to work on the car. I was able to spend some time in the garage this afternoon and while the pictures are kind of dark and lacking context, I have raised the car and started work to remove the rear cage and the transmission. I'm planning on disassembling the rear cage and doing a mechanical and cosmetic refresh.
The T400 is coming out so an 700R4 can take its place.
I'm still waiting on parts for the HVAC rebuild so I'm keeping the wheels of progress turning while I wait.
I was able to get the rear cage out this morning. It was much easier than I expected it to be - although I did cut the exhaust aft of the cage so I could get that out. Even the front radius arm mounts came off without issue.
I used my needle scaler to clean the grit off the mounting bolts.
And just like that it's out.
I was surprised to see this sticker still in excellent condition.
Further disassembly of the cage.
I used my ball joint press to press out the inner bearings on the wishbone
And this is where I need some help. I started with the small metalastik bushing on the radius arm and it's not budging. I didn't even try the big end because I don't have anything big enough to use as a press
I see a couple options here:
- Buy new arms with the bushings already installed
- Borrow a 20 ton shop press
- Push out what I can and deal with what's left stuck to the arm. I'm guessing I can use a hack saw to cut the outer edge of the bushing and fold it in using a chisel.
I'd prefer to not buy new arms yet because I really want them powder-coated. Does anyone have any "been there done that" ideas?
...
And this is where I need some help. I started with the small metalastik bushing on the radius arm and it's not budging. I didn't even try the big end because I don't have anything big enough to use as a press
I see a couple options here:
- Buy new arms with the bushings already installed
I'm not sure new arms with bushings installed will come with anything but "Quick-Rot" rubber or Poly bushings. When I was looking for these about a year ago, those 2 options were all I found. In fact, before I knew any better I actually had Poly bushings installed, but soon resolved that error, repenting in sack cloth and ashes.
- Borrow a 20 ton shop press
Husband has a 50 ton press, the problem is finding the correct dies that won't warp the arm mounting rings which are quite thin for what they do. That's why I reached out to the shop that worked on Jags 'back in the day' who still had the tools and did a fine job for me.
- Push out what I can and deal with what's left stuck to the arm. I'm guessing I can use a hack saw to cut the outer edge of the bushing and fold it in using a chisel.
Guido's shop (where I got mine done) did just that, except there was no pushing the old bushes out before attacking them with hack saw or similar. There were definite chisel tracks on the old bushings, about where the holes are anyway, where they had curled the bushing cans away from the arm rings.
I'd prefer to not buy new arms yet because I really want them powder-coated. Does anyone have any "been there done that" ideas?
As you're in the Chicago area, or at least in such a densely populated, industrial area, there's surly a machine shop somewhere with the capability to do these correctly and not ruin the arms or the bushings in the process. I'm told by those with several decades more experience that I have, that a plain old generic Machine Shop might not be capable of doing these correctly so you might have to launch a search.
Same with Powder Coating. Certainly in that area there are shops that will power coat just about anything you bring them for a fee. Even as fast as you work, you should be able to find establishments for these services before you're anywhere near ready to drive the car.
Considering the work you've done and expense already, it would be a shame to ruin these arms, especially as you have the proper Metalastik bushings.
(';')
I was able to get the rear cage out this morning. It was much easier than I expected it to be - although I did cut the exhaust aft of the cage so I could get that out. Even the front radius arm mounts came off without issue.
I used my needle scaler to clean the grit off the mounting bolts.
And just like that it's out.
I was surprised to see this sticker still in excellent condition.
Further disassembly of the cage.
I used my ball joint press to press out the inner bearings on the wishbone
And this is where I need some help. I started with the small metalastik bushing on the radius arm and it's not budging. I didn't even try the big end because I don't have anything big enough to use as a press
I see a couple options here:
- Buy new arms with the bushings already installed
- Borrow a 20 ton shop press
- Push out what I can and deal with what's left stuck to the arm. I'm guessing I can use a hack saw to cut the outer edge of the bushing and fold it in using a chisel.
I'd prefer to not buy new arms yet because I really want them powder-coated. Does anyone have any "been there done that" ideas?
If you are in the US Jaguar club, JCNA, you can borrow the special tools to change the bushes. Just put d I wn a deposit, and pay shipping in both directions. You need a 20 ton press to put the big bushings in. There is a YouTube video on how to use the tools.
 12-07-2021, 06:31 PM