When you click on links to various merchants on this site and make a purchase, this can result in this site earning a commission. Affiliate programs and affiliations include, but are not limited to, the eBay Partner Network.
Lots of great suggestions here - and I do need to join the Jaguar club. It's been on my list for a while.
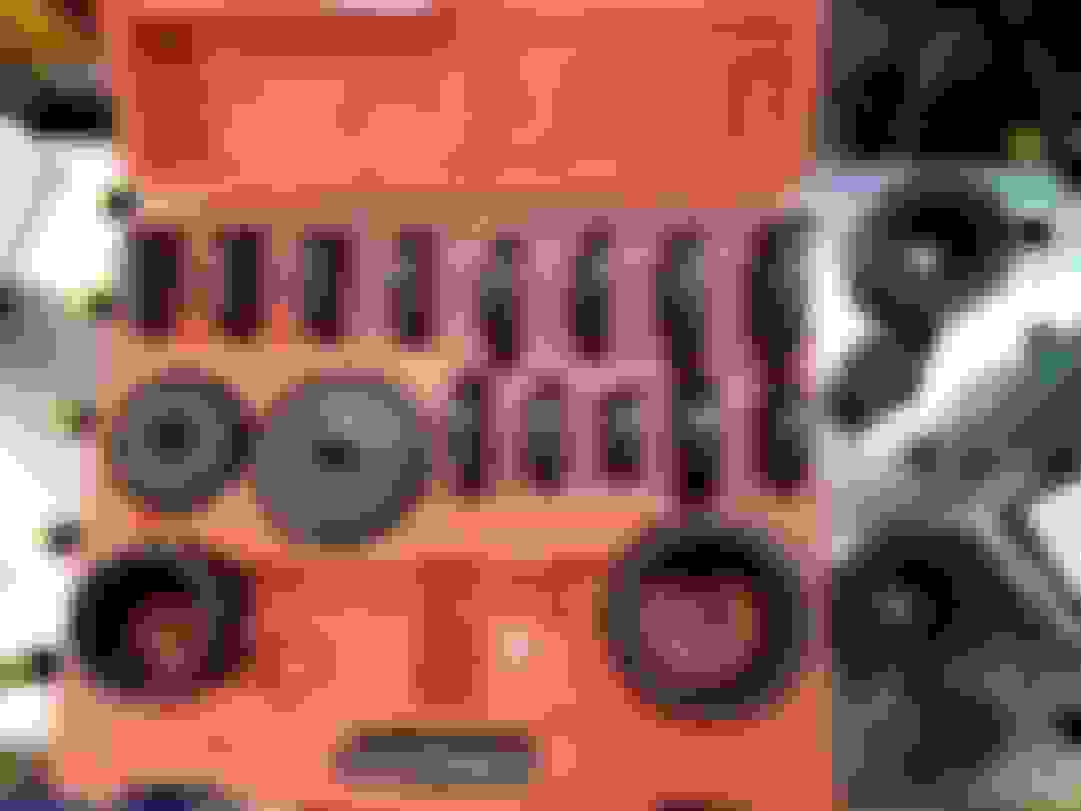
Not one to enjoy the feeling of being stuck or having being beaten, I made the post above and remembered I had a set of front wheel drive bearing adapters that I used to press in wheel bearings on the back end of my BMW 635CSi. I dug the box out and found that one of the adapters was the perfect size for the big bushings on the radius arm.
I ended up trying the two in the top left of the picture below. The second one in from the top left was the winner.
I tried using the bolt and nut that came with the kit to push the bushing out, but I soon stripped the threads off the bolt. I wasn't surprised - I was asking it to do a lot of work. So I took the wife to dinner and stopped at Harbor Freight on the way home to pick up a 20 ton shop press.
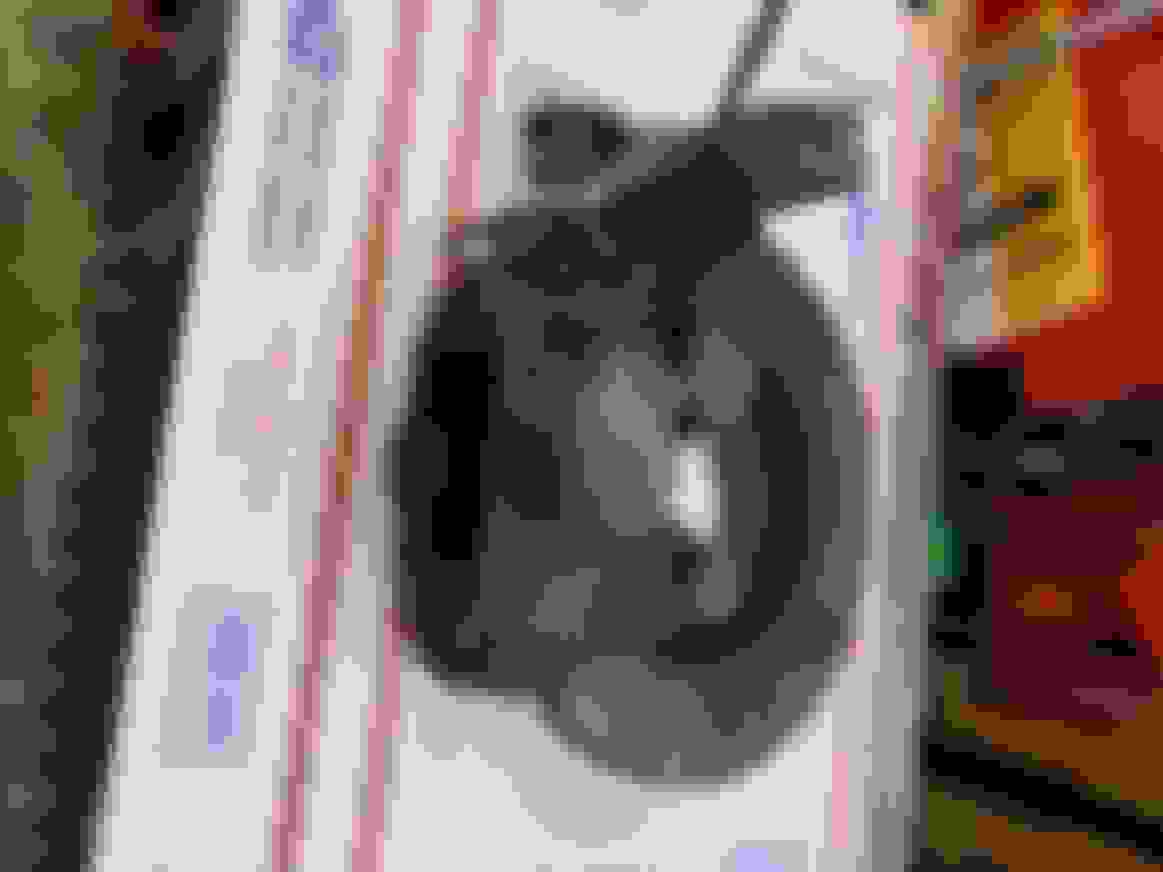
Using the aforementioned adapter as a press foot and the arbor plates to support the arm, The large bushing came right out without any complaints.
The large bushing, the press foot, and the radius arm. Not shown was the immense feeling of pride I had.
For the small bushing I used a 1-1/16" socket as a presser foot and the arbor plates to support the arm. The small bushings popped out without issue.
All done.
Tomorrow I will take the cage, the bottom plate, the two wishbones, and the two radius arms to the powder coater. I'm thinking gloss black will look really nice for something no one will ever see.
This week I will pull the rear calipers, sand blast and powder coat them, then rebuild them. I'll also clean up the diff and see what it needs although it seems to be in pretty good shape. I also have new stainless steel pistons on the way for the front calipers - I will rebuild the front calipers I powder-coated this summer.
Thorsen
Do NOT throw away those old bushes, which look in the photo to be perfect. The day may well dawn when they are a far better option to reuse than anything currently available once the metalastik bushes have all been sold. Metalastik are not making them any more.
As for the press, like LnR I am mad with jealousy!
Yesterday was a really busy day and I thought I would take it easy today - but I didn't.
I dropped the rear cage pieces off with my powder coater this morning and he thinks he might have them ready by Friday. So that motivated me to get busy out in the garage. I started with removing the right side rear brake caliper. It was still working but aesthetically unpleasing.
Everything came apart easily and apart from some light cleaning they weren't in bad shape.
The caliper halves took a trip through the sandblaster and I powder coated them the same color red that I did the front calipers a few months back. I just cleaned up the parking brake fork as the plating on those was still in good shape. The parking brake mechanism got cleaned up and painted. New pistons/seals/pads should be here in the next few days.
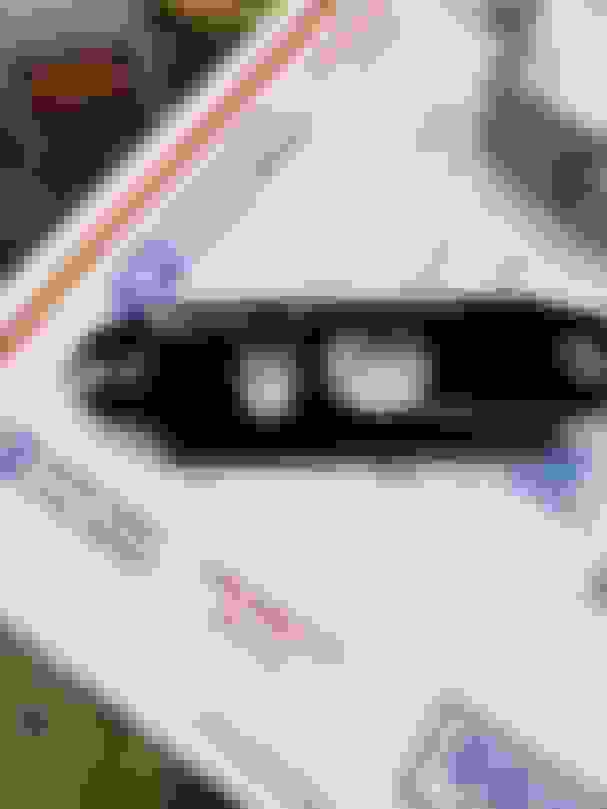
While I had my oven going, I also sand blasted and powder coated some of the brackets I pulled off the rear end. This one is the link that goes from the rear of the wishbone to the outer hub pivot.
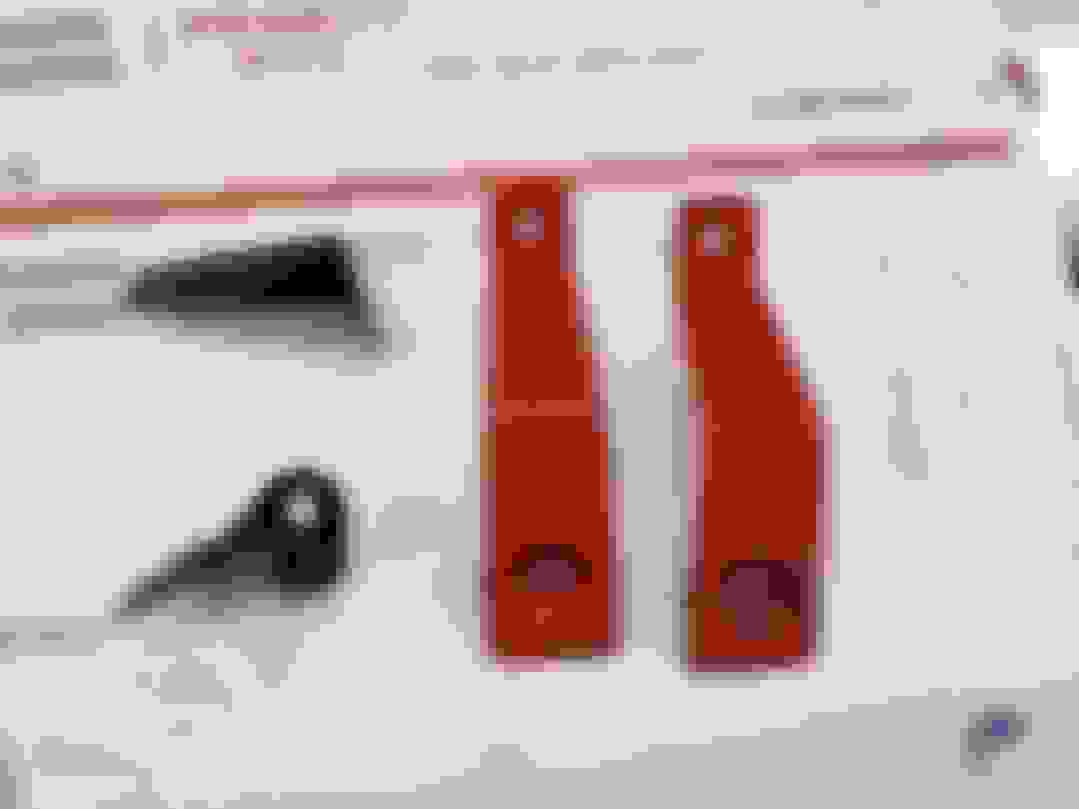
The red brackets are the safety straps on the front of the radius arm mount. One of the black brackets is to hold the rear brake hose but I forgot what the other one was for.
I just noticed the bracket on the right has some bubbling on it. I didn't notice it when I took the picture - I wonder if it's the lighting.
I finished up the day by removing and cleaning the rear diff cover. I'm going to reseal it because it weeps a little.
I've realized this week just how much I could get done if I didn't have a day job bringing me down
I talked to the wheel powder coater this morning. They have my 4 wheels sand blasted and powder-coated red and are scheduled to be machined and clear-coated next week.
The pigtail for the HVAC switches arrives last night. The Vintage Air wiring harness comes with female connectors that you slide on to the back of the switch. That works, but I wanted something more permanent and these fit the bill.
It was easy to wire them in. I labeled the plug for future reference.
After I got it all wired up, I hooked it up to a 12 volt power supply to test it out. I am pleased to report it works perfectly!
After that I moved on to making the AC hoses for the engine side of the system. Here's the #10 suction hose and although I didn't do it on purpose, you can see the adjustable wrench that I used as my forum name.
It's a little crowded in this picture but I have the new system all plumbed up. I used the original heater hoses and replaced the stock heater valve with a 5/8" hose splice.
I vacuumed down the system to check for leaks and it held this for about 5 hours and counting.
I'm still working through the inside but I am on the downhill side now.
I closed up 2021 by wiring up the linear actuators that control the fresh air flaps. I started with two DPDT momentary-on switches and wired them up so each switch would control one of the flaps. That gave me maximum flexibility to control the air in the car. In the spring or fall I can open both flaps. The left side flap will allow fresh air straight into the passenger compartment by way of the left hand foot well. The right side flap will allow either fresh air or recirculated air to flow through the HVAC system. This will allow me to leave the system off and have fresh air coming through the face, foot, or defroster vents. Or I can close the right side flap and recirculate cabin air through the passenger compartment.
The switches all wired up.
And here's a video of the left hand side in action. I apologize for the poor quality of the vent in action - it's hard to get the camera to focus.
Next I needed to mount the mode selector switch and the heater control for the Vintage Air system. I ended up with them mounted to the front edge of the center console storage bin. I wanted them to be out of sight but still accessible when needed. I'm not planning on driving the car much in the cold, and I'm guessing 90% of the time I'm driving it I'll have air blowing out the dash vents. So it seemed like the best place too put them.
Here is the backside of the compartment showing the wiring of the switches.
The switches to control the fresh air flaps came with black covers. I'm not worried about keeping water out but it does help hide the switches.
It's been a busy week at work and I didn't have any time to get in the garage this week, so I made garage time a priority this morning.
First thing was pressing in the new bushings on the radius arms. I smeared a light layer of anti-seize to make this easier for the next person that comes along.
I sacrificed a wheel bearing adapter to make sure I pressed in the small bushings correctly. Using a step-drill bit I slightly enlarged the center hole.
This meant I was pressing on the outer band only and not the rubber middle or the center bushing.
All pressed home. I made sure to use the Metalatik bushings.
The large bushings were similar in process. A light smear of anti-seize and an adapter of the right size to only push on the outside. I triple-checked to make sure there weren't upside down.
Metalastik bushings on the big end too
You can't tell from the pictures but I sprayed Fluid Film on the inside of the radius arms. This will help keep the interior from corroding.
Next I rigged a 1,000 pound hand winch to the rafters in the garage. The rear end is too heavy to try to pick up.
I got the rear differential mounted to the cage. I used Loctite on the bolts so the safety wire is a bit of overkill. But I am curious if I wired them correctly.
The rear cage is upside down. I have the new rear rotors on and have printed out the "Reshimming the Dog Bone" document. Between that and the factory picture of how the seals, spacers, and bearings stack up I should be ready to go.
Thorsen
The lockwire is fine. It should be done so that if the bolt starts to undo, the lockwire is immediately under tension; so your LHS one (in the photo above LHS) is a very good example of that.
10/10 for the loctite on the bolts though, I believe that it is very important indeed to do that. As Grant explained to me, lockwire is really safety wire, - ie it stops the bolt undoing enough to be sure it cannot come out. But, in this application, all safety wire after some years will allow a little movement of the bolt. I have had a diff come loose, ditto dogbones coming VERY loose. Now i always do the dogbones with the strongest loctite, the sort you have to heat to 400 degrees C to get the bolt undone. Highly recommended.
Lovely job on the axle, and perhaps you can be persuaded to do a job on the handbrake pads, as I, Orangeblossom and Duke have done? This is really worthwhile doing, and you end up with a really strong usable emergency brake (as you guys call it, I believe!).
Thorsen
Lovely job on the axle, and perhaps you can be persuaded to do a job on the handbrake pads, as I, Orangeblossom and Duke have done? This is really worthwhile doing, and you end up with a really strong usable emergency brake (as you guys call it, I believe!).
@Greg in France do you have a link for the Handbrake job? I just replaced the pads for no reason other than I was there but if there's a better option I am all ears.
I've also looked at the conversion to vented rear brakes - what's the consensus on that? I don't like that most of them mean you loose the parking brake.
The lawyers don't let auto manufactures call the emergency brakes anymore. They're "parking brakes". If they call them an emergency brake and someone uses it to avoid an accident - and then they don't - the manufacturer has liability. At l east that's my understanding.
Thorsen
Vented rear discs a complete waste of time and effort for anything but a racing XJS. I use EBC Red Stuff pads all round and they are fantastic.
Attached here is what I did on the handbrake, but if you look up Dukejag's thread on his rear axle, https://www.jaguarforums.com/forum/x...-243218/page2/
or Orangeblossom's, you willl see that they achieved a decent result with slightly less effort!
I am at least 4 years down the track now and it is still working exactly as a modern handbrake would. I cannot recommend the mod too highly.
After checking the U-joints and determining they were OK, I decided to go ahead and start reassembling the cage. You can see the purple strap I use with my overhead winch to move and rotate the cage.
Still need to install the passenger side shock absorbers.
Next up is shopping for some rear brake pins - I can reuse the old pins if I have to but would prefer new ones.
I left most of the pivots loose until I mount the cage back in the car. I'll tighten the up when the suspension is loaded.
While the cage is out I'll check the supply and return hoses that are usually hidden by the cage. There won't be any better time to replace them.
I'm also starting to think about the exhaust. Not sure if I want to buy a new stainless steel system or make my own that goes under the cage.
I have not done it, but I have always wanted to put the exhaust under the cage; sadly in France the exhaustv people are not up to fabrication of this sort; but if I ever go to England again, it will be done..
Another Saturday in the garage. I started out by correcting the fact that the upper ends of my shocks have a 5/8" hole but only a 7/16" bolt. So while there wasn't any clunking noise, I wasn't happy with the arrangement. I could have bought the proper Jaguar part but decided to buy an unthreaded spacer and drill out the hole to 29/64", which is 1/64" larger than the bolt. It worked perfectly.
Next up was moving my rear cage off my workbench and onto the transmission jack. Before I could get it under the car I needed to replace the 2 short 3/8" fuel hoses that are hidden by the cage. Once that was done I could move the cage back underneath the car.
I personally would not want to do this job without a transmission jack. It makes positioning the rear cage much easier, especially if you're doing it solo.
Back home and all 8 cage mount to body bolts are in.
Next up was hooking up the brakes and bleeding those. I wanted to make sure I didn't have any leaks before going to far. I had 2 leaks that were loose connections, but a quick snug on those and I think I am good. I also jacked up the wheel hubs to normal suspension ride height and tightened all the nuts and bolts. I need to put oil in the diff and plug up the speedo and ABS sensors and I think I am done back here.
With my workbench now cleared off I moved the 700R4 to the "next project" spot.
There's a gaping hole where the speedo sender would normally go so I am closing that off with one of these:
And a picture of the hole where the speedo sensor would go.
Next thing to tackle is the governor. I'll be using the springs and weights that @Xjeffs researched a while back.
Although I had the parts for months, this is the first time I put the Quarterbreed adapter on the 700R4.

 12-28-2021, 08:28 PM