When you click on links to various merchants on this site and make a purchase, this can result in this site earning a commission. Affiliate programs and affiliations include, but are not limited to, the eBay Partner Network.
That exhaust looks wonderful Thorsen. Very glad that all well with the grease nipple access!
Good decision about keeping the main slencers (mufflers) as once you start revving the engine under load, the noise is deafening.
Are you going to have an exhaust bracket somewhere in the region of the main silencers, forward of the cage somewhere? In my view much of the problem with the OEM exhaust knocks is because here is nothing supporting the exhausts in that area.
Are you going to have an exhaust bracket somewhere in the region of the main silencers, forward of the cage somewhere? In my view much of the problem with the OEM exhaust knocks is because here is nothing supporting the exhausts in that area.
Greg-
I am. I'm not a fan of long-spans in exhaust systems between the mounts. I get that the exhaust needs room to flex but I also think that can be handled intelligently with well-placed mounts. I'm looking at somewhere near the end of the transmission for the next set of mounts.
A quick trip out to the garage to fix a few things I left open from yesterday.
I had the transmission dipstick zip-tied to the cross brace and while that was fine as a temporary measure, it wasn't a long-term solution.
I cut and drilled a piece of steel...
Then I welded it to the cross-brace. A couple coats of paint to help protect it....
And done. The dipstick is flexible and can move as the engine torques on it's mounts but the top of the dipstick is now secure.
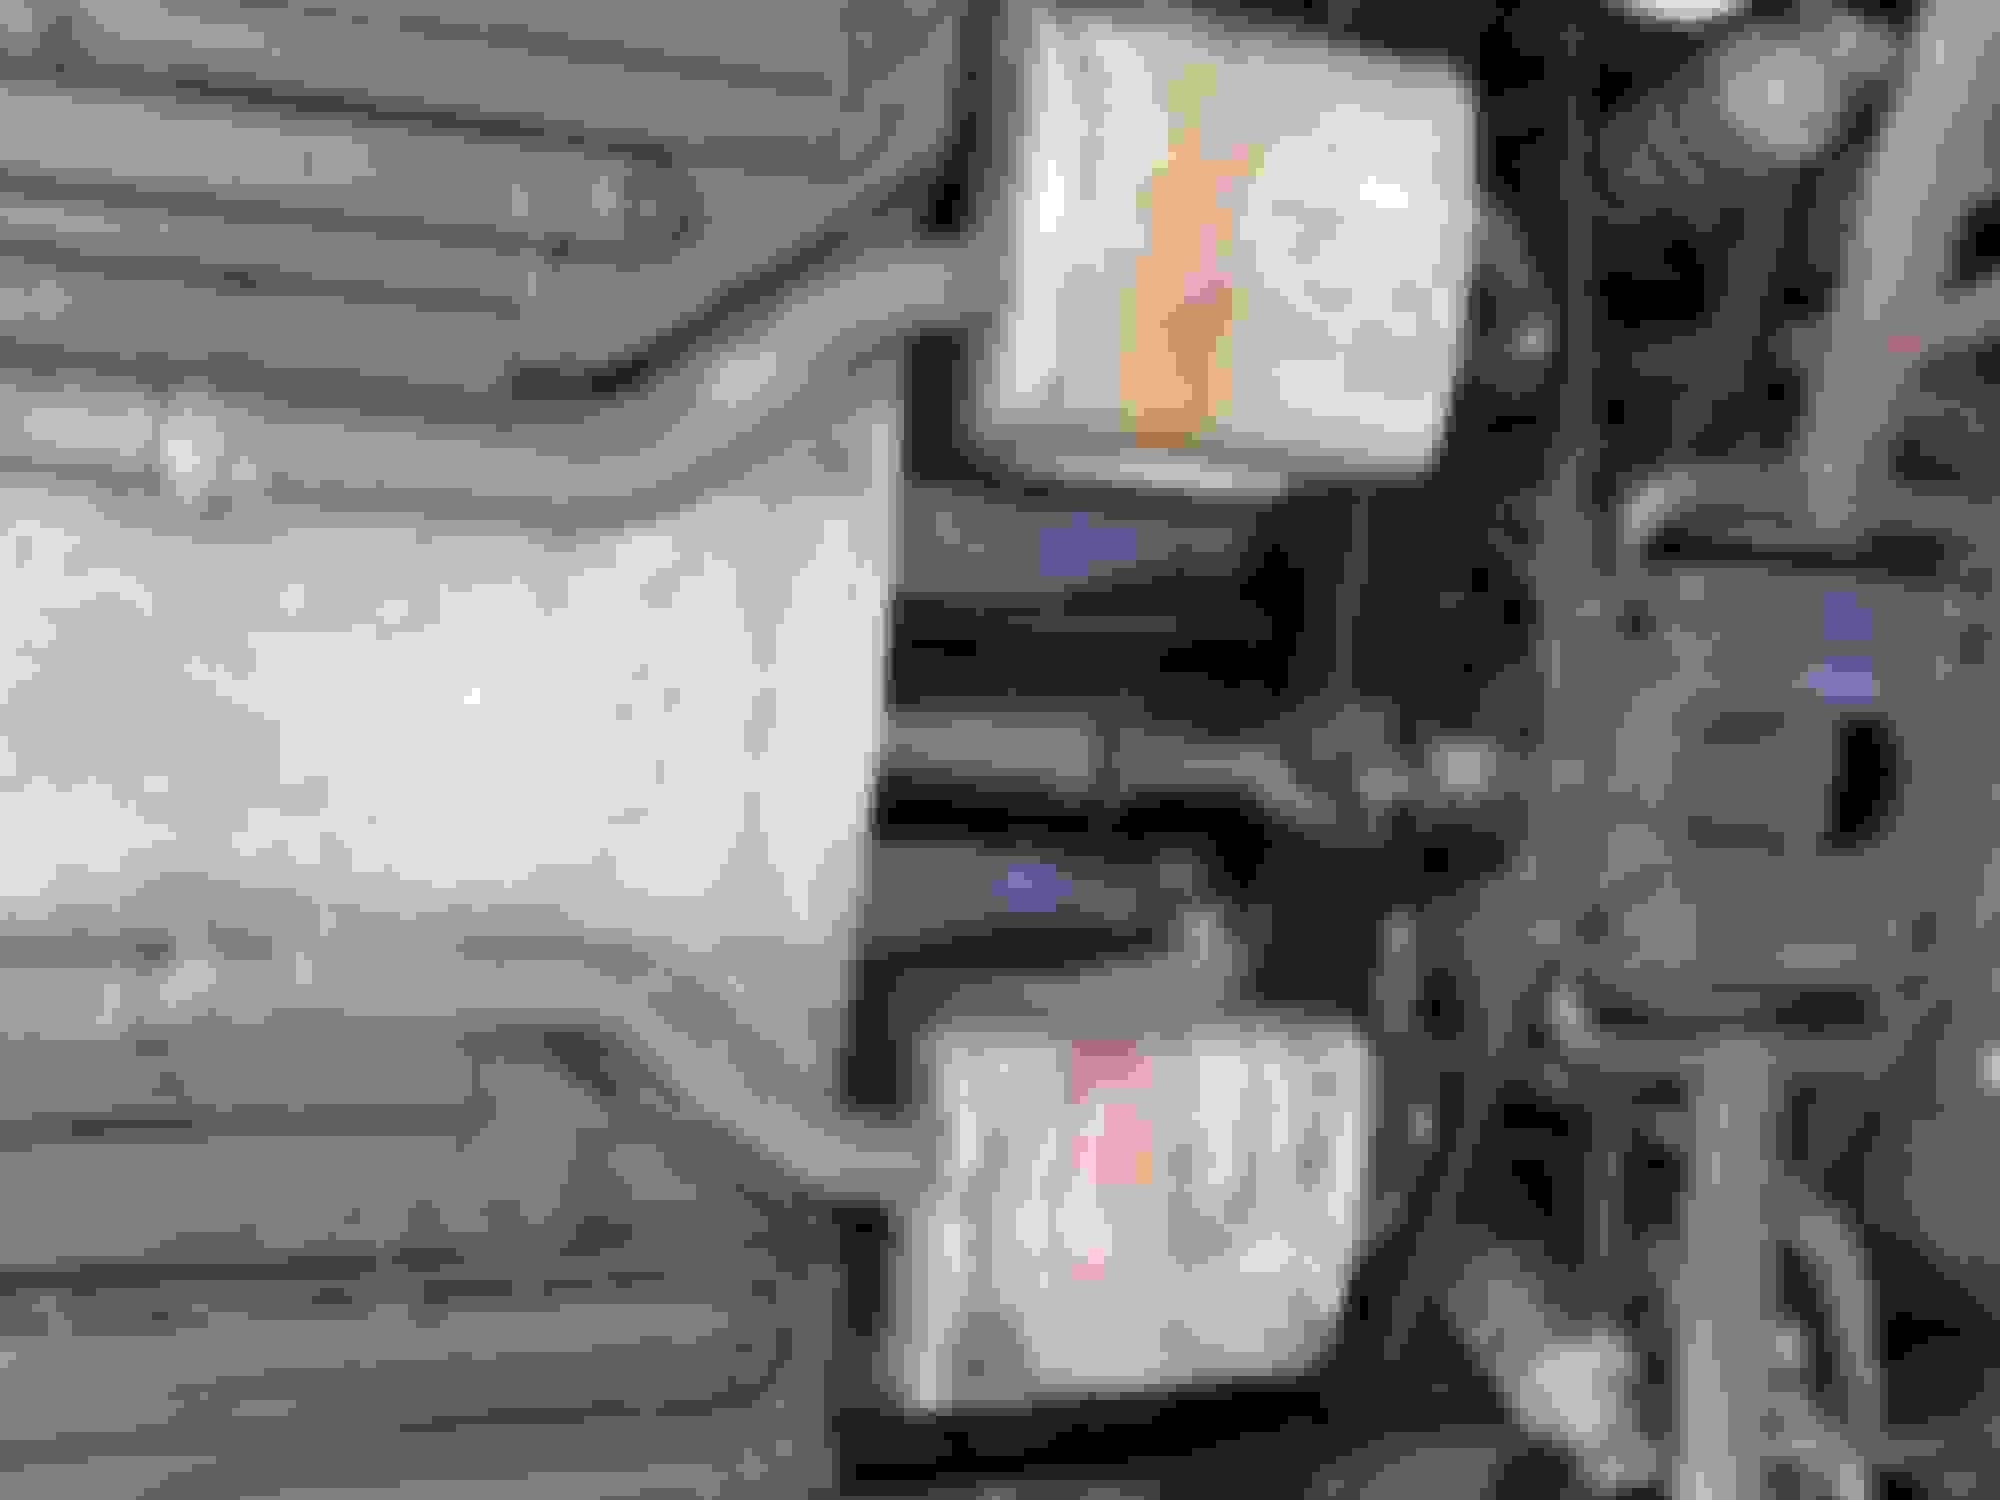
Although I measured several times, I wanted to make sure the exhaust would not foul the rear tires. There is plenty of room.
And one last gratuitous shot of the refinished wheels. I've done a lot to the car this winter but having the wheels done has to be one of my favorites.
I guess you are gonna need some flexible tubing/joint somewhere in front of the under-the-diff tubing to take up thermal expansion as it seems to be fixed lengthwise ?
Last edited by leo_denmark; 02-14-2022 at 07:31 AM.
I guess you are gonna need some flexible tubing/joint somewhere in front of the under-the-diff tubing as it seems to be fixed lengthwise ?
Correct. I have two of these flex pipes that will go somewhere around the middle of the system. The primary purpose is to bridge the engine side of the system that moves as the engine torques on it's mounts to the rest of the system that is relatively fixed. The secondary function is to allow for expansion of the system as it heats up.
Thorsen
Further to Leo's point about thermal expansion, which I had not thought about. In the OEM system this is taken up by the mounting pins under the cage top and at the end of the tunnel silencers. To eliminate the bother of flexibles, which I think are always a bit prone to failure (though i could be quite wrong) why not replace the under diff fixings by pins, pointing rearwards? In effect the same idea as the OEM ones. You would only need to reverse the rear bracket on the plate and replace the small bolts by pins, keeping the silicone bushes. Then as the entire system expanded the bushes would just slide a bit rearwards on the pins. The cross brace you have welded in between the two pipes would keep the pipes stable, maybe weld in one more nearer the front for extra security, job done.
Last edited by Greg in France; 02-14-2022 at 09:42 AM.
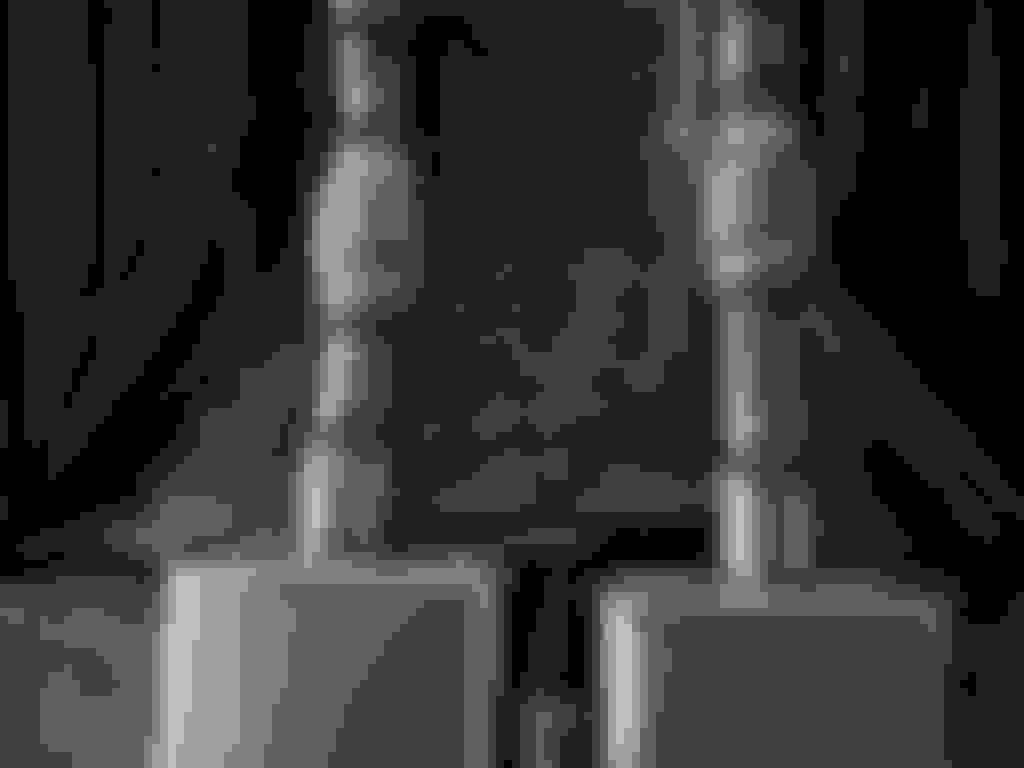
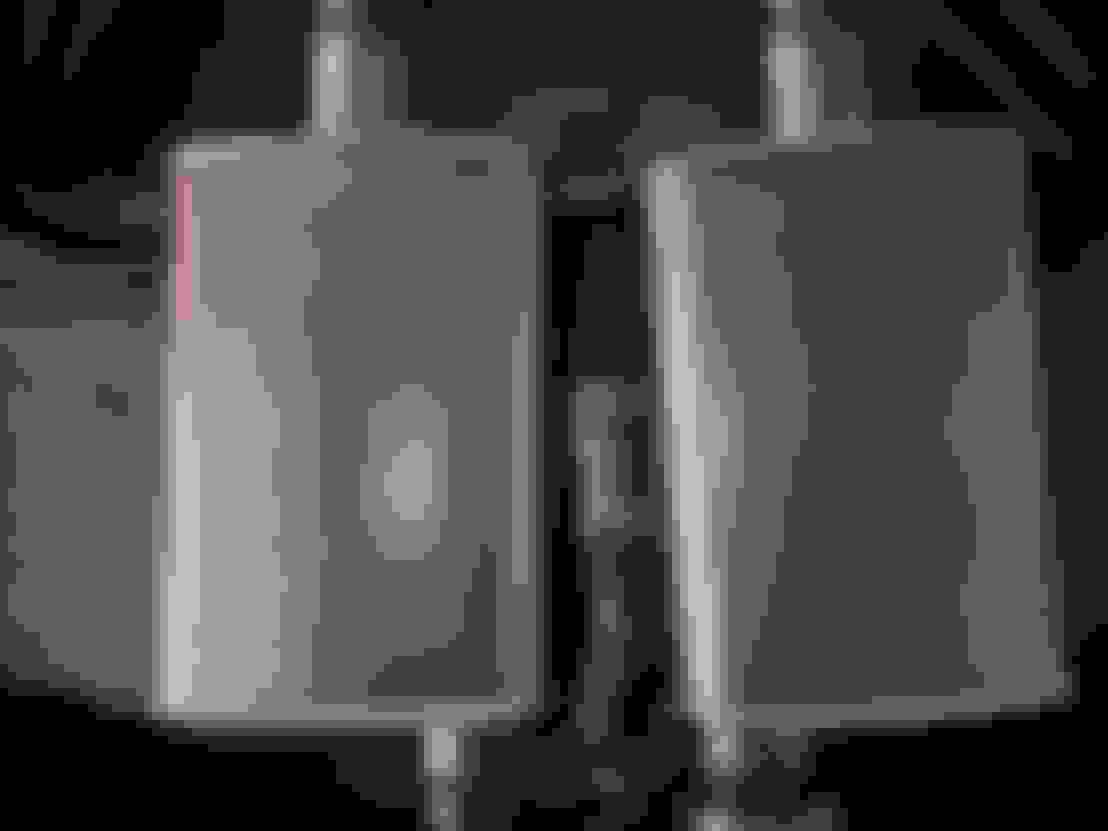
I'm still experimenting, but my Thrush Turbo Mufflers #17702 came in today. 2" center inlet and 2" offset outlet. They will fit perfectly under the car.
Thrush 17702 on the left, Summit Racing 633250 on the right.
I also decided to do a sound test. This is with no center mufflers and the rear resonators in place. Reminder that some of the exhaust joints are just slipped together so it's not an accurate sound representation of a fully welded system.
I'm still experimenting, but my Thrush Turbo Mufflers #17702 came in today. 2" center inlet and 2" offset outlet. They will fit perfectly under the car.
Thrush 17702 on the left, Summit Racing 633250 on the right.
I also decided to do a sound test. This is with no center mufflers and the rear resonators in place. Reminder that some of the exhaust joints are just slipped together so it's not an accurate sound representation of a fully welded system. https://www.youtube.com/watch?v=6_-dhVnpy7U
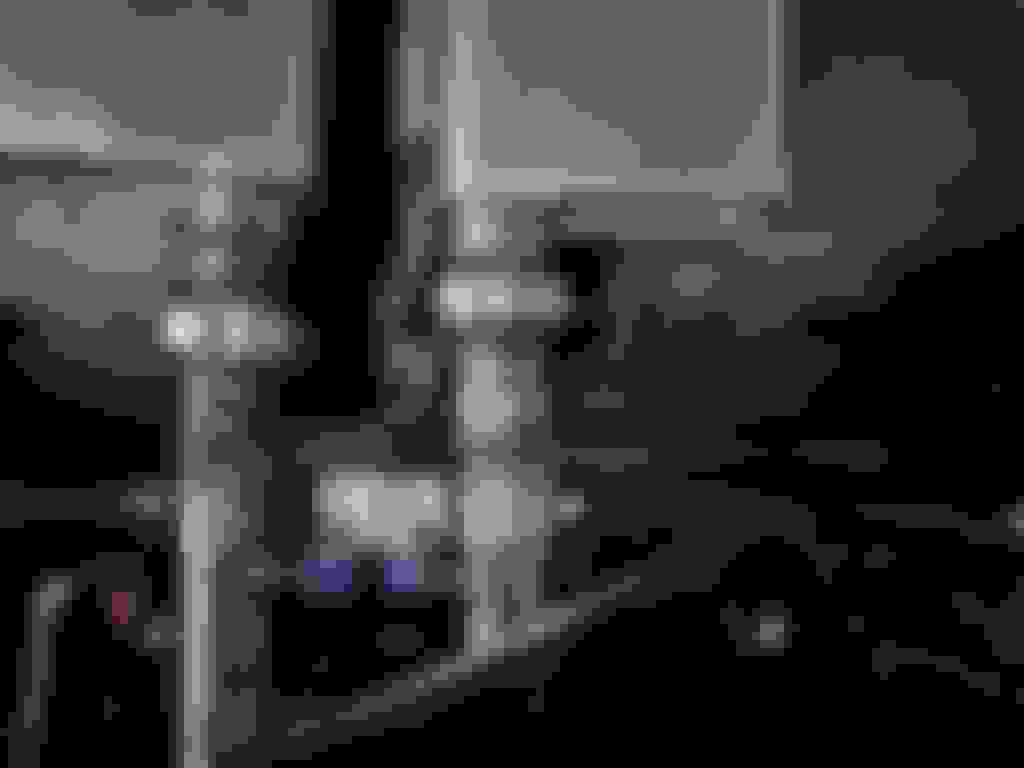
After that I cut the flex pipes and slipped the X-pipe into place. Was curious to see how much of any difference it made.
It is loud, but there are also 8 joints that are just a slip-fit and that's making a large contribution to the loudness. Look at the picture above - the top left joint has an 1/8" gap. There are 7 more just like it.
I'm thinking I want to weld it up with the x-pipe and resonators with no center mufflers and try it out. In the name of science.
My goal today was to get the exhaust finished and mission accomplished. Kind of.
I had to abandon my plan to run the X-pipe into the resonators. I need a tubing bender to make it work and I don't have one. So I went with Plan B and decided to run the Thrush 17702 mufflers. I started with welding the V-band clamps onto the pipe just in front of the IRS.
To get the mufflers to fit where I wanted them, I had to shorten the outlet pipe by 1.5"
From left to right are the exhaust pipes coming from the down pipes, the flexible connector, muffler, and you can just make out the v-band clamp.
Everything is just tack-welded at this point; it will come out to finish welding.
The v-band clamps make it super simple to drop this section if I ever need to.
After welding it all up, it sounds pretty decent. I won't know if it drones until I get it on the road but I am not expecting it to.
My to-do list is getting shorter. I want to rebuild the front brakes I powder-coated and put those on as well as finish buttoning up the interior from the HVAC replacement. I think I am on-track to be on the road by mid-April if the weather cooperates.
Thorsen
I love those flanged joins. This is making me feel brave enought to do this fix - once you have proved it works!
My idea is to swap the OEM boxes to the opposite side and to turn them upside down; by so doing I hope to be able to only need to do the aft-of-box pipework mods.
Anyone got any views on this idea?
Pic here of the OEM boxes i have (Bell stainless):
Last edited by Greg in France; 02-27-2022 at 07:28 AM.
@Greg in France has a great picture above showing the exhaust routing of the factory. Here's what mine looks like from about the middle of the car looking back. I really prefer the factory exhaust routing up to the rear cage.
Here are some part numbers/links to some of the pieces I used.
Greg had also asked about how I welded the V-clamps to make sure they were properly aligned. The picture below is a great example. I welded each half of the V-clamp to a section of stub pipe that slipped into the connection adjacent to it. When it came time to tack weld, I tightened the V-clamp fully, aligned the pieces to where I wanted them, then welded it. The stub pipes allowed a few degrees of adjustment to make sure everything lined up. Once it was welded it became a rigid assembly with the V-clamp properly aligned.
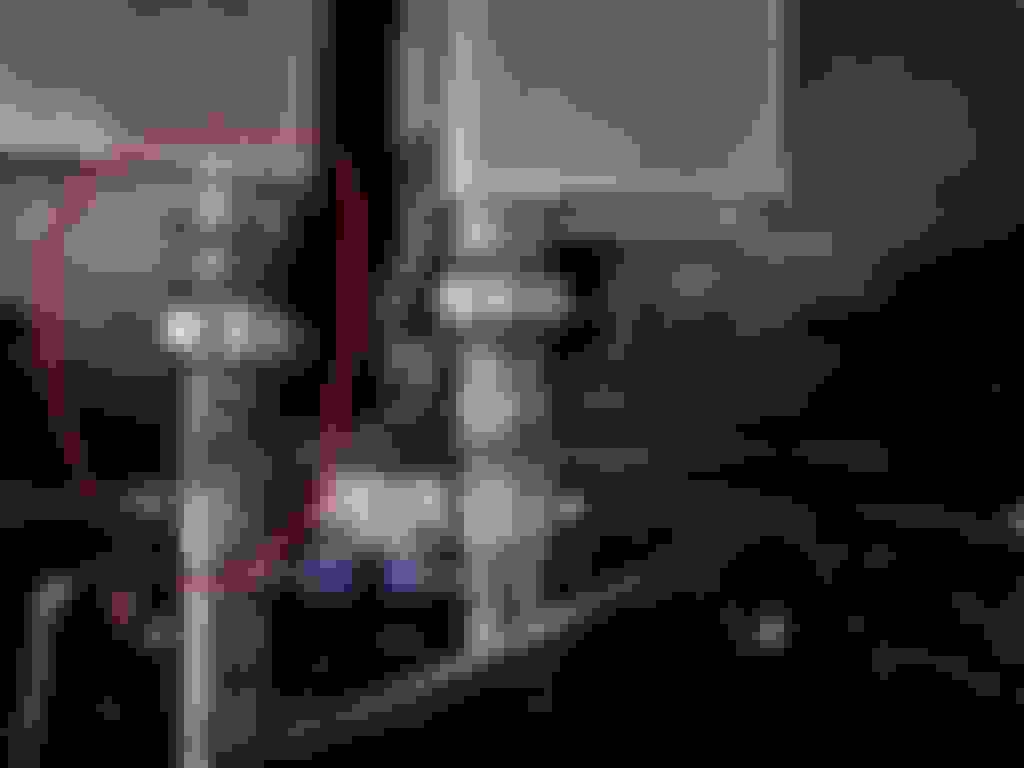
In the connection circled in red, look at the section below the V-clamp. The section of pipe coming out of the V-clamp is a few degrees off the center line of the pipe under the rear cage. The stub pipes allow for me to accommodate the difference and once welded up provide a leak-proof fitting.
Today I had to change oil in the "normal" cars but I also had time to finish rebuilding what I believe are the original front brake calipers. I pulled them off last summer and fitted rebuilt units but saved the original ones. Last Fall I sand-blasted and powder-coated them. Now it's time to rebuild them. This is is totally for vanity's sake as the ones on there work fine; the powder coating on these match the wheels. Not like anyone can see them.
The rebuild started with 8 stainless steel pistons. I had read that the stainless steel pistons needs to be smoothed, but the manufacturing process must have improved as these had no ridges or manufacturing marks.
The assembly order is square seals, piston, dust seals, and retaining ring. Once both halves are rebuilt, don't forget the o-rings that seal the halves together.
New 7/16" bolts and washers with lock-tite on the threads. I have new bleeder screws somewhere but I need to find those. I loaded the calipers with Dynamic Friction 5000 series ceramic brake pads so my new wheels don't get dusty.
I took a week off and went to Florida for Spring Break with my wife and two dogs, but finally had some time in the garage today.
I spent most of today cleaning up and reorganizing the garage (no pictures of that) but I also did a few things on the car. The rebuilt front calipers went back on the car today and I got all 4 wheels bled using the correct Teves process.
You can't even see the rebuilt calipers behind the wheel but I know they're there.
There are a few more things on my list. I need to run a new AC wire from my Vintage Air unit to the Hi-Lo switch/AC compressor. I need to finish putting the under-dash panels on and re-installing the radio. After that I think I am ready to take it for a test drive.
 02-12-2022, 08:11 PM