When you click on links to various merchants on this site and make a purchase, this can result in this site earning a commission. Affiliate programs and affiliations include, but are not limited to, the eBay Partner Network.
I found all the receipts from the original owner in the glovebox and spent some time this evening organizing them by year. I found it slightly alarming that the first receipt at the 1,000 mile service was complaining about the engine running poorly - and that sentiment was carried over into almost all the receipts until the end.
The last receipt was dated May 1992 with a mileage out of 34k. Current mileage is 48k - so that means this car has only covered 14k miles in the last 29 years. I wonder why.
The funniest receipt was from the mid-1990's with a complaint about engine hesitation. It's hard to read the receipt, but they pulled the tank and found a nylon packet with two tablets in it that was clogging the fuel pick up. No clue what that was but according to the rest of the receipts it didn't cure the engine hesitation.
Continued staying busy in the garage yesterday. I sand-blasted and powder-coated the ignition coil brackets then mounted new coils.
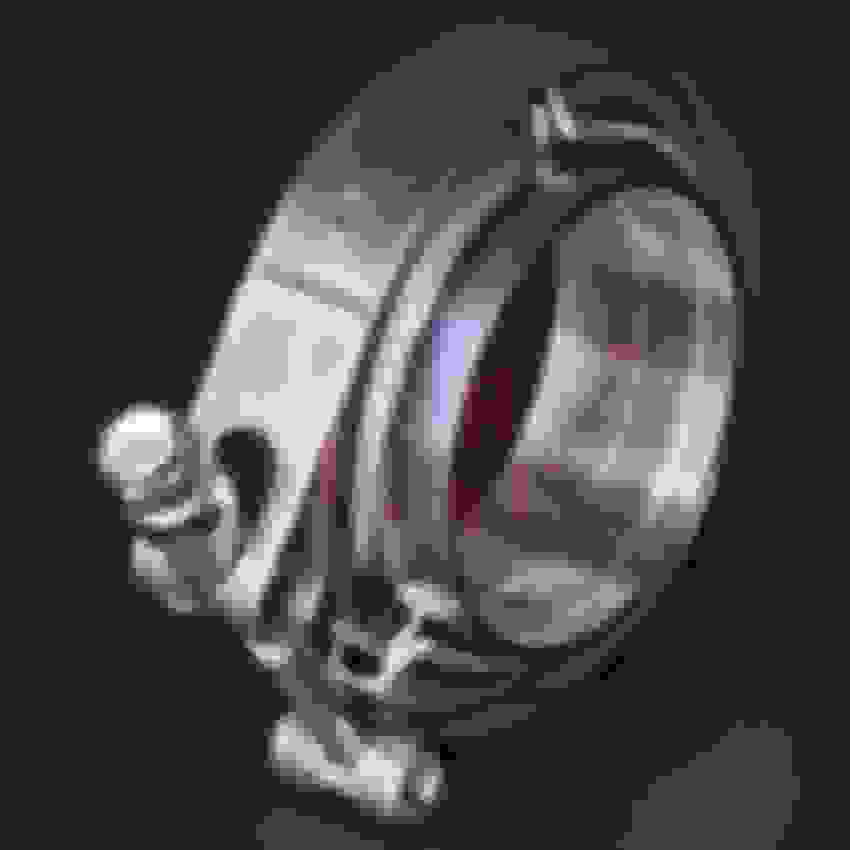
I checked out the starter and was greeted by this mess on the solenoid. I'm going to make sure the engine runs before I try to tackle that one - because I'm sure as soon as I touch it with a wrench it's going to break into a thousand pieces. I was happy with the gear reduction starter I put on my MGB and was thinking about going the same route on this one.
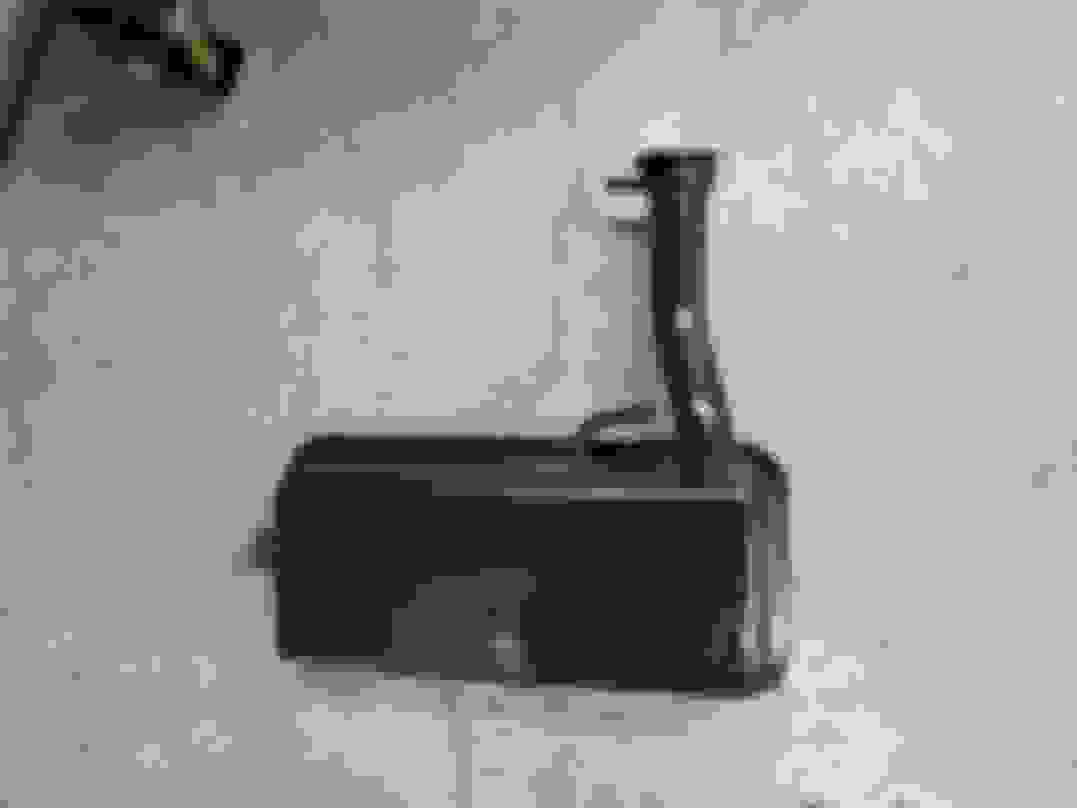
The last thing I did was sand-blast and paint the coolant tank. While the exterior looks improved, the inside is still rusty. Since I'm trying to avoid contaminating the cooling system again, I'm trying to decide if I should try something like Naval Jelly on the inside - but I doubt that would hold up to hot coolant. Plan B is to see if something like this would work. It has a bottom port to hook up to the coolant rail and a top port to hook up to the radiator. But yet again, that's another problem to solve after I know the engine runs.
Ignition coils - before
Ignition coils - after
Crusty starter solenoid
Coolant tank after about 3 minutes in the sand blaster
After almost two long months, we have internal combustion!
I woke up this morning and checked the tracking on my aluminum half moon seals and 1 month later - there's still no progress. I decided it was time to press ahead and deal with those at a later time. I put the valve covers back on using the rubber seals and put the intake manifolds back on. I assembled the retainers onto all 12 rebuilt fuel injectors and installed them, hooked up the electrical, and plumbed it all up. I also installed a 10 micron fuel filter right before the fuel rail as a last-chance to catch any debris After putting in 2 gallons of fuel, I bypassed the fuel pump relay with a jumper wire and checked for leaks. All the connections and fittings were bone dry.
I brought my wife out to start it up while I kept an eye on things. I told her to crank it and if it started, count to 1 Mississippi then turn it off. The goal was to see if the engine would even start, not to see how well it started. On about the second rotation the engine came to life. The wife dutifully shut it down a second later and all was well. The exhaust manifolds are still open with no down pipes so it was loud and the floor under the engine got sprayed with some left over Marvel Mystery Oil from about 1/2 way up this thread. But we now have an engine that runs.
I also did some work on the exhaust, welding the V-band clamps to the down pipe. I've never used these before and was impressed with how well they seem to work. There is a male and a female end, and those are held together with a clamp. Everything is stainless steel so I'm curious to see how well it holds up.
Next steps are to address the rest of the cooling system (mainly buying a new radiator), decide if I'm going to replace the starter, and work out mounts for the alternator and AC compressor.
Thorsen
I have never seen those connectors before, rather smart. Please do not think that I am a purist or carping, but I do have one observation:
I assume they join the downpipes to the under-car exhaust pipe that runs to the silencers under the car below the rear seats? My only suggestion is that you need to be 100% sure they are aligned correctly before welding. The OEM three-point flanges allow a considerable degree of adjustment, as the under-car pipe has not much space. If they are out by a few degrees, the pipe may not run correctly. So be prepared for a bit of heating and pipe bending in your future!
Thank you for the picture, Greg. It confirms my suspicion that what's under my car has been changed at some point. The transition from the cats to the exhaust pipe was a slip fit joint with tons of exhaust sealer - it just didn't look very Jaguar-ish.
What you have are ball-and-socket exhaust flanges. I'm going to look into those and you're correct - it will make lining up pipes much easier.
How did you modify the air pump bracket to fit the CS-130 alternator? And which alternator did you get? I'm going to need to upgrade mine to run those two massive fans...
I'll be using the Remy 91653 CS-130D alternator. RockAuto sells them for about $100 and the test tag that came with mine said it topped out at 181 amps.
I'm still working through the mounts and will take pictures of how it ends up. I'm trying to mount the alternator in the stock location but it's going to be really tight. I can tell it's probably going to end up where the air pump was but I'd rather put the AC compressor there if I can make things work.
Those are just proof-of-concept mounting brackets, not final version quality.
Last night when I was falling asleep I got the great idea that life would be easier if I mounted the AC compressor down low where the alternator was, and mounted the alternator was the air pump was. I tried lining things up tonight and while it would have eliminated the need to fabricate mounts, the alternator belt was going to do some rubbing. And that's no good.
I took some 1/8" scrap metal and lined out a front mount for alternator mount Version 2. As witnessed by the slotted hole, you can tell that speed was the priority and not accuracy. That's for the final version.
After a few adjustments, the front mount prototype was good enough. I can transfer the design over to some 3/16" steel plate and make a more accurate mount. Even the stock belt fit.
Next I put the AC compressor on the air pump mount. Pulley alignment was good, but I wasn't a fan of the compressor hanging so far off the mount. Plus it was going to cause issues with the radiator hose.
I really want to clean up the engine bay by not putting the AC compressor in the middle of the engine, so I'm going to spend some time trying to make this work.
Plan A is to use some generic compressor brackets and weld them to a plate that would replace the air pump mount. I already have a set of the brackets under my workbench.
Plan B is to try a York to Sanden adapter bracket bolted to the air pump mount. It's similar to Plan A but might be slightly easier.
Plan C is to fallback to the stock compressor location but I really don't want to do that. I'd rather keep the top of the engine open to help with airflow. Plus rigging up a belt adjuster would not be fun.
It came with the ribbed pulley. I don't know when the change was made from v-belt to ribbed but I would bet you a frosty drink it coincided with the switch to the Marelli ignition.
I was able to finish the alternator mount this weekend, but because I had to steal the alternator for my MGB I wasn't able to mount it. Hopefully I'll be able to get that done this week. I ended up welding a bar across the front of the mount to keep it from flexing. After I mount the alternator I can check the final fit of my AC bracket and mount that as well.
I was able to finish up the driver's side exhaust. I ended up using a length of flex tube to connect the down pipes to the rest of the exhaust system. It's not permamnent - it's just good enough to get me to the exhaust shop where I can look at my options.
New o2 sensor and I used Reflect-a-Gold on the heat shield for the steering rack boots.
I'm using a stainless steel band clamp to connect the far end of the flex hose to the rest of the exhaust system.
Parts are slowly arriving. Today I got another alternator and had time to get it loosely bolted up. I need to put the adjuster back on but I should be able to get the alternator done in the next day or two.
Alternator plugs for the CS-130D are cheap and make the wiring much easier. The blue wire is the Sense wire and connects to the battery terminal on the back of the alternator. The yellow wire is the Light wire and will connect to the brown/black wire that connects to the alternator warning light on the dash. The other two wires aren't needed and are shrink-wrapped for safe keeping.
I had high hopes of having the alternator and AC compressor permanently mounted today, but I made a rookie mistake that set me back a couple days.
First - I was able to get the alternator mounted. I'm using the stock location and the stock belt. being down low the alternator will have access to cool air which will help with it's longevity and performance.
A view from the top showing the adjuster.
It was about this time I was feeling pretty proud of myself, then I went to plug in the alternator plug and couldn't. The socket was facing the cross member and there wasn't enough room. No problem, it's easy to clock the alternator - 4 bolts on the back and turn the back side of the case in the proper relation to the front of the case. Except I broke one of the brushes in the process. I went to Napa hoping to find the brushes but they don't sell those anymore. I did find a set on eBay for $5 and they should be here this week.
I moved on to the AC mount. I cut apart a universal bracket and welded it to a piece of 1/4" steel. I drilled holes in the right spots and bolted it to the bottom half of the old air pump mount.
I had to order a couple of bolts for mounting the compressor to the mount. Those should be here this week. I used an old belt to measure and I think I'll need a 44" long belt to make this work.
I also started replacing the original vacuum lines with silicone vacuum lines. It's amazing the original lines were still working - they were all hard as a rock.
I took some today to drain and refill the rear differential and make a new starter battery cable. Draining and refilling the rear diff was easy after I removed the tie plate. The battery cable was one of those relaxing Sunday evening projects that's a great way to cap a weekend.
I had considered running a redundant 4 gauge cable from the battery to the starter, but ultimately decided against that. It was going to be difficult to run the cable around the rear cage, and the existing cable is already sized to drive the starter, so I wasn't worried about pushing the maximum 180 amps of the CS-130D through it. I was worried about the cable from the firewall to the starter (and eventually to the alternator) and decided to upgrade it. 1/0 Cable is rated to around 250 amps which is overkill for this application, but overkill is the best kind of kill.
First up - checking the terminal to make sure it fits:
After hitting it with my hydraulic crimper. I always give it a good tug to make sure it's secure.
I would have used black sleeving if it was going to be visible, but since no one's ever going to see it I used the blue sleeving in my parts bbox.
A piece of heat shrink tubing to seal the end:
I also ran a 10 gauge wire inside the sleeving for the starter solenoid.
I used a terminal boot to protect against short circuits, and slipped on a length of heat shield to make sure this one lasts for the next 32+ years.
I hooked the terminal end up to the firewall but it's hard to get a picture. This upgrade should make sure I don't overload the original heat-soaked factory wiring.
After selling my X150, it's time to come back to the X27 world. I had a 1996 4.0 convertible that I loved. Now I'm in the market for a V12 - let me know if you know of any for sale in the Chicagoland area or midwest!
Thomas
Love mine, but would consider letting it go for $30K. Michigan.
Love mine, but would consider letting it go for $30K. Michigan.
LOL thanks, but there are 3 pages of this thread explaining the poor decision I already made
Tonight I was going through parts I needed to get the AC system functional and I came across the original AC expansion valve. I always find it entertaining when parts are from countries that no longer exist
Today I got my new alternator brushes in the mail and was able to get the alternator put back together at lunch. I took it to AutoZone and had them test it - I thought that if I had put it back together wrong this was the best time to find out. The helpful people at AutoZone told me it was dead and offered to sell me one of theirs. The two people testing it looked like they had no clue what they were doing, and then I remembered all the other times I asked them to test one for me in the past it was ALWAYS dead. I drove down the road to O'reilly's and I watched them test it - and it was fine.
So my new CS-130D is permanently mounted now. I'm still using the stock belt and hooked up a nice thick 2 gauge wire to go back to the starter.
Then I bolted up the AC compressor to measure for a belt. 44" looks to be the magic number to clear the bypass outlet and the radiator hose. I can pick one of those up pretty easy and check it out.
The new Wizard radiator with HO fans and the gear reduction starter will be here in a few days. I'm super excited to be nearing the end of this part of the project - but I know there is still a lot left to do.
The Wizard radiator came today. I'll be honest, I seriously considered the $300 aluminum eBay radiator but after seeing what I got - I'm glad I didn't. This radiator is very well made and is worth ever penny I paid for it.
I'm slowly getting closer to having a drivable car...
 05-15-2021, 07:20 PM