When you click on links to various merchants on this site and make a purchase, this can result in this site earning a commission. Affiliate programs and affiliations include, but are not limited to, the eBay Partner Network.
OK, so it’s been awhile since I’ve posted anything regarding my repaired 1996 Jaguar XJS.
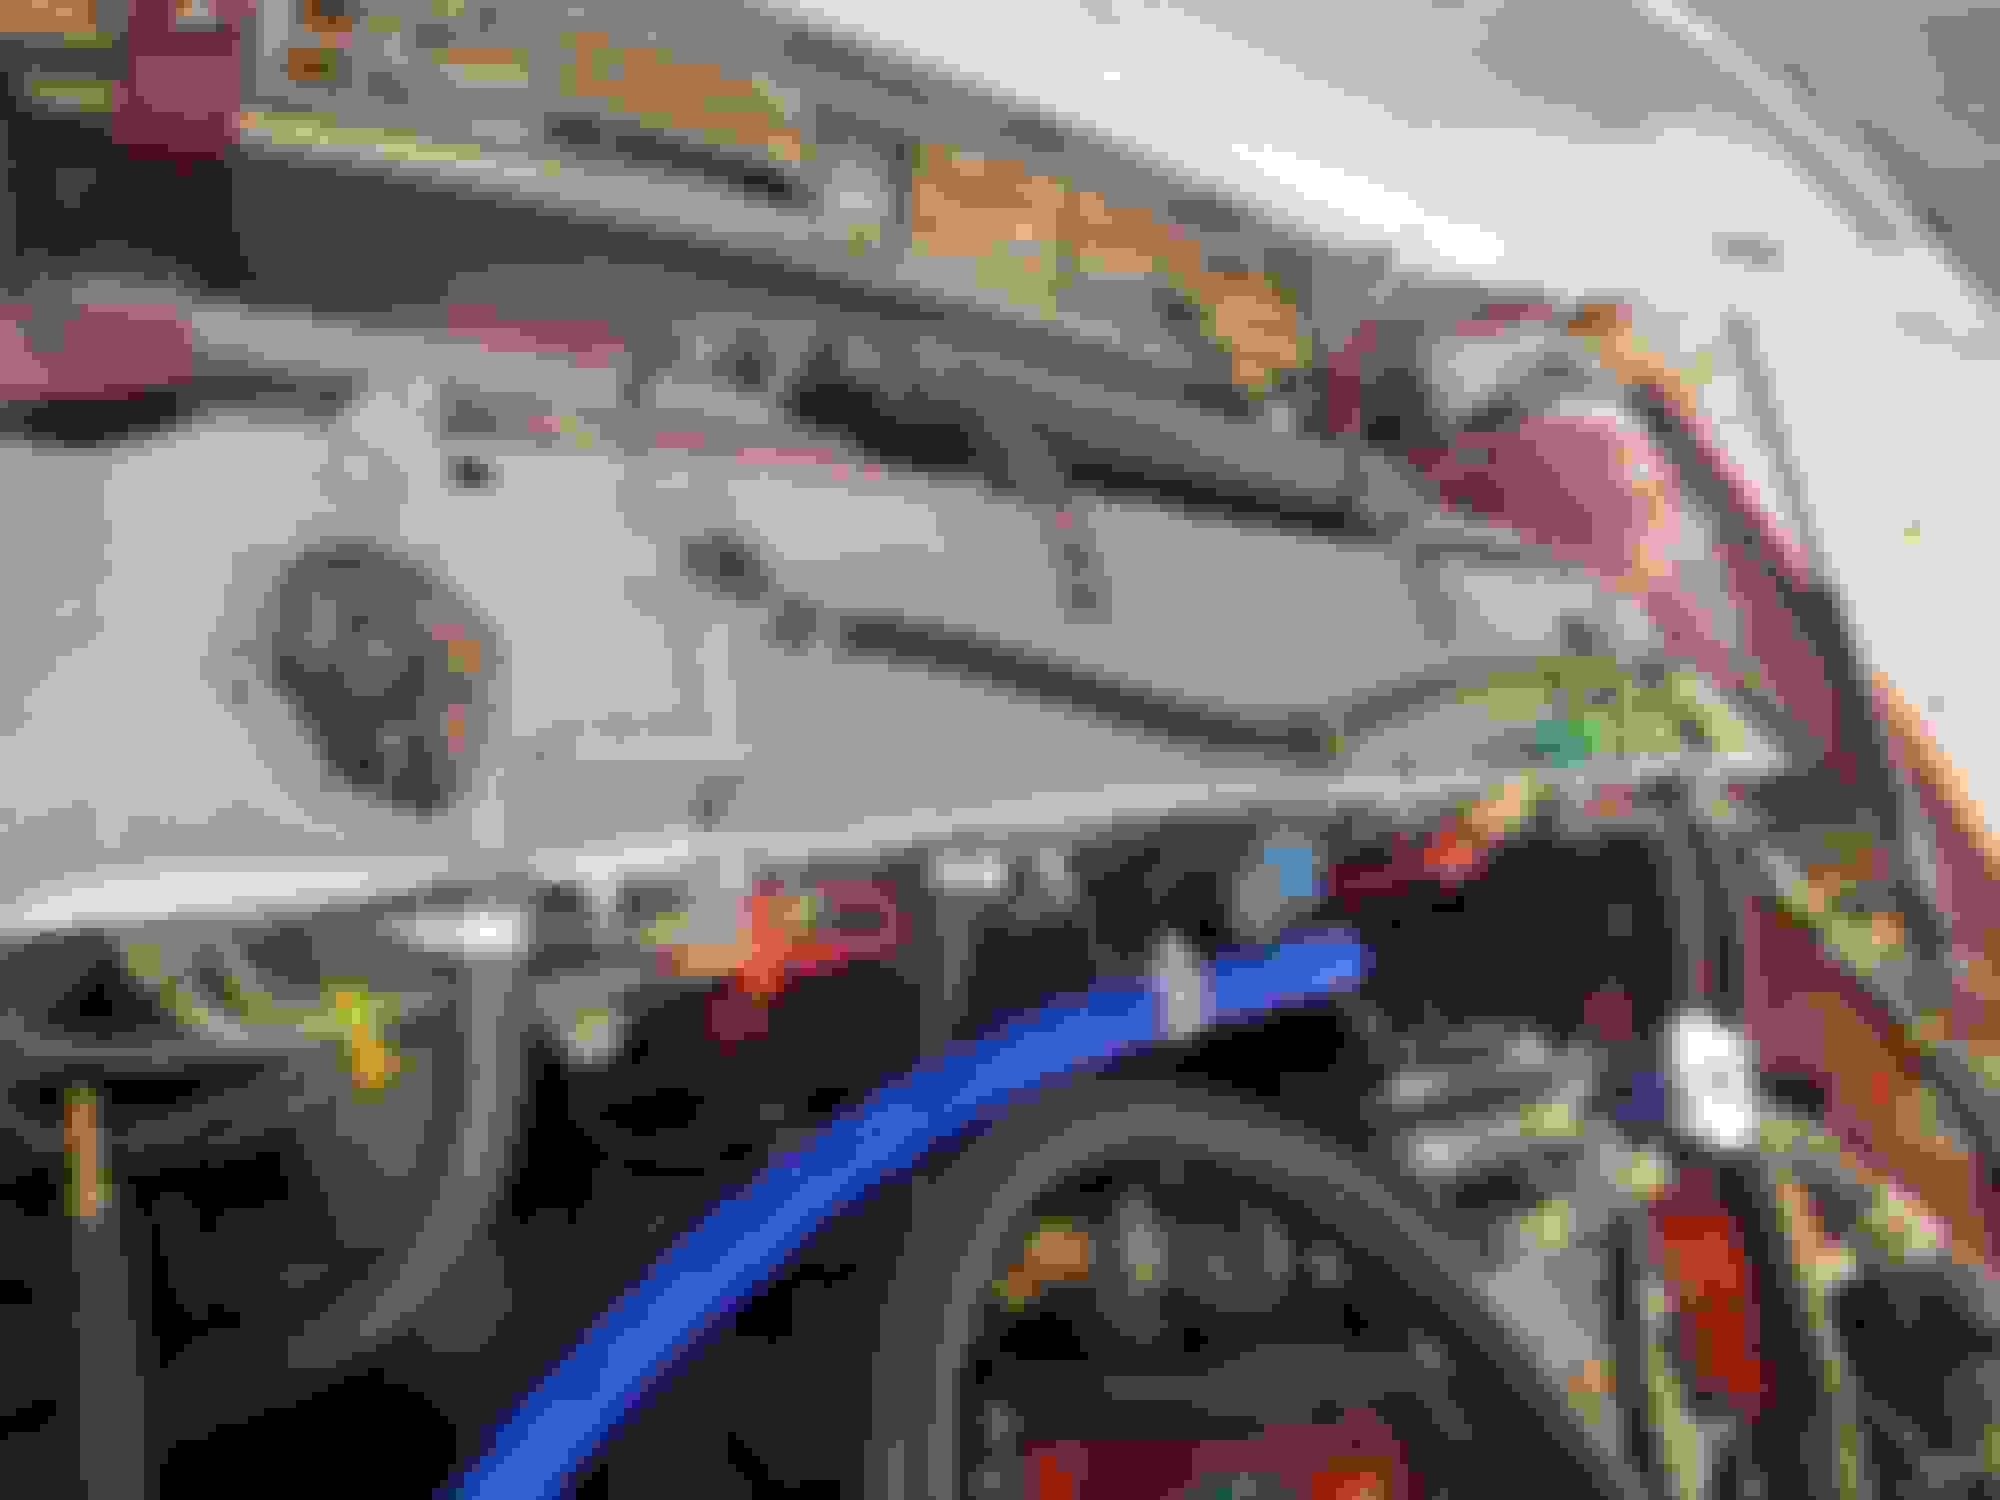
For quite some time, if I accelerate and turn left (I believe) I get a scraping sound from the front of my car. I believe I have narrowed this down to a loose radiator. It simply takes no effort at all to pull on the radiator hose and have the whole radiator move around. I suspect it’s banging into the fan.
The problem is that I don’t know how to fix it. There are no bolts or nuts to tighten to keep the radiator secured. The radiator has to posts on the top and two on the bottom. I did make sure that I kept the bottom mounting pads, CCC4794, which are quite robust.
Unfortunately, I can’t tell if there’s a bushing or rubber support I can replace in the upper support, or if it just comes integrated in the top support member (HHD4157AA), in which case everything has gotten very squishy.
Maybe I just have to find some properly sized bushings and jam it under that upper support panel to help lock the radiator down. I came here looking to see if anyone had history with this problem.
Vee
There are four large bushings, two at the bottom and two at the top. They fit into holes in the cross member (below) and the radiator closing panel (above). You need to fit these, and ensure the radiator closing (top) panel is nicely holding the assembly firmly in place. Item 11 in this diagram, part number CCC4794: https://parts.jaguarlandroverclassic.../brand/jaguar/
Here is an ad with a photo, they are still available from Jaguar and loads of other places: https://www.britishparts.co.uk/class...ting-pad-p3565
Last edited by Greg in France; 02-04-2020 at 12:22 AM.
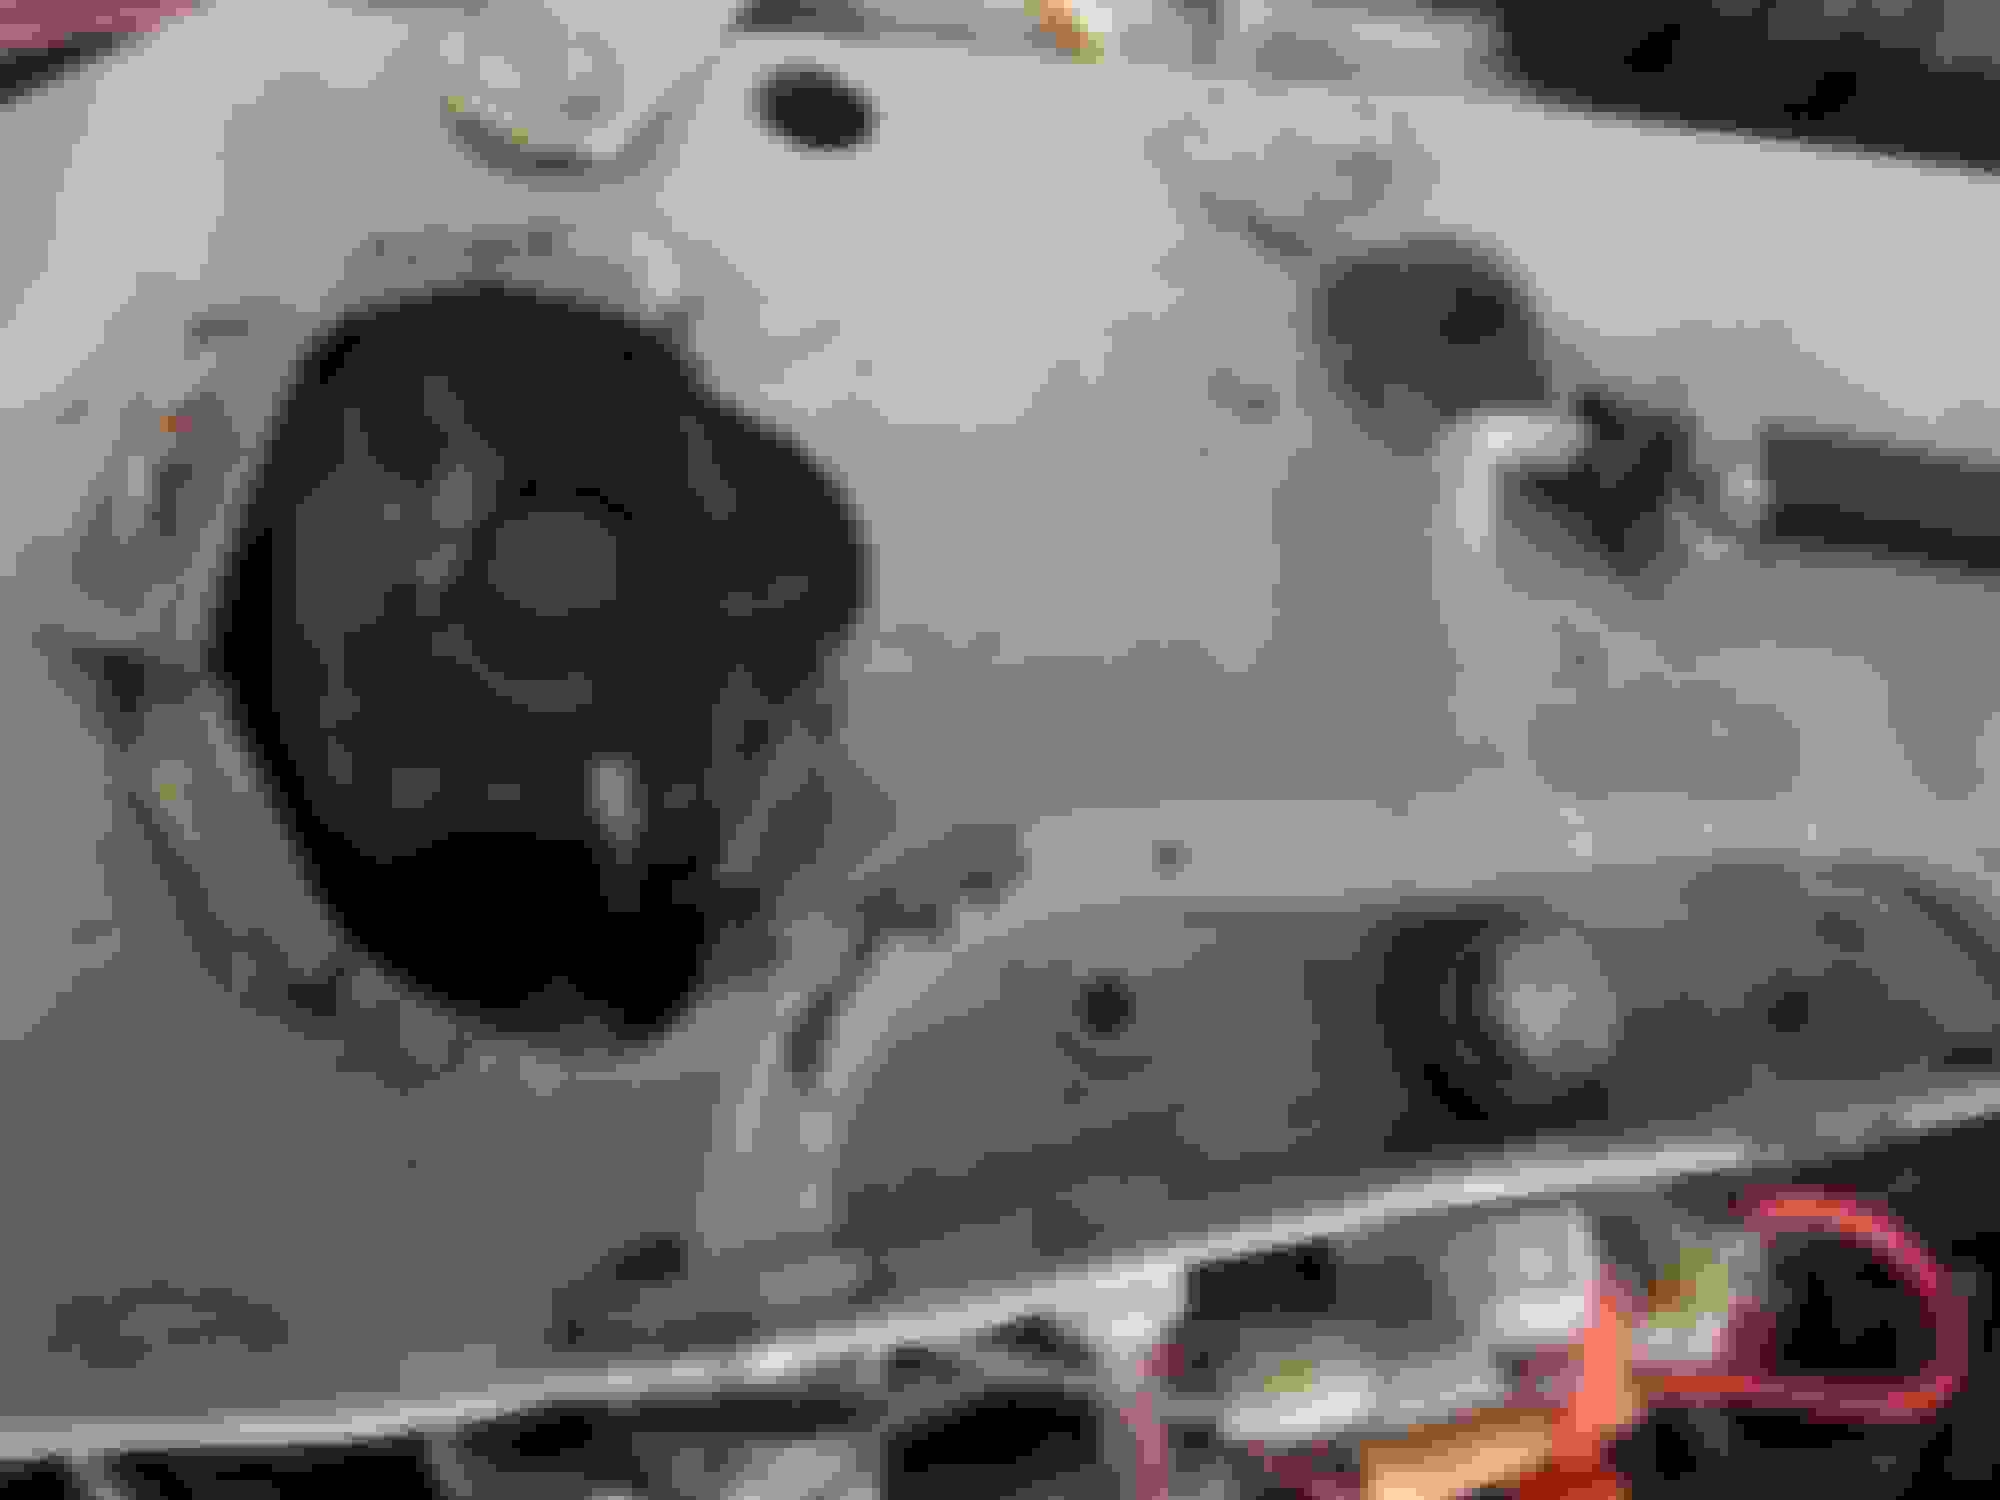
As has been explained by 'Greg' there are 4 Rubber 'Doughnuts' holding the Rad in place 2 at the Bottom and 2 more which are inserted into the Closing Panel which goes on the Top, where the Rad has 4 pegs 2 on the Top and 2 on the Bottom which go into these Rubber 'Doughnuts'
That is all that is holding it in, although if the Bottom Pegs get Corroded, you might have a bit of a job to pull it out as they can grip on tight
Here is an actual Photo of the Closing Panel on my Car which shows those Rubber 'Doughnuts' already in place, where needless to say if the Rad hits the Fan, it is going to cost you a Fortune to sort it all out
Vee
There are four large bushings, two at the bottom and two at the top. They fit into holes in the cross member (below) and the radiator closing panel (above). You need to fit these, and ensure the radiator closing (top) panel is nicely holding the assembly firmly in place. Item 11 in this diagram, part number CCC4794: https://parts.jaguarlandroverclassic.../brand/jaguar/
Here is an ad with a photo, they are still available from Jaguar and loads of other places: https://www.britishparts.co.uk/class...ting-pad-p3565
Greg,
Thanks for the help. I have two of those, and they fit nicely back on the bottom of the radiator. I don't recall they fit at the top. There's already some kind of bushing (thats as soft and cracked as can be) mounted into the top support plate. That's what likely needs to be replaced. I just couldn't find a part number, so I have to assume it came integrated into that top support member?
As has been explained by 'Greg' there are 4 Rubber 'Doughnuts' holding the Rad in place 2 at the Bottom and 2 more which are inserted into the Closing Panel which goes on the Top, where the Rad has 4 pegs 2 on the Top and 2 on the Bottom which go into these Rubber 'Doughnuts'
That is all that is holding it in, although if the Bottom Pegs get Corroded, you might have a bit of a job to pull it out as they can grip on tight
Here is an actual Photo of the Closing Panel on my Car which shows those Rubber 'Doughnuts' already in place, where needless to say if the Rad hits the Fan, it is going to cost you a Fortune to sort it all out
Those 'Doughnuts' are not the same size, the Bottom ones are much Bigger than the Top ones, which are a bit like 'Grommets' that go into the holes in the Top Closing Panel
OB, Vee
On my car the top and bottom are exactly the same. I am as certain as I can be that the top rubbers should be identical to the bottom ones. there are holes in the top panel specially for them, and the rad pegs are identical top and bottom. It might be that some previous owner has incorrectly used the "cotton reel" small rubbers that should only hold the oil cooler. ie these: https://www.ebay.fr/itm/110401625102
Of course the facelifts might be different, but I doubt it if the rad fixing pegs at the top are the same size.
Greg
From what you've said It does sound as if those top bushings are allowing play. You might have to fabricate or just find some similar rubber grommets. Also, I remember when I change my rad that it can be quite difficult to properly locate the pegs in the bottom bushes. They can seem to go in but are actually just sitting beside compressing the rubber. It took me a few goes to make sure both pegs were accurately located in the bush holes. Perhaps worth checking that the bottom ones are securely in place.
Get the job done quickly. As OB has said, if that fan touches the rad, unfortunately you'll be in for a very expensive time!
Thanks for the help, I’ll certainly check to make sure the bottom pegs are properly set within the rubber bushing. I’m sure I got them to sit right, but after all this time, it’s certainly possible that they may have hopped out.
Im going to check if I have any spare rubber bushings. I could swear I tried to make the bottom ones fit on top, and I couldn’t make it work, but perhaps I’m remembering it wrong.
Vee, OB, PTJS
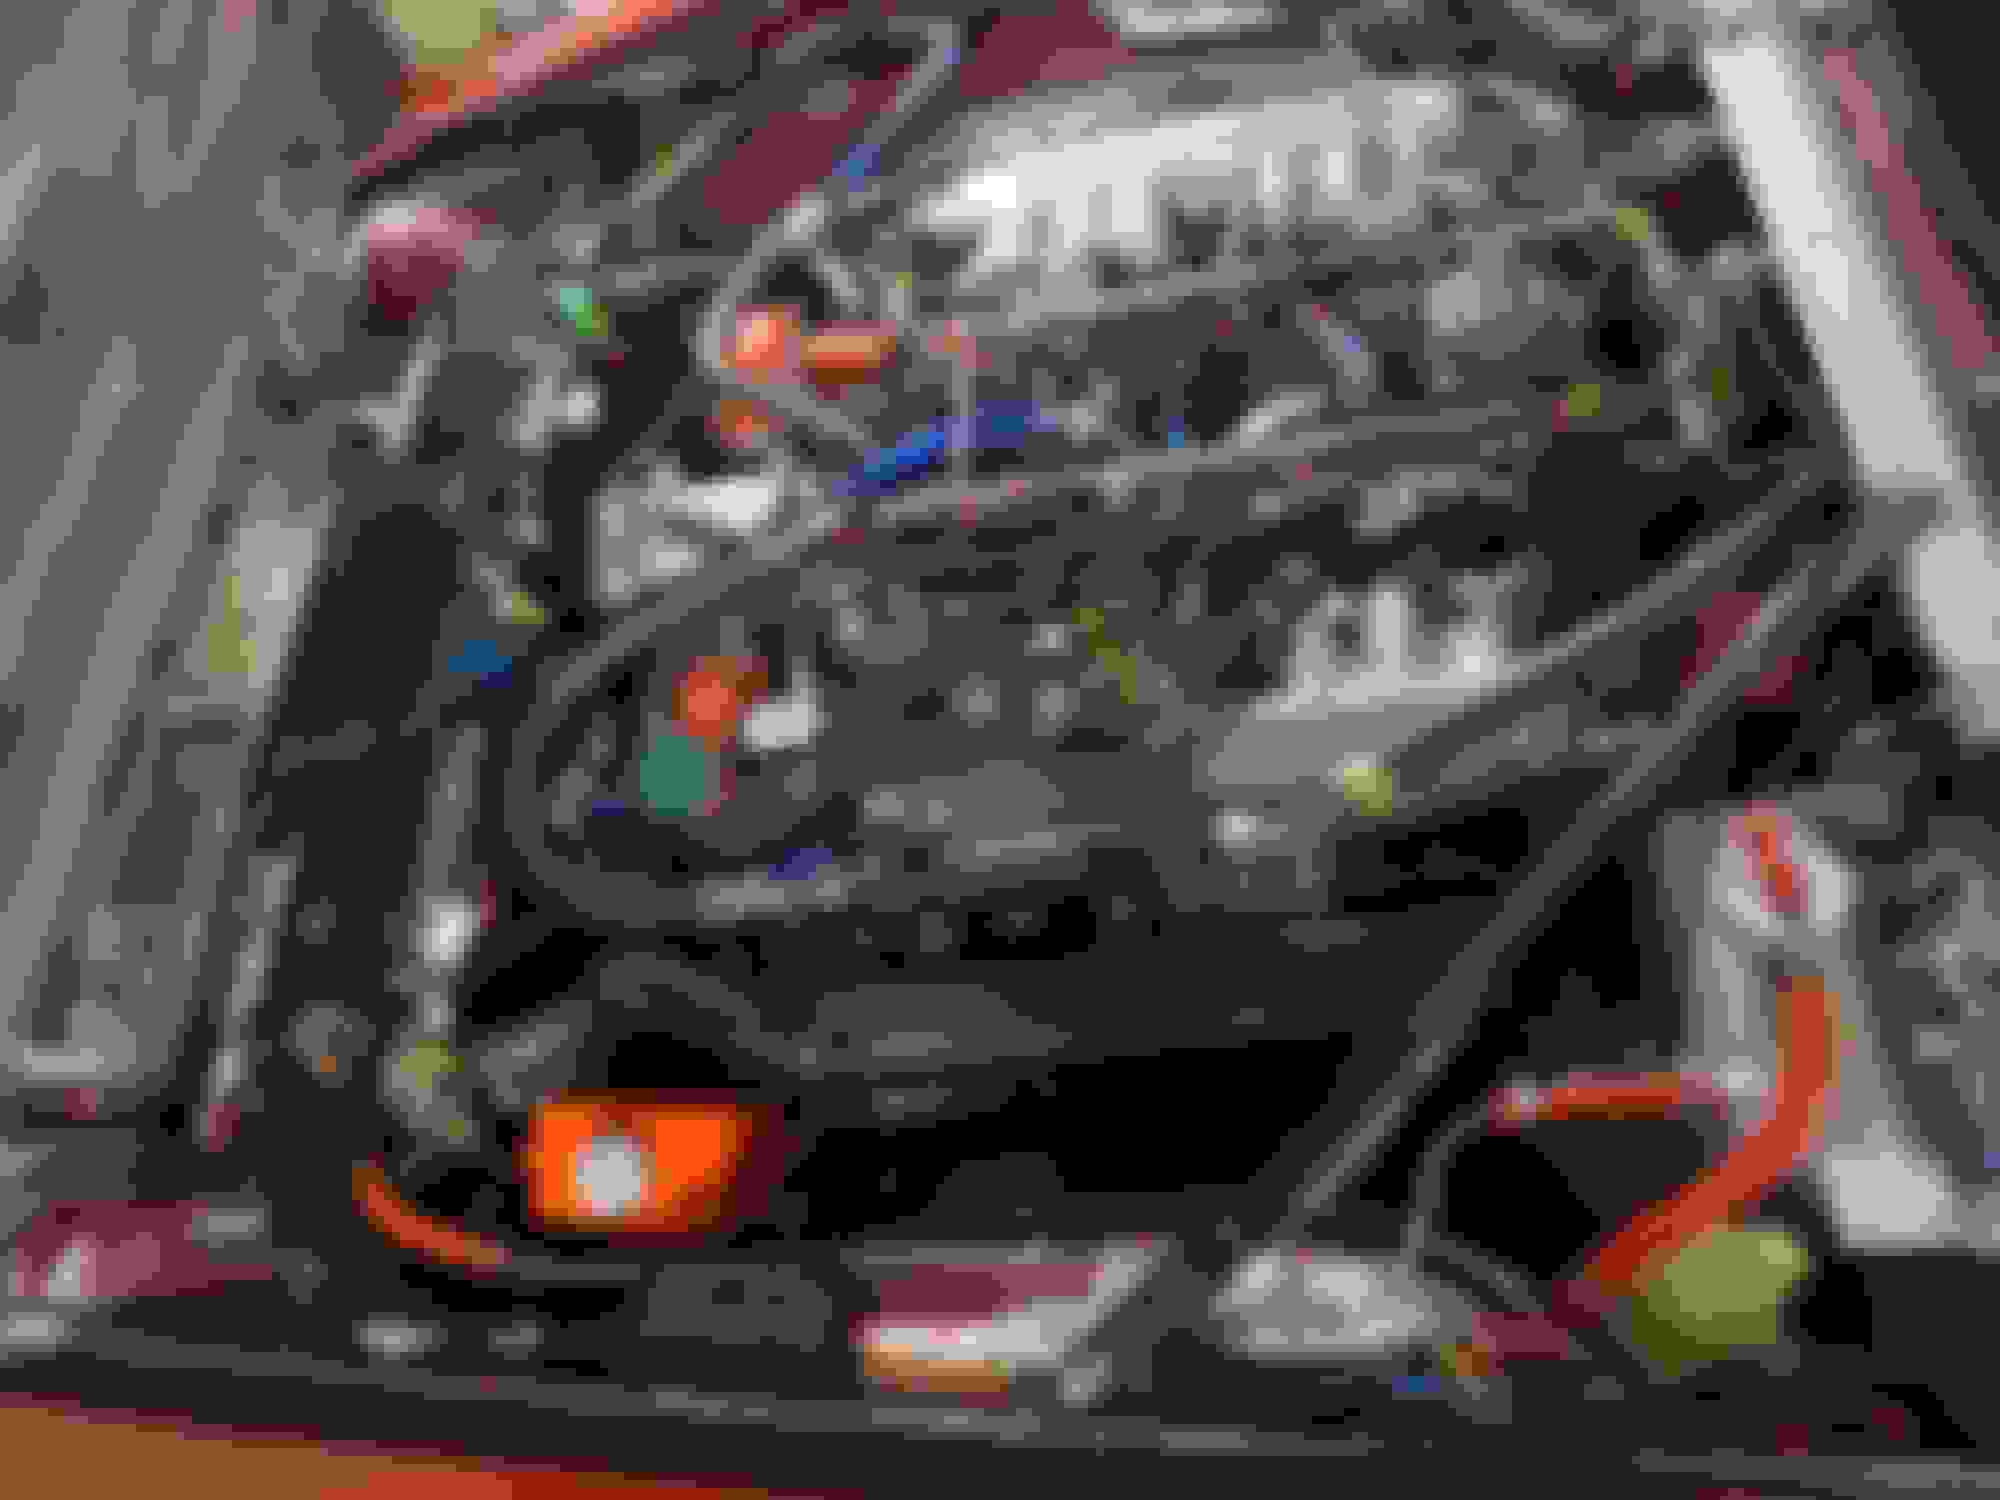
If you will kindly overlook the scruffy aspect of my radtop panel (this was in the middle of my re-arranging the entire bleed system to somehtig more effective and simple) you can see in these two snaps the bungs coming up through the top panel. They are identical to the bottom ones, but, of course the other way up.
Finished system here - just to maintain my honour!
Dammit, the 4.0 top radiator panel is different from the v12. I do have the large rubber bushings there. Those are there to support the non-threaded radiator support posts, however, there are two other posts, that are threaded, that seems to be the problem. I just have to insert a spacer in there. It's too close to the ends to fit the large bushing.
So the condenser coil was definitely out of the holes. It’s an aftermarket that I fit in when I bought the car because the original was leaking. It fits, but needs some spacers to keep it in place.
Anyways, I was hoping that would be the problem, but unfortunately I solved it, but I still get the grinding noise when accelerating hard, from a stop, when making left hand turns.
The radiator is still loose. Not as loose, but still more than it should be. The large donut baskets are soft and are not rigid enough to lock the radiator in place. I may have to get back in there and add spacers to tighten that up. I no longer believe that the loose radiator is the problem.
In that case it could be your Shock Absorbers that are making that Grinding Noise
If the Shock Absorber Bushes have been warn away, the Threaded Rod on the Top of the Front Shock Absorbers rubbing up and down in the hole where it goes through the Bodywork, can make the very grinding noise that you have been describing
This is a fairly common problem that is very easily fixed which in ideal conditions, can normally take around 30 mins per side, or maybe around an hour each side if you've never done it before and making New Bushes is easy, as described in the 'write up' if you've got some hard rubber laying around in your shop
Where all you need apart from that is a Standard Hole Saw and a Drill, where the main advantage of making your own is that you can 'tune the way that your car Corners' where after experimenting with different types of Rubber, my Car 'Cherry Blossom' Corners like its going round on rails
Though as you will see from the 'write up' I ran into a Nightmare Situation, as the Shop that changed the Shock Absorber Rubbers for the P.O. must have used something like Loctite on the Threads, as this normally very easy job ended up taking a couple of days to do!
But in any event its all there including lots of Photos to show you what to do
It certainly comes from the front. It sounds like a plasticky grind. I see no evidence of anything under the hood. I'm going to have to figure out if I can video what's going on under the hood.
I will take a look at those bushings shortly. I believe I replaced the OEM stuff with rubber a while ago, but it certainly wouldn't hurt to take a look. Thanks.
 02-03-2020, 05:19 PM