When you click on links to various merchants on this site and make a purchase, this can result in this site earning a commission. Affiliate programs and affiliations include, but are not limited to, the eBay Partner Network.
I'm wondering if instead of dropping the subframe, if it's possible to hoist the motor about an inch, so the fulcrum bolt can slide out. This bolt is in great shape and slides easily, just needs about 1/2 inch to an inch to slide out. If so, any links to the steps to just lift the motor an inch or two?
1989 Jaguar XJS V12 lower wishbone fulcrum bolt and clearance needed to fully remove.
Good to know - did you have to do anything at the top of the motor to get clearance or just undo the motor mount bolts and jack her up a notch? I see two support bars across the top that might need to get moved around a touch, but I can't see anything else that's gonna get affected, top-side, from just raising her a touch.
I used an engine support bar when I replaced the transmission. If I remember correctly the engine didn't seem to have much room to be raised up. Grant is correct, watch out for that heater tap, which can be damaged by hitting the firewall. I need to rebuild my front suspension. What compressor did you use to remove the front springs? I'm keeping an eye on this thread, please post any photos of the process. Good luck
I used the 4 rod method with a good bottleneck to make it go faster, by good bottleneck one that feathers nice and slow. I did one side without and it took forever to wrench the dang bolts and gave me lots of time to think about going faster Otherside was much easier, used the bottleneck to hold the spring plate, spin the nuts about an inch, feather down the plate, repeat.
Finishing up the prep work, figured I'd do both fulcrums at the same time. I'll collect pictures and post as I go - should be fun as always
Thanks for the updates. I've thought about getting an XK8, or even an XK but they really aren't any better than an XJS. The V12 and six cylinder XJS models have the most reliable motors and transmissions. The suspensions seem to be the weak point, as the bushings don't last that long. Just look at the design of the wishbone bushings. From what I've seen on the forum, the XK8 isn't much better. The front suspension arms can be removed w/o removing the springs which is an improvement, but the cam chain tensioner problem is not something that I want to deal with. Compared to a typical American car like my Mustang, the service life of XJS bushings are woefully short and they are also difficult to service and replace. I tried a couple of indie Jag shops in my area. One said that they don't work on models this old, the other, though enthusiastic about working on it, didn't know what they were doing. So I'm just going to do it myself. I just need to finish some home improvement projects first.
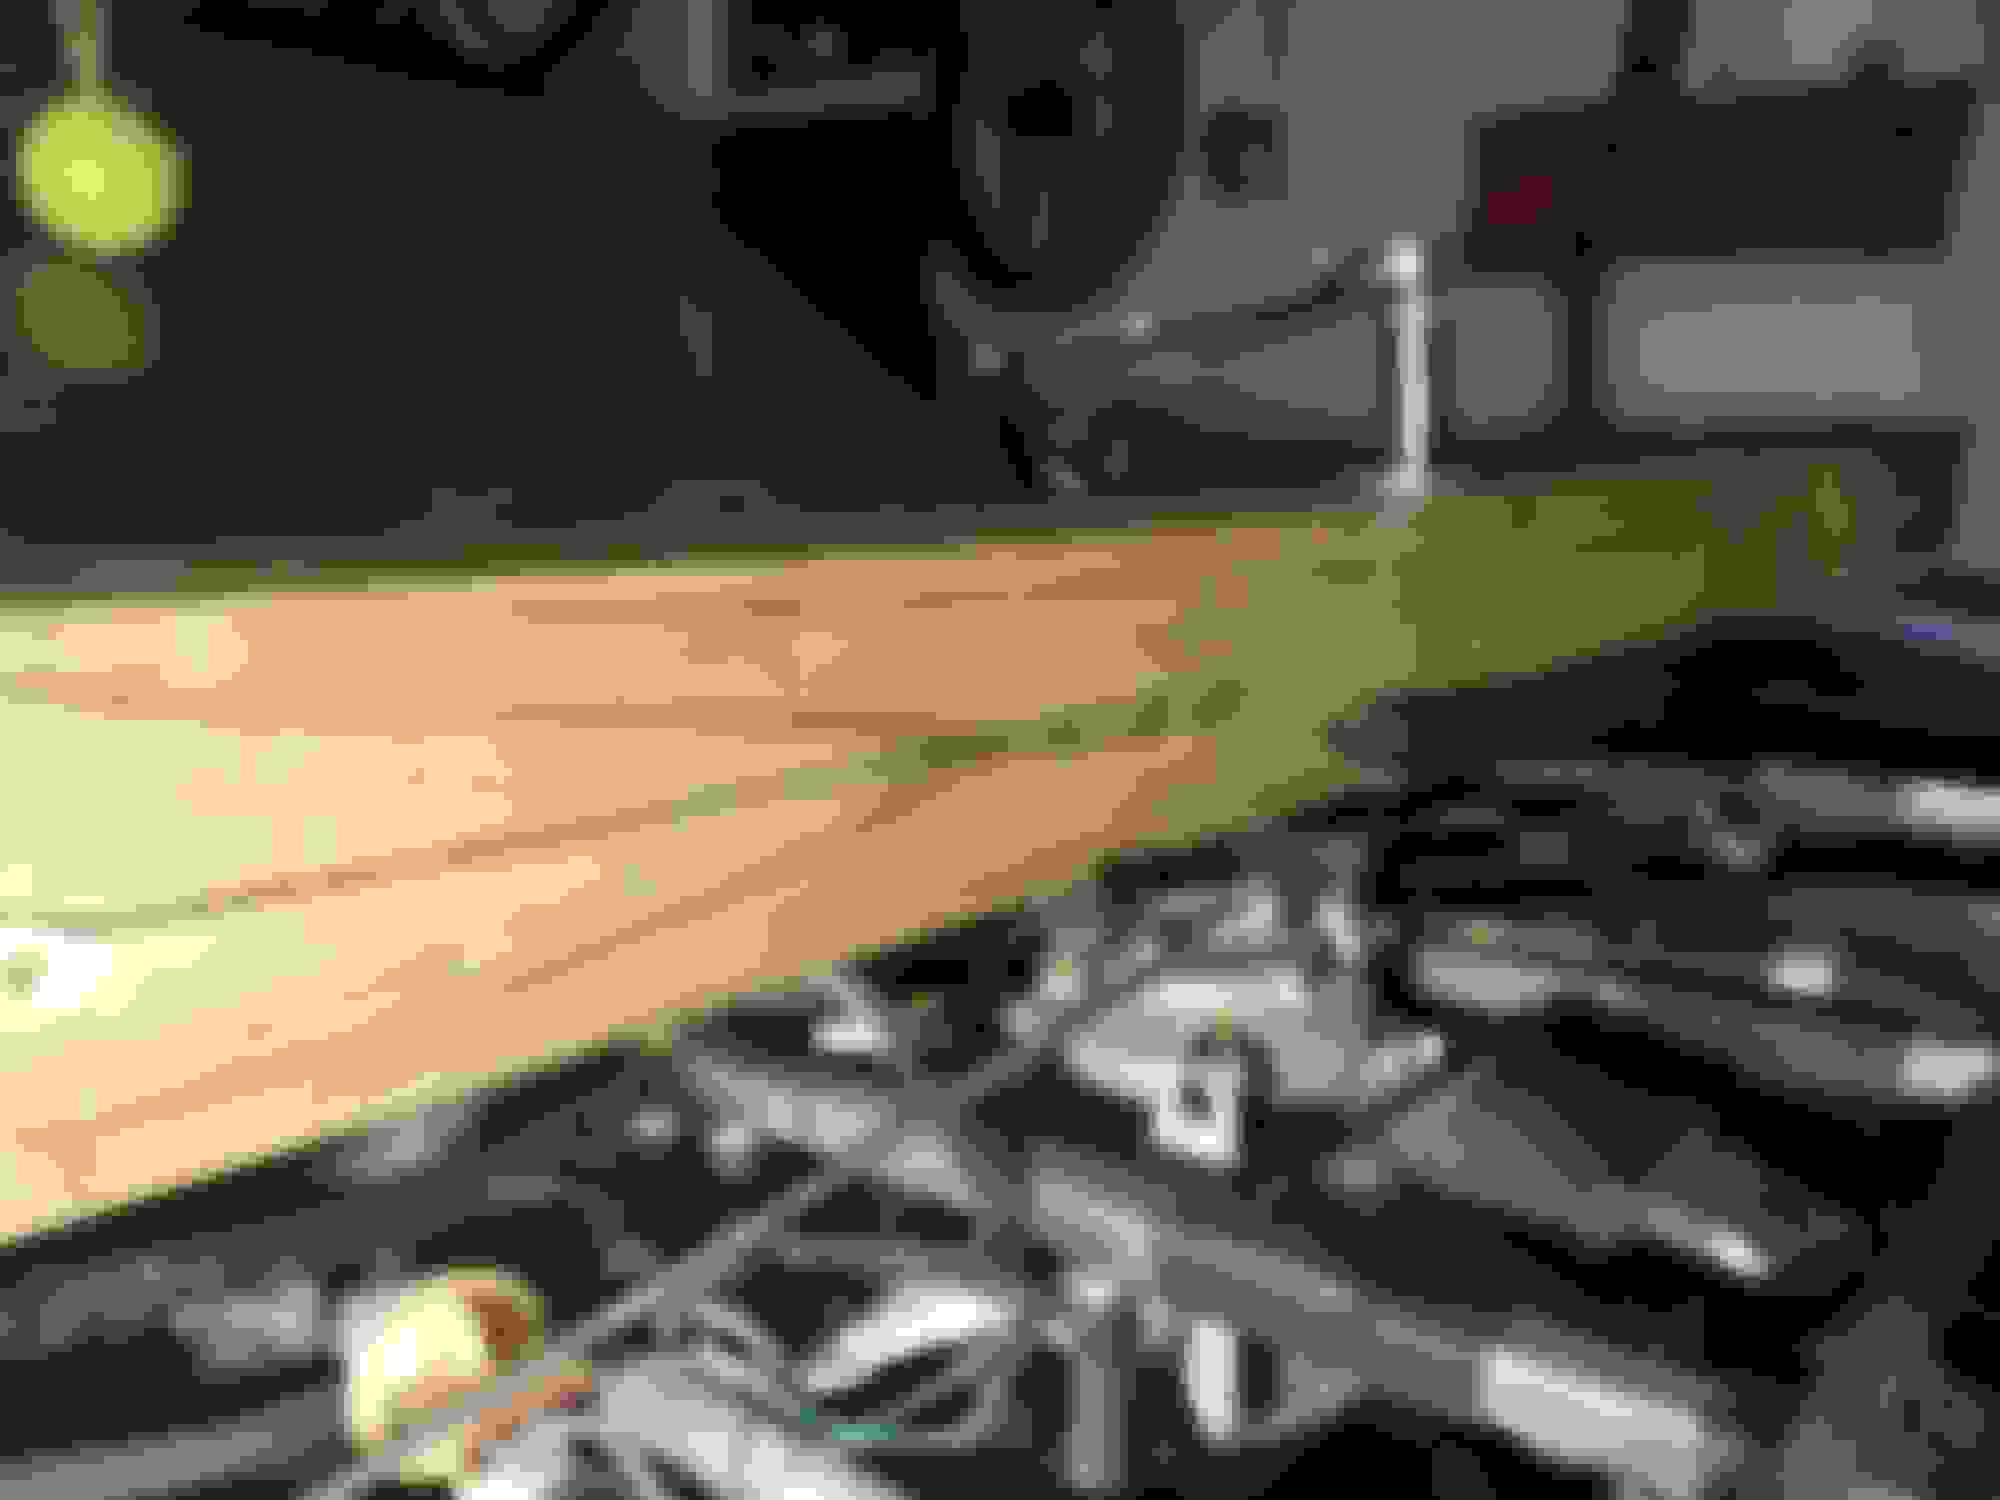
Wasn't quite sure what the 'heater tap' was, so went and snapped an image to make sure I get everything squared away when lifting so as not to pinch, pull, squash or otherwise destroy. I haven't spent a ton of time checking tolerances to make sure all hoses, attachments, etc. are clear - I'll do that this weekend.
On this beast, to get the fulcrum bolt out, you gotta drop the down pipe and cats. To drop the down pipe and cats, you gotta drop the rack. All that's gone, so no worries
It's funny kinda funny though, when I started working on the car about a month ago, it was because I'd blown a hole in one of the p/s lines. Now here I am about to lift the motor
Being an engineer, this was a good start that it could be done, but seemed overly complicated so, I went and did this...
** WARNING - Be mindful of what's being moved around in the engine compartment when you start lifting things!! I didn't have any problems, but I spent a lot of time checking clearances and such before starting to lift the motor.
Supplies:
- 5'+ of 4x4 post
- 1" x 4" x 1 3/4" hard wood
- 1/4" X 4" trim wood
- 2 @ 12" eye bolts 1/2" (make it a dull fish hook by cutting it open)
- Washers to keep the bolts from scoring and getting all messed up when lifting the motor
- Towels, micro-fiber cloth, or other light weight fabric to prevent scratching and such.
Steps:
1) Get a 4x4 post minimum 5 feet long (that's 3.5" by 3.5" for those that have never worked with wood in the US) - the one I used was a 64" post
2) You'll need to cut down some hard wood that's 1" to 1.25" wide, 3.5" long, and 1.75" height. I just had some scrap wood that was an inch wide that I cut, and then had some hard trim pieces that were a quarter inch that worked as a great shim to keep things in place.
The idea is to lay the 4x4 post across the car using hard pieces to lift it just enough so that it is not resting on the delicate pieces of the fender. Also, you'll want to use a drop weight to get the holes lined up correctly for the fish hooks and motor lifts. I did this by laying the post over the motor (with cushion and stuff to prevent scratching and such), put the pieces I cut from 2) above in place, and then just marked on the post where the drop weight lined up with the motor lift mount.
3) I then used my nice little drill to put a 5/8" hole through the 2 drop points I marked on the post
4) Cut about an inch or so from the eye bolts so they're more of a hook, this will go into the eye of the motor lift
5) Grease the eye bolt threads and washer surfaces
6) Hooks go on the engine lift bolts and the hook rods go up through the post, put washers on, and then bolts
7) Remove the engine mount top bolts
Now you can jack the motor up, but only about 1 and 1/2 inches - JUST enough to get the damn lower wishbone bolt out...
1989 XJS V12 Convertible - Lower fulcrum bolt 1989 XJS V12 Convertible - engine support and small lift 1989 XJS V12 Convertible - wood spacers and micro-fiber to keep the crazy things clean and nice
1989 XJS V12 Convertible - motor mount when I cranked it up about an inch 1989 XJS V12 Convertible - check clearance! 1989 XJS V12 Convertible - check clearance! 1989 XJS V12 Convertible - fan clearance is good 1989 XJS V12 Convertible - clearance
Just lifted the passenger side (LHD) about 1 1/2" to finish this job. Everything goes perfectly up until... The damn motor won't drop back down on the passenger side!!!
Driver side slides right down onto the motor mount, passenger side barely moves. After the first try to just drop it back down, I took and look around and couldn't see anything that would prevent the motor from dropping down, just about everything looked to be in order. If I jack it back up, there's a bit of movement in the motor, so it feels like it's not stuck.
When I lower it down, I can still see about a 1/4" between the mount slot and bolt (only on the passenger side, driver side mount slot slides right down over the bolt on the mount).
I'm wondering what my next steps should be to figure out why the motor is not dropping back down.
While I was writing this up, I decided to go snap some photos. It's settled about 1/4", so the mount bolt is just about to enter the slot... We'll see the damage/situation in the morning, but still wondering what's getting int he way.
Pirk
The end of the stud on the mount is just fouling the slot in the bracket. Support the motor, loosen but do not remove the bottom stud nut, and then you can wiggle the entire mount enough to get the motor down.
Ok, so, ya wanna hear a funny story? skip this post if you don't
Well, got up this morning right before all the dang kids got going, pajamas and all, and jumped into the garage to make sure I had the studs lined up... Remember how I said it seemed to settle and lowered about 1/4"? Guess what?
Motor is sitting nicely on the mounts.
Here's the funny part - I have this bottle neck jack that I used with a 2x4 to brace the motor from the bottom. Ha! HA! Right? Yeah, I didn't crank the feathering all the way out, so it was the damn bottle neck that was keeping the motor from lowering, but at the same time just allowing the motor to slowly lower...
Funny right?
Everything's all good and I really appreciate all the feedback - this has been a serious project and I think it's about to be into the "Put it back together stage"

 08-02-2020 | 05:23 PM


 Otherside was much easier, used the bottleneck to hold the spring plate, spin the nuts about an inch, feather down the plate, repeat.