New Owner 1982 XJ-S
#41
#42
Nothing special. Just a small brass wire brush, steel wool, 800 grit sand paper,a pocket knife and time. I managed to free up the arm by soaking it in WD40. The tough part was fixing the end of the resistance coil. The rivet just fell apart when I press on it. The connector fell off when I touched it. All the copper pop rivets I had were too thick, so I went to Radio Shack and bought a bag of the smallest machine screws I could find. I cleaned the old brass washer that held the resistance wire to the rivet nice and bright, and sandwiched the wire between that and another small washer. It tightened down nicely and double nutting the screw with the new connector for the outside wire will keep it all in place. It will probably last longer than I do. ;-] Now, If I can get the circuits to the instrument cluster working, I will test it against the gauge. I hooked a 12V test light up to it and it dimmed the light through most of the range of movement.
The odd thing about the inner construction of the sensor is the secondary sensor finger. It runs on a PC board riveted to the opposite cover. The finger did not line up with the printed circuit. It was not even close and the third wire that goes to the fuel sensor plugs into that board. There is no components on that board, just copper lines. I can't see where it does anything at all. It may be an error in the original construction. When I get my hands on a schematic, maybe I can trace that circuit and find out what it's supposed to do.
BQ
#43
The following users liked this post:
BlackQueen (12-28-2014)
#44
Thanks Larry! I hope I can contribute some ideas to repay the benefit I've gotten from help from current members and past articles. This '82 will raise from it's ashes if I can make it happen.
Late last night I pulled the gas tank. It's as much fun as everyone says. There's an Alberta Clipper moving south and I'd rather work at 34 degrees F than the 17 degrees F it is this morning.
Peering through the holes, it looked like it was consumed in rust. Upon closer inspection, it may be varnish. Even scraping it didn't expose what's all there. 10 years or more of varnish is the preferred problem, of course.
On an old thread, I learned that Formula 88 is a good degreaser, so when the weather gets above freezing again, I plan on mounting the tank in the back of my old pick me up, filling it a quarter full of degreaser and driving around with it for a week or so. The sloshing should bash it into submission.
I may put some heavy wrenches inside to scrub the bottom, too. Most people warn about putting stuff in the tank due to difficulty removing the it. I thought I'd attach wires or cables to the wrenches to make retrieval easier and safer. On an online article for rust removal in motorcycle tanks, the guy used expandable drain plugs to seal the large holes. I can run the cables out there and tighten down the plugs.
Just a thought. Since there's nothing in the tank but metal, I wonder if paint stripper thinned with lacquer thinner would do a better job dissolving the varnish?
From the repair on the fuel sender and how delicate the construction is, anyone who tries to clean a tank without removing it will probably need to replace that sender. The plastic parts probably wouldn't survive the solvents.
BQ
The following users liked this post:
Jonathan-W (12-29-2014)
#45
The following 2 users liked this post by Jonathan-W:
BlackQueen (12-29-2014),
orangeblossom (12-30-2014)
#46
Day 9
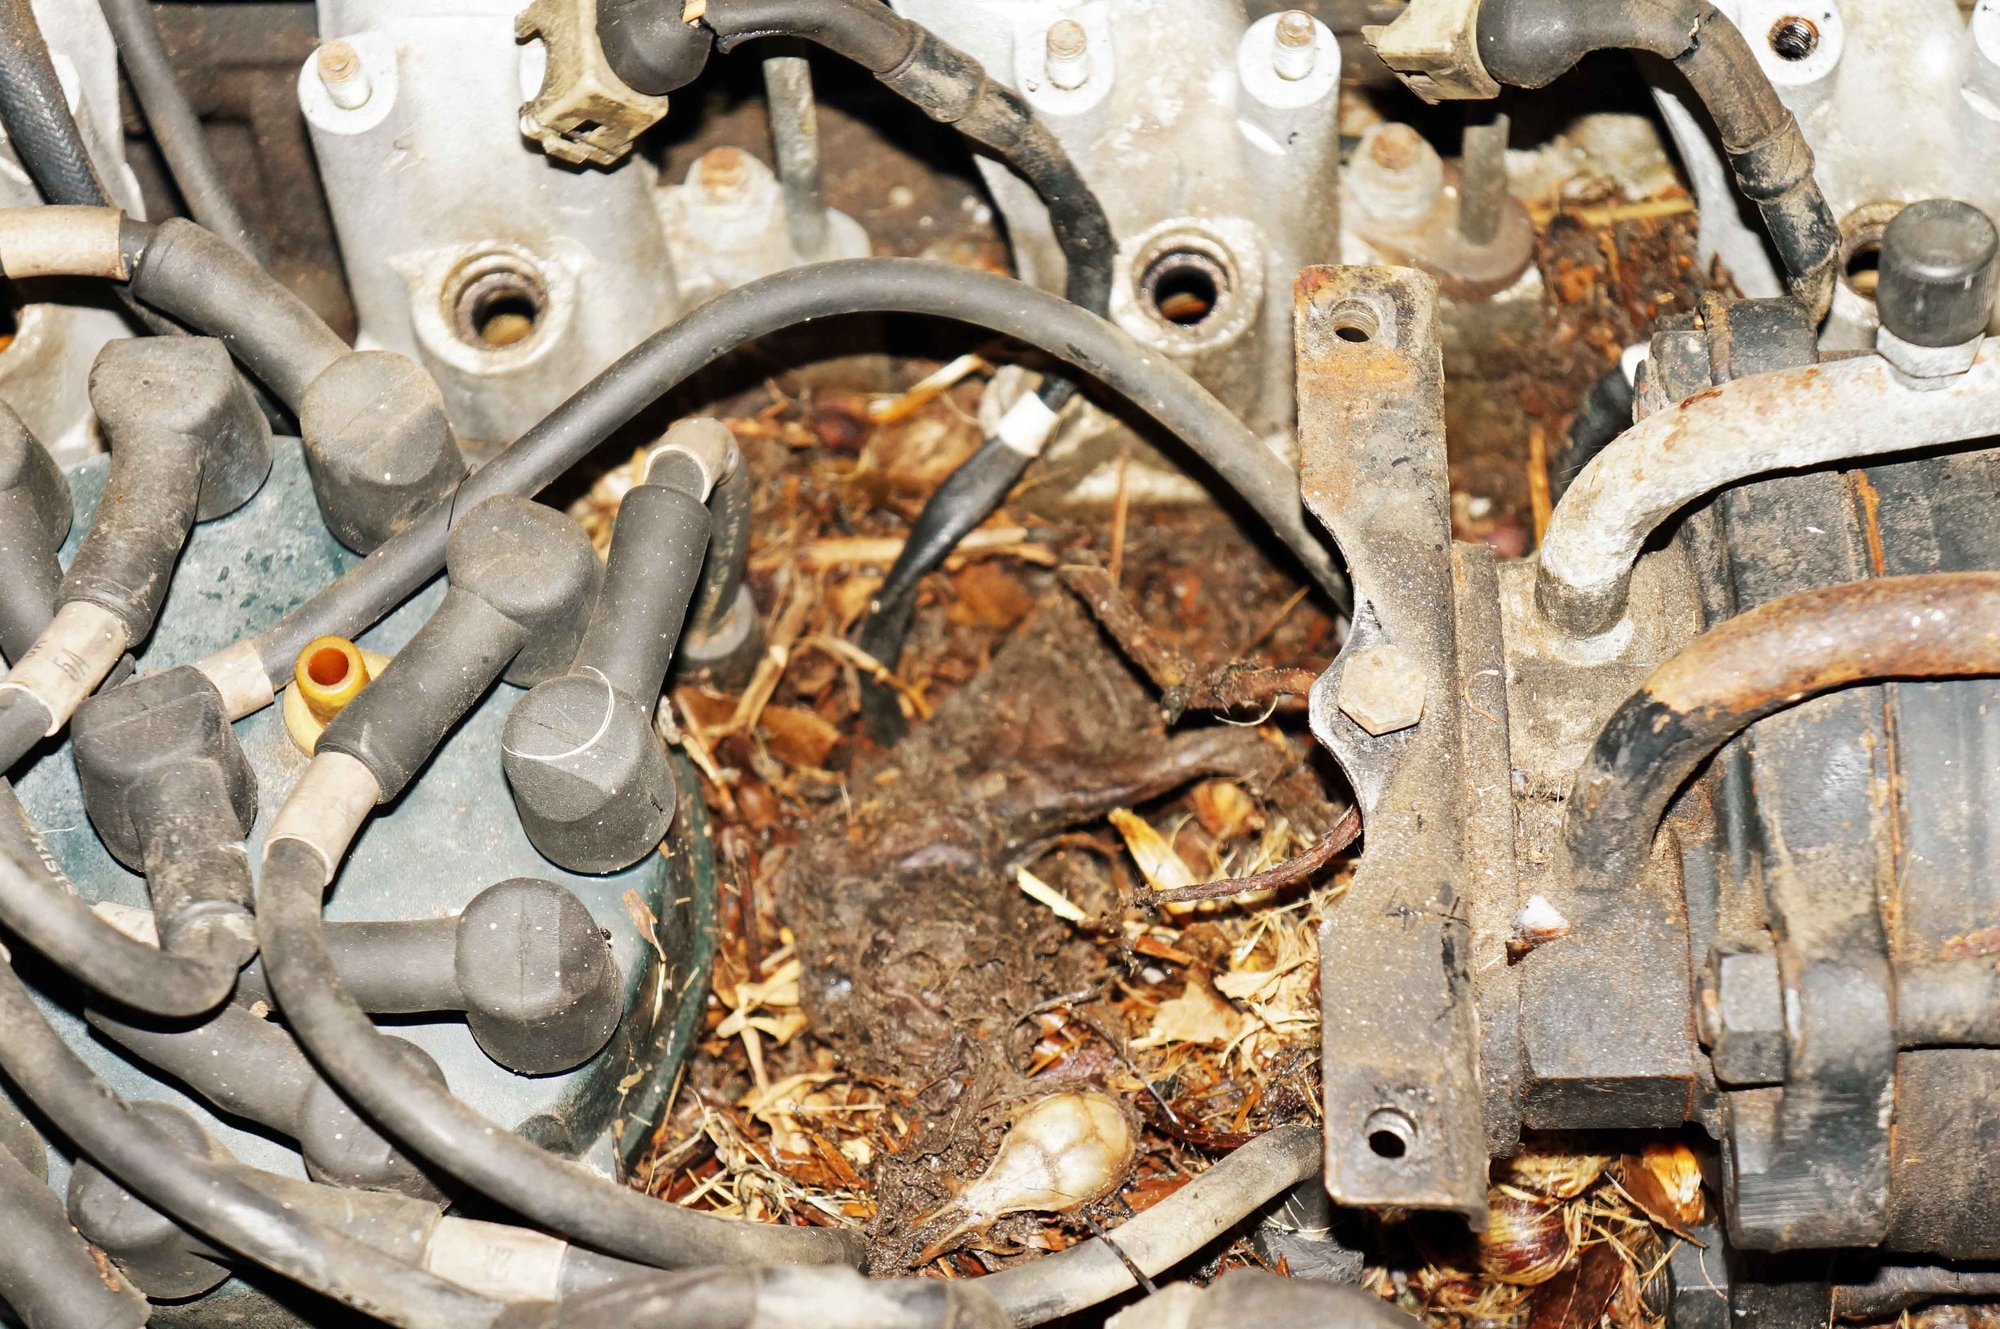
I smell a rat! I wasn't joking earlier the day I removed the California dirt and rat's nests. At least I thought I had. If you look closely, you can make out the skull, rear leg and tail. There were some kind of nuts like almond shells everywhere, too. The rat had chewed hoses and wires, so replacement of the rubber and much of the wiring is no longer a question. The worst part of working on it is the smell.
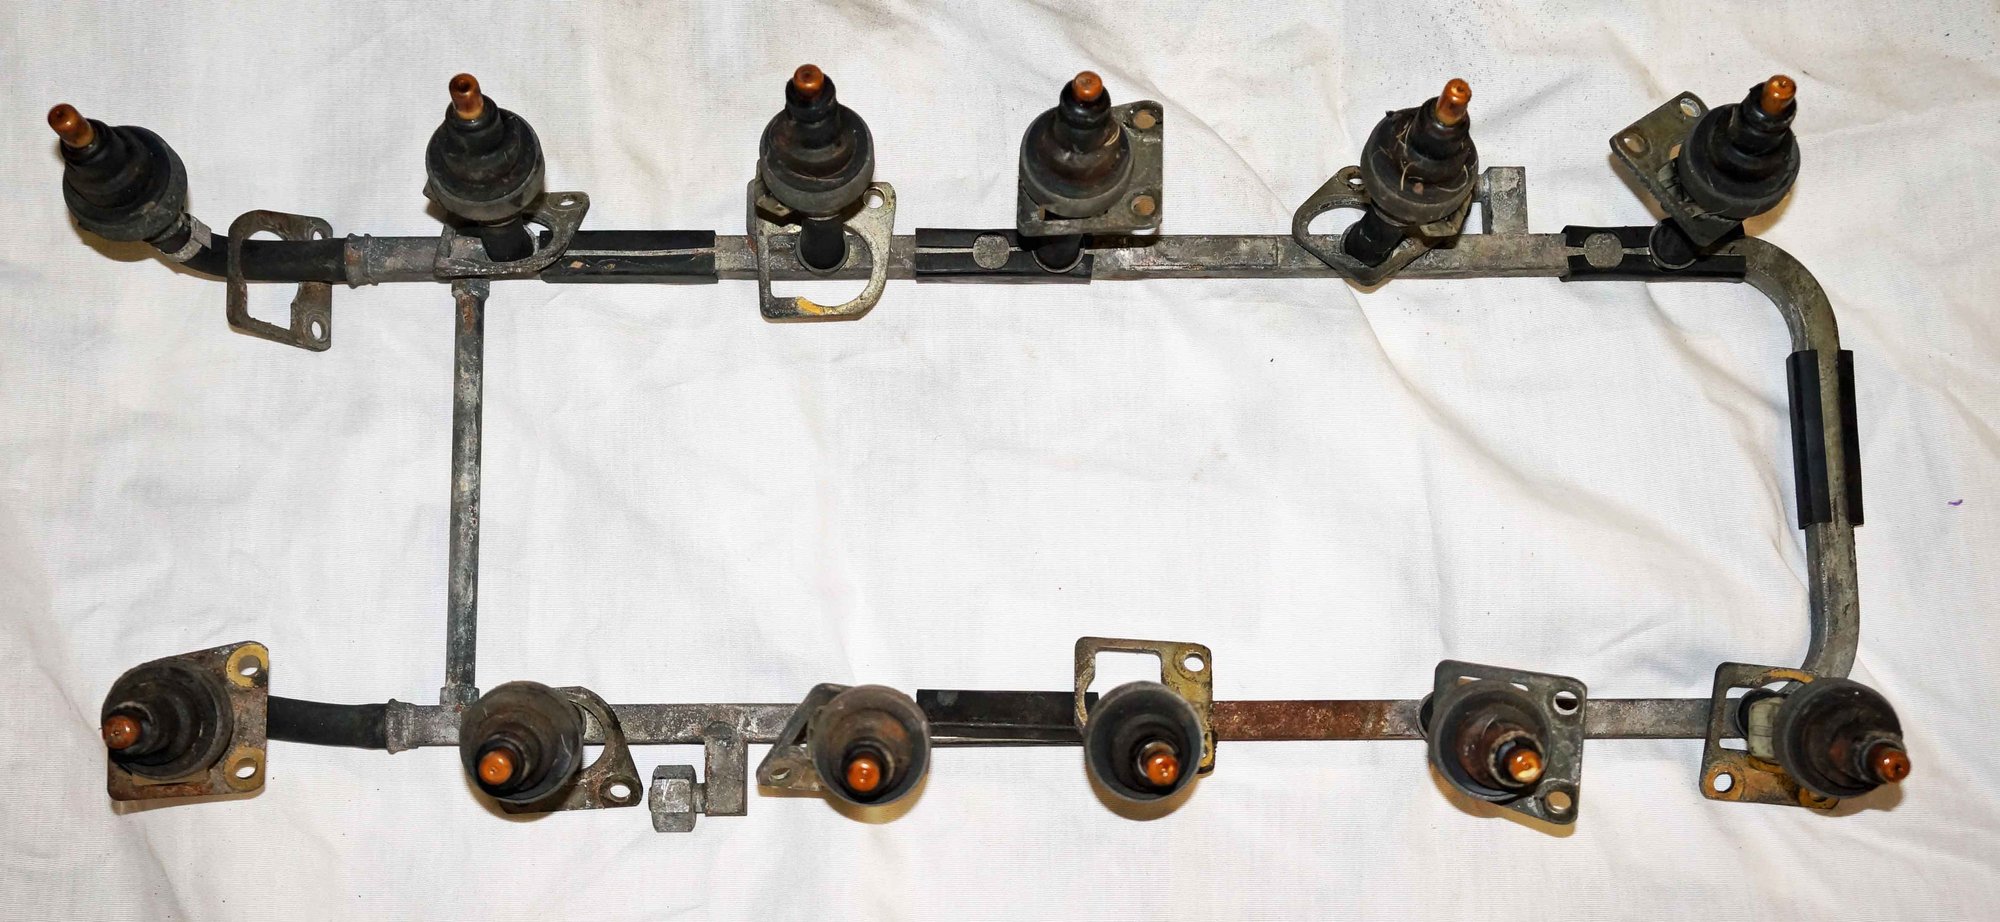
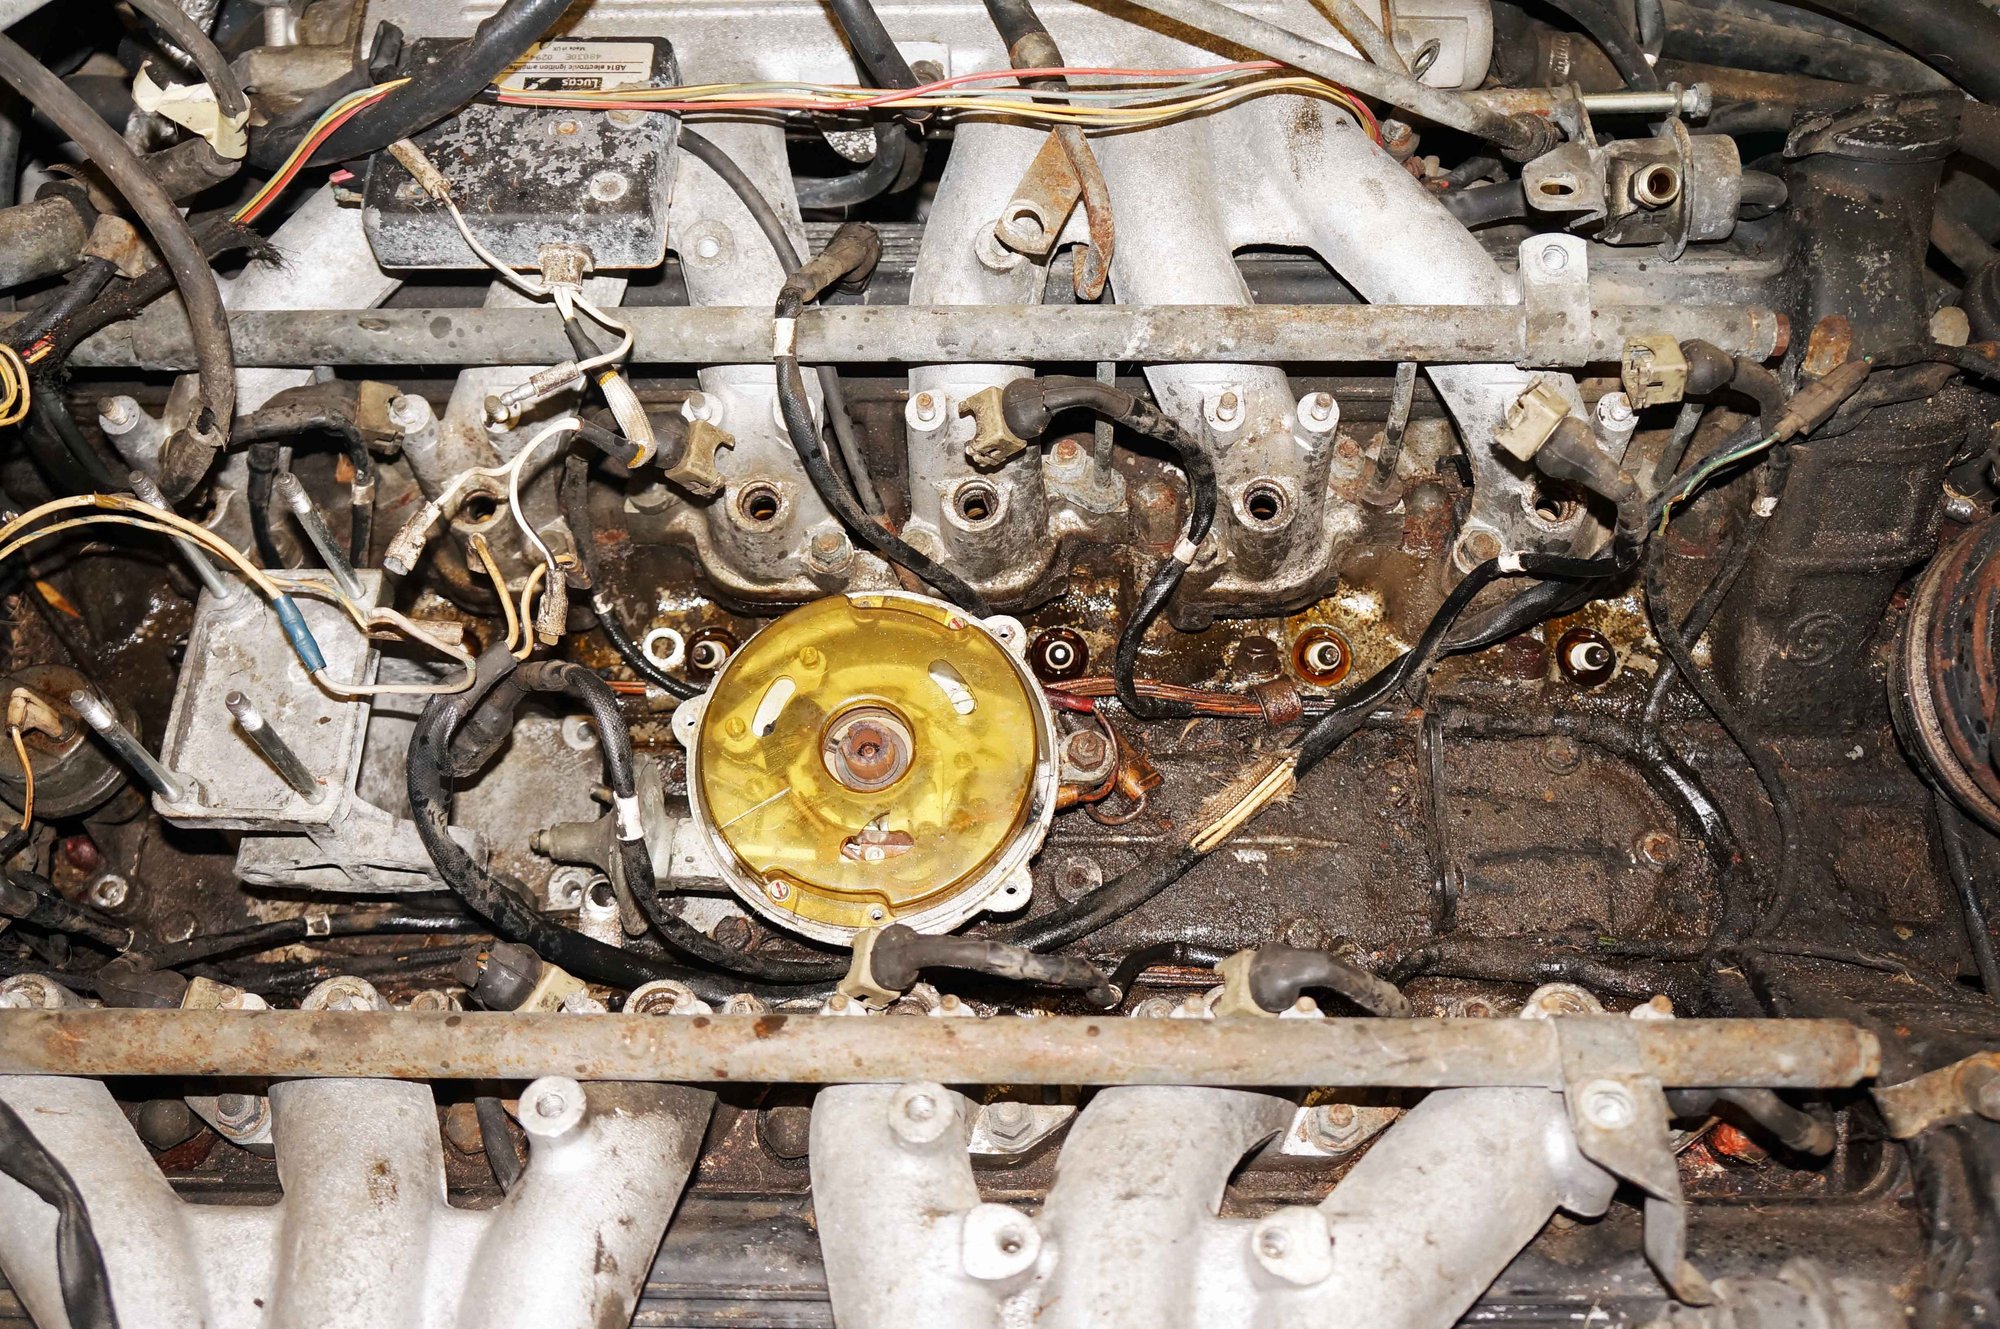
I decided the good advice given to check the compression to determine if this project car was worth rebuilding was spot on. So, yesterday evening was spent removing the A/C compressor and fuel rail with injectors. The spark plugs are still in due to not being able to access the two rear 7/8" bolts in the stand that holds the accelerator. I'll look for right angled box end wrenches today. I have to wonder why access holes weren't cut through the top of the stand to make it easy to remove? Has anyone drilled holes through there?
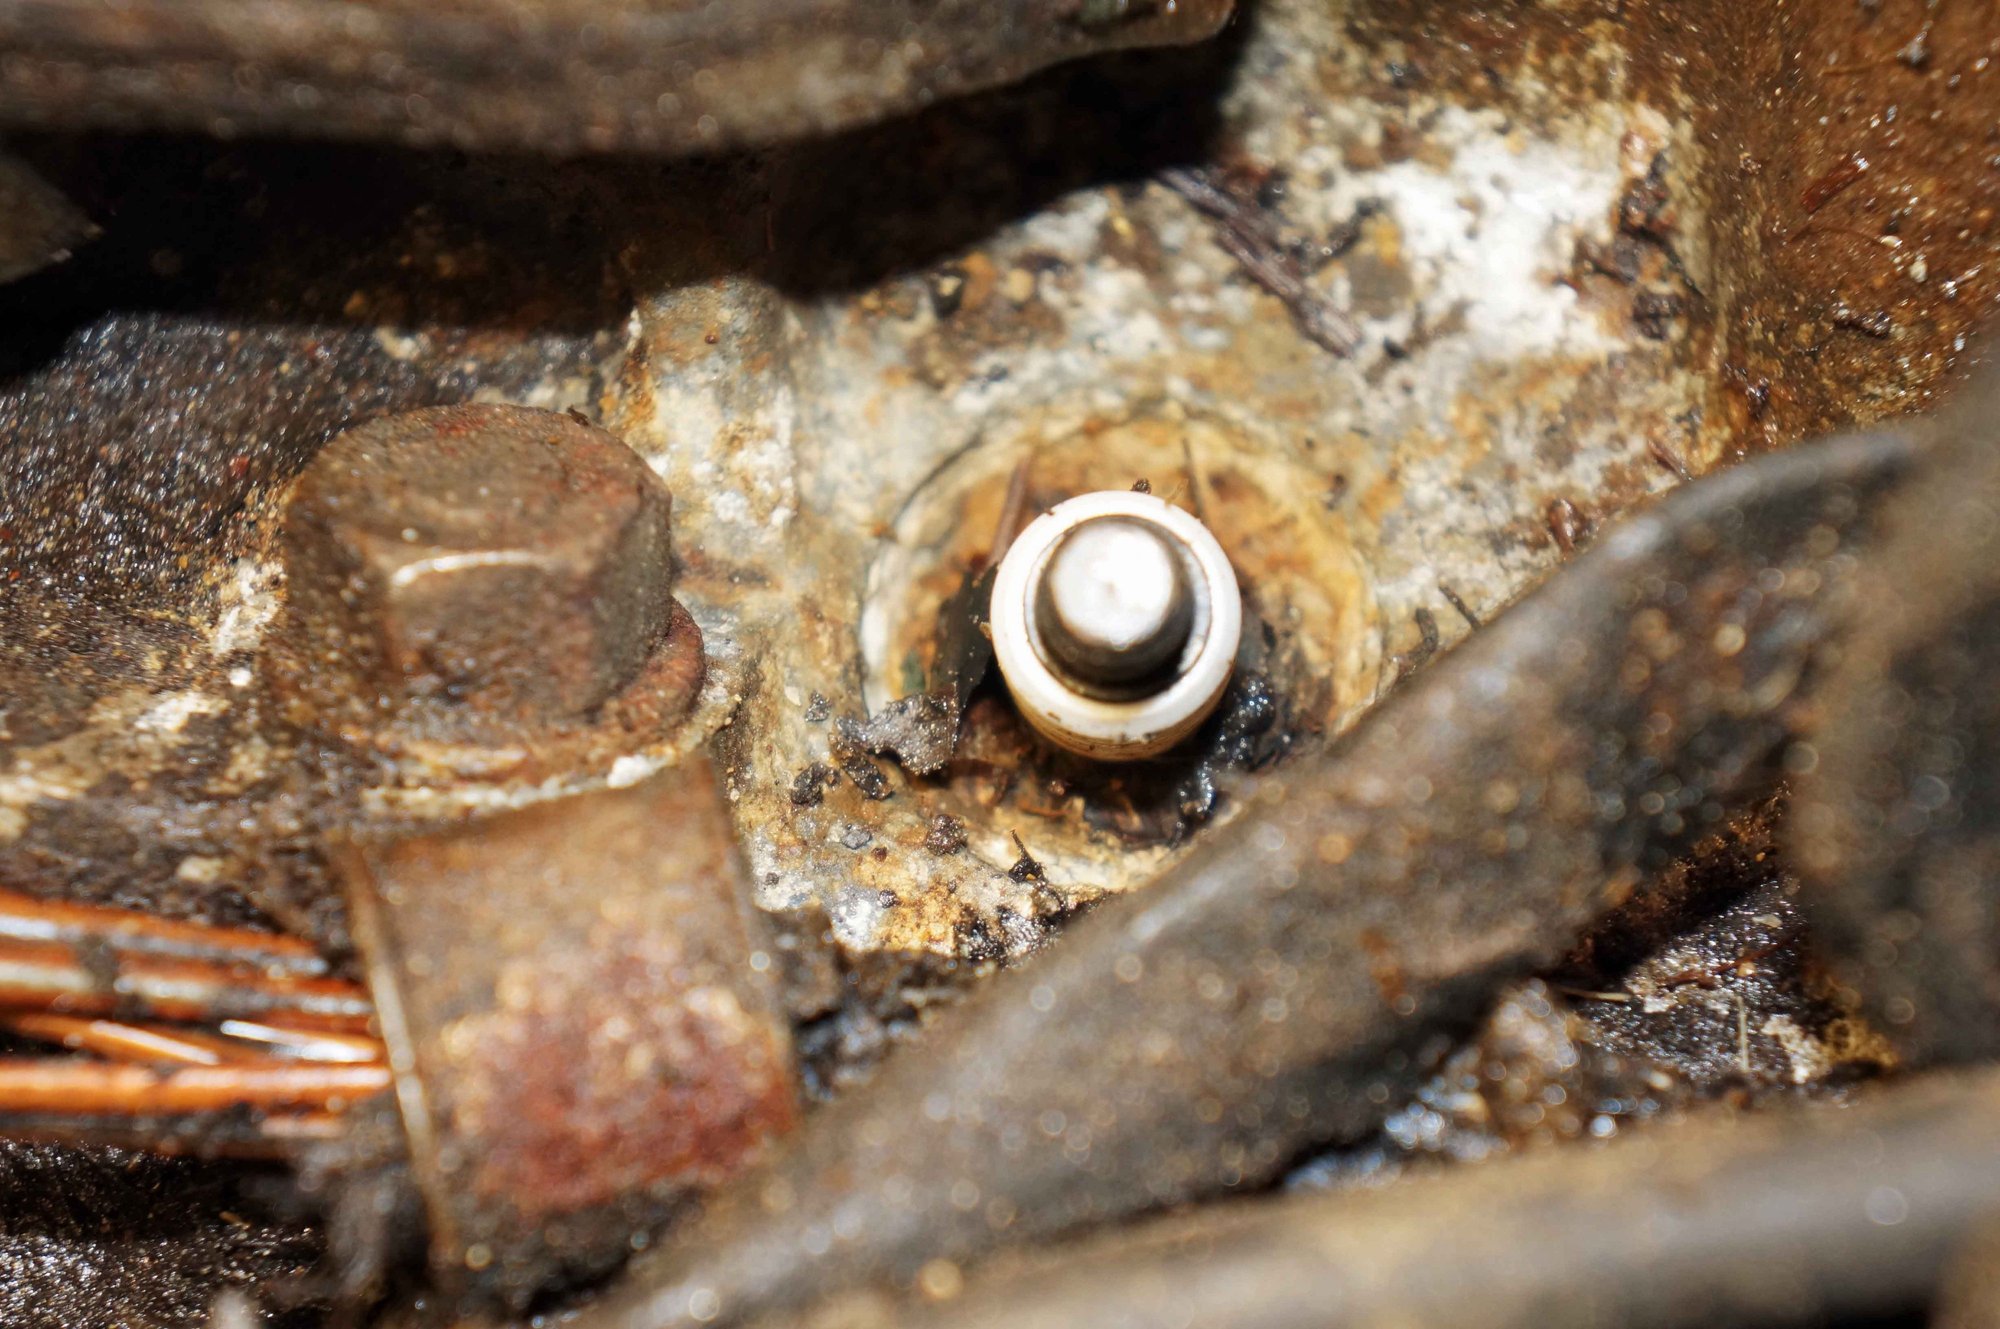
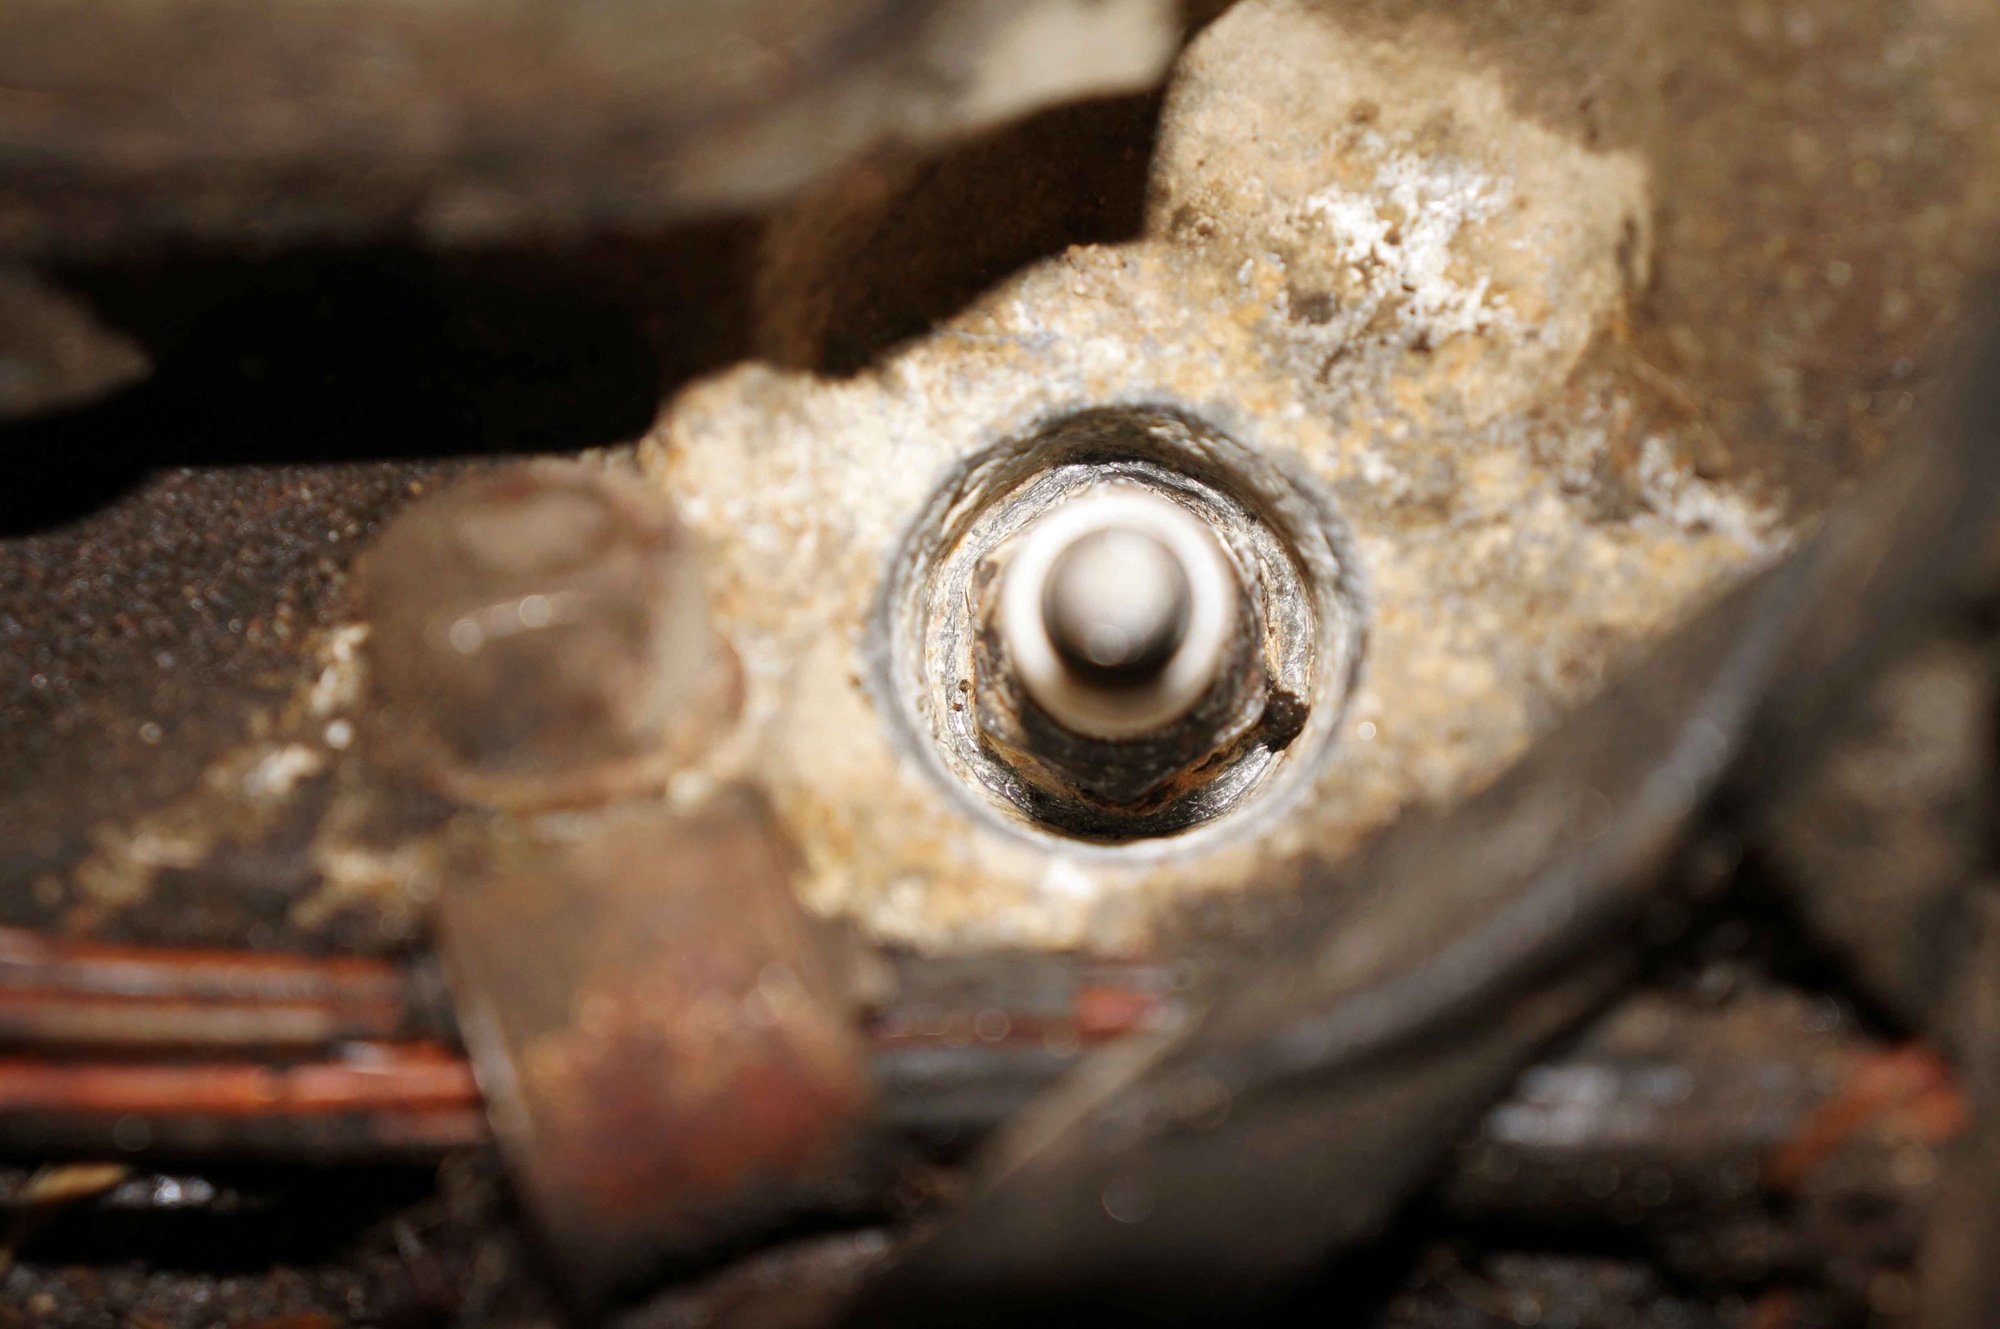
The spark plug well under the rat's nest was completely plugged with some sort of debris that was as hard as concrete. After over a half hour of digging at it with my pocket knife, I was able to get a socket on it. Using compressed air to blow out the plug wells was definitely a mistake without shielding myself from the fly back of rat debris. It was like *ing in the wind! ;-[
I filled all the wells with penetrating oil in hopes that some will seep in overnight. I tested one with my wrench and it didn't move. I may have to use an impact driver in the plugs. I'm planning on cleaning the injector ports with a brass brush to keep from scoring the surfaces. Does anyone have advice on how best to clean those ports?
The temperature will dip down to 5 degrees F tonight. I hope to have the plugs out and the compression tested sometime later today. All in all, I'm pleased with my progress and I'm still confident that I can make this work.
BQ
#47
Day 10
I suited up with a thermal coverall and went at the '82 engine again. I finally quit when my feet got numb. The low will be around 5 above. For more than the weather, this project may have a rapid slow down.
I vacuumed out more nesting and nuts and found the carcass of a small rat. I think they're all gone now. There's still the clean up, though, but that's the least of my worries.
I managed to get the accelerator stand off and worked on further clean up. I wanted to get to the point of testing the compression today. Soaking the spark plug wells in oil over night worked well. All but two of the spark plugs loosened up easily. The second from the front on left, the one that had the well clogged, up finally let loose after employing a large breaker bar. The rear right plug was partially rounded off, but after I tapped down on the socket it seated well enough that I could break it loose. With all the wells cleaned out, I was able to proceed with compression test.
I'm unsure of the correct numbering of the cylinders. I think cylinder 1 is front right side. Whether the back left side is 7, I don't know. The right side had much better compression than the left. There is a wide range. Cylinder 2 back from the front (the one that had the well sealed shut) had zero compression. Like Dorshman's '89, I now need to determine if I have a stuck valve or dropped valve seat. I'm assuming that a dropped seat is one that comes loose from the head and flops around the valve head when it opens? I did the oil in cylinder to test for leaky rings.
I had hoped to find some compression on all cylinders and that running the engine would reseat the valves and rings. I've had that work once. Ya never know. Hope springs eternal!
One thing of note is the spark plugs I pulled. I have never heard of Mighty Power Cord GRF 22 plugs. I guess they are equivalent to an Autolite 103.
BQ
#48
The following users liked this post:
BlackQueen (12-30-2014)
The following users liked this post:
BlackQueen (12-30-2014)
#50
The engine is easy if you look at it as two inline 6 cylinders running side by side. Inline 6 cylinder "A" is on the right side of the car, and inline 6 cylinder "B" is the left side. The front plug is 1, second is 2, 3, 4, 5, and 6 being rear most. So, there is no 7. Only 1A, 2A, 3A,........on the right side, and 1B, 2B, 3B.....on the left. Once you get that, you can dazzle those who might care by pulling ALL the plug wires with reckless abandon, knowing you can put it back fairly easily, lol. The Lucas cap is marked by a 1, which is A side, meaning that wire goes to the far front plug on the right side. From there, just follow the firing order on the decal. For us Marelli owners, Jaguar made it almost idiot proof by literally numbering the distributor car with the firing order, lol.
The following users liked this post:
BlackQueen (12-30-2014)
#51
#52
So far, the only time I've seen that, was on a YouTube video, on a 6.0 engine. But the engine builder clearly says that the piston had been installed incorrectly, which made the relief in the wrong position. On my last V12 with a dropped valve seat, it did bend the intake valve slightly, from hitting the seat, but not the piston. But every exhaust valve was recommended to be replaced due to excessive stem wear. So, one intake valve, 12 new exhaust valves, a custom seat. and I was on my way.
The following users liked this post:
BlackQueen (12-31-2014)
#53
So far, the only time I've seen that, was on a YouTube video, on a 6.0 engine. But the engine builder clearly says that the piston had been installed incorrectly, which made the relief in the wrong position. On my last V12 with a dropped valve seat, it did bend the intake valve slightly, from hitting the seat, but not the piston. But every exhaust valve was recommended to be replaced due to excessive stem wear. So, one intake valve, 12 new exhaust valves, a custom seat. and I was on my way.
BQ
#54
The following users liked this post:
BlackQueen (12-31-2014)
#55
Here is a post mafe by "sidescrolling" on this same subject on another thread.
the head is pretty flat and the valves definitely drop into the cylinder. the v12 is definitely an interference engine.
The chains are pretty slick on it though, it isn't something that will just randomly break on you. Timing belts NEED to be replaced at regular intervals or something is going to break. This is not something to have on your mind when driving an XJS or XJ12, just isn't going to happen.
EDIT: didn't notice your post, the v12 uses double roller chains, they aren't just going to break. To answer your question, yeah you do risk serious damaged if it breaks, but worrying about that is like saying "do i risk serious damage if my main bearings turn to dust?"
The following users liked this post:
BlackQueen (12-31-2014)
#56
Having zero compression on my left #2 cylinder is a bit of a mystery. In the past, the only times I've seen zero compression was when a hole was burned through a piston (causing a lot of blow by), a bent valve or a stuck valve. If I have a stuck valve that has not been bent, then there's some possibility of salvaging it. That's why I'm asking.
I've studied the engine and figured out how I'm going to pull the cam cover. I just need a bit warmer temperatures to work on it. Once the cover is removed, I'll know better the direction I want to go with this '82.
Why are dropping valve seats such a problem on these engines? Is it mostly caused by overheating? Do the heads warp and pop the seats out?
BQ
#57
I understand about the double row timing chain and that it's not likely to break causing the cam to stop and the pistons to slam into the open valves. What I want to know is whether the piston is capable of hitting and bending a valve that is stuck open enough to cause zero compression.
Having zero compression on my left #2 cylinder is a bit of a mystery. In the past, the only times I've seen zero compression was when a hole was burned through a piston (causing a lot of blow by), a bent valve or a stuck valve. If I have a stuck valve that has not been bent, then there's some possibility of salvaging it. That's why I'm asking.
I've studied the engine and figured out how I'm going to pull the cam cover. I just need a bit warmer temperatures to work on it. Once the cover is removed, I'll know better the direction I want to go with this '82.
Why are dropping valve seats such a problem on these engines? Is it mostly caused by overheating? Do the heads warp and pop the seats out?
BQ
- The pistons can hit the inlet valve, not sure about exhaust which is pocketed, if it sticks fully open
- definitely a possibility of salvaging the thing if a valve is stuck open. It only has to be very slightly open to give no compression. It could easily be rubbish fallen into a inlet somehow.
- removing the can cover a very good plan, and the only way to see of valves are stuck. Just unbolt the intakes and then the covers. BUT block up all the plug holes with rag, and be careful about those unprotected injector holes, as rubbish will get into the cylinders very easily.
- Lots of differences of opinion on valve seats. The vast majority of V12 HE engines have done well over 100,000 miles with no valve seat problem at all. I have run mines hard and fast for 17 years for over 120,000. Of course one or two people have had bad luck. But I for one will be surprised if you have a dropped seat. A Jaguar V12 will warp block and all if run without coolant, I mean the thing may not even turn ! That is not your problem. When seats do drop, it is because the iron seat comes loose from the ally head, for reasons about which there are all sorts of views surrounding metal expansion rates/factory tolerances, etc etc, not the head casting actually warping.
Greg
The following users liked this post:
BlackQueen (01-01-2015)
#58
I posted a article not long ago with information on the dropped valve seat problem. The way the article read to me, is that the valve seat doesn't just drop. Sometimes it is pulled out, due to deposits "microwelding" the valve to the seat during cooldown. With the valve fully seated when shut down, then upon restart, the valve actually pulls a seat from the pocket. I think this is what happened to my engine, as it was fine when I shut it off, but had the excessive valve clearance noise when I restarted it. I know the sound well, as my 71 XKE V12 had the same noise, and when the engine was torn down, the valve seat was cracked, and lightly "cocked" in the pocket.
I still love my V12 Jags though. Have had great luck with several others.
I stll question your determination on this particular Jag. From what I know, the least expensive thing you can do to a Jag, is purchase it. The money adds up fast.
I am trying to remove the heads from a V12 now, that I purchased to do a rebuild on, and so far, I can't get the heads to budge. Trying again today.
The following users liked this post:
BlackQueen (01-01-2015)
#59
Many thanks to Greg in France and Superchargedtr6 for your info and opinions. The blind sometimes need to be pointed in the right direction. ;-]
While the cold temps has slowed me down, my thoughts have gone back to the varnished up gas tank. Does anyone know what happens when paint stripper is mixed with lacquer thinner? I figured that would be a potent solvent combination to eat the varnish. But, I don't want to create unstable Napalm in the process.
BQ
#60
I certainly have no business pushing the issue, yet can't help myself. Until you know the extent of the true condition of this engine, does the fuel tank really matter? The last V12 I rebuilt, I did a valve job, replaced all of the exhaust valves, had the guides knurled, replaced one intake valve, one new seat, timing chian, tensioner, all new bearings, gaskets, and Total Seal rings. Maybe more, but not much more if any. I know I spent well over 3K including hoses,motor mounts, belts, fluids, etc, and that is with 0$ labor costs except the machining. And that was on a V12 XKE which to me, is a work of art just sitting there.
I know you only paid 1K for this car, but seriously, even though you aren't asking my opinion, wouldn't it be much better to go purchase even a high mile Jag, that should be "inexpensive", but running? Maybe even maintained decently? Make sure you even enjoy driving it, before getting much deeper in this one?
I know you only paid 1K for this car, but seriously, even though you aren't asking my opinion, wouldn't it be much better to go purchase even a high mile Jag, that should be "inexpensive", but running? Maybe even maintained decently? Make sure you even enjoy driving it, before getting much deeper in this one?
The following 2 users liked this post by superchargedtr6:
BlackQueen (01-01-2015),
jomo (01-01-2015)


