When you click on links to various merchants on this site and make a purchase, this can result in this site earning a commission. Affiliate programs and affiliations include, but are not limited to, the eBay Partner Network.
I hadn't planned on removing either tank, just replace the fuel pump, and checks the gauge floats and replace those if necessary. And replace 1.5" the elbow hose if it looks cracked or deteriorated.
Not sure I follow when you say lift the fuel pump out by the 3/8" hose, you mean remove the access plate and fish around until you hook the 3/8" hose and pull the pump out that way? What keeps the hose from pulling out of the top tank also?
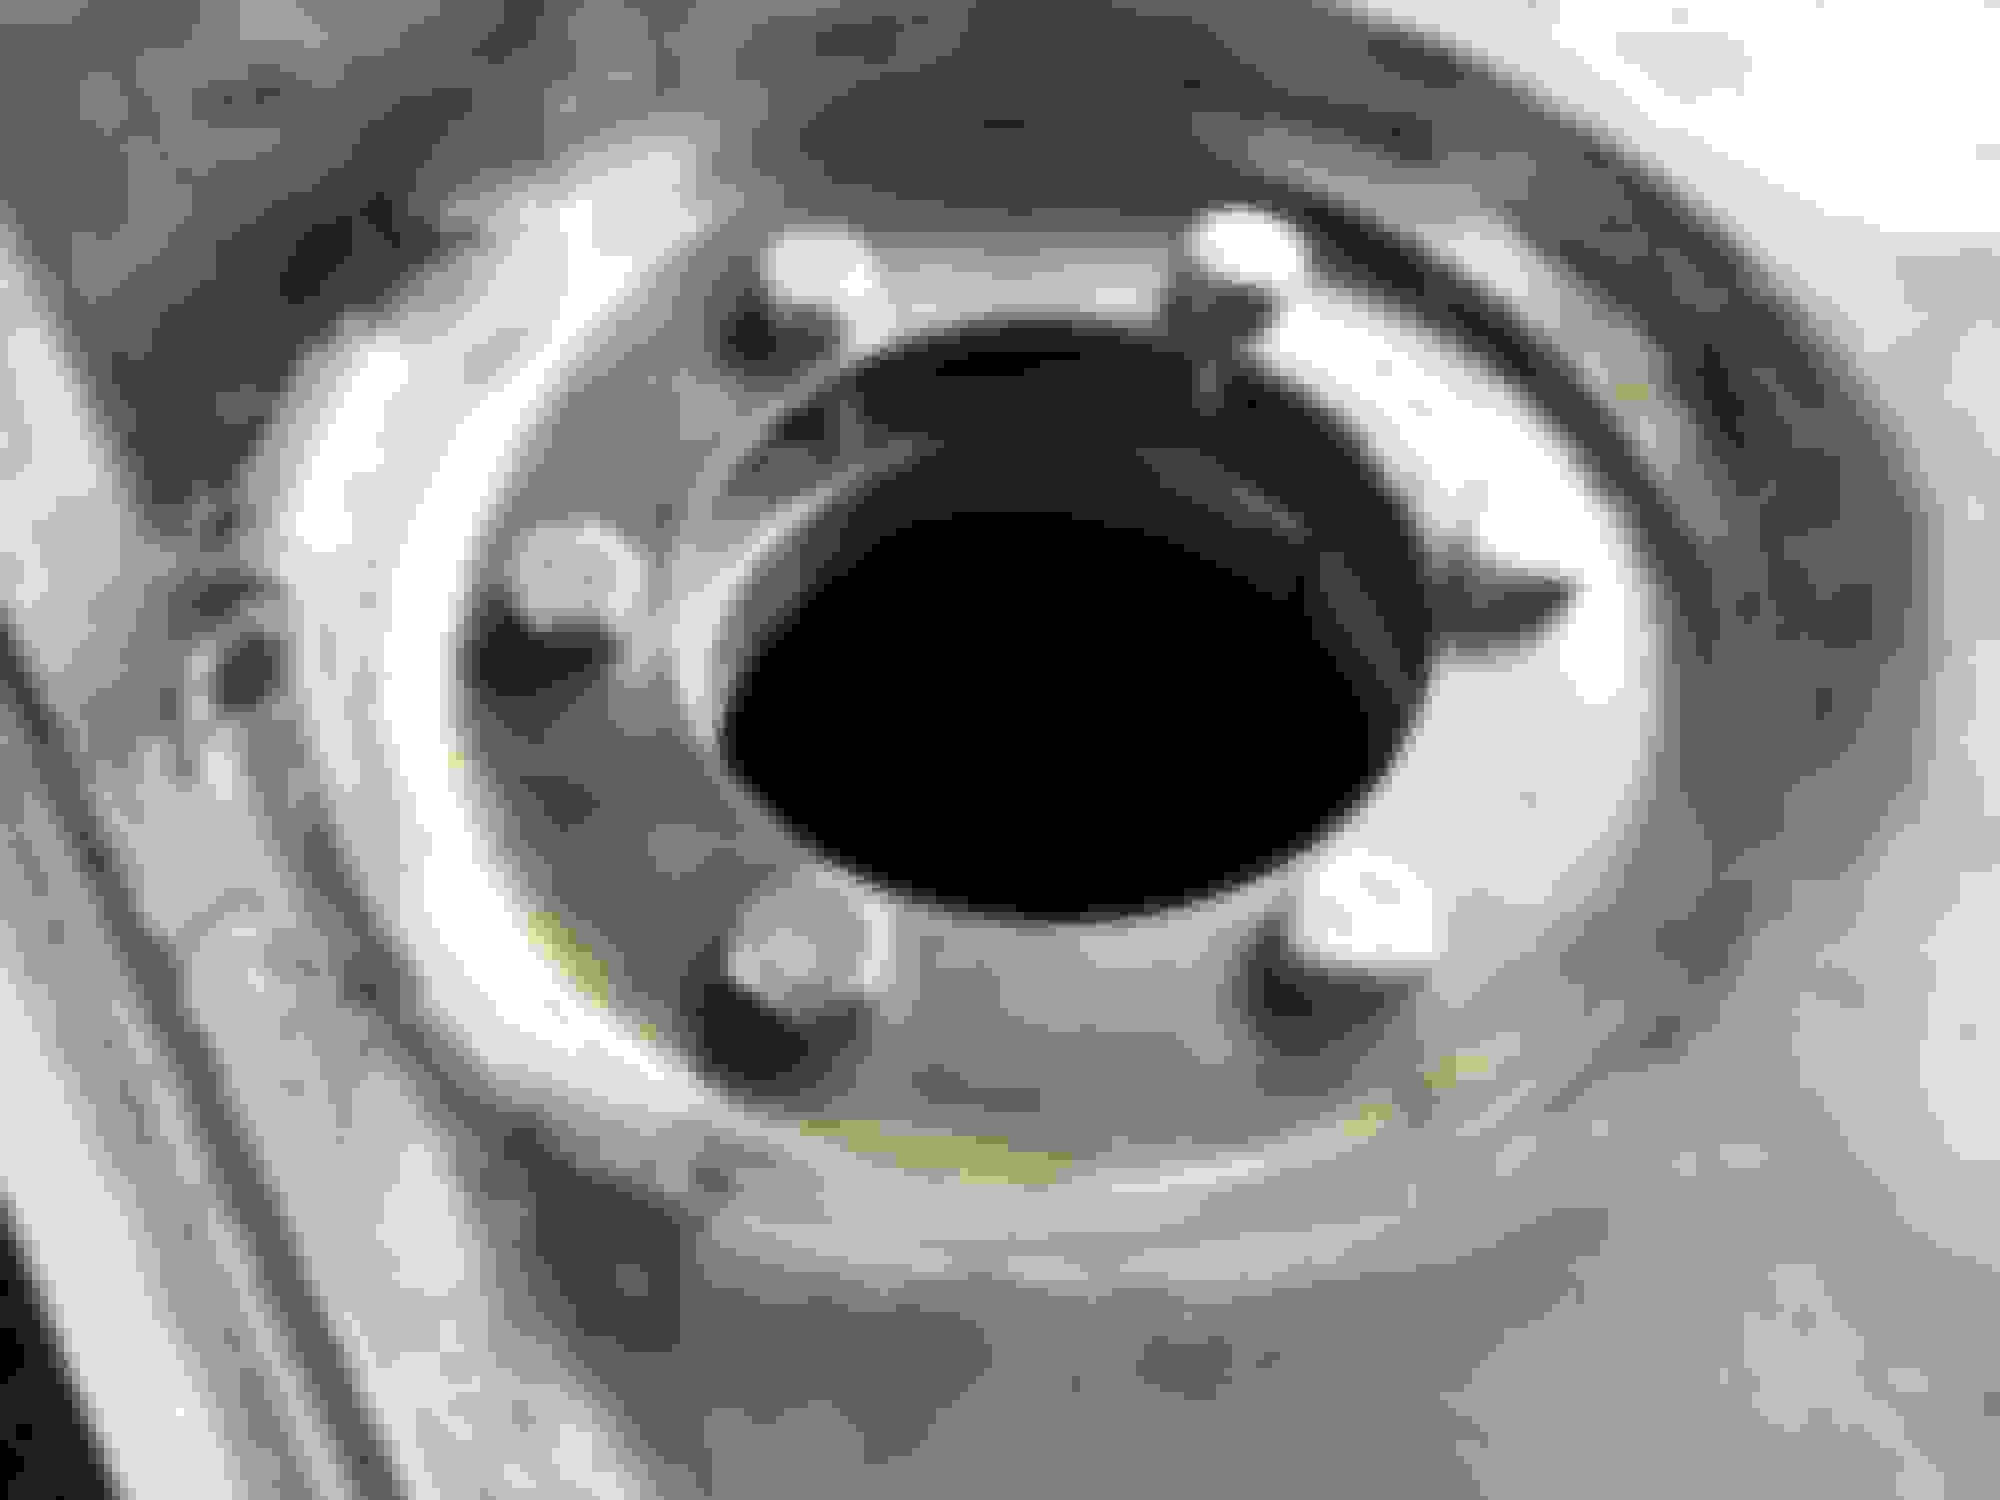
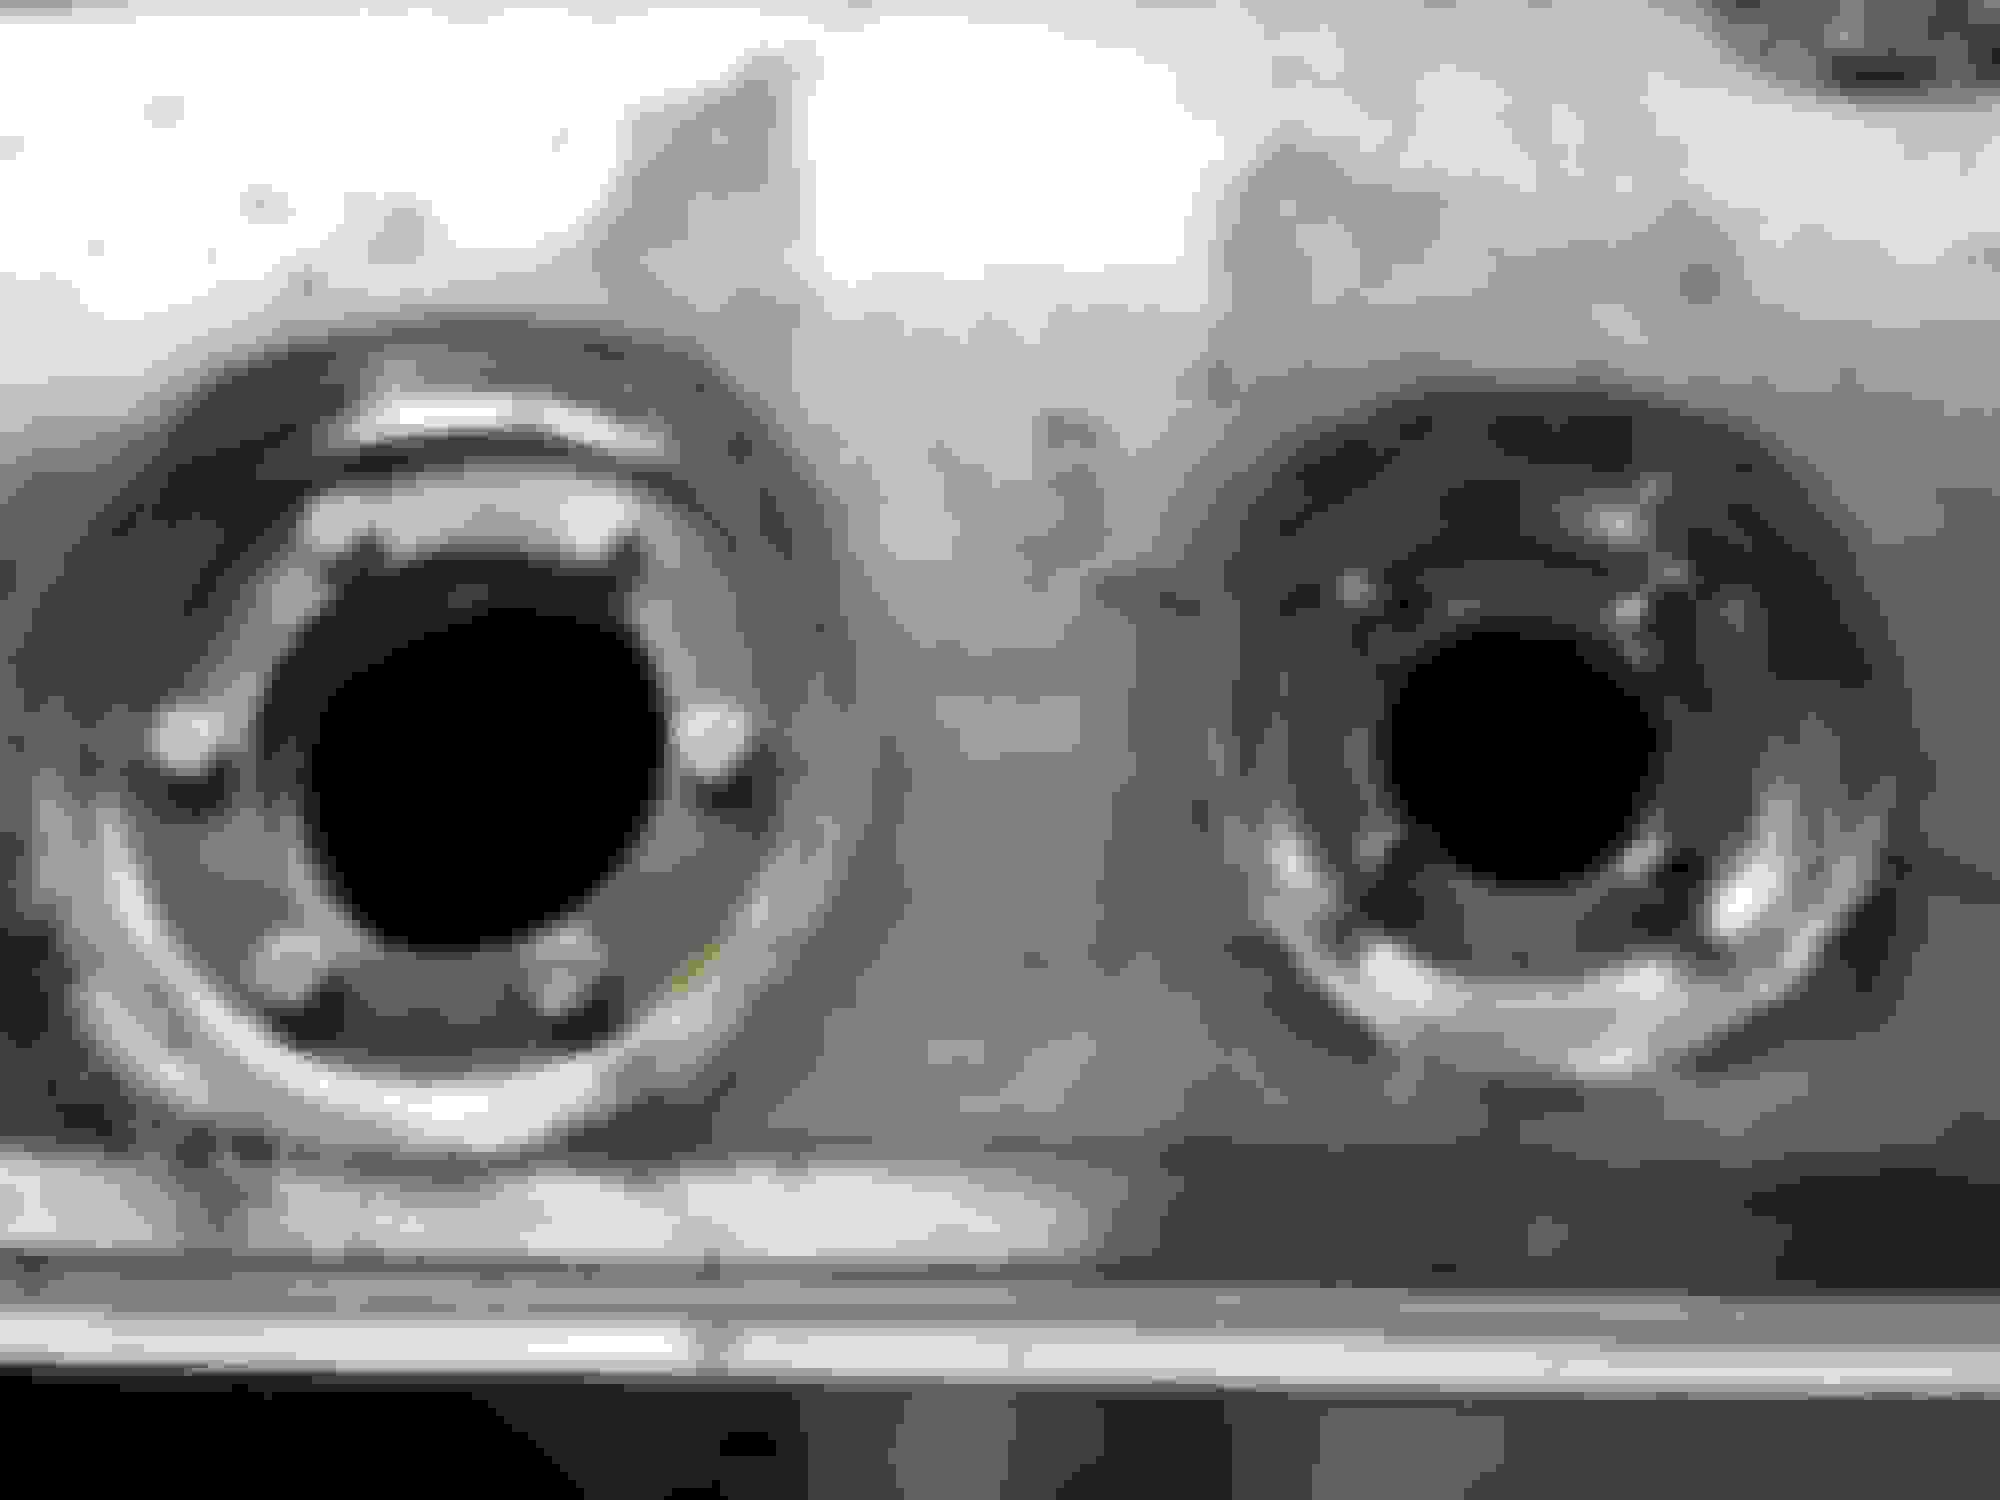
The access plate in the first hole with the wire is maybe the fuel sender? The far hole/plate is for the pump?
NO. When you remove the screws holding the pump bracket, the pump and hose will come up with the bracket. (Just like any other in tank pump) What I meant was that the 3/8 hose has enough length to manouver the pump out of the tank (think the depth of the tank) but it may be brittle. The one furthest to the right is the pump, the one with the red connector in the picture in Post #19.
The other end of the 3/8 hose will not disconnect from the upper tank on its own because it is held in place with a funny looking slide clip. Because that hose may be brittle, exercise caution when removing the pump.
Any gasket for the lower tank basically won't help, the screws are caught in the threads of the tank plate (they can't be tightened much) and go through the tank plate. I made two half-moons from aluminum for both holes, glued them from the bottom (with gasoline-resistant glue) into the hole. The thread only goes into half of the aluminum ring, so it does not go through. And I put the pump and indicator on the gasoline-resistant gasket again and properly (carefully) tightened it. No smell in the cabin since then.
Disconnecting battery have no efect. The dials are only resistor, which are not connected with ECU, only with clock pointer.
Which is the coil and the deflection depends on the input resistance
Both dials are connected in series:
Interior tank
empty full
90 Ohm 0-2 Ohm
Boot tank
empty full
180 Ohm 0-2 Ohm
Input to clock
empty full
270 Ohm 0-5 Ohm
Disconnection wires do nothing, only say to clock pointer, that dial have infinity resistor, which is tank "empty".
So you can:
1. disconnect wires on both dials, clock shoukld show "EMPTY".
2. disconnect wires on both dials, connect boot dial wires together, interior dial wires together, clock should show "FULL".
If not, the error is apparently in the clock.
For next work you need variable resistence (2 pcs, range cca 0-200 Ohms) and Ohmmeter (VOM).
Disconnect interior dial, connect wires to resistor, with VOM set to 0 Ohms.
Disconnect boot dial, connect wires to resistor, with VOM set to 0 Ohms.
On the clock should be "FULL".
Now set the boot resistor to 180 Ohms, on the clock should be cca "HALF".
So you can with resistor simulate "emptying" and "filling" both tanks.
If not, clock ponter is probably bad.
@roman: great write up on the fuel gauges. I was very successful using the gasket material I mentioned in one of my posts and like you, since then I have no fuel smell inside the car.

 09-28-2023, 01:57 PM