When you click on links to various merchants on this site and make a purchase, this can result in this site earning a commission. Affiliate programs and affiliations include, but are not limited to, the eBay Partner Network.
As I related in a previous post, I was recently given a 1989 XJS that hadn’t been run in 18 years and had been stored outside since. Of course it wasn’t in great shape when it was parked- what I got from the previous owner was that it ran hot on one side. I call it Project Phoenix because the car needs a total restoration- paint, body and mechanical.
A sane person would have run from this car. Honestly I have seen better parts cars, but since this is what landed in my lap, and I love restoring neglected cars, my goal is to fix it up and hope I can keep the costs within the realm of what I could have bought a nice XJS for.
Being familiar with this website from my Mark 2 restoration, I went to the stickies and found the XJS Book. What I took away from the 700 pages was that you should start with a well maintained car. Since that was out of the question, I figured I need to go through everything.
The other thing about this website is I really appreciate all the great experience and expertise on the XJS. It is very reassuring to have so many documented solutions and experts that can help with problems.
So my plan for the car is to start with freeing up the brakes so I can roll it, and then work on interior systems, engine/transmission, and gradually get into the paint and body.
The front brakes were relatively simple. Pull off the brake calipers and hubs, replace the disks, grease the hubs, and get the calipers rebuilt. I was hoping to do them myself, but with the pistons frozen solid I shipped them off to White Post restorations for a rebuild. Very happy with the results!
The rear brakes are a whole different story as you all know. After a couple of weeks work, I am closing in on finishing that task!
Before After $$$ and much work!
Hopefully I will soon be able to roll the car. I should have functional emergency/parking brake, and will save the recharging of the brake system till after I finish the engine work, and can flush the entire system. Right now the brake fluid in all the lines is pretty much just goo, so I will not be hooking the lines to the calipers yet.
While getting stuff apart is pretty simple, figuring out where everything goes in 6-12 months can be a real challenge. Having made this mistake before and with the complexity of the XJS, I am being really careful and markings everything.
Digging in!
I like to use painters tape and permanent markers for marking tubes and wires. I used to use stick on lables, but they fall off and then its more detective work.
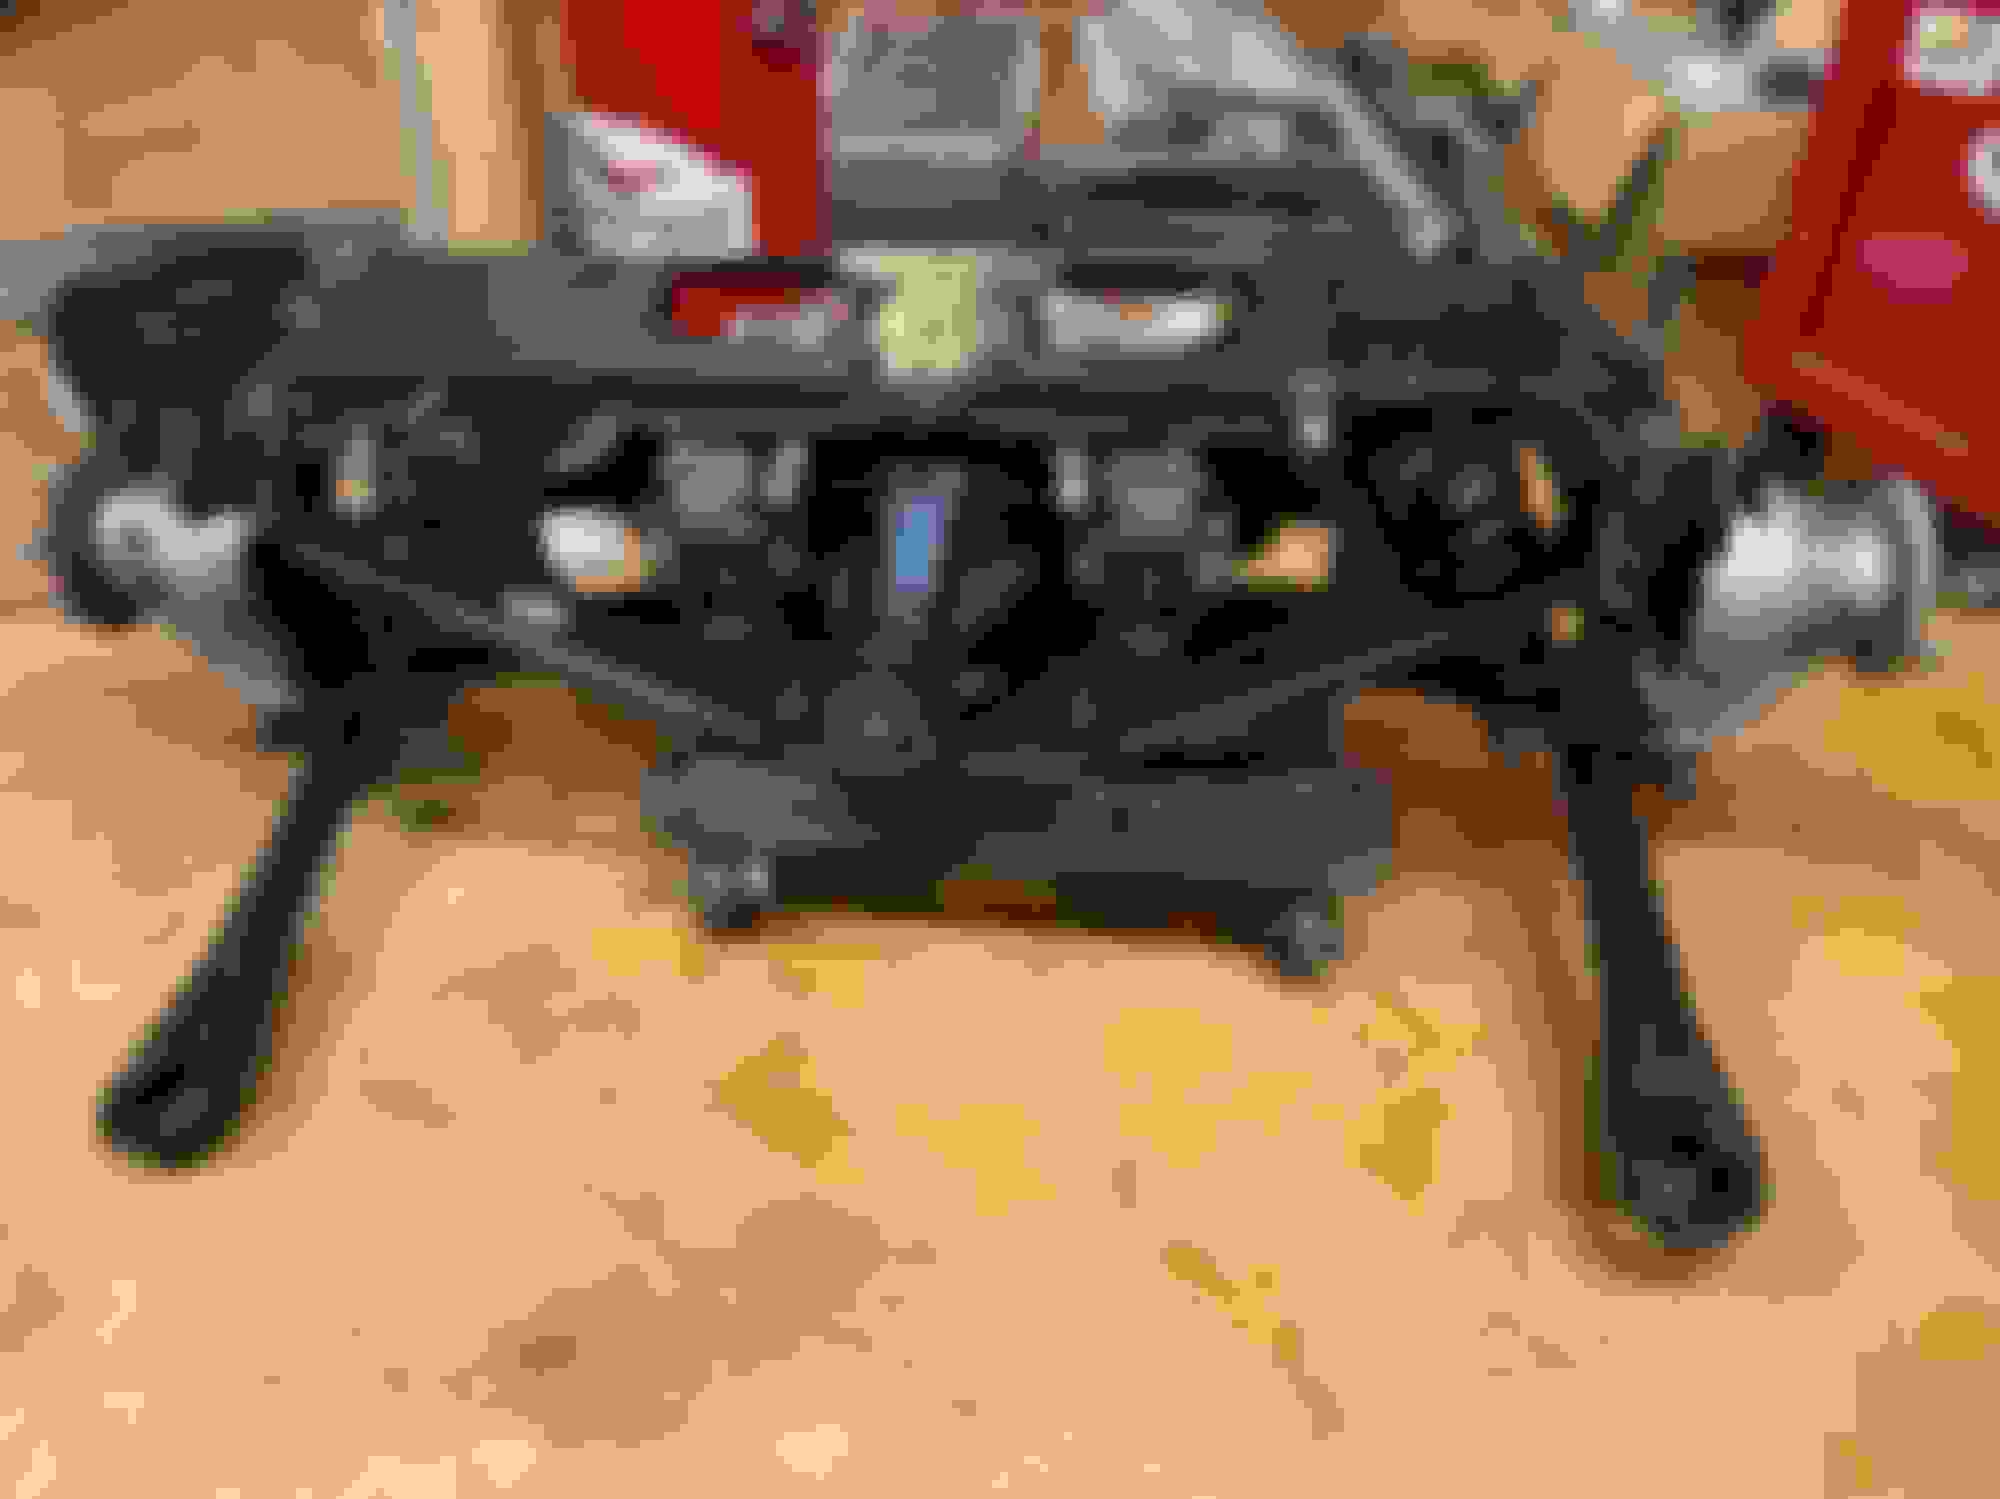
I have the top side of the engine mostly ready to pull. I’ll get underneath it after I have the rear IRS back in. A little setback there as one of the new GAZ shocks was leaking oil, so I am waiting on it’s replacement.
One item of interest is the trim. I am slowly working on pulling the trim for the body work and paint which is actually my favorite part. I was wondering how to get the rear wing covers off. I found the rivets soon enough, but the little corner chrome corner finisher was a mystery. After poking about for a while I found I could reach the back of it by sticking my arm way, way up through the rear boot, and sure enough it is held on by a 9mm nut. After that, it all came off easily. There was an amazing amount of debris stuck behind it, so glad to get it all cleaned out.
Wing finisher held on by chrome corner piece
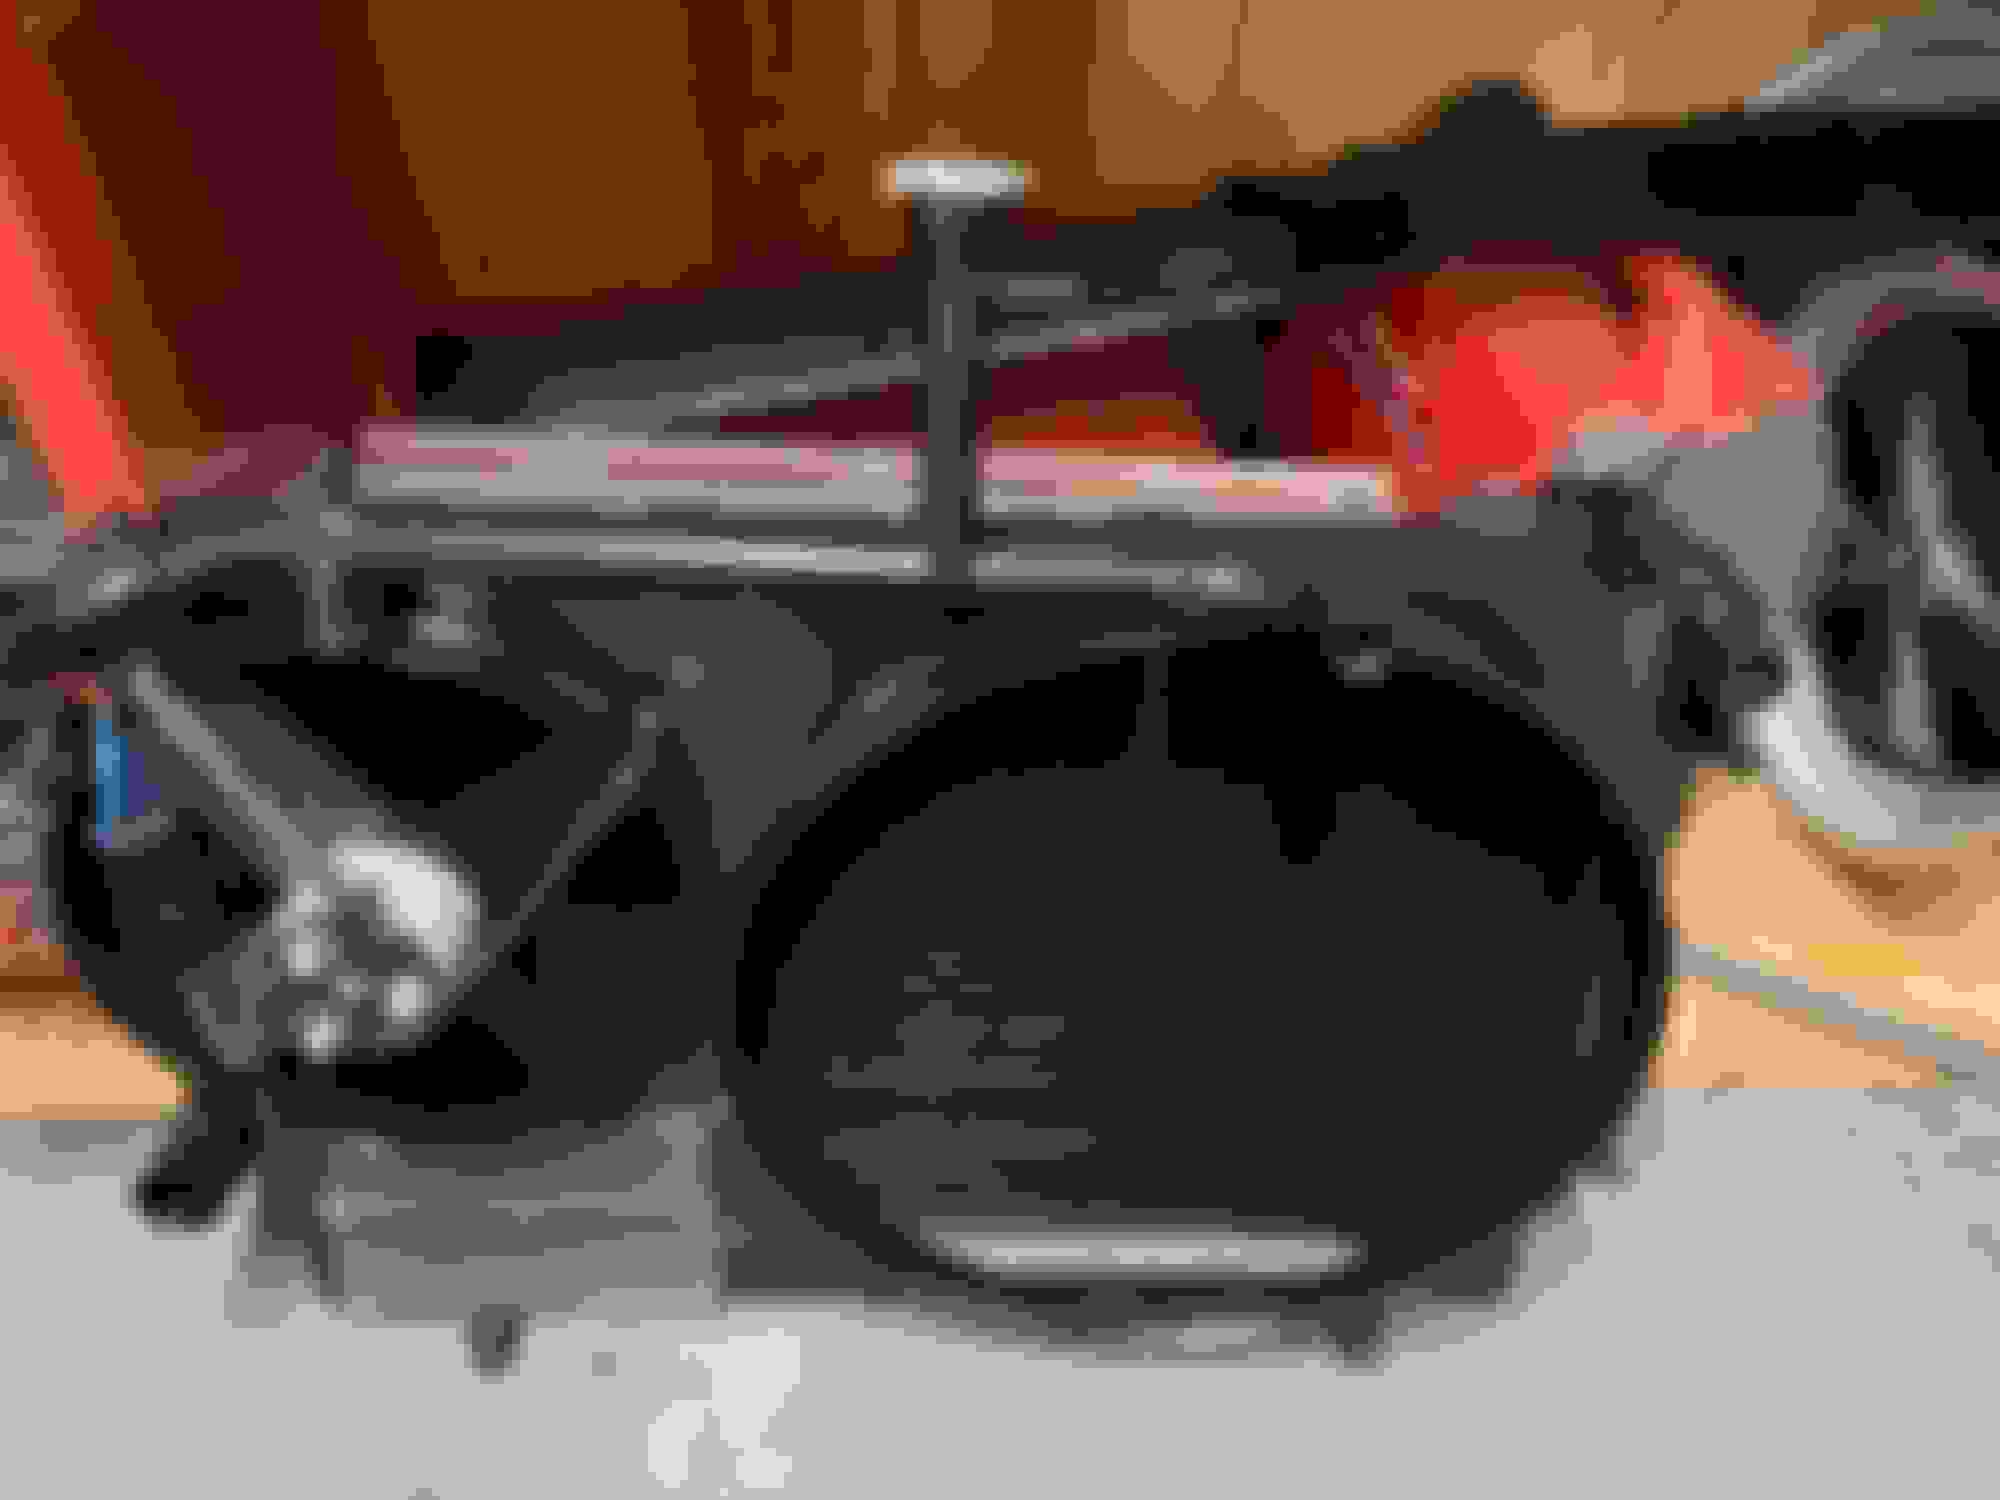
On the positive side, I try and keep up with the parts as I remove them. The radiator was 35% clogged, but is now all cleaned out and ready for reinstallation in the future, as are all the associated trim around it.
Lovely cleaned and painted parts
Cleaning/ repairing and setting aside parts as they come off is a good motivator to get everything back together in the end!
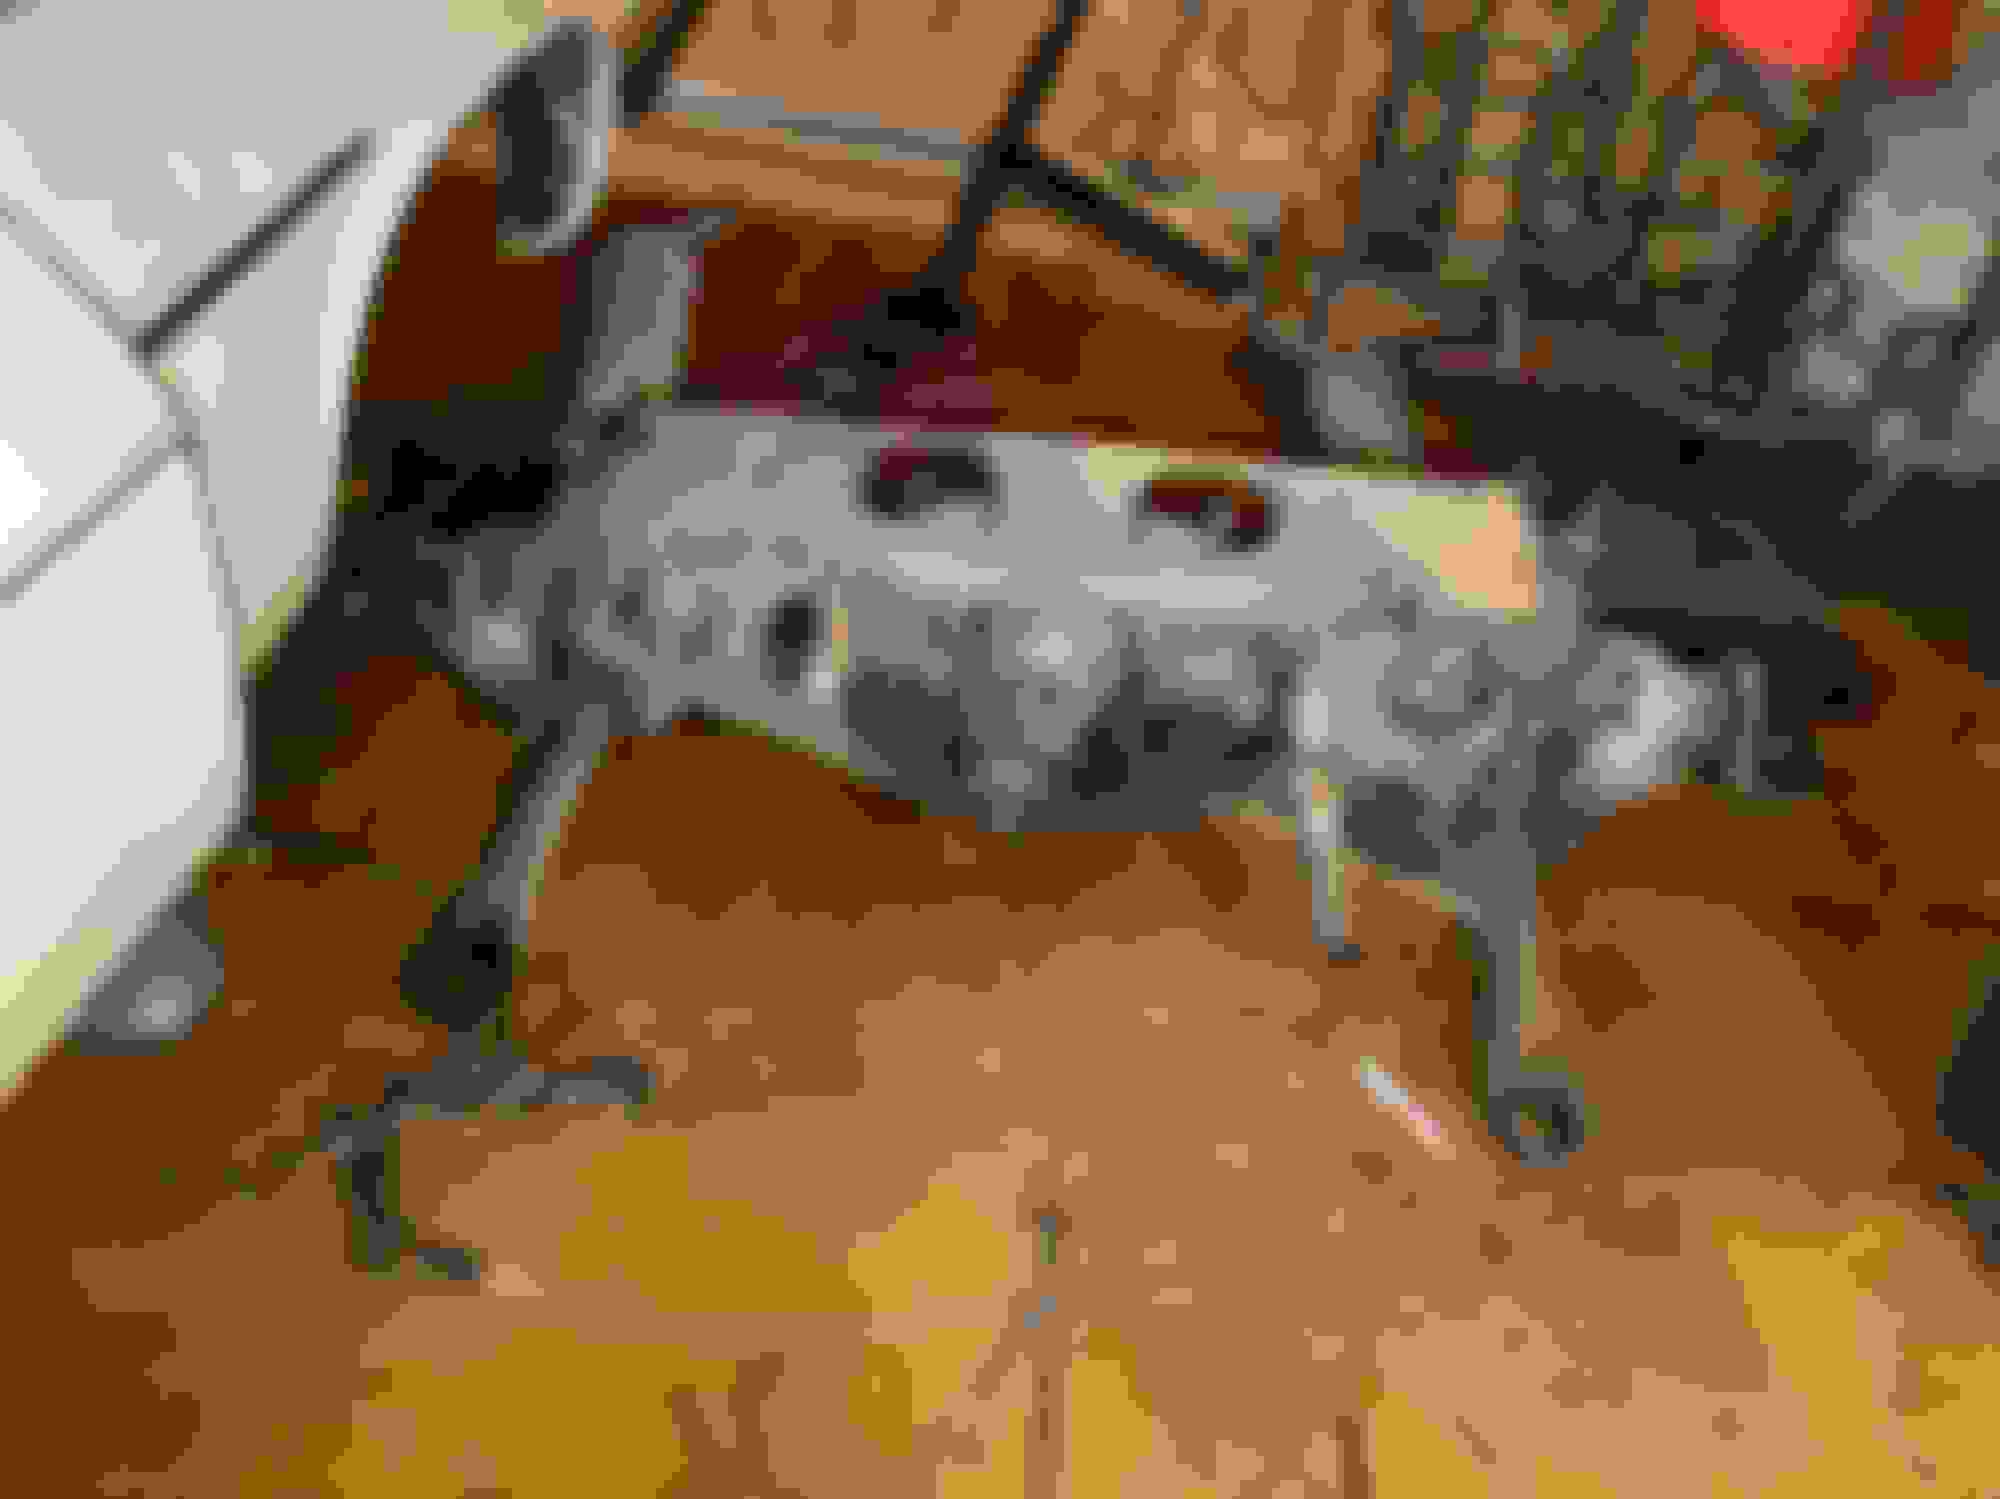
Yes, definitely going to re-do the heads. Will see about the rest when I have the heads off and more apart where I can check the cylinders, rings, and bearings. I would like to avoid a total teardown, but will see.
Blue painters' tape and Mark-A-Lot to identify what everything is sounds Really familiar!
Right along with labeled zipper baggies for small parts, nuts and bolts.
They are from SNG Barratt- one of our sponsors for this site. Very happy with the set and it includes new clamps. I was just joking about the labels- kind of— Yes some of the obvious ones are labeled, but the ones that I could really use help with are labeled- “hose”,
Is this one of the "silicone" sets advertised on SNG or one of the conventional sets? I need to order and I want to make sure they are not URO products. Thanks!
Still waiting on one replacement shock, but IRS is almost ready to go back in. I received an upgraded exhaust system from Simply Performance and it is very, very nice quality. My old system was unusable as well as ugly. I had a hard time getting the over axle pipes in, but it would have been easier if I had referred to the pictures I took before I pulled the old exhaust out. But all together now, so happy. I would say that it is easier to get the over the axle pipes in before you attach the shocks, driveshaft and brake calipers. But they go in just fine with the shocks and spring assemblies removed.
My old f/I wiring harness was toast. After watching the Camp Chaos Chronicles and fuel injector wiring harnesses, I ordered the parts they suggested and got some new 18ga wire. .
took about $100 in parts and 3/4 hrs, but it came out very nicely. Need to do a little more taping and a final continuity check, but one more thing fixed to set aside.
Got the rear end installed. So now I can roll the car if needed.
was under the car looking at how to remove the engine and transmission. Really don’t see how to get to anything holding the engine in. So I’m removing the exhaust hat shields from the top to see if I can get to the exhaust and motor mounts. Perhaps I can get any other items when lifting the engine out?
Got the rear end installed. So now I can roll the car if needed.
Are those shocks installed upside down? It looks like they're adjustable and I see the benefit of having the adjusters in an easy to reach spot, but do you think it will impact their longevity?
 02-05-2022, 10:09 AM