When you click on links to various merchants on this site and make a purchase, this can result in this site earning a commission. Affiliate programs and affiliations include, but are not limited to, the eBay Partner Network.
Thanks very much! I have some ordered now. I’ll use it for all the metal to metal matings- like the cam holder on top of the cylinder heads. The Hylomar is similar to a non drying sealant I have used on other engines with metal to metal seals.
I was trying to decide on if I should use Permetex copper spray sealant on the head gaskets- or just install them dry. I believe the correct way is to install them dry.
On paper gaskets, I was going to put sealants on these. Most gaskets seem to have been put with a sealant.
Just a shot of the bottom end with oil pipes and connecting rods removed Taped a big piece of paper on a table and labeled it for each piston. That way I don’t Mix anything up!
Arrrg. So- simple task today- torque the connecting rod bolts. 40.5 ft lbs according to the book. I’m only halfway through, but one of them would not come up to torque, and then broke. No problem, I’ll just order some more. Found out they are not available!!! Couple of others not getting tight enough either, so I stopped.
I’ll go by a local Jag shop Monday and see if they have a source as well as my machine shop.
I searched for info on this, but could not find anything on this forum. Am I missing something? Is 40 lbs too tight? Any tips on tightening the connecting rod bolts? Any sources or part numbers for new bolts?
Well, I found a couple of rod bolts on ebay motors, so that problem is fixed for now.
I agree that I would like to go with all new bolts by ARP- I’ll talk with my local engine builder, and see if he has figured out a replacement. Otherwise, I think I will try doing that and see what I can find. The bolts just seem soft- and with no lock washers or locking wire, it seems kind of flaky.
I just read through this entire thread and I must say that you are a brave man! I also have an '89 but the engine and recently transplanted transmission are working fine. The suspension and brakes needs freshening up as well as changing out all the vacuum tubes, hose etcetra. I've had the car for years now up and running but not squared away for actual daily use. However I'm getting in the mood to work on it now. I'm clearing out my other hobby cars so that I will be able to focus more energy on it. That seems to be the resource that is most lacking! Good luck and thanks for taking the time to document your work, I know that it takes extra time when you are in the actual process of wrenching on the car.
I enjoy sharing my progress- and all the advice I get. This isn’t my first restoration or first Jag, but it is my first XJS and there is a steep learning curve. I love watching some of the U tube videos of the engine rebuilding for example, and they just take the engine completely apart, put all the hardware in a bin and take it out to be replated. I could never figure out where every nut and bolt went. I bag everything. I get take pictures of what is in each bag, and then combine a few bags to send off for plating. When I get the stuff back, I pull out the pictures, and put all the right bolts in the right bag. Was still a challenge to get the water pump and front cover put back on with all the different size bolts! But I eventually figured it out mostly..
Clean and shiny
Still waiting on parts to finish the engine assembly. I took the cams and cam holders to my machine shop today and they are going to install them and do the valve adjustment. They have experience with this engine and will get that part correct. I had to stop and get some new hex head screws for the cam holder because one was stripped andI had to drill it out to get the cam holder off the head. It is amazing that my local nut and bolt supplier had the EXACT same hex head bolt that was installed on the car in England 30+ years ago.
I got the transmission back today. It was in pretty bad shape with metal debris in the clutches and bands. So it got a lot of new internal parts, and should run like new. Another thing I won’t have to worry about now.
I wasn’t sure about the distributor and don’t have a good way to test it so I sent it to Advanced Distributor. Jeff mostly works on the older cars, but agreed to take a look at it (Lucas Distributor). Good thing- it apparently had some prior work that was done poorly and neither of the advance springs worked so it would not have worked well if at all. So one more thing I should not have to worry about when i try and fire up this engine!
In the meantime, I am cleaning parts and prepping the engine compartment for a repaint. That’s a big job!!
Well, I found a couple of rod bolts on ebay motors, so that problem is fixed for now.
I agree that I would like to go with all new bolts by ARP- I’ll talk with my local engine builder, and see if he has figured out a replacement. Otherwise, I think I will try doing that and see what I can find. The bolts just seem soft- and with no lock washers or locking wire, it seems kind of flaky.
Got the bolts from Europe in four days. Wish everything else was so timely. I had to remove all the pistons of course to drive out the old bolts, and install the new ones. I used the caps and nuts to get them seated fully. This was helpful when I went to torque them so I didn’t have to turn the nut so many revolutions before it firmed up.
You can see the gap before the head of the bolt is fully seated
It took almost four hours to get all the pistons in, with bearings positioned correctly and the caps and nuts on snugly. After my last fiasco, I figured I should also make sure my torque wrench was properly calibrated so I didn’t cause any more problems. That took about a week, and it was 7-8 lbs too above the 40lb torque spec, so that could have been part of my problem- even the new bolts are pretty sensitive.
Anyway, today I was able to torque them all down and get them all tightened to spec with no problems.
If you can see a little check mark on each bearing caps, that is to make sure I didn’t miss torquing one.
You can’t torque them all down without rotating the engine. So you have to be very careful that you get them all tightened properly.
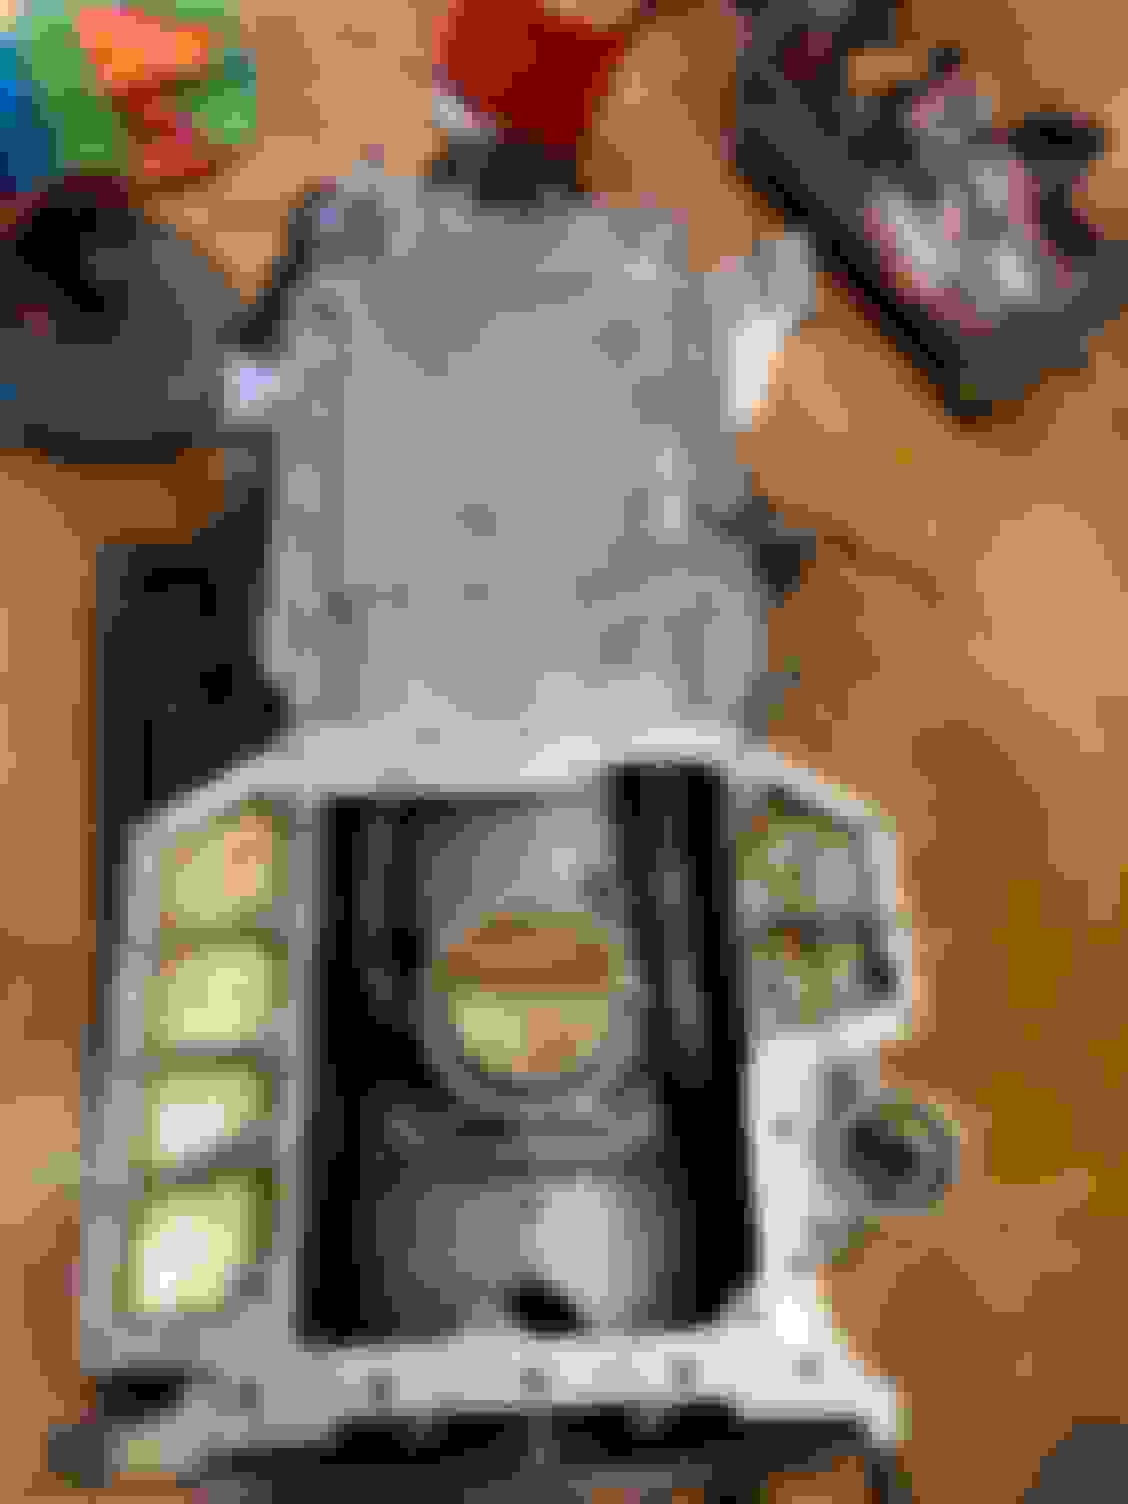
After that, I was able to reinstall the bottom plate and oil pan and get the engine bottom end closed up.
All sealed up Before putting on the oil baffle and pan
Now I just have to keep the engine covered and clean while waiting for my one head stud to come from England (by slow boat apparently), and the heads to come back from the machine shop.
[QUOTE=Greg in France;2520132)
What sort of shape were the liners and pistons on, please?[/QUOTE]
The pistons and liners looked to be in great shape. No scoring or obvious wear. As I was not planning on removing them in the first place, I didn’t put in new rings. The car only has 87K miles and the advice I got on it was absent seeing any wear or damage, just leave them be. We will see if that pays off
I am working on getting the engine compartment cleaned up and everything prepped. Since I am doing a color change of the car to the light metallic blue, I also repainted the engine compartment. Next task is to tackle the steering. It needs seals and bellows.
Quote: Now I just have to keep the engine covered and clean while waiting for my one head stud to come from England (by slow boat apparently), and the heads to come back from the machine shop.
Those head studs sure are very tight to remove. Either they were originally fitted with a really strong Loctite ( not very likely ) or the steel stud in the alloy block is especially prone to chemically react and bond. Other studs in the engine never seem to be that tight, but they are not generally in the water jacket. I have had some trouble with removing small studs for the thermostat housing where they do come into contact with coolant, but that was in rebuilding a much neglected engine. Maybe if the engine coolant is originally loaded with a good inhibitor, which then needs changing out at regular intervals, these problem studs would not be such a problem.
When I rebuild a V12 I always use an appropriate grade of Loctite or similar on any stud, bolt or fastener that might be subject to corrosion and is not usually an item ever removed in the life of the engine. Especially where fasteners are under vibration or heavy loads. Elsewhere I use anti-seize and lock washers for things that might need removing and are not heavily loaded.
Manufacturers generally find that approach too time consuming when assembling engines, and that eats into profit margins. In spite of this cost saving most Jaguar V12s can be made to live again after many years of careless and neglectful use.
Last much neglected V12 I rebuilt needed brand new heads, luckily still available. To make it a bit easier to drop the heads onto the block when working solo, I used a countersink tool on the stud holes on the underside of the heads. Plenty of meat on the head for a 3mm countersink, and it makes it much easier on your back as you struggle to locate every stud as you drop the head.
When I rebuild a V12 I always use an appropriate grade of Loctite or similar on any stud, bolt or fastener that might be subject to corrosion and is not usually an item ever removed in the life of the engine. Especially where fasteners are under vibration or heavy loads. Elsewhere I use anti-seize and lock washers for things that might need removing and are not heavily loaded..
This is good advice. In retrospect I would have not cut the head stud that I did. It’s risky with these engines. I can’t imagine trying to replace them all. Even my local machine shop wanted nothing to do with removing head studs!
Slowly making progress. I have the engine compartment cleaned up and painted the color I plan on painting the entire car. Sill waiting on engine parts, but at least the car is ready when it is. Got the steering rack pinion bushing replaced as well as new boots. Got new air conditioning components ready to install, installed a new valve block in the TEVES system and have all the components reinstalled. Flushed all the brake components and lines with new fluid, replaced the flexible lines, and installed all the lines and newly rebuilt front brake calipers. New front shocks complete the suspension work although I should still replace the front sway bar bushings and clean up the sway bar.
Working on cleaning out the fuel system now. The surge tank had 1/4 inch of sludge/rust powder at the bottom. Got that all cleaned out, but as much as I hate the idea, I now have to pull the tank and clean it out. But that will give me a fully cleaned out fuel system to start with.
Reading other posts, I have a question about my 1989 V12 HE with Lucas ignition. I don’t see where there would be a crank position sensor. I see a fitting in the block below the front crank flywheel where something might be mounted, but my car didn’t have anything there.
Also, I was looking for the AAV that folks were talking about to check it out, but I didn’t see that my car has one. I still have some parts to look at, but wasn’t sure.
Also the “dreaded white wire” that can easily break- I didn’t see that either. Where would that be found?
I just wondered about all these, and perhaps my year model doesn’t have them…
Lucas distributor V12s don't have a crank position sensor. Everything the ECU needs for position and RPM comes from the distributor and ignition box. The white wire is near the rest of the distributor/ignition box/coil wires.
Lucas distributor V12s don't have a crank position sensor. Everything the ECU needs for position and RPM comes from the distributor and ignition box. The white wire is near the rest of the distributor/ignition box/coil wires.
thanks! But it should have the Auxillery Air Valve- right?
Also, I was looking for the AAV that folks were talking about to check it out, but I didn’t see that my car has one. I still have some parts to look at, but wasn’t sure.
Also the “dreaded white wire” that can easily break- I didn’t see that either. Where would that be found?
I just wondered about all these, and perhaps my year model doesn’t have them…
This is the AAV, it is mounted on the end of the B bank rear water manifold: The hose is very important as it has a small take-off on it that provides the suction for the dizzy vent system. It is NLA, if yours is shot then get a hose of the right size with a 90 degree and and use one of these for the takeoff: https://www.viperperformance.co.uk/h...one-hoses.html
The Lucas amplifier has 4 wires coming out of the white plug facing towards the manifold. Two go to the coil + and - and these have spade connectors. A white with spiral blue trace goes to the tach and has a bullet push fit connector. A solid white, quite thin wire goes rearwards to the loom and plugs into a shielded wire. This is the DWW. If you find it is brittle and the insulation flakey, work back along the loom until you find supple insulation and make a careful soldered join there.
There is also a flat black plug that joins the rearward facing side of the amp. This comes up from the dizzy bottom and provides the trigger signal to the amp. Carefully check this loom from the dizzy, it lies in the valley of death and may or may not be flakey and cooked. If it fails the car stops. Here is a shot of my home-improved (I hope) version:
Last edited by Greg in France; 05-20-2022 at 09:53 AM.

 04-02-2022, 08:35 AM