When you click on links to various merchants on this site and make a purchase, this can result in this site earning a commission. Affiliate programs and affiliations include, but are not limited to, the eBay Partner Network.
After waiting months for a head stud, I finally got one from Welsh Jaguar. It was soon thereafter that I realized I was not going to get the cam sprockets back on the cams without the chain tensioner tool which I neither have or know how to use. Stuck, it was time to get professional help. Fortunately we have an independent Jaguar shop here and the owner has over 50 years experience rebuilding 12 cyl jag engines. He also realized that the distributor drive shaft was 180 degrees out so fixed that for me too. That was from some prior rebuild and explains the strange plug wiring setup. Anyway it’s ready for reassembly!
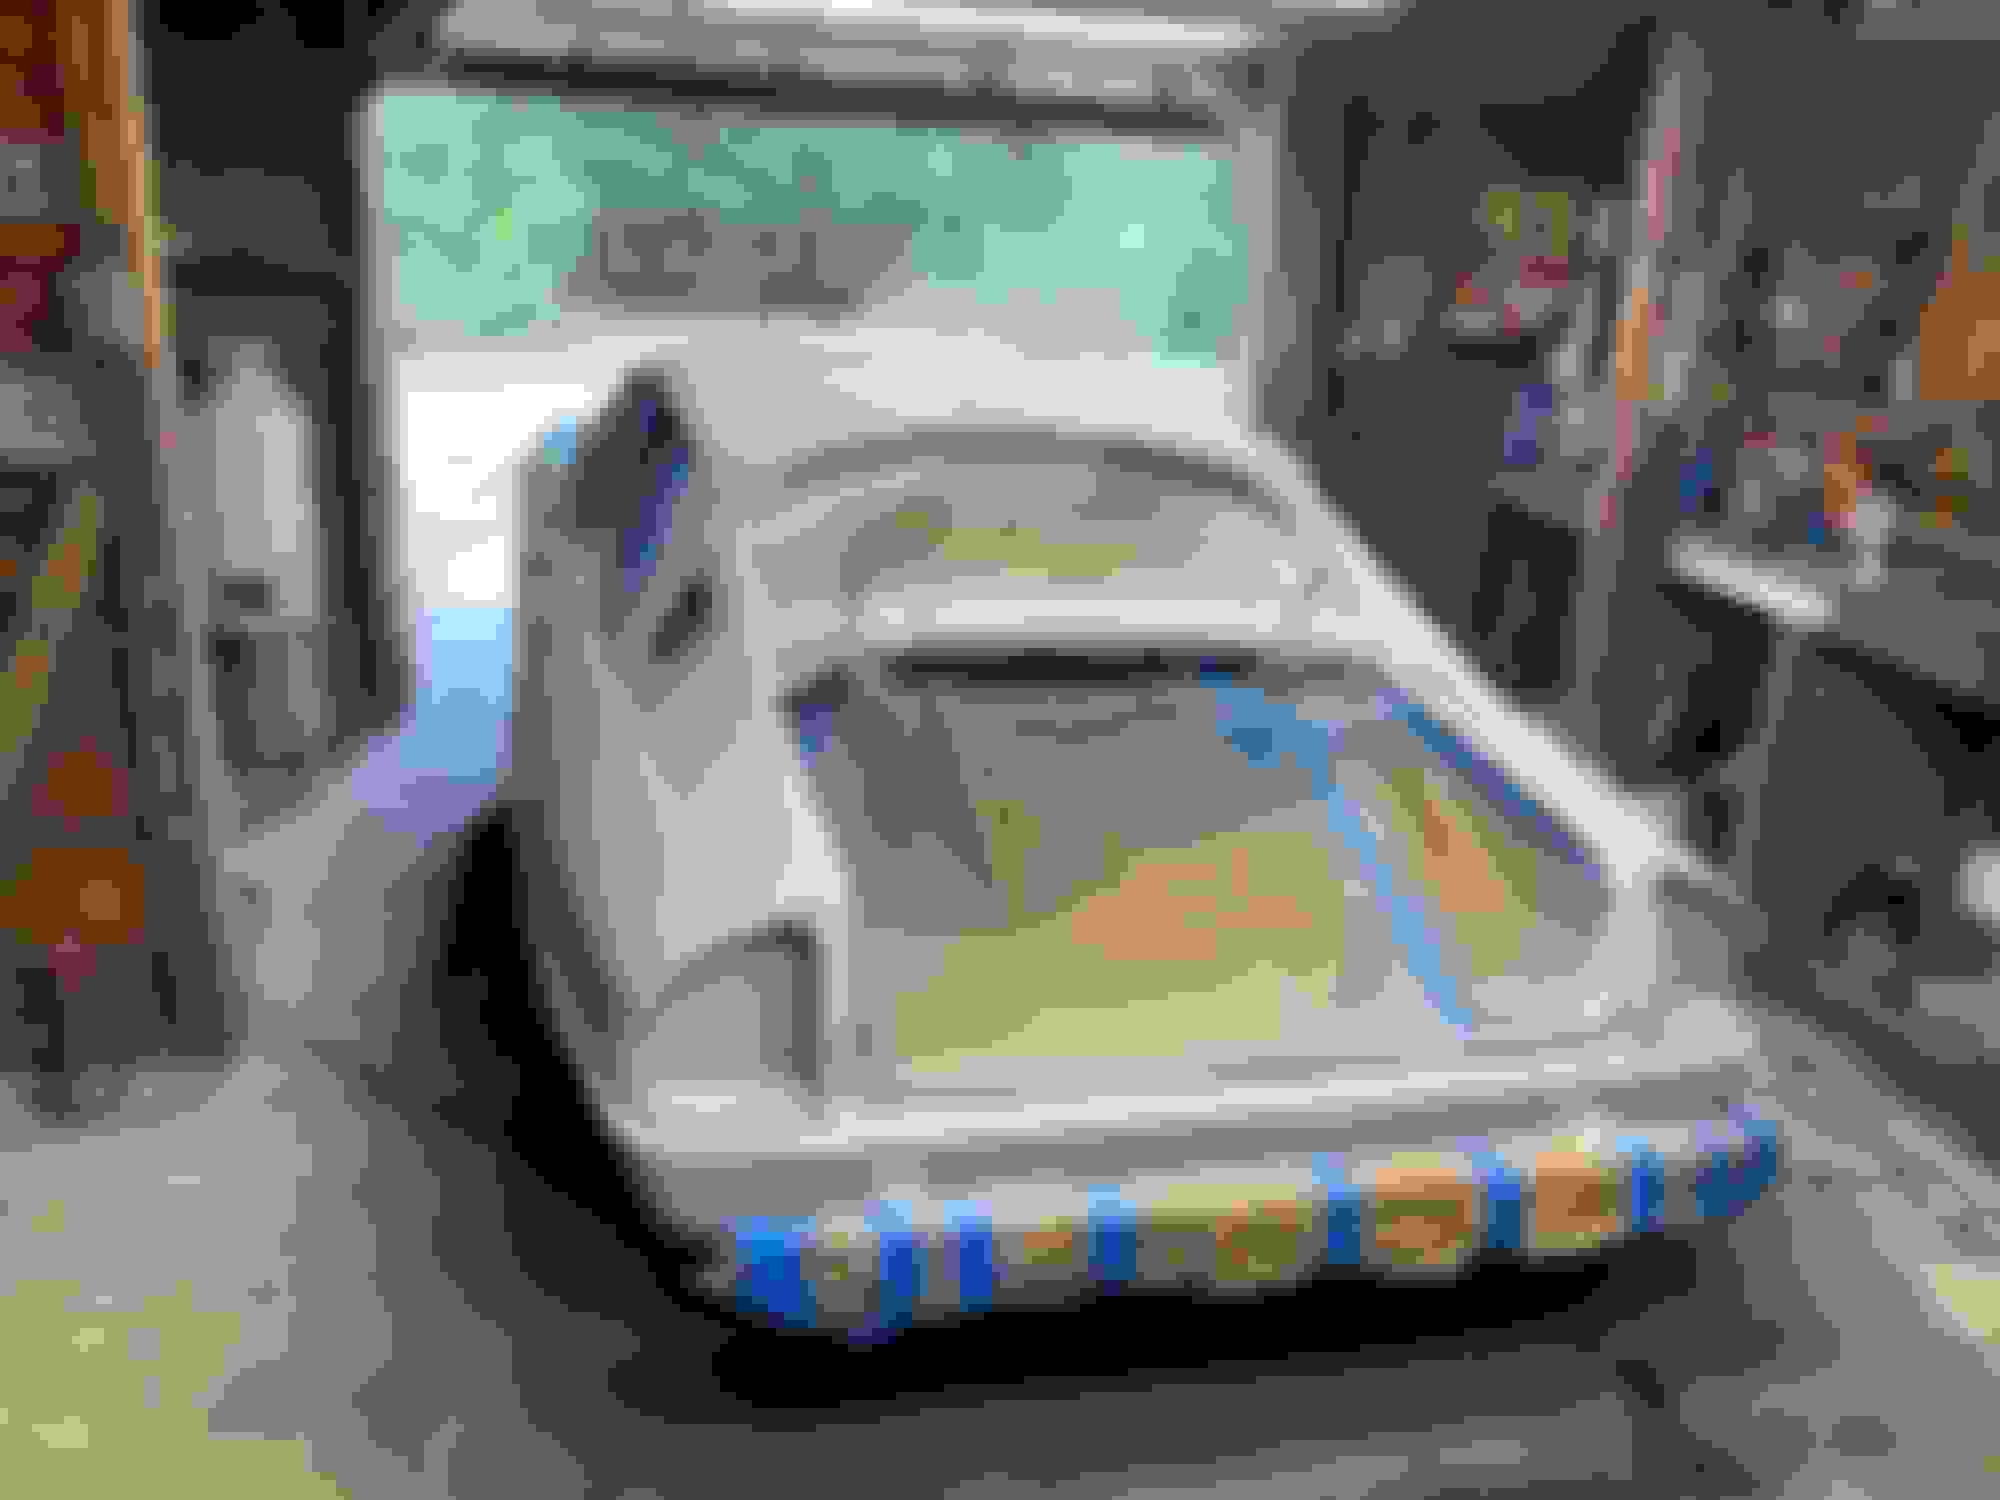
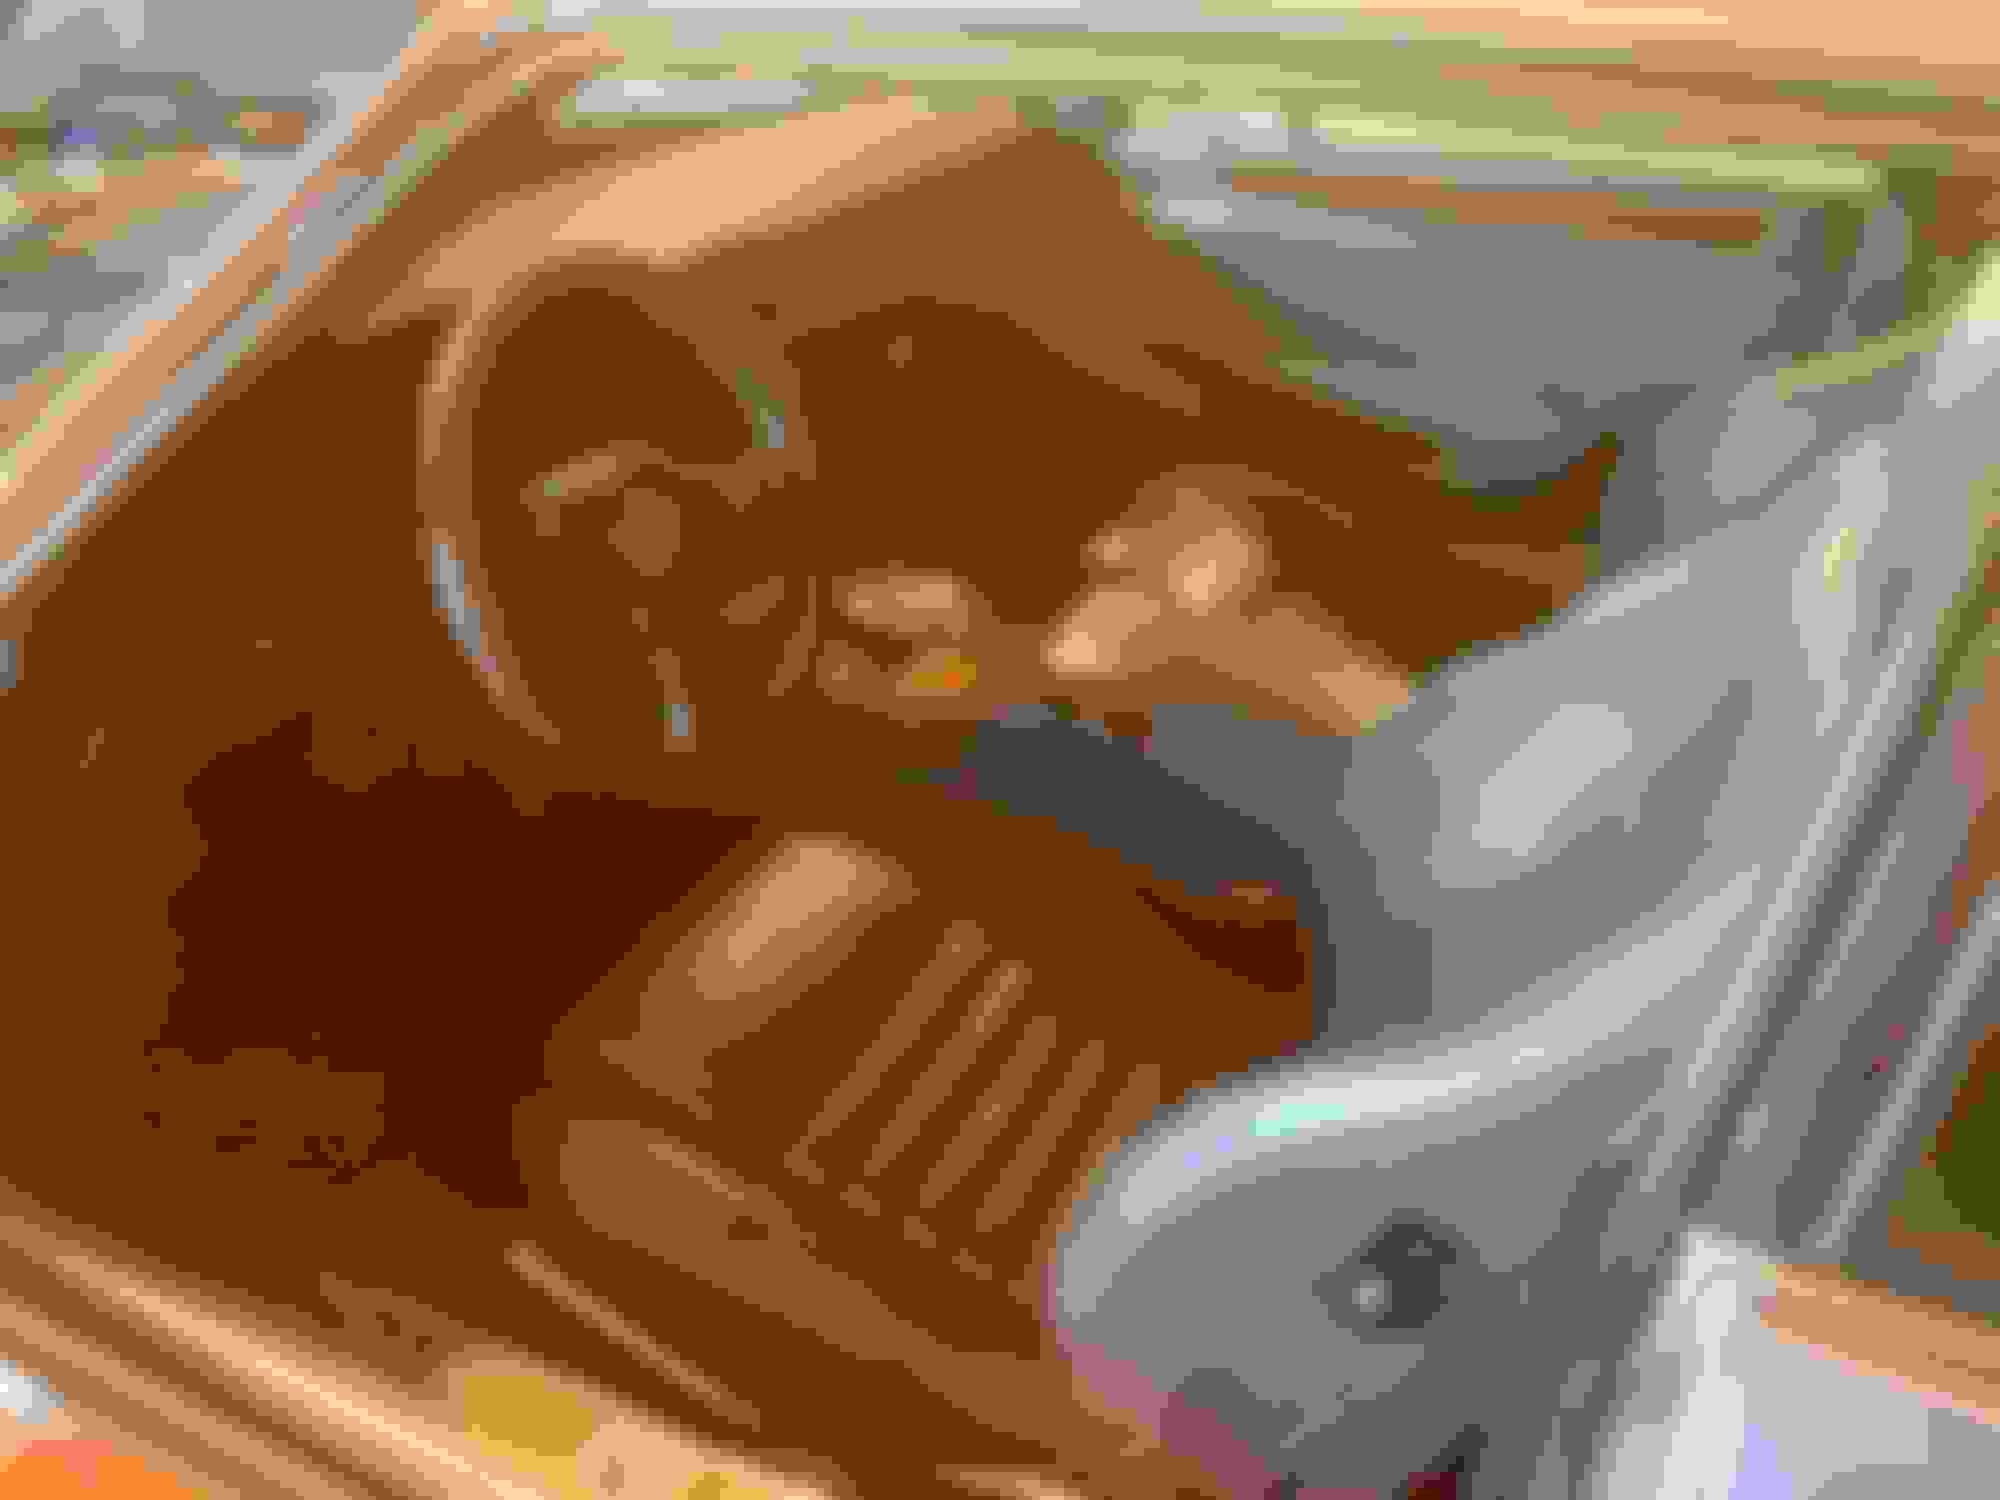
More engine pics. It is the super cool V12 that I love about these cars and they are lovely to look at.
I did the fuel rail using a Camp Chaos video which was helpful getting all the parts in the right order and facing the correct direction.
Slowly getting everything in it’s place. Still waiting on parts- I decided that I would replace the motor mounts, and sway bar bushings before i put the engine back in. Also found that the starter was bad so wondered a WOSP starter. Other parts include some of the vacuum parts , belts, etc.
While I marked all the vacuum hoses and lines, some came off on their own or i just missed them, it is still a process to get them all in the right spots. Between the manual, the data plates under the hood and finally a friends similar XJS, It just takes a lot of time, but is enjoyable getting everything gleaned and properly installed.I think I fubakkt have everything connected up properly.
i also re-did the engine wiring, replacing all the crispy wires so they are all ready too, Did the f/i harness last month, so that is good too. I will do a test with the starter before and after installing the plugs. Plug wires tested and ready to go back on. I am reassembling as much as possible as it is very easy while it is on the ground. Hopefully I’ll get tit back in in a week or so.
Well- a week or eight. Time flies when your having fun. The engine is ready to go back in but I’m taking a break from the engine and working on the body which I kind of prefer. I figure if I can get the paint and body done, when I am ready do get the engine in and running, I won’t have weeks of work ahead of me, and If I need to take it in to get some help, it won’t look like a complete POS.
So after a week of metal work cutting out and replacing about 10 rusty spots in the car, I finally have the car in primer and can do the final prep before paint. I enjoy the fabrication of parts and welding. Most of the areas have also been leaded and they have all been rustproofed and sealed so they won’t rust again.
Just a few of the parts cut out. Rust damage under side window trim Rust damage cut out around windshield New metal welded in and sealed/ smoothed out with lead Fabricated a new right rear fender part with two drain holes. These were previously a cause of rust- on both sides In first coat of primer Side window repair- seam welded in, leaded and sealed with epoxy on the outside, and epoxy and seam sealer on the inside.
Been busy the last few weeks. I am kind of working on everything at once so that when I put fuel and water in the car it will be ready to go. I don’t want to just leave it sitting at that point while I try and finish all the other little projects.
Finished the paint- still needs more polishing, but It looks decent.
I was able to get all the windows installed so the car is buttoned up now. Replacing the panel boards in the doors. As well as getting some wood back on the dash for my morale. Also working on reinforcing the flakey headliner board so I can cover it with new headliner material.
Installing some of the wood trim just cause it looks so nice Old door card Made a new door card
Key to getting it in is to make sure they lifting chains have the engine at the correct angle to get it set
Slowly getting all the bits into the right place
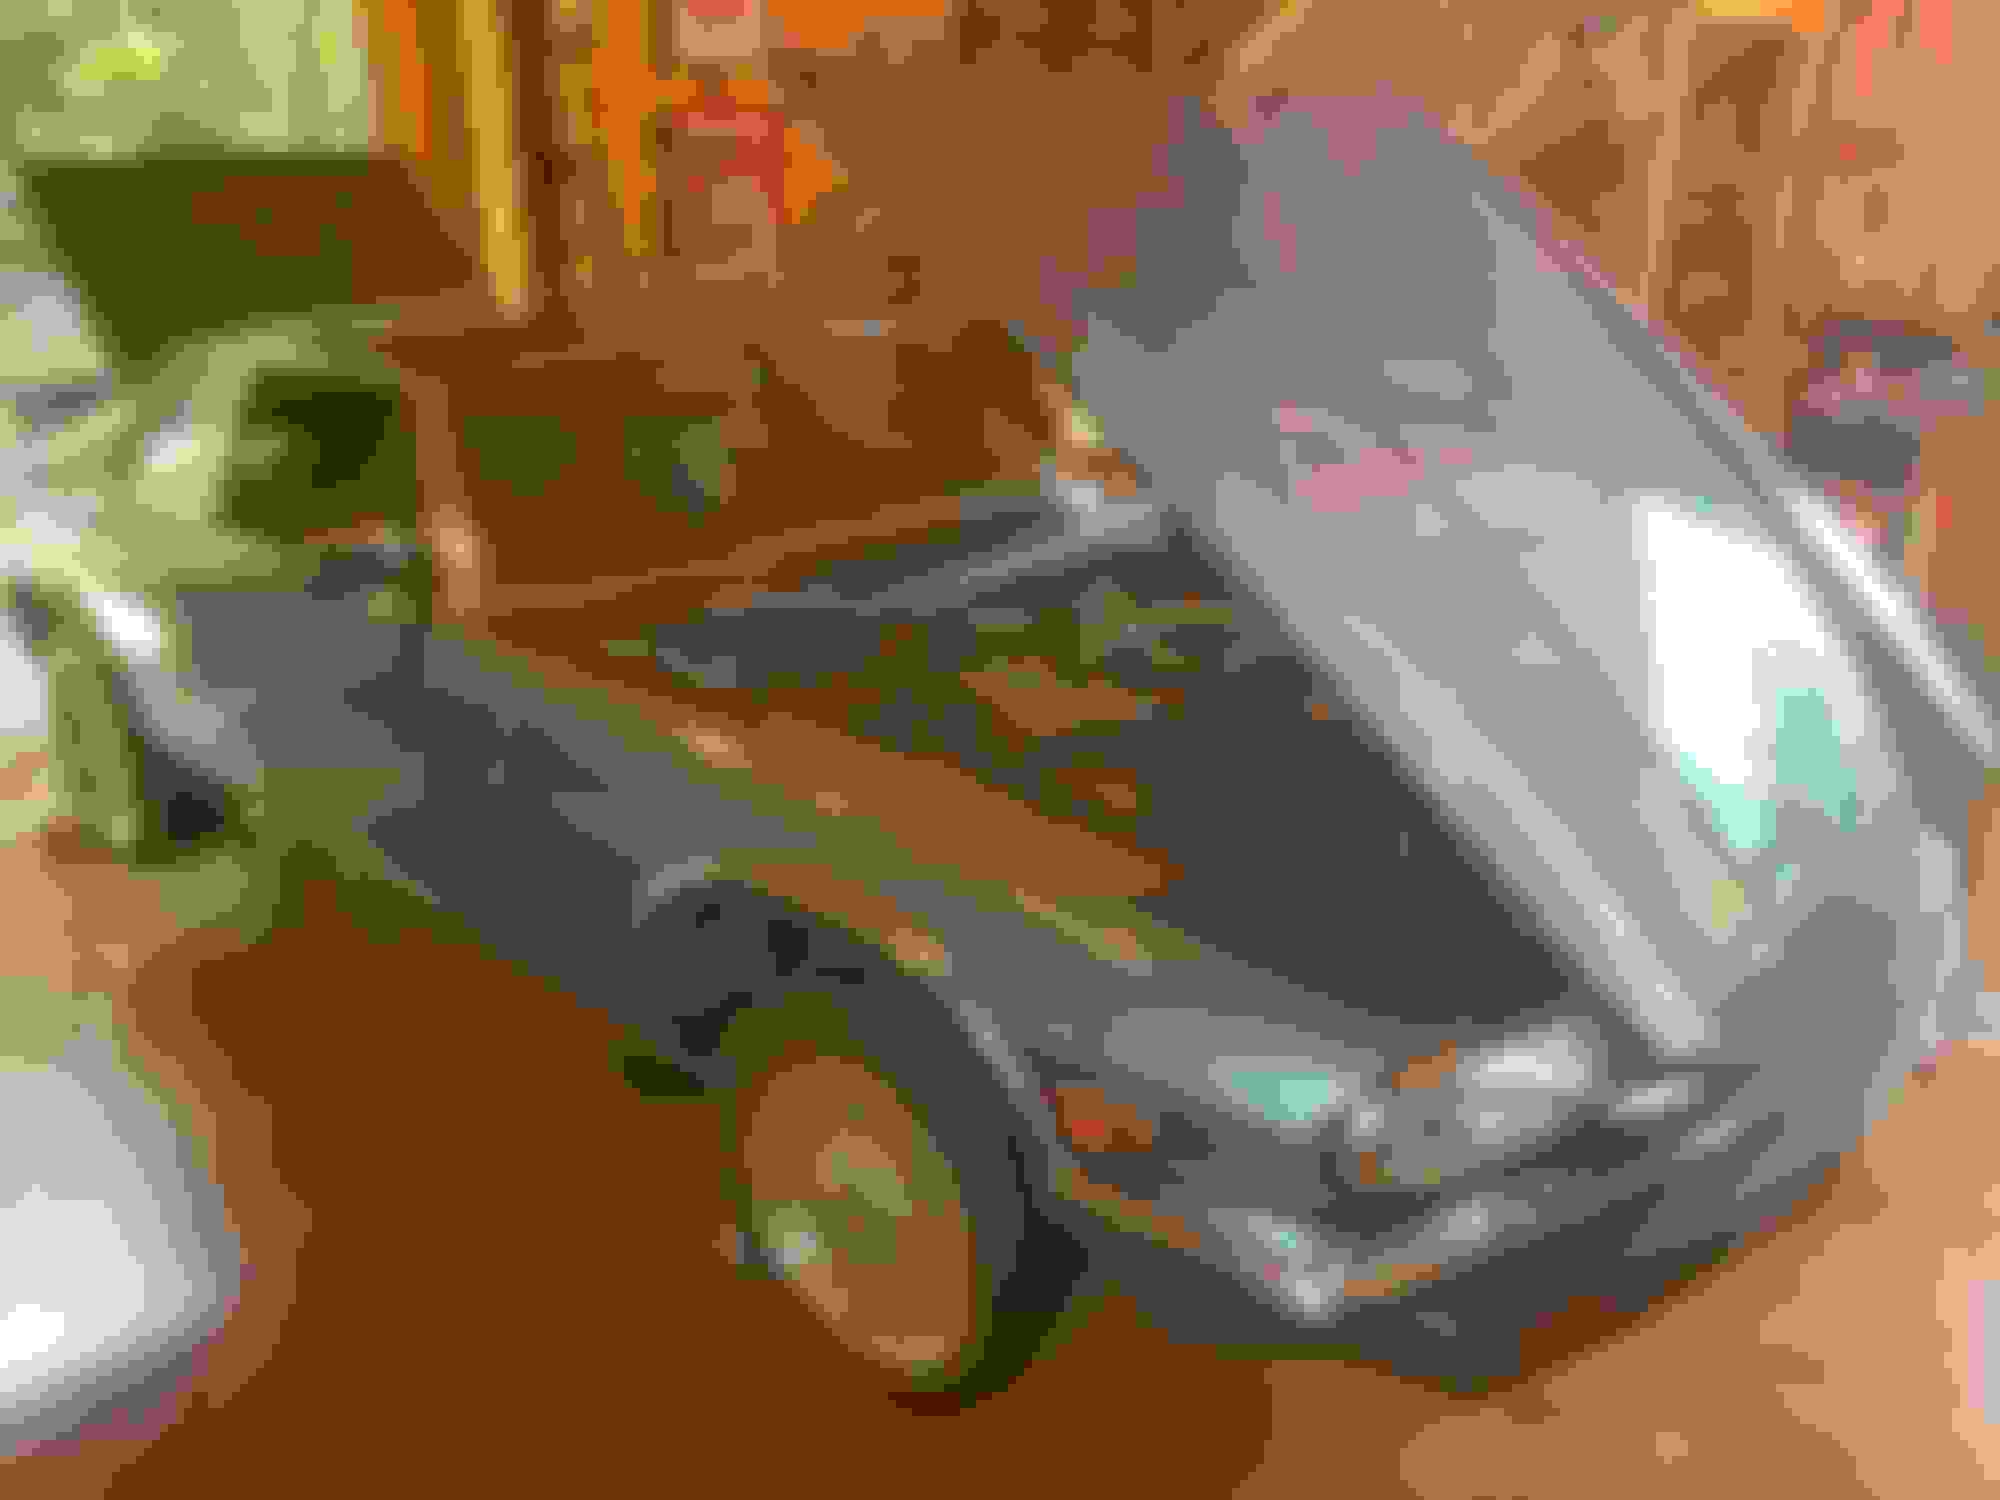
The engine went in easily- once I had it on the engine lift, it only took a few minutes to get it set down on the motor mounts. Despite a high level of build when I put it in the car, it’s going on two weeks now and I am still hooking things up.
Which leads me to a question. When I disconnected the green wire and grn/yellow wire from the kick down switch they were attached to the two terminals on the end. Checking the switch with a multimeter, this would do nothing. The way the switch works- if one wire is on the terminal on the side, one of the spades on the end opens the circuit when the switch is triggered, and if the other spade is used, it closes the circuit when triggered. How is it supposed to be wired? I would assume that you would want to close the circuit when the switch is triggered.
The kd switch when closed allows 12 v to go to the kd solenoid on the GM400 LHS and it earth's through the gearbox. It does not matter which terminal on the microswitch the wires attach to.
One year in. I’m usually pretty speedy with restorations this one not so much.
I was just reflecting that I picked up the car a year ago.
After sitting outside for 18 years
I’m getting close now. Still getting the interior back in while working through getting all the electrical systems functioning properly. Replaced ignition switch and fuel pump relay this week for example. Hope to get brake system bled and try starting the engine next week.
But patience is key.
it is a little easier on the eyes now and the interior is lovely. Replaced the carpet set and recovered a few of the leather interior pieces, but much of it was reusable.
It’s gonna be a pretty lump if I can’t get the engine and climate control systems to work, but at this point there is no turning back- so eventually it will all come together
This forum has been super helpful. I was just reading posts on trimming the timing and bleeding the brakes this morning. Just invaluable!
Plus- I have a guy when the going gets too tough. But not there yet.
It has been interesting- most of the electric motors work, but the things they are attached to are frozen up. So with some lubrication and exercise, I have been able to get the wipers, windows, door locks, etc all working without having to buy a lot of expensive parts.
I agree - I do what work I can on my cars up to brakes, control arm replacements, driveshafts, coolant pipe replacement etc. on a series of Saabs. Subaru and now on my regular road car - Landrover LR4.
Have yet to tackle anything strenuous on my 88 XJS. From following this forum I have to say the technical knowledge base is quite remarkable and blows the other forums I have been on out the water (and they were pretty good too!).
Really appreciated!
Two months on, and finally some progress.
After going through the Jag won’t start guide, and a lot of procrastination I just could not get the V-12 to start. It turned over, had fuel, spark (weak I thought) and I got a few pops in the exhaust, but figured it was time for some professional help. If you suspected timing from the “few pops in the exhaust” comment, you would be correct. I had the distributor installed incorrectly (still not sure how), but the engine now runs. While it starts easily and runs smoothly, I have one bad injector I am getting a replacement for, and once that is installed I’ll run it more, and see about some test driving.
But I have no brakes right now, and am working on that issue (TEVES). I did some work this week and replaced the pressure switch on the pump/accumulator and now it seems to build pressure, but I still have a floppy pedal that won’t firm up no matter how much I pump it. I did re-bleed the low pressure side, but there is lots of air in the high pressure side of the system. When I can get my helper out to the garage, we will bleed the rear calipers and go from there. They would not bleed with the bad pressure switch.
I also have some wiring issues with interior lights and the climate control system, but not going to let that bother me right now- just taking one step at a time.
I found a XJS in a local junk yard, so next week I am going to pull the climate control system parts under the dash for spares when I get to that. The car (84) also have a conventional brake system/booster, so I might pick that up as well as a backup if I can’t get the TEVES to work. There is also another XJS in town at another breaker yard, and if that one have TEVES, may try and pick up some spares from there as well.
As a project car, this has certainly delivered on keeping me entertained.
No luck bleeding the brakes. I was pretty sure I have the problem narrowed down to the brake actuator assembly, but before I replaced this expensive part, I figured i better check my booster pressure. So I ordered an inexpensive brake pressure testing kit.
Brake pressure gauge
I attached it where the high pressure brake line comes off of the firewall. Turned on the ignition and the brake pump ran for a few seconds before the pressure quickly went over 200 bar. So that all seems to be good. I have identified a source for a rebuilt brake assembly/ actuator, and will get that on order. Keeping my fingers crossed that solves it!
I replaced one fuel injector and the engine runs smoothly now. Idle is a little high, as I don’t believe my Aux Air valve closes fully, so will get onto that eventually. Was reading Greg’s recent post and will consider getting a new air temp sensor with next parts order.
I've never heard of an Actuation Unit failing. The problem is always somewhere else.
Good luck if you do replace it, but as the most expensive part of the whole system, I would do a lot more diagnosis before I started looking at the Unit as the problem.
So since my last post in Jan I have been unsuccessfully trying to get my TEVES brake system to work. In the post above, Paul said it was unlikely the actuation unit. He was probably right because a rebuilt one and a second rebuilt one didn’t solve the problem. I even put another accumulator ball on it with no affect.
So I could use some advice- but here is where I am at. The pump, pressure switch and accumulator all function well, giving me good pressure to the actuation unit. All the lines are clear and flushed.
The actuator unit is rebuilt and should be good. I have bled the low pressure side several times and get a strong flow of clean, bubble free fluid out of the little plastic elbow by the pump.
The brake calipers have been rebuilt, and I get a good flow of fluid through the lines.
What I don’t get is high pressure fluid coming to the rear brakes when I attempt to bleed them. Best I have seen back there was a steady flow of bubble free fluid, coming out of the bleeder valve, but without enough pressure to actuate the calipers. I followed the bleeding procedure to let the pump build pressure till it stops running, open bleeder valve, push pedal till fluid comes out, close bleeder valve, release pedal. Just don’t get high pressure.
I have had some fluid run to the front brakes, but no pressure from the actuator.
The pedal is soft and doesn’t seem to do anything or build pressure when pumping. Any suggestions on what to check next? Is there anything in the actuator that keeps the high pressure fluid from getting to the rear brakes and any way to trigger that other than pushing the brake pedal? I saw a post about energizing the abs valves, but not sure what to do with that. Help Please!!!
Congrats on your monumental task, the car looks great. Sounds like you are almost there with the brakes. I've done mine a couple times the past two years also. What I do is fill the reservoir to neck and get the rear ready to bleed. Turn the key on and let it pump up till it stops, have my helper push and hold on the pedal while I open the bleeder till the bubble free flow then close it, release the pedal and turn off the key, top off the fluid and move to the other side, repeat. There is no real pressure, but the pump runs until the bleeder is closed, the rear is done. The fronts are standard power brakes, no key on no pump. They can take a minute with the old pump em up, hold, bleed routine, several cycles. When finished your pedal should be at the top and firm, if not you still have air in the lines. Good luck, keep an eye on the fluid.
That is the procedure I have been following with the brake bleeding. Perhaps I am expecting too much in the way of pressure at the rear bleed nipples. Also since my caliper rebuilds are a year old now, there is resistance pushing fluid through the calipers. Shouldn’t be, but.. I am going to try and bleed the lines by disconnecting them from the calipers and if I can get the air out of the system, then perhaps I can get enough hydraulic pressure to work the calipers as well. But open to any suggestions.
 05-20-2022, 11:08 AM