When you click on links to various merchants on this site and make a purchase, this can result in this site earning a commission. Affiliate programs and affiliations include, but are not limited to, the eBay Partner Network.
Darren
I have never worked on the driveshaft removal and hub bearing renewal of the rear hubs, but at some point I shall, no doubt. I would be very grateful if you could post as much detail and as many photos as you can of the entire dis-assembly and rebuild process, including setup of the float or preload, etc etc.
Greg
Greg
will do ... can not promise it will be as well communicated as your recent transmission removal and replacement thread ......:-)
Brake callipers are back together …. will have a look at the remote bleeders next week when I plan to catch up with the supplier of the hose and fittings.
Diff is back in the cage and the dog bones shimmed …. “near as damn it anyway” ….. ! …. The flex in the cage makes it interesting given the inner fulcrums and bottm plate are not fitted so there may be some more adjustment needed but as is the shafts slide through nicely … thanks for the advice.
Have not Loctited or wired as yet.
An interesting observation during the assembly as I was running taps through holes to clean them out …as you do..!
The diff to cage bolts are UNC and so are the dog bone to diff bolts … would have expected these to be unf for obvious reasons ……. everything else that came off was UNF.
… is there light that can be shed on this anomaly ….?
in the process of cleaning painting ....bearing shells ( outer races ) in the freezer. Plugging up the hole in the outer fulcrum when i started thinking about the cap for the greasing of the wheel bearings ..... !
would thisa be better served with a gease nipple to pump the grease in ....or is it the case that this system is to prevent over pressurising / greasing and forcing the grease out through the seals ....?
comments welcome.
Regards
Darren
YES.
Thats what I did waaaaay back, and suggested the modification on a "Forum", and got seriously flamed, etc, so I shut up. Beer O'clock got called.
The ONLY issue. DO NOT stupid at it with the grease gun, and FILL that chamber. You will have more strife than Ned Kelly on a bad day.
Breathing with sensible 6 strokes per year of the gun is NOT an issue.
Sir Arthur has done 350000kms since I did both those grease point mods, and no issues, or grease leeching etc etc.
Same with the Red XJS.
ALL the Series cars and the S Type (the real one) also had this done, and also no issues.
IF, and I do not have one, the car is an ABS beast with INBOARD brakes,I AM TOLD the ABS sensor is in this hole, and too much grease in that chamber will bugga up the sensor reading, and light up the dashboard, SOOOOOO, if anyone has the ABS sensor in lieu of the tin cap, in that position, NO you cannot do this and sleep easy, sorry.
This picture is off the net for illustration purposes and is the same as the ones I installed into the half shafts …. different from the old ones which were a complete PIA to get out.
Changing out unis are usually a pretty easy exercise and this is the first time I have come across the following issues.
The old uni joints (no pic they all went into the bin) had a raised section where the grease fitting screwed in significantly reducing the distance this part of the joint will push into the yoke of the shaft with the grease fitting removed. So the joint can only be pressed out one way…. Yeah ok…. Problem is the trunnion would not press out far enough to push out the bearing cap assembly. I needed to get one of the caps out and push the opposite one back enough to get the trunnions out. This was not easy and took a lot of banging and did (only slightly)damage the inside of the yokes where the caps push into….!.
Once the uni joints where out I used a bearing scraper to patiently and carefully repair the insides of the yokes so the new caps would go in easily…. which they did.
Once the yokes where cleaned up I put the new uni joints into the half shaft first.
Remove all of the caps from the trunnions.
Push the first cap in about ľ of the way, stop before the dust cover comes out of the yoke.
Put the cross in and then with a Press or G Clamp press the opposite cap in until it goes onto the trunnion …. Ok … now I used a 19 mm socket as a dolly to press the caps in past the circlip groove …. One at a time and put the circlip in before pressing the other cap in cap in. Once the crosses where on the shaft i installed the axle yoke and the the other yoke that attches to the diff.
Pictures of the press, G Clamp and bearing scraper are attached.
I do not hammer when assembling the new joints ….. you do not want to dislodge the needle bearings inside the caps.
Another interesting thing was the joints came with straight grease fittings ….ok … so they need changing for access, especially the joint inside the bearing hub … new pack of 45 degree grease fittings on hand …. 4 of them were blocked and did not want to work… ggggrrrrrrrrrr.
I am pretty sure these where the original uni joints I had problems with so if any one has any easier way of getting these out I am sure the forum would appreciate your input.
I will post the hub bearing change out separately.
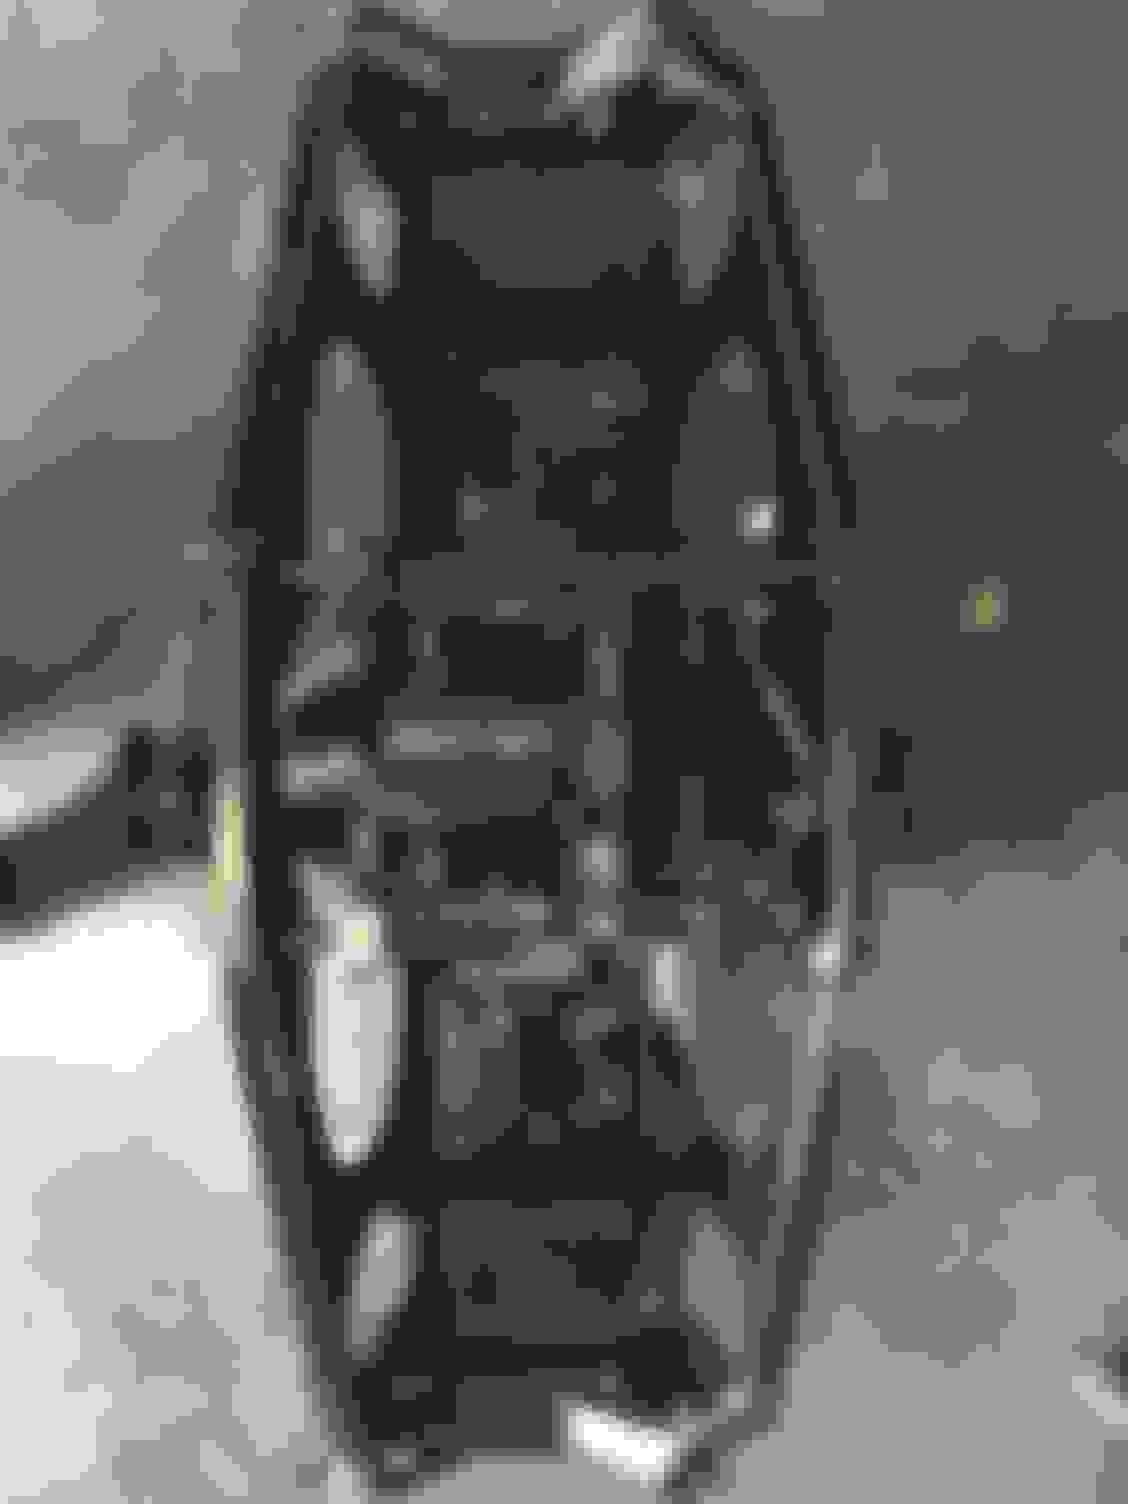
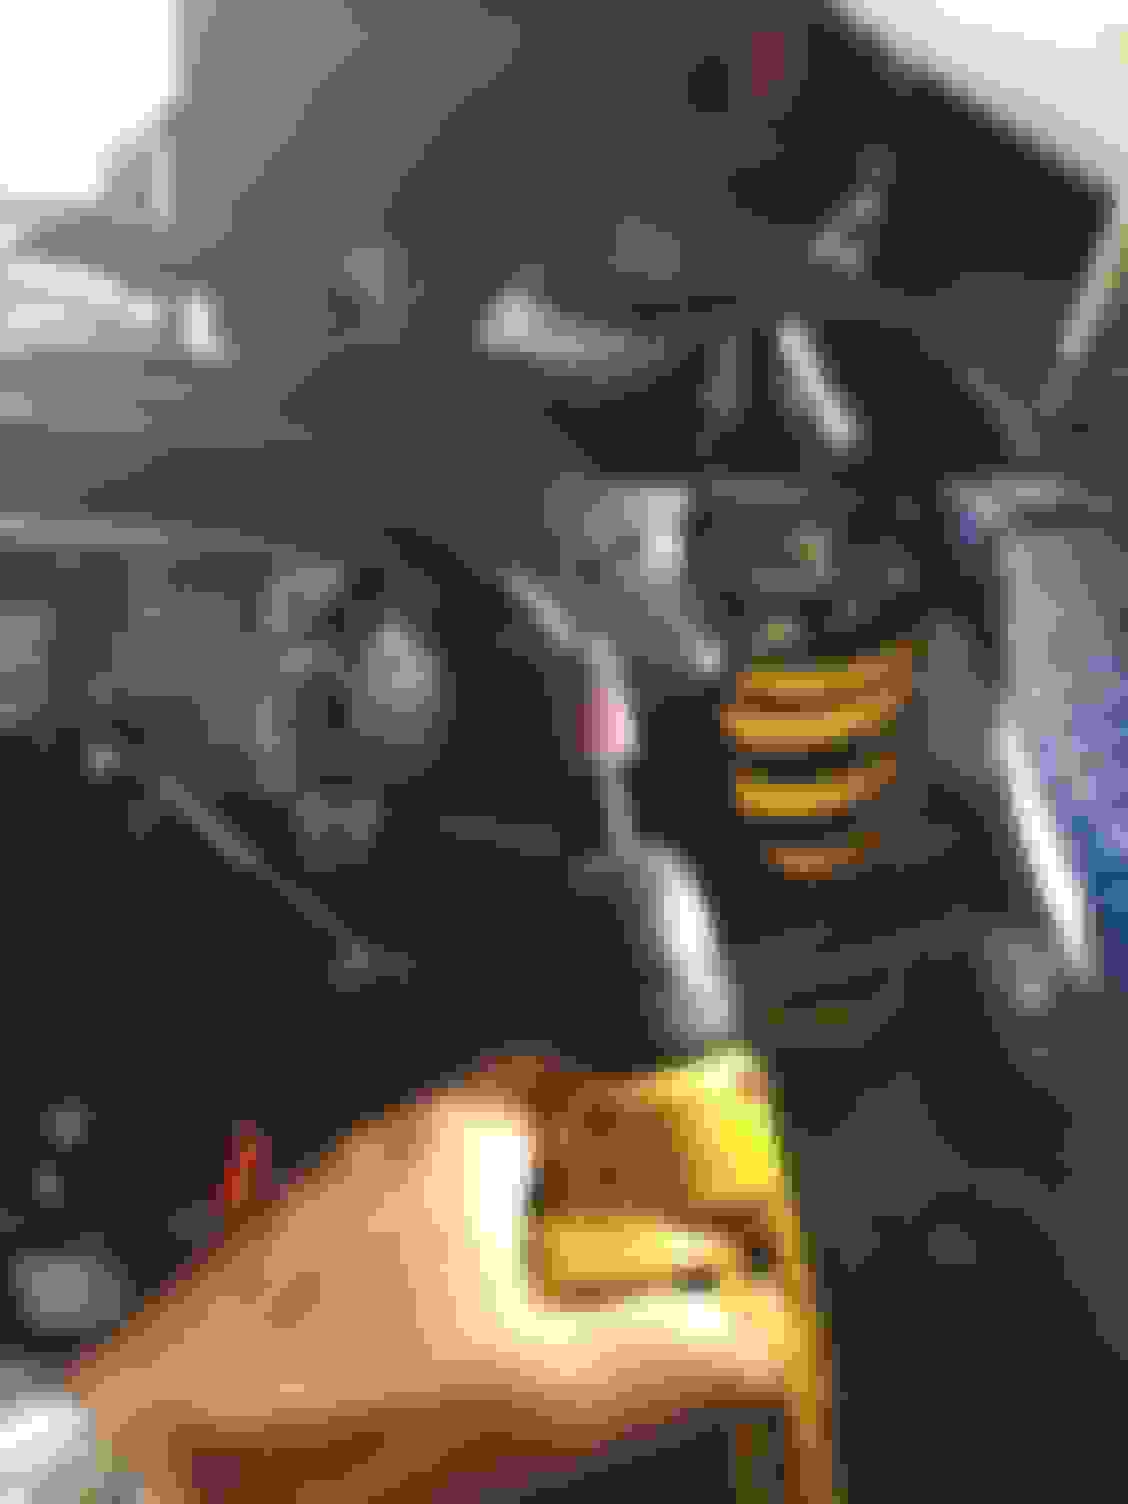
Flipping the cage today …. Nipples out of the hubs ….. took a photo of the contrasting colour scheme ….will not be seeing much of it when it all goes back in …. I like the black rivets on the grey hammer finish contrasting with the charcoal callipers ….. "I did it myyyyyyy way". …….:-)
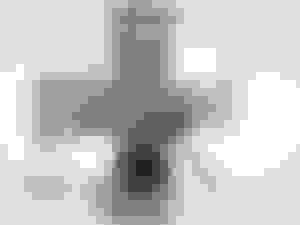
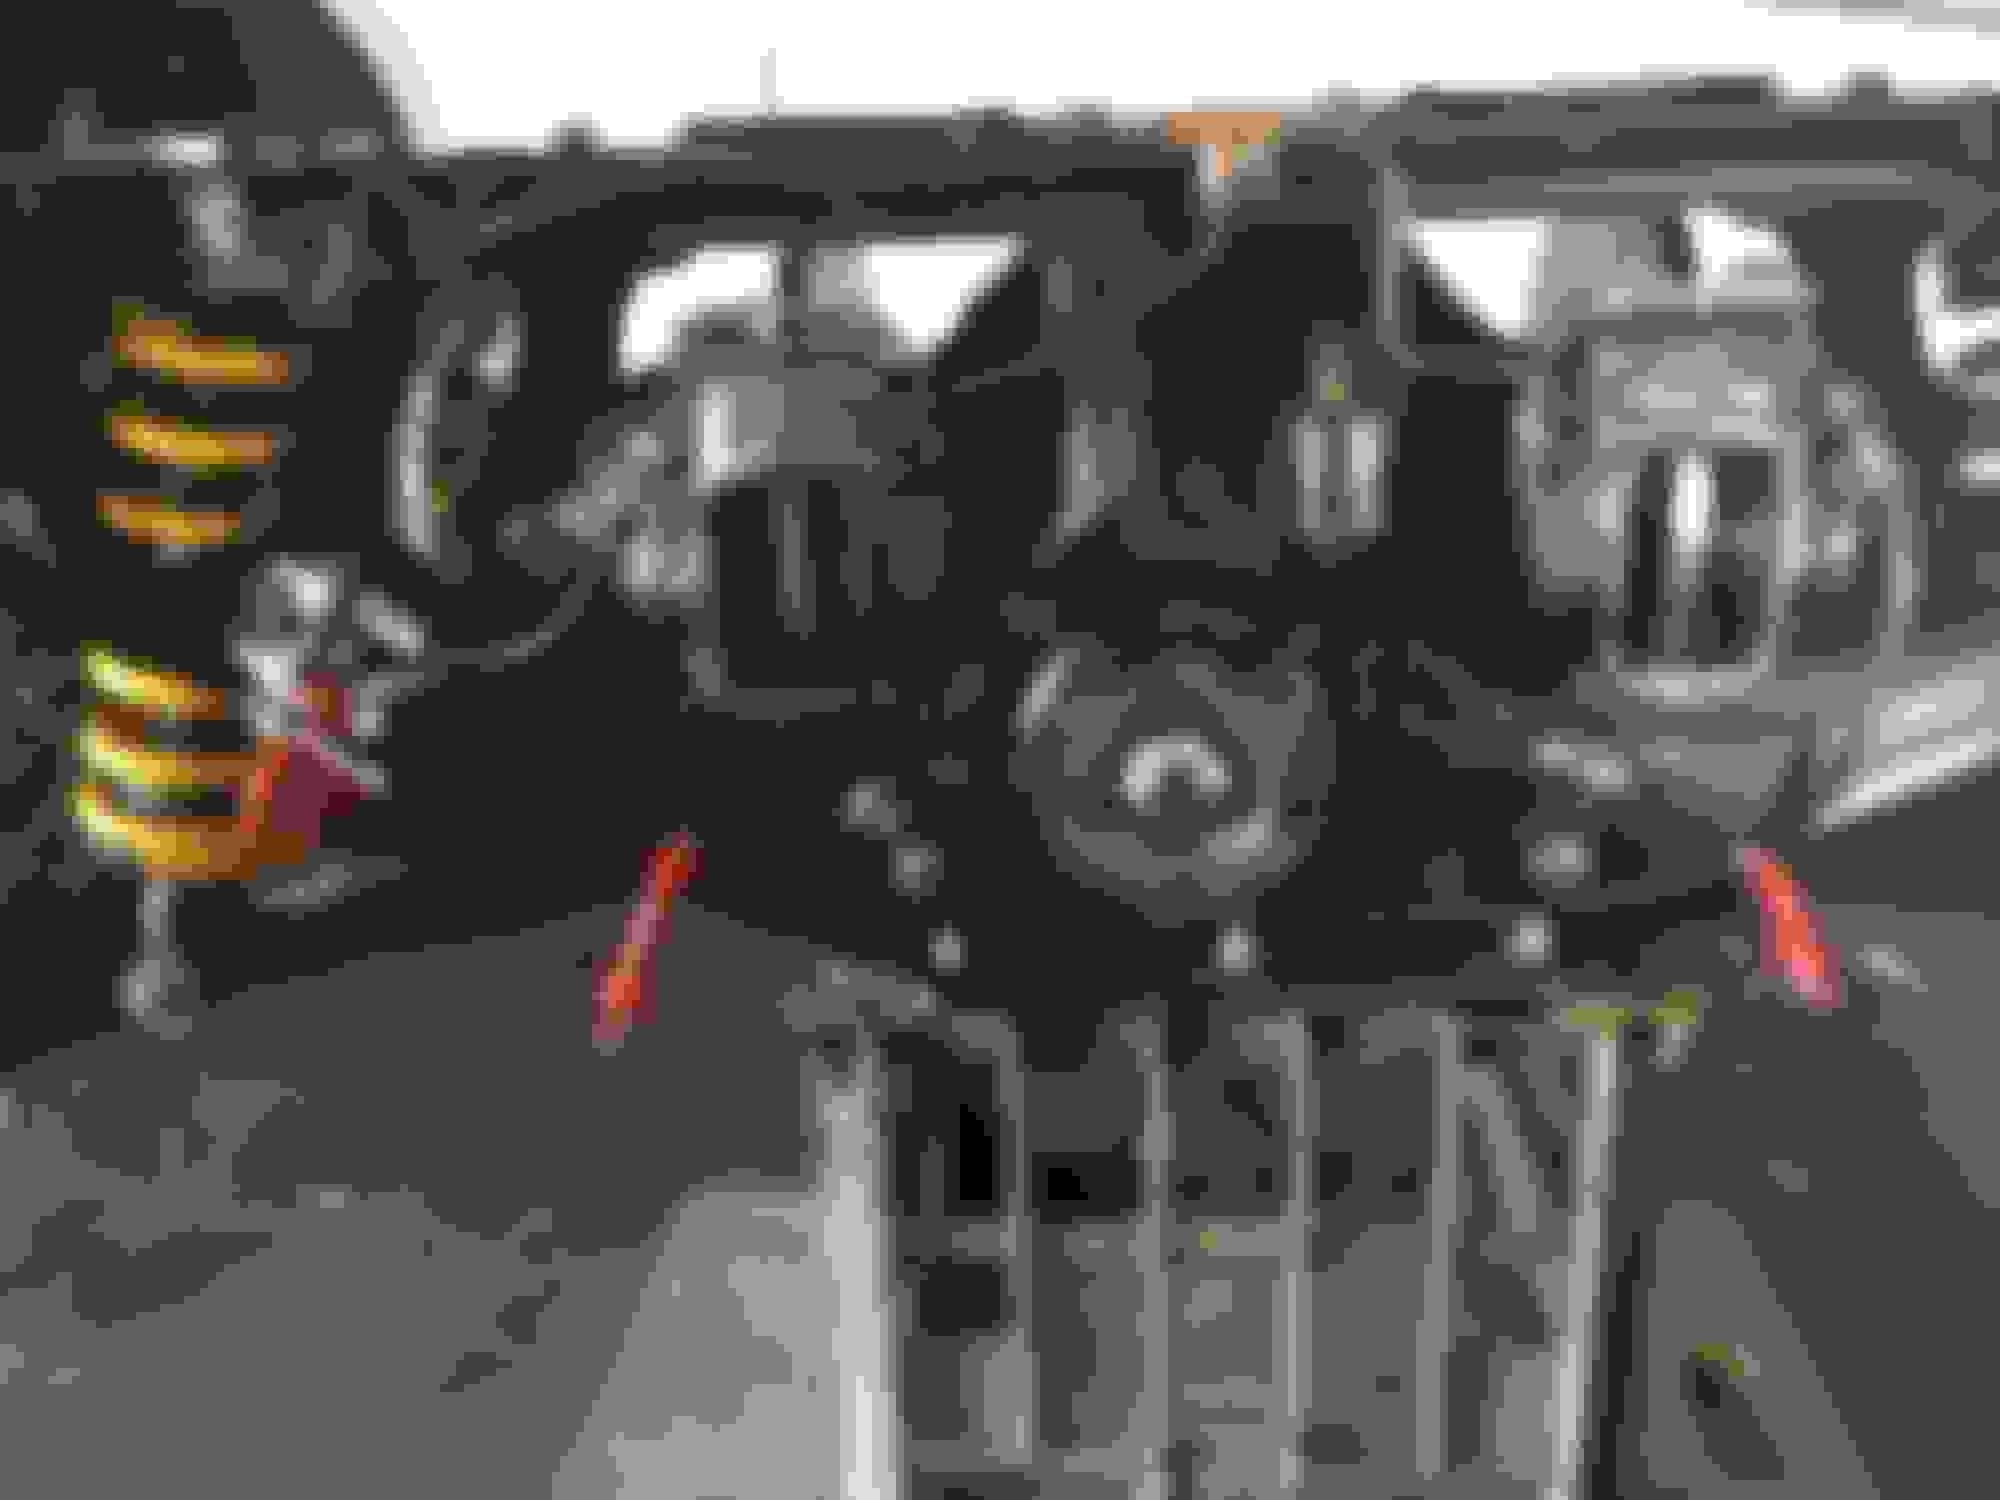
..see the picture below ..... any idea what this is or is off ....? .. i think its automotive ...... the holes are 16 mm dia .. i found it in my bits and pieces draw while looking for what i can use for making the bracket for the remote bleeders ... it could be just what i need.....!
no clue what that is, but your cage and everything on it looks amazing. Dropping mine is my next project...I was hoping to just replace the calipers, shocks, and springs. Yours looks better than new.
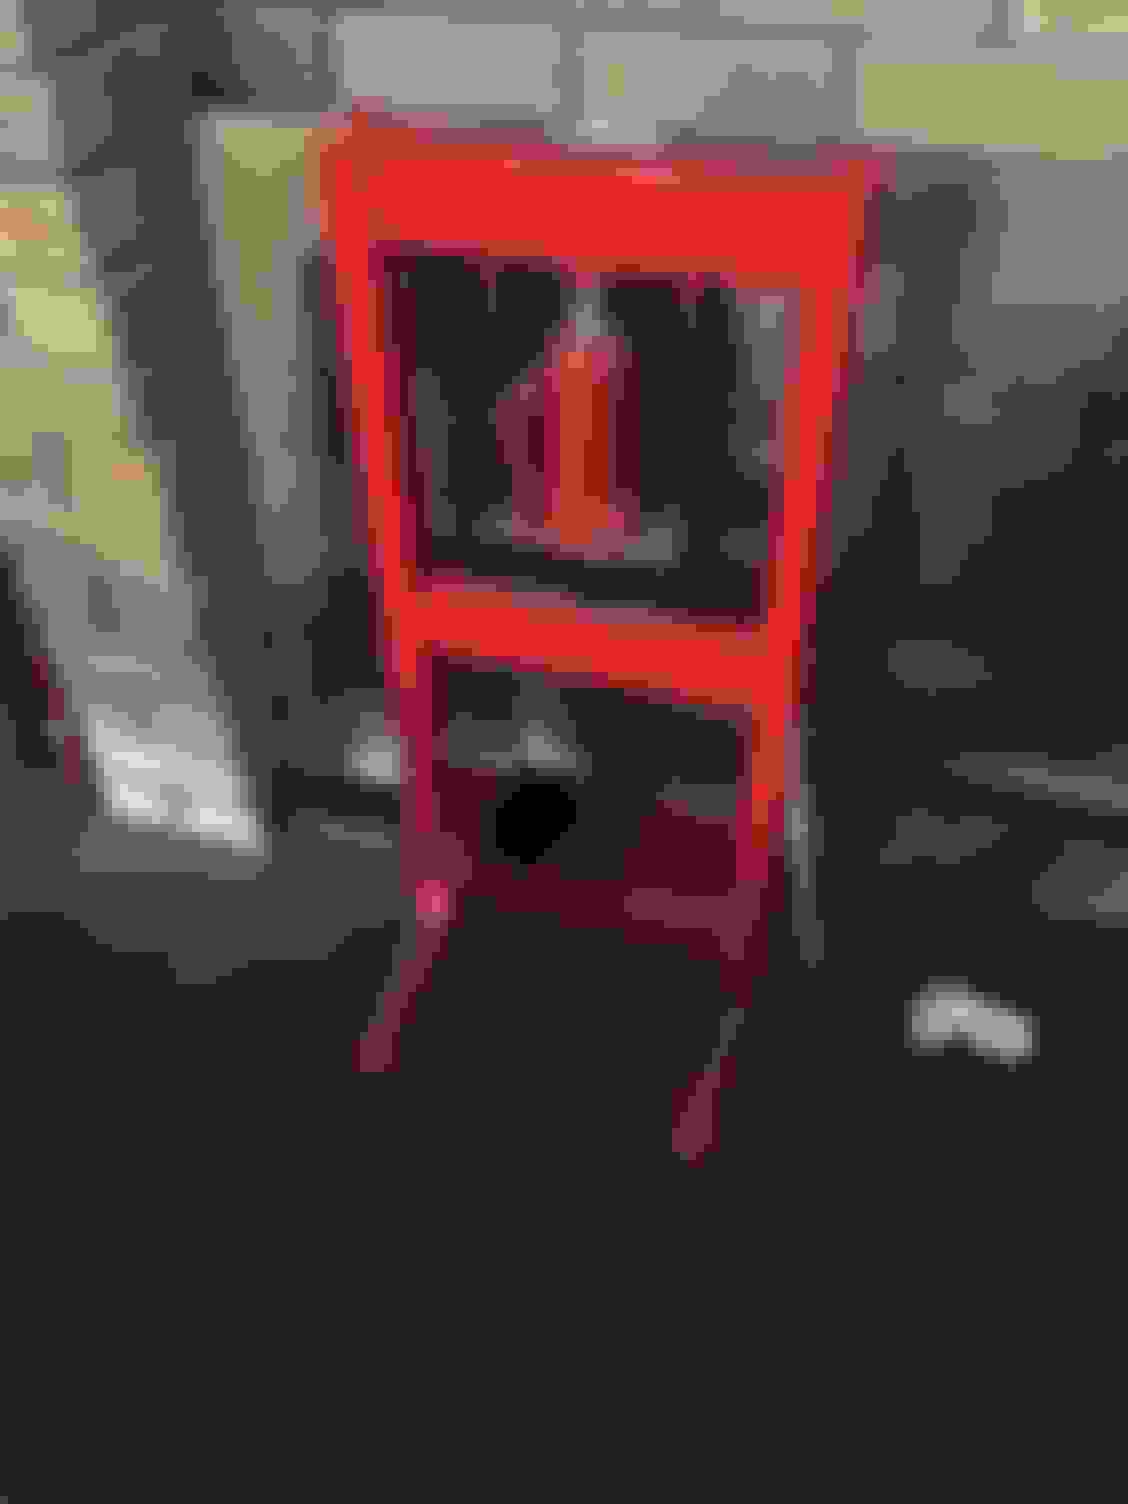
OK for the next challenge .... pls have a look at the photo is this post .... there is a groove on the landing where the banjo fitting - copper washer will seat for the remote bleeders ..... this the left caliper ....the right caliper is ok ..... obvous concern is a leek and i do not want to find this out when the cage is back in ....!
Loctite 243 on the bolts - not wired yet - not sure if i am going to either ...... i was considering cleaning the paint off and soldering with a soldering iron then a gentle file to flatten it all out - will the solder take ....? ......or take the cross pipe off for extra room and filing down the landing so it is flat. ... both approaches would be done insitu.
any other ideas are more than welcome, please ......?
OK .... managed to sort this one with an old stone i found in amongst things ..... modified it and used it to grind the seat for the copper washer .... very carefully ... but it did work .... used the end of an ear pug to block up the hole so nothing would get into the caliper while grinding .... blew it out with air then hooked out the plug .... did this to the other caliper as well to get the heat proof paint of while i was at it. pic tell the story ...... even though they are new i will be annealing the copper washers ..... all good.
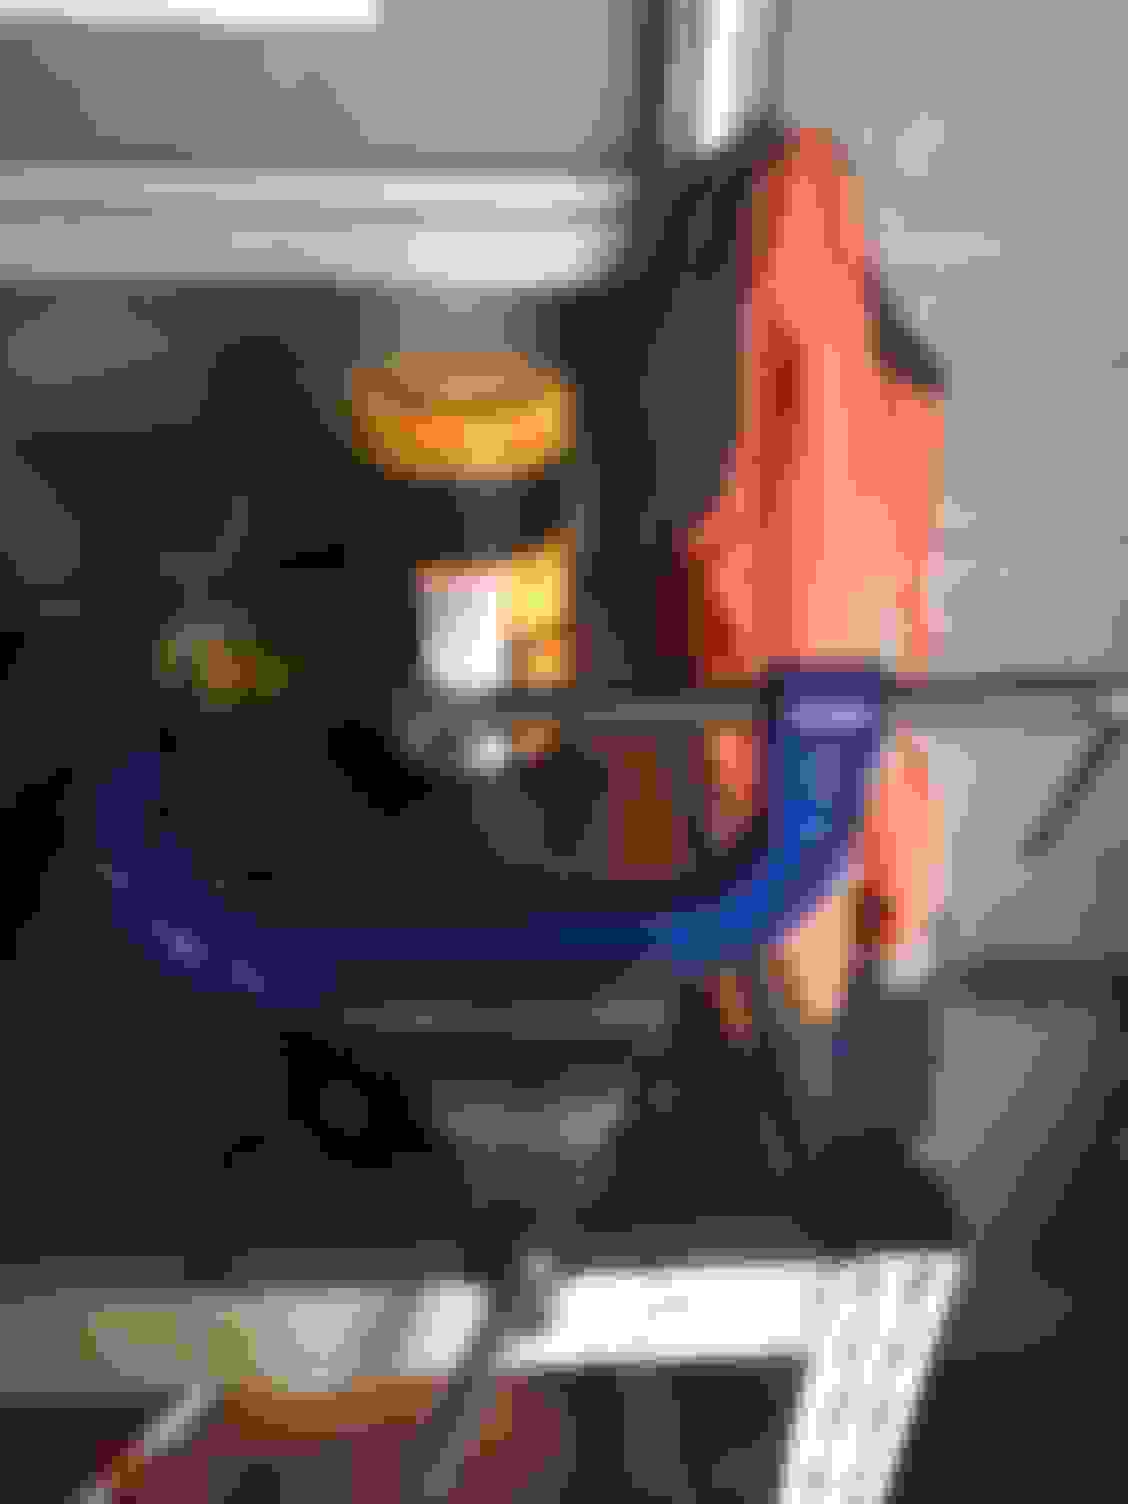
...... have temorarily plumbed up the remote bleeders ..... see attached photo .... note the location of the bleeders ... heading in Saturday morning or Monday morning to have them crimped .... this was a $ 228.00 incl GST excercise .... so any comments are welcome on the location of the bleeders before i crimp.
.....not real happy with the bracket but can easy make another one ....which i intend to do.
the rebuild was pretty straight forward ... especially with the assistance from the members and posts in this forum ...thanks to all.
Most annoying was the removal of the old uni joints ... but we got there. Also the bushes in the trailing arms were done buy a shop that had the right tooling to press the old ones out and new ones in ....... easy enough to make though if you have access to a lathe and a good press on hand. One of the axle splines was seized and needed heat and press to get out .... paitence and a file has this sliding freely in the end and lashings of anti seize on assembly.
Greg in France requested a write up on the bearing change in the hubs so i am still to attend to this one.
main tasks left before putting the cage back in are ..... fitting the handbrakes .... bleeder hoses .... fitting the sway bar ..... the bolt securing the right hand trailing arm to the body snaped so that is still to be attanded to jjjooooyyyy.
Looking at having the mistress rolling again next weekend.
Greg in France and all forums members ....attached is the write up for the Hub rebuild ...included in the doc is a cut and paste of the uni joint info previoulsey posted .... lots of pics so was easier to put it all in a seperate document.....i do not do alot of technical writing so here you go....!

 10-18-2019, 10:04 PM