When you click on links to various merchants on this site and make a purchase, this can result in this site earning a commission. Affiliate programs and affiliations include, but are not limited to, the eBay Partner Network.
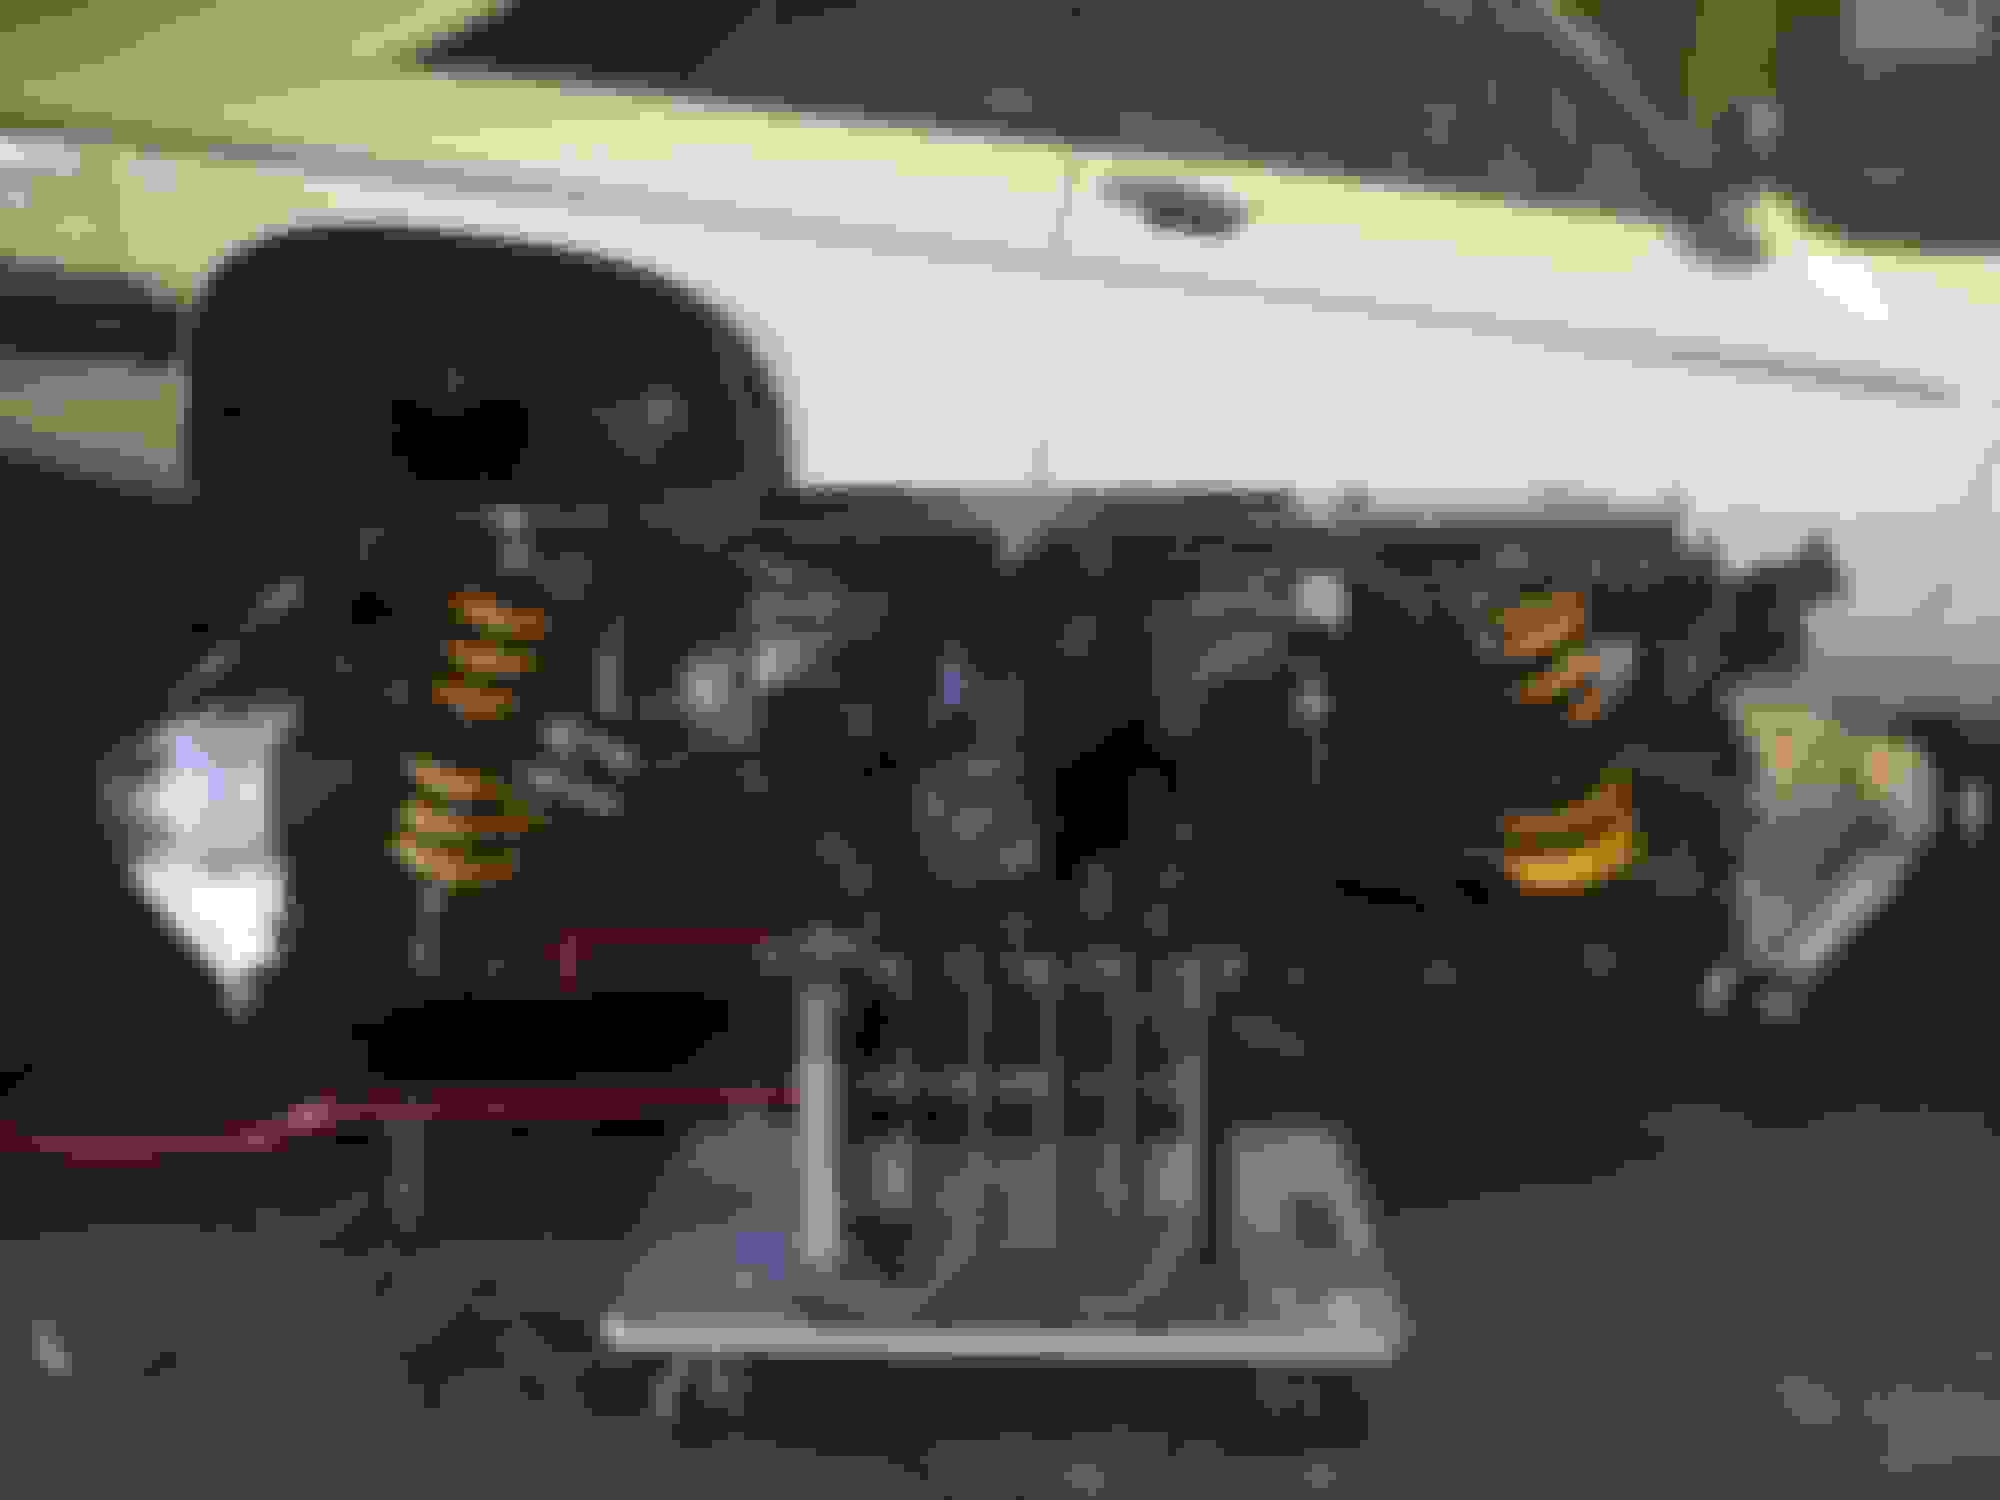
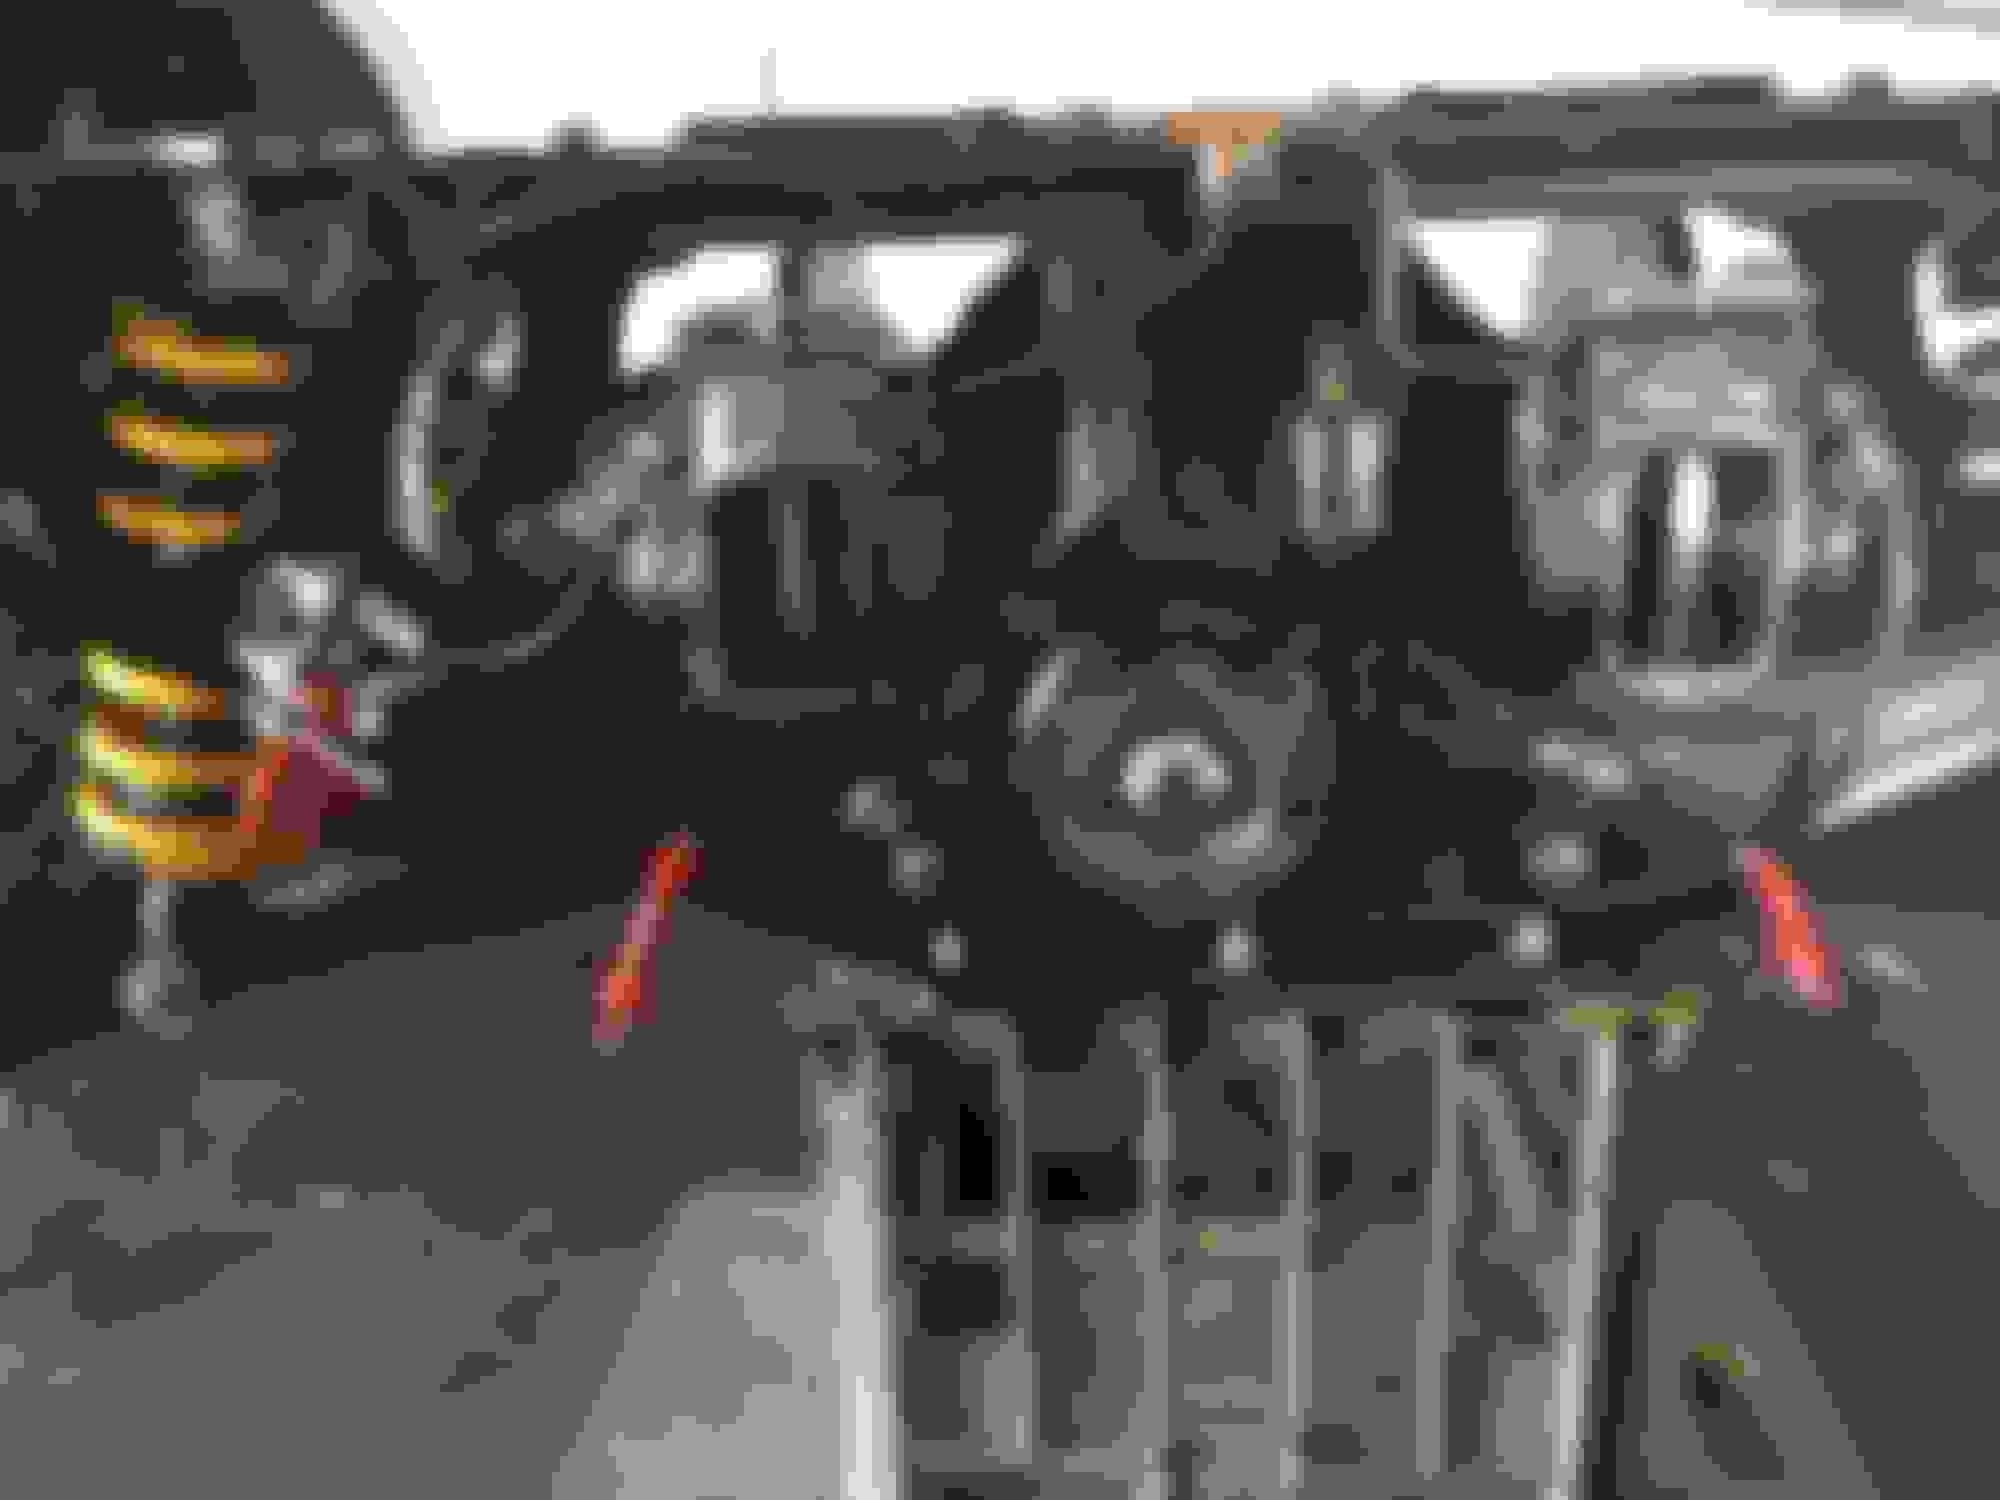
this is the 3/8 unf bolt that came out of the forward bracket of the trailing arm, the one on the right side snaped of ....was looking at this one while considering the removal of the snaped one .... when i noted the spiral fluted thread....?
can someone provide some commentry on the purpose of the fluted thread in this applcation ...?. i intend to replace it with a standard HT bolt.....!
As Grant has said, my local dealer told me years ago that those spirals are designed as cleaning channels to ensure the threads are an interference fit. As we know, those bolts readily seize in the body mount. I would feel happy if I thoroughly cleaned or retapped the body threads, then lubed up a standard new bolt and fitted it. Just my view.
Those style bolts were common where items were secured to the body of the car, door hinges, trans mount, etc etc.
I have never taken any notice of that sucker, simply, out, then back in with lube, but some very dim light seems to remember that style.
The "story" went that they cleaned the threads as they were wound in and out, which kind of makes sense in a Pommy way.
Mostly I had badly corroded bolts, so new cad plated standard style went back in.
Hope that helps.
Nearly forgot, I thought they were 7/16 UNF, but that is PURELY thought on my part.
Thanks Grant ... allways pays to check ....measure twice cut once .....the bolt going through the bush on the trailing arm is 7/16 .... the bolt in question is the smaller 3/8 bolt seureing the bracket to the body ... these all got run down with dies today ... underbody fun tomorrow.
AHA, yes the small bracket one is 3/8, and now the light is a tad brighter. Mine were all that style also, and still got replaced with "normals", as they were a tad sad.
few more progress shots .... nearly there .... ....just ripped the top on one for the day ...... cage goes back in Saturday.
Question ..The exhaust pipes will be through the cage when it goes in ....... is it easy enough to fit the trailing arms after the cage is back in ...? ... just thinking about the balancing act when it all goes back in ...!
Have not fixed the busted trailing arm bolt yet as i have to shift the right jack stand first........all comments and or advice are welcome .....
Looks really good. If you haven't bushed the front eye of the arm yet, consider doing it with the air gaps at the sides rather than fore and aft. This is how the JaguarSport cars were setup and how I did mine. It tightens up the back end a fraction so is worthwhile.
Looks really good. If you haven't bushed the front eye of the arm yet, consider doing it with the air gaps at the sides rather than fore and aft. This is how the JaguarSport cars were setup and how I did mine. It tightens up the back end a fraction so is worthwhile.
Cheers
Paul
Paul
Not to disagree, but just to put an alternative view: I did this on my car (standard OEM suspension and shocks) and it produced a "bunny-hop" motion in the rear at cruising speeds, so I re-did it as normal. My car might have been particularly sensitive to the change? But it can happen.
...... have temorarily plumbed up the remote bleeders ..... see attached photo .... note the location of the bleeders ... heading in Saturday morning or Monday morning to have them crimped .... this was a $ 228.00 incl GST excercise .... so any comments are welcome on the location of the bleeders before i crimp.
.....not real happy with the bracket but can easy make another one ....which i intend to do.
Darren
What are those remote bleeder tubes made of? They will be at full brake pipe pressure, are they proper brake fluid pressure proof flexibles? For the price of crimping a full ready to go set from the UK is cheaper!
Darren
What are those remote bleeder tubes made of? They will be at full brake pipe pressure, are they proper brake fluid pressure proof flexibles? For the price of crimping a full ready to go set from the UK is cheaper!
I had the same question... That and
Also, was going to comment on the angle, just for ease of access. For mine, I have nips facing down (one on either side), and still, without jacking, it can be a bit of a twist and turn to get to arms up and in there to counter hold wrenches, both lossening and tightening. Also, placing tubes to catch evacuated fluid on bleeding, though not toooo much a pain, might be easier face down. Just my two cents...
I am in absolute AWE of the thoroughness and completeness of the job you have done here,,, and I cannot wait to put the info you shared here to use on CherryPie...! Thank you so much!
the hose is a Goodridge product PTFE lined, steel braidded with a teflon coating ..... a working pressure of 4206 PSI and a bust pressure of 12000 psi. Purchased this and all the fittings from Perth Brake Parts here in West Oz .... ie local supplier
went for the Black Teflon Coating over the Shinny Braid look .... just Cos ... i gotta be me ......!
On the orientation of the gaps in the forward bushing ....already pushed the new bushings in ..... but interested in hearing more discussion on the difference it makes ... the mistress has always beena little loose in the back end ...hence the addition of the sway bar etc ...will see how this goes with the option of re orientating the bushers at a later date
.........going through the happy snaps of the rebuild and thought this one was also worth sharing.
This is how i got the cage of the crate ...on the ground ...rolled it over ....then picked it up and baclk on the crate and trolley.
Got the busted bolt out ....drilled it to the tappinping size and ran a tap ....3/8 unf to clear the hole out .... it did not want to have a bar of the easy outs.
What does this bolt thread into ....ie is it a pressed section or a nut welded onto the back of the plate ....? ....curious because if it lets go i will need a plan B ...drill and tap to 7/16 or ....?
PS .... talking about the 3/8 bolt locking the bracket in place on the forward bush of the trailing arm ...right side.
cheers Grant ..... chain block is hanging off 200mm "I" Beam held up with 150 mm square hollow section (SHS) not much i can not hang off it ..... automotivley speaking. This is normally where i park my other ride .... yeah another british car ... landrover.... you can understand now whoile i drink.....!
On the orientation of the gaps in the forward bushing ....already pushed the new bushings in ..... but interested in hearing more discussion on the difference it makes ... the mistress has always been a little loose in the back end ...hence the addition of the sway bar etc ...will see how this goes with the option of re orientating the bushes at a later date
Congratulation Darren. Wonderful job. Like Grant, love the block and tackle!
On the rear looseness, if you have not already, put as much negative camber as you can on the rear wheels, by removing shims at the driveshaft/disc/diff flange joints. If you can get 0.75 degrees negative at the rear, it transforms the car's cornering. Easy enough to do with new nuts on there, even when the cage is in the car. IMO this is the most improvement to the rear that can be made to a stock rear suspension.
Last edited by Greg in France; 11-07-2019 at 06:01 AM.
Congratulation Darren. Wonderful job. Like Grant, love the block and tackle!
On the rear looseness, if you have not already, put as much negative camber as you can on the rear wheels, by removing shims at the driveshaft/disc/diff flange joints. If you can get 0.75 degrees negative at the rear, it transforms the car's cornering. Easy enough to do with new nuts on there, even when the cage is in the car. IMO this is the most improvement to the rear that can be made to a stock rear suspension.
I want to know more about this someday, Greg... It looks like ANOTHER rear cage drop is in my future... I have so much to learn... I need a better (a work space in general, lol) work space...
will do ... can not promise it will be as well communicated as your recent transmission removal and replacement thread ......:-)
rgs
Darren
Darren
Many thanks for your write up, which is a great help. I am about to bravely renew the UJs in the driveshafts. When you got your friend to press out the splines from the hubs, did you protect the aluminium hub carrier in any way, (eg block of wood etc) or just was it placed straight on the press with the driveshaft hanging down and the inside surface of the hub carrier on the press platform and the press shaft against the splined shaft?
If my splines will not come out, I am going to ask the local tractor place to press them out.
Thanks
Greg

 11-05-2019, 12:50 AM