When you click on links to various merchants on this site and make a purchase, this can result in this site earning a commission. Affiliate programs and affiliations include, but are not limited to, the eBay Partner Network.
If you do take that black cover off the XJ6 unit, be sure that you are able to replace whatever seals or gaskets may be in place. I'll be really interested to see what, if any, are the internal differences and why the XJS has a thicker cover.
As regards using silicon fluid, my suggestion would be not to use it. I've read too many stories of how it affects the pedal feel and I'm not sure if it's worth it for the lack of water absorption.
When you bleed the brakes, remember that you need to bleed the low pressure side first, before the wheel circuits. And remember to do the wheel circuits in the correct Teves manner, which is different from a conventional bleeding approach because of the pumped rear circuits.
So, just a wee update on replacement of the ABS actuator unit. I'm just about to embark on this now - six months after my posting about it - I'm not one to rush into things! I have replaced both front brake callipers (one with nightmare seized and broken calliper bolt) and the flexible and the small brake pipes between the callipers and the flexible hose (all Jaguar parts) Now having re-read the brilliant threads and trials and tribulations of those who have gone before and done this, I think I'm ready to go with taking out the master cylinder c/w reservoir attached and take to the bench to undergo the swap over of the abs valve block with my new one from my JLM11366 kit. I will use my existing (thicker) back plate which as Time-Pilot says - is a dust cover - I took the new one off to check. But here's a question: If the problem I got with the ABS unit in the first place was indeed my fault when I mistakenly levered the front brake pistons back while changing brake pads and pushed small particles of dirt or gunk into the ABS unit - whilst the master cylinder is out of the car, should I try and purge the brake pipes clean from the engine bay all the way through to the callipers to try and ensure no dirt remains in the pipes? or, is it sufficient once the brake reservoir has been cleaned out off the car to reassemble everything and carry out the purge and hopefully clean the lines by means of the standard brake bleeding procedure as covered extensively in other posts? I would not want to potentially contaminate a brand new ABS valve by having any debris remaining in an existing brake pipe.
You've obviously done all the reading. If you genuinely feel that the valve block is your issue (have you done all the voltage and click tests etc on the valves?) then personally I wouldnt remove the actuator unit. I'd just remove the abs block and put on the new one. I would probably remove the reservoir (mind the fluid!!) and fully clean that, replace, then bleed the LP side, then bleed the rear brakes the proper way ,then do the front brakes then have a beer!
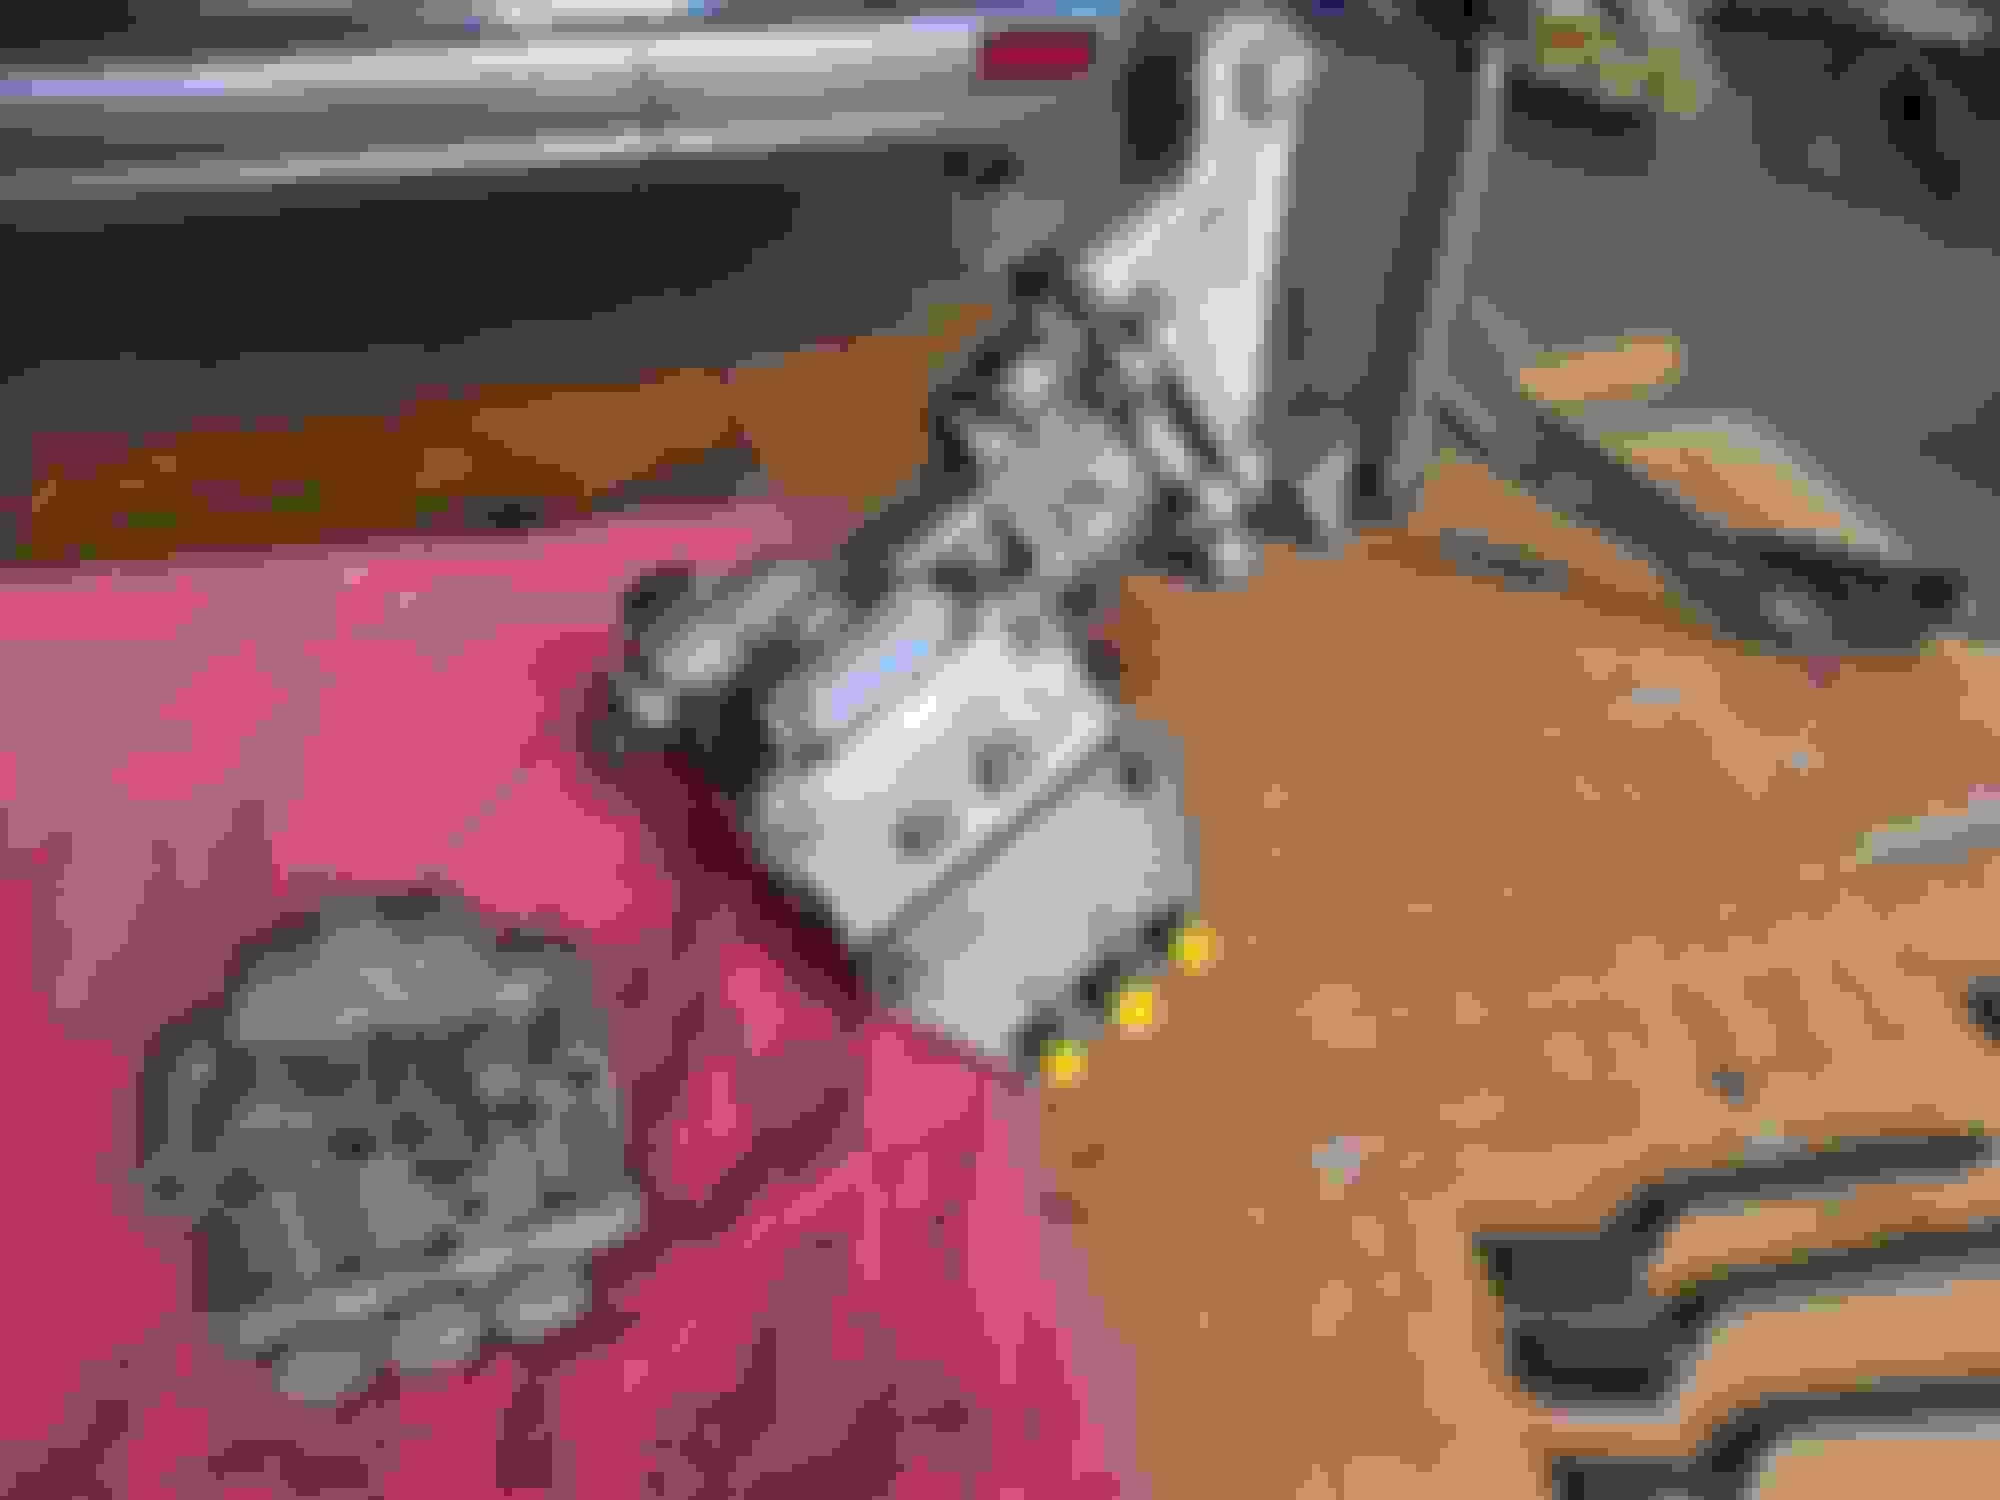
Hi Paul, I did do all the preliminary checks on the valve block - voltages check-out fine, click tests also seemed ok although I wasn't completely convinced that I was hearing a positive click each time from each valve. All this followed my ABS warning light coming on and the ABS function becoming non operational whilst it was on. The brakes also pulled sharply to the left when applied and this started to happen after I had replaced the front brake pads and in ignorance of the system, wound the pistons back into the callipers without opening the bleed screws. I did check all the ABS sensors as well and found no problems there. TBH, this car has been exceptionally well looked after during its life and the brake fluid looked pretty fresh but I imagine it only takes a tiny particle to get pushed back into the valve block to do the damage. Anyhow, I took the decision to source one which I was fortunate enough to find the upgrade valve block kit JLM11366 for the XJ40 at a very good price and by swapping over the thicker dust plate cover from my one - it fits perfectly. That was one reason to remove the whole actuator assembly from the vehicle - to get it on the bench to study from all angles that it did indeed fit properly and it has also given the opportunity to tidy up the inner wing area under the actuator which usually suffers a bit of rust where spilt brake fluid can collect and remove the paint. now with it removed from the car, I've attached a couple of photos and my curiosity has been piqued by the function of the small ball bearing inset within the valve block casting - again, I've taken a pic of the old and new unit - any idea as to its purpose? i'm now just waiting for a new brake fluid reservoir o-ring kit JLM1477 to arrive before reassembling everything and then tackling the brake bleeding procedure that you comprehensively covered in other posts. I'll be trying to do this single handed with aid of non return brake bleed valve and a means of wedging the brake pedal down (for the rear brake bleeding process) In all other respects, I'll follow the correct procedure as you describe. And then - hopefully, no ABS warning light (although I think the car has to be driven above 19mph to clear?) and if that is all good - several beers! New valve block fitted to actuator Old valve unit (looks in very good condition internally - may just require ultrasonic clean and rewire) Actuator and brake pedal box unit with new ABS valve unit fitted, cleaned and with a new bulkhead neoprene gasket ready to refit
There wasn't any need to swap the 'Back Plate' the difference is so minimal that you just have to pull the Pipes back a little bit further (they don't require any bending) and its almost like a Straight Swap 'Plug and Play'
At least that way there is no risk of anything being disturbed inside while changing the Plate (See Link to Page: 56 of my Restoration Thread Below)
Anyway now that you've got the Master Cylinder Actuator out of the Car, which could have been easier to do if you'd left the Reservoir on, because it gives you something to get hold of and where apart from moving the 'Sway Bar' and attached Wiring out of the way, its a 'Piece of Cake' to remove it in under an hour
You can even leave the Air Box on, as that doesn't get in the way but Just Be Very Careful Not To Spill Brake Fluid on the Paintwork or it will Strip the Paint off!
To Continue from where I left off: Now that you've got the 'Master Cylinder Actuator' out of the Car, it might pay you to 'Bench Bleed It' to further reduce any problems of getting the Air out when Bleeding the Brakes, when the 'Master Cylinder Actuator' is back in the Car
Just be Careful Not to Break! the somewhat Fragile 'Brake Switch' when you lower it back in the Car
Good Luck but its going well so don't think you will need it!
Hi Alex, I did actually heed your very useful advice and leave the brake fluid reservoir attached before taking the whole actuator assembly out of the car - you're right - it's much more straightforward that way (once you've managed to persuade it to part company from the bulkhead!). In addition, I removed the easily broken plastic brake switch from under the footwell which I'll re-attach after the actuator is back in the car... For protection of the paintwork against splashes of brake fluid, as well as having plenty old towels at hand - wedged into all the likely spillage points, I used clear cling film parcel wrap to protect the bulkhead, wings and any other nearby painted surface before covering again with soft absorbent towelling. The rationale for this being that a towel soaked in brake fluid may still transfer it to the paintwork before realising it and the cling film acts as a waterproof barrier. Once out of the car and on a spotless workbench covered in new corrugated cardboard to absorb brake fluid spills, the fluid resevoir was removed. I almost didn't notice the small nylon tube spacer that fit over the smaller pipe outlet on the resevoir. It would be very easy to lose it and/or overlook its inclusion when refitting the resevoir to the actuator (see pics). There is one included in the o-ring kit JLM1477 which I have on order as I don't want to risk using the original sealing bungs and o-rings - not after going to all this bother so far to save 30 quid! I sure I could have used the new actuator with the steel plate as fitted like you did as the unit has much longer spacer bolts to compensate for the original alloy dust backplate but out of curiosity I wanted to see behind the plate to assure myself that the valve heads were the same and tbh, there isn't a whole lot to disturb if you take it off carefully. As you pointed out in your previous post, keep a check that the small rubber gasket above the plug connection doesn't fall out but that is really about all. The new repair unit as it happens, is just the same internally apart from it now has a plastics shield cover fitted around the valves to protect the wiring - this I didn't touch! So with the old alloy cover fitted and using the new nuts and washers supplied with the kit, everything bolts back in place perfectly with the new square edged o-rings in place between the valve lock and the actuator and torqued up correctly each right angl brake pipe lines up spot on and can be tightened up carefully. When my new JLM1477 o-ring kit arrives, it ought to be relatively straightforward to get back into the car. I'm using mikalor pipe clamps on the flexi pipe from the resevoir to the LP line on refitting as I'll be using the original braided pipe and they make for a secure, leak free fit.
Last edited by logiedurno; 05-18-2020 at 02:30 PM.
Looking Good but I would not have taken the Brake Switch out and I would certainly think about putting it back, before you put the Master Cylinder Actuator back into the Car because its easier (make that a lot easier!) to do that now than later while you can see what you are doing and especially if you don't like Standing on your head
If you are nice and Careful as I can tell you are then Brake Switch will be ok
At the end of the day its up to you which way you go about it but leaving the Brake Switch alone worked much better for me as for one thing it's already adjusted
Good Luck but I'm sure you won't need it as you are doing everything just right
It sounds like you're doing things pretty methodically and the o-ring replacement is money well spent.
I really wouldn't bleed those rear brakes alone unless you absolutely have no choice. The control of the pump cycling is very important and youd have ignition on, pump cycling before you can even walk around and get under the car. You really need to see what's happening at the caliper end as it purges old fluid, air and new fluid. Try and find someone who can do exactly what you tell them as they sit in the car whilst you work at the caliper end.
Righty ho - an update from me following the work done on replacing the ABS valve block and other brake work -
In summary, I bled the brakes myself using a combination of the methods as described by others on the forum - here's what worked for me:
For bleeding the low pressure line after removing the plastic right angle connector from the pump (it came out no problem with a straight but firm pull - I replaced the o-ring with a new one from the kit) I bled the LP line free from air bubbles and into a small plastic container before pushing back in place whilst still running. I used heavy duty polythene to protect the paintwork and plenty rags and paper towel roll.
In bleeding the rear brakes, I used a length of 3x2 timber between the brake pedal and the driver seat to simulate someone sitting with their foot on the brake, then turned on the ignition, pump ran for about 30 seconds then stopped as pressure built. I had a short length of pipe on the rear nearside calliper bleed screw which i cracked open. As the old fluid and air bubbles came out, pressure dropped, so the pump would come on for about another 20 seconds or so. I took my time allowing a minute or so between pump activating so as to not strain the pump and frequently topped up the brake reservoir. It took what seemed a very long time until I was satisfied that I had removed all the air from this circuit - there always seemed to be just a tiny air bubble appear when you thought you were done! anyhow, satisfied that the nearside was line was air free, i moved on to the offside driver side rear calliper. This one did not take nearly as long to purge as there was virtually no air in it - only the old brake fluid (which incidentally, did not appear to look that bad - certainly no black sludge or anything like that present anywhere in the system) Once the rear was complete I turned to the front brakes where I had fitted brand new callipers. Again starting at the nearside (left) calliper - I first tried using an "easibleed" one way valve whilst slowly working the brake pedal - this did not seem at all effective - at one point, I got a small fountain of brake fluid ejected through the brake cap vent! Luckily, I had taken OB's advice here and thoroughly protected the whole area around the brake reservoir and fully covered all the wings and scuttle etc. I then moved on to using a vacuum pump to draw the brake fluid through the line. This worked ok but it also drew air in via the threads on the open brake nipple. So I then decided to try OB's method of hooking up a longer tube from the bleed nipple raised and secured to the upper suspension arm to obviate drawing air in through the bleed nipple threads and using short, gentle pushes on the brake pedal. This worked like a charm and I managed to purge air from both sides in minutes. After all this, I hard a good, firm brake pedal. Now to test it! - this was where the real challenges started to which I will describe in the next post!
Hello,I come from Germany. I don't drive a Jaguar but a VW Corrado. However, I have a similar problem as with the Jaguar. My car also has an ABS Teves 2 installed. I'm in the process of updating the system. I've read a lot here. I have a specific question about the ABS block. The valves/selenoids are soldered to a band. I have to equip it with new wires. What type of cable is used there? How did you solve the problem? Are there any photos?Thanks in advanceFamulus
The best way of doing this is to remove the Master Cylinder Actuator, including the Valve Block as one unit without undoing anything
Then once you have it out of the Car and having drained the Reservoir, lay the Unit on its side with the Valve Block uppermost and then once having done so Carefully undo the Cover Plate being very Careful not to lose any 'O' Rings or Gaskets
Also be very mindful that in the event you decided to turn the Valve Block upside down (which you very definitely do NOT want to do!) the Valves in the Valve Block can fall out under their own weight and even break the Ribbon Wires as they do so
Where what you need to do at this Stage is to put the Cover Plate Back on the Valve Block and then do the Bolts up finger tight
Then once having done so, take the whole thing to a 'Radio Shack' (Shop) and ask them to replace all those Ribbons with High Temp Silicone Wire
Where for the sake of your Own Safety, I would put the Soldering in the Hands of the Professionals, rather than to take the Chance of getting a dry joint
This is a very easy and inexpensive Fix providing you go about it the right way
First of all Congratulations on removing that Plastic Elbow, without breaking it and also for taking precautions with the Brake Fluid
I've also had Brake Fluid Jetting out of the Reservoir Cap, when using one of those Bleeders which I don't do anymore, although I gave it the 'Nick Name' of 'The Teves Fountain'
As you may imagine improvements to previous methods once used can evolve over time, where in this respect I'm pleased to say that I accidentally discovered a 'Bullet Proof' way of Bleeding the Brakes, that is almost guaranteed to get every single drop of Air out of the Calipers and I didn't even Bleed the Low Pressure Side of the System, although it may be advisable to do so
The Results that I got were Outstanding, with the ABS Light going out in about 7 Seconds! very quickly followed by the Brake Pump Light and so I would be very interested if you would like to try this, if nothing more to prove that this wasn't a Fluke and get the same results or even better than I did
I will also include a Link to Bleeding the Low Pressure Side of the System for others
Hello Alex, Thank you for the information. I already have everything apart. I also measured the selenoids. Inlet 4 ohms at 20�, outlet 6 ohms at 20�. All valves also have the typical clicking noise. However, the flat power band is broken in some places. Finally, the question of how large is the cross-section of the new cable.thanks in advanceGreetings from GermanyFamulus
Not being an Auto Electrician that was a decision that I left up to 'The Radio Shack' where being well versed in this sort of stuff, instinctively knew what to do having first measured the resistance of the Ribbon Connectors, which had gone really crispy and were well past their prime
And so as with the Soldering, its very often best left to the Experts to decide
 10-14-2019, 06:55 AM