When you click on links to various merchants on this site and make a purchase, this can result in this site earning a commission. Affiliate programs and affiliations include, but are not limited to, the eBay Partner Network.
The Pipe that goes from the Reservoir to the Brake Pump is 100% Gravity Fed (The First time that I did this I thought the same as you but I was wrong)
So don't go trying to pressurize the Reservoir, just trust the fact its Gravity Fed, so that when you pull the Plastic elbow out of the Brake Pump, then that is the moment that Brake Fluid will start to run out of the end, in a sort of a Continuous Trickle
Where as this happens it will displace any Air that is Trapped in that Pipe and this only takes a Few Seconds and if you need you can stop the Flow by putting your finger over the end
But the Brake Fluid needs to be Flowing out, when you put the Plastic Elbow back in the Brake Pump, in other words you do it on the 'Fly'
The Plastic Elbow is held in place by Rubber 'O' Rings and also a Spring Pin, it can be a PIA to get out, so a good squirt of WD might come in Handy
Just disconnect the Gravity Feed Pipe from the Reservoir after sucking as much Brake Fluid out of the Reservoir as you can with a Syringe or Turkey Baster, though be Warned, that even when that Reservoir looks Empty, there will be a lot more Brake Fluid hiding inside
So have plenty of Rags and Soapy Water ready to mop up the Spills and then pull out any Rags that are Soaked in Brake Fluid from underneath the Car
As for the Plastic Elbow, leave that alone for the Moment, just get the Master Cylinder Actuator with the Reservoir Still attached right out of the Car and out of harms way, also mind you don't Break the Foot Brake Switch when you are lifting it out!
The Ribbon Connectors under the Cover of the Valve Block will have got Brittle and Crispy with the Heat over the Years and that is almost certainly while one of them may be Broken
So Please do Not be Tempted to Re-Solder this yourself, as the High Temp Silicone Wire, is going to do this better, so look at it as an upgrade that is going to give you so much more piece of mind when hitting the Brakes
Again leave any Soldering to the Professionals, who do this all the time, as the very last thing you are going to need is a dry joint or Wire coming off
When its time to put it back and Bleed the Brakes again, then you 'Better Call Paul' (ptjs) as Bleeding the Teves System, in the 'Real World' is somewhat different to the Manual (as you will see!)
So I removed the ABS block and it looks in great shape but I jumped the pins and the same 2 terminals still don't click. Also its difficult to see you you guys came up with a diagram where it goes into the plug.
if you remove the two small screws will that open the plug or remove open the plug to see the ribbon connections? If I do pull out the valves I'll mark them with a sharpi for location.
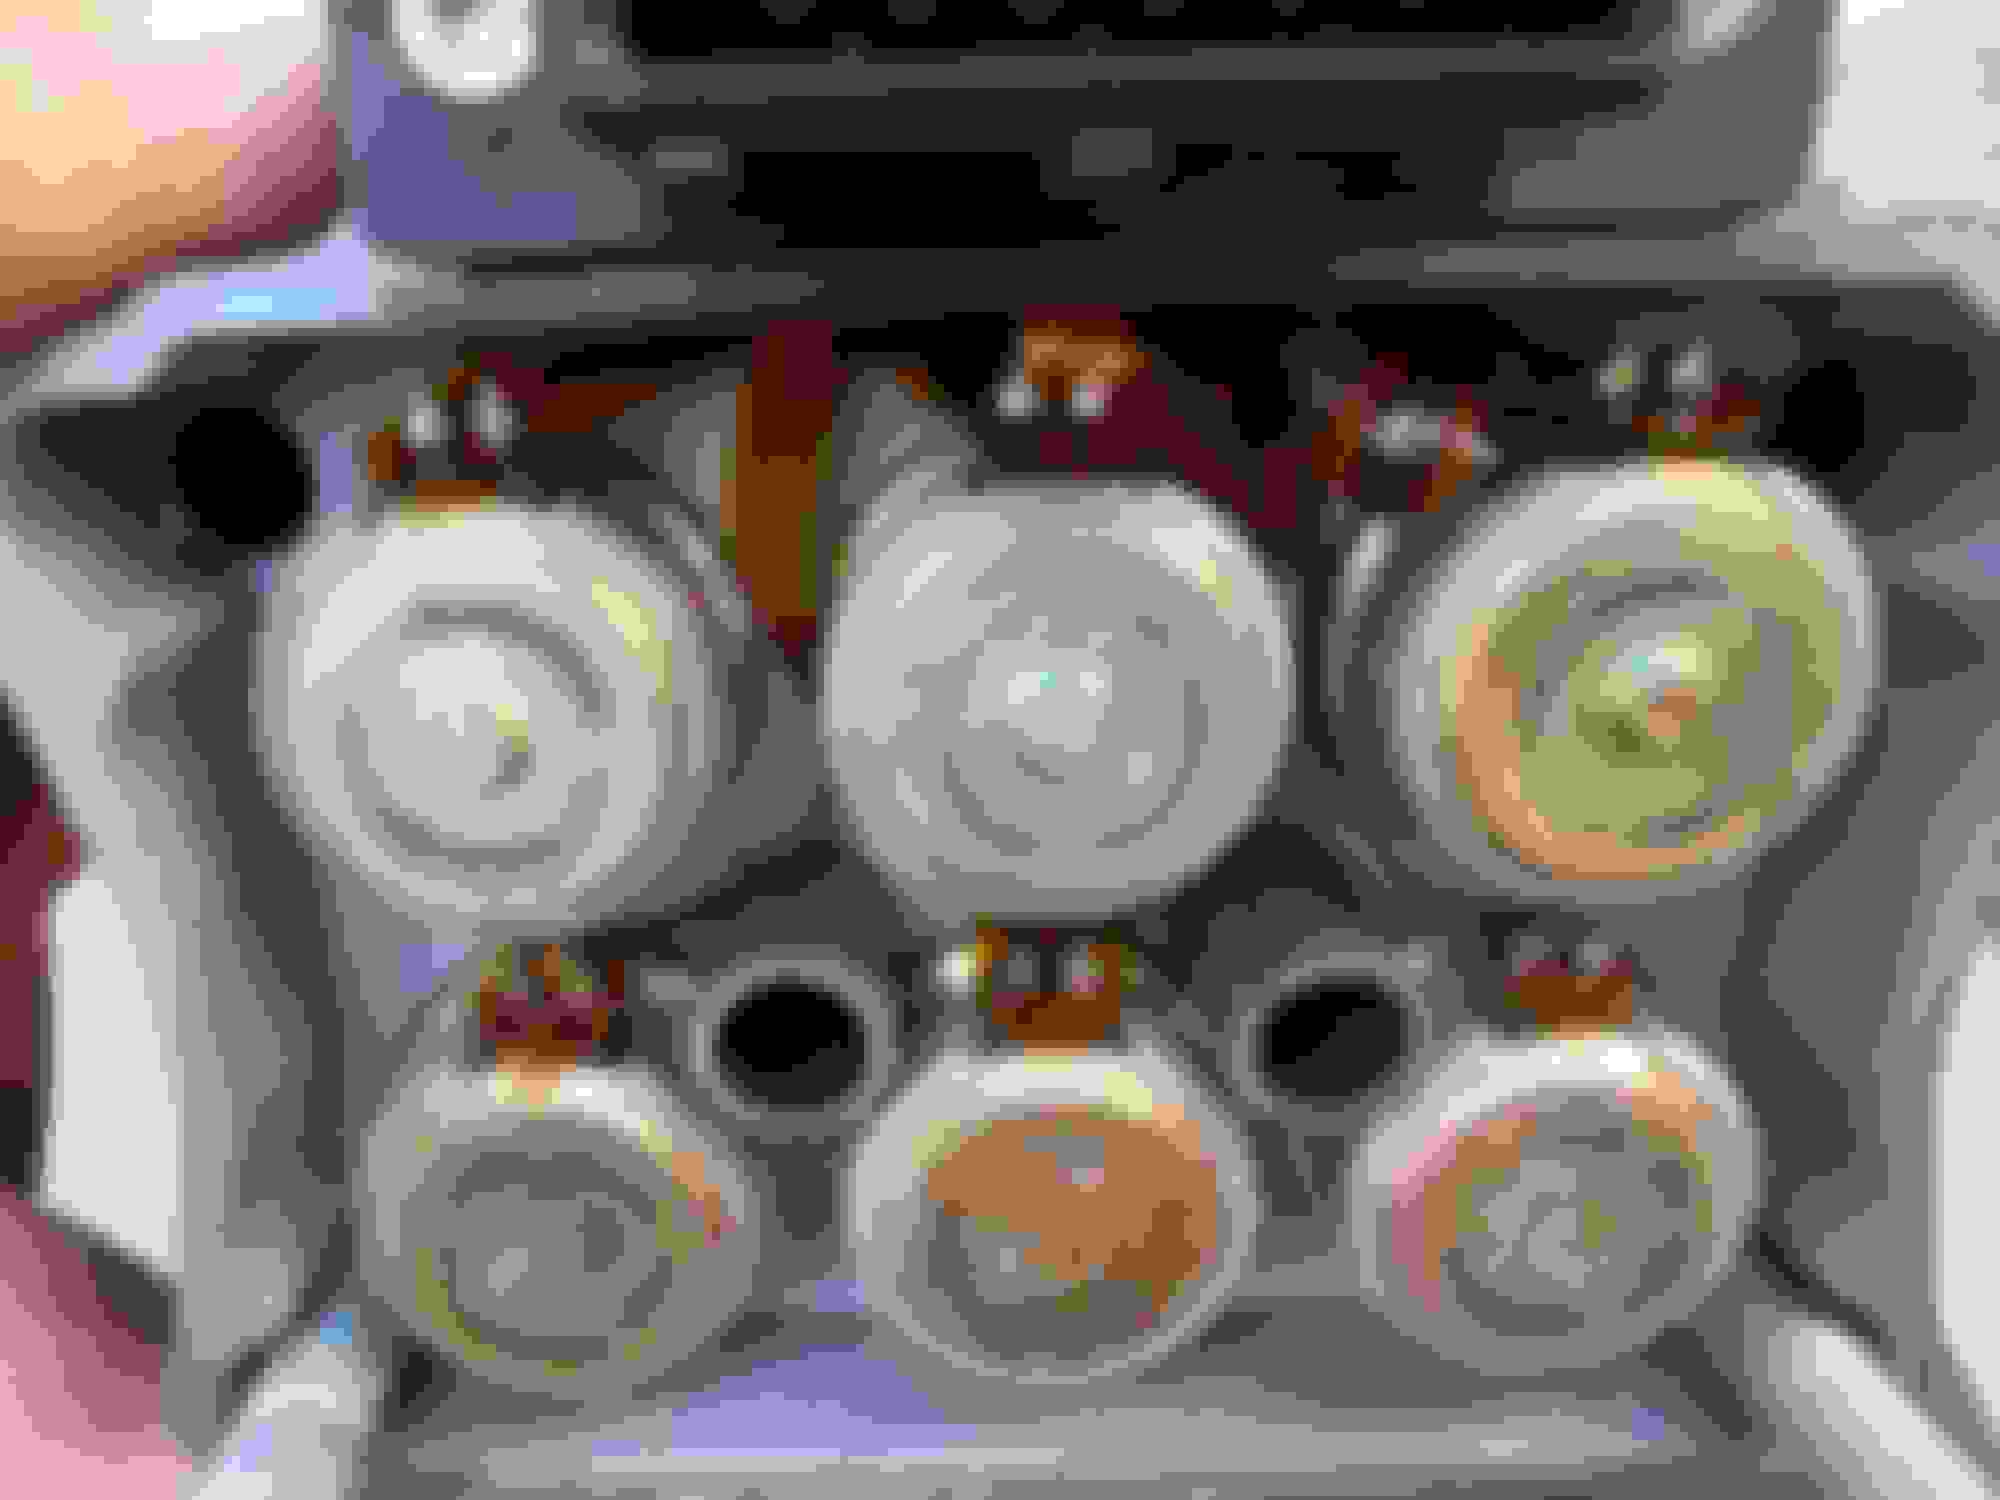
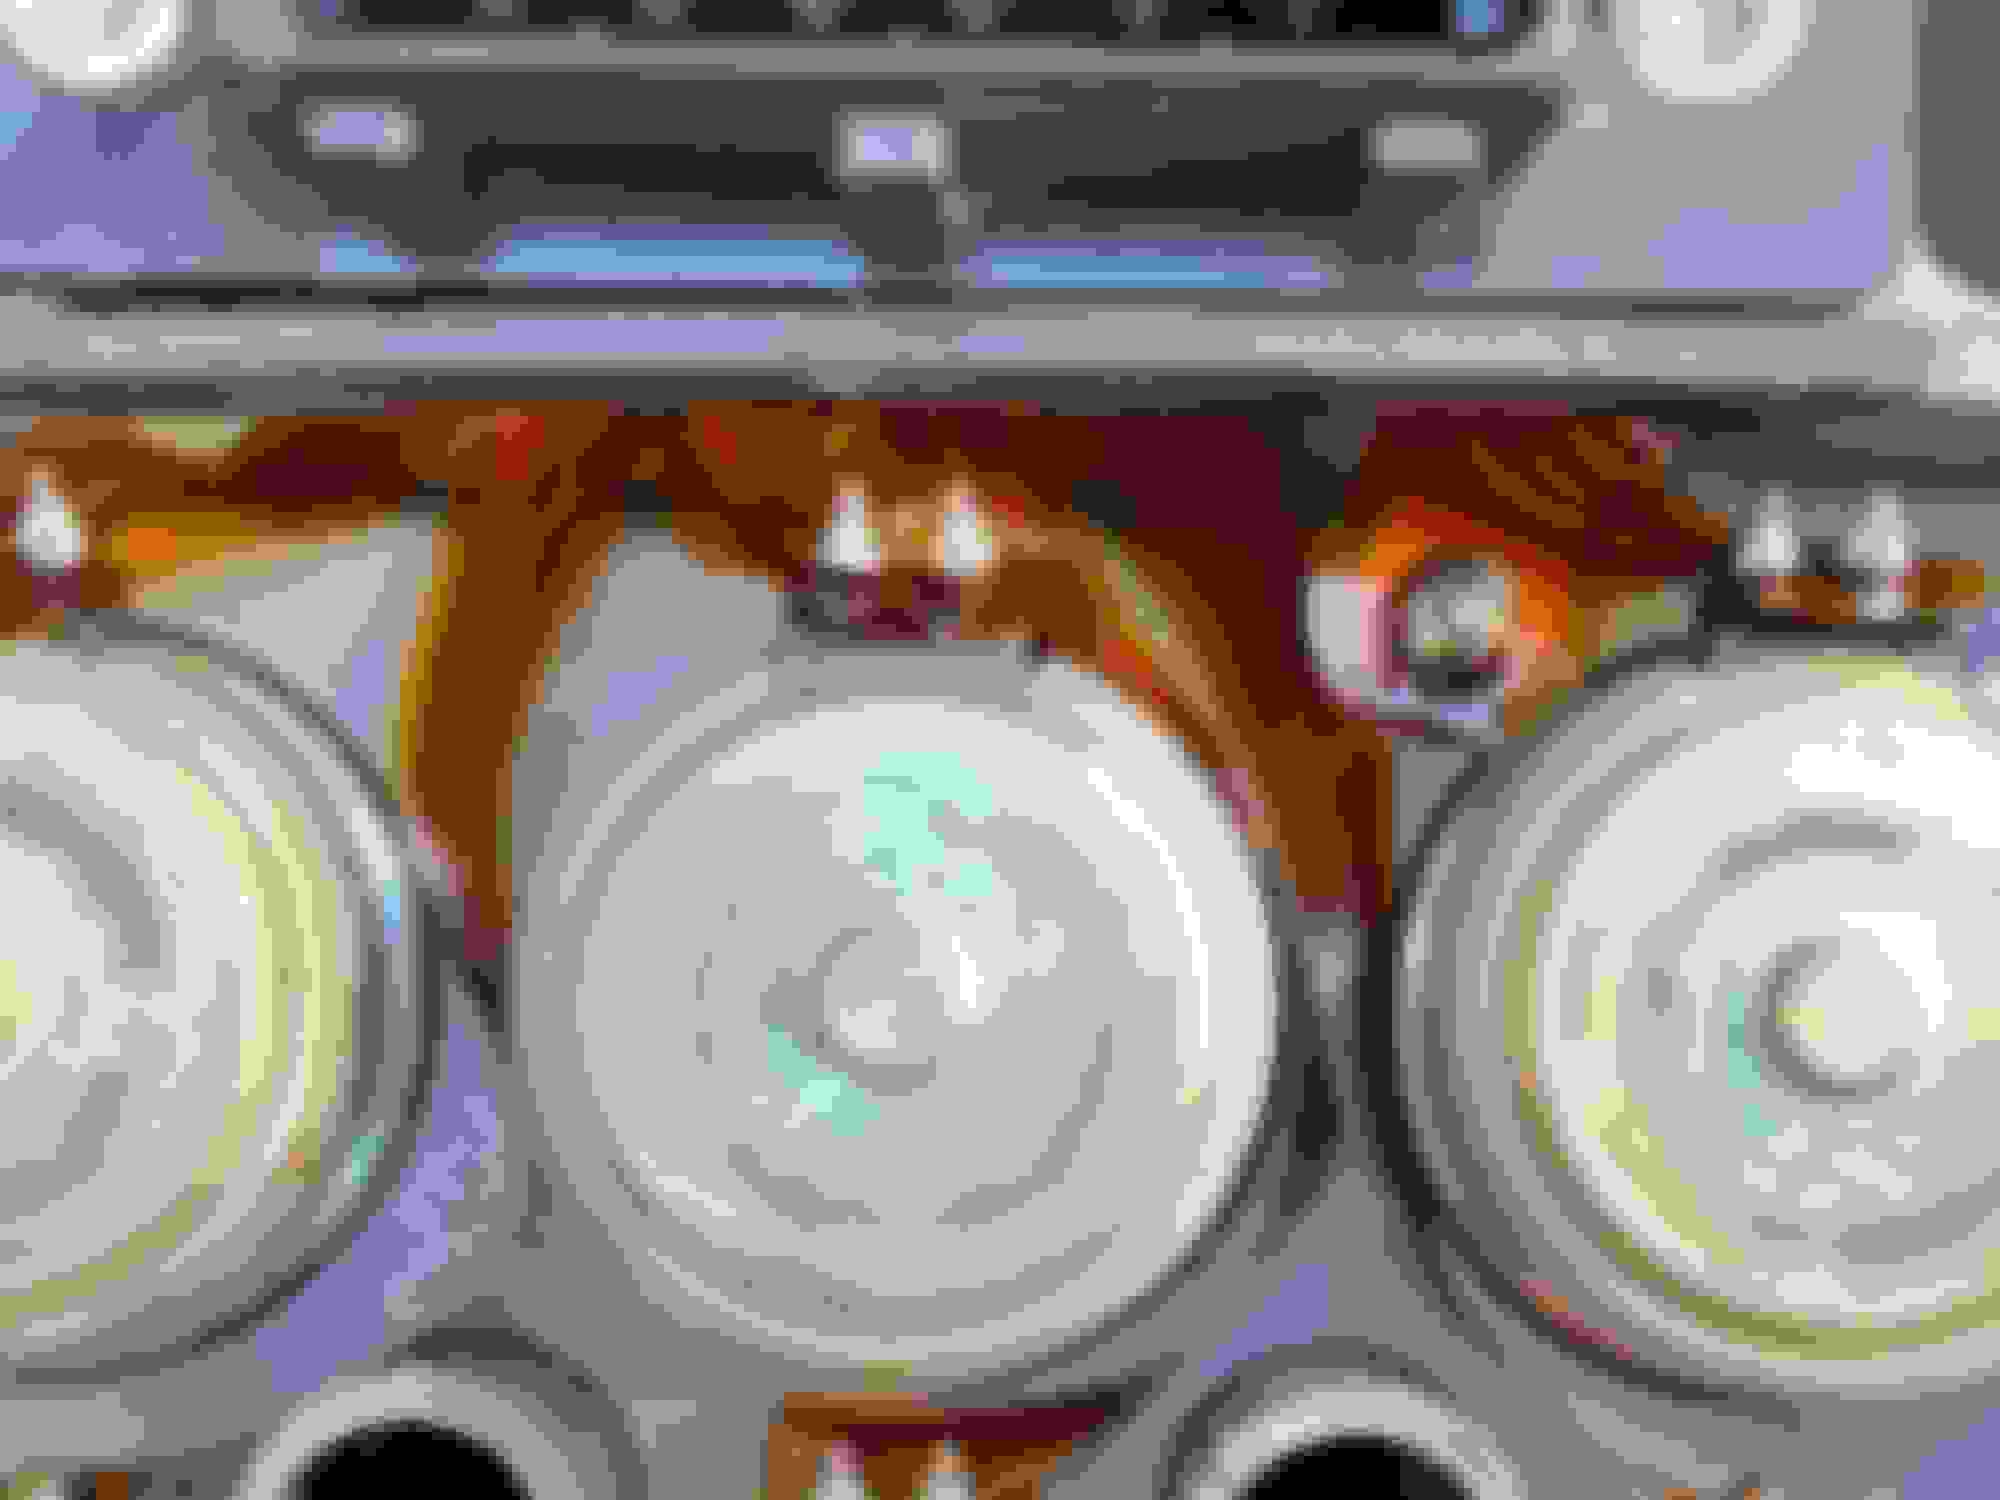
Going by the amount of Solder Spatter, microscopic as it is, it looks as if the Previous Owner may have tried to Re-Solder some or at least one of the Ribbons, as an untouched OEM is unlikely to look like that, especially Photo (1) on the RHS of the Plug when facing the Photo (possible signs of a Dry Joint)
Since you've taken the Valve Block off, you could try a quick dab of Power directly on the Valve Terminals themselves and if they all Click this time, then you'll know that there is a pretty good chance that its either the Ribbons or the Plug
I wouldn't undo the Plug Socket until you've tried that first
If they still don't click and I need to clean them seems like a good idea to use a small flat piece of material to with some double stick tape on it to keep the valves from dangling on the ribbon. From reading they should just fall out right? Assuming I can use brake cleaner on them?
Toby
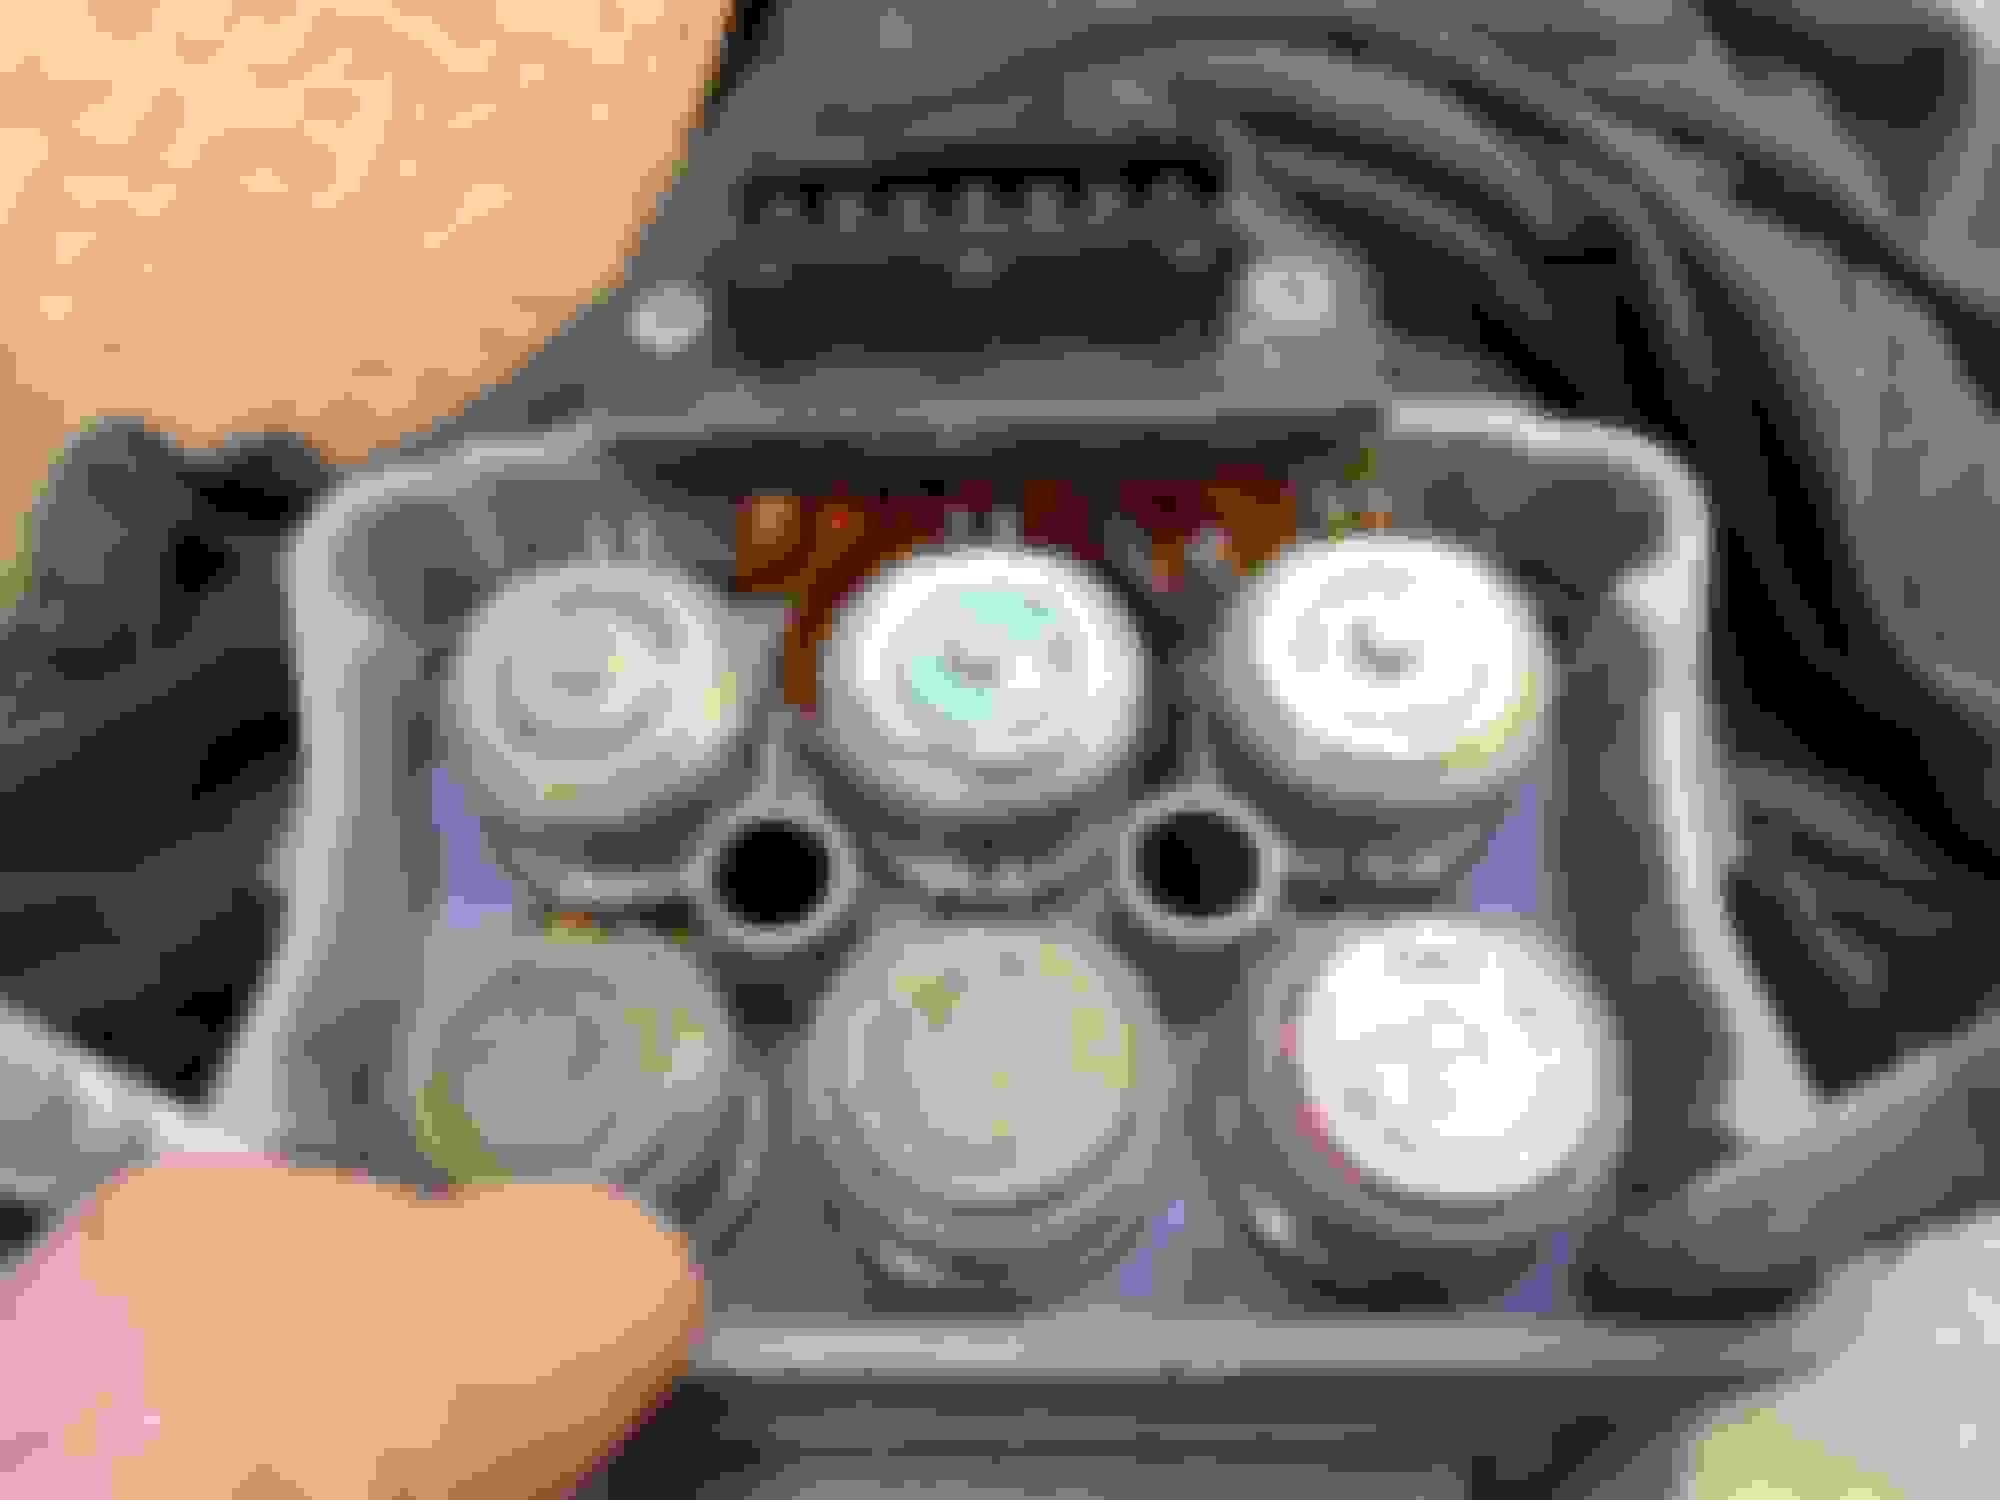
The inside of that valve block is much better than many that I have seen.
Why not start by just doing a continuity check of current between the pins and the solder connection at the solenoids? That's a very simple test which can help pinpoint a ribbon problem.
Also, reflecting on how you said the problem APPEARED to start ie after pushing fluid back, I would be minded to carefully lift the valves to check for sediment in the filter baskets and to check nothing is on the valve seat holding it open. Your diving to one side is indicative of a valve stuck open with sediment.
Good luck
Paul
I'm thinking the same.
I tried jumping them at the valve and still the same. I thought the valves would just fall out, but they are actually pretty snug in there. Is there an Orange or anything around the valves holding them in? should I use compressed air to help them out.
Also I would rather not use the same Orings but does anyone have a spec on the ones between the block and the master?
Ok tested jumping at the valve, same results. Sprayed some brake cleaner in the valve from both sides, flows through some not all. Same with compressed air. I had the cover on loosely with a bolt and I can feel the pressure of what feels like a valve pushing on the cap a bit so I'm thinking air might be a way to pop them out it I'm careful. So all these are held together by the ribbon ? That's exciting and nervous wrecking.
Thank you for all your help so far guys!
Update..
With the cover on and the bolts a a few threads from finger tight I was able to pop all but 2 valves out. the last 2 I used some kroil and a pliers to twist them out.
Sadly I think the only way to remove them completely is if I de solder the ground pin. Damn.
I'm able to inspect the ones from the furthest from the plug, but the ones not clicking are the two outers closest to the plug and have the shortest ribbon cable so don't want to stress them .
That's what I meant, put the Power directly on the Valves
Ok I get you've done that now but if you had taken the Master Cylinder Actuator out in one piece, then those Original 'O' rings could have stayed in place including the little rubber strip at the bottom which is very easy to have drop off and lose
Unfortunately I can't help you with the size of those 'O' Rings or even where to get them
But whether you put the Originals back or manage to find some New ones the right size, just be Careful you don't Squash them up or Cut into them
What would be a good idea would be to make a Drawing of what Ribbon Connects to where, as if you decide to rebuild the Block and upgrade it with High Temp Silicone wire, then you need to know the way the Wiring all goes back together
Because while the Radio Shack might know all about Soldering, they won't have any diagrams to Re-Wire an XJS Valve Block, they will need to be shown exactly what you want them to do, unless of course you decide to do this yourself
It also sounds like you may have got some Corrosion under those two Valve that were hard to get out, possibly caused by a build up of Water in the Brake Fluid over time, as those Valves are known to fall out under their own weight, breaking the Ribbon Connectors as they do so
I knew I'd seen this years ago but I've only just managed to find it
So have a look at this Thread by djinaustin, which includes the Wiring Diagram you're looking for and which I've also copied on here in case I need to find it to help anyone else
Amazing! thank you so much!
I ordered a solder sucker to remove the ground pin. Figure its a better option than solder wick, don't want to put too much heat to the ribbon.
I think the reason mIne is in pretty good shape and I have hope for it is It's a 6 and the exhaust is on the opposite side so has less heat exposure compared to a right hand drive or a V12.
Fingers crossed!
.
Just wanted to give an update... So the solder sucker I bought didn't work out. I think its meant for smaller pins.
I also bought a cheap $40 ultrasonic cleaner off amazon and ran the valves through it many times in different chemicals. Brake cleaner, carb and choke cleaner and isopropyl alcohol.
did seem to clean them a bit but not to where 12 volts would get my valves to click. Lucky my brother is a heavy machinery mechanic and has to work with what's available in the field so a bit of a problem solver if you will. He recommended putting them on a wood bench with a wood block in between and beating it with a hammer to loosen the solenoid. This had a positive effect, but the stuck valves would only click once. even after several attempts.
So my next step was to take my air chisel minus the chisel and hit the back of the valves. this seemed to break them loose and now I have working valves/ solenoids! Unfortunately even though my ribbon cable was fine at the start the multiple baths in the ultrasonic cleaner lifting them in and out took its toll and ripped 2 of the ribbons so I am now de-soldering them, cleaning one more time and will solder in new wire.
Will post again when I finish. Thank you again To all for your invaluable help!!!
Toby
6 Solenoid that now click from the pin test. In hindsight I wish I would have committed to desoldering the ribbon cable since mine was fine, but all the cleaning removing the valves took its toll on it and it tore in 2 places. Next up tomorrow is slap it all back together and bleed the system.
Again thanks for all the help. I'll let you know if it works. Only fear I have is if the O rings will not leak. Could find a perfect replacement so I reused the old ones.
I had bought red and black wire, but the red coating didn't handle the heat as well as the black so I went with what I think was more durable. Doubt this thing will ever be open again.
S�, hai ragione, questa � una vecchia nota ma invece di usare i cacciaviti, ho usato un piccolo paio di "chiavi talpa" (con molta attenzione) con solo una leggera azione di torsione e una trazione molto attenta.
Stiamo parlando di movimenti microscopici ma sono venuti tutti fuori bene e sotto questi, come sai, ci sono minuscoli filtri rotondi, che erano pieni di gunge bianco, probabilmente causato dall'acqua@Grant Francis.
Fortunatamente ho preso alcuni di quei cacciaviti per riparazione orologi e sono riuscito a tirarli fuori, dopo di che li ho puliti con uno spazzolino da denti.
Tutto scatta e salta, proprio come dovrebbe e potrei rimettere tutto in macchina in meno di un'ora.
Ma perch� sono davvero terrorizzato! di rovinare le cose in questa fase, quei 4 piccoli anelli a "O" in gomma nera sono ci� che potrebbe crearlo o distruggerlo!
Quindi sarebbe pi� facile farlo bene la prima volta piuttosto che dover rifare tutto da capo.
Anche se sono tentato di riutilizzarli, c'� un'azienda non lontana che ha una macchina che pu� produrre pi� di quanto avr� mai bisogno.
L'unico ostacolo � stato "preparare" la mia XJS grigia per il suo MOT.
Che sono lieto di dire che l'ha superata a pieni voti!
Quindi, dopo un po' di attesa, sono pronto a togliere i freni! o forse sarebbe il caso di indossarli!
Una delle mie Coup�, che non uso pi�, � dotata del vecchio Brake Booster System.
Il che, rispetto all'ABS, � disgustosamente semplice, a parte un po' di risistemazione dell'impianto idraulico, quindi l'adattamento retr� sar� il "Piano B".
Se non fosse stato per te, il DJ "The Ice Princess" sarebbe ancora nel garage e no. pi� avanti di 12 anni fa, ma ora finalmente c�� speranza all�orizzonte.
Sono cos� fiducioso di sistemarla ora, che quando scader� l'assicurazione per la mia XJS grigia alla fine di questo mese, le assicurer� entrambe.
This new member has just posted an italian translation of OB's 7th post in this thread from 2015. No rhyme nor reason as to why, so suspect it's a scam profile?
I apologize for the previous post bu tI couldn't removeGoogle traslate.
I'll try again in English.
Greetings from new Italian friend.
I have a Daimler xj40 4.0 !990 with non workingTeves mk2 ( block solenoids) which I replaced with a well working one.
Once the bleeding has been carried out correctly, the car brakes perfectly but fuse 5 burns out and the abs light stays on.
What can I do?
Tahanks for the welcome advice.
 03-28-2023, 04:14 AM