When you click on links to various merchants on this site and make a purchase, this can result in this site earning a commission. Affiliate programs and affiliations include, but are not limited to, the eBay Partner Network.
Thanks to @Greg in France who advised that it is possible to replace the rear springs and shocks without dropping the cage. He provided the following instructions which I am documenting with photos in case it is helpful for others.
1. Jack up the car and remove one rear wheel
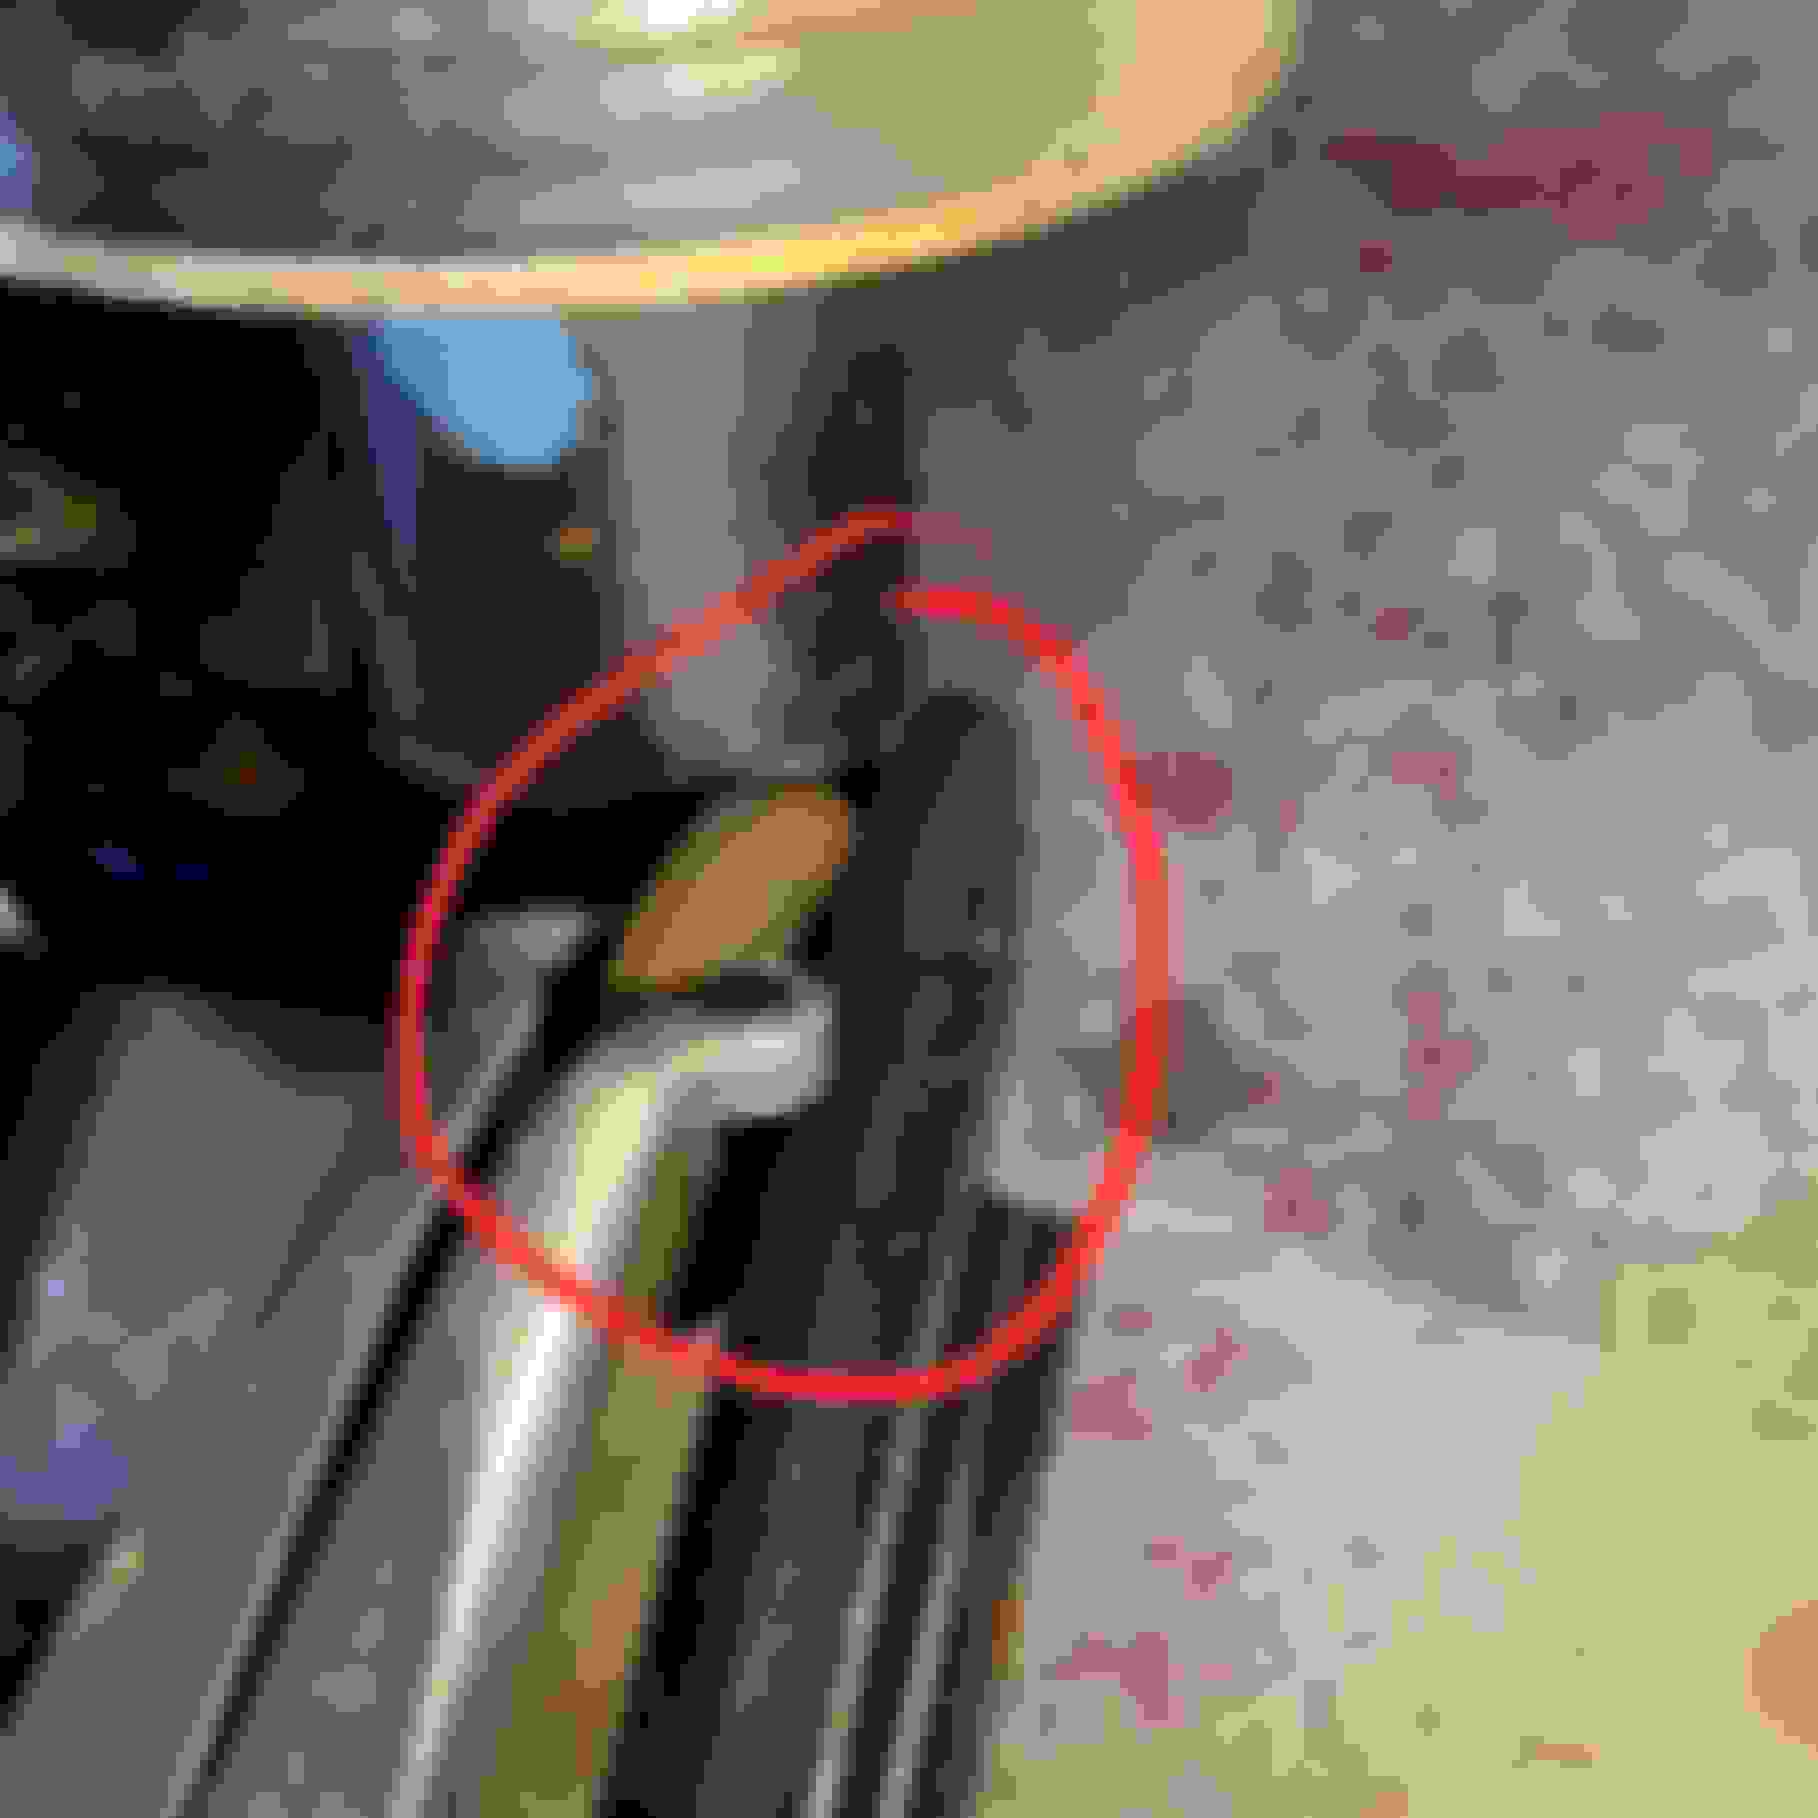
2. Undo the pin that secures the bottom of the shock to the lower wishbone arm. Be sure to note what washers go where.
Pin location towards rear of car
Pin location towards front of car. I sprayed both sides liberally with penetrating oil, which was overkill. When you remove the nut on the rear side the entire pin pulls out with the front nut still attached.
There was a thin washer between the shock and bracket at the rear. (Note: pliers not needed to remove, just using these so my fat sausage fingers don�t obscure the view.)
And a thicker spacer at the front between the shock and suspension arm. The washer next to the nut stays in place when you remove the pin.
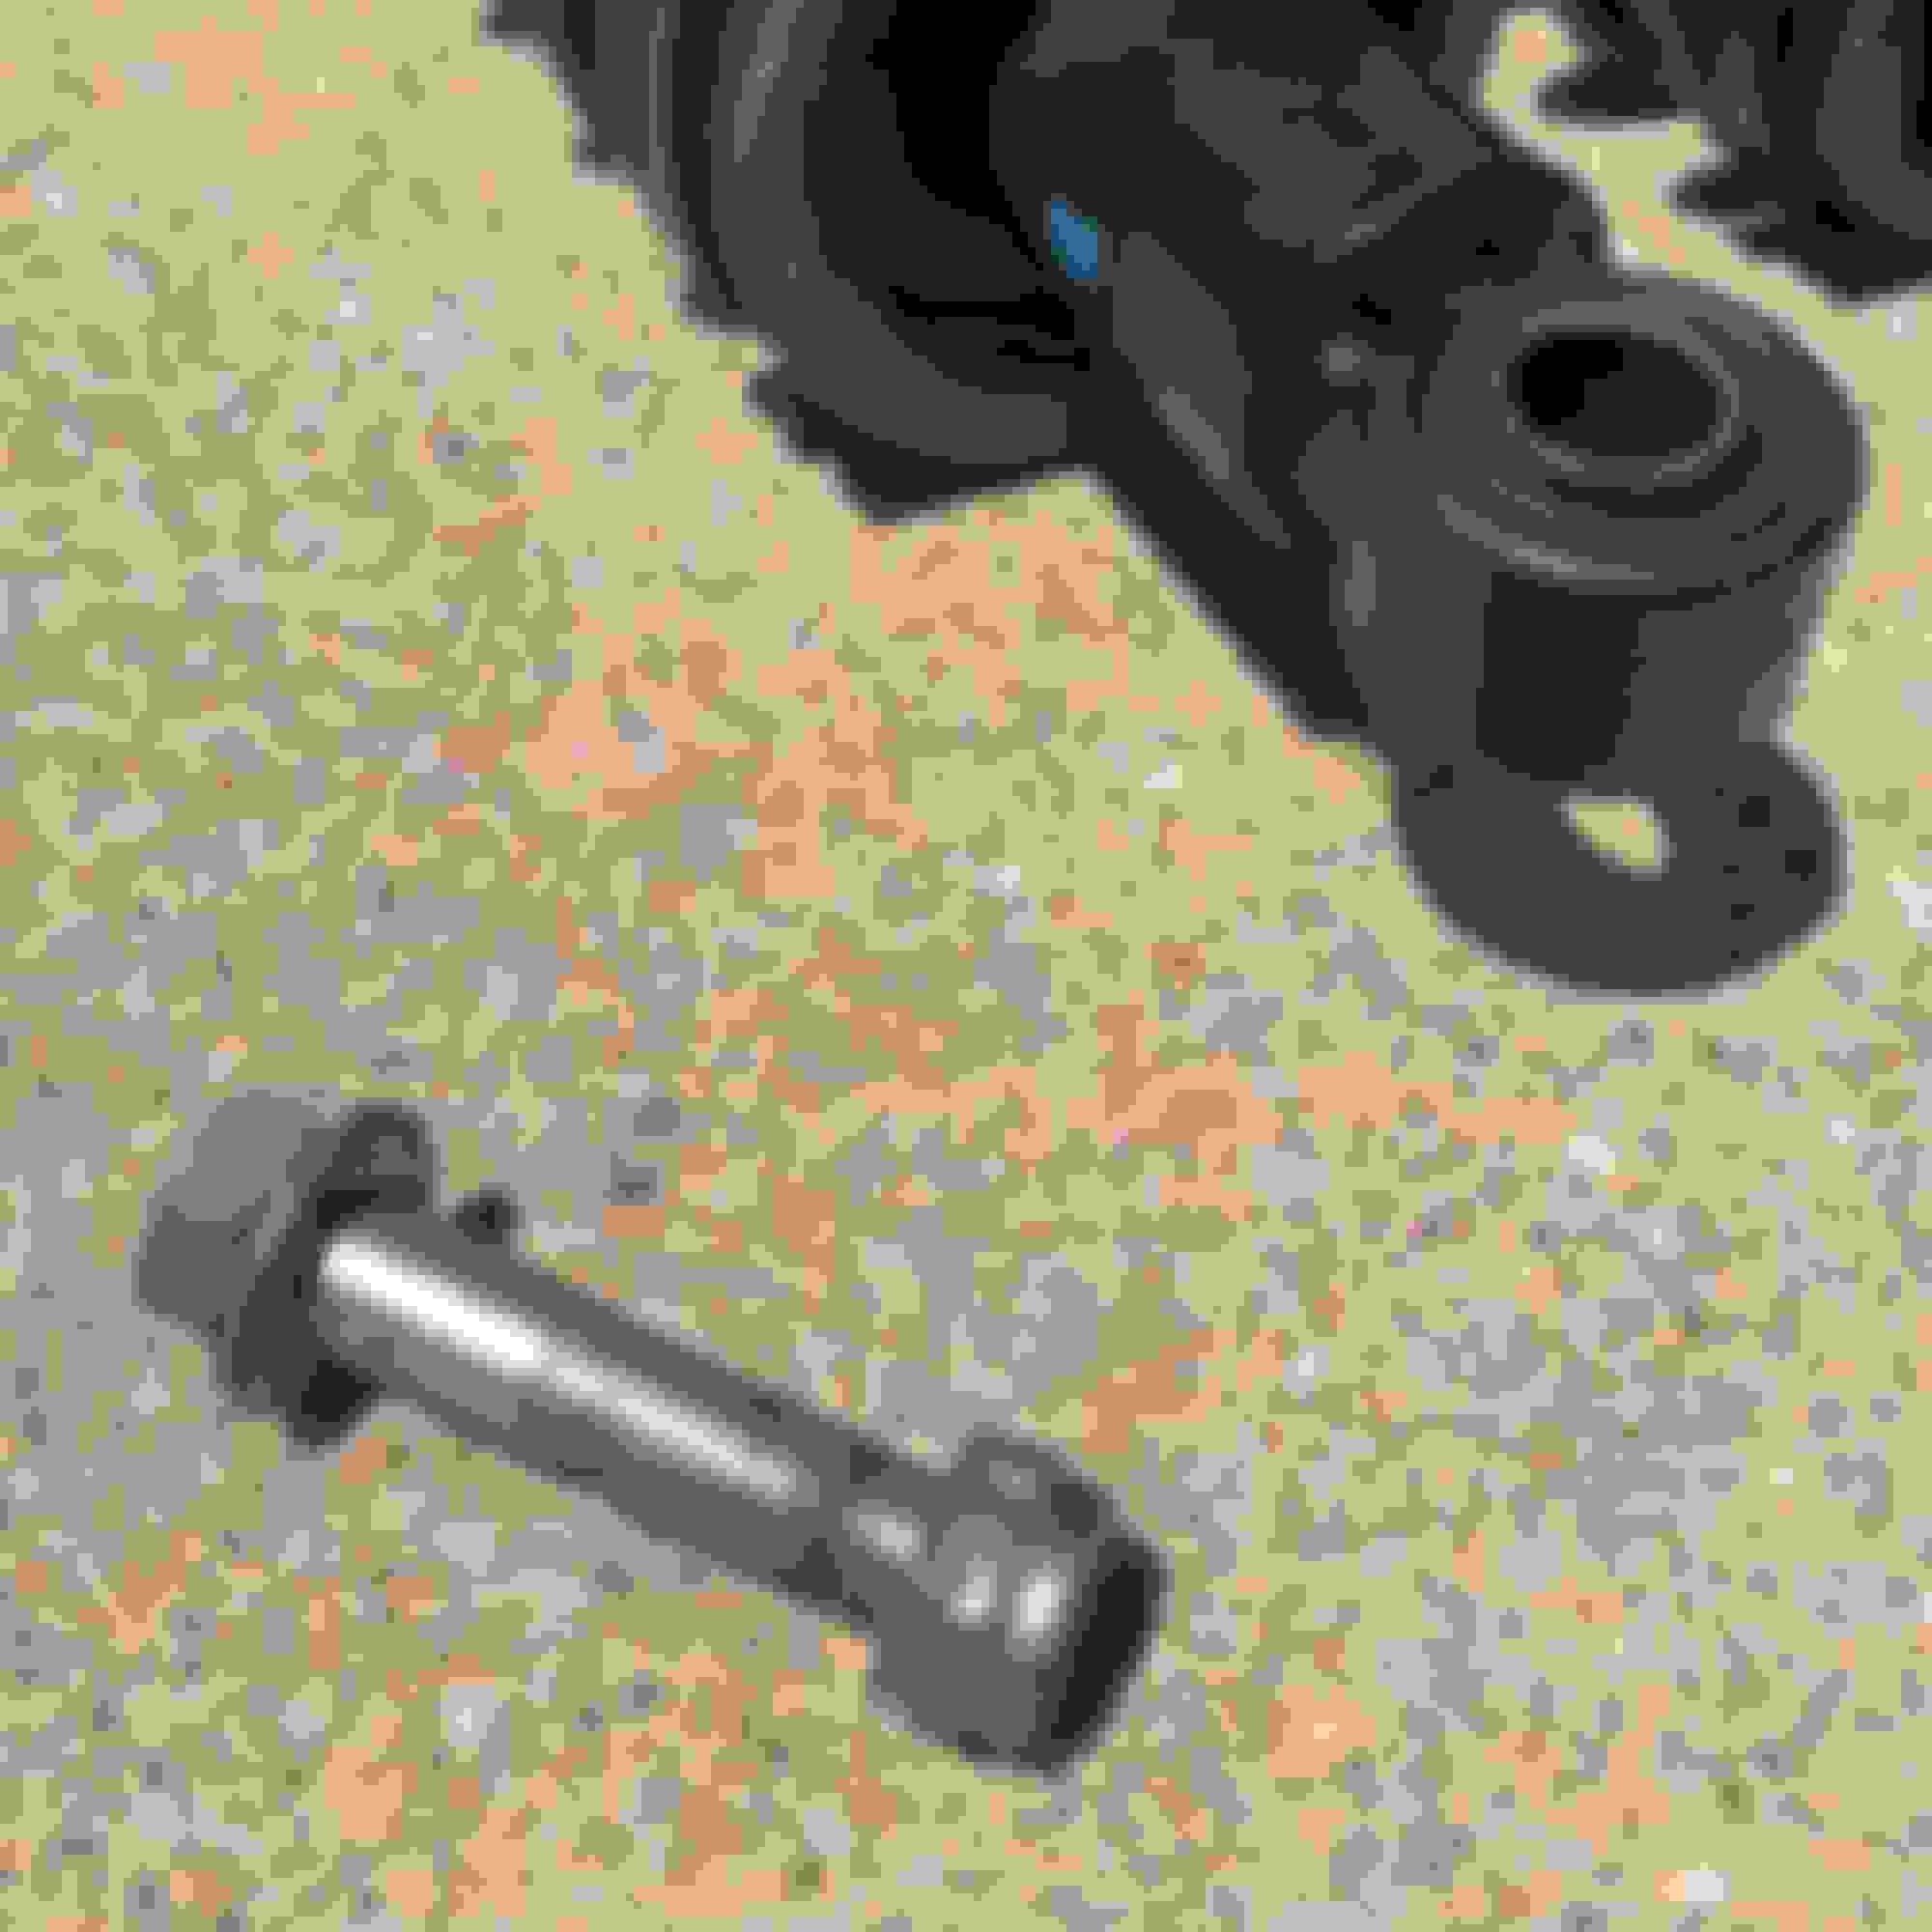
3. Support the lower wishbone/hub and drive the pin out towards the front from the rear using a brass drift.
The hub only needs to go up a fraction of an inch to take the weight off the pin
I did not have a brass drift so used the handle to socket set as a punch and small hammer. I would NOT advise doing the same and see now why Greg advises the brass drift. The repeated blows with the metal punch deforms the end of the threads on the bolt. I was fortunate that I was able to get the nut back on after a fair amount of self-directed profanity.
4. The shocks are now free at the bottom.
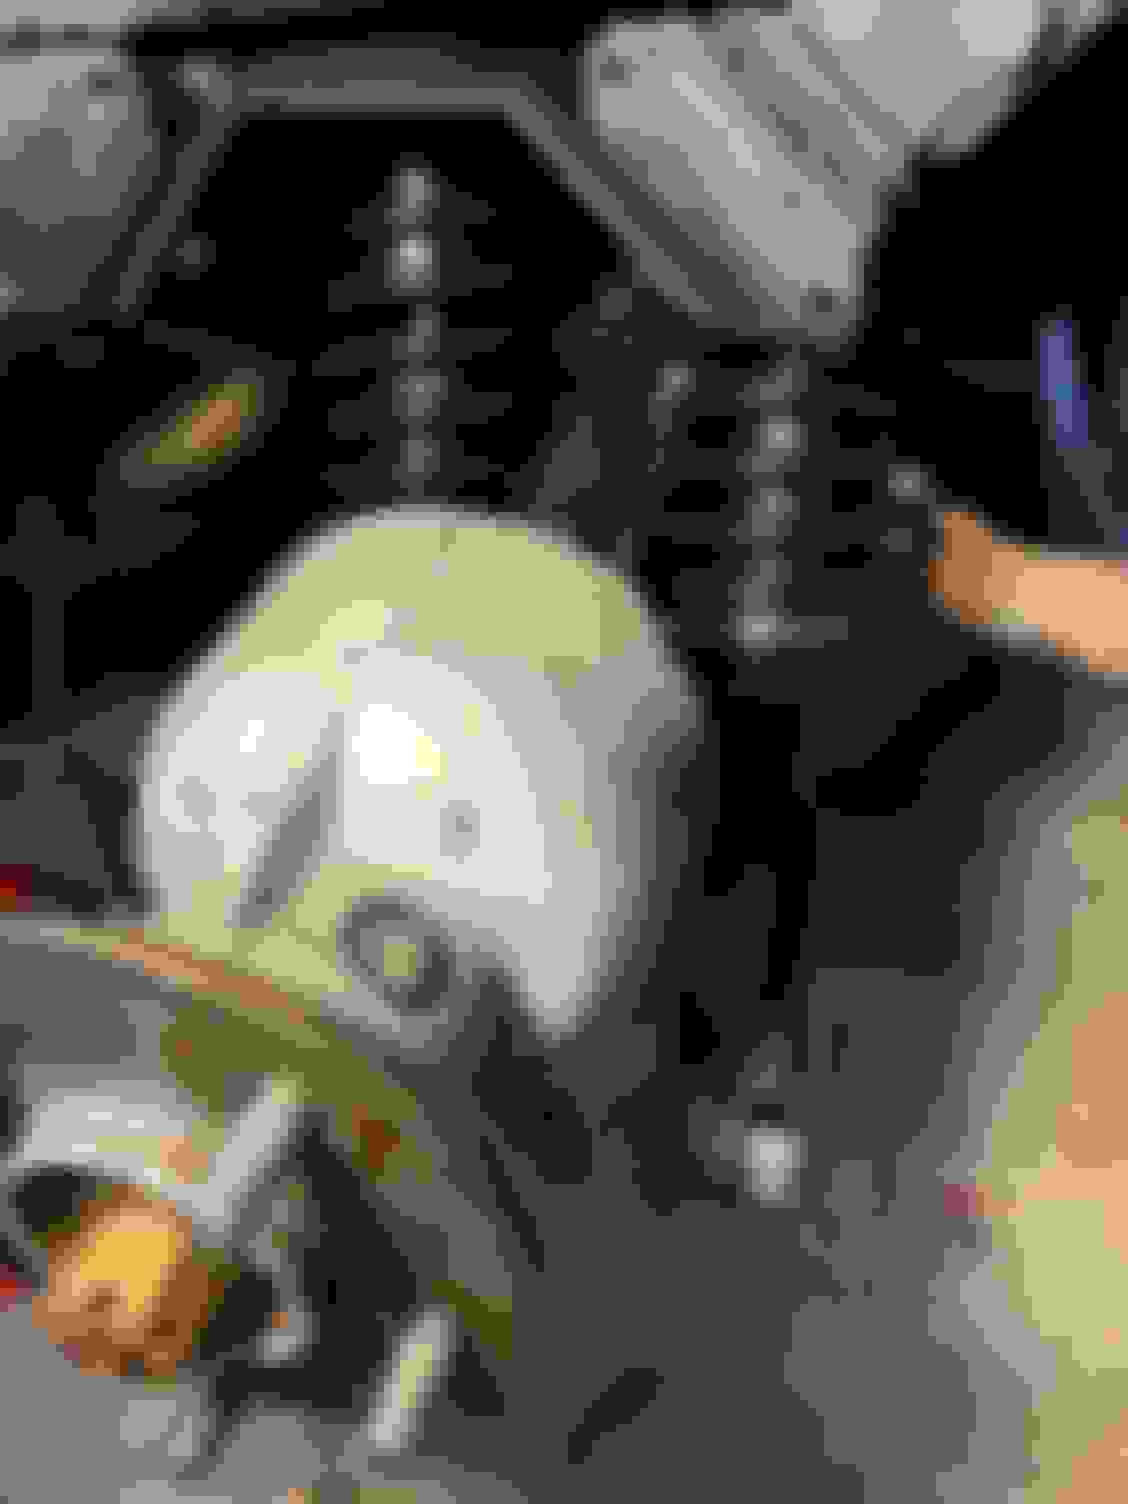
Bottom of shock free after removing pin
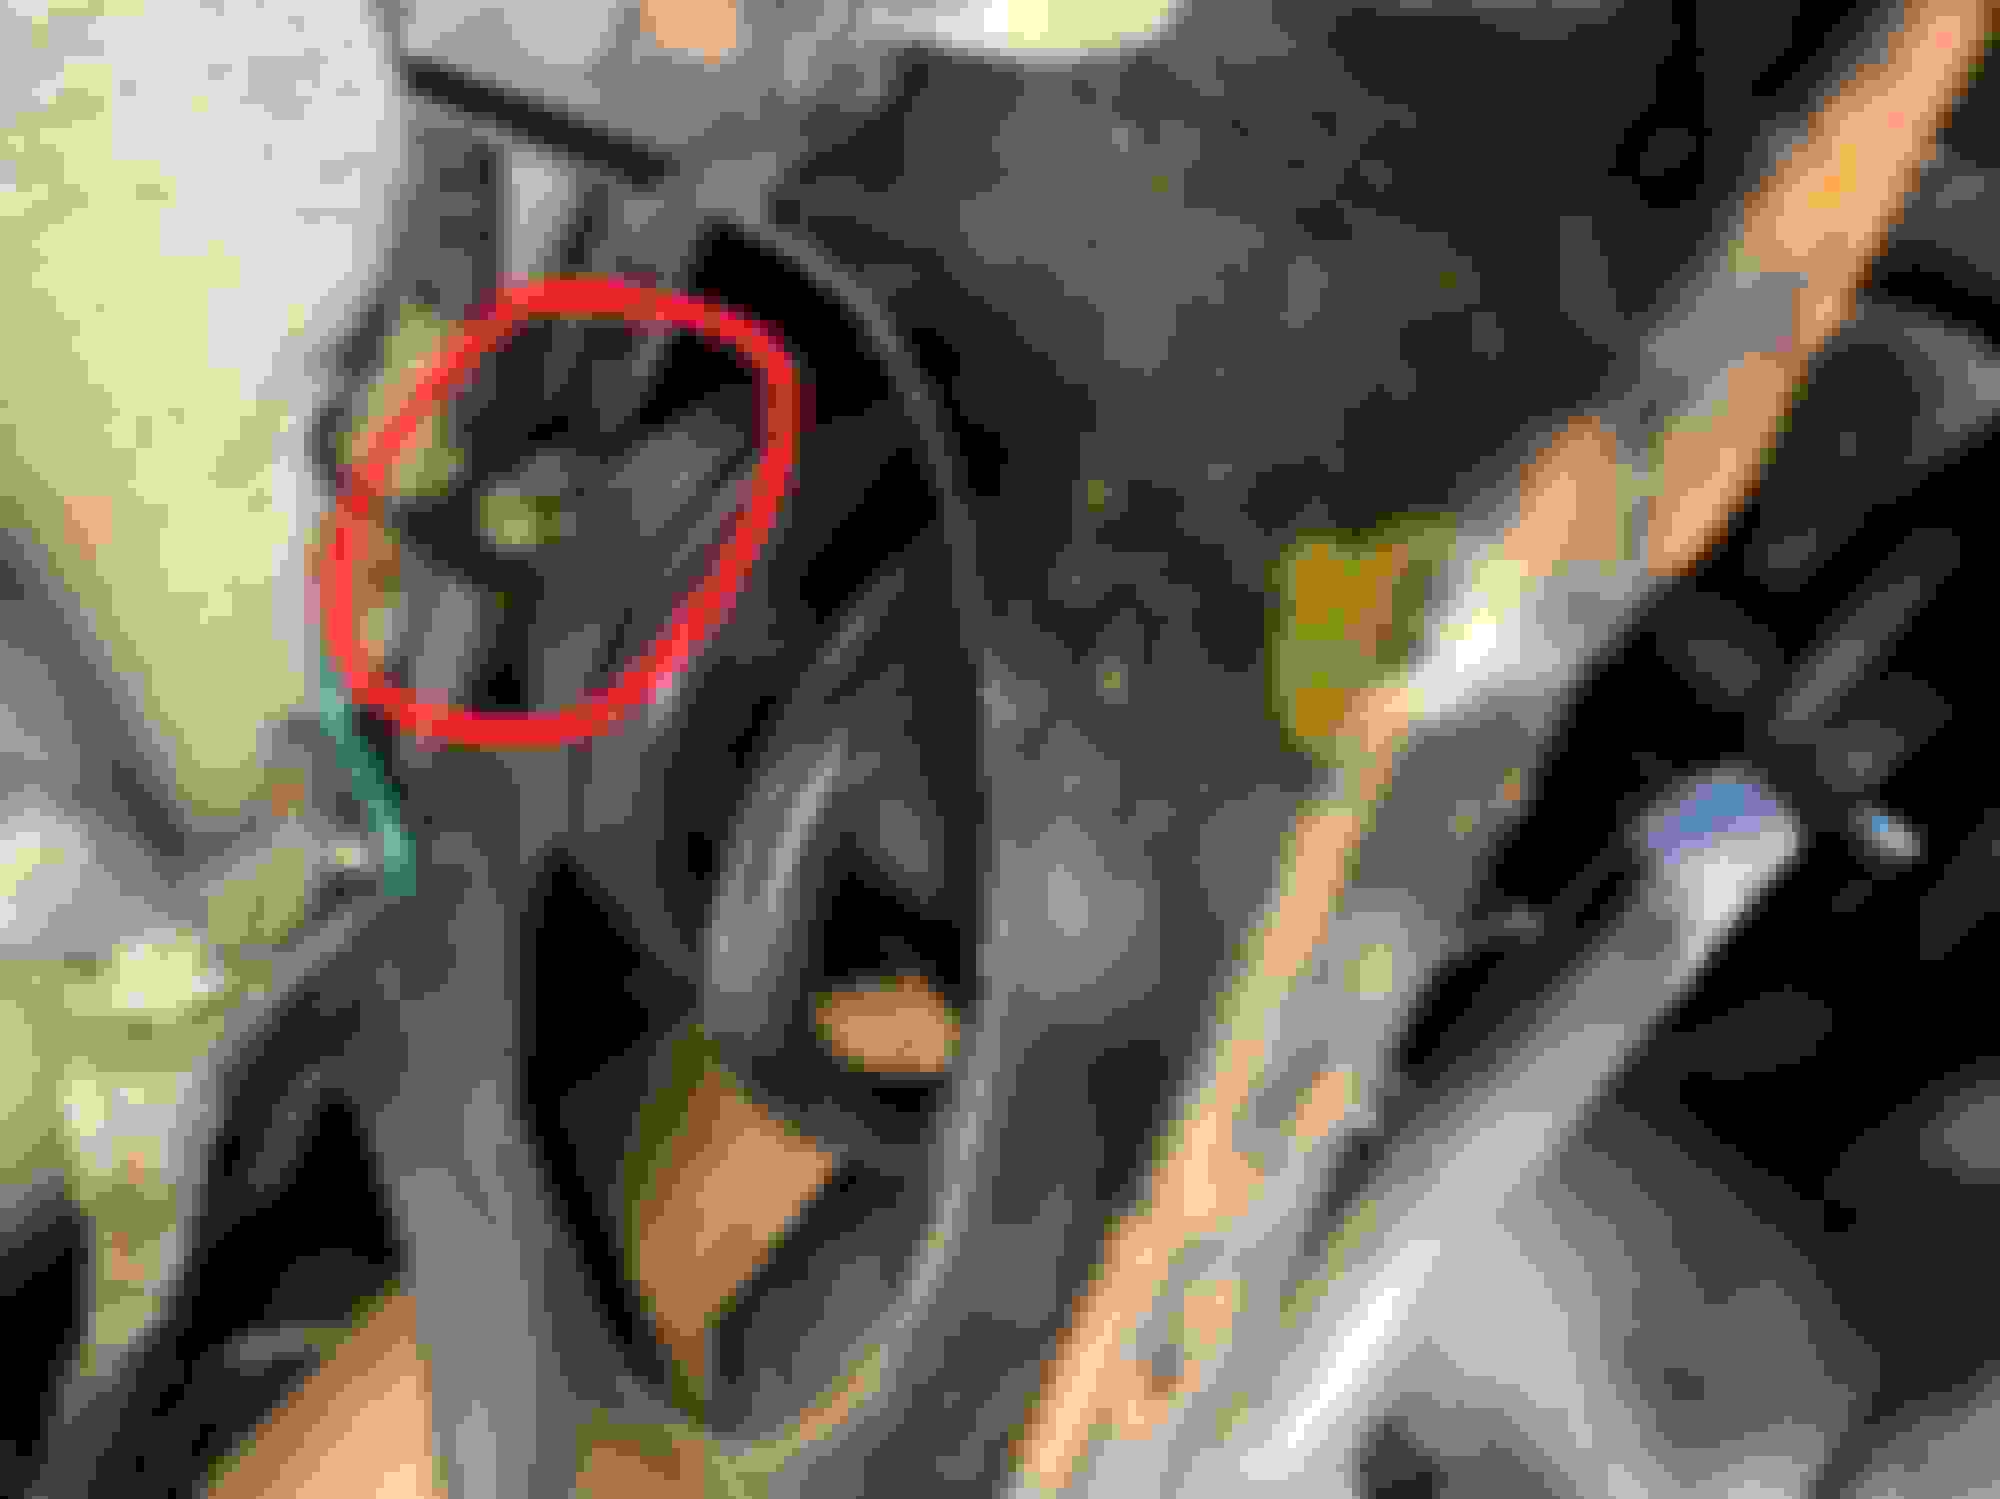
5. At the top there is a bolt holding each shocker, it goes through a bracket and through the cage. Undo the bolt with one spanner fixed on the nut outside the cage and one spanner fixed on the bolt end inside of the bracket. Note that the OEM nut is one size and the bolt is another � 5/8ths and 11/16ths if memory serves. Access is tricky but doable.
Nut outside the cage at front
Nut outside the cage at rear
Bolt ends inside the cage
�Access is tricky but doable.� It is at this point in the project that I realized that Greg is not only a master mechanic, but also a master of the understatement!
Access (at least for me) was quite tricky. My spanners are far too large to fit into the tiny space provided, so I had to use socket wrenches with a �wobbly� connector. But you need just the right amount of �wobbly� � not enough and you can�t get the socket over the head and have clearance to turn the handle; too much wobbly and the socket torques off the head too easily. It took quite a bit of trial and error to find a combination that would work. And even then progress came one click of the ratchet at a time. In the end, Greg was right: it is doable. Just be patient and persistent.
Mine were corroded in place and I almost stripped one of the nuts trying to get it off.
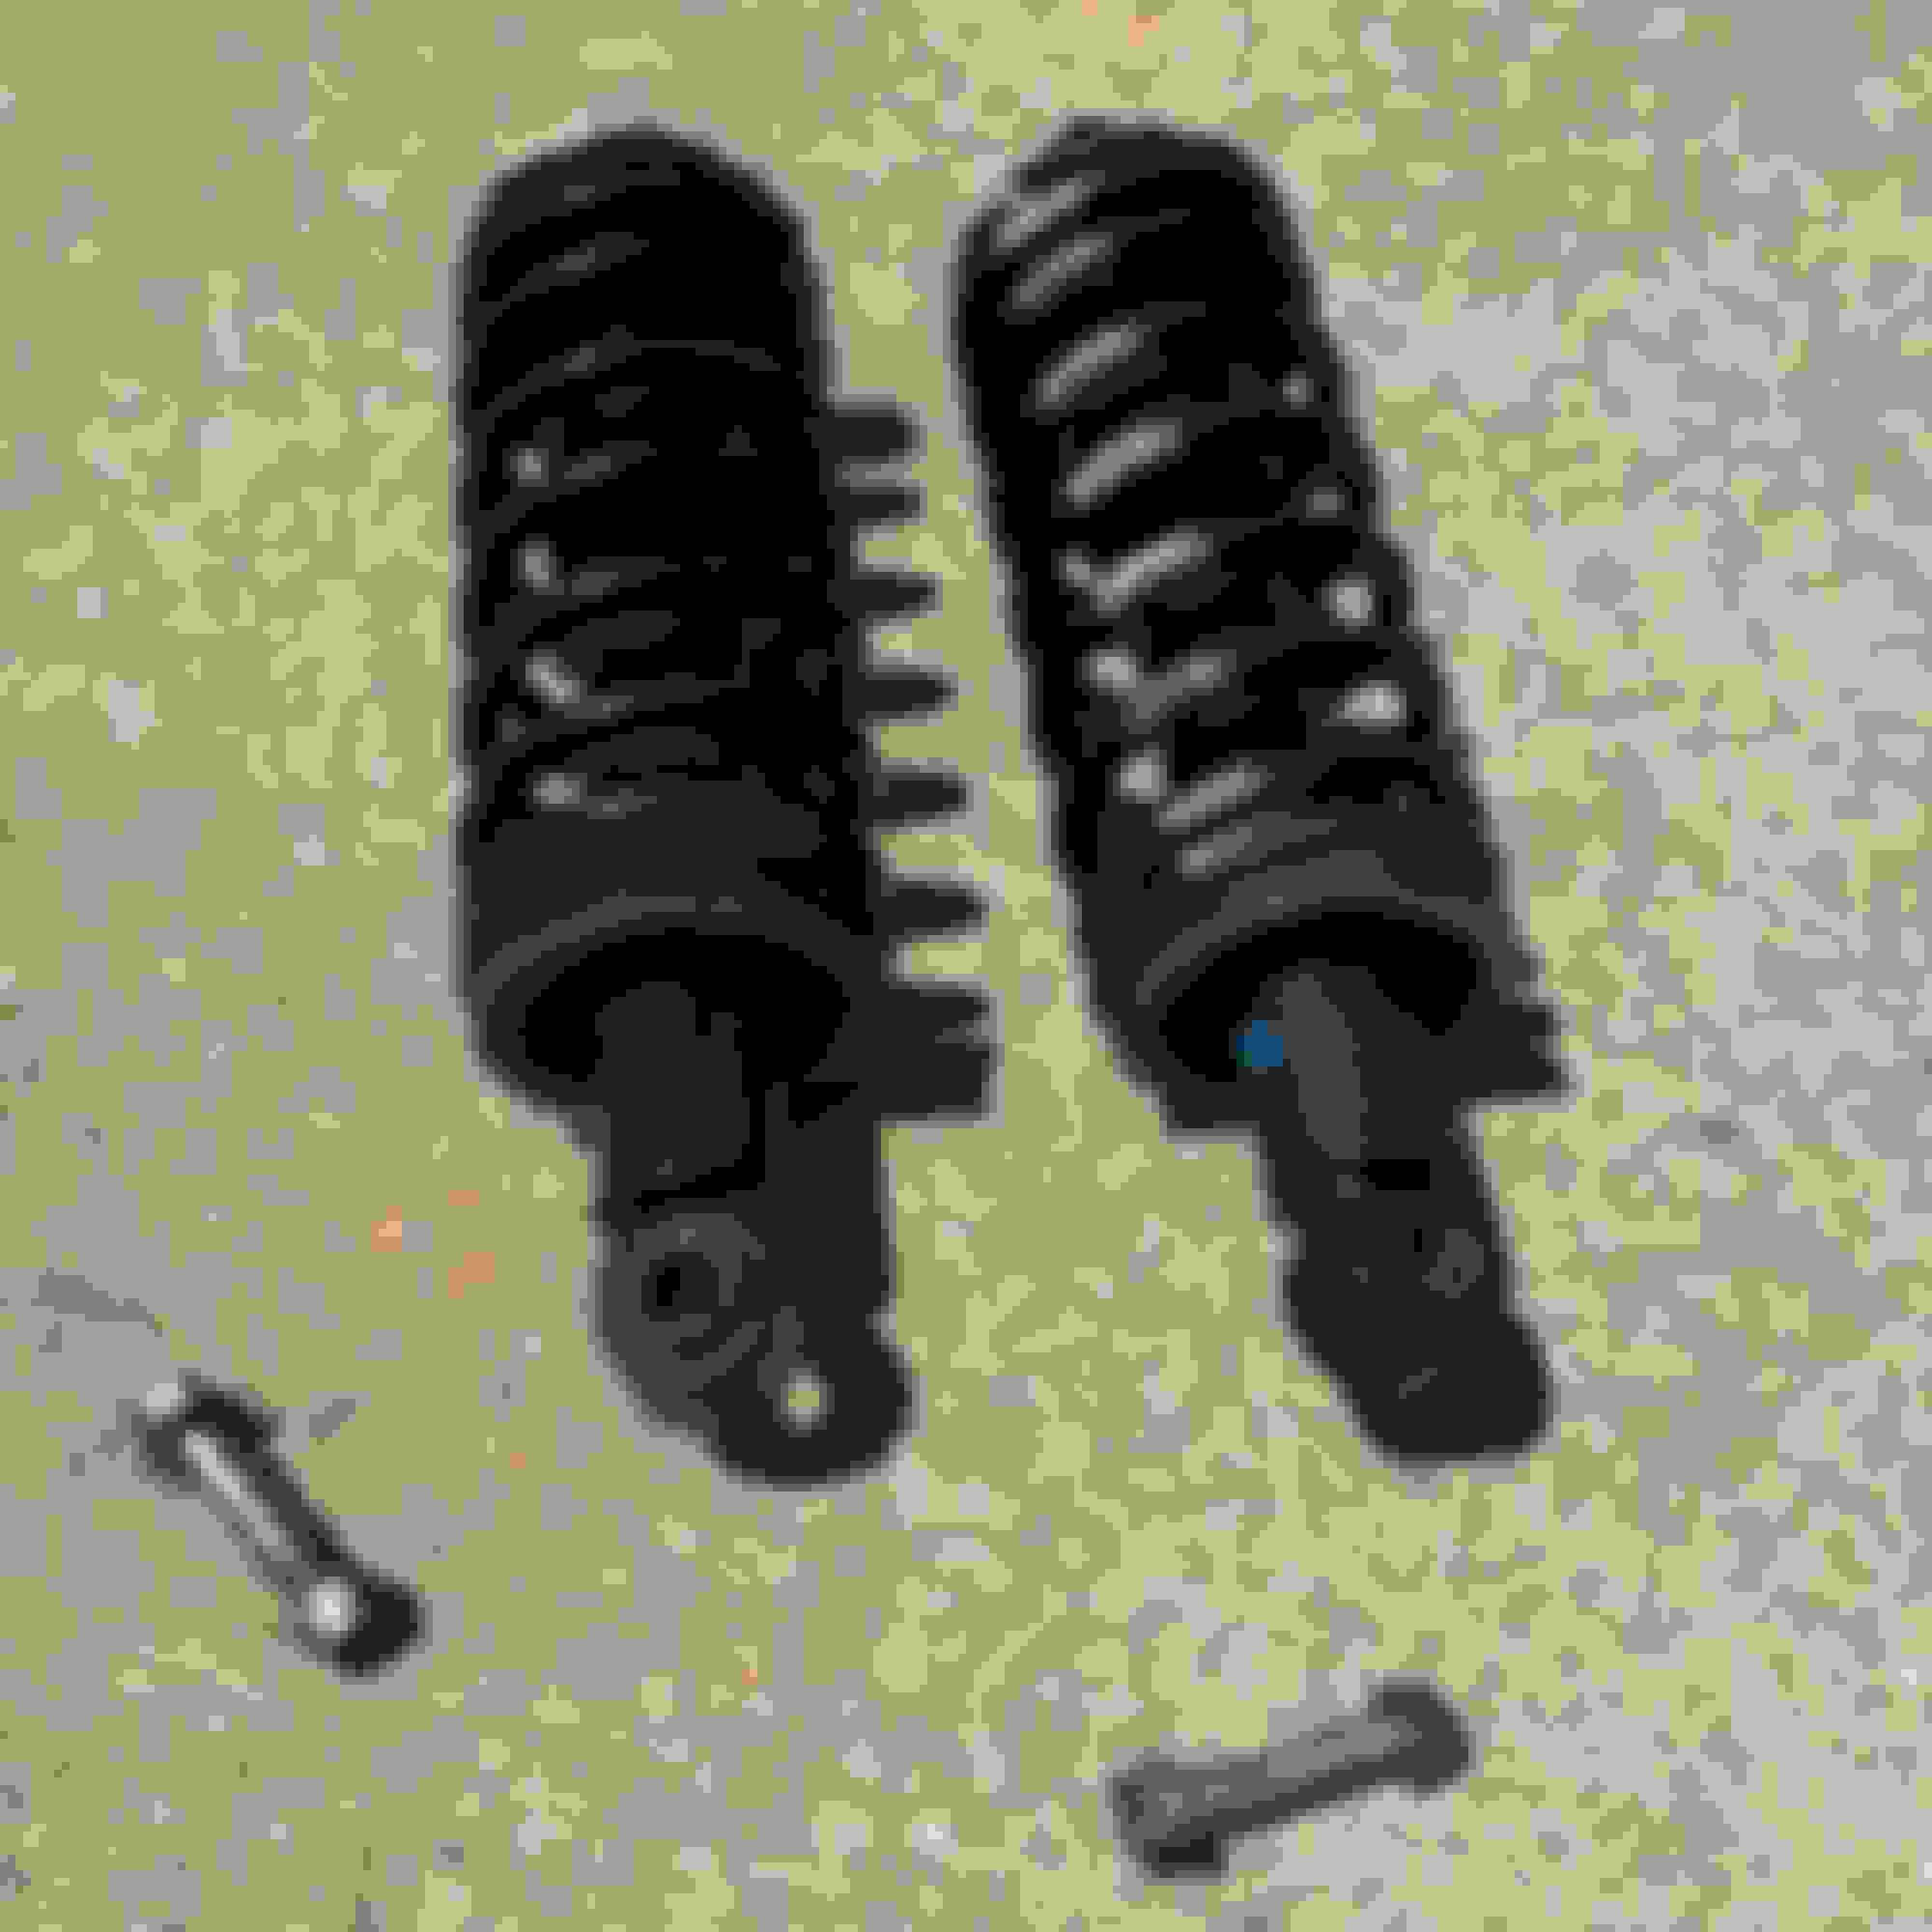
6. Remove the spring & shock as a unit.
The spring is captured by the shock, so no worries of a sudden release of energy when you pull the unit off of the car.
Installing the new ones is simply repeating the process in reverse. The upper bolts and nuts were much easier to install than they were to remove.
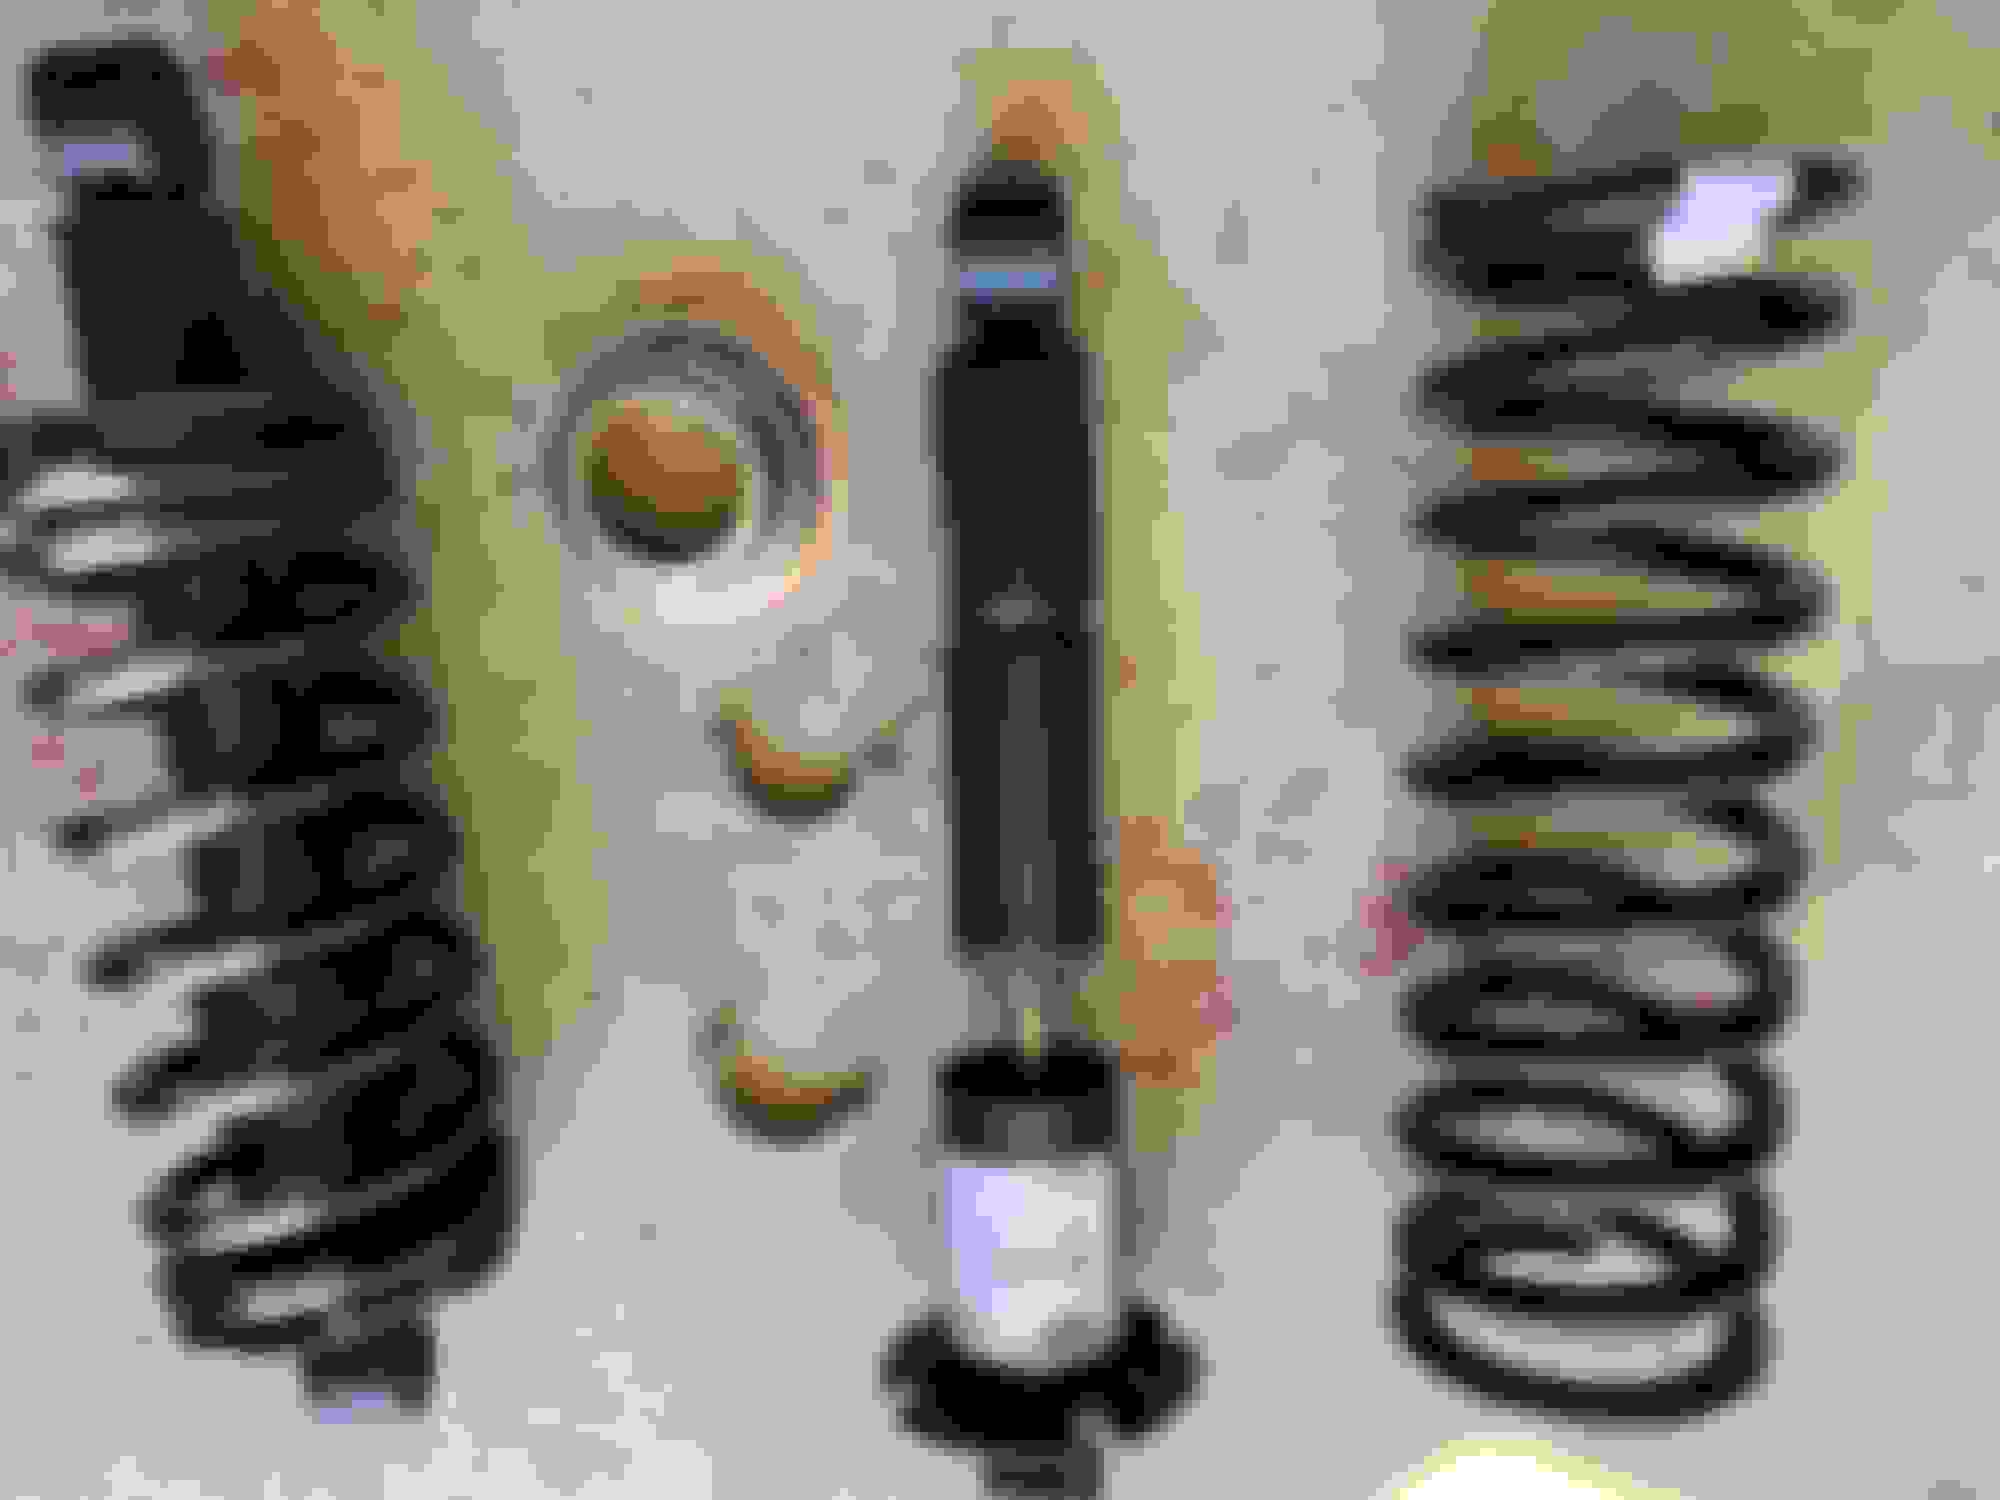
The only real real problem I had with this project was assembling the new spring and shock unit. I borrowed a strut compression tool from my local auto parts supplier, but could not get it to work. The clamps that attach to the spring were too thick. I could get them on when the spring was uncompressed, but once compressed the coils are closer together so it became impossible to remove them.
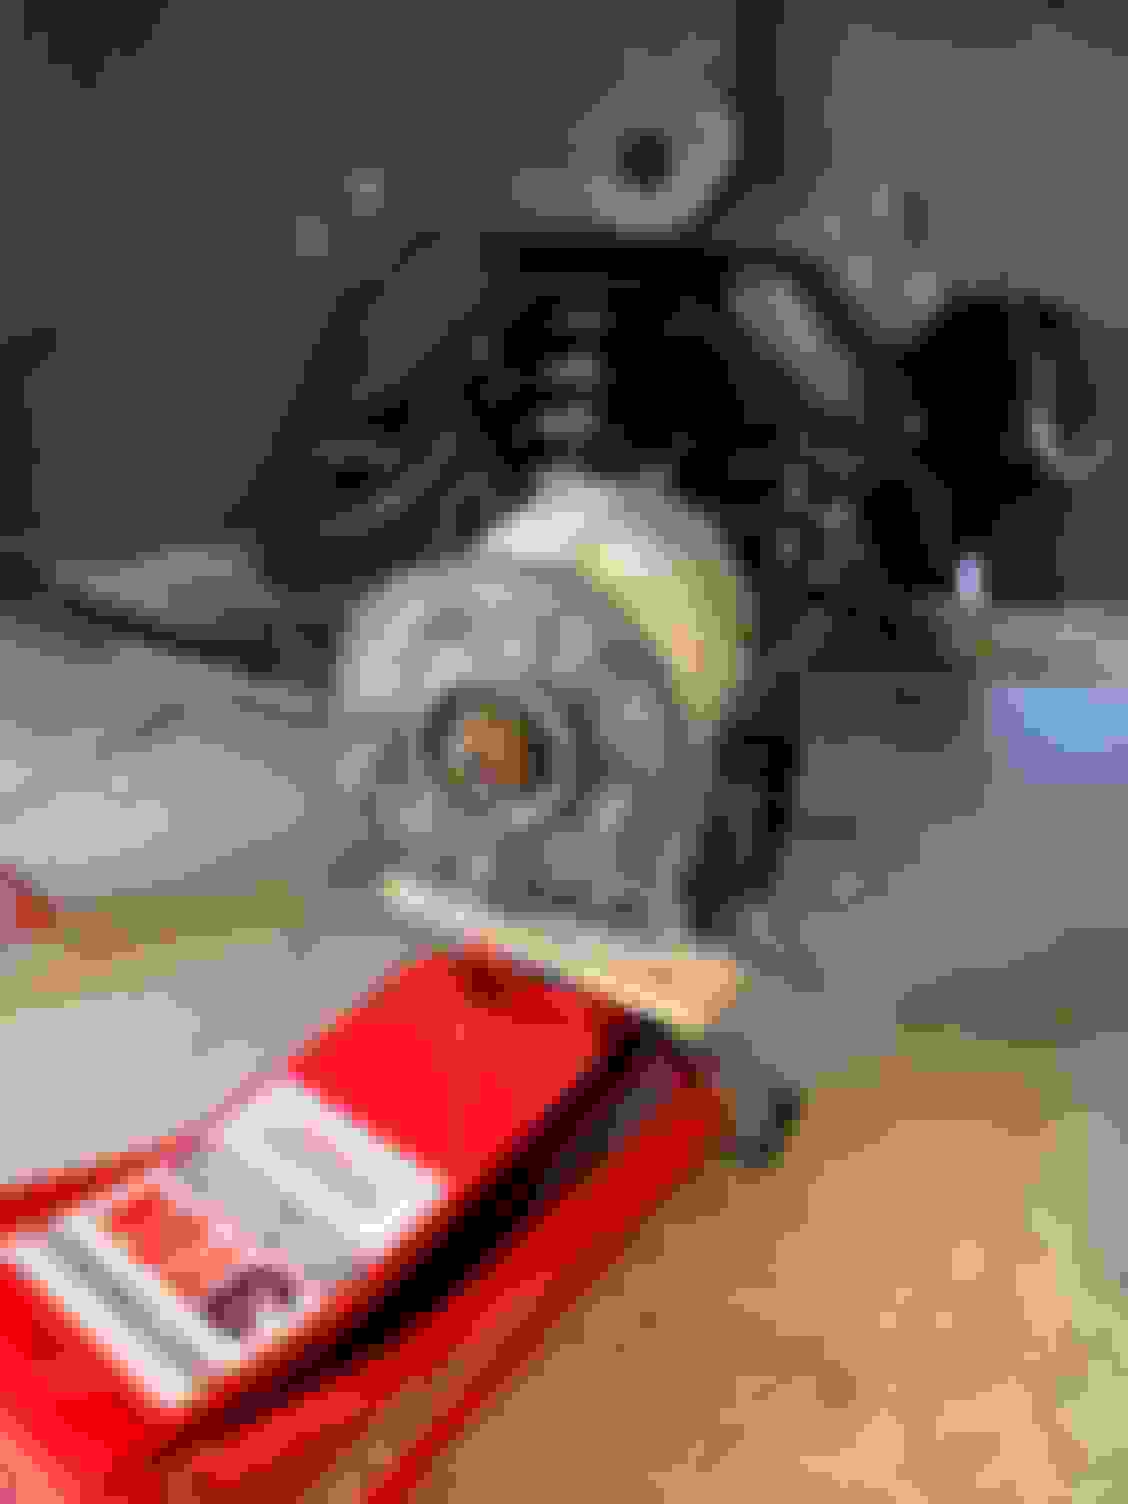
Old unit to the left and new shock and spring to the right. The strut compression tool I borrowed. Note the shock is not included so I could better show the large clamps
Spring is assembled on to the shock, but now it�s impossible to remove the clamps!
I struggled with this for a full day and in the process marred one of my brand new Boges shocks before finally giving up. I read comments in the forum about shaving off part of the clamp, but I didn�t do this as I didn�t want to buy the tool. Instead, I went to a local garage who was happy to assemble them for what I�m sure they thought was an outrageous price ($15 per shock) but which I gladly paid to get over this hurdle. As Clint Eastwood said, �A man�s got to know his limitations.�
New units installed!
A big tip of the cap to Greg for his advice and instructions.
Hedman
Congratulations, both on a superb illustrated post which many people will find useful, and on getting the job done. I am very envious of your lovely clean cage, too!
The old springs look pretty good to me, so I would keep them as spares.
In repeating this process on the other side of the car, I�ve found an easier way of removing the top mounting bolt.
Previously, I was trying to use extensions and �wobbly� connectors so I could maintain eyes on either the bolt head or the nut. This approach resulted in the socket head slipping off as I was torquing it, and rounding off the bolt head.
This time, I did it entirely by feel. I dispensed with extensions or wobbly connectors and used a short handled socket to turn the bolt head and the open end of a crescent wrench (spanner) to hold the nut in place. There is just enough room inside the cage to turn the socket handle 1 or 2 clicks. By sticking my head into the wheel well facing down (towards the hub), I was able to reach above me into the cage and get enough leverage to turn the socket handle while holding the spanner in place.
Admittedly, this is not a position that one can endure for very long, but it beats the risk of stripping the nut in place.
Great write up. Thanks for posting your pics. How did that cage get so clean?!?!? It must be a pleasure to not have rust crumbs falling in your eyes constantly.
I've dealt with many springs in the past. Use to use the cars weight and set the end of shock on club and smack it and watch the spring go flying. Among other not recommended ways.
As I got wiser i realized its not worth my time and effort to even rent the spring compressor tool, which 9 times out of 10 won't fit right anyways so I just take it to a local shop. Takes them no time and its 15 bucks a shock. Worth it to me.
And with the jag having 4 back there definitely worth the money.

 05-16-2020, 07:36 AM