When you click on links to various merchants on this site and make a purchase, this can result in this site earning a commission. Affiliate programs and affiliations include, but are not limited to, the eBay Partner Network.
1. Pulled Binnacle and lightly cleaned tangs per OrangeBlossum's procedure,
2. Installed new, OEM Speedo Transducer on differential,
3. Verified Trip Computer has reading information - it appears to work when the Speedo works intermittently,
4. Located the Speedo Interface in the trunk - have done Nothing with it thus far.
I am not an electrician and do not know how to use a multimeter.
I thought my engine was running hot and the shop said the engine temp is running normal, that my Engine Temperature Gauge was showing abnormally high. I had them replace the engine temp sensor anyway.
So I am out with my son on a drive and the Speedo is not working and the engine temp gauge is reading abnormally high....just under the "H"....and all of a sudden the engine temp gauge begins reading normal (in the "N" range) and the speedo begins working steadliy.
It appears my Speedo issue is connected to my Engine Temperature Gauge reading normal/abnormal....does this make any sense?
This is no more than 'A Short In The Dark' but it could have been a bad earth, that may have sorted itself out, just by some movement while driving around
Since everything seems to be working ok, then I would let well alone, though if you get any more problems, then to the Left and the Right of the Closing Panel that sits on Top of the Rad
You will see a bunch of wires on either side and all these wires have round Terminals on the ends and are bolted to the Closing Panel by a Single Bolt (on each side of the closing panel)
These wires are the earth wires and if you take a close look at the round terminals on the end of these bunches of wires, it is very possible that they may look and also be corroded
Which is obviously not good and so if you get any problems, undo those bolts take off those wires and then give those round Terminals a good clean
With Fine Sandpaper or a Soft Wire Brush, do the same with the Bolt or replace that bolt with a new one
And also make sure that everything is in good electrical (no paint underneath) contact with the Closing Panel and also Spray with Electrical Contact Cleaner
But if everything is working ok, then 'If it ain't broke don't fix it'
Thanks OB - not sure it has worked itself out quite yet.
What is the “closing panel” and what is “top of the rad”? Sorry...still learning nomenclature!
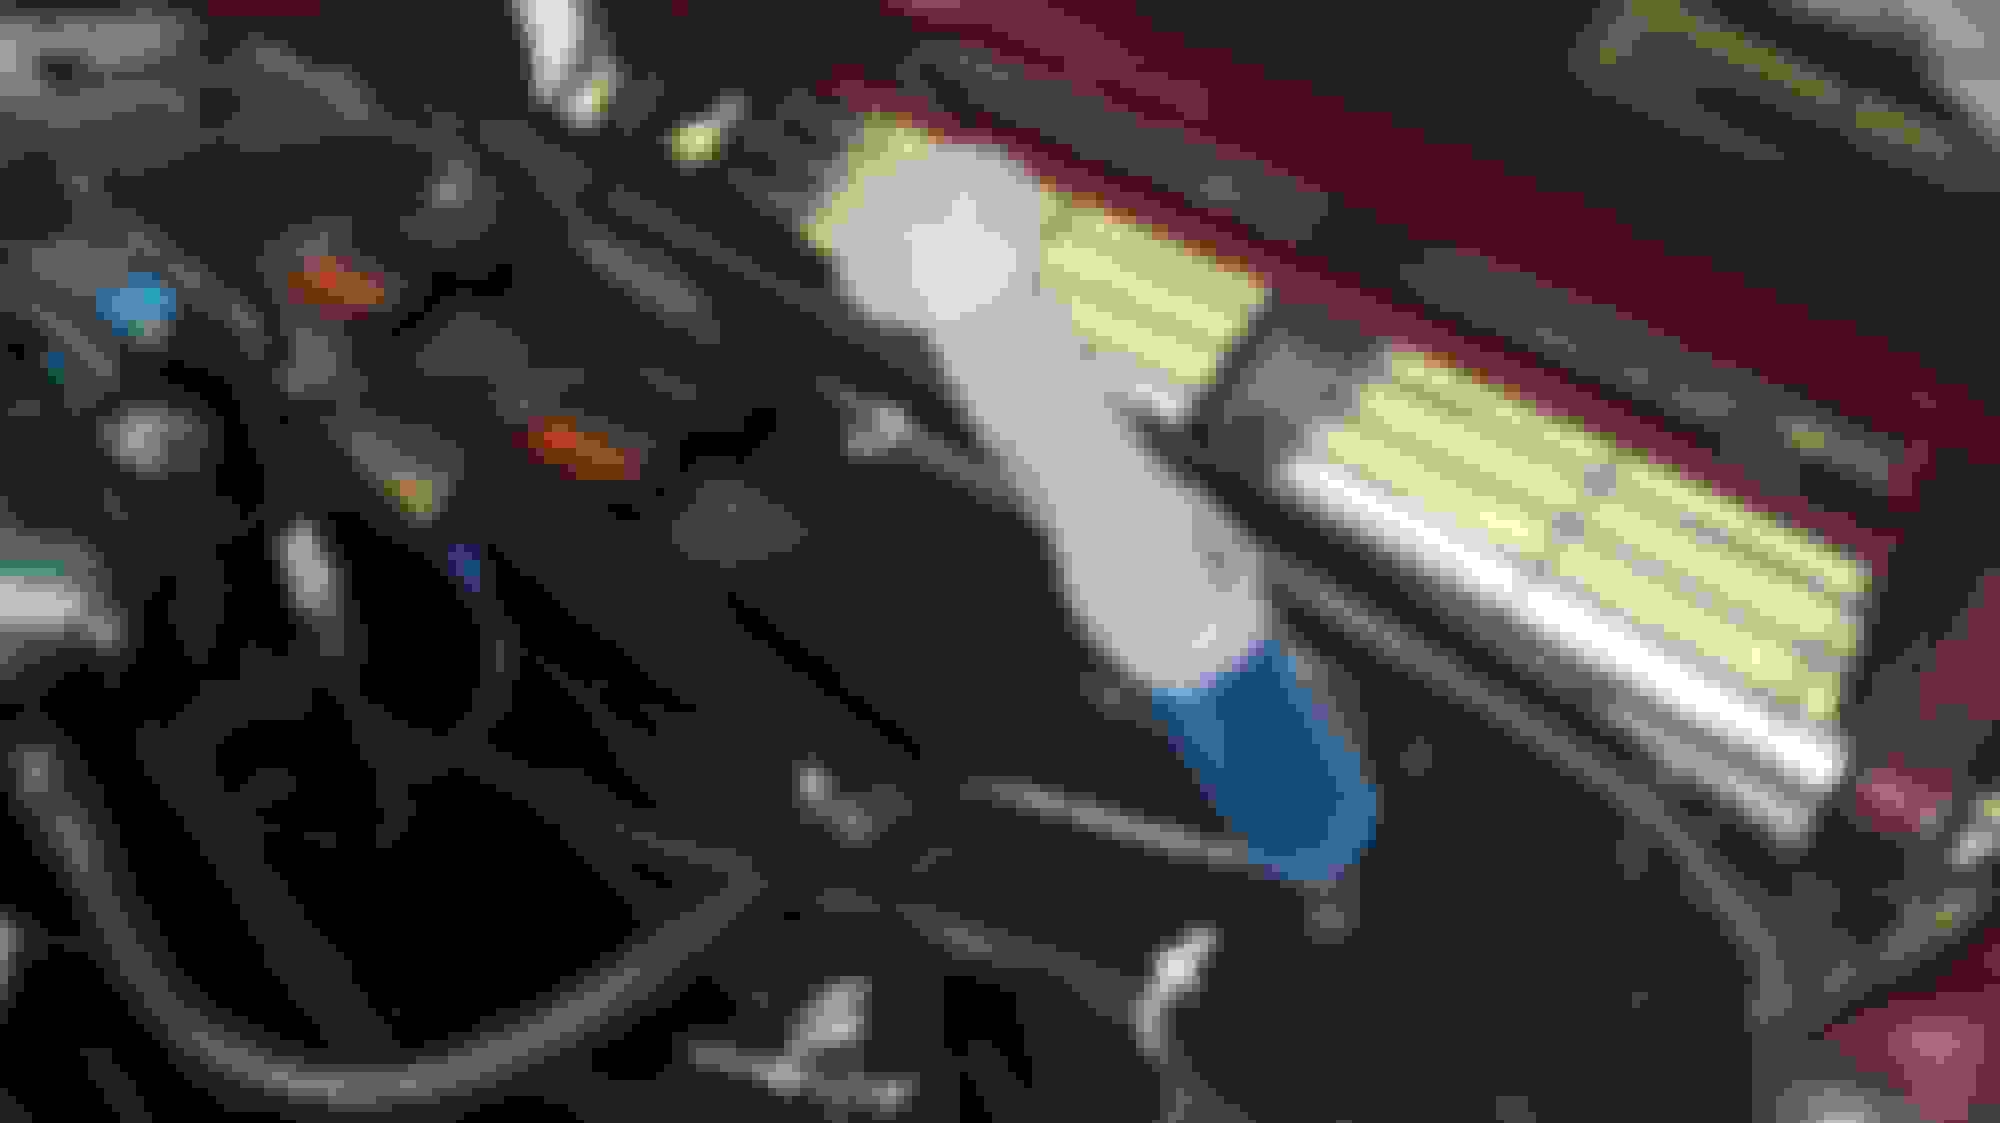
Here is a Pic of the Closing Panel, with that Plastic Syringe Stuck in it (which I used to Top Up the Antifreeze)
Just by the Gas Strut 'which is nearest to you in the Picture' you can see a Brand New Shiny Bolt, which I used to bolt the Earth Wires to the Closing Panel, which are also nice and Clean and Shiny
There is also the same on the other end of the Closing Panel, which you can't see but I'm sure that you get the idea
Consider adding a supplemental ground wire to the instrument cluster. I had similar problems and ran a wire from the instrument binnacle (look for the black lead) to a metal dash brace. I�ve had no problems since. While you have the binnacle out, you might also want to replace the dim factory bulbs with LEDs, if you�ve not done so already.
I believe that you also asked how you Test the Coolant Temperature Sensor?
Disconnect the Battery and Unbolt the Coolant Temperature Sensor, (Its a very easy one Spanner Job)
Then with the Coolant Temperature Sensor out of the Car and on the bench, get your digital Meter
Don't know how to read one?
Its dead easy, just set the Control to Ohms (which is the Omega horseshoe type symbol)
Then (you need two people to do this, unless your Meter has 'Crocodile Clips') Hold or Clip the Probes of the Meter onto the Two Pins sticking out of the Temperature Sensor (either way round it doesn't make any difference)
At 'around normal ambient Temperature' 70F (not critical for the Test) the Meter should read about 2K Ohms or thereabouts
If you don't get any reading, then you probably need a New Sensor (about 20 Bucks)
But assuming you do get a reading, get your assistant to get a Hair Dryer and Blow Hot Air onto the Business end of the Sensor
When Heat is applied to the Sensor the Reading on your Meter should go down
Then when you take the Heat from the Hair Dryer away, the Reading should go up and eventually go back to the reading that you started out with
If all of that happens, then your Coolant Temperature Sensor should be ok
This is no more than 'A Short In The Dark' but it could have been a bad earth, that may have sorted itself out, just by some movement while driving around
Since everything seems to be working ok, then I would let well alone, though if you get any more problems, then to the Left and the Right of the Closing Panel that sits on Top of the Rad
You will see a bunch of wires on either side and all these wires have round Terminals on the ends and are bolted to the Closing Panel by a Single Bolt (on each side of the closing panel)
These wires are the earth wires and if you take a close look at the round terminals on the end of these bunches of wires, it is very possible that they may look and also be corroded
Which is obviously not good and so if you get any problems, undo those bolts take off those wires and then give those round Terminals a good clean
With Fine Sandpaper or a Soft Wire Brush, do the same with the Bolt or replace that bolt with a new one
And also make sure that everything is in good electrical (no paint underneath) contact with the Closing Panel and also Spray with Electrical Contact Cleaner
But if everything is working ok, then 'If it ain't broke don't fix it'
It�s behaving badly again....cleaned up the areas you noted. Again, when the Engine Temp Gauge reads normally the Speedo will work...otherwise it bounces when the Engine Temp reads near High.
When I did my Speedo, I spent about 2 hours very carefully cleaning all of that Brown Coating off the Tangs of the 2 Multi Plugs but as has been already said you could try attaching an auxiliary earth wire, if you still get a problem
But if you get the Speedo working then it is best to let well alone, as they can get a bit twitchy, if you keep disturbing them
OK...just curious - does one of the multi-plugs just connect the engine temp and speedo gauges and the other multi-plug effect the Tach/Oil Pressure/Battery gauges? Still trying to understand the symptoms of the eng. temp gauge and speedo.
It�s behaving badly again....cleaned up the areas you noted. Again, when the Engine Temp Gauge reads normally the Speedo will work...otherwise it bounces when the Engine Temp reads near High.
Wonder if its the binnacle connections in back?
This is a classic sign of bad grounding. Pull the cluster and clean all the terminals on the rear including where the 2 large connectors go.
I just thoroughly cleaned the Tangs on those 2 Multi Plugs as well as their Sockets on the Printed Circuit but do be Very Careful as if you damage the Printed Circuit, you can't buy another one
Last edited by orangeblossom; 07-31-2018 at 05:15 PM.
OK...so I went out and bought some QD Contact Cleaner and a small, flat "hobby file".
I will put my "Watchmaker" hat on...can I use the small file on both the in-dash connectors AND the ribbon cable contacts? Can I spray the Contact cleaner on both as well? Do I need to remove the positive terminal battery connection before I begin the entire process?
Do I need to clean any other points on the back of the binnacle/gauge cluster other than the contact point where it connects to the 2 connectors?
OB - just looking for some finer detail techniques/hints so I am effective this time and don't do any damage?
One of the things that I used was the rubber on the end of a pencil and I didn't clean the Printed Circuit either as mine not only looked ok but I didn't want to run the risk of doing any damage to a very delicate item that cannot be replaced
All I did was clean the Tangs on the Multiplugs which took a long time to do and I always disconnect the battery
Then I put it back together and it worked
I thought I read where you used the flat head portion of a screwdriver to clean the tangs in your precious description??? ...."After 2 hours of careful cleaning with the blade of a small screwdriver and electric contact cleaner they came up nice and bright
After 2 hours of careful cleaning with the blade of a small screwdriver and electric contact cleaner they came up nice and bright
The one thing that I didn't do was clean the Multi Plug Sockets of the Printed Circuit
Except for a dab of Contact Cleaner on a lint free rag
Because I've read the 'Horror Stories' of those who have done that
And then found that their Speedo doesn't work at all
On my Car the Printed Circuit looked clean so I really didn't see any need to touch it
The printed circuit traces can be repaired by soldering a new trace to the missing trace on the circuit board. A 25 watt soldering iron is appropriate. I found that on the facelift models and I suspect coupe to convertible and visa versa that there are different lights placed at different locations on different models. This makes the circuit board not interchangeable. This problem can be overcome by rerouting the traces and soldering the connections. I found trace material on eBay.(Search: Printed circuit repair tape) I do not recommended traces that conduct on both sides. In my case they did not conduct on the back side and had to be soldered. This procedure is very easy and does not melt the circuit board. As soon as the solder melts pull the iron away from the work.
Hints: traces can be glued with super glue. Contact points can be cleaned with an eraser on the end of a pencil. You can solder a ground wire to a ground trace and lead the wire to a good ground on the car. Tape wire so it doesn't pull loose from the board. Buy wide printed circuit tape and trim to size with scissor..
.
Last edited by afterburner1; 08-06-2018 at 12:29 AM.

 07-29-2018, 10:30 AM