When you click on links to various merchants on this site and make a purchase, this can result in this site earning a commission. Affiliate programs and affiliations include, but are not limited to, the eBay Partner Network.
Hi,
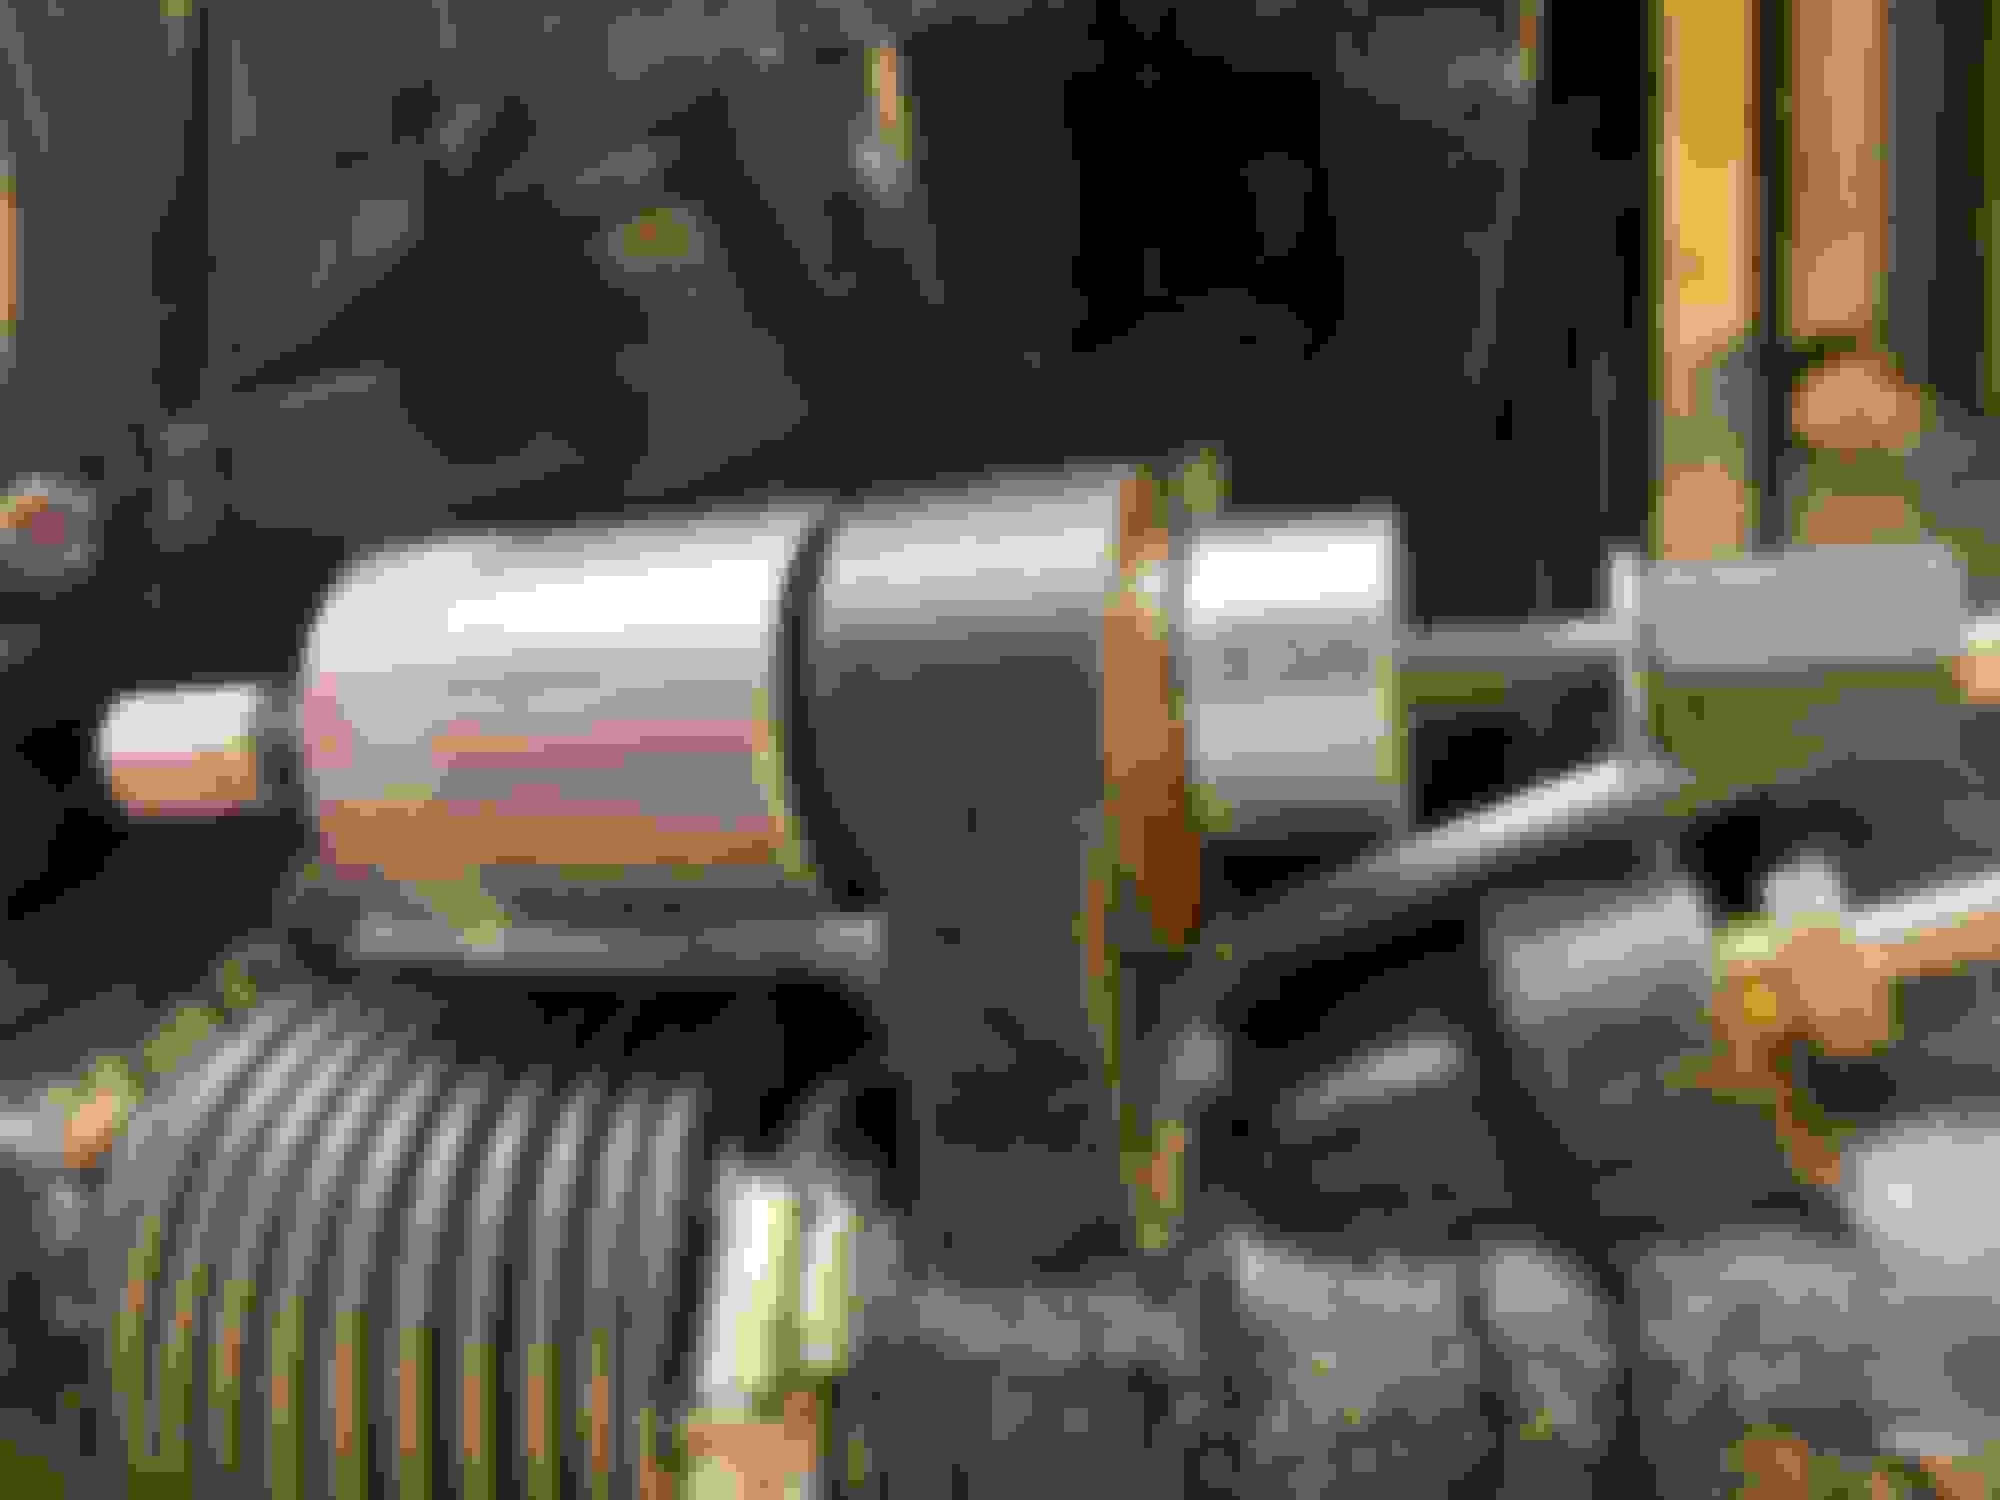
Fitting a replacement rack into the XJS and I am struggling to load the rack back into location for the 3 main location bolts. Can anyone tell me which way around this “welded stiffener” goes?
It has one corner that has a washer welded to it, and I can’t figure out which corner of the drivers side 2 bush mountings the welded washer should be located at?
Also, should these 3 loose washers go on the other 3 corners of the stiffener, or the passenger side single rack bushing..?
Should have taken more photos when I took the old rack out!
Check living with a classic on youtube. He did a video of uninstalling one to replace the seal. Might see it there.
Thanks, Rescue. I did see that nice video, but no joy. FWIW, I am jumping back under the car now and am going for upper outboard (LHD) placement of the welded washer
Interesting - I removed mine for the same reason as living with a classic and I do not remember seeing any bracket like that.
I will have another look as it was some time ago.. and many beers!
Just replaced the steering rack bushings and converter from OEM to JaguarSport per Greg’s recommendation.
I could not for the life of me figure out how to get the rack back in with the welded stiffener in place!!! There wasn’t enough clearance with the new bushings. so every time I tried to push the rack up into place, it pushed the stiffener up further into the recess where it would jam. Eventually I gave up and pulled the stiffener out entirely.
I am sure this is not ideal, but it was all I could do. I will need to take the rack out again this winter as it has a small leak. So the question is how much risk am I running by continuing to drive it without this stiffener?
Also, is there some secret to aligning the rack so the upper bolt can be installed? Access to this particular bolt is very challenging and it is virtually impossible to align the holes and push the bolt through. I struggled with this for hours before I got lucky and the stars (and holes) finally aligned.
Removing the old bushings and installing the new ones was actually quite easy using the tool that XKs Unlimited sells for this purpose. If I hadn’t run in to the issues with the stiffener and aligning the top bolt holes, the whole job would have takes less than 20 minutes to do with this tool.
For me, it proved easiest to leave attached or to reattach the steering rod arms completely to the RACK all the way out to the upright and knuckle (not sure of the exact right phrase) and then using 3 smaller thinner bolts, got things started in the general correct position - letting the steering rod arms hold the weight of the wrack for me as I moved things around. Worked great. Then, removing the thinner/smaller bolts one by one, replacing them with right ones as I went... Almost tight.
I like the looks of that tool! Tooooo bad ya don't live next door or I'd be knocking, lol... I deleted the stiffener... I heard others have as well....? Could be my bad (selective) memory 🤣
I like the looks of that tool! Tooooo bad ya don't live next door or I'd be knocking, lol... I deleted the stiffener... I heard others have as well....? Could be my bad (selective) memory 🤣
After I get the steering rack leak sorted I’d be happy to lend the tool out via mail!
For me, it proved easiest to leave attached or to reattach the steering rod arms completely to the RACK all the way out to the upright and knuckle (not sure of the exact right phrase) and then using 3 smaller thinner bolts, got things started in the general correct position - letting the steering rod arms hold the weight of the wrack for me as I moved things around. Worked great. Then, removing the thinner/smaller bolts one by one, replacing them with right ones as I went... Almost tight.
I like the looks of that tool! Tooooo bad ya don't live next door or I'd be knocking, lol... I deleted the stiffener... I heard others have as well....? Could be my bad (selective) memory 🤣
“the thinner, smaller “ bolt idea is brilliant. Can’t tell how hard I fought to get those bolts in and the nuts on!
one was such a small space that I glued it to end of a chopstick and held it in place while I threaded the bolt.....
Looks like I am going to need to try to reinstall the steering rack with the welded stiffener that I couldn’t get back in previously. There is a rattle/clank when going over bumps and pavement imperfections that I attribute to there being too much slack in the rack mounting.
Any advice on how to get this back in?
Not looking forward to messing around with those bolts again!
First check that the rack/lower column splined joint is correctly fitted. It is all too easy to get the clamp bolt above, rather than through, the indented notch in the rack spline. under these circumstances the lower column joint bottoms out and clonks - particularly true if you feel the clonk in the column and steering wheel.
If that is OK, loosen off all three fixing nuts and see if the rack can be moved in its brackets. If it can, you could just get three wide washers of the correct thickness to take out the play, then without removing the bolts completely, tap the bolts far enough into the bushes to get the washers into the gap. Then tap the bolts back through and tighten.
If you do have to remove the rack, it is well worth buying flanged bolts and nuts, so the bother of washers is done away with. I used 13mm headed flange bolts and nuts, in stainless, and they made the job miles easier.
 06-13-2020, 08:52 PM