When you click on links to various merchants on this site and make a purchase, this can result in this site earning a commission. Affiliate programs and affiliations include, but are not limited to, the eBay Partner Network.
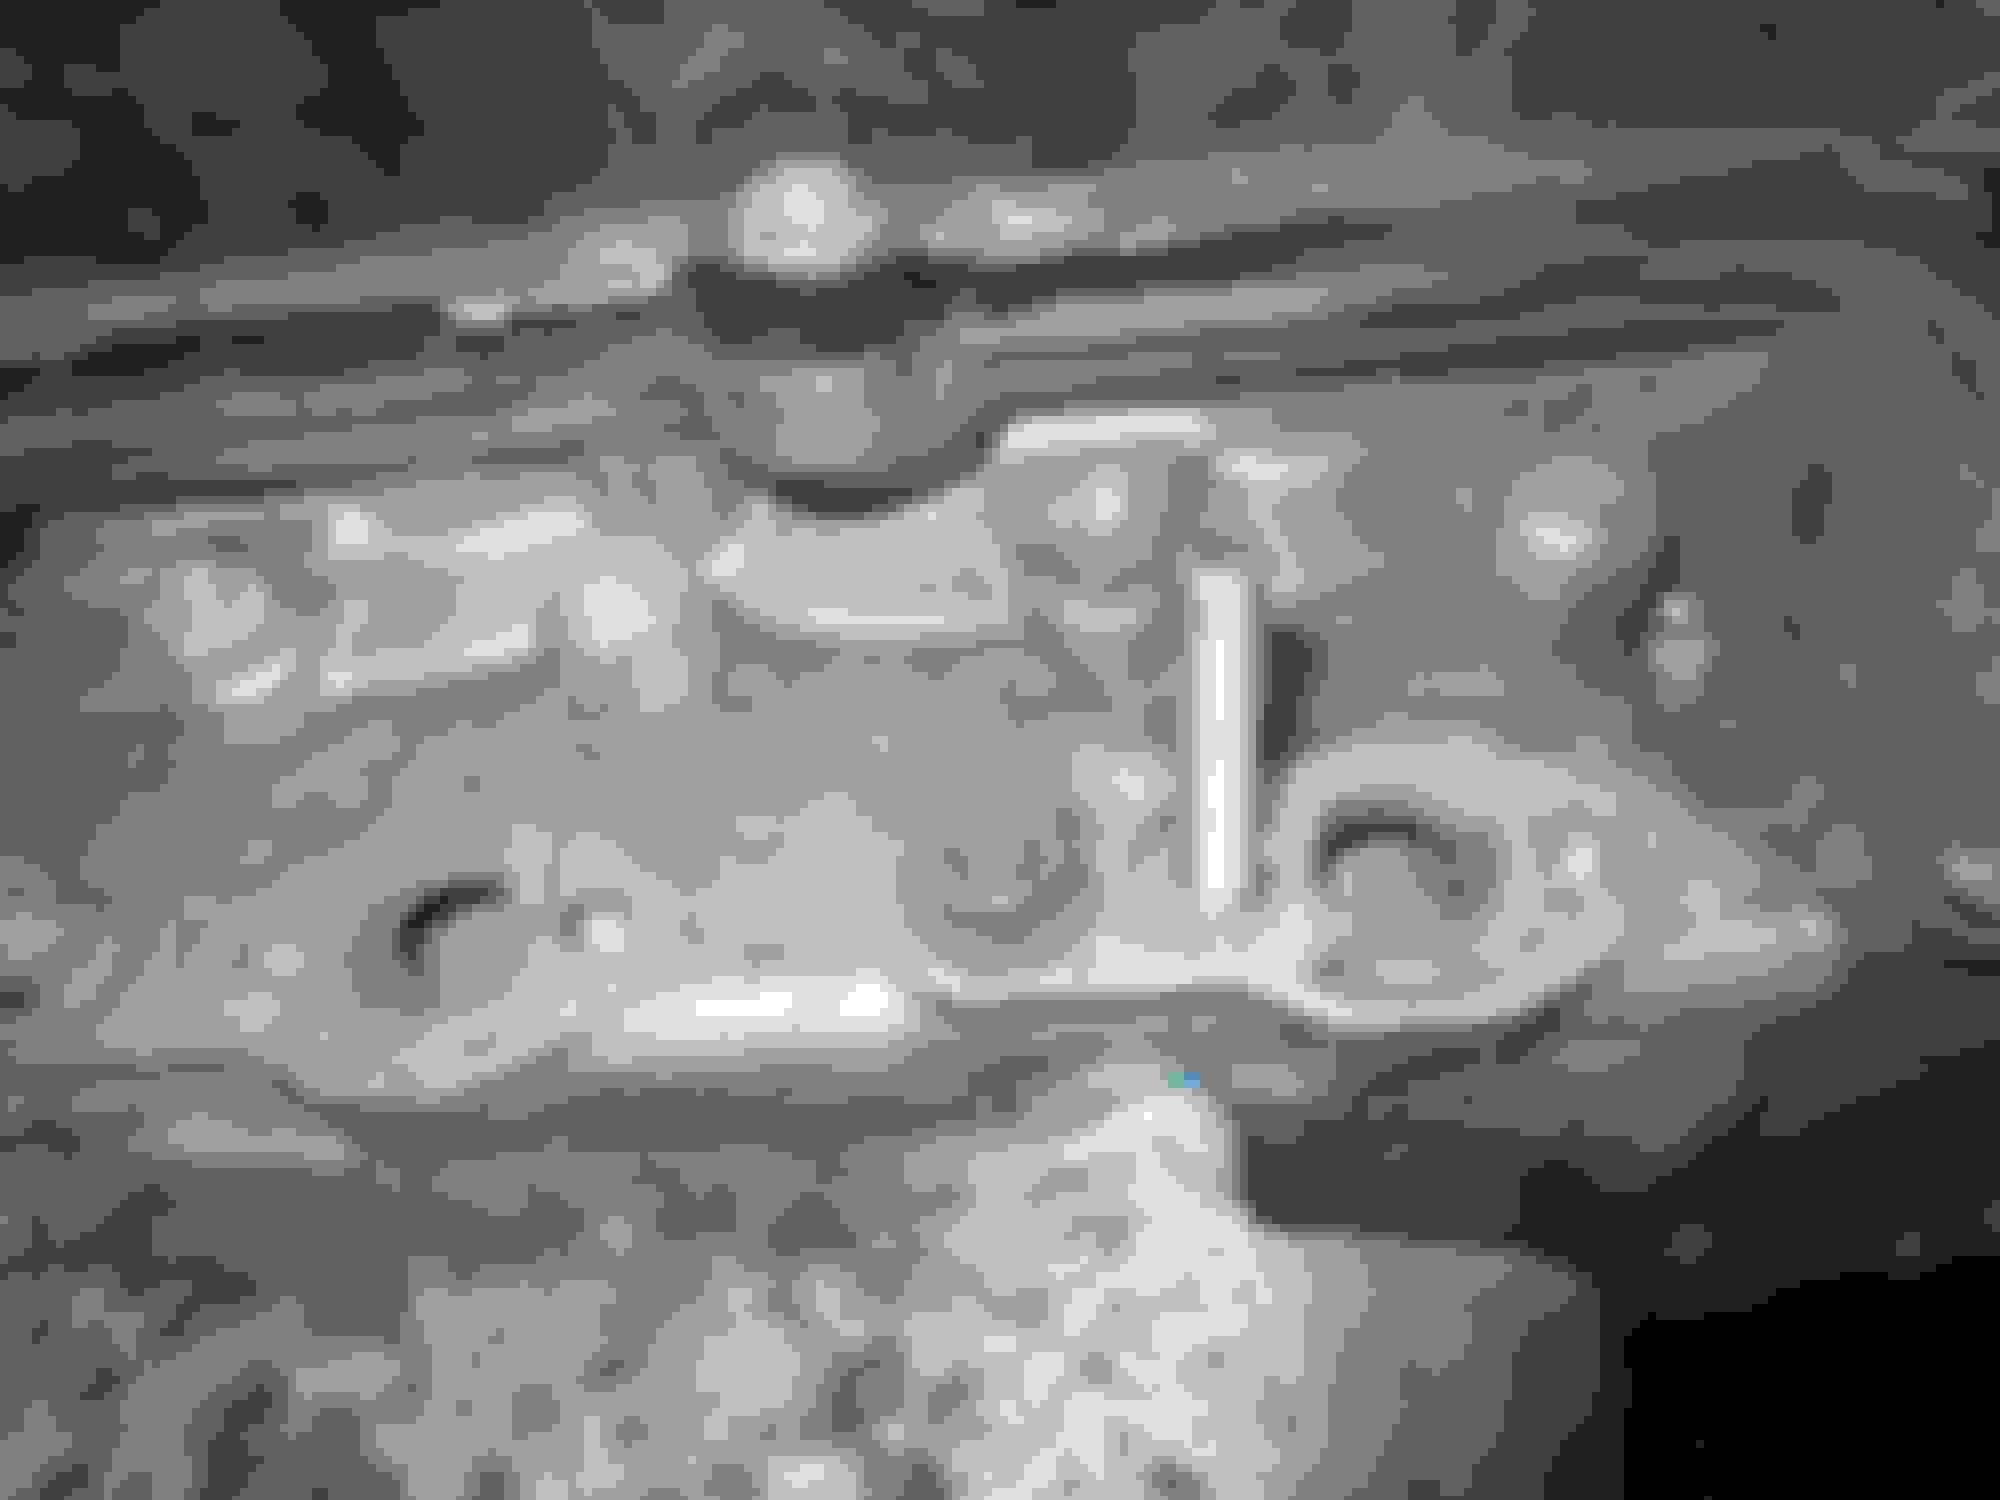
I finished the flitch / inner arch repair so set to work cleaning up under the hood and preparing to get the manifolds etc replaced. I think I have an issue with the coolant rails / thermostat housings on the heads of the V12. I have been systematically replacing all hoses and O rings etc etc, the rubber seals on the thermostat housing pipes were rock hard - more like plastic so decided to replace those too, a royally bad idea but a necessity unfortunately since they just weren't rubber any more.
Why a bad idea - because one bolt on each side is clearly galling - stupid piddly 10mm AF set screws !! - I've not pushed the issue as I'm pretty familiar with galling and cold welding with aluminium - if I get too carried away at least one of these bolts is going to break so I'm trying to avoid this but I'm pretty sure the threads in the head will be toast if I do get them out. Has anyone successfully repaired these things in situ?
I really don't want the hassle of pulling the engine and the heads unless I have absolutely no choice, especially messing with the unobtanium tensioner - I suppose I want the reasurance that I have a choice - but at this stage I don't think I do .... I can't see any other way to drill / helicoil in situ there just isn't the space available to do so accurately.
To those that have theirs out - make sure you antisieze them and also put some silicon around the head to keep moisture out - at least three of the bolts I removed were rusty !!
but I'm pretty sure the threads in the head will be toast if I do get them out. Has anyone successfully repaired these things in situ?
I lost the threads on a couple of those bolt holes a few years ago. I re-taped them to a slightly larger size. I can't remember the details but it was almost certainly an Imperial/SAE size.
It must not have been very problematic or I would remember more
Ben
I am afraid you must be prepared for one of them, at least, to break. I had this happen on a friend's car we were working on together. We managed to drill out the broken part from the head, not awfully prettily. Then retapped the hole and put in a stainless stud with loads of high strength loctite, securing the water manifold casting with a nut, to obviate the problem in the future. Watch out for removal clearance if you use studs though. However, as long as you can get one of the two water manifolds off, you do not need to remove the other. You grease up the pipe and slide it further into one of the manifolds, fit the fee one, then pull it out a bit so it is in correctly in both top hat seals.
It is best to buy a stainless replacement pipe, too.
Those horrible sharp-edged-threaded bolts are rubbish. Replace them all with stainless, too. The inner end is actually in the coolant quite q long way on all of them, hence if a PO has let the coolant deteriorate (inevitably) they deteriorate and stick.
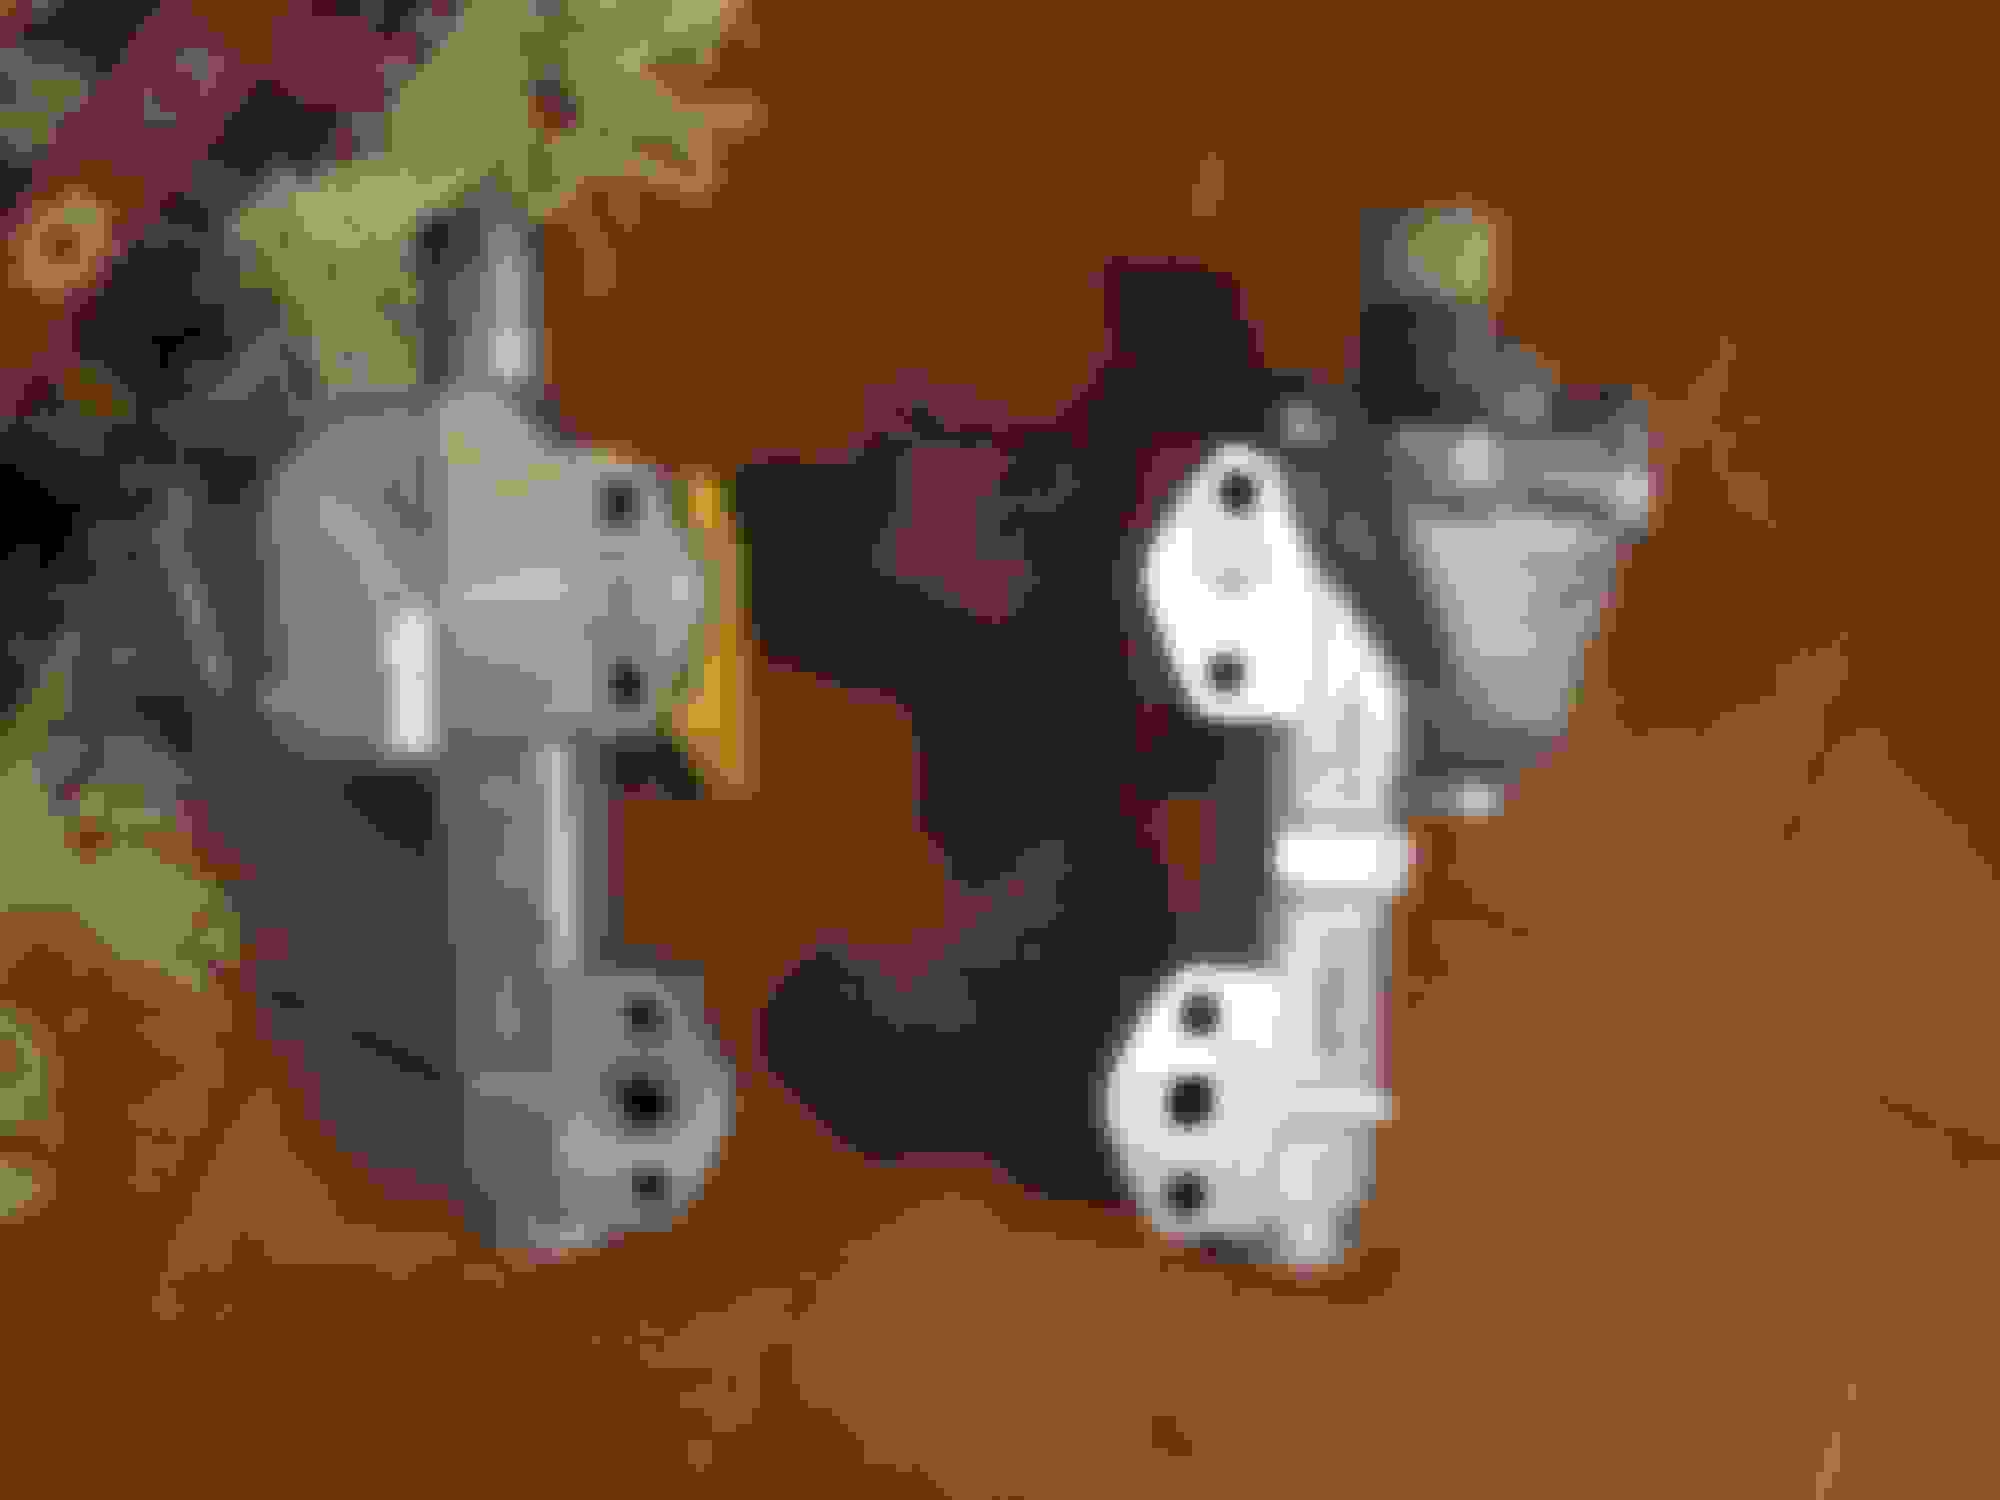
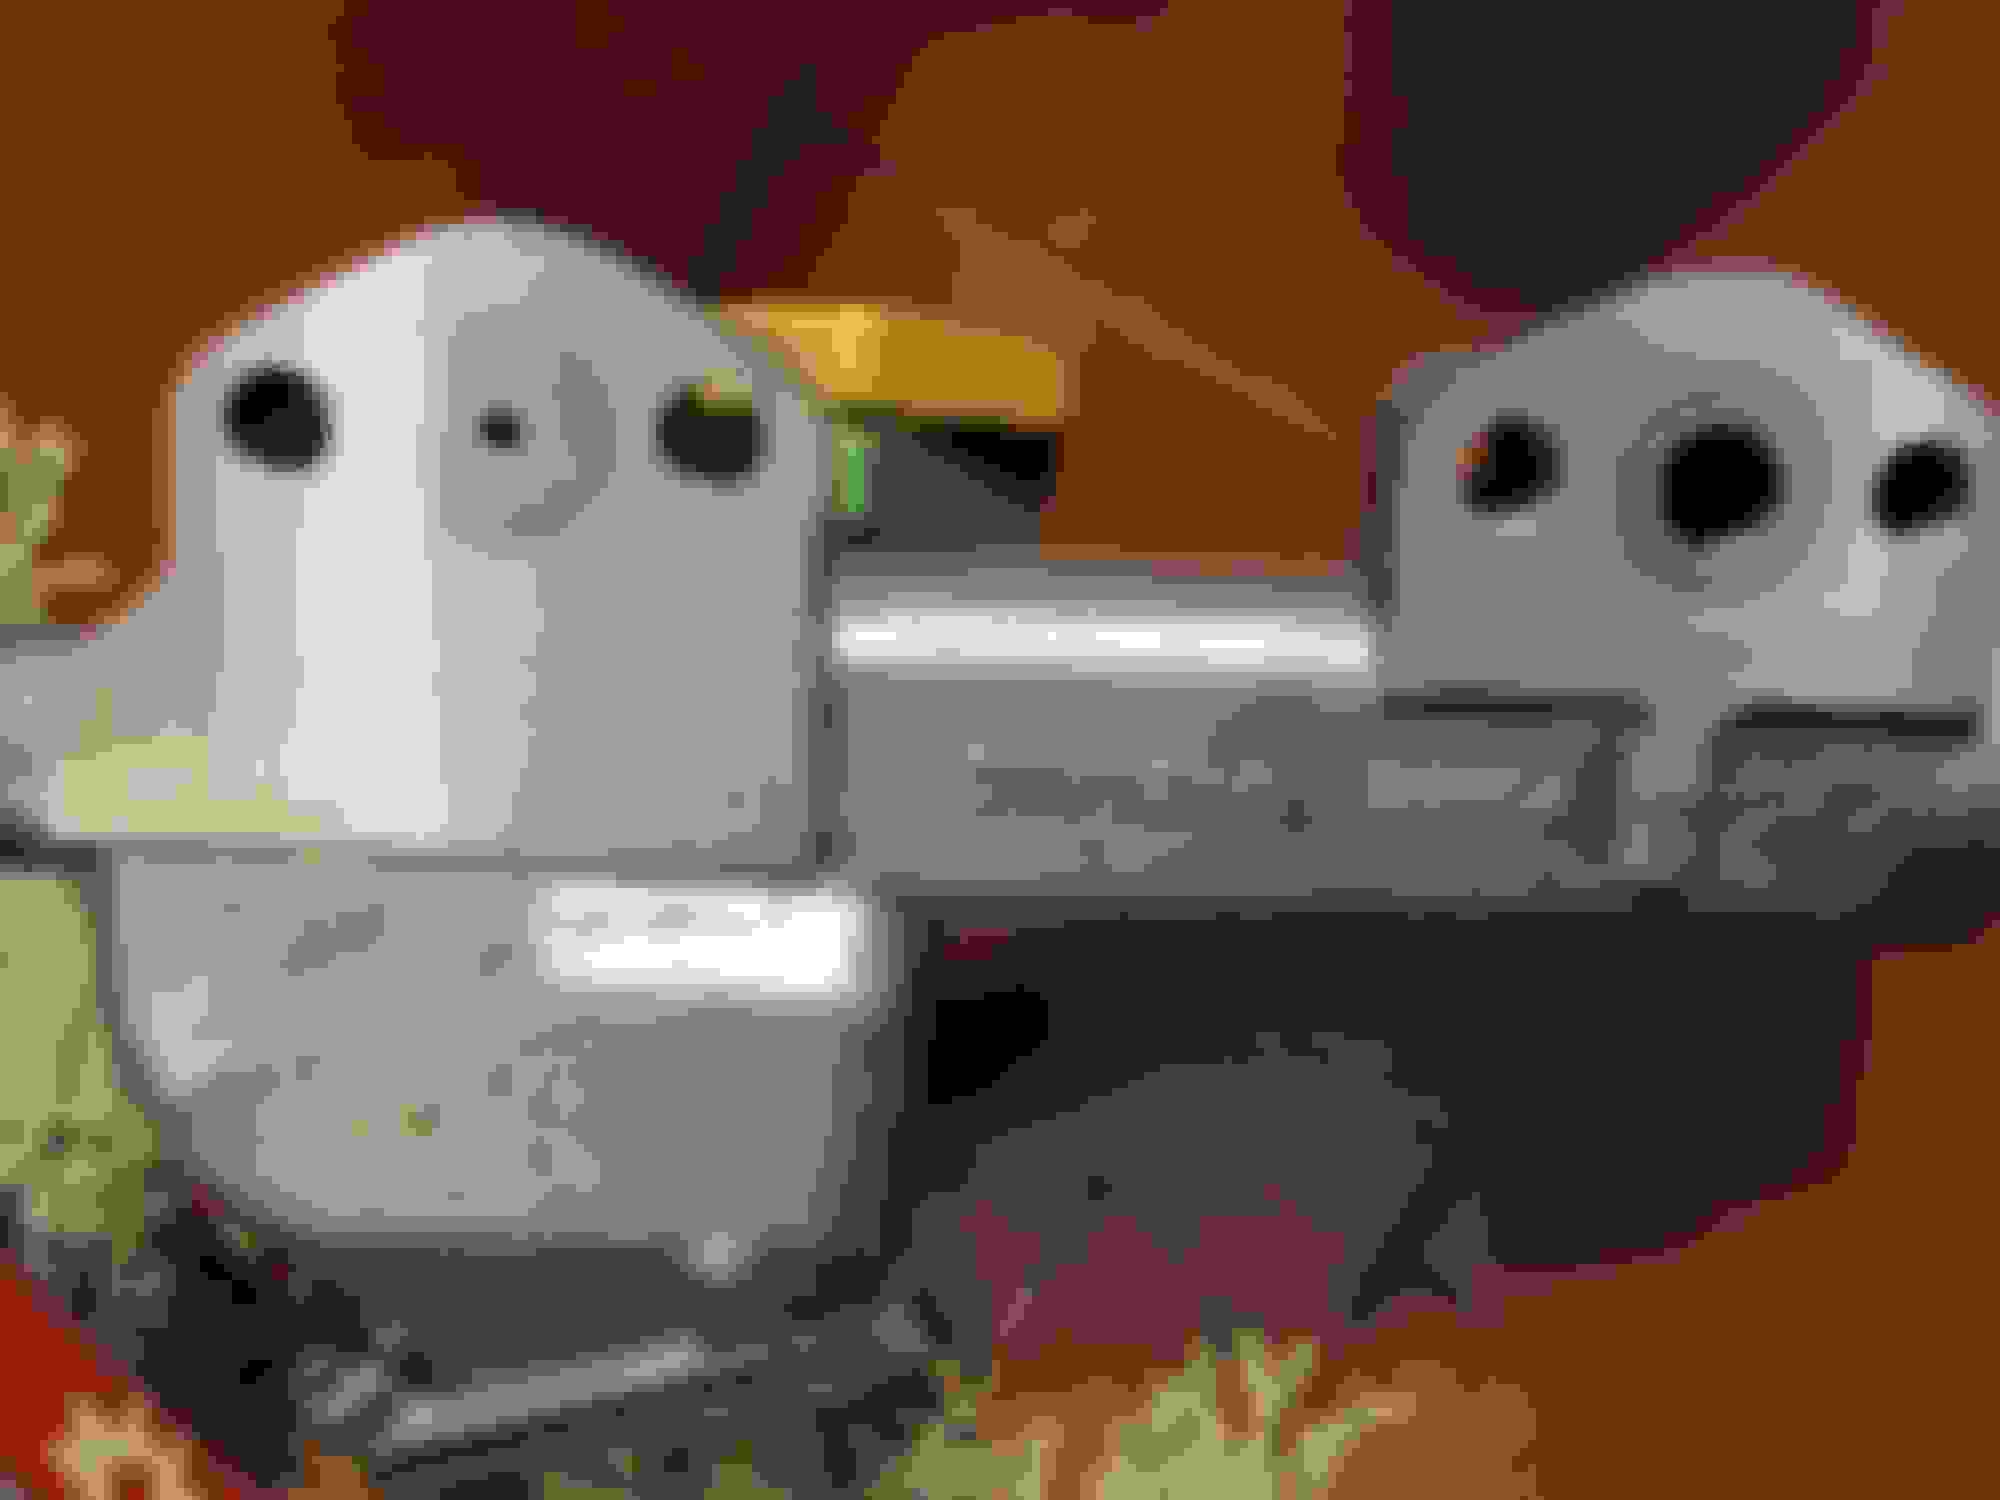
There is also something called the "Luzt Mod" if you do remove the front water manifolds. This is named after a famous Australian Jaguar V12 guy who found out that the water from the pump was "short-circuiting" through the front water manifolds, and that consequently the coolant did not go to the rear of the heads as much as it should. This mod consists of restricting the front return holes, and works wonderfully well. here is a pic of mine, which were done by using interference fit plugs.
Last edited by Greg in France; 08-03-2021 at 01:25 AM.
Yep, broke a LOT of them over the years, had way too many V12's back then.
Stainless bolts, like Doug, Imperial I think??, and moved on.
Gregs stud idea is way better, and if I ever relent and get another XJS, studs will be part of the Post Purchase Catch Up.
NOT hard, just fiddly.
The B Bank were the main culprits I seem to remember.
V12 XJS - the project that just keeps giving .... obviously not what I wanted to hear but totally expected ... appreciated. I'll do what I can to remove the bolts but if I can't then at least one of them (bank A rear) you're not getting to with a drill - in fact since it also supports the engine lift eye I may just leave alone and pull the darn engine anyhow.
Another engine crane needed though I think since I looked at my humble 1 ton crane, the SWL loaded at the reach required (250 kilos) it isn't up to the task, oh well I guess the project will move into its second year. Here goes another �1k on the XJS bonfire - for poxy 10mm bolts !!
Oh and 10mm A/F - 10mm across flats - 3/8 is too small, 7/`6 too large so had to be metric - unless the suckers are Whitworth which I doubt.
Where did you get the interference fit plugs Greg ? - you have a machine shop or get a shop to do this for you ? - it looks like its been professionally done..
A mate with a machine shop.
Ben, if a rear one will not come out, no big deal. Just remove the front water manifolds and pull the tube out of the rear one. If the rear bolt will not come out, don't force it, just leave it.
Last edited by Greg in France; 08-03-2021 at 05:27 AM.
Well it sucks but 10 out of 10 - one bolt broke, three are going to so I've buttoned it up while I can still use the lifting eyes. Whilst it may seem hassle the subframe is currently off and so is the radiator - so it is time to pull the engine - not happy about it but I've gone too far for compromise.
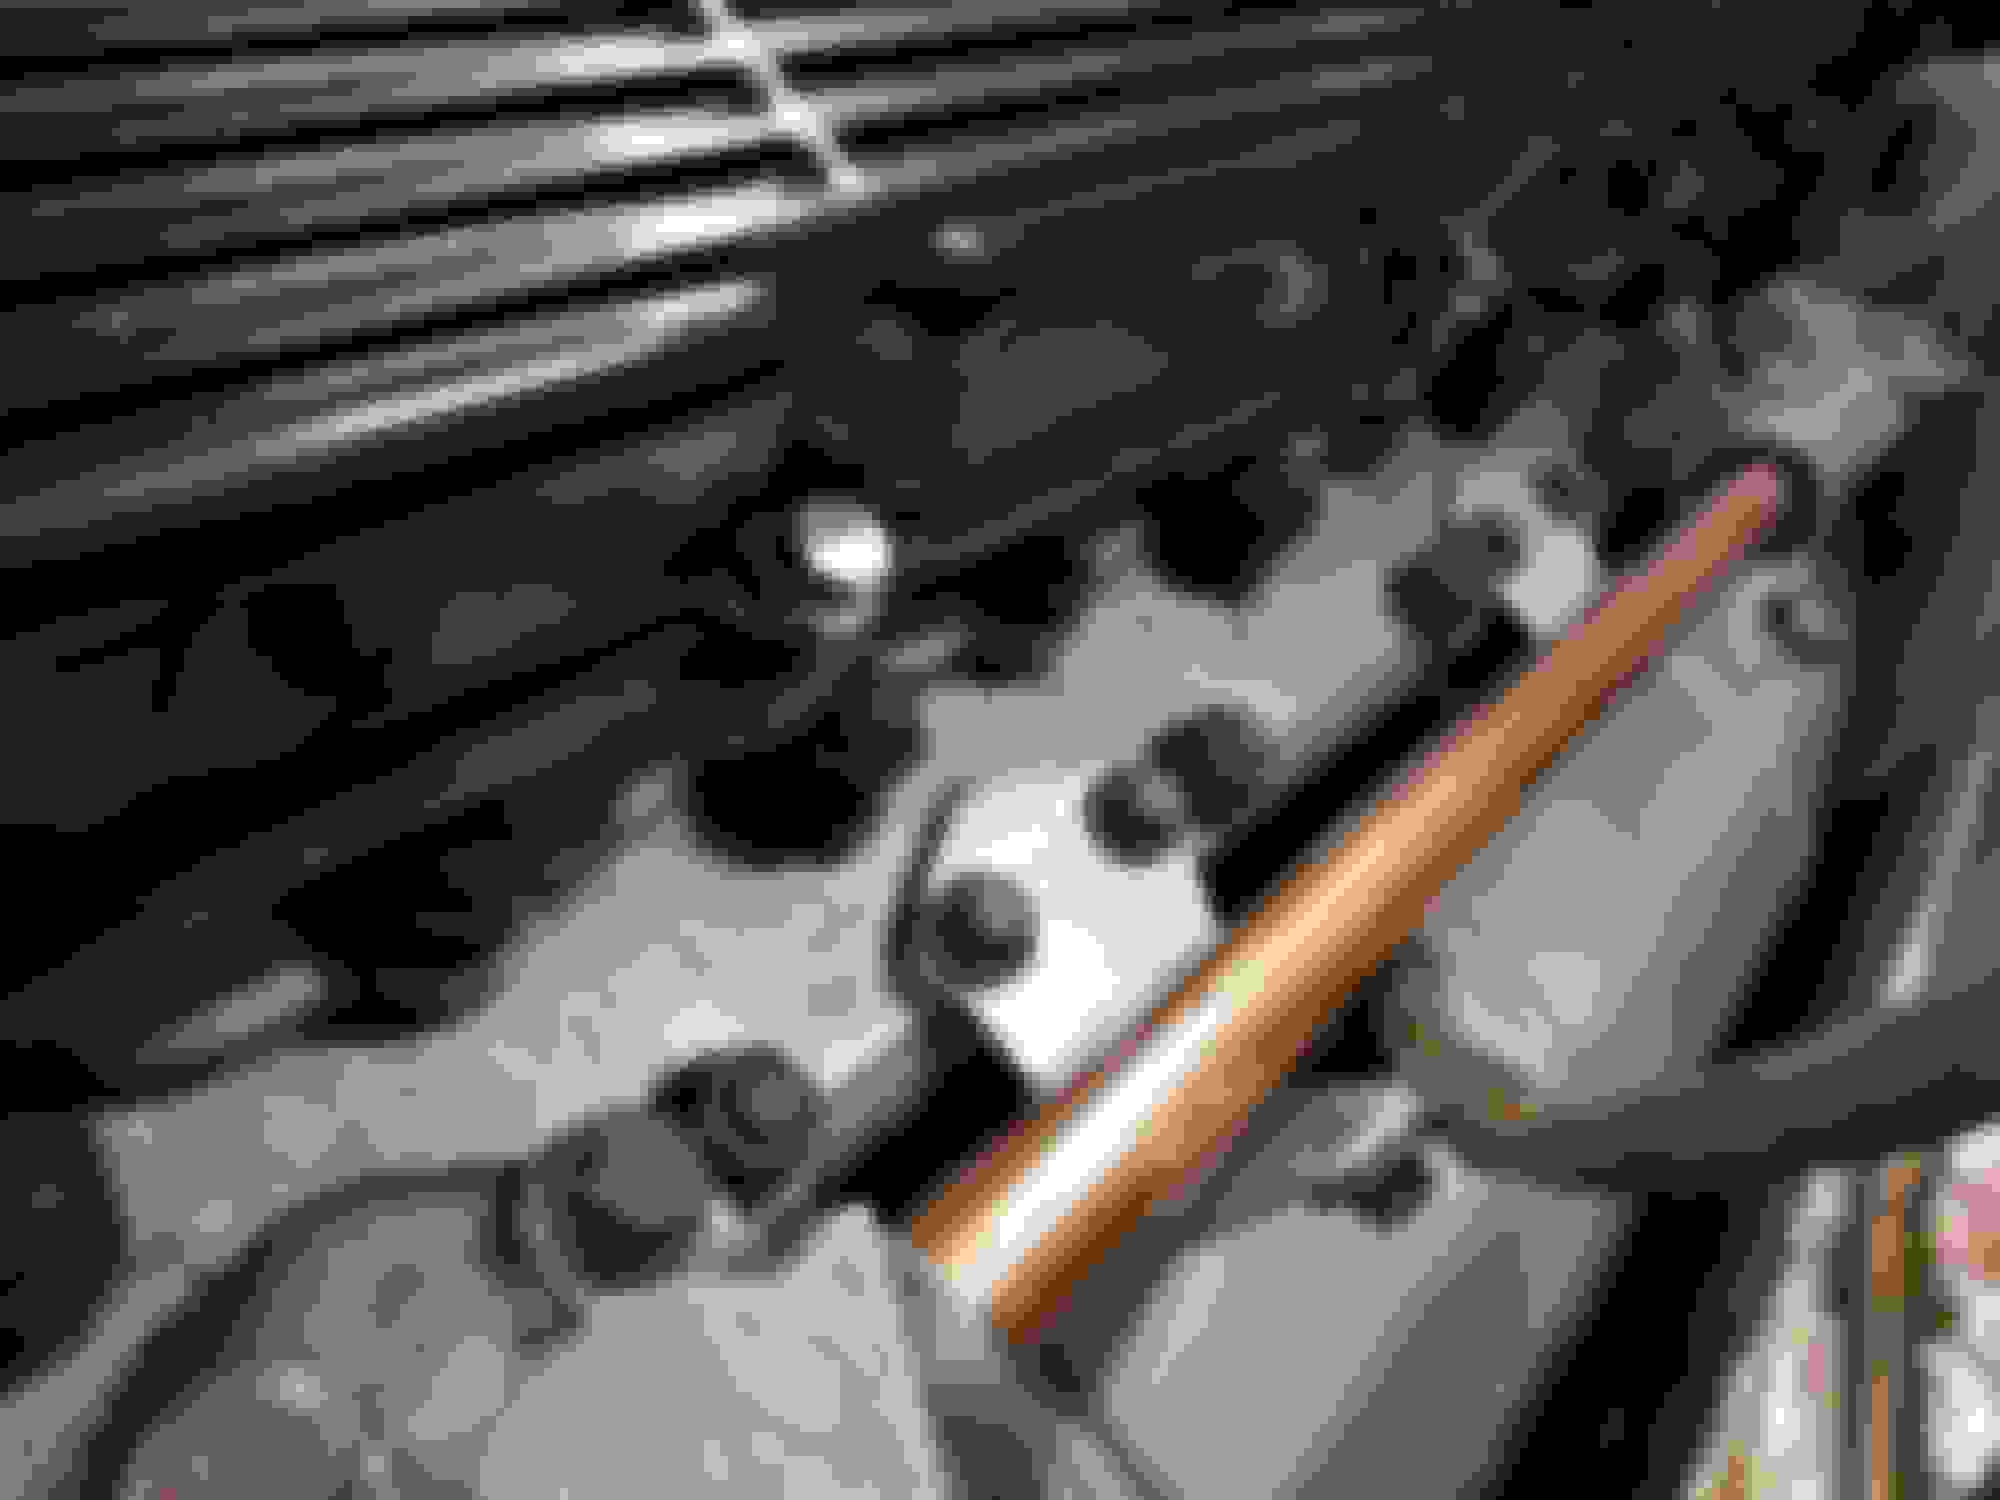
HI, Geuss I was lucky, mine came out ok. Pretty sure the bolts are metric (see photo attached: 8.8 is strength indication for metric ~ grade 5).
I choose to use copper tubing. Got the suggestion from this or other forum (or THE book?) Looks pretty cool and costs only 10 euro.
Diameter is standard for (large) AC equipement
grtz
Evert
Dodged a bullet for sure ... looks pretty ... I've started stripping ready for engine removal but the enthusiasm has left me to get underneath and disconnect gearbox connectors / prop - I don't have a hoist that can handle the combined weight anyhow - this project is really starting to wear my patience a little thin ...
Recognize the feeling, Did a lot of work on the car (lots and lots of welding, engine wiring, may things on rear cradle etc..). Then I found out that the litle bit of rust on the frront subframe turned out to be much more. Had the same feeling of de-motivation : I knew this meant, front sub-fame out etc... Obviously this was a lot of extra work, but: I'm not in a hurry and part of the reason I have this car is that i like working on it. Sometimes the journey just turns into a bit more of an odessey than originaly planned.
Just adding a little to this thread and asking what may seem a dumb question
Does anyone here have experience of the Jaguar installed lifting eyes as fitted to the V12 engine - I semi hooked the engine up for lifting then chickened out because I'm removing engine and box together - but that makes this lift close to half a ton based on a 400kg engine and a 120kg transmission.
Is it safe to use the Jaguyar insalled lift points - the bolts that hold them in place are puny and are threaded into aluminium I'm not comfortable using them at all, I'm tempted to put straps around the engine mounts but I need to be able to balance this thing and stop the transmission heading for the floor - but there's no place to safely strap it and it is a pig to remove engine in situ (and sitting on axle stands).
Removed many the way they came ex the UK.Never gave bolt integrity ANY thought, it went in that way, it can come out that way.
The trans mount pin, I let it sit on one of the kids old skate boards, and that simply rolled along as the engine is lifted and dragged out.
Same for refit, that way the pin is not damaged, and the thing just glides in.
I used 2 chains, messed with lengths until I was happy, then out with it, solo, me on crutches back then, not hard at all.
Yours raised as I think I picture it, could be a different story, mine were all on their wheels.
The older XK 6cyl cast iron monster, was harder, heavier, and just more awkward. Getting that cast alloy sump bowl past the cradle was never fun, about 1" between yes, or no, and the angle of the dangle was CRITICAL.
Thanks Grant, was just seeking some reassurance and a 'go on mate' from somebody that's been there.
The car is raised and will remain so until I've undone everything and removed the prop. I will be lowering it, this will put reliance totally on the hydraulics of the quicklifts for a short time but I don't plan to be under there, I need to do this or I don't have the height before my crane hits the tent roof and with this kind of weight the lower I can keep it the better.
Once that sucker is clear of the car, DOWN it goes, onto a 4 wheel trolley thingy I made.years ago.
Thats still git the daughters 4.2 sitting on it, one day she will want it, I hope. Get my trolley back.
I sat them always on the sump, with supports as needed to keep them there. I know many are against that method, so be it, I never had issues with any of them.
I'll be following a similar philosophy, unfortunately I have no trolley - might need to remedy that - I have an engine stand but don't think I'll be using it. The thing I've found with engines is that wherever you put them they're in the way and a pain in the butt to move.
I can't remember why I didn't use the factory installed lifting hooks. Maybe I didn't have a long enough chain? I dunno. It was a few years ago. But I obviously found some other suitable place to hook to.
Naturally you want to be safe and naturally you don't want to damage anything. But.....none of this is rocket science. Pay close attention when beginning the lift...the first few inches. If something is very wrong you'll see it early on and can lower things back down and regroup
Perfick - the gear you have looks almost identical except mine is black even down to the leveller / balance beam - was that the 1/2 ton or 1 ton setting on the jib -
Thanks - that engine sure looks big when pulled out like that - all the intakes etc are off mine. I thought (hoped) that would be the case because even with the bumper removed I can't get close enough to use the 1 ton setting.

 08-02-2021, 03:40 PM