When you click on links to various merchants on this site and make a purchase, this can result in this site earning a commission. Affiliate programs and affiliations include, but are not limited to, the eBay Partner Network.
Wiring Bundle by Front of Vee Frayed or Nibbled--How Catastrophic?
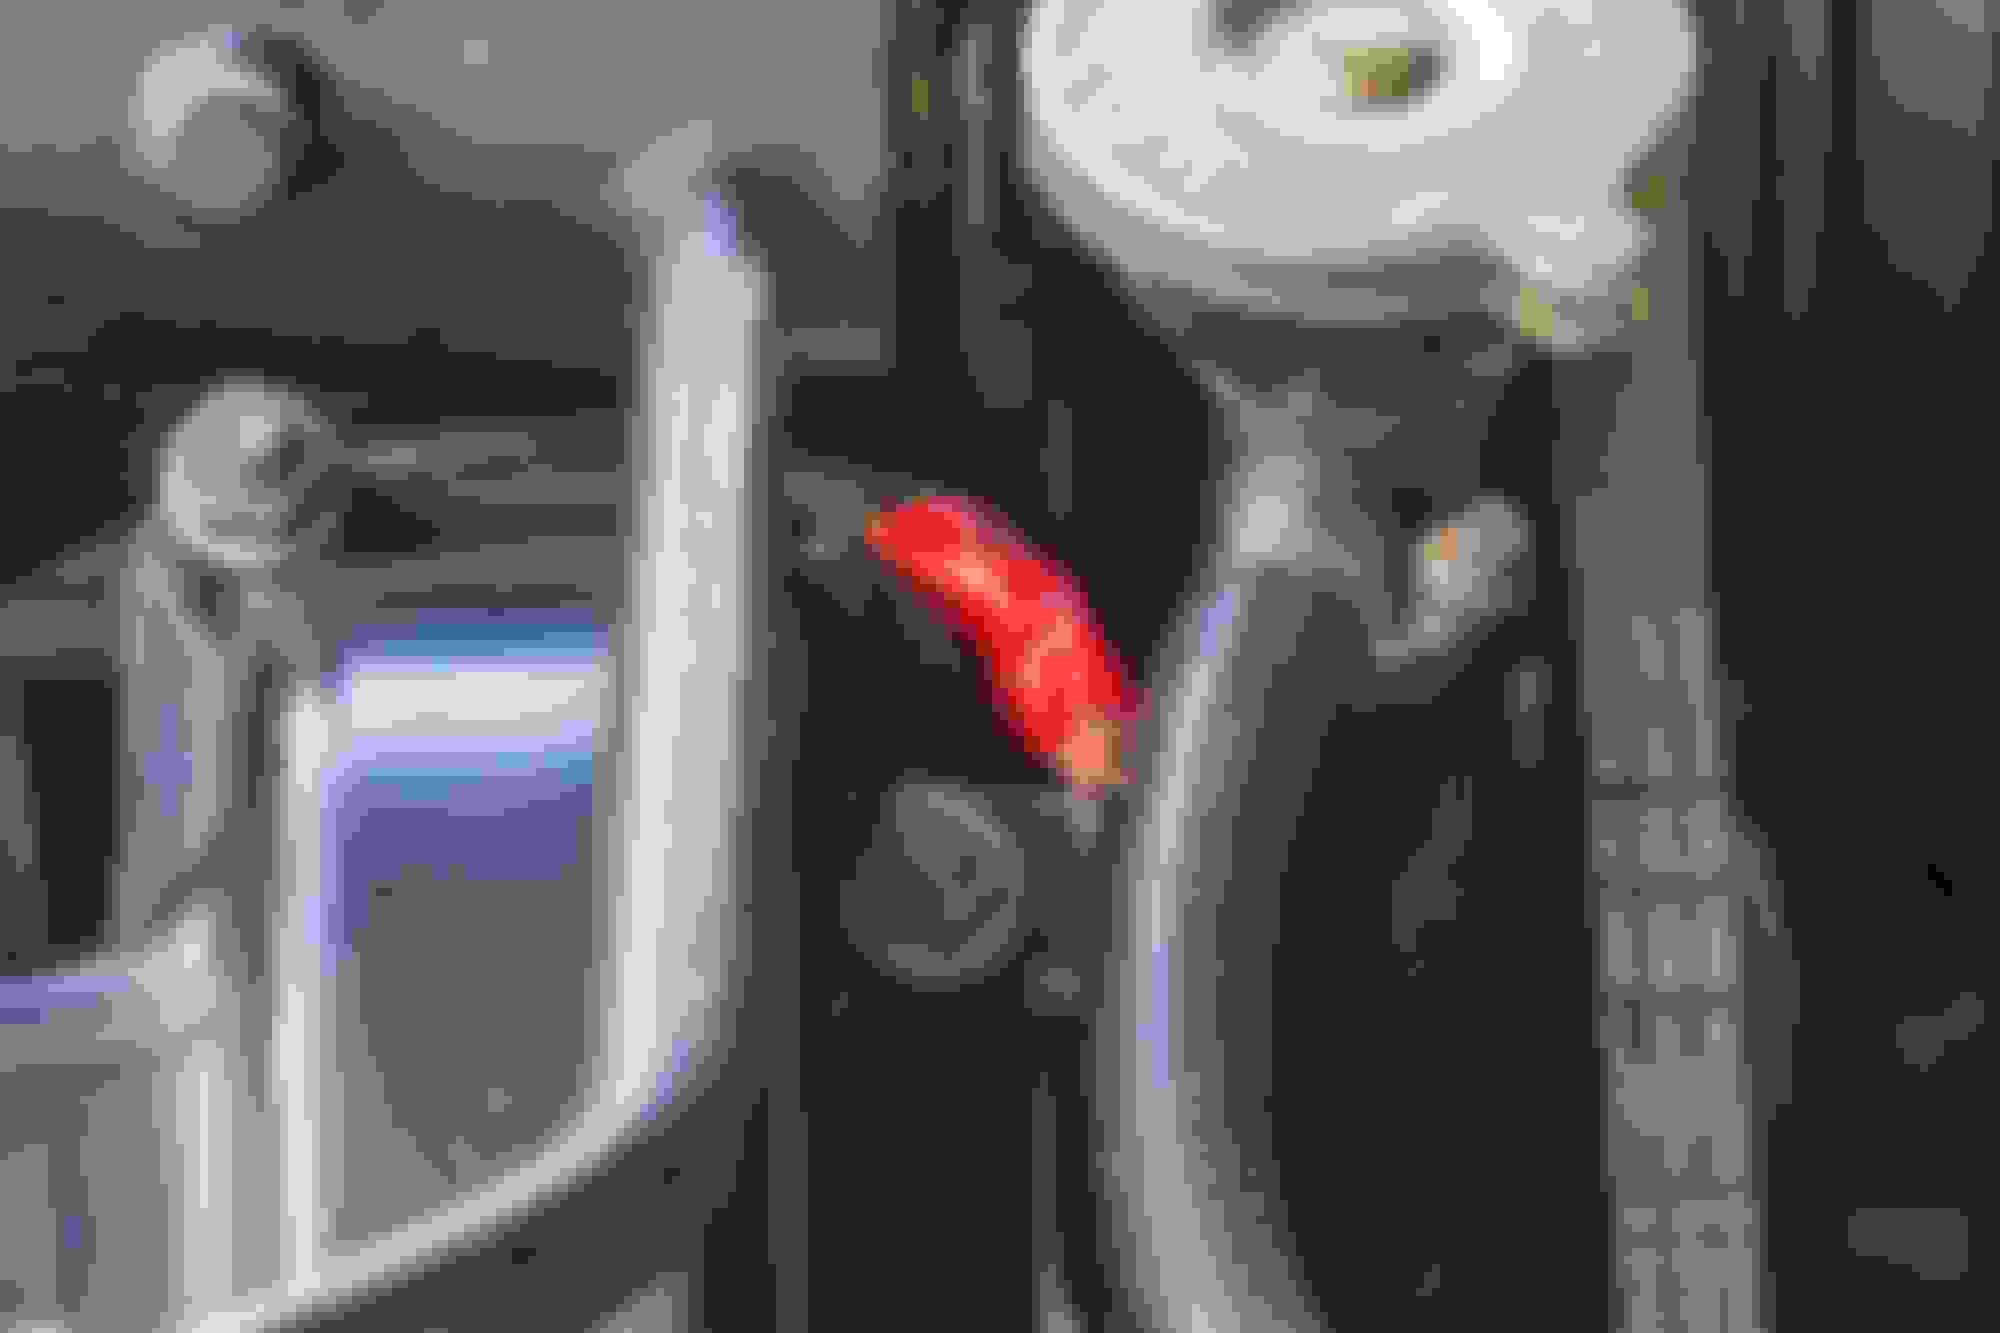
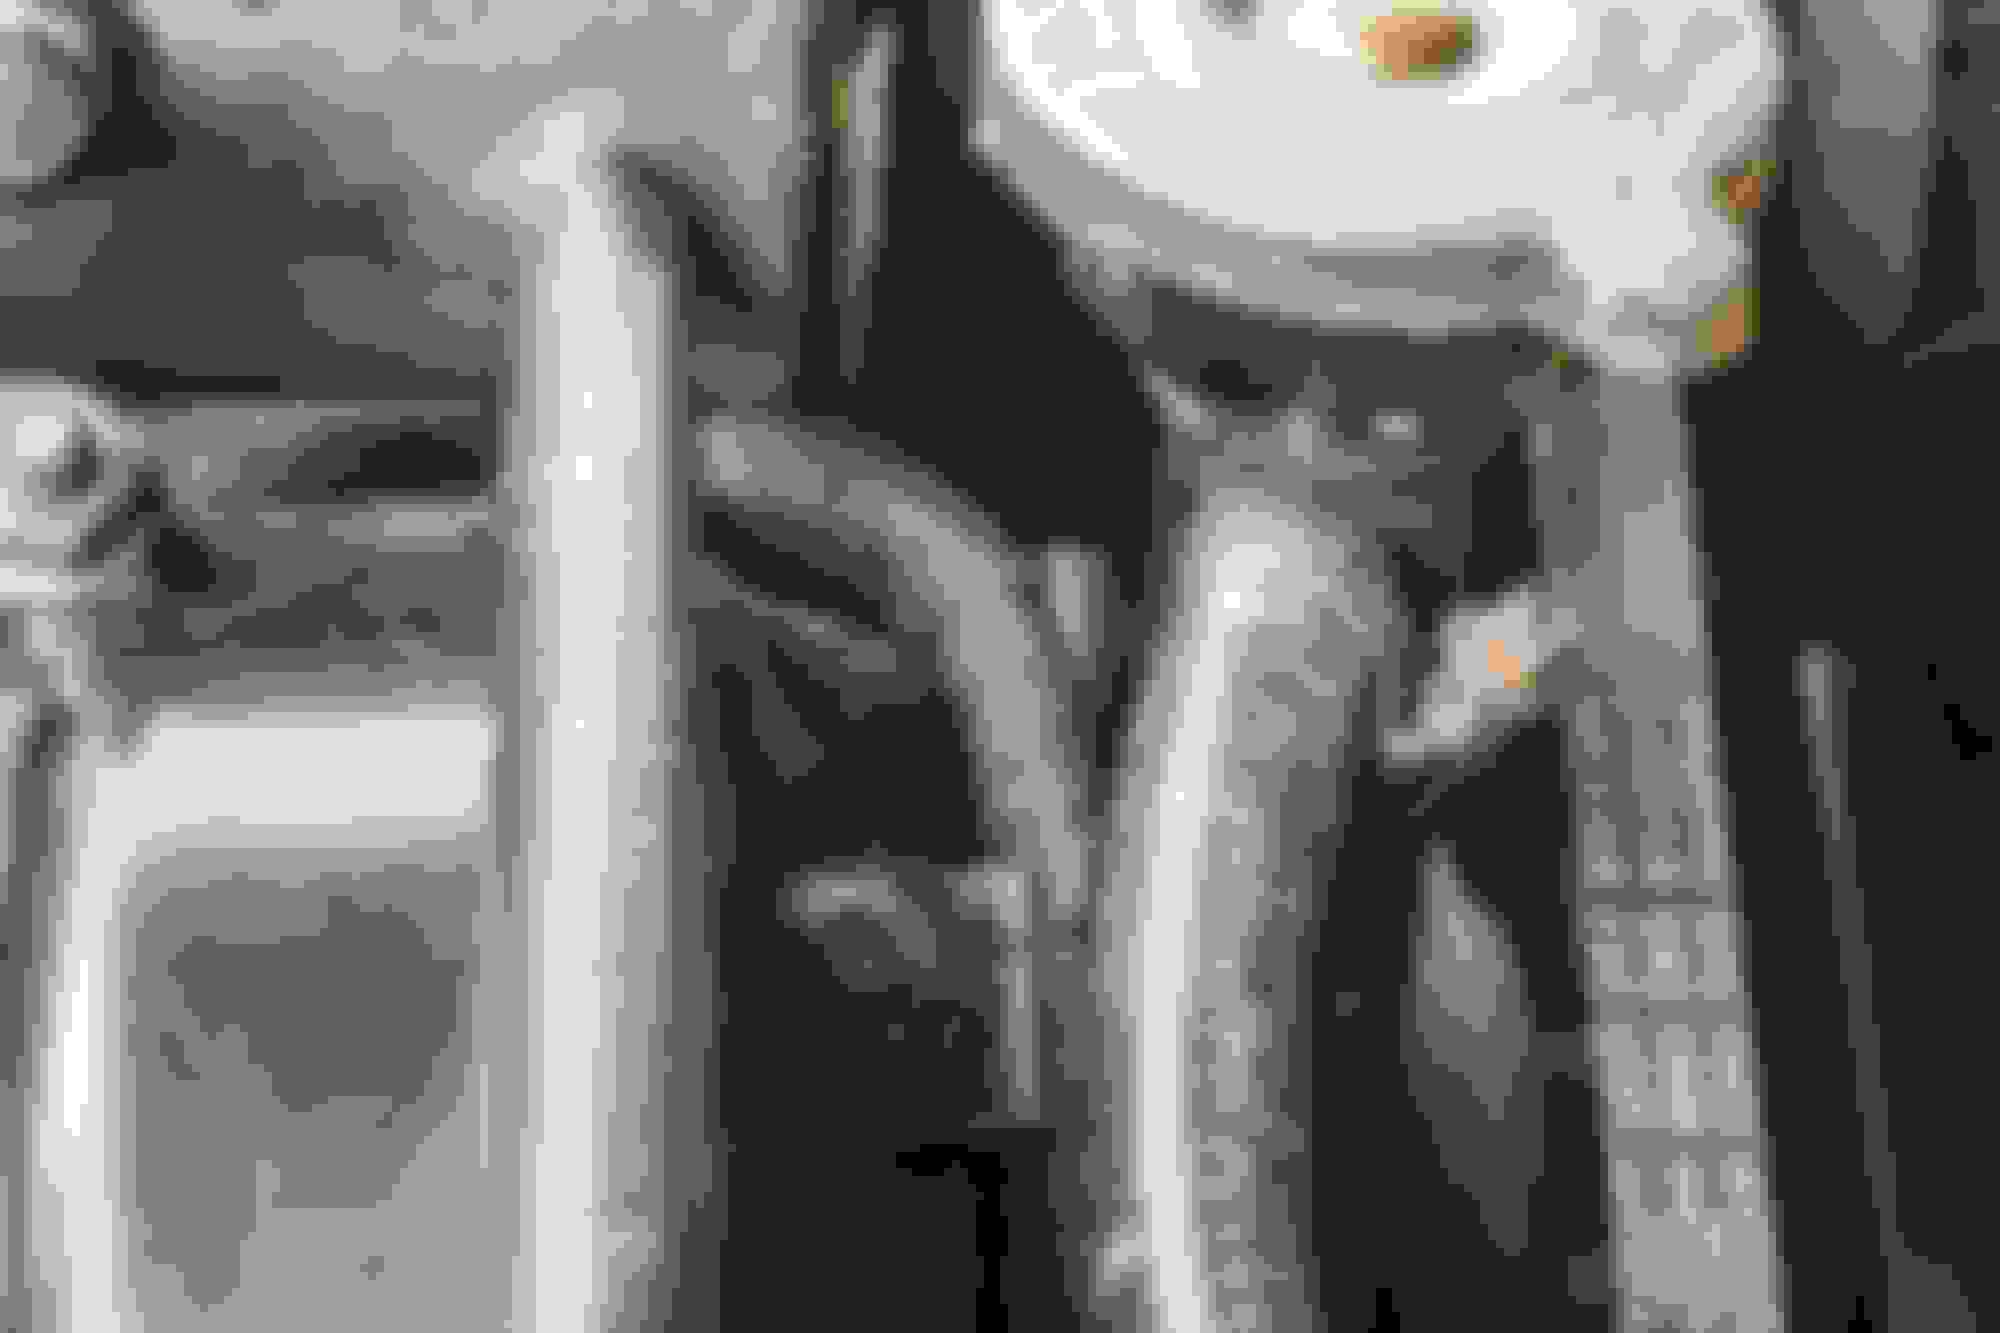
Checking my coolant levels this morning for the first time in a couple of weeks, I noticed the thick bundle of wires that leads into the vee was looking frayed. The insulation had come off, and I could see bare wires. On close inspection, the thick bare wires don't appear to have any continuing section--I cannot see any wiring on the other side where they could connect to. And on very close inspection, all the bare wire ends are neatly arranged in a line, like they've been cut. Could this be a wire that, for some reason, terminates here? Underneath, the insulation on the pink wire is frayed (or chewed: a close look makes me wonder if the insulation hasn't been nibbled), but appears intact. This is a close-up of the frayed and/or chewed wiring by the coolant filler spout. That thick wire doesn't appear to connect to anything, and the ends are very neat. What could it be?
A temporary cover of insulation tape.
The car starts and idles fine, and all injectors are clicking away. I don't know when this happened. Last drove the car on the 21st, and she was perfectly normal. Last looked under bonnet maybe ten days before that. I have, very temporarily, covered up the bare wires with insulation tape. But I don't imagine that will help much.
So my question, as usual, is how serious a problem is this? Very, or extremely? Any hints or suggestions would be most gratefully received.
What does it trace back to? Looks like injectors what else would go there and turn off in that direction?
as a preventative for the future - rodents hate peppermint so a shop clothe soaked in peppermint stuffed into a corner of the engine helps prevent future damage.
Thanks for the tip, Vancouver. I definitely need to try to find some strong peppermint essence or something. This may or may not be nibbles, but at least my engine will smell nicer....
Yes, the wiring connects to the injectors (splitting off under the aircon compressor for the B bank), as well as a connector to the fuel rail (green and pink wires) that looks like it might be some sort of sensor. The other way, they loop around and attach to a large green connector (six wires in) then those wires then go to another black connector, then somewhere towards the front. There is also a smaller offshoot just before the green connector loop that connects directly to the black connector.
So, should the wiring need replacing, it shouldn't be too bad. Just replace everything forward of that green connector.
What green connector? Is it in the photos? In any case I would carefully unpack the bundle, insulate individually any wires that are continuous, insulate the ends of any wires that go nowhere, and then wrap up the bundle properly, having first tested all the functions.
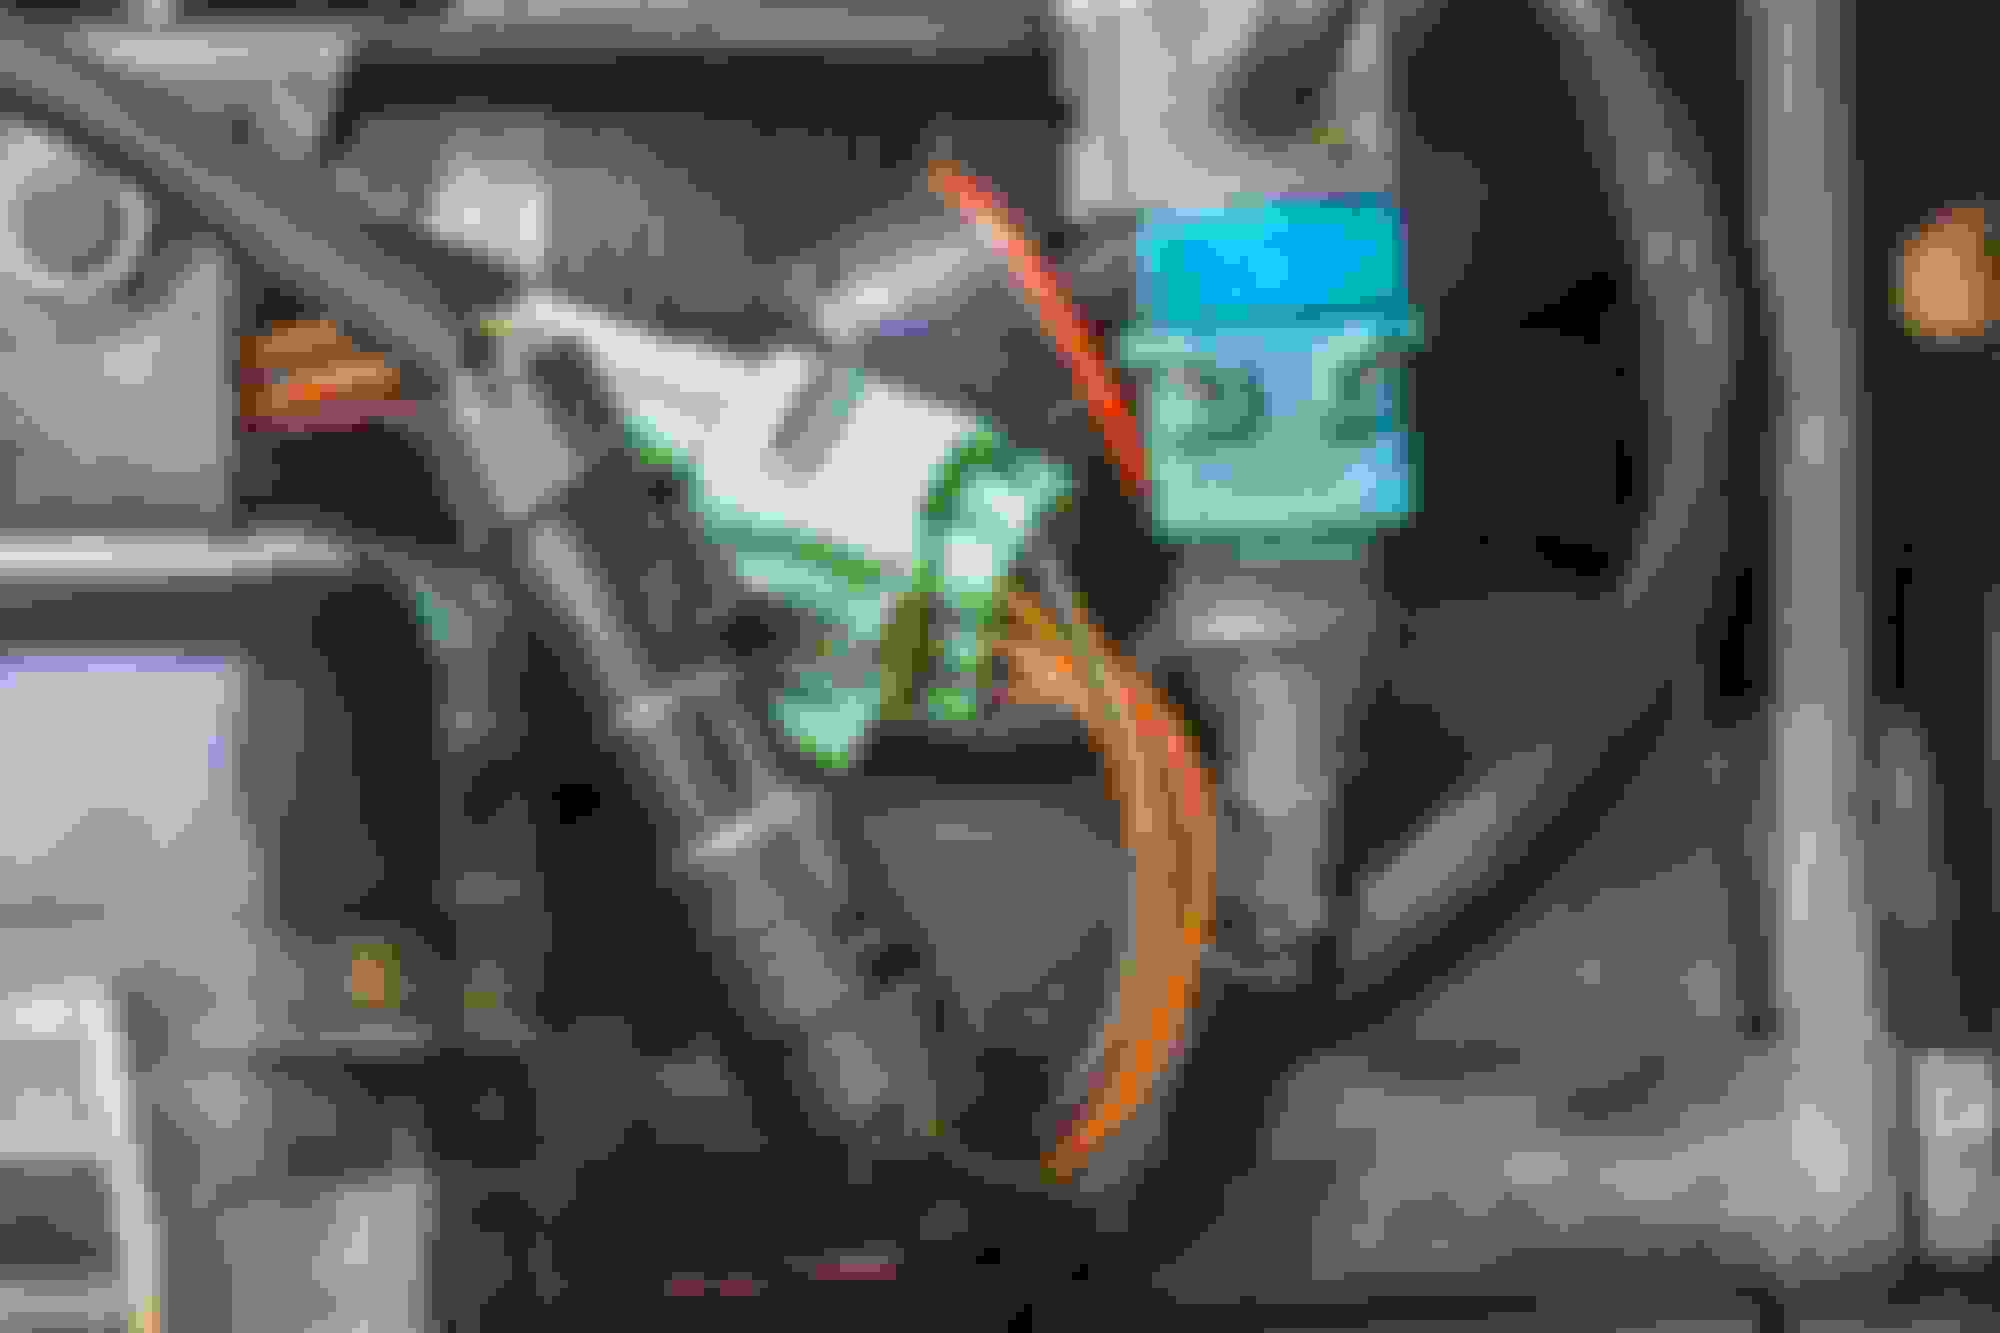
The green connector, which I thought was probably standard, is this one. I think it's a Sumitomo, based on what I've found on other forums. This is the green connector. The wiring bundle is the thick black lot to the right.
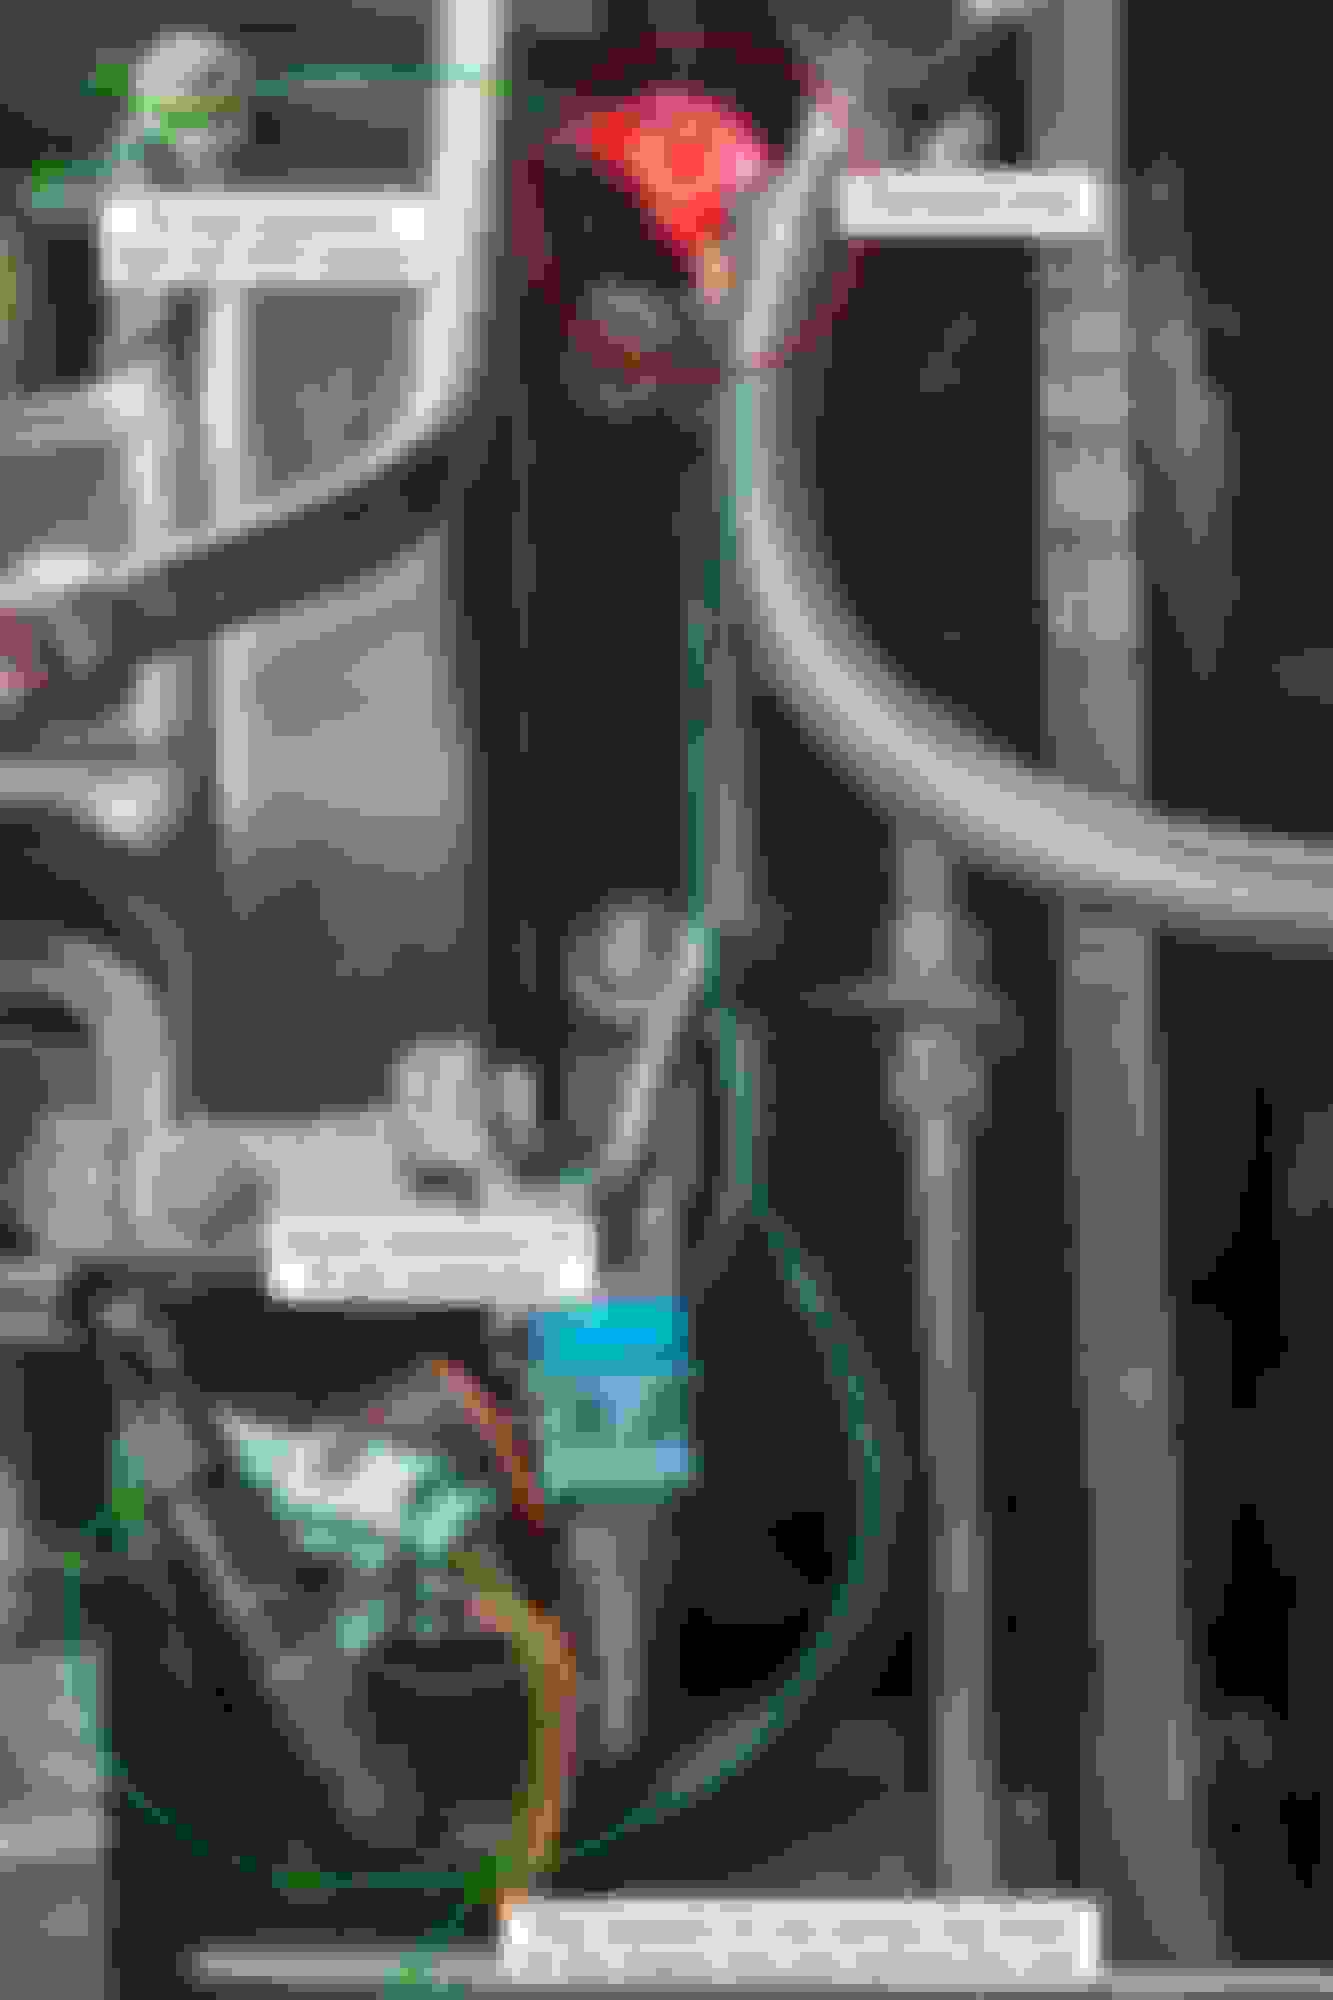
This shows it in relationship to the wiring. I don't really know where the wiring goes tracing back (upstream). There's a black connector further down, but then it's hard to follow. Seems to run across the front of the car, but far too thin.
Anyway, that seems like a sensible idea, Greg. Thanks. I guess I'm just not used to the idea of being able to unplug them. (Still remains to be seen if I actually can, of course.) Some heatproof wrapping to finish. But wires that go nowhere? Is that actually a thing in car wiring? I don't know what else that big bunch of exposed copper wire ends could be, however.
Testing the functions is harder. That is, I know they go to the injectors, and I know the injectors are firing, but I've read in Palm's book that you can still get current through and it will fire the injector, but weakly. Not sure how to test for that. Also, the fuel rail connector is a mystery--not sure what that is. It's a two-wire spade-type (I think) connector about 1/3 up the A Bank fuel rail. Fuel temperature sensor? Fuel pressure sensor? (Perhaps not.) Or I could drive the car and see if anything goes weird....
SDSD
If when you separate the bundle, it is clear that there are a couple of wires that just terminate under the wrapper, and that there are no wires in the bundle "downstream" of the terminated ones, then you can be certain that Jaguar repurposed a loom and just cut out the wires that were not needed. Happens all the time!
Thanks! Just to clarify: "upstream" is towards the source, ultimately the battery, and "downstream" is towards the place where the power is used--in this case, the injectors. That's your thinking?
If so, the strange thing is that that terminating thick wire appears to lead off downstream. I'll see if I can find some nice thermal wrapping, and see how easy the connector is to pry apart. Wouldn't want to snap anything....
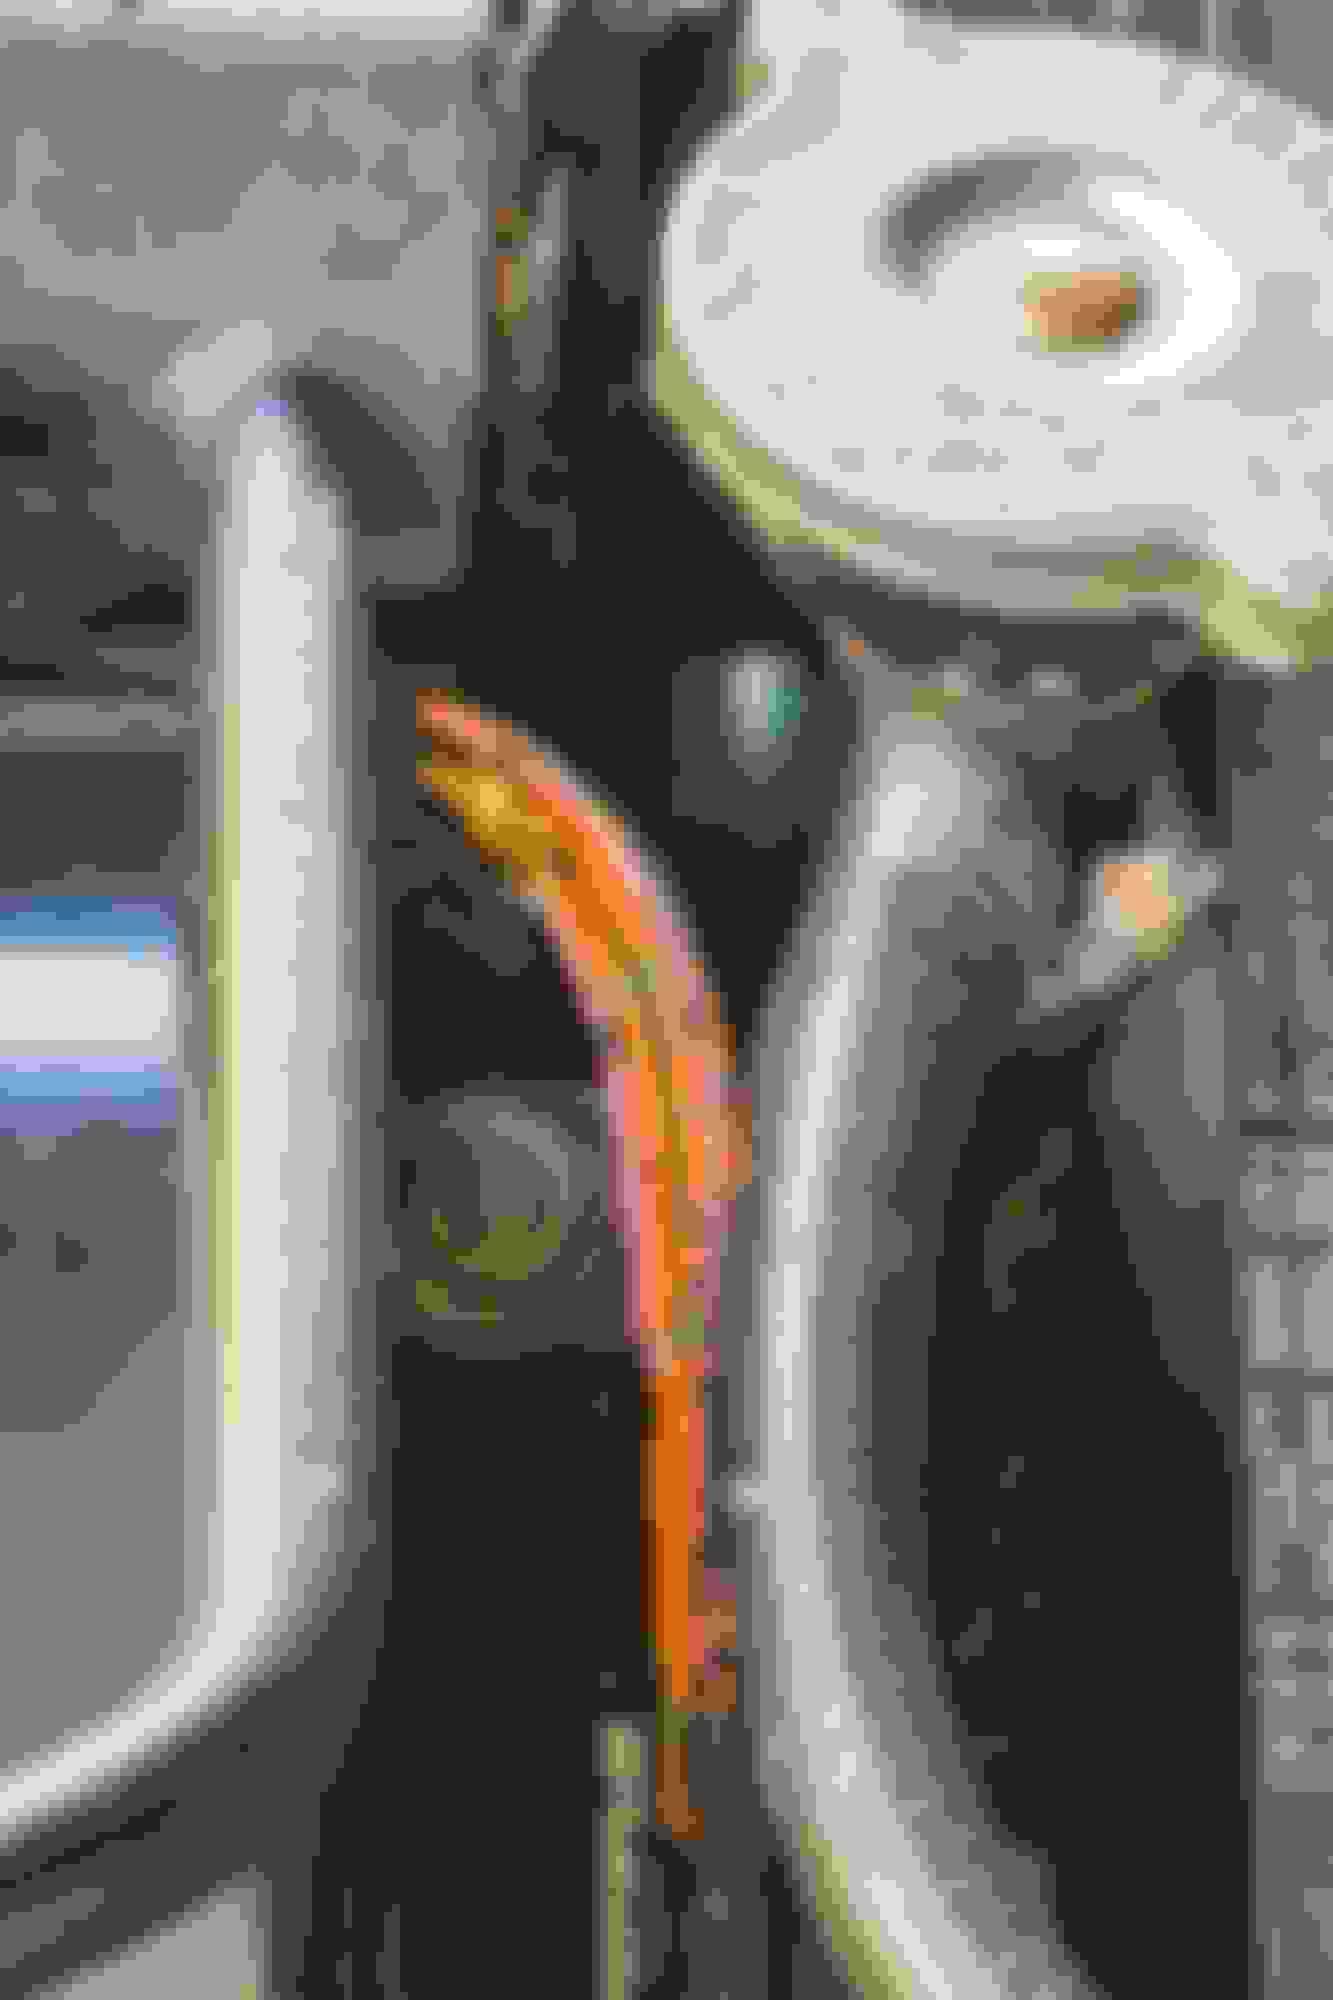
In this photo, from your original post, it looks like a thickish wire or possibly two of them are cut through. I am presuming that these are the wires you are referring to in your original post? I understood also from your original post that after the cut in the photo, there was no equivalent wire in the bundle the "other side" (ie downstream/upstream as you will) of the cut. So in other words the cut wires just ended under the wrapper, rather than those wires being the entire length of the bundle with a cut break in them. If my understanding of what you are trying to convey is correct, then my suggestion on how to deal with the matter should be correct too.
If on the other hand I have misunderstood your explanation, do please set me straight!
Yes, I think you are correct, Greg. I'll take another look to make sure I'm not missing any upstream extension of that thick bundle, but the way it's cut evenly across does not look natural--it's been cut. I want to peel back some more of the wrapping to get a better look at that thick bundle. The idea that a wire that thick is just sitting there seems so counter-intuitive.
The other exposed wiring is just the pink-wrapped one where a bit of plastic insulation has cracked off.
SDSD
Jaguar frequently just had made the most complex loom, and then just did not use the bits in it they did not need! Not counter-intuitive if you are watching production costs like they had to. That is one of the reasons Jaguars used to (not any more) provide performance and refinement equal to better than cars costing two or three times as much.
Thanks, Greg. I suppose that accounts for the other weird bits in the engine, like screw holes with nothing to screw in....
At any rate, I've ordered some liquid insulation (not easy to find) and harness wrapping tape rated to 150 C online, and we'll see what happens. (The engine does start and idle fine, after all.) And with this liquid insulation, I should be able to fix the other bit of exposed wire leading to one of the coils. All it needs is a wee dab...
The 8 wires from the connector in the injector loom splits out to more injectors. They run 3 in parallel: 1A, 3A and 5A together and so on. You have just uncovered a splice point.
I have sketches and photos somewhere...
Thanks, Leo. So that thicker bunch of wires would lead downstream (towards injectors) and get spliced into the other wires to increase their number? I wonder if that area got exposed because the thicker wire bundle ending there put more pressure on the wrapping, combined with the bend as it goes around the rocker cover, and perhaps some rubbing from the vacuum hose over or near it....
Took a look at your site--is it just the one page? I can't find any links to other pages.
My loom was also cracking and unprotected in some places, when I replaced it, and I had not had any running issues. I found someone on FB, who did the loom for 200-250 GBP. Hi temp silicone wires and in general nicely done
On my page (opened on a PC), there is a black menu bar under the top line with grey XJ-S. If you go to the 2010-present and choose read more, you will be at the page with all current info. Direct link: Service log 2010 ? present ? XJ-S
If you open on phone or iPad, the menu bar is placed wrongly and hard to miss
From there I have a link to Injection service ? XJ-S, where I have no pictures or details on the loom, I changed, so there is maybe not much to look for regarding your current issue...
Huh. I usually use Waterfox, a port of Firefox, and with various add-ons to stop ads and tracking to an extent. And that bar doesn't show up at all. When I open the page in Chrome, it shows up. Strange. Something must be blocking it on Waterfox. Anyway, thanks for the links. Interesting read.
What I'd read (I think it was in Palm's book) is that if redoing the loom, the best place is just up by the intake manifolds. Neater than up by the fuel rail, but out of the heat and oil and gunk in the vee.
I do check my injector wires on a semi-regular basis, but they all seem fine. I don't want to wiggle them too much just in case they're not able to withstand quite that much....
Just a quick follow-up to give this thread some conclusion. Following everyone's advice, and ignoring some of it, or a lot of it, as it looked like a lot of hassle, I flaked off the flaky bits of wrapping, but didn't undo it all the way as that didn't seem necessary. Then I cleaned up the area as best I could, and determined that, as far as I can tell, that pink wire with the bit of insulation missing appear to disappear into the thicker bundle: they don't seem separate. Anyway, I got hold of some RTV silicone rubber, which seems to be the best we can do over here for liquid insulation unless you want to pay through the nose (or other body parts) for imported stuff, and dabbed it on over the exposed wires. Once that was dry, I wrapped the bundle, using several shorter bits as otherwise I would have never got the tape around in the limited area I had to work with, and that was that.
Couldn't test it, as the battery had gone completely dead. Called the JAF man the following day (giving things a bit more time to cure). It was completely drained--down to zero. But it jump-started immediately, but even after several hours of driving the green "Healthy" indicator was stubbornly not showing. So I've ordered a new one--the existing battery is some Korean brand no one has ever heard of called Emperor (which features bikini-clad girls in their advertising) and was, apparently, very cheap. Can't complain--it's lasted very well. Four years at least, depending on when it was put in. The new one is a Bosch Silver SLX-6C, which I have carefully confirmed should fit. It's a bit more powerful as well. Even if there is a drain somewhere (where? Not the boot lights. And I removed the fuse to the power antenna when I put in the aftermarket stereo), the word is that a drained battery isn't going to last much longer, so I'll need a new one sooner rather than later anyway.
Anyway, after two days, the repairs are holding up and the car runs beautifully (and the battery didn't lose its charge overnight at least). So thanks to everyone for their advice, suggestions, and help--always much appreciated, even for relatively trivial things like this.
Oh, and as per VancouverXJ6's advice, I tied a bit of shop paper towel infused with peppermint on the narrow air tube above the distributor cap, just in case....
Removed worst part of heat-destroyed harness wrap. Gooped RTV silicone on wires. Messy, but gets hidden. Hid messy goop with harness tape rated up to 150C (as it's right by the engine block). Going around the curve was the hardest part. Also did this bit of peeled insulation. Messy, but never mind. She drives along beautifully. It's coming up to rice transplanting time. (Snapped with tablet.)
 04-24-2020, 07:25 PM