When you click on links to various merchants on this site and make a purchase, this can result in this site earning a commission. Affiliate programs and affiliations include, but are not limited to, the eBay Partner Network.
Hello, I’m going through the cooling system, belts and maybe the alternator on a 1987 Vanden Plas V12. Although it’s not an XJS, I’m posting this here to get more input from the V12 owners. There is tons of good info available here, and I’ve been relying on that including Grant’s docs. Questions always come up though and I know I’ll have more as I move forward.
90k miles on the car. Has been started regularly in the past few years but driven little as the rear brakes and IRS need attention and this Jag has been in line behind other projects. After the cooling system the fuel system will be next then the IRS.
Anyway the plan is to replace the seized fan clutch and fan, replace all coolant hoses and heater valve, new stats, new belts. I’ve pulled the radiator and it’s been recored. Header tank is out and cleaned/sanded/primed and just need to paint it. It was in rough shape cosmetically but no leaks. Removing the Atmospheric tank is next.
The current issue: The old thermostats seem seized in place. Tried pulling on the center of them with pliers and a good bit of force and tapping on them with a screwdriver blade and hammer and can’t get them to budge. I’m starting to wonder if they’re original. Any tips on removing them before I do something stupid and cause some damage?
From the design, it doesn’t appear any way to access the rear of the right thermostat to push it out at all. Perhaps I could access the rear of the left one by removing the rail and a plug behind the stat. I’d prefer not to remove the water rails if possible. I’m hesitant to use heat in the area with all the oil, pb blaster and anything else that might ignite.
Also, I have the appropriate Jaguar gaskets to use with the new thermostats. Should I use any sealant like blue hylomar between the gasket and block or gasket and thermo housing?
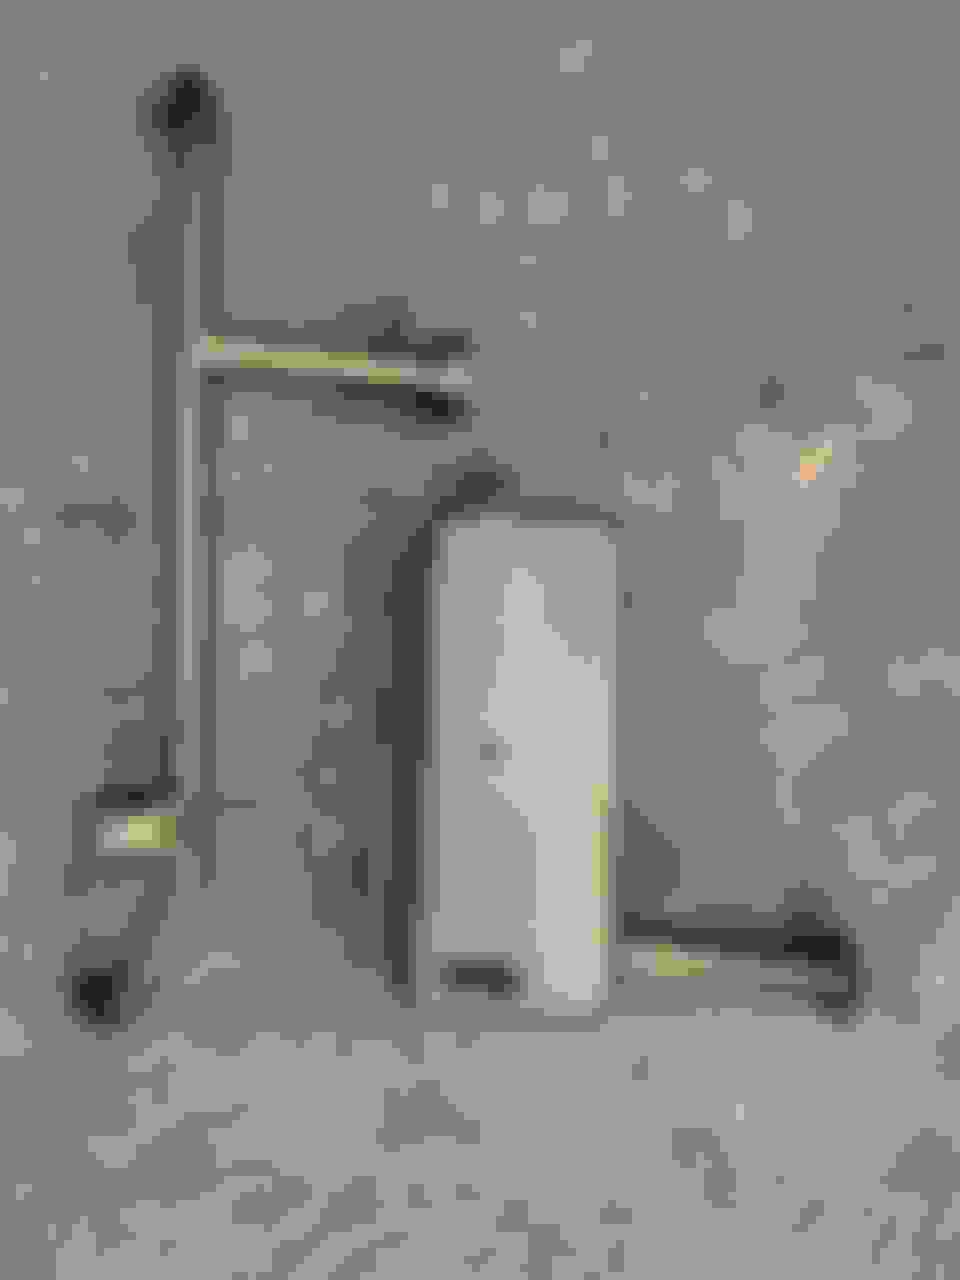
Left side stat.
Typical debris present after removing radiator. Recored.
Gosh, I don't think I've ever encountered a stuck thermo before....but it makes sense that it happens. Dissimilar metals and all that.
Anyhow.....
I'd use blunt destructive force on the thermo itself using a chisel (or screwdriver....same thing, right?) to bash out part of the center section. That should leave you with the outer section (which is stuck to the aluminum housing) to grab onto with some pliers or vise grips. From there you should be able to peel it off the housing....if the bashing process itself doesn't do the trick. Naturally you don't want to gouge or injure the housing but, even if you did, it wouldn't be the end of the world.
But let's hear what others have to say.
Gorgeous Jag; looks like it's well worth your efforts
Cheers
DD
Last edited by Doug; 09-13-2020 at 08:14 AM.
Reason: spelling
I would use a little Liquid Wrench or PB Blaster and let it sit overnight. Next morning start tapping around the thermostat with a plastic hammer or whatever you can fit in there.. Repeat if it doesn't work the first time.
There are two types of penetrating oil I use for these situations.
One is an aircraft product called Mouse milk available from Aircraft Spruce.
The other is Kroil available online.
Neither of them require very much volume.
They also work fairly fast.
I would try pushing or pulling open the t stat to get the stuff in the back.
Good luck
Once out (I am in the brute force camp with Doug) clean the rebate very thoroughly. New stats just need the OEM gasket, nothing else, but the hole in the rim MUST be at the top. If the thermostat flops out before the fitting can be placed on to hold it, then a smear of silicone gasket stuff can be used round the rebate just to hold it in place while you button it up.
lot of people do not know that Kroil was developed by a retired petroleum engineer , he lived in Daytona Fl. fro years!
he opened a small store and sold petro products but Kriol was his best , after many yrs, he sold the patent , and finally retired for good, health problems!
had some good stories when someone would take time to listen!
ron
Thanks for all the input, I’ll let you know how I get on. It will be Monday before get a chance to spend some time on it.
Anyone know the size of the small bolts holding the bracket that holds the heater valve to the firewall? That area is “well protected” to put it mildly. I’ve read about removing the crossover air pipe to get to it but I’m not sure that’s going to be enough.
I had a somewhat strange introduction to Kroil.
They sent me a free trial sample a large aerosol can to my company.
I don't think I even tried it out for about ten years and lost track of the can.
During some rearrangement of things about a year ago the can popped up.
I figured I'd give it a try and was startled to see how quickly it worked.
My test was a rusted up part with a nut attached.
The next step would have been tossing the part out in the scrap bin.
It not only worked, it worked fast, like in minutes.
The next step was to go online to buy a few non-aerosol containers of it.
I believe those took a 10mm. I replaced my valve with one recommended by Jose, intended for a Ford Fiesta as I recall- could be wrong. I am glad I did as I am not sure how one could reasonably reinstall those bolts. Search heater valve replacement, that should get you there.
All right, managed to get the old thermostats out with some pb blaster penetrant and a little more persuasion with a chisel. I have ordered some Kroil oil to have on hand though. Thanks again for all the input. The old stats were Waxstat 88C, installed with the jiggle pin at the top. I have Stants ready to go in that I’ve tested for opening length and have drilled a hole in the discs.
I also removed the alternator, the original Lucas 75 amp. I had it tested at the local Advance auto. It passed but I’m still probably going to upgrade to a 100 or 115 amp unit while I have everything apart. I didn’t drive the car much but in limited observation I was getting a little over 13V measured at the battery at idle and no accessories on, dipping under 13V with lights and a/c on. The dash gauge was reading lower that that, around 10V-11V when driving. The cables, connections and alt are pretty caked in dirt and oil so maybe that was a factor. Any thoughts on the test results?
Anyway based on advice here my plan is to clean the existing wiring connections, upgrade the alternator and probably run an additional cable from the alt to firewall post and a redundant ground.
Also still working on replacing all of the coolant hoses, cleaning up the coolant crossover pipe, etc.
@jerry, I did buy a plastic Factory Air heater valve to replace the old one.
I would consider looking at your two water rails & their seals. I replaced mine with ss tube's & new seals when I did the "Lutz 1 mod". Also I welded 1/2 or 3/8" (can't remember the size, I'm old!!!) bungs into the rails to install temp sensor's for aftermarket gauges.
Well this project was heavily delayed by work, life, etc., but it’s back on the road finally. The car is kept at a friend’s garage many miles away at the moment so I had to ****** a few hours here and there to get it all done. But the list accomplished, with a lot of advice and help from the forum is:
-Re-cored radiator fitted.
-All new coolant hoses and clamps. Those heater hoses are fun!
-Header tank and coolant cross pipe removed/cleaned/painted
-Flushed the heater core, the engine block and the atmospheric tank
-Replaced heater valve with aftermarket plastic one. What an awful job; just no room to work back there.
-new thermostats.
-Tefba coolant filters installed in each top radiator hose. I know there is a debate on these but with a fresh radiator, I wanted to try them and see what debris showed up.
-New fan clutch and black fan. I can see the advantage of swapping to full electric fans, but I had the clutch and black fan already so kept it stock for now.
-removed the fan shroud which was in sad shape and cleaned and painted it and also replaced the stock ac/cooling fan with a 10” Spal fan. The existing one worked but seemed to be on its last legs - very feeble air flow
-New 115 amp alternator. Added another 4 gauge wire from alt to + battery post on the firewall and another ground from alt to chassis.
-All new belts.
-new single coil; got rid of the coil that sat on the radiator top plate
-Cleaned the pig snout/breather
-Oil and filter change while I was at it
After several months of sitting, it started on the 2nd crank. I’ve only run it and driven it maybe 10 miles so far but no obvious coolant dribbles so far. Using a voltmeter on the battery, I’m getting 14.5 volts at idle and still over 14 volts with the a/c and headlights and radio on.
Issues/Questions:
-the voltage gauge in the car is very slow to come up and once it does it sits around 11 or 12 volts. Could it just be a bad gauge? I cleaned all the connections at the firewall post. I guess I could remove the gauge and clean the contacts. Since the gauge is registering somewhat and the battery is charging does that mean the exciter wire is working as intended? I have a cheap voltmeter that plugs in to the cigar lighter in the cabin and it shows 14+ volts there also.
-before I started this project, I replaced the Red relay for the cooling fan and it would come on when I turned the air conditioning. The new fan does not. I checked the fuse for this fan which is part of the headlamp fuse box in the engine bay. It was blown but after replacing it still no joy. I have not driven it enough yet to see if the fan will come on due to the temp switch in the water pump. I simply connected the new fan as the old one was. I believe the new one pulls 10-15 amps. Should I have added another relay or fuse?
Any thoughts are appreciated.
Next projects on the list:
-replace all fuel hoses in engine bay and clean the injectors. I replaced all the boot fuel hoses already.
-full rear suspension rebuild; also see what is leaking from the differential area
Original bottom hose had the coolant heater. I removed the plug/wire and went with standard bottom hose this time.
Lovely job. Well done really impressive.
Cooling fan: Check if it does come on when the aircon compressor engages, as it does not in fact come on with the cabin selection, only when (a) coolant water is hot enough, before that nothing comes on and (b) when the system engages the compressor. In the winter the compressor will hardly ever engage if the incoming air is cold enough. If you (briefly) hotwire the compressor with 12v to make it come on, you may find the fan then kicks in.
Alternatively, selecting defrost should, repeat should, make the entire system start, compressor and all, regardless of all other temps. On the Delanair II that is, and for all I know on the D III too.
Let us know if it does not and someone will have a fix!
Last edited by Greg in France; 01-29-2021 at 01:23 PM.

 09-12-2020, 09:24 AM


 A bit expensive, tho, so I reserve it for special occasions