When you click on links to various merchants on this site and make a purchase, this can result in this site earning a commission. Affiliate programs and affiliations include, but are not limited to, the eBay Partner Network.
I thought some of you might be interested to see a photo album of this build. I asked about IRS removal height awhile back. With the help of a few of you I came up with a height I was comfortable with and proceeded to build this chassis cart. My plan is to drop both sub-frames for complete rebuilds. However during that time I might need to move the car around in my shop.
My business is manufacturing and installing shooting range equipment. So I usually have tons of metal around. I wanted to use up as much of the leftover steel as possible. So the design was driven by what was available. The only thing I bought were 4 really nice casters from McMaster Carr.
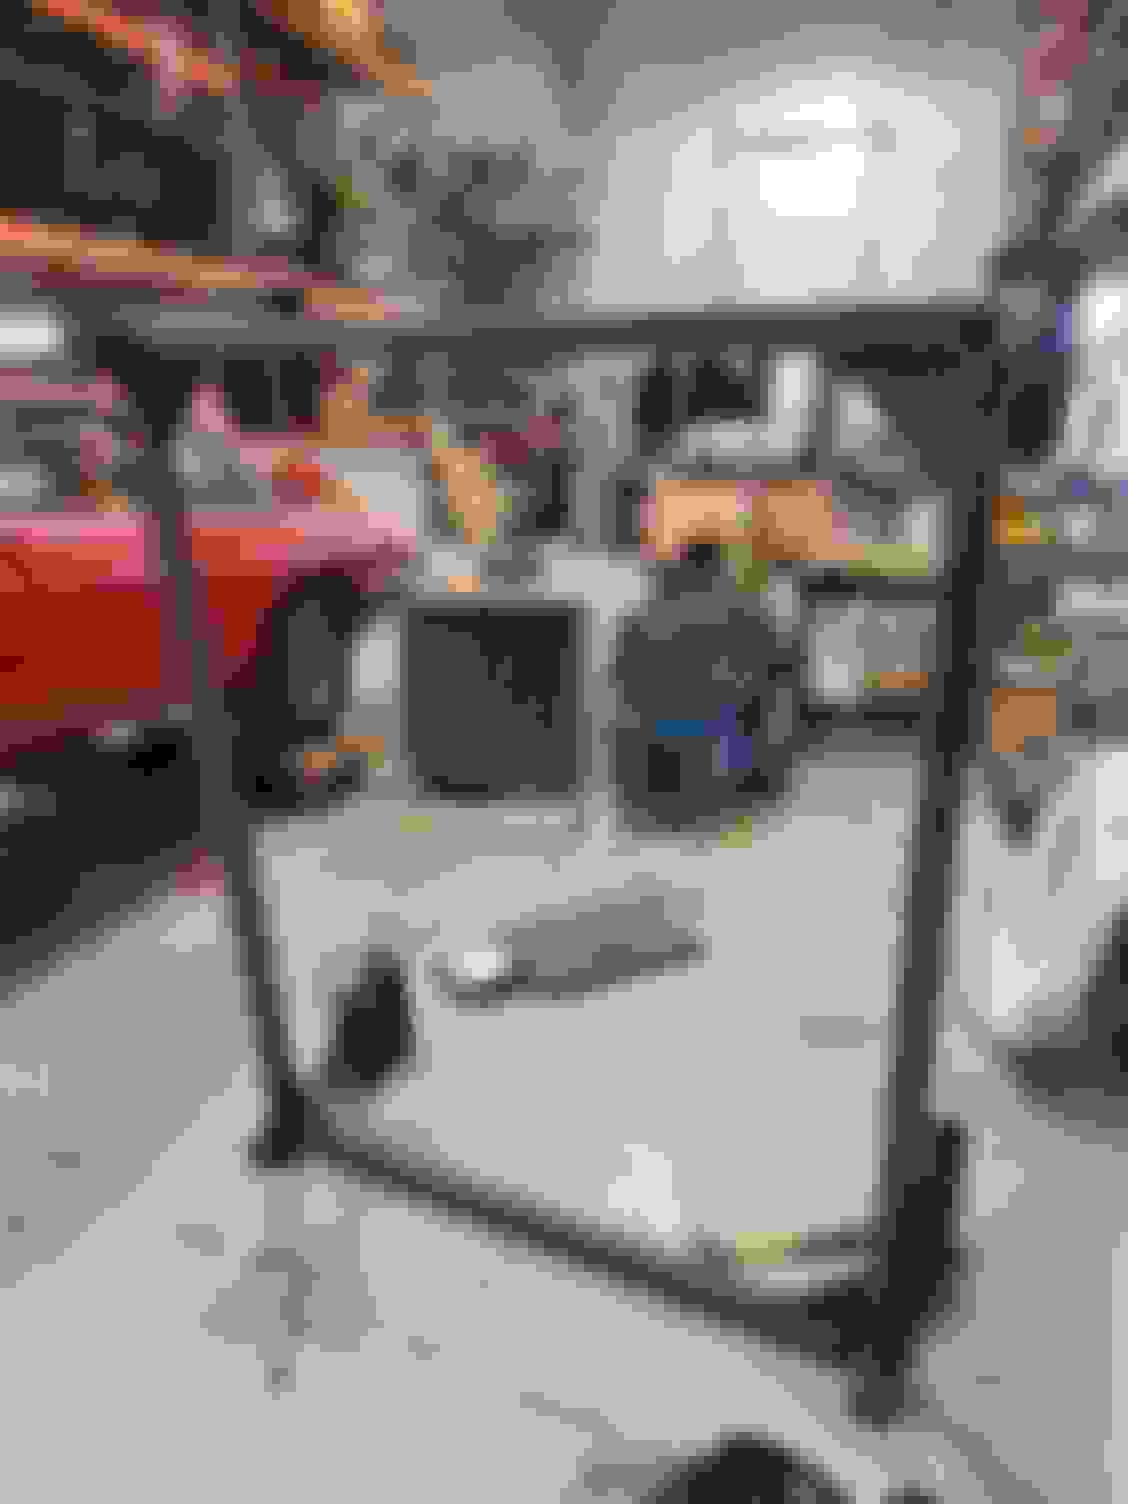
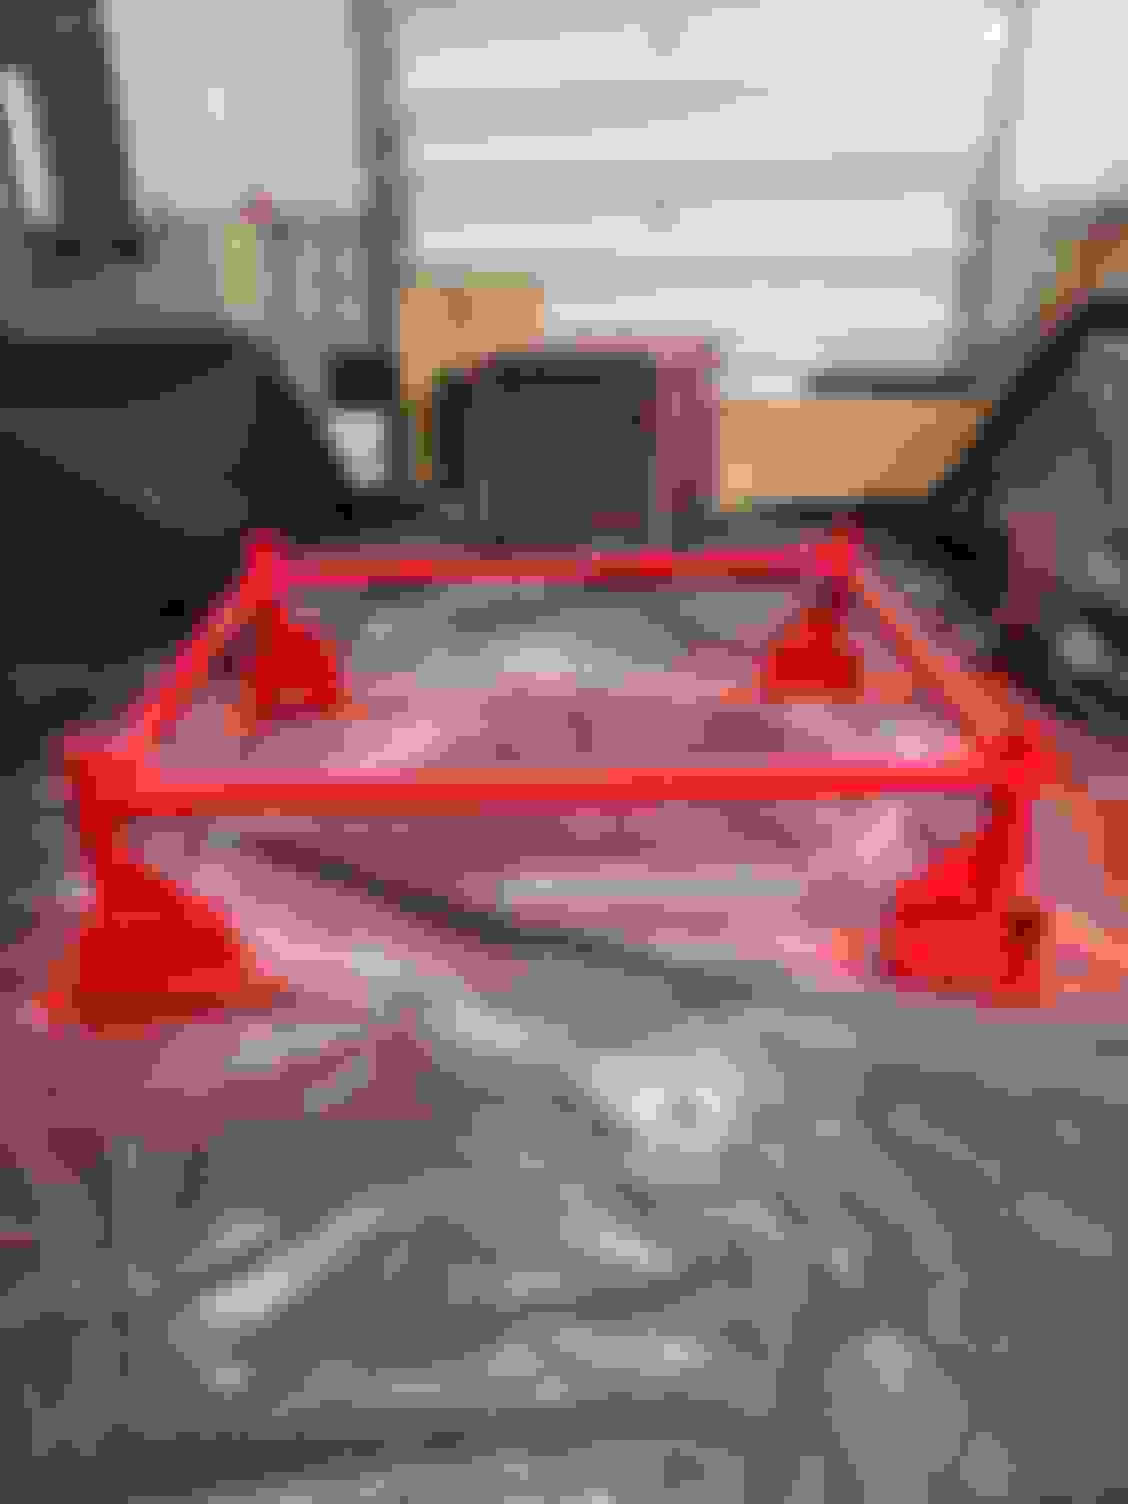
First step. I have lots of this 6 inch x 4 inch W beam. We use it as the track for our target retrieval systems. It's an i beam but this configuration they call W beam. The flanges have no taper. The caster is rated for 1000 lbs. It has rounded over wheels which makes it easy to change directions. The tubing is 2x2x1/4 inch. I wanted to make sure this thing was going to fit perfect. So I tacked everything in place. The rear jacking points are about 2 inches wider than the front. After getting the front and back tacked up left to right, it's time to connect the front section to the back. Everything tack welded. Finish welding. Added a few braces and finish welding. I would weld a little on one corner, then go to another corner so as not to add too much heat too fast to one side. This is to keep it from warping. I was alone in the shop this day so I installed the wheels to get it to the back of the shop. My buddies Z4 is here and I didn't have enough room to use my forklift. In the background is one of two air scrubbers. Time for finish grinding and paint prep. Prepped for primer. I ground and sanded everything. I then wiped it down using several microfiber towels and acetone. Signal red? Close. Because why not take pride in your work and finish it right. I'll be looking at this thing the rest of the year. Almost finished. Damn that car needs to go a lot higher. Good thing I have an endless supply of 4x4's. I machined 1 inch square holes in 1/4 inch stock. I only tack welded these on in case something did warp during finish welding. That way I could easily shift them if needed. I had some 1/4" rubber laying around. This should even out the pressure. I used 3M VHB double sided tape.
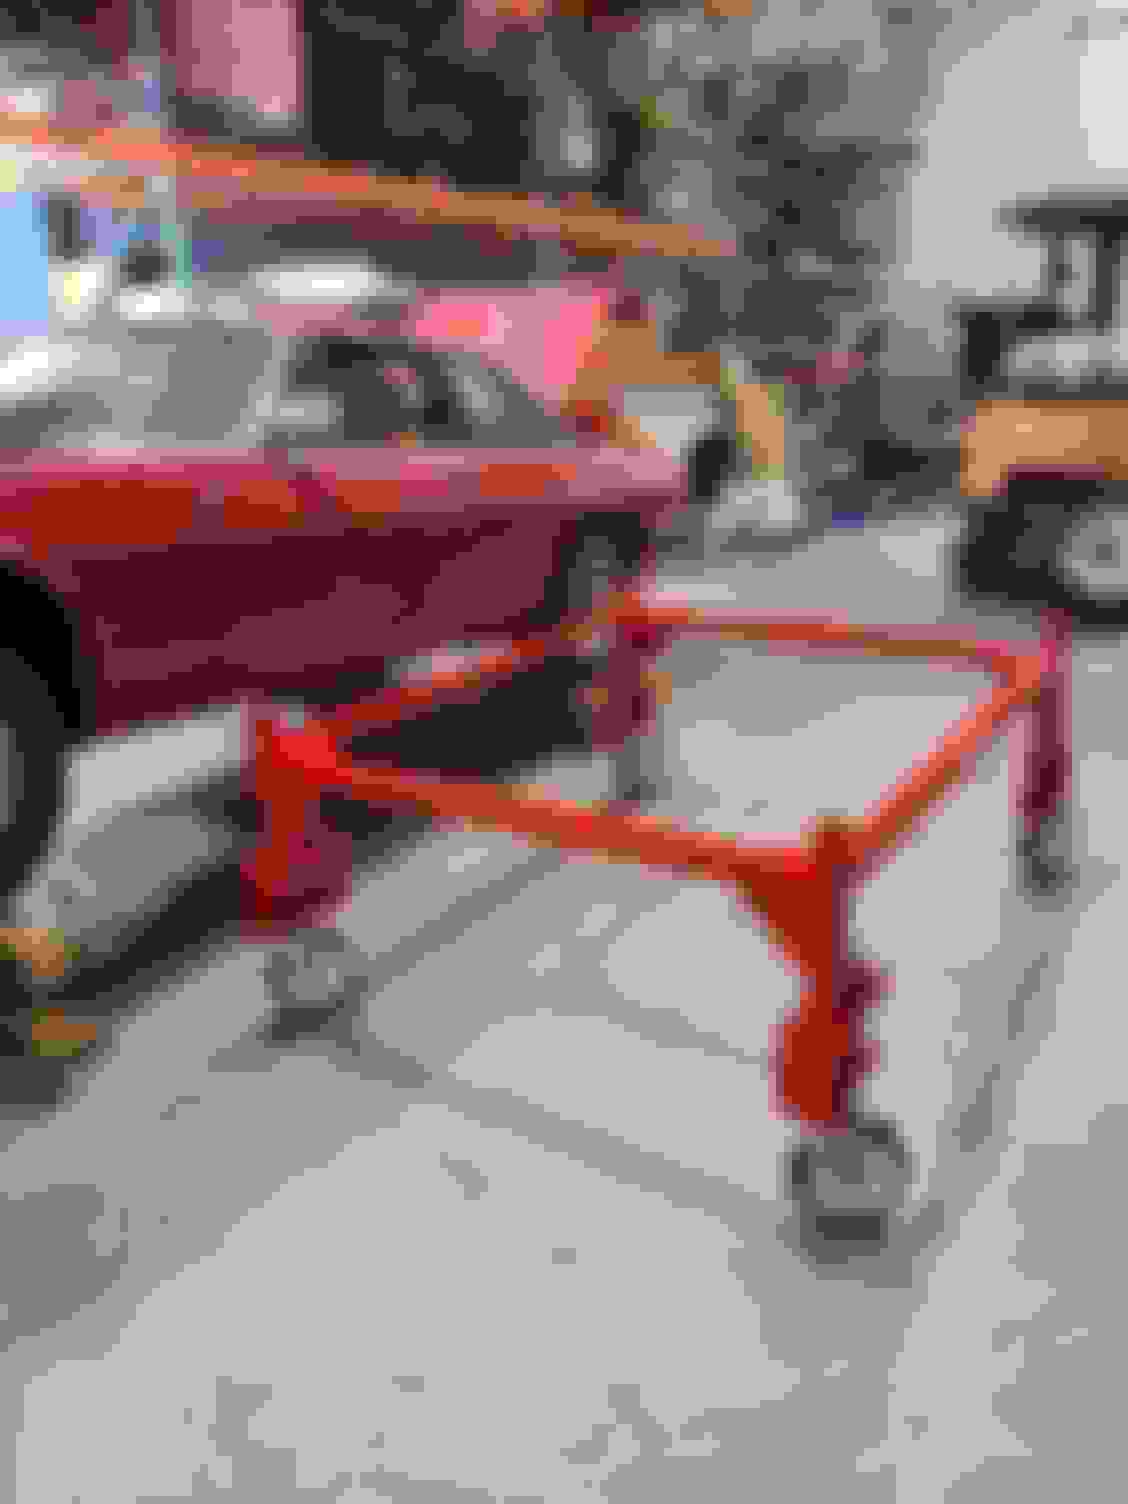
I jacked the car up very carefully. Inserting 4x4's whenever possible. Contact! No drama. It didn't warp. Everything lined up perfect. I think the rubber is doing it's job. Money shot.
Raison d'etre. This was last night. Notice I spun the car around. Worked like a charm. I wanted to use my forklift to support and lower the sub-frame. I might have to install my long forks to remove the IRS.
I'm going to start a new thread for this restoration. I think I'll call it Restoration Rouge
I was thinking that this is a pretty cool build and then I got to your finishing photos.
I've seen cars come out of a body shop with worse paint jobs!
Looking forward to following your build thread.
Thank you guys. It was fun to make something different. Pete, the paint was just rustoleum automotive primer and rustoleum cherry red. I messed up a little when I had a little paint left and "finished up the can" going back over a few areas. In doing so I didn't put enough paint down to flow. Just enough to make the finish rough. Damnit man!
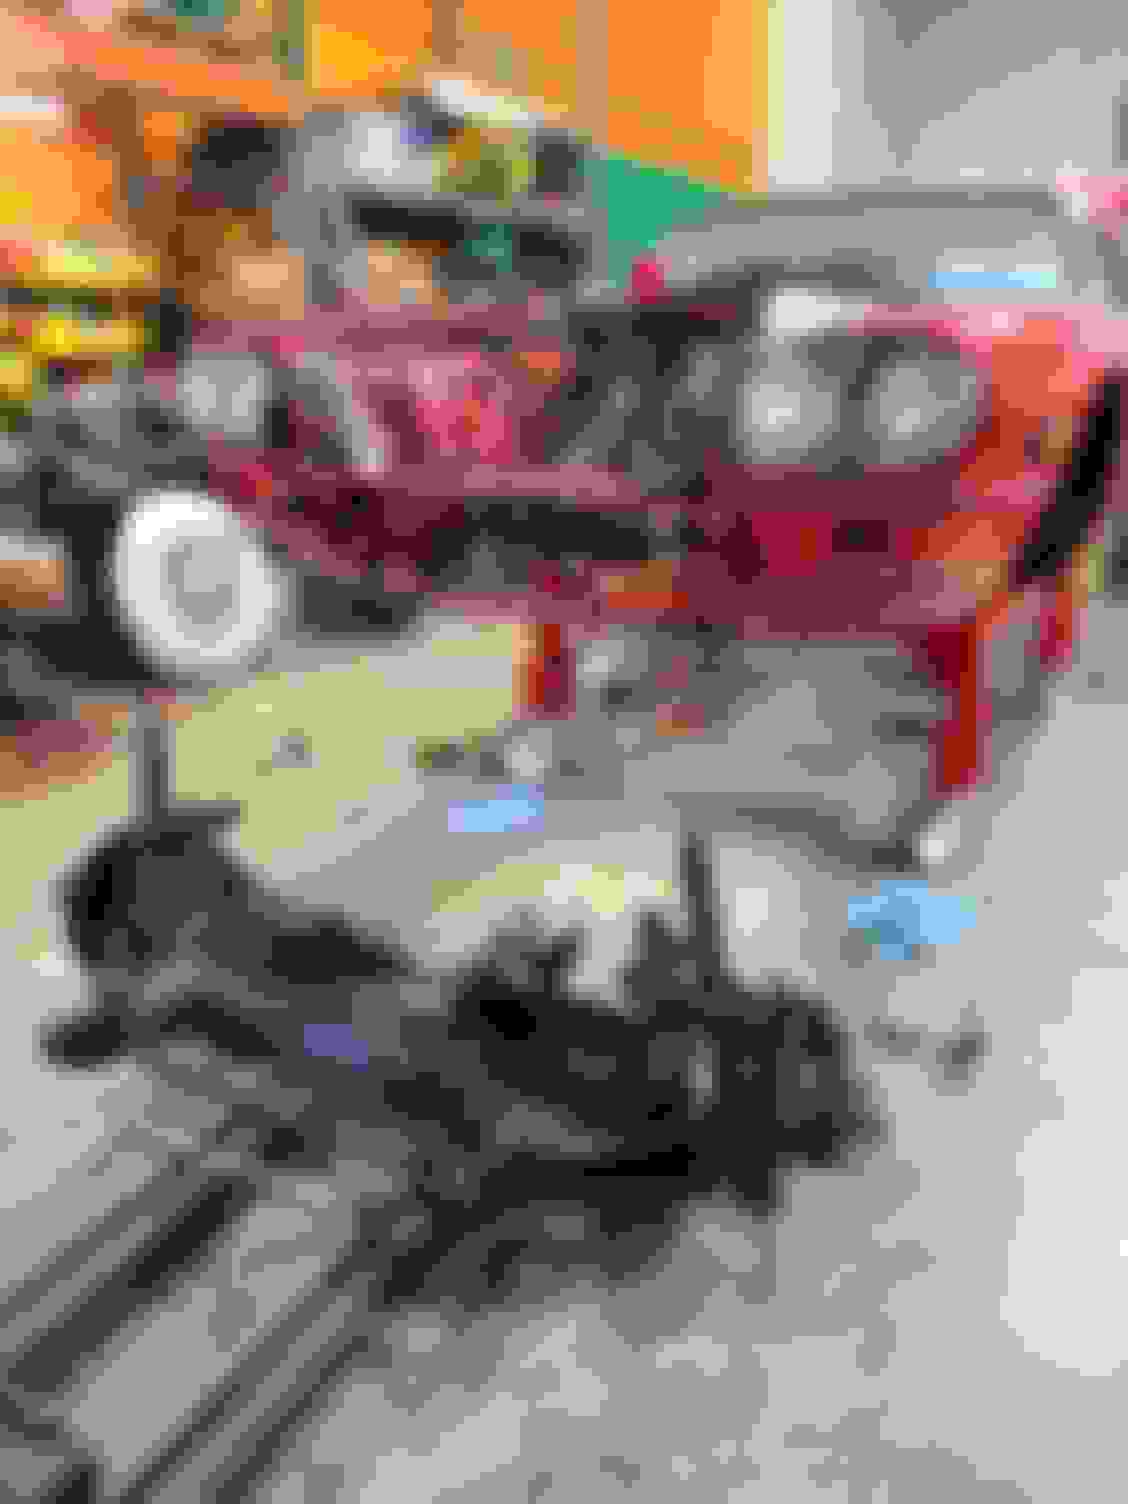
I built a rotisserie makes working on the chassis a lot easier. The mounting points are the mounts Jaguar built in for the bumpers so it�s about as sturdy as it gets. It�s on wheels so I can shove it into the corner to gain space
 03-05-2022, 03:06 PM