When you click on links to various merchants on this site and make a purchase, this can result in this site earning a commission. Affiliate programs and affiliations include, but are not limited to, the eBay Partner Network.
XJS Rear Wheel Lugs/Studs installation - honor our father and grandfathers heritage!
Some days ago I looked here for some instructions on how to peen a Jaguar XJS rear lug/stud. Nothing really helpful so I decided I shall write down my experience.
Short story: my 1988 XJS H&E imported from USA had problems with 2 rear wheel nuts. As a matter of fact 1 was missing entirely and the other one was moving freely on the hole (guess was new and never peened to the wheel). I procured one lug from SNG and while restoring the real cage, differential seals, etc. was the time to fix this as well.
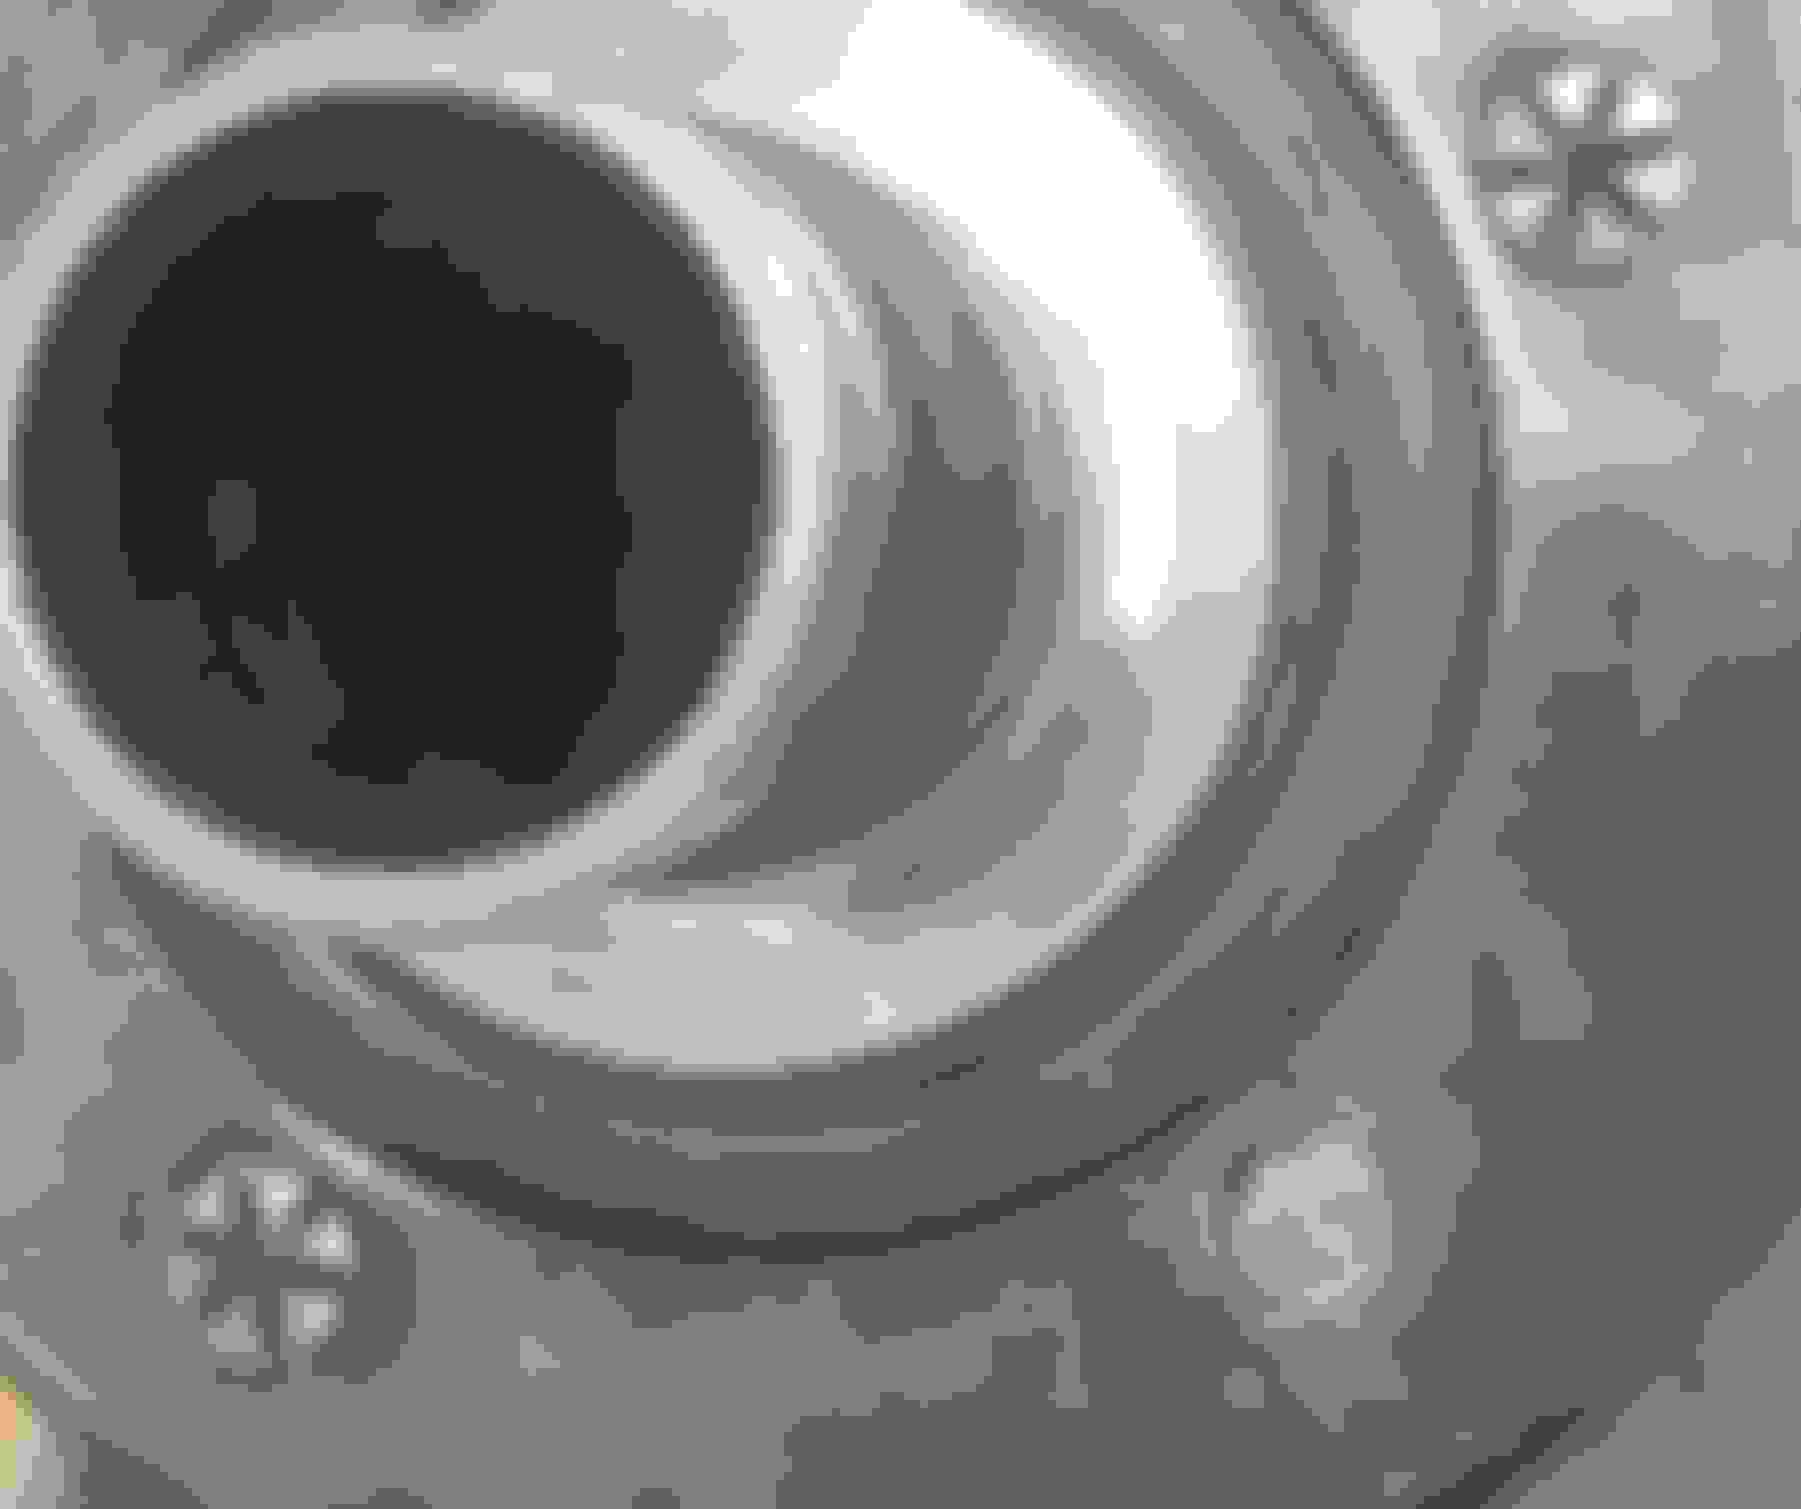
My first try, with simple commercial tools was a failure and very disappointing as my tools were mostly gently touching that stud (see photo 1):
First try small commercial tools
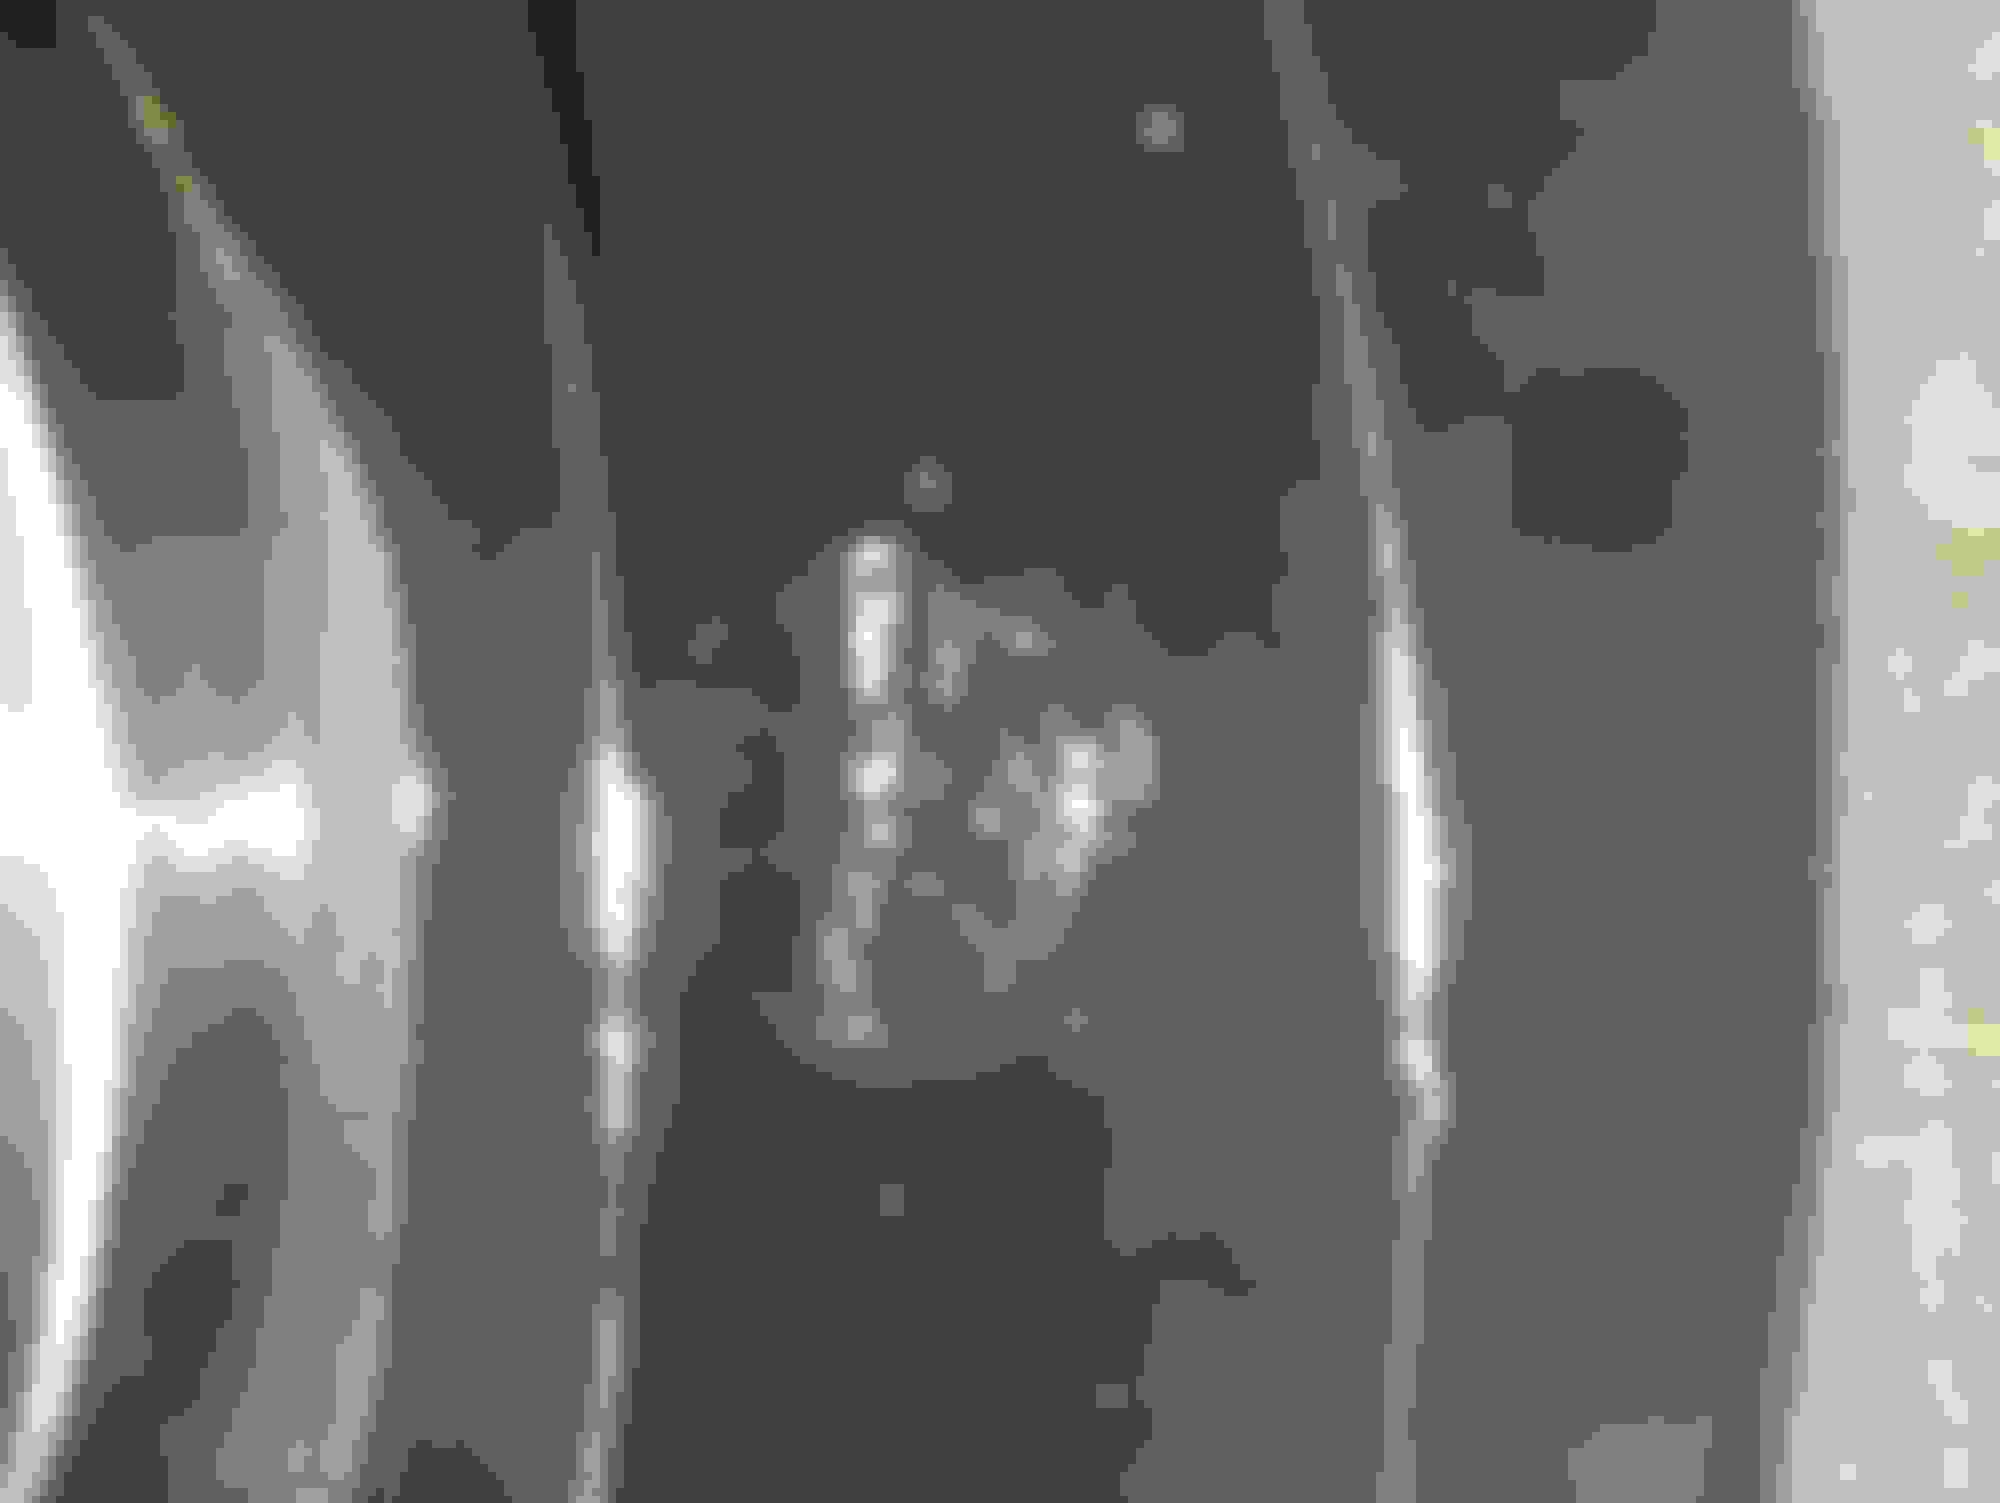
After this failure I remembered that my father has some real stuff at home and brought those on my garage. The change was incredible and the peen work went great in less that 5 minutes (sorry took photo only after painting):
Work Done
It does not look as nice as the factory ones but trust me are really strong. The work itself is not difficult with right tools. Put entire hub on a strong support with all 5 lugs on it. Hit the lug in the middle as strong as you can. DO this on 3 different angles as on the original lugs. It works well with the right tools.
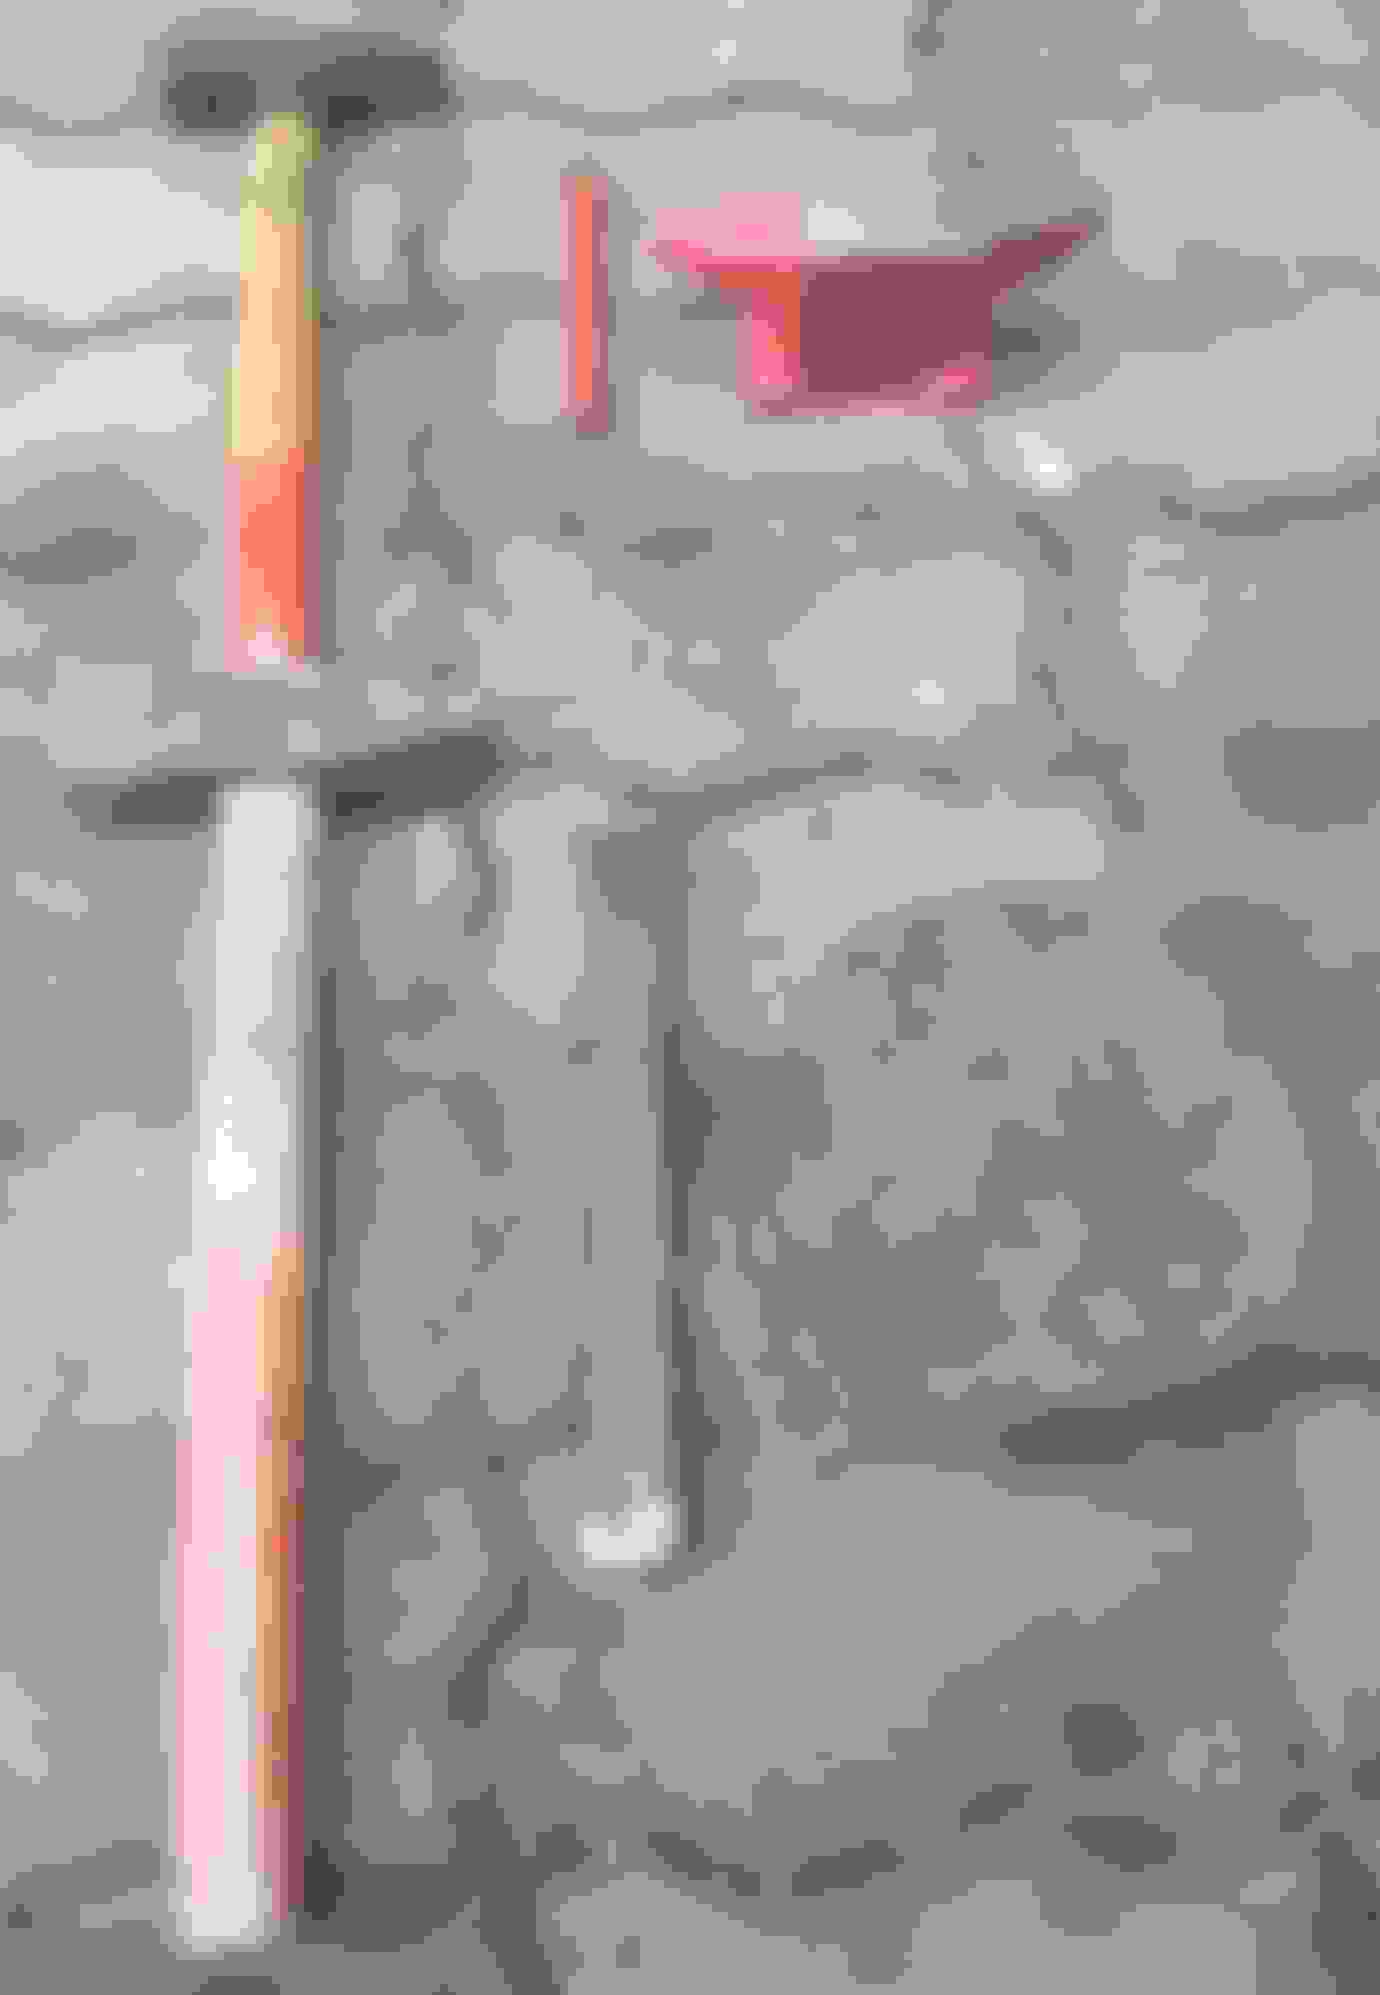
Below the tools required for peen-ing. Upper in the photo the ones nice, shinny and new THAT ARE USELESS for real jobs like this. And the tools
Lower ""THE REAL ONES"" rusted, no longer nice but strong and doing there job even now. Those belong to REAL PEOPLE we shall always honor- Fathers, Grandfathers, etc!

 03-30-2020, 03:23 AM