XJS Shooting Brake!! (pics)
#181
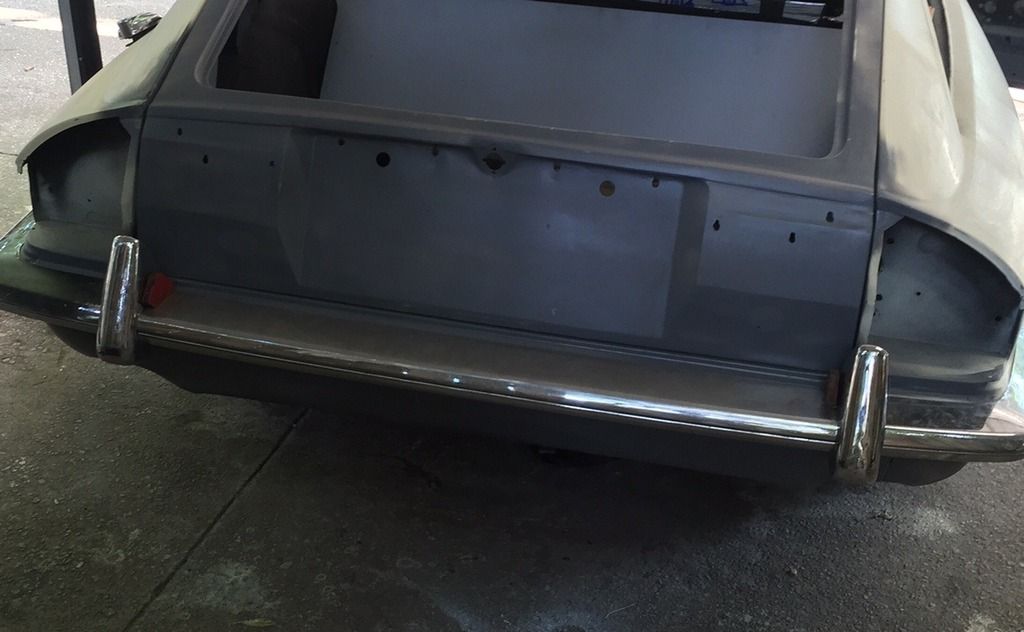
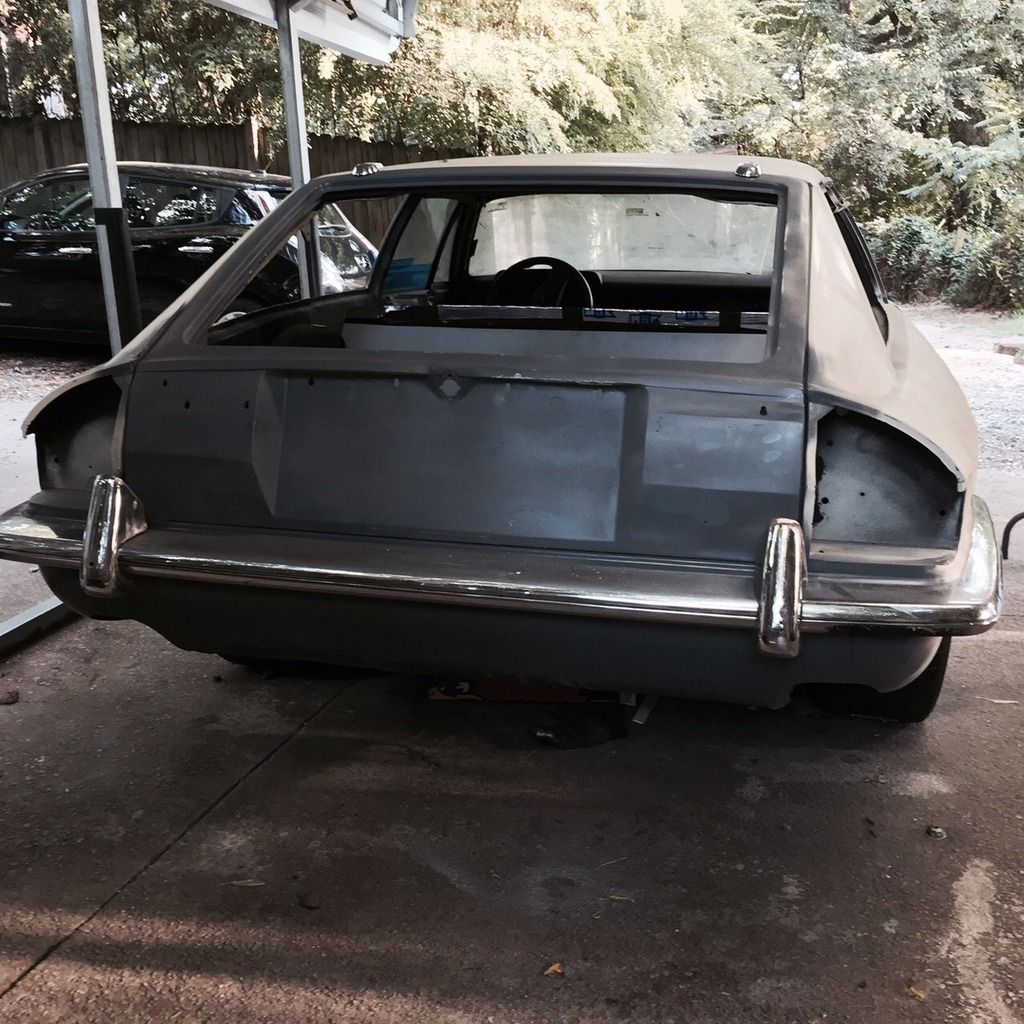
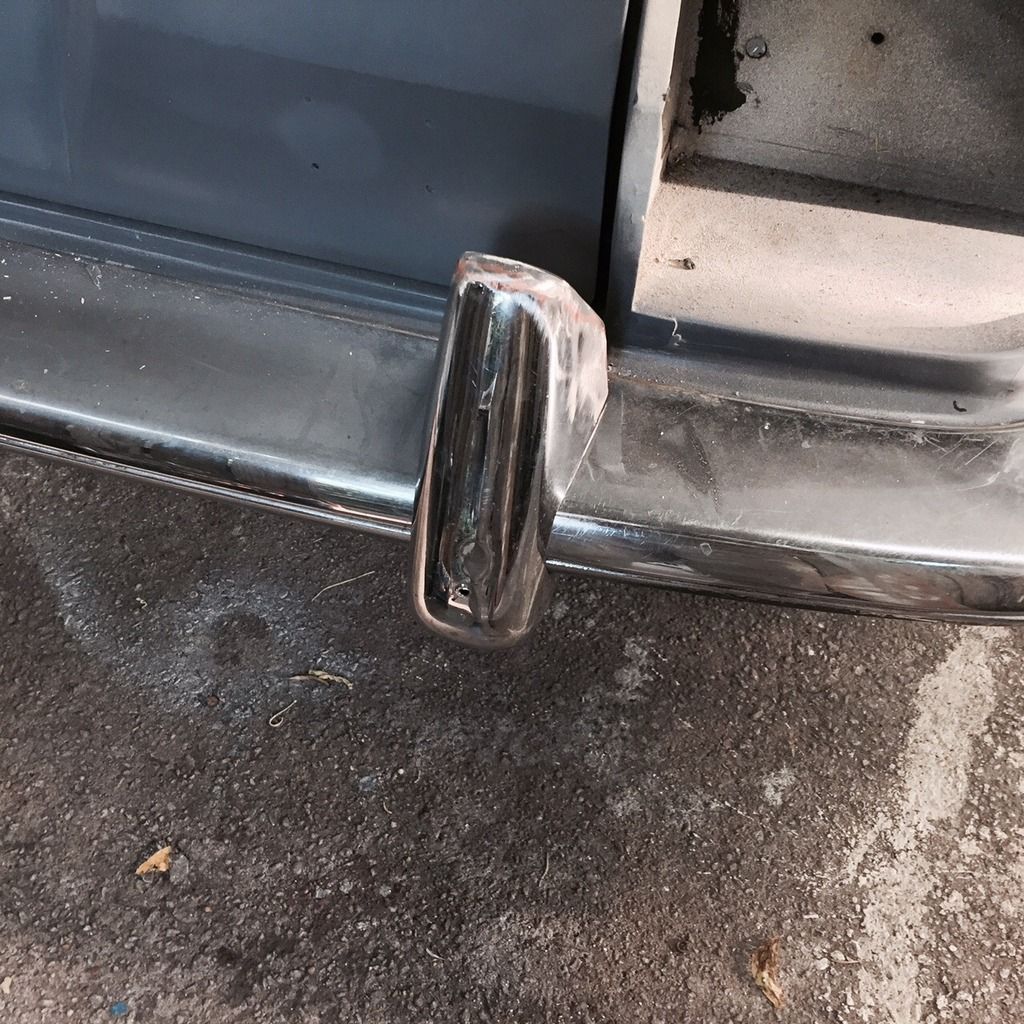
Bumper guards are a nice touch and I understand their placement for hiding the bumper seams, but personally I think they would look better moved inward to about where the indention starts for the tag.
#182
I wish I could remember the colour code. I actually have the remains of the can of paint in the shed, but no code on it at all. The car is long gone unfortunately.
Would you like me to spray a small piece of sheetmetal and send it to you?
Would you like me to spray a small piece of sheetmetal and send it to you?
#183
Hi
The Paint Code for 'Old English White' 1963-1967 BLWT
Dupont Code 8207
Ditzler Code 8177
See Link: Post from Tom 1234177
http://www.theminiforum.co.uk/forums...sh-white-code/
How did you do the Louvres in the Bonnet/Hood?
Did you have them done on sheets of Steel and then cut holes in the Bonnet/Hood and then Weld them in Flush.
Which ever way you did that, its much too 'Cool for School', you're just so Clever!
Last edited by orangeblossom; 09-23-2015 at 06:24 PM.
#184
No need for that, I'm not committed to a specific color as much as a creamy white. There are two colors from American cars from 50's, India Ivory (GM color) and colonial white (Ford color) that are nice.
#185
A local guy here in Georgia does them out of his basement. cost $44, an amazing deal considering set up and time, as well as equipment. I'm very pleased with the look now that the car has primer on it. And functional too.
#186
Jeff
#187
So, I had the guy remix it to a much lighter color that is a creamy white. If weather holds, I'll be painting Sunday....
#188
The following users liked this post:
Dave1109971 (09-25-2015)
#189
#190
#191
#192
The following 2 users liked this post by bullittandy:
Greg in France (09-28-2015),
ptjs1 (09-28-2015)
#193
The roof looks perfect. As for peel, I never get it with clearcoat, but always a couple of runs. It's hard to tell yourself to keep putting the clear on wetter for fear of runs!
I always get peel on traditional urethane (no clearcoat) which I prefer using for solid colours. Far more forgiving of abuse, easier to repair and just tougher paint.
Not that it matters much with pampered cars, they seldom stay outside!
I always get peel on traditional urethane (no clearcoat) which I prefer using for solid colours. Far more forgiving of abuse, easier to repair and just tougher paint.
Not that it matters much with pampered cars, they seldom stay outside!
#194
I followed directions for first coat of clear but reduced the 2nd and 3rd coats and they flowed much better.
But, I have time and money to supplement my meager painting talent so a days work should have it flat.
Roof is nearly perfect in shape. I'm extremely pleased with how it turned out-its really kind of remarkable.
Peace!
But, I have time and money to supplement my meager painting talent so a days work should have it flat.
Roof is nearly perfect in shape. I'm extremely pleased with how it turned out-its really kind of remarkable.
Peace!
The following users liked this post:
gerryxjs (02-19-2016)
#195
#196
#197
#198
I'd say the door handles were a bit tricky and if you were respraying same color you might leave them alone. Definitely remove mirrors. The chrome trim around windows was easy as well.
Taping took me 5 hours, but thats two doors, a hatch opening and a hood off the car. I came in at 2 pm on Sunday (starting at 9 am) and my wife asked, "How does it look?" and I said, "I'm just about to start spraying!"
The following users liked this post:
xjsman89 (09-30-2015)
#199
Clear coat is one of those things....some prefer it thicker, some thinner. It all depends on how you spray. The manufacturer's guidelines get you in the ballpark, the particular painter, spray gun, temperature and hardener speed all influence how it goes on. Clears tend to be very forgiving in this respect.
As long as there's 3 coats on there, you should have plenty to play with.
If you didn't know, 2k paint is MUCH easier to sand within the first week or so of being sprayed. Knock it back early with wet paper and buff after it has hardened up a little more. The only reason I didn't sand my car right away is that I knew it would sit for a long time and I wanted to wet sand after I had finished the rest of the car, as I know there will be light overspray here and there etc.
I HATE masking up cars. I always do it the day before I want to paint, take my time, make sure everything is super clean etc. Then I come in on the day, check it all over and I can concentrate just on painting.
I like your plastic walls too.
I followed directions for first coat of clear but reduced the 2nd and 3rd coats and they flowed much better.
But, I have time and money to supplement my meager painting talent so a days work should have it flat.
Roof is nearly perfect in shape. I'm extremely pleased with how it turned out-its really kind of remarkable.
Peace!
But, I have time and money to supplement my meager painting talent so a days work should have it flat.
Roof is nearly perfect in shape. I'm extremely pleased with how it turned out-its really kind of remarkable.
Peace!
#200
Has anyone ever heard about the hassle of sanding/polishing louvers? Holy Sh*t were they right.
It's an experience that you simply have to have to believe. Like when you were a kid and found the bakers chocolate and your mom insisted that it doesn't taste good but you KNOW she's lying cause it's CHOCOLATE.
Well, mom was right and louver aficionados were right.
It's an experience that you simply have to have to believe. Like when you were a kid and found the bakers chocolate and your mom insisted that it doesn't taste good but you KNOW she's lying cause it's CHOCOLATE.
Well, mom was right and louver aficionados were right.


