
XJS Shooting Brake!! (pics)
#261
 12-12-2015, 05:30 PM


#264
12-13-2015, 04:22 AM
Veteran Member

#265
12-13-2015, 12:11 PM
Senior Member
#266
12-15-2015, 03:07 PM
I've removed air pump and idler pulley on Shooting Brake. GM Alternator mounted down low and AC compressor in original spot.
I saw a previous post where a clever fellow discovered that a Bando 3430 belt fits perfectly around AC compressor and crank pulley and I can confirm this. I loosened the mounting bolts on AC compressor and slipped belt over and and then retightened all mounting bolts.
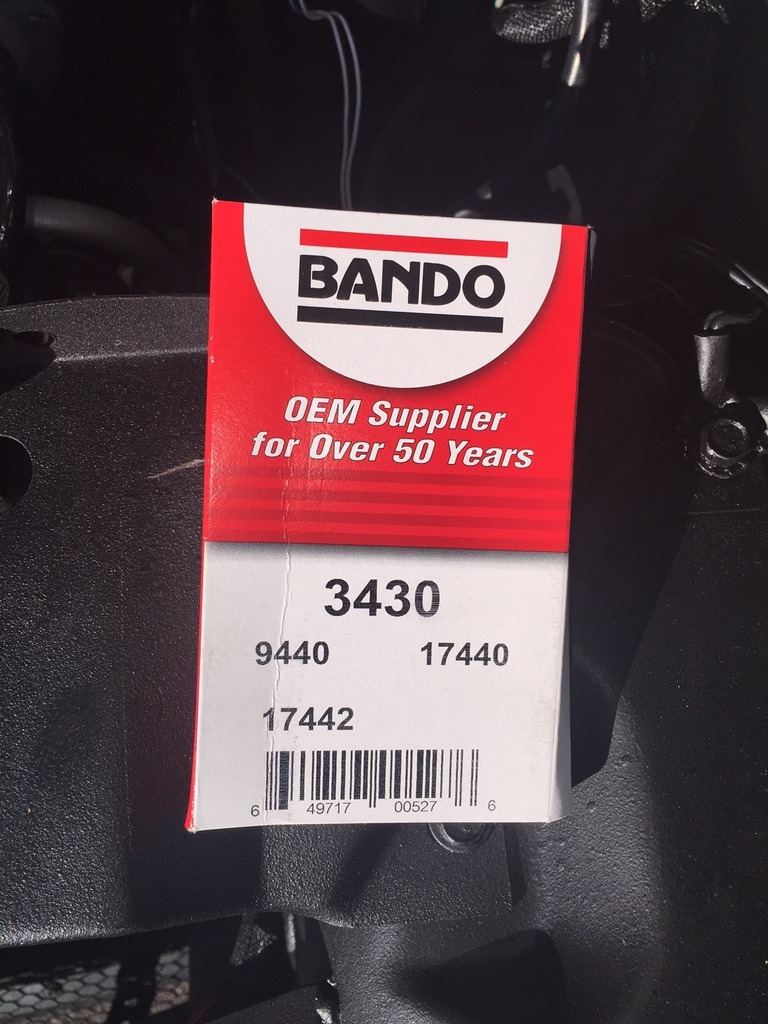

This last photo shows belt deflection-sorry my hand is camouflaged.

#267
12-18-2015, 05:49 PM
Preliminary door panel test fit:
When I ordered my seat covers I also ordered leather hide in same color for interior trim.

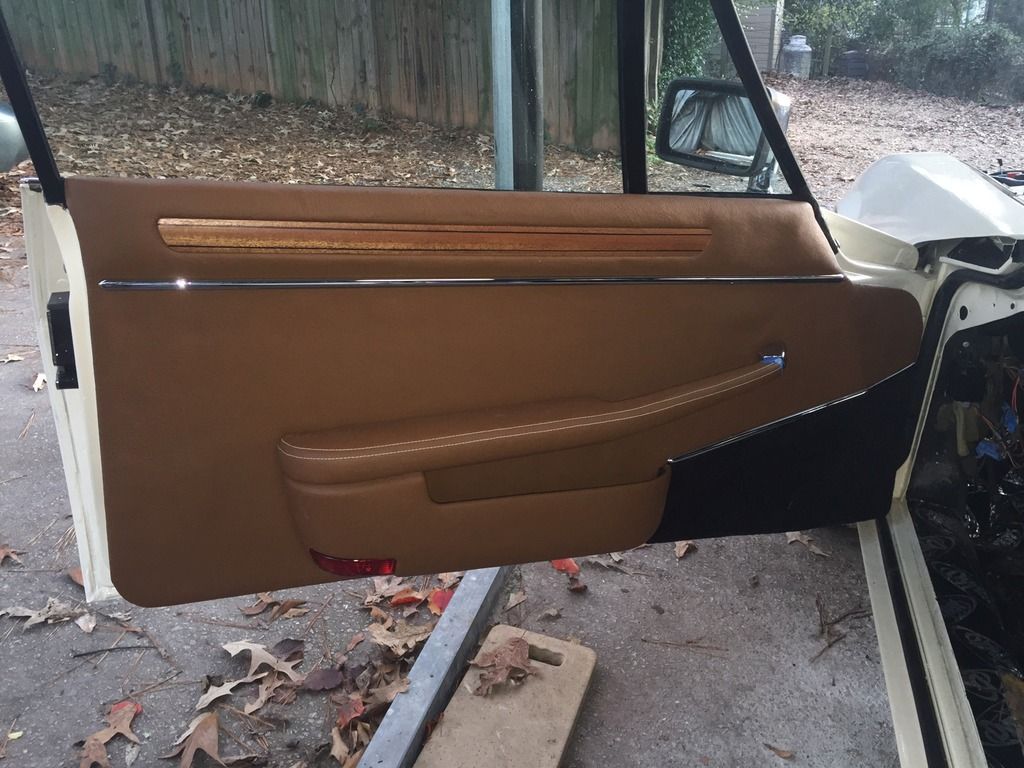
The door panels are easily recovered but the grab handle and map pocket are a bit difficult.
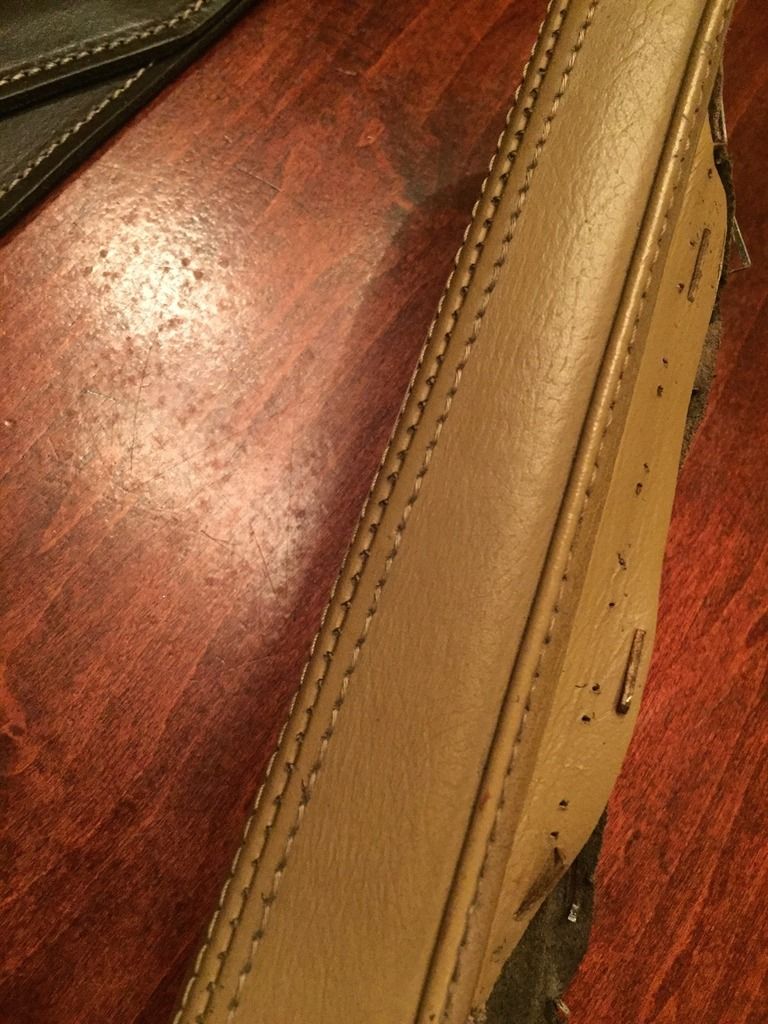
My leather sewing skills are not advanced and I cannot recreate the french seam that the factory uses on the door grab. In addition, the single overlap seam on the inside edge of the grab handle is beyond my capabilities. See pic below of stock handle below:
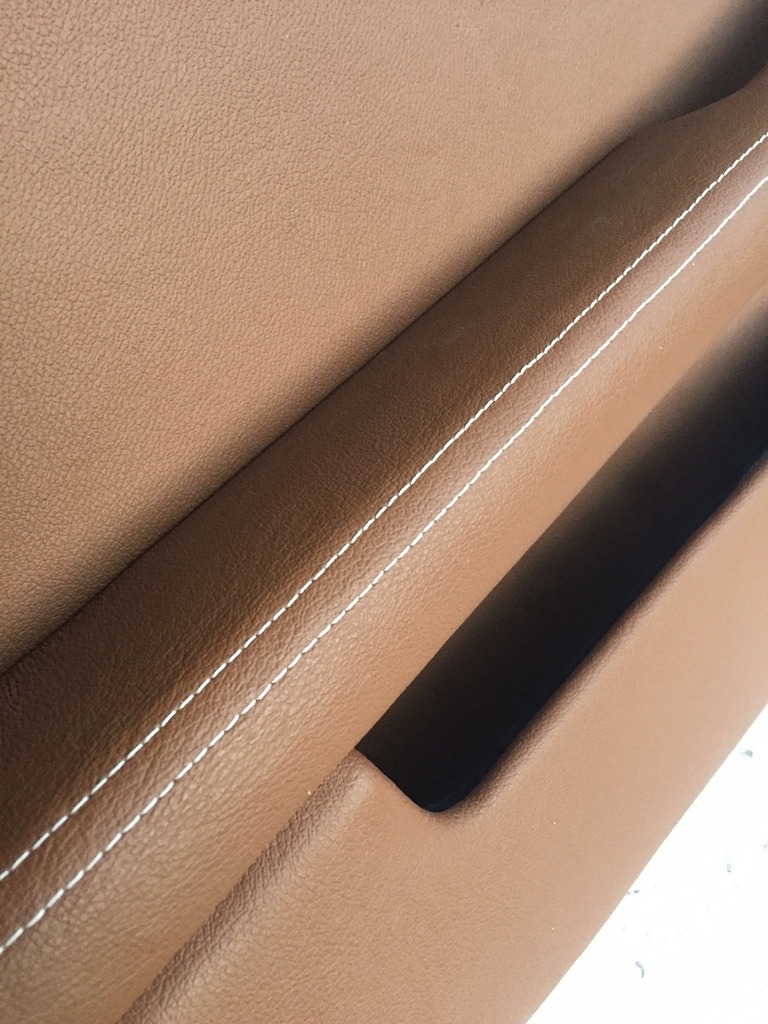
But! I am able to recreate a similar effect with two simple sewn lines. See below:
When I ordered my seat covers I also ordered leather hide in same color for interior trim.


The door panels are easily recovered but the grab handle and map pocket are a bit difficult.
My leather sewing skills are not advanced and I cannot recreate the french seam that the factory uses on the door grab. In addition, the single overlap seam on the inside edge of the grab handle is beyond my capabilities. See pic below of stock handle below:

But! I am able to recreate a similar effect with two simple sewn lines. See below:


#271
12-21-2015, 03:27 PM
Veteran Member


#274
12-29-2015, 12:58 PM
Thanks! I cobbled together an exhaust system so I can start it without enraging my neighbors.
Got my bumpers back from chromer-notice the rear bumper has been added. I'm a *little* dissatisfied with the juxtaposition of the bumper guards and the taillights and emblems. Another lesson for the next one-you have to have everything mocked up in order to start modifications.
But overall, its really coming together nicely!
#275
01-01-2016, 02:23 PM
XK8 wheels painted. Used a paint called hypersilver, made by a company in Ohio,
Hypersilver | Polished metal liquid metallic spray paint | Motostorm.
I used a metallic grey base coat (some use gloss black) for first coat, then you gently, barely mist the hyper silver onto the wheel until you get the desired effect. I probably applied 10 "coats" and they looked f**king fantastic--and then I sprayed the clear coat and it ruined about 50% of the effect. From what I've read this paint requires tons of experience.
C'est la vie! I'm still happy with the way they look now. Waiting on tires..


#276
01-02-2016, 03:47 AM
Veteran Member

#278
01-02-2016, 06:27 PM
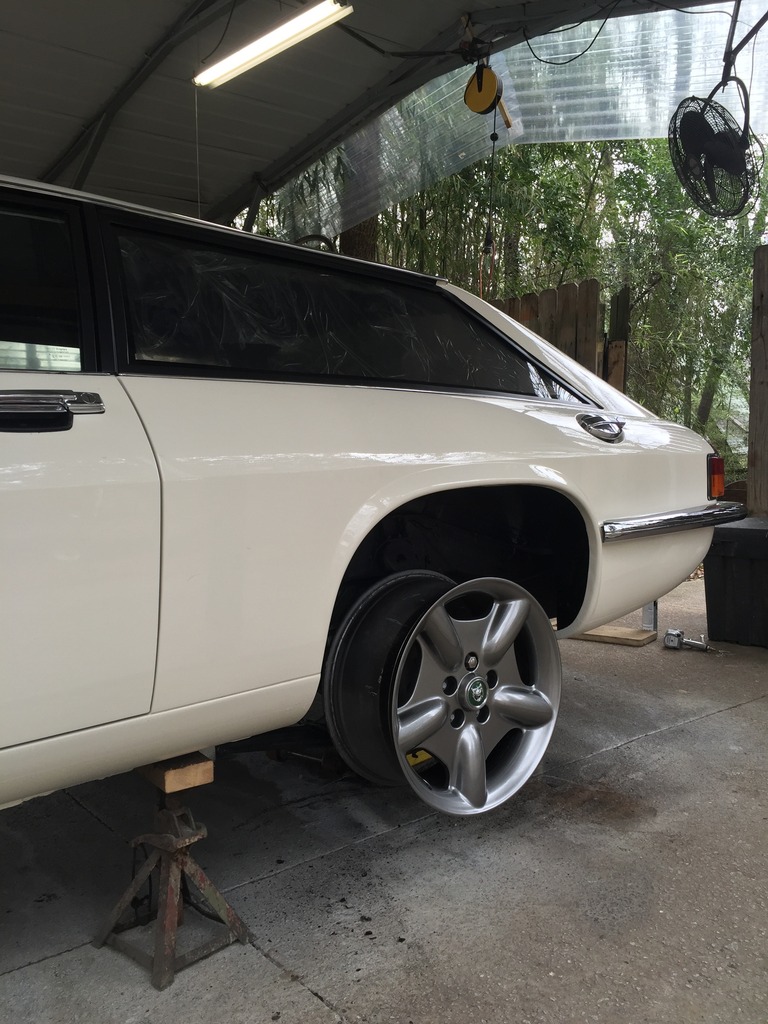
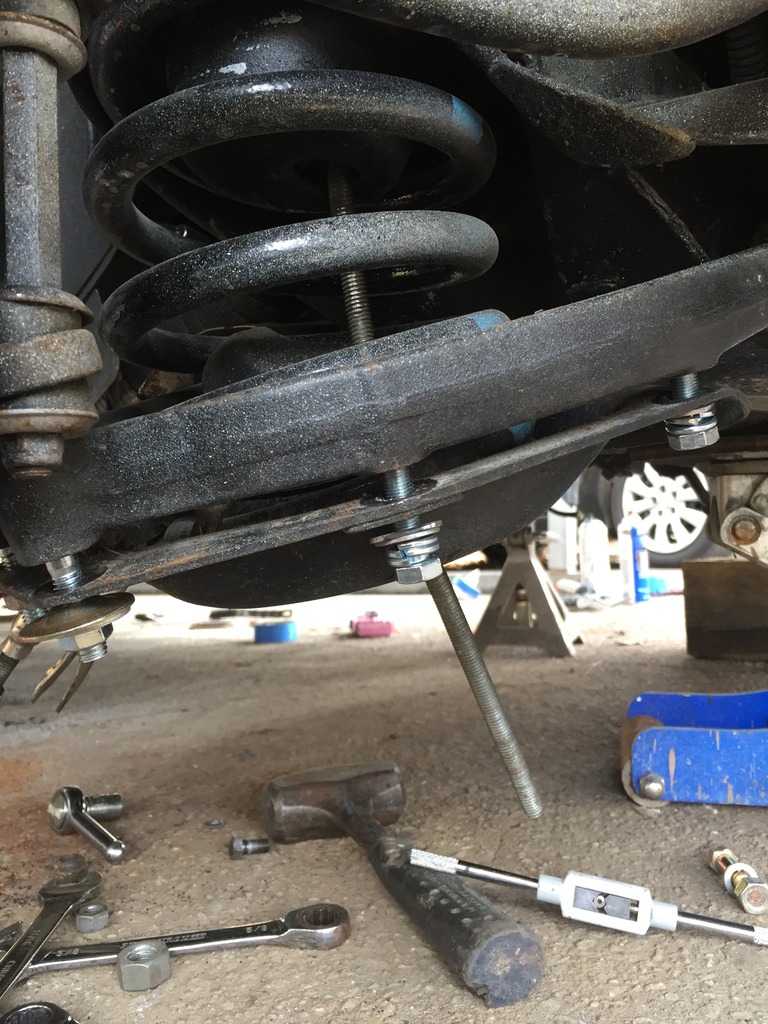
In prep for new tires and my painted wheels I decided to lower the front end. I used flat aluminum bar stock, 1" wide, 3 pieces total which resulted in an approximate 10 mm thickness:

The 3 pieces of aluminum were placed between the a-arm and the spring bottom plate:
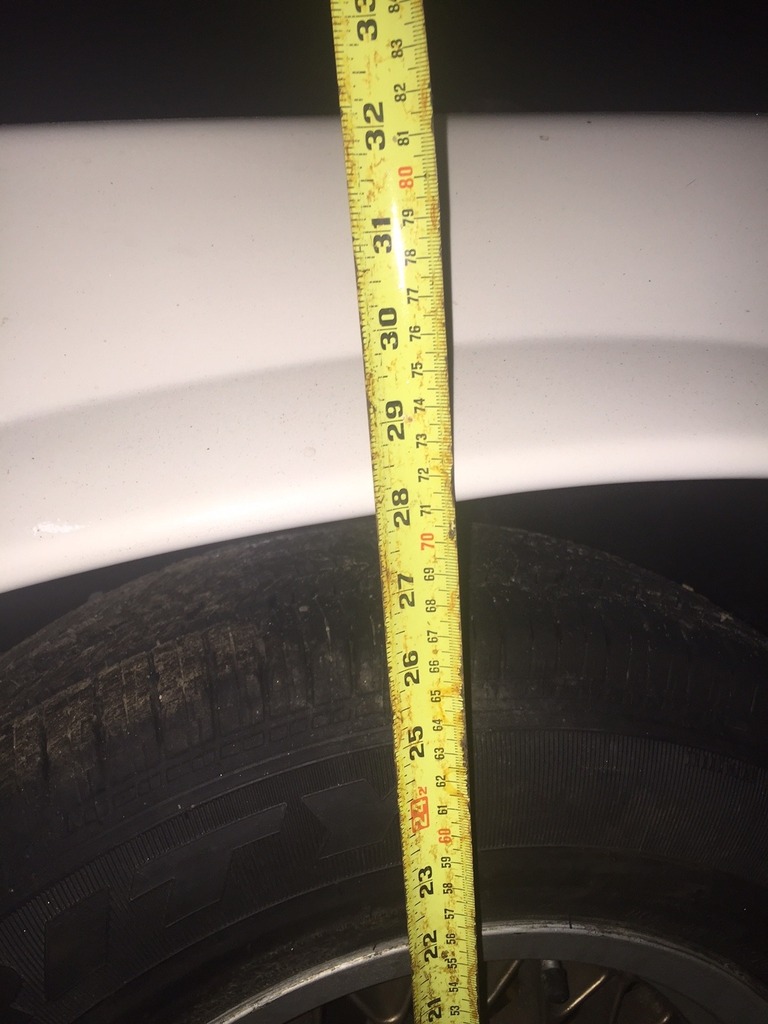
Original measured height was 28" and reduced to 27 1/2" after adding spacers.

The final product:


The 3 pieces of aluminum were placed between the a-arm and the spring bottom plate:

Original measured height was 28" and reduced to 27 1/2" after adding spacers.


The final product:

#279
01-03-2016, 02:24 AM
Senior Member