When you click on links to various merchants on this site and make a purchase, this can result in this site earning a commission. Affiliate programs and affiliations include, but are not limited to, the eBay Partner Network.
New member here, in last summers westcoast heat dome a portion of my 2007 XK's headliner cloth let go & sagged. Does anyone have procedural advice or a shop experience with a 2007 - 2014 XK/XKR headliner restoration? Wondering if the windshield needs removal prior to removal of the headliner board, if affirmative this opens a can of worms with possible breakage of the laminated/heated windscreen circuit wiring, therefore a possible new windscreen to add.
SiPhil:
My headliner failed in October 2021, after a bout of unseasonably warm weather in San Diego CA.
Replacing the headliner was the first project I performed on my 2008 XKR. If I can do it, you can do it!
Definitely review the Tberg thread suggested by Sean W.
Tberg and I spoke prior to the project and he kindly shared his textile knowledge and advice. I found the exact color match of Passion Suede material and California compliant headliner adhesive from a local auto/furniture upholstery shop, UFO, Upholstrey Factory Outlet in National City Ca.
I did take pictures and I have uploaded them to an album and I will try to attach to this response.
I am no expert having only done one headliner, but my project looks factory gorgeous and hasn't fallen yet! Anyone who needs help/advice is welcome to DM or email me I learned a few tricks, (i.e. bleed through)
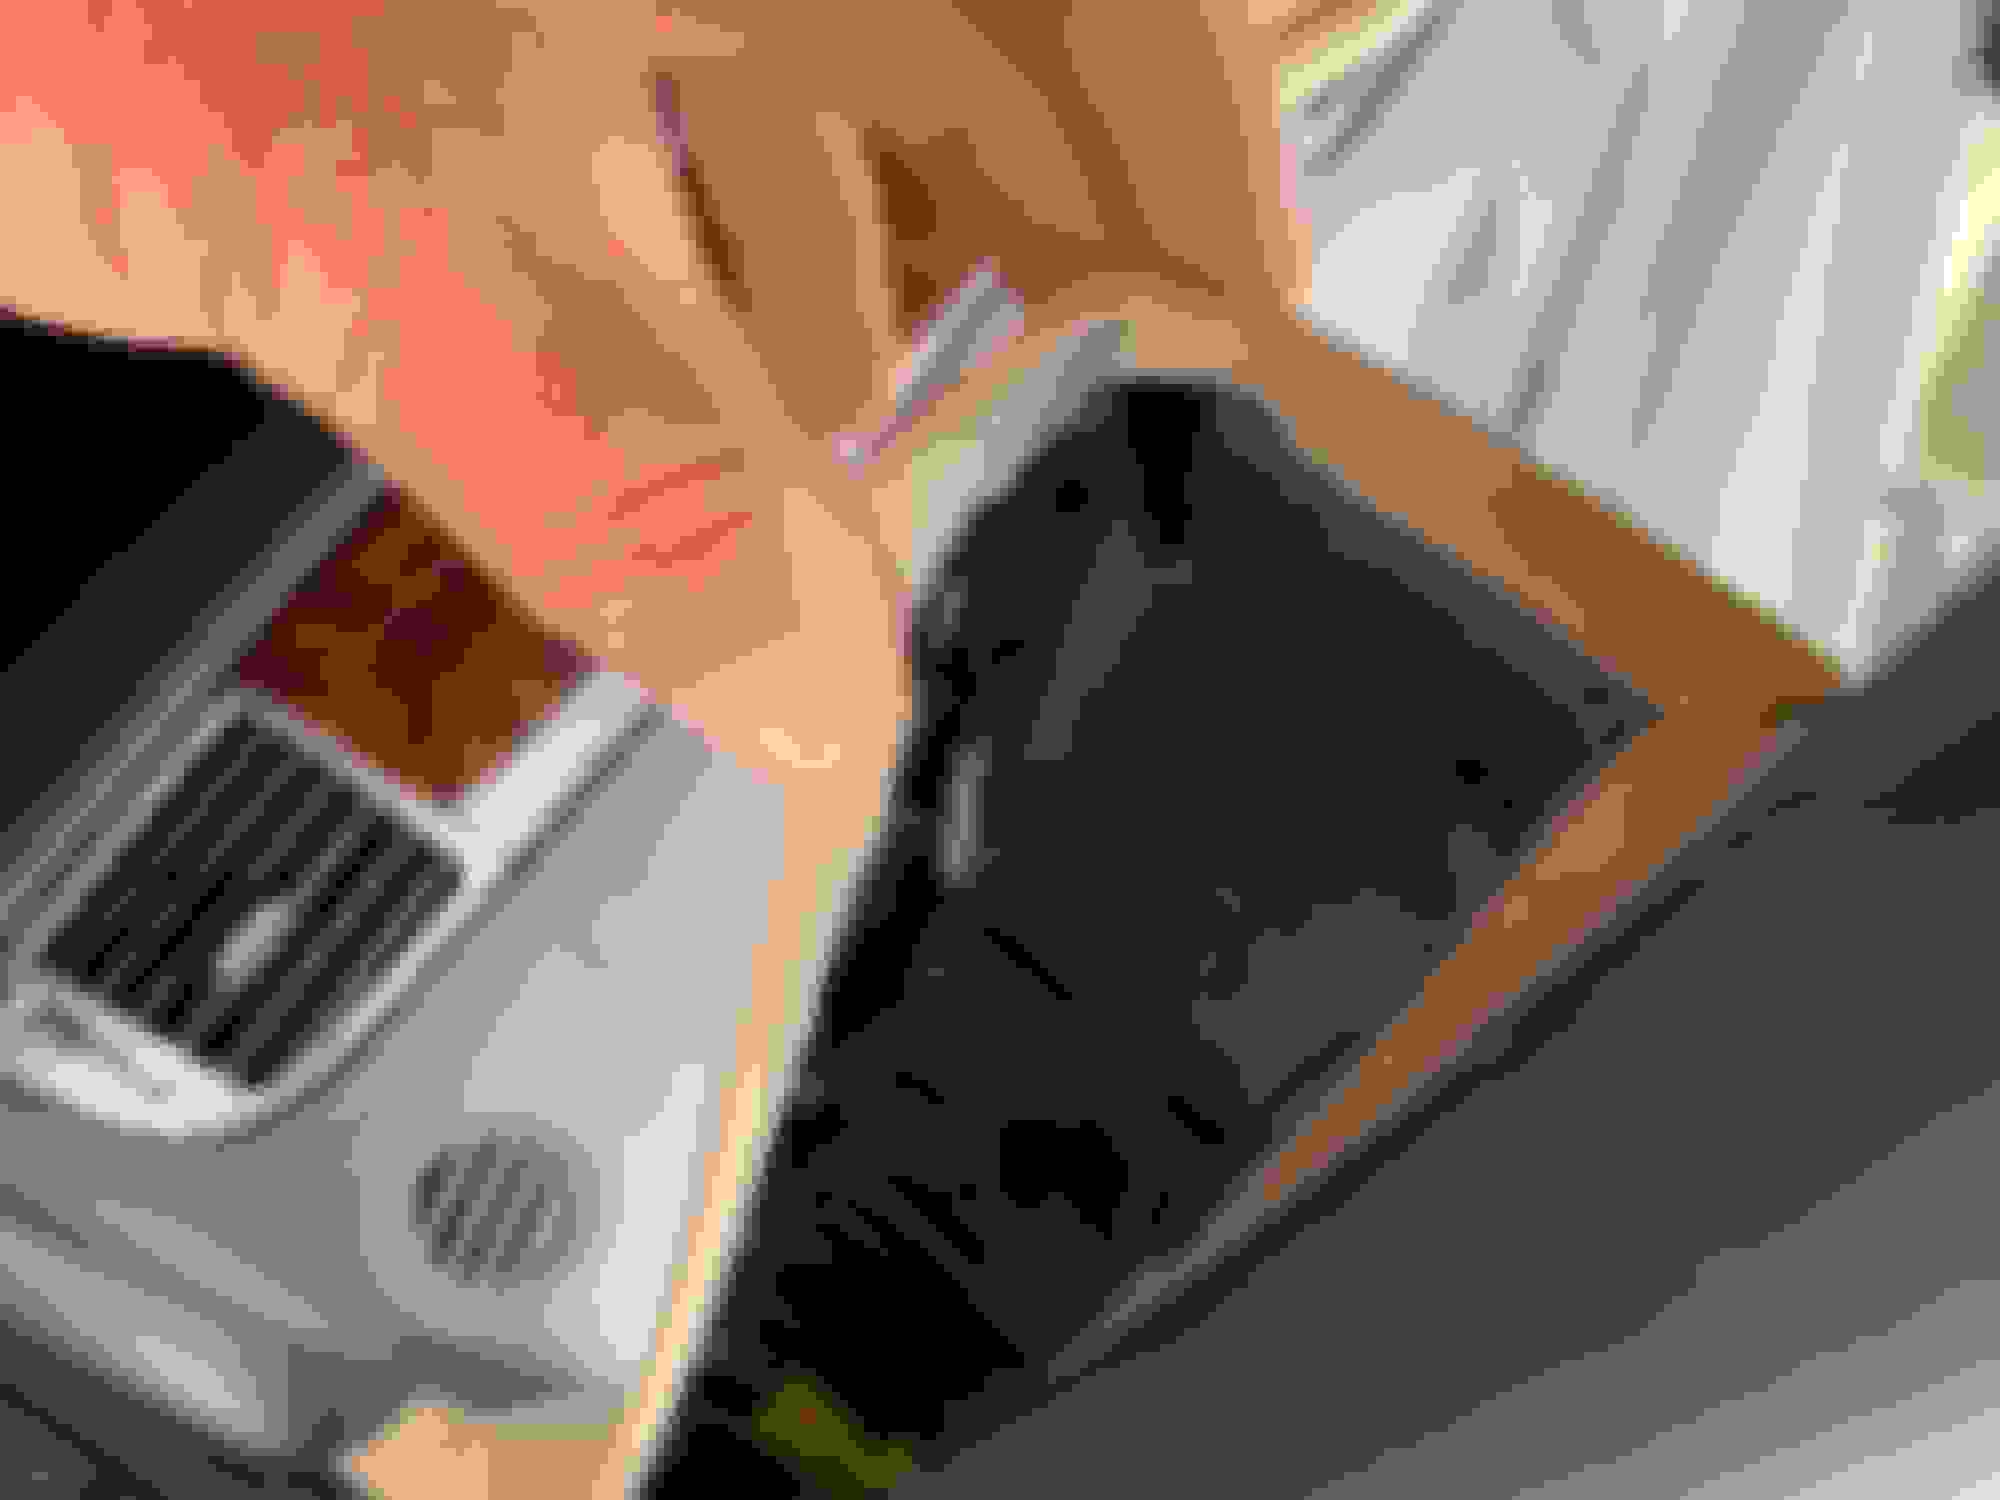
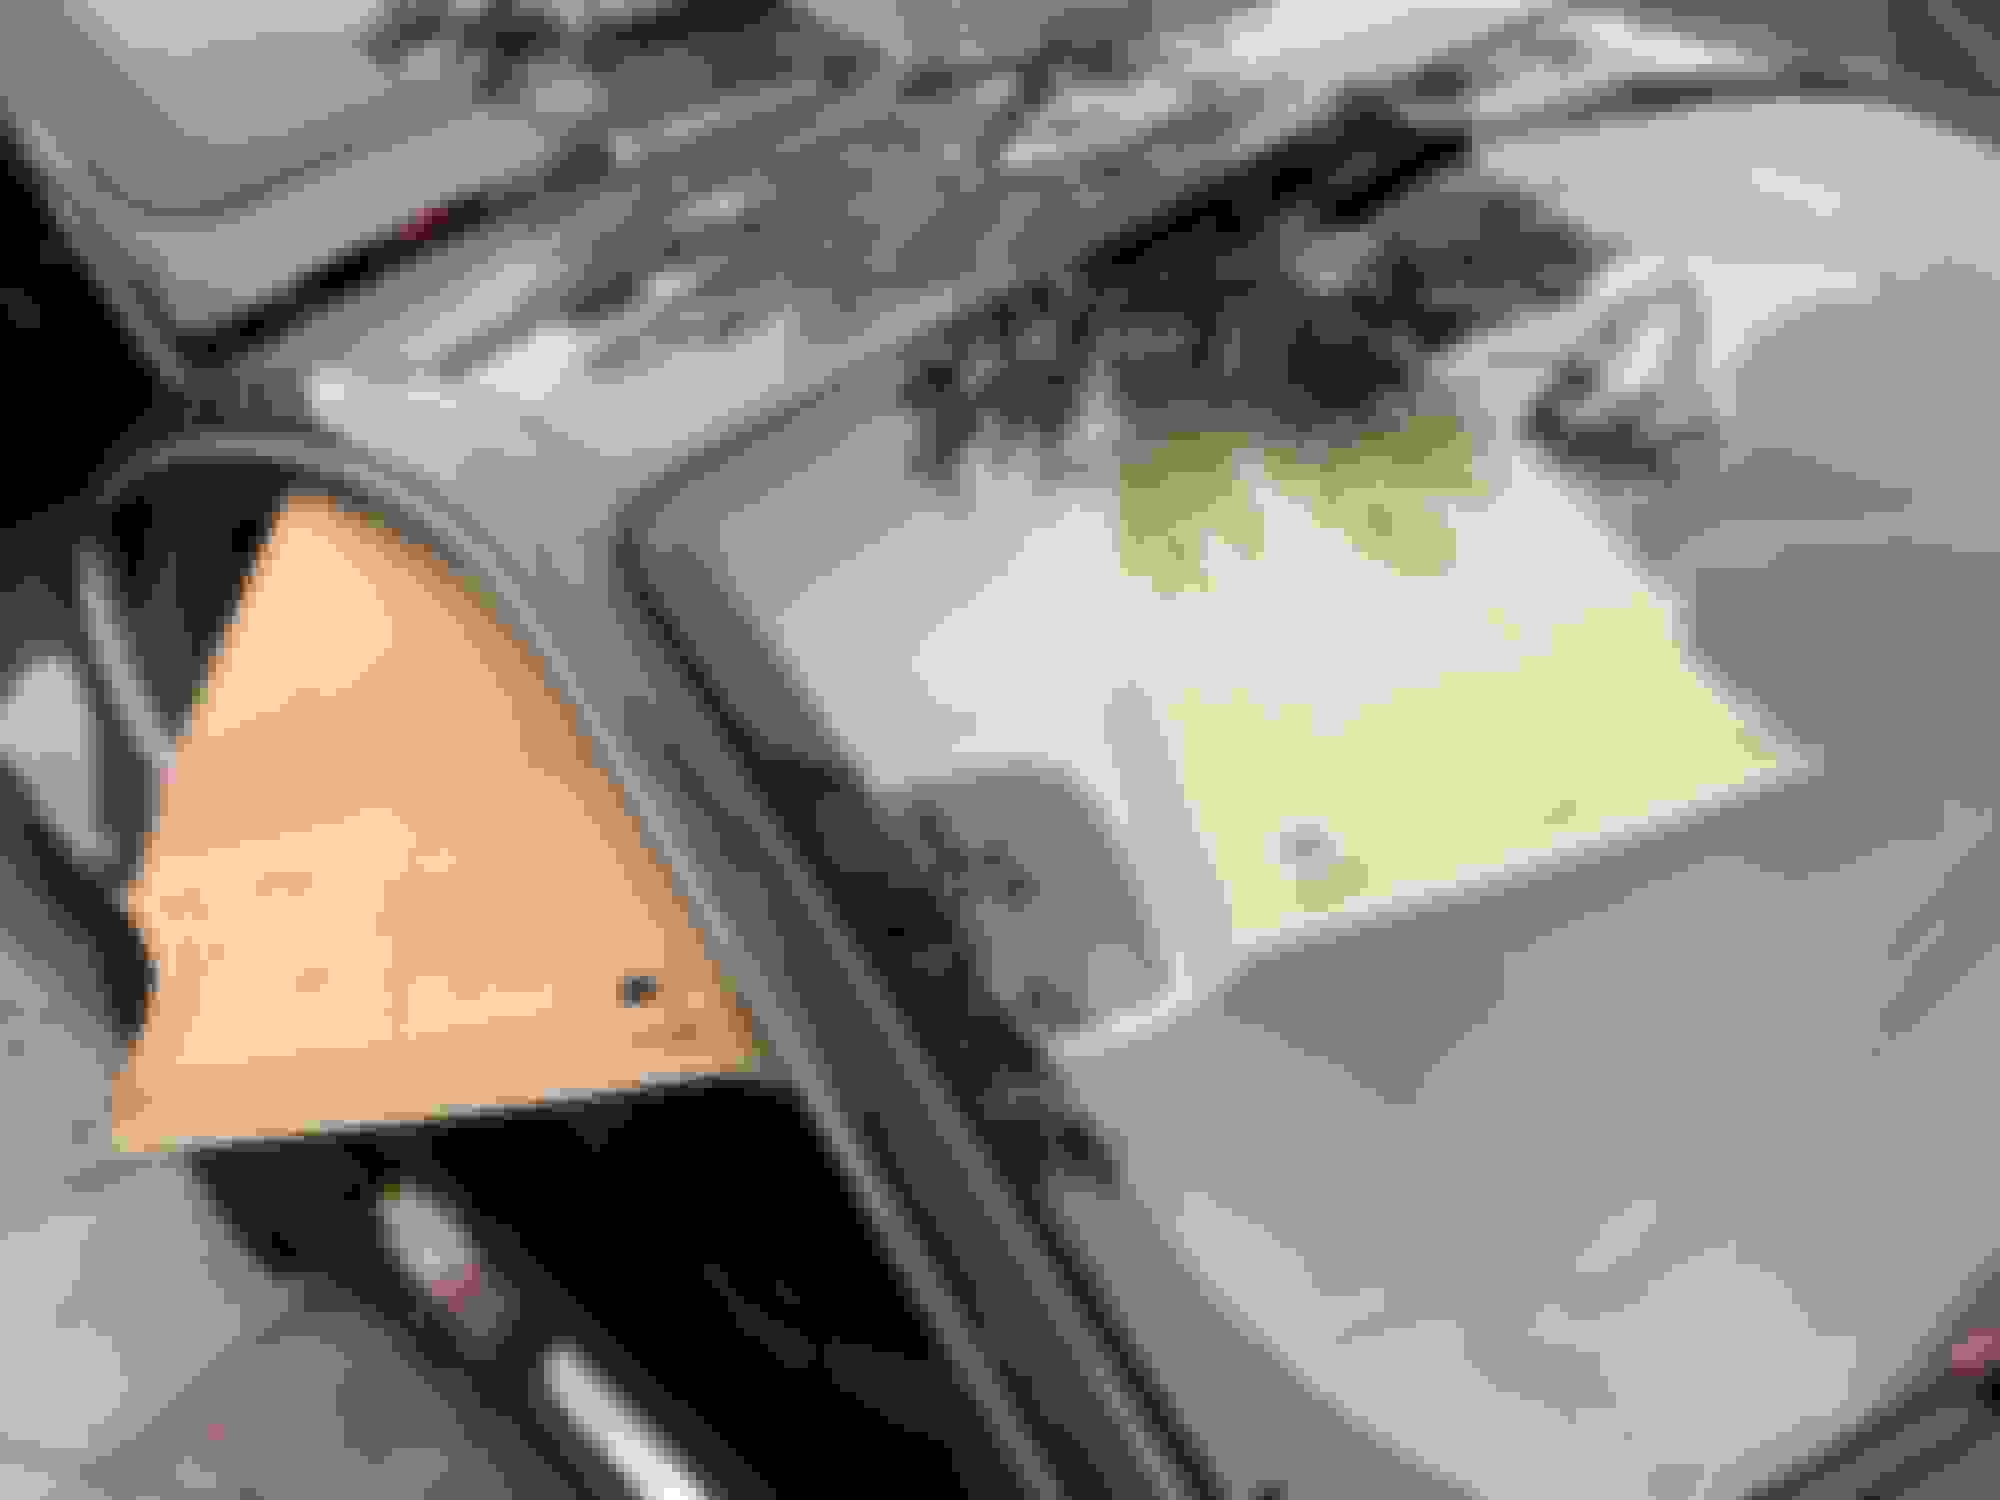
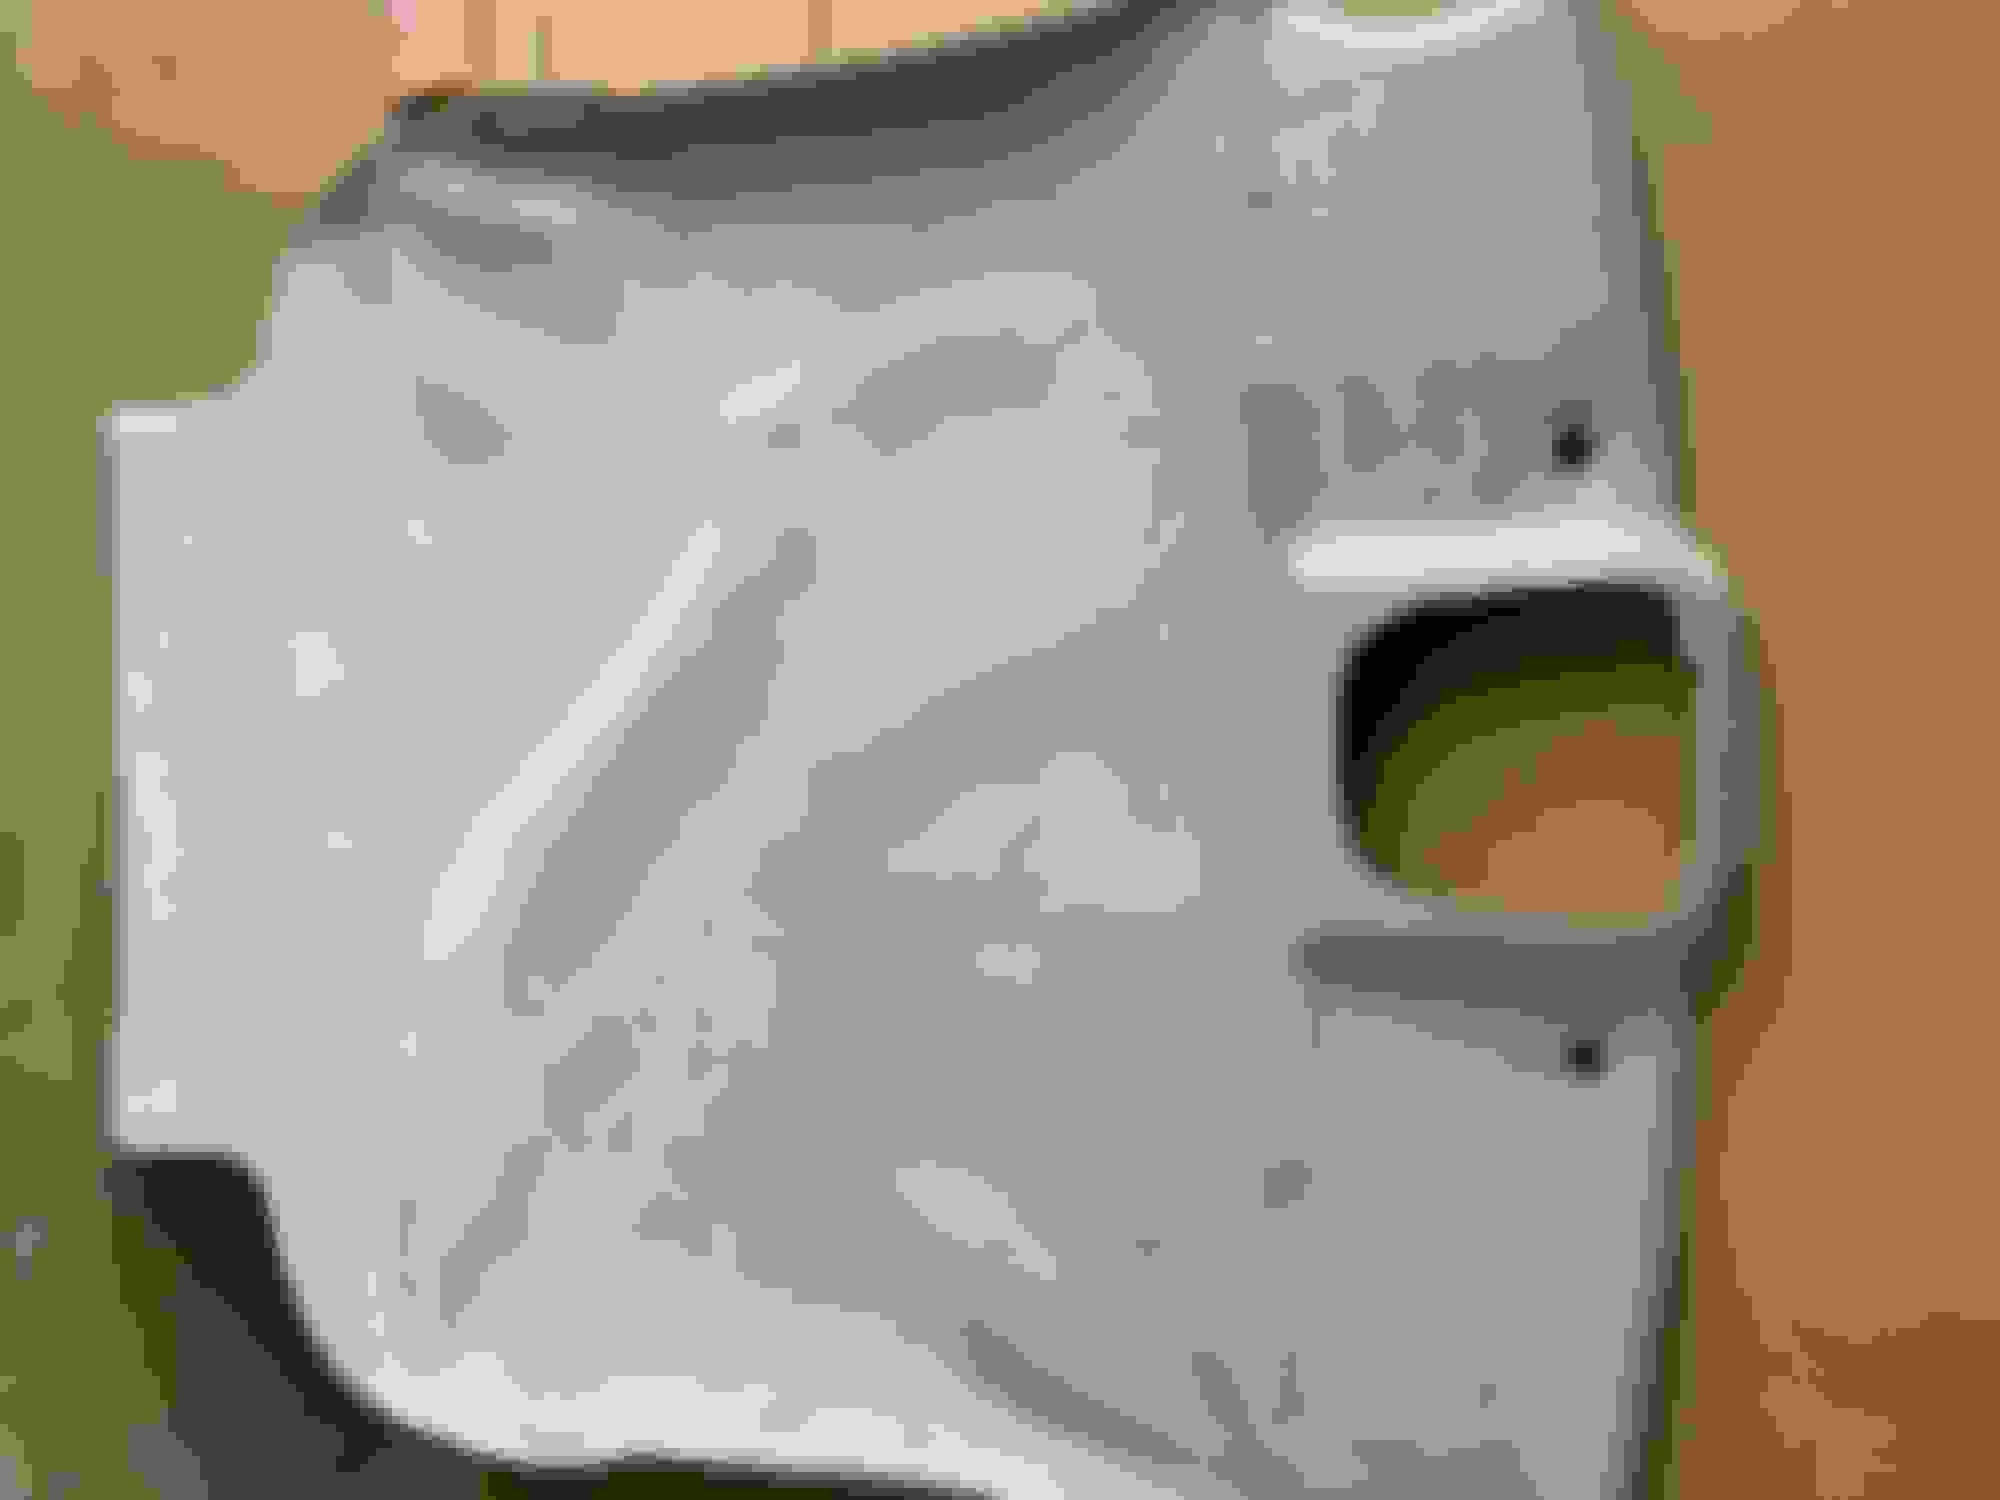
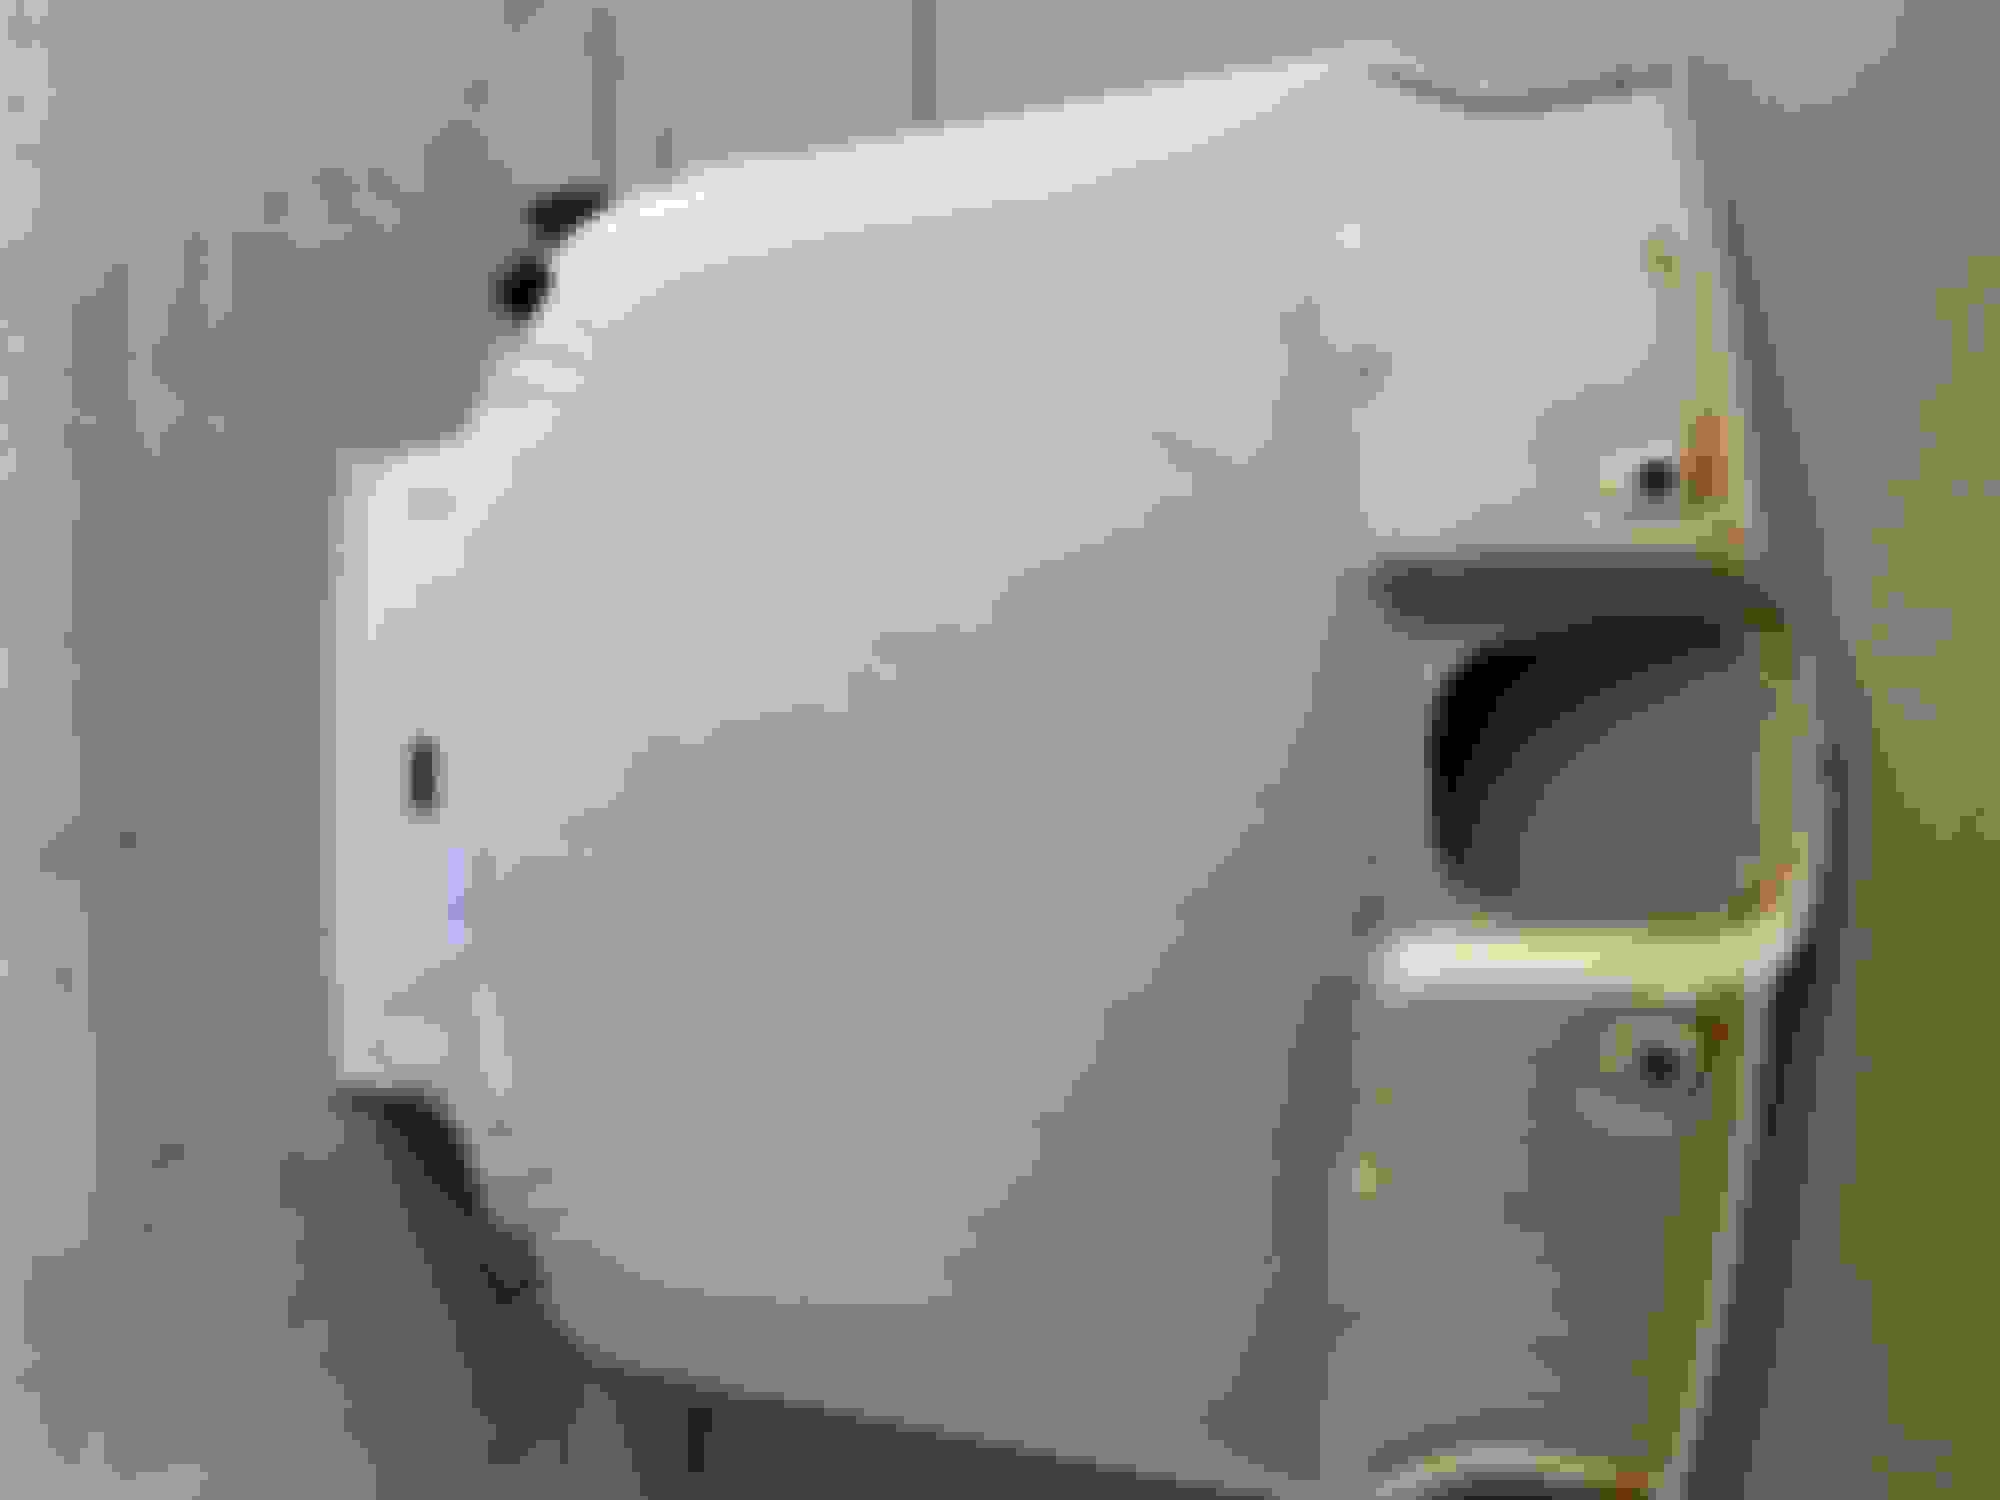
Rick Dumas savoryleyef@gmail.com Headliner Trim Piece- Note the angle of the black post below my index and middle finger. When removing, pull downward toward the center console, NOT downward toward the door. View of C Pillar headliner trim molding detached (enough to remove headliner board). View from open back hatch, on the left the C-pillar, on the right the back of the headliner board loosened. inside view of headliner board before exiting out passenger side. This if the way I removed the headliner board; lowered passenger window, open door. top view of sagged headliner board Other side of the headliner board. Headliner board removed Healiner removed looking toward hatch opening Slowly peeled back old headliner material, exposing the faulty rotted foam. In the process of removing rotted foam Tools used to remove the rotten foam.
SiPhil:
My headliner failed in October 2021, after a bout of unseasonably warm weather in San Diego CA.
Replacing the headliner was the first project I performed on my 2008 XKR. If I can do it, you can do it!
Definitely review the Tberg thread suggested by Sean W.
Tberg and I spoke prior to the project and he kindly shared his textile knowledge and advice. I found the exact color match of Passion Suede material and California compliant headliner adhesive from a local auto/furniture upholstery shop, UFO, Upholstrey Factory Outlet in National City Ca.
I did take pictures and I have uploaded them to an album and I will try to attach to this response.
I am no expert having only done one headliner, but my project looks factory gorgeous and hasn't fallen yet! Anyone who needs help/advice is welcome to DM or email me I learned a few tricks, (i.e. bleed through)
Rick Dumas savoryleyef@gmail.com Headliner Trim Piece- Note the angle of the black post below my index and middle finger. When removing, pull downward toward the center console, NOT downward toward the door. View of C Pillar headliner trim molding detached (enough to remove headliner board). View from open back hatch, on the left the C-pillar, on the right the back of the headliner board loosened. inside view of headliner board before exiting out passenger side. This if the way I removed the headliner board; lowered passenger window, open door. top view of sagged headliner board Other side of the headliner board. Headliner board removed Healiner removed looking toward hatch opening Slowly peeled back old headliner material, exposing the faulty rotted foam. In the process of removing rotted foam Tools used to remove the rotten foam.
Very nice pictorial of your headliner restoration.
btw, a while ago, I found something online, which shows how to remove the rear quarter window. The video showed that the quarter window, is relatively steady to remove. Only held in place by one bolt or fastener. I suspect that, with that window removed, getting the headliner in and out of the interior, would be easier. Thoughts?
Nice to know the window is easy to remove, but it's not difficult to maneuver the headliner in and out. Clean hands, with slow and careful adjustments, and balance does it. Having someone around to assist in the extraction would have been nice. It's like exiting the passenger side with a huge takeout pizza.
When dealing with my sagging headliner, I found the original foam backing had turned to mush, causing the fabric to lose adhesion. A much neater way to remove this residue was to use a paint scraper to push the mess off the board. Less clean-up, also...
 04-25-2022, 06:09 PM