Axle stand points XKR - RESOLVED
#21
Be very careful applying cquartz uk to black paint. Thats what I had for a year on my car. liked it but made a few mistakes.
1. be prepared to discard the towels you use to wipe off.
2. wipe off immediately, dont wait for it to flash. You may think as I did, you need a good amount on there- you dont. Its very difficult to get off if you leave streaks, which are very hard to see, especially in areas you cant get to with a buffer later on, such as under the mirrors.
3. you can apply sonax polymer net (dont know what its called in the UK) over the cquartz for superb results. Keep in mind the gloss or shine of the cquartz is not very good,that's why I removed it.
I applied cquartz uk very liberally on my wheels and did not wipe it off at all. Its still going strong 2 years later and its one of the best things I ever did. Then again I never used strong soap either to clean the wheels. Just the same car wash soap.
In the Ftype forum I posted a big tip on ceramic .Apply it to a rag and then apply to your door jambs, the groove in the hatchback and any other place you see where water pools. This stuff repels water making drying a breeze.
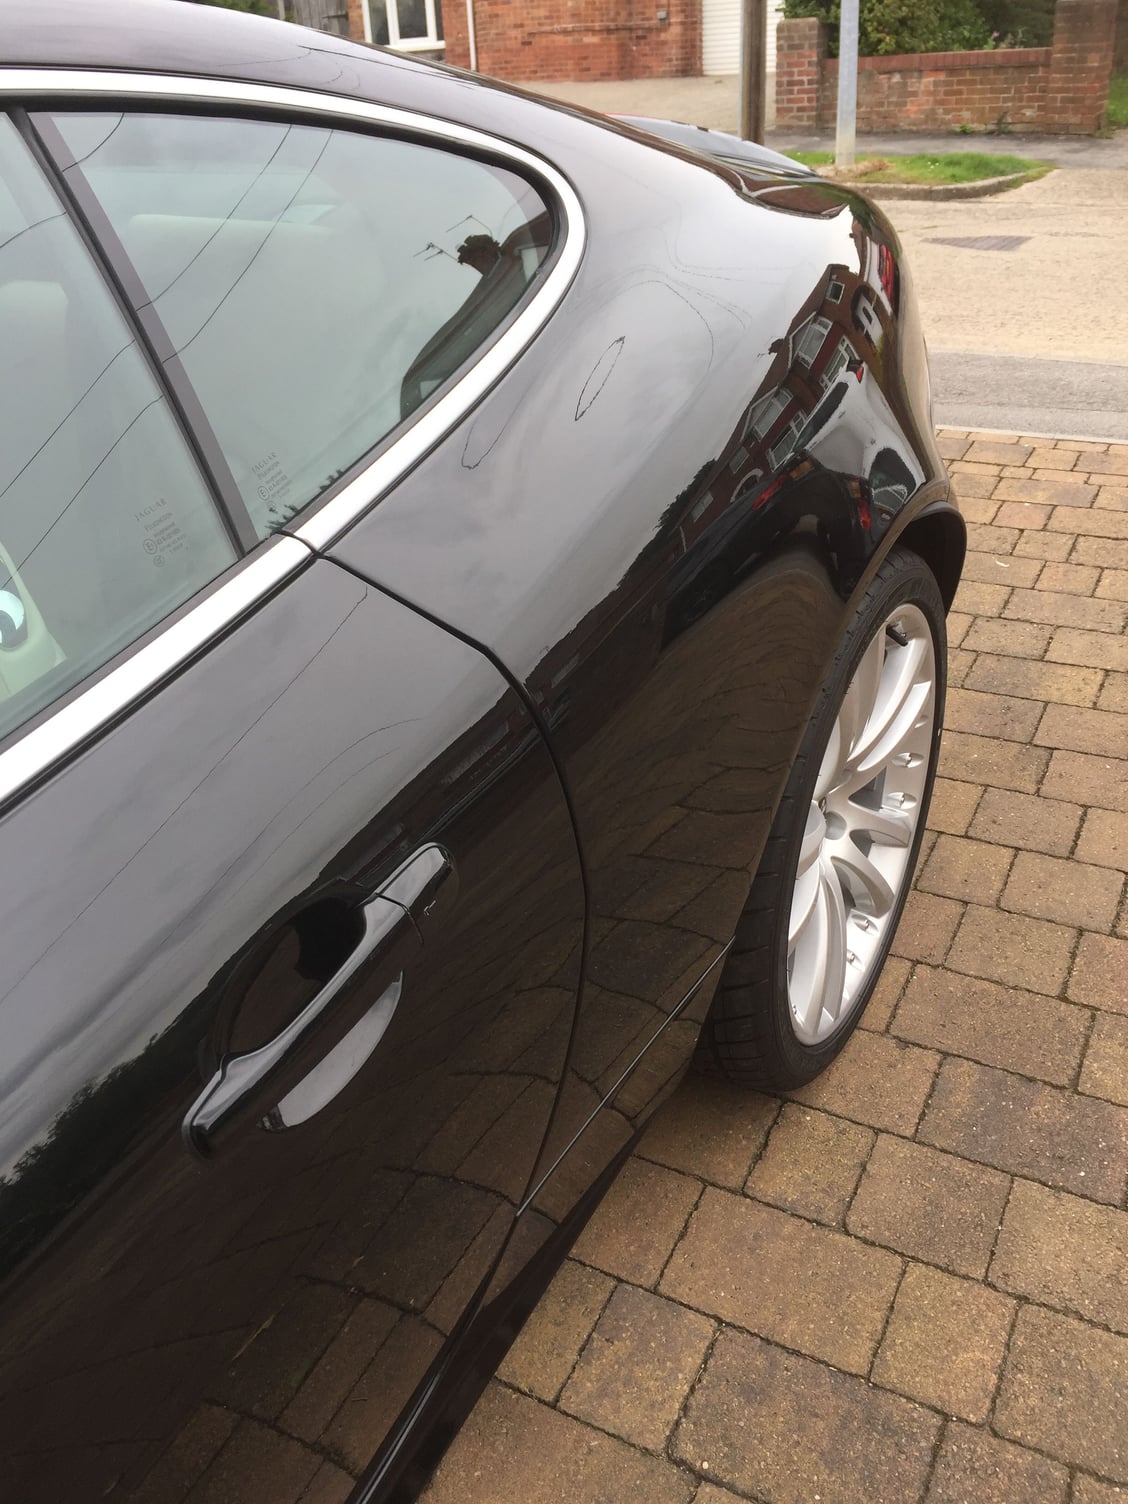
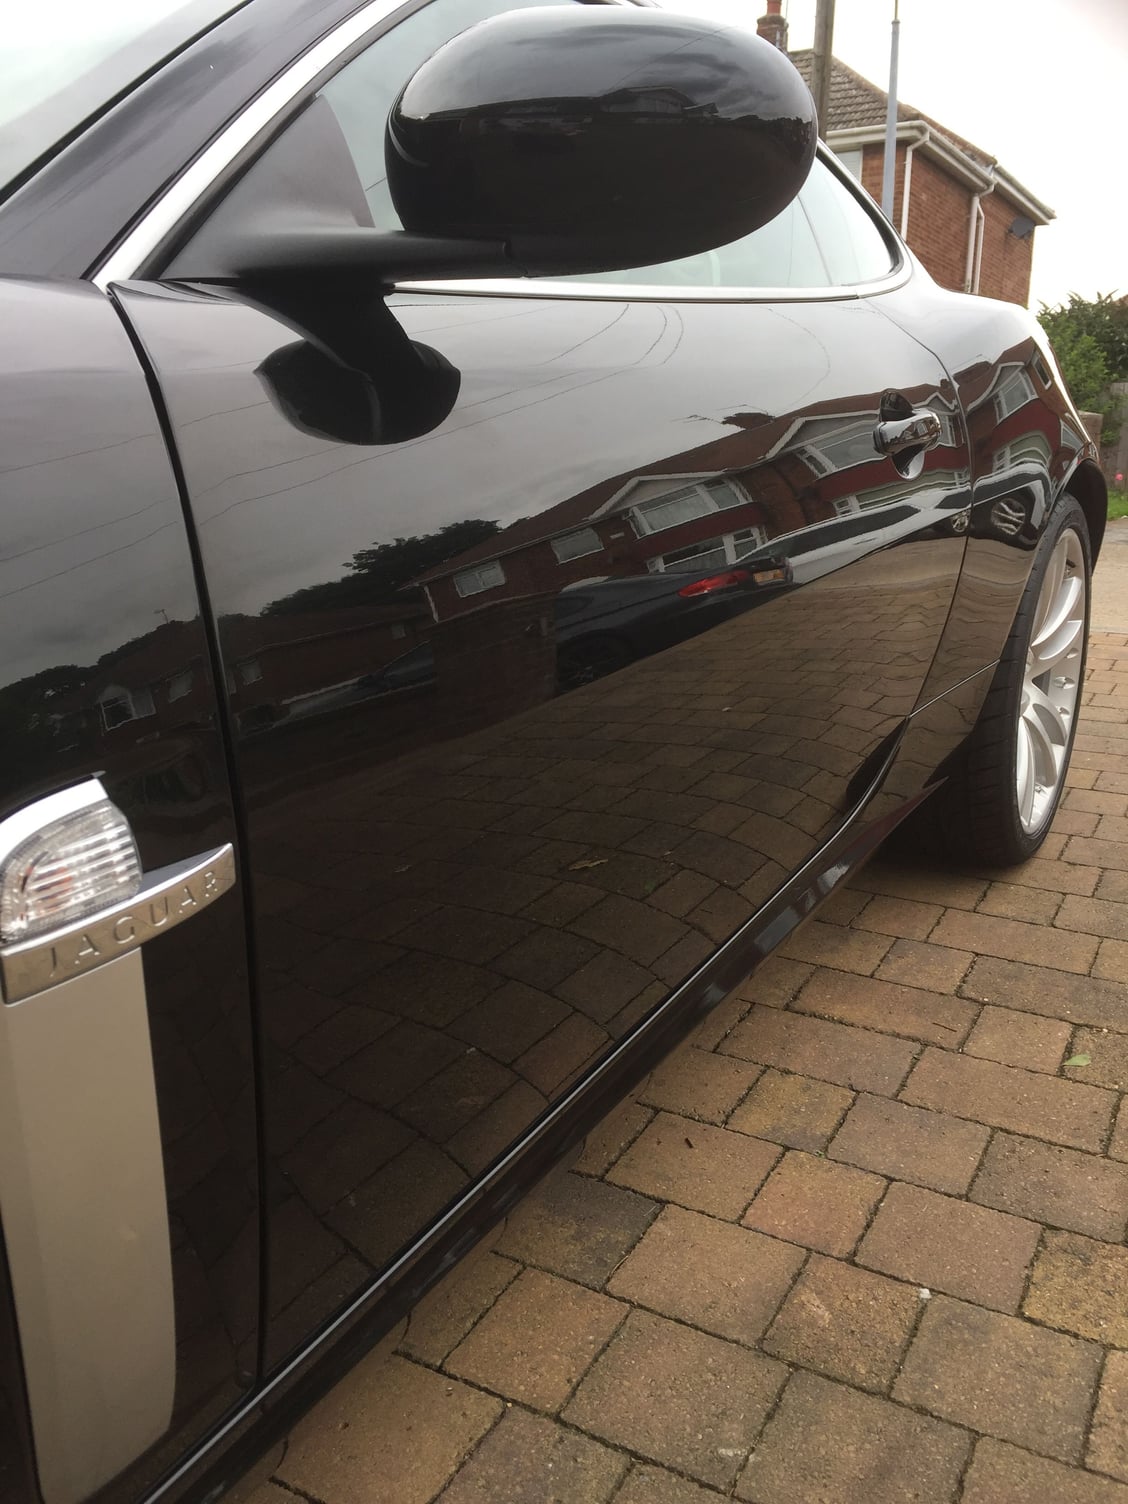
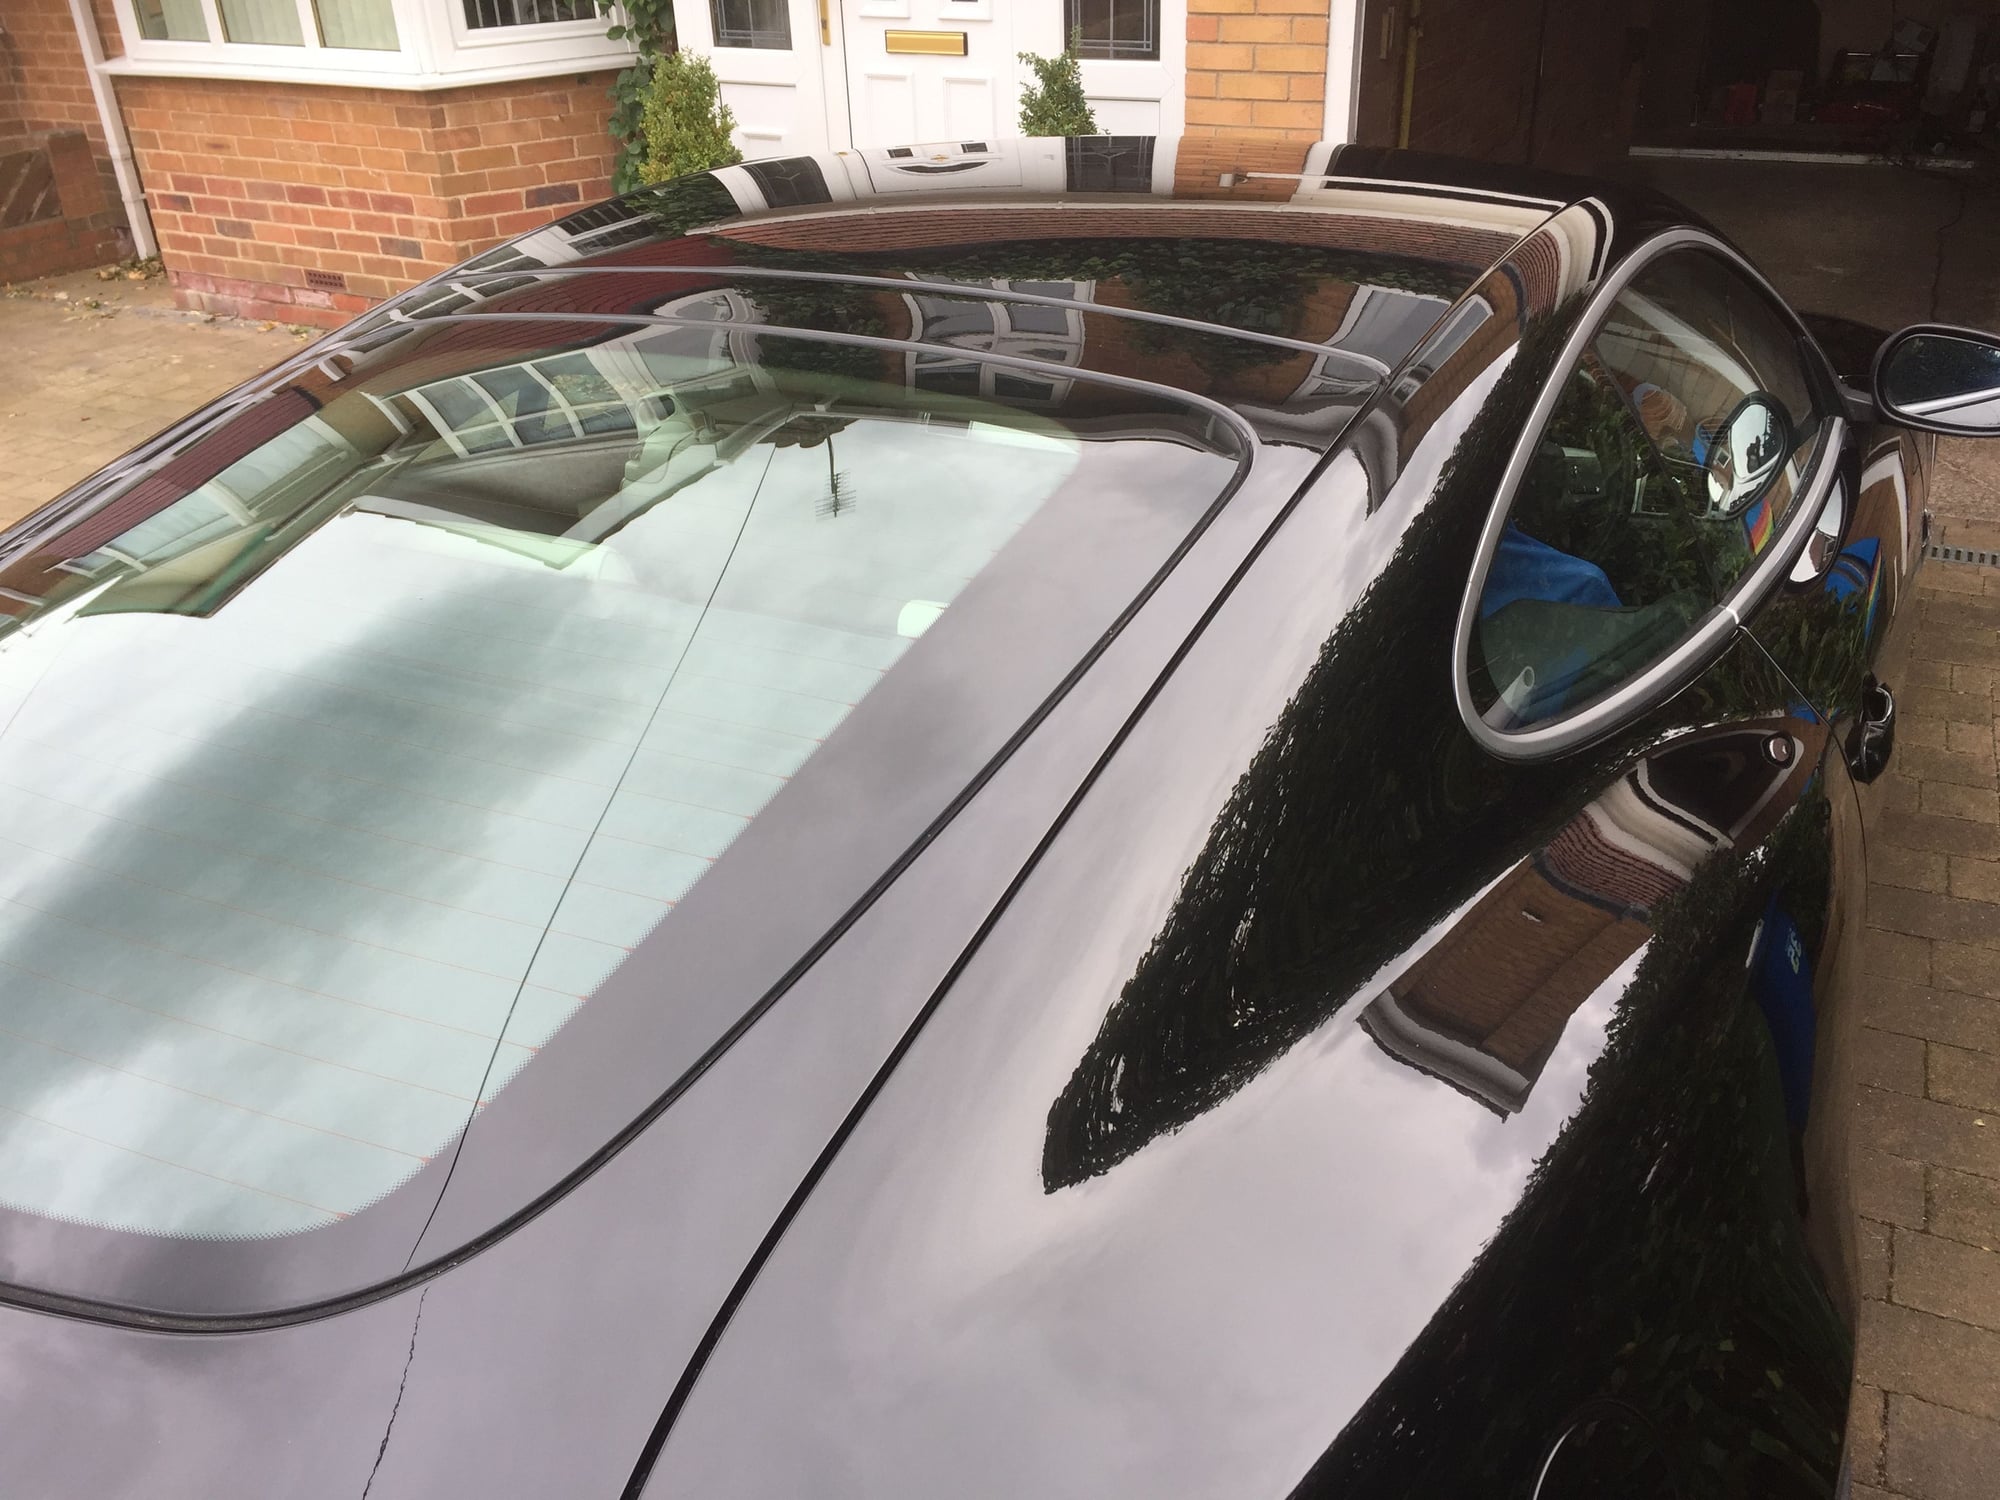
i have spent months doing paint correction. I used VSS swirl remover as a cutting compound with chemical guys orange hex pad on a GMC dual action machine polisher.
Clay barred and polished with Autoglym super resin polish. I use Sonax quick detailed and the shine is deep and glossy. The pic on stands actually needs a clean!!
The kit comes with 'reload' and you havent mentioned that? Need to watch a few you tubs vids for some more tips.
Are you saying the car won't look as shiny/glossy as it currently is when Cquartz applied?
#22
#23
You've put me off now! Ha
i have spent months doing paint correction. I used VSS swirl remover as a cutting compound with chemical guys orange hex pad on a GMC dual action machine polisher.
Clay barred and polished with Autoglym super resin polish. I use Sonax quick detailed and the shine is deep and glossy. The pic on stands actually needs a clean!!
The kit comes with 'reload' and you havent mentioned that? Need to watch a few you tubs vids for some more tips.
Are you saying the car won't look as shiny/glossy as it currently is when Cquartz applied?
Lets get rid of the psychological hostage- you can use the cquartz uk on wheels and such- so its not money wasted.
Of course its not going to be as deep and rich looking once you apply what is essentially glue on it, albeit in very thin layer.. Plus the surface is rough.
I would use ceramic when you are unable to wash and wax your car frequently, or you are worried about bird droppings and tree sap.
As I mentioned in my thread about Sonax, its the only one I found that has a good enough gloss to it. Its only 70 quid I believe. So we are not talking about a big loss.
If water spots and dirt is your only concern, the Sonax Polymer Net is all you need and that last 6 months.
If gloss is your only concern, there is no substitute yet for wax.
For me it was a concern of tree sap and I was my car very frequently- which the ceramic or polymer net makes very easy to dry. As you know its not so easy drying our cars.
Incidentally, I have applied the clear bra material on the ledge of the rear bumper where water always stands even an hour after you have dried the car- it makes those water spots a thing of the past.
#24
Ah, might have to have a re think now. Apart from the wheels, I was going to use it on my 3 series daily driver which is a grey colour and could also put it on the wife car so it won't be waisted.
The jag is kept in the garage and rarely goes out in the rain or anywhere near tree Sap, in fact I tend to just use quick detailer after every trip so it rarely gets actually washed.
When I bought it, I originally used autoglym HD wax but as it's black, you only had to touch it to make a mark. I was hoping the ceramic would be more durable to dust/static and I could continue just to use the sonax detailed on top?
Might actually be no no need to put ceramic on in my case? I just wanted to keep it looking good more as a sealant instead of wax, I do want the deep glossy shine and a product that does that. I'll see how I get on with the Cquartz on the other cars and maybe look at the sonax one you mentioned later then.
cheers
#25
You definitely dont need ceramic- it attracts dust and you cant use a quick detailer type of product on it.
Wax attracts it too. However you can dry wipe wax from dust in a garage. Not so with ceramic. Most good quality quick detailer products have a dust repellent in them. So put that over wax.
Also if you are like me and enjoy the art of polishing silver, you will be deprived that privilege. There is no polishing nothing after ceramic coating. Do so and you will spend 3 days taking the ceramic off.
Wax once every 5 months, and you are good to go.
#26
#27
#28
Join Date: Jan 2015
Location: Naperville, Illinois USA
Posts: 4,648
Received 1,975 Likes
on
1,326 Posts
#29
now you have me thinking! Can't recall either way about valves? Sure the guy would have realised if metal? Not sure what years they are fitted on. This is late 2008. I think my BMW uses the ABS so sense if a tyre looses pressure but not sure on this. I'll try and find an old pic to try and spot.
#30
Simply Perfect!
Its the only way this car was meant to be and when it comes into its element.
When given the dignity of perfection, it reciprocates by showing off how timeless it is.
----------------------------------------------------
As a side note. Its graceful curves are particularly appreciated while polishing.
Also, would you teach us how you did your calipers.
Thank You.
#31
Simply Perfect!
Its the only way this car was meant to be and when it comes into its element.
When given the dignity of perfection, it reciprocates by showing off how timeless it is.
----------------------------------------------------
As a side note. Its graceful curves are particularly appreciated while polishing.
Also, would you teach us how you did your calipers.
Thank You.
Its the only way this car was meant to be and when it comes into its element.
When given the dignity of perfection, it reciprocates by showing off how timeless it is.
----------------------------------------------------
As a side note. Its graceful curves are particularly appreciated while polishing.
Also, would you teach us how you did your calipers.
Thank You.
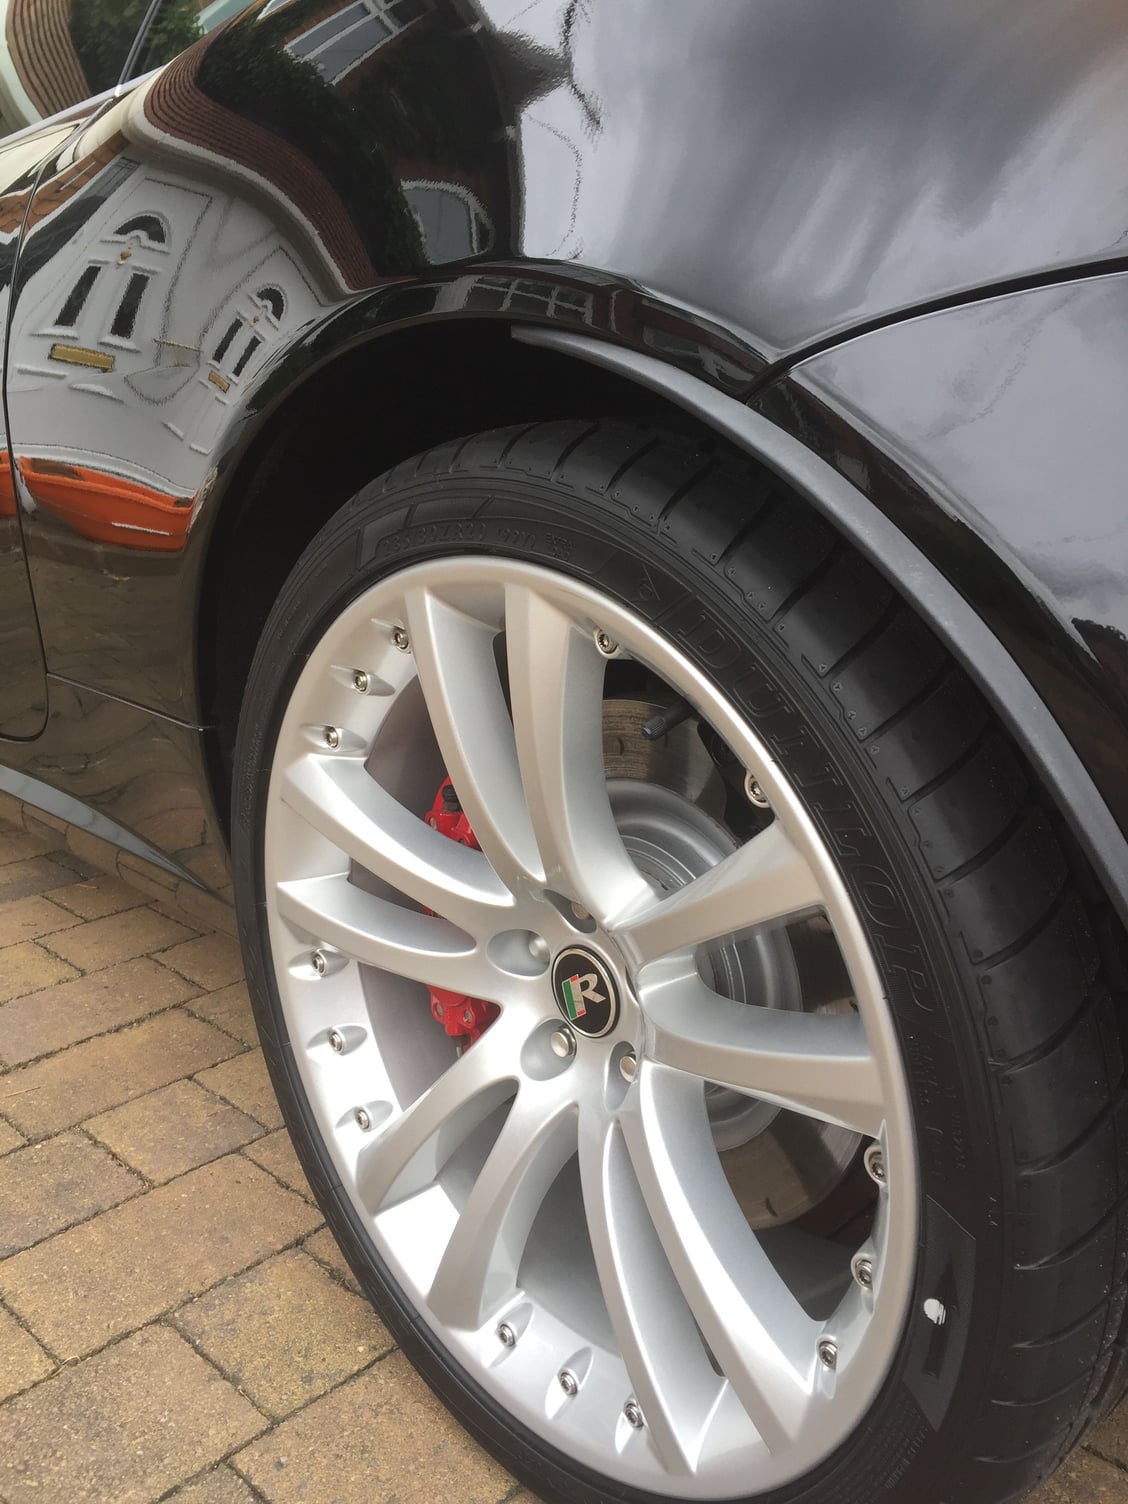
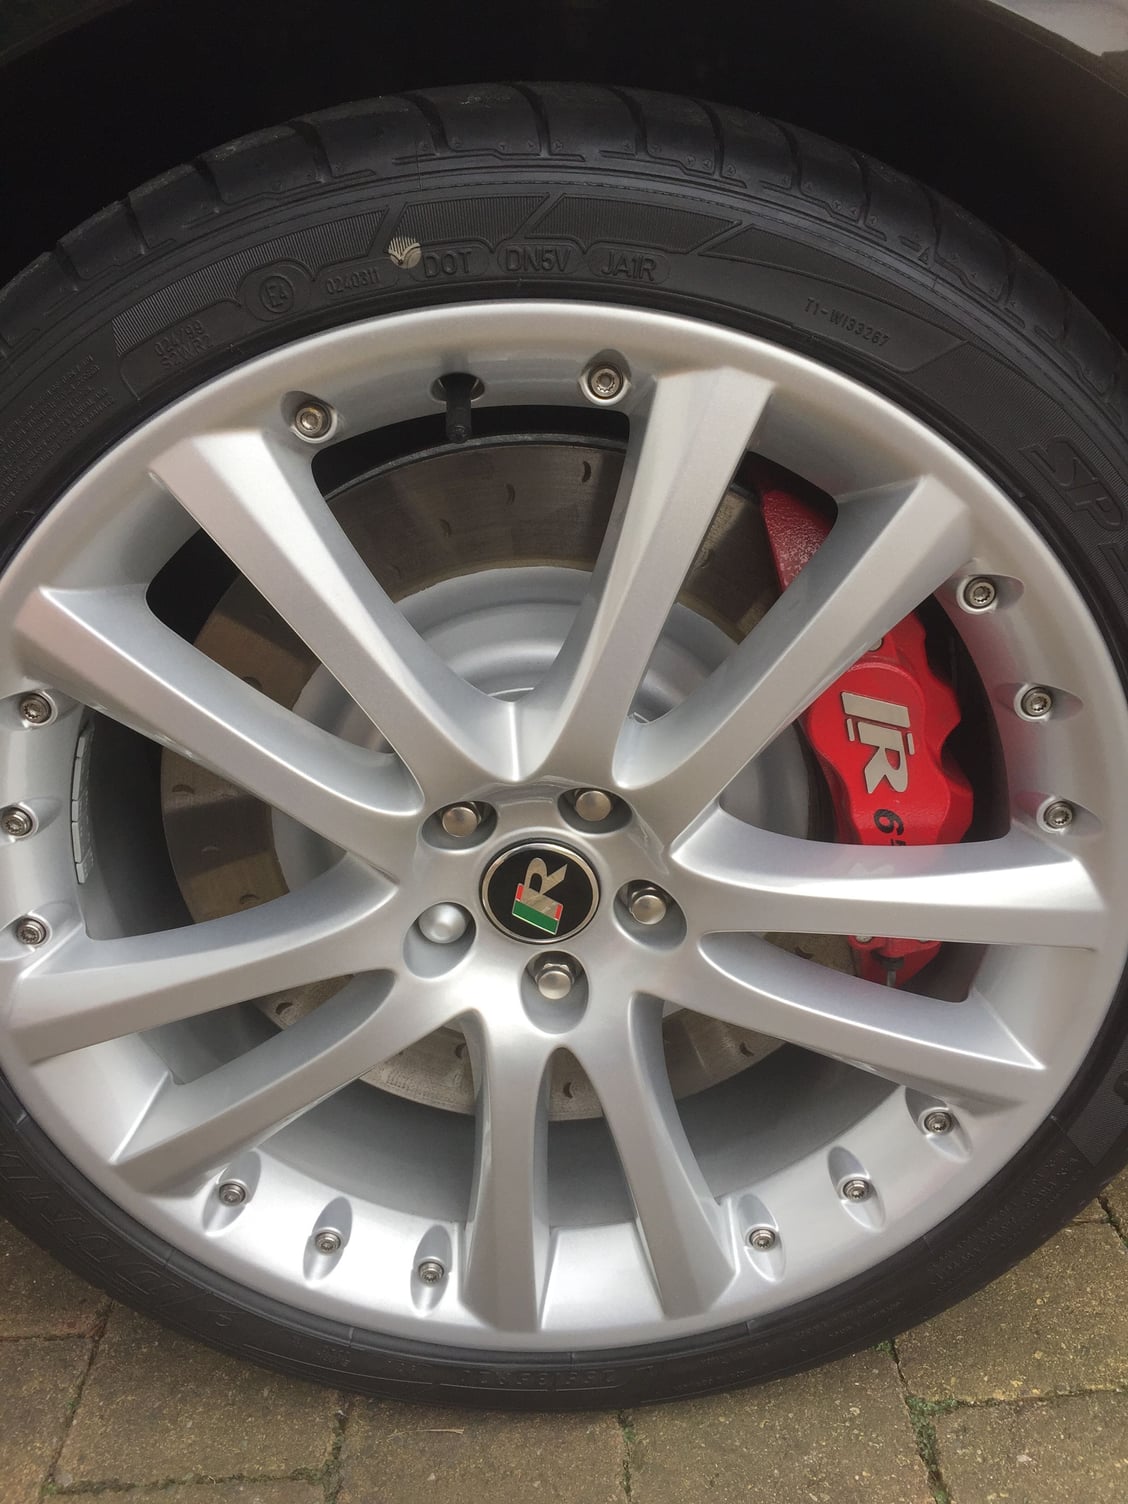
As for the calipers, assume you mean how to paint red or how to paint the disk centres silver?
The calipers were already red and I assume all Alcon ones are as has the six pot sticker on them?
If it's the disks you mean then I have a couple of photos on how I did it.
#32
The following users liked this post:
Veesixjag (12-19-2020)
#33
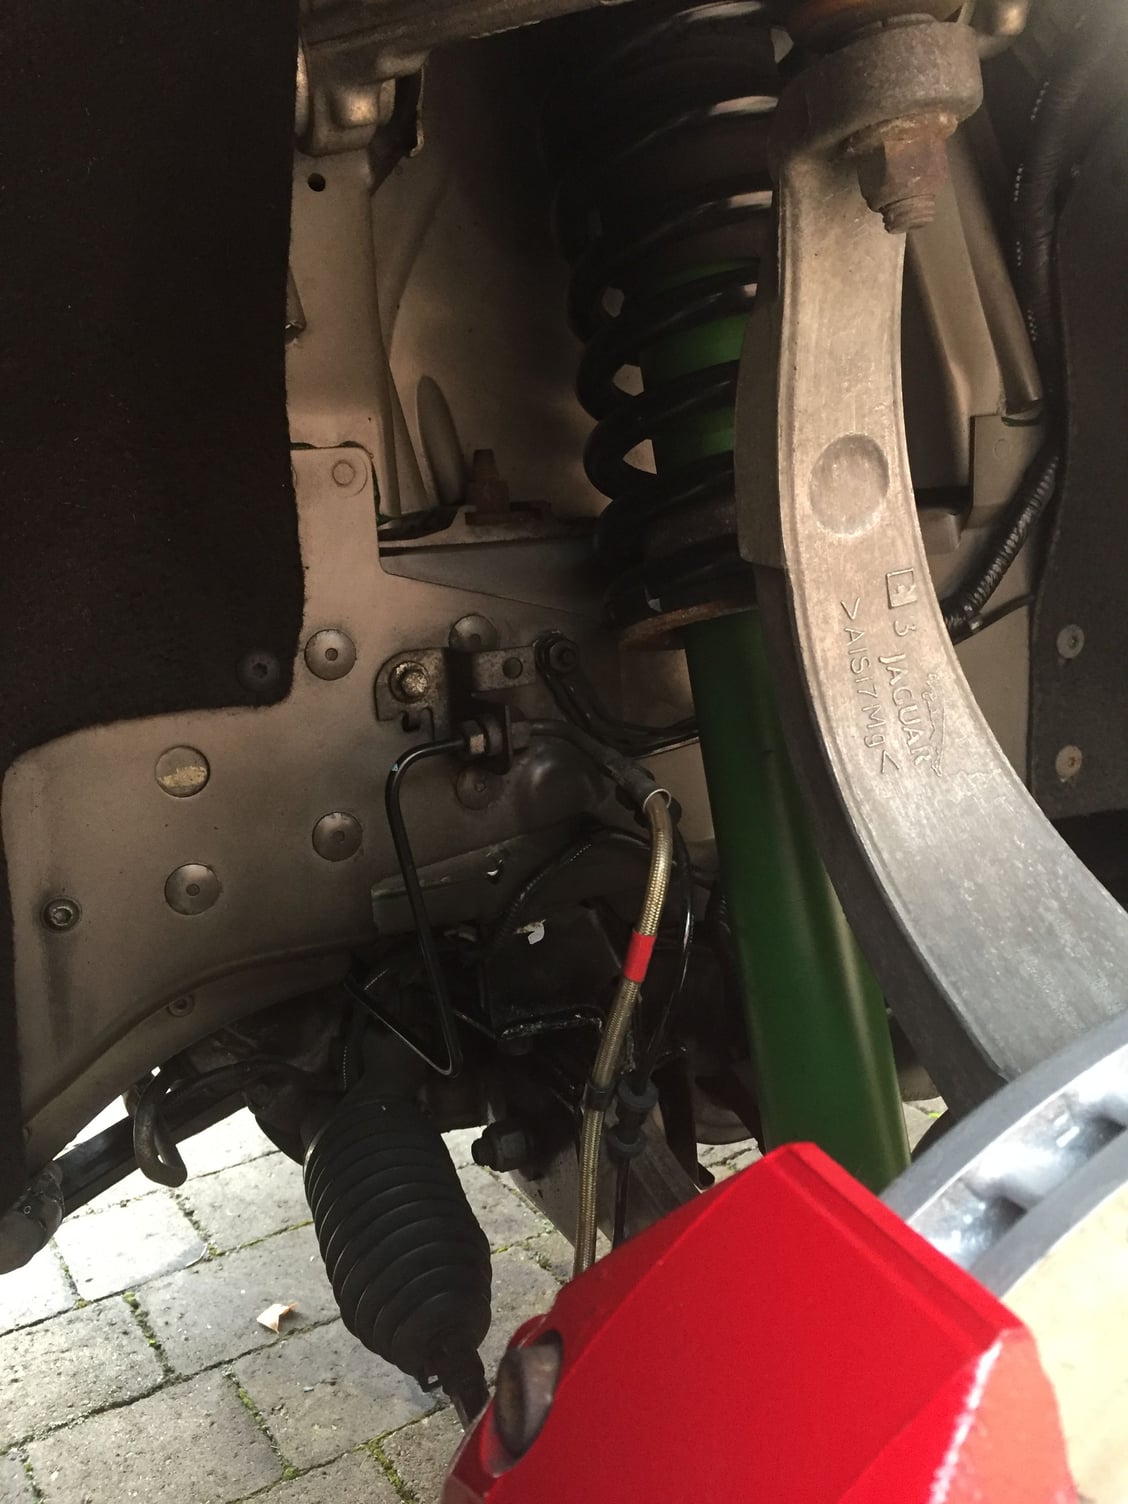
That whole area (the scuffed looking part in your picture) about 30cm long appears to be like a thick plate in the chassis - I angle my trolley jack on one part of it carefully, then get my axle stand under another part of it. It is clearly strong and not going to buckle, and I don't really want to have to jack around any lips etc - once the axle stand is in a sturdy position I'm not worried.
I do try to rock the car to make sure it really is going nowhere
I do try to rock the car to make sure it really is going nowhere
The following users liked this post:
winstonsalemncxk (03-28-2021)
Thread
Thread Starter
Forum
Replies
Last Post
Currently Active Users Viewing This Thread: 1 (0 members and 1 guests)


