When you click on links to various merchants on this site and make a purchase, this can result in this site earning a commission. Affiliate programs and affiliations include, but are not limited to, the eBay Partner Network.
The replacements came from Polyboots, a vendor in Bulgaria. He sells on eBay. $6.50 each. The size is 13-30-22 which refers to top dia, bottom dia, and height.
PS... I just checked the boots on the rear suspension and half of them are perished. 8 years and 24,000 miles. ??
.
. Both front upper control arm ball joint boots were disintegrated. OEM boots... silicon? Jack under lower control arm to relieve pressure on the ball joint nut when removing. Torx socket secures shaft while removing nut. Mine were both easily removed, eg. not seized into tapered hole. Slip the new boot over the shaft flange These are the top and bottom ring spring clips. I could not reinstall them. I tried, different approaches to no avail. Ended up using zip ties... much easier. Reinstalled boot with zip ties I used a hypodermic-type grease gun attachment to penetrate the new boots and fill with lube. Worked very well Here's the needle attachment. I used it to grease all the boots on the front suspension include lower control arms, tie rod ends, etc. Happy with the results. You can't see it in the pic, but I used a paint stick marker so I can tell if the bolt backs off.
Last edited by GordoCatCar; 01-04-2020 at 12:57 PM.
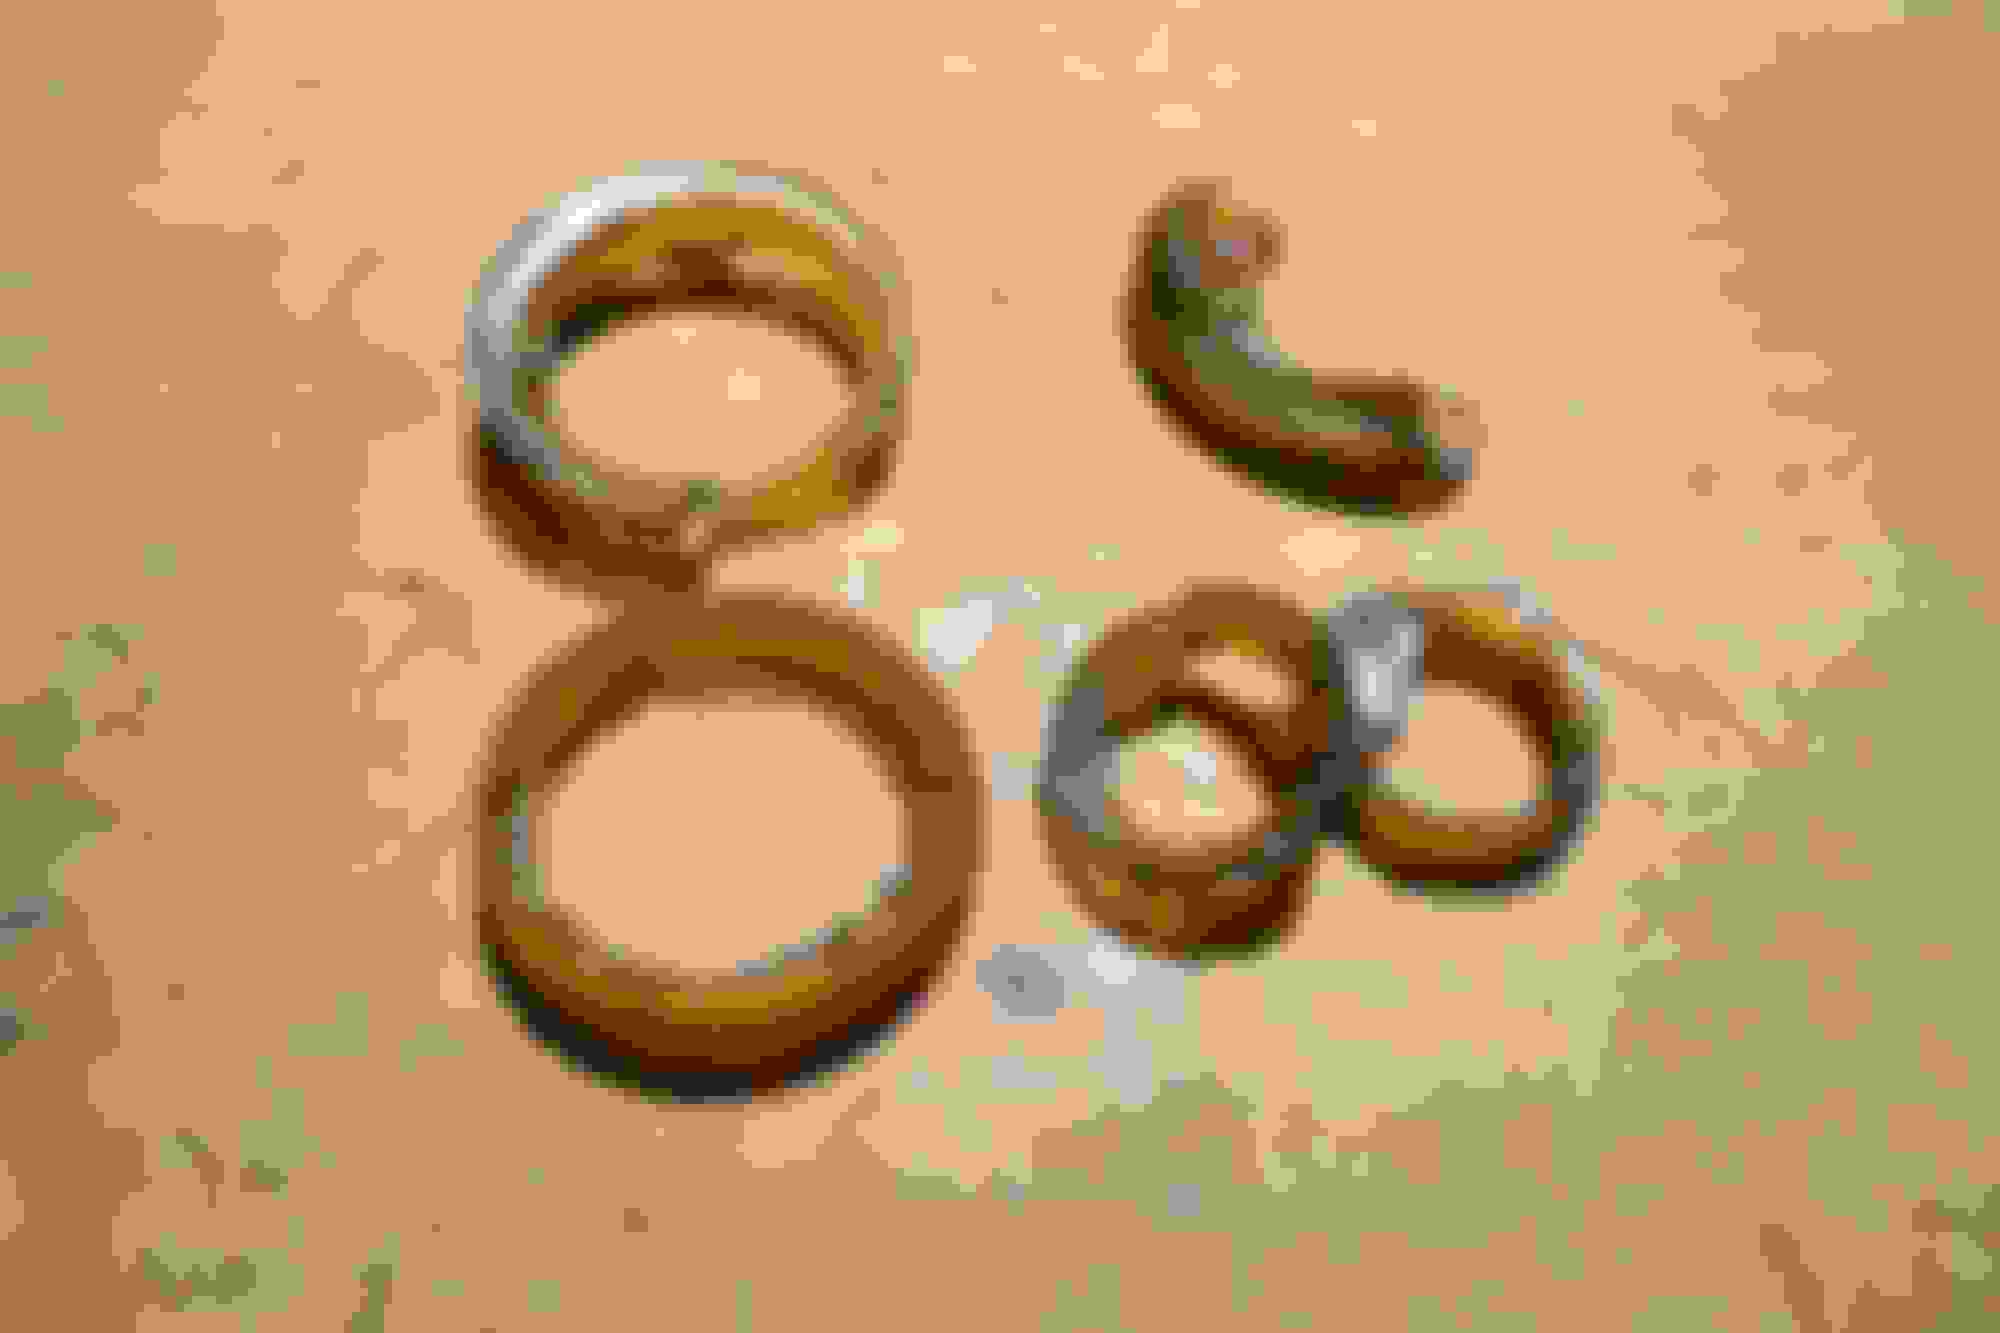
I can't believe the condition of these silicon-like boots. They're nearly all perished at 24K miles and eight (8) years. After doing some research, it appears these boots are simply made of inferior materials and deteriorate simply because of age. A couple of members have determined it is best to simply let the part wear out, as opposed to replacing the boot. Their logic is that the joint itself seems to wear for quite a long time even without the protection of the boot.
I am going to replace the rear upper control arm boots because I already have a couple of new ones, and like the fronts they are relatively easy to replace. size 13-30-22.
The rear tie rod is easy to access and after pulling out the bolt and cleaning it up, I could measure for a replacement boot. 15-30-23 and order four (4) each, top and bottom on both sides of car. $13 shipped for all from Polyboots (above).
However, on the sway bar links, I just ordered a new pair. They're pretty cheap at about $25 ea. for Lemforders from Rock Auto
Q. On the front upper arms, what size torx bit did you use?
A. The torx bit is there to keep the tapered shaft of the ball joint from spinning. Mine did not spin; so I loosened the nut, and banged the arm body w/ a hammer and it broke loose w/o a problem. I don't remember size of the torx bit.
Q. Did you replace the old lock nuts?
A. No, I reused the OEM lock nut.
Q. How did you torque the nut to 66 ft lbs? Thanks
A. I tightened the nut w/ an impact wrench {nut driver w/socket} to get it to seat tight enough so it wouldn't spin when put a torque wrench on it in order to tighten to spec.
Last edited by GordoCatCar; 05-28-2020 at 10:59 AM.
Great thread, very helpful. Did you get an alignment done after this?
Thx... No, I just reinstalled everything that was disassembled; including original ball joints and the new tie rod links.
Removing the old boots was messy because of the sticky grease which I think has a high silicon content; and some of the wire spring clamps were tough to dig out of their grooves. But overall, the project is very straightforward once you relieve the spring pressures on some of the suspension links. I simply jacked up the wheels until they hung free in a "neutrally sprung" position. Same as any other type of suspension project. Lining up the parts for reassembly was pretty easy in that state.
I think the biggest take away from this project was the discovery of the hypodermic needle adaptor for the grease gun. All of my bushed joints took grease... some took quite a bit of grease. And while I know the new technologies of suspension parts don't require the same old fashioned routines of going around under the car with a grease gun looking for zerk fittings, I'm still old fashioned in the sense that I believe most wear parts love lubrication... and being able to lube a joint where this is no grease fitting I believe is a big part of preventive maintenance. .
I've never used the needle... and have grease nipples on the other cars.
Out of interest, where did you target the insertion of the needle, @GordoCatCar ?
I've never used the needle... and have grease nipples on the other cars.
Out of interest, where did you target the insertion of the needle, @GordoCatCar ?
The $7 thread-on grease gun needle attachment is shown below. On both new and old boots, needle was inserted in the folds of the boot. You can see in the pic below, where the grease has backed out of an old boot. Sometimes the needle was inserted twice to insure a sufficient fill.
Time will tell if the inserted needle has weakened the integrity of the boot material; however, this is a relatively old method of greasing joints without zerk fittings, so I'm pretty confident it is OK to be doing this... IMO clearly better than having little to no lubrication within the boot itself. Needle threaded onto grease gun hose Excess grease is pushed out where needle was inserted.
IMO clearly better than having little to no lubrication within the boot itself.
And still twice as durable as the boot the car came with.
Question; when do you stop pumping, when it oozes back out, assuming it does that? and would sealing that hole be overkill, with these 3/32nds things; https://www.mcmaster.com/2952N11
And still twice as durable as the boot the car came with.
Question; when do you stop pumping, when it oozes back out, assuming it does that? and would sealing that hole be overkill, with these 3/32nds things; https://www.mcmaster.com/2952N11
I was using a small mini grease gun and learned to estimate how much grease came out with each squeeze of the handle. Most of the boots took about five or six squeezes before the grease began backing out; however, if I didn't see any signs of over-fill after six pumps, then I moved the needle over to the opposite side and added more grease till I did. I wasn't looking to completely fill the boot like a balloon, but I wanted to insure there'd be at least two or three tablespoons in the ball joints, and a little less in the swivel joints.
Nice find on the plugs; but the insertion hole is barely visible. It's so small I think its almost self sealing. Most of the time, grease oozed out around the edges of the polyboot as opposed to be squeezed back out through the needle hole.
BTW I used Lucas Oil Heavy Duty grease. The OEM grease seemed to be stickier, more like a silicon based product. However, searching for best grease to use on ball joints, this Lucas product came up often as one of the best choices.
Last edited by GordoCatCar; 05-31-2020 at 10:10 AM.
Nice work I agree this is sticky thread worthy. It'll be interesting to see how the zip ties hold up over time.
I'll send a note to Graham and request it.
Nice work I agree this is sticky thread worthy. It'll be interesting to see how the zip ties hold up over time.
I'll send a note to Graham and request it.
I also use a mini grease gun in that application. I have never been able to find the grease brands I like in mini sticks and just refill the barrel with grease from a tub. Apart from the difficulty, it leaves air pockets.
Have you had the same issue or have any work-around?
I also use a mini grease gun in that application. I have never been able to find the grease brands I like in mini sticks and just refill the barrel with grease from a tub. Apart from the difficulty, it leaves air pockets.
Have you had the same issue or have any work-around?
My Bad. I used a regular size grease gun... not a mini. And the Luca Extra Heavy Duty that I used for this project came in the 14.5 oz cartridge.
 01-04-2020, 12:18 PM