When you click on links to various merchants on this site and make a purchase, this can result in this site earning a commission. Affiliate programs and affiliations include, but are not limited to, the eBay Partner Network.
Nice Steve! I did the same thing with my office chair here at the house with some red thread I bought off eBay, found it was too small and thought Silver/gray looked a bit better in my case with the gray exterior. Keep me posted!
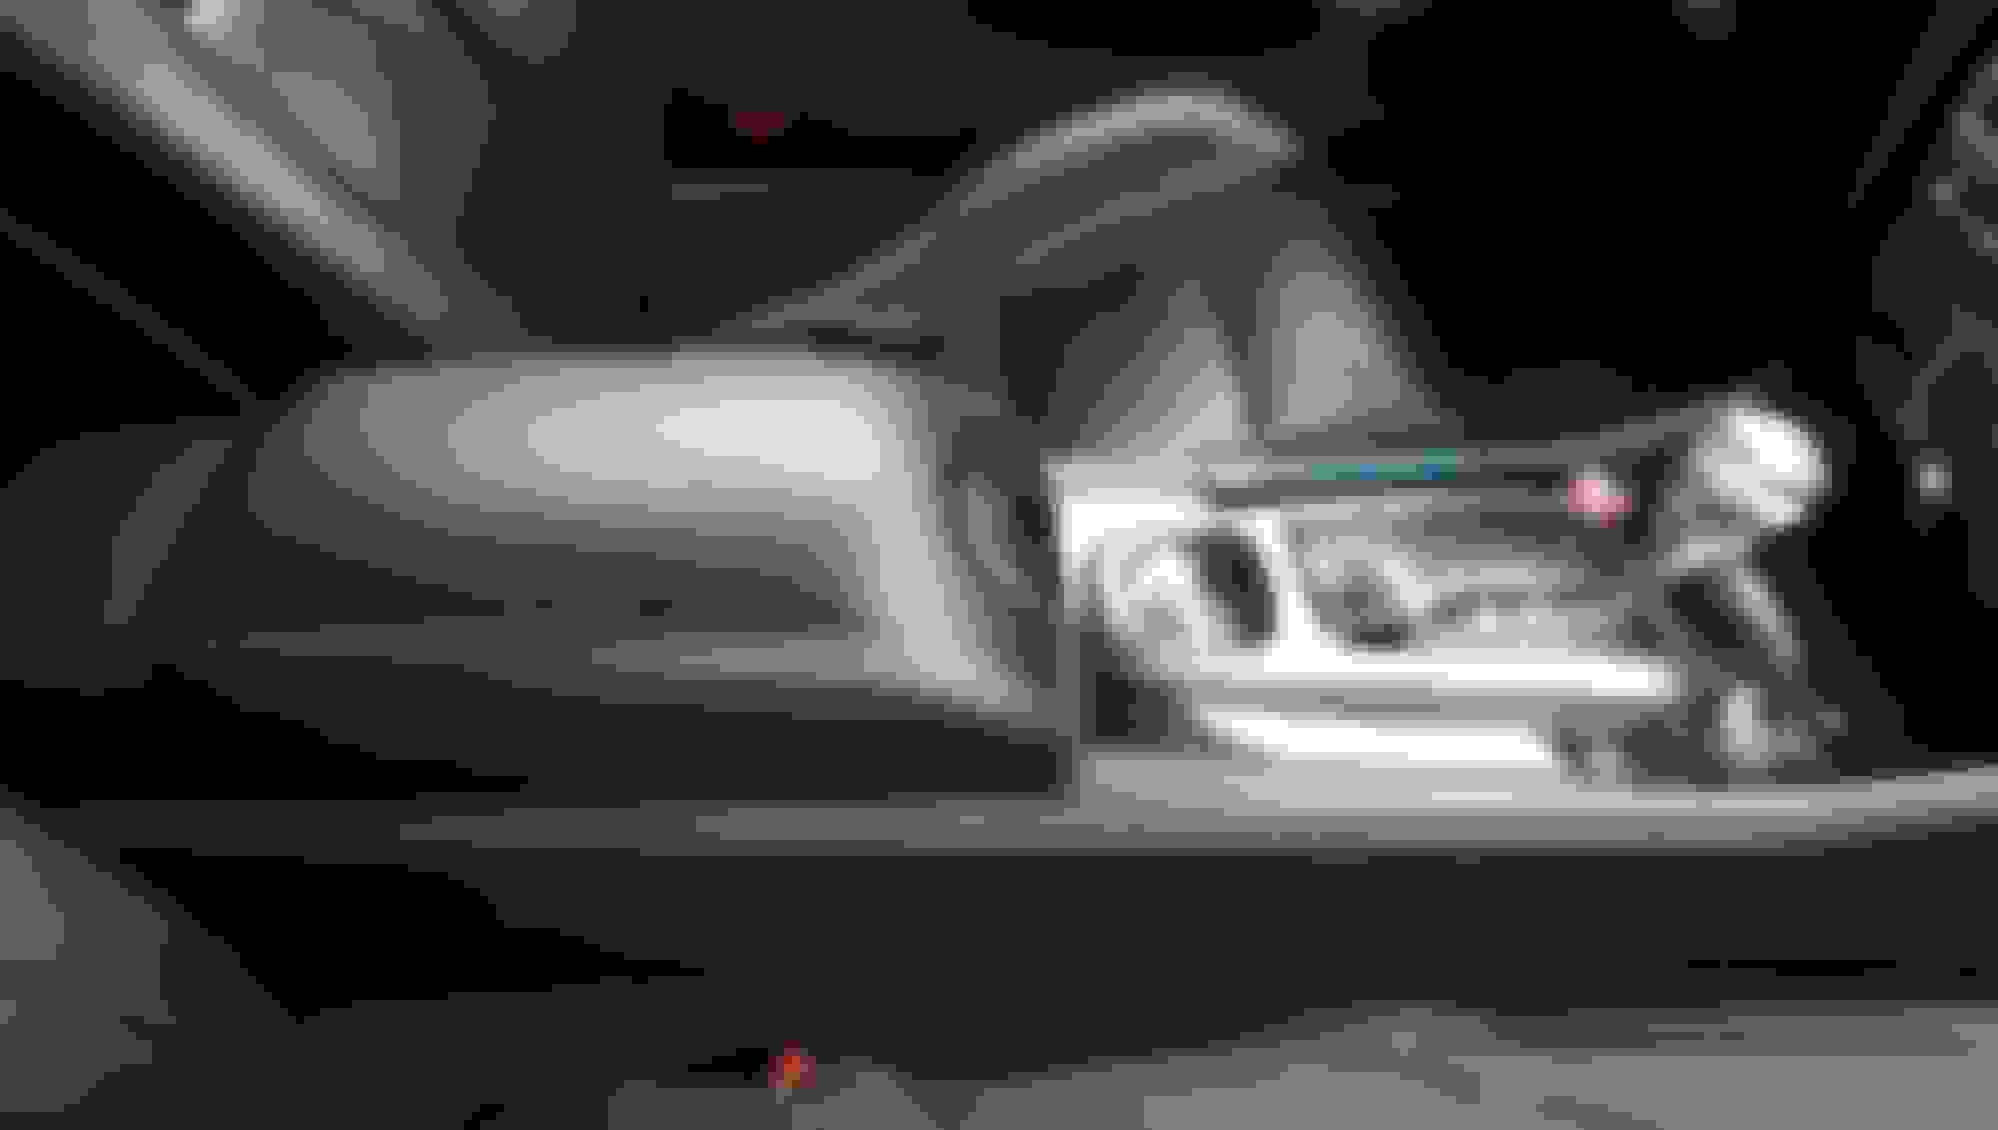
That is a very cool way to update the interior! Very clever simply placing the thread under the current thread loop.
For the patient you can update as you see fit. Want to make a sport interior, go with a red contrast stitch. Change it as many times as you are patient I suppose.
I have less than an hour in it so far, just used up he sample piece of thread Superior Thread sent me to make sure I liked the color and thread size. I ordered more (MUCH more) thread which will arrive Monday so thn I'll commence again. I expect it to take me @ 10 hours to complete the job I believe. Looks like the seats and door panels may be the toughest as the threads and more tightly woven and smaller but the dash and center console are very easy.
I'll do it in this sequence:
Dash, center console, headrests, then tackle the tough stuff of doing the double sides of each seat bottom and the door panels. I'll take pics and post next week showing the progress
Stay tuned!
Again for those who might be crazy enough as me to try this... make sure you use the right thread. I saw on another site people used cotton thread and even yarn which may or may not look OK at first but will not stand the test of time. The thread I'm using is used for umbrellas, auto upholstery, awnings, etc made for the elements. It is "bonded polyester" Solar Guard thread (no affiliation just a very pleased customer - Ellen Franch was very patient working with me). This idea I saw on a NSX forum where the guys work was awesome! He saw it on a RSX forum where some people saw the idea and tried in vane to copy it but failed miserably just trying to cut corners on the thread and only the method. Again not my idea, wish I was this creative/smart but likely the first to do it on a XK! When I'm done I'll have only about 1900 yards left over +/_ so enough to do @199 more cars
Went down to a sewing wholesaler as none of these types of threads are found in our local shopping centres.
One thing is always great when you meet someone at the desk that is into their cars I find they will go above and beyond to help out.
After pulling the colour chart out we came up with a few different browns and a also a couple different types of ivory not to mention the silver/metal grey.
I found the browns looked very good on the doortrims but didn't suit the dash probably because of the silver panelling as opposed to the ivories were the opposite way around however the silver suited the lot doortrims, dash, seats etc
Last edited by steve_k_xk; 12-21-2015 at 04:14 AM.
Nice Steve! I hope that thread is UV rated and preferably "bonded polyester".
I hope to have pics up tomorrow and being done with the dash, center console, center back seat piece, and drivers door panel, and maybe a headrest or two. will show the progress.
The race is on lol
The guy said this thread is typical with what is used in the automotive industry .
Anyway pointers on how to stop the windmilling effect on the thread ?
about every 4th or 5th stitch I let the needle unwind, if you don't it'll want to knot up. Again I don't tie it at the needle end I just keep @3-4" of extra thread through that way the needle and thread are thinner (if you want a pic of what I mean here let me know)
You've got the good luck to have it being summer down under.
Steve,
This is not a normal sewing thread. This is what in the apparel industry would be called "buttonhole twist" or a machine embroidery thread. It is much thicker, and it is also made of twisted filaments for strength and durability. So as you are passing the thread through each loop it is twisting even more and wants to spring back. That is why Leeper suggests letting the needle unwind every so often.
So there is a name for this type of work
Yes on the smaller stuff the twist isn't too bad, but on the longer section like the door trim I just did it wants to twist up upon itself
Last edited by steve_k_xk; 12-21-2015 at 04:17 AM.
What slows the whole process down is the simple fact that only one single piece of thread can be used per section and the entire length of the thread must be passed through each stitch as you go . Its not like you are able to get away with using less thread , getting halfway then start with another piece
A little trick is to superglue the thread end
This does two things - stops the thread from fraying and also stops the thread coming out from the needle eye
Estimated time on work so far
Dash - 8-9hrs
Doors - 6hrs
Well then we're almost tied! Today I put in maybe 4 hours, would have got more done but somehow lost my damn needle in the car someplace! Anyway - I have one door panel to do, 1/2 the center console, then tackle the seats starting with headrests. Did the dash that was easy. I hop to have everything done but the seats done tomorrow. So far so good! Lazy tonight will post pics manana
Dash only (all front pieces not center console) finished @ 4 hours
Doors @3 hours to complete
Rear seat piece took that out last night and completed in @ 2 hours in my living room while watching sports
Center console, center glove box partially done will take @ 6 hours
Oh also yesterday during the day I had the radio on and door open for too long killed the battery. This was really bad as I was outside with the top down and rain forecast for the night! Threw it on my Battery Tender but that was not enough so headed out to grab a good set of long jumper cables. Was able to get it running, get the top up, reset everything and it's been on charge for 30+ hours now up to 80+% just checked. Lesson learned. Definitely by Monday everything will be done woo hoo!
Thought about using super glue to tack it down at the end without the know but that has not been an issue yet, no problems with threading the needle or it pulling out while stitching. I can tell when I need to take a break as I'll miss a stitch or stab my finger. Got mostly done with the top part of one door panel, looked at it, then pulled it all out after realizing I wanted the pattern to go the other way ugh! Other than that and the battery drain things have gone quite smoothly. I'll start early tomorrow morning try to get 6 hours in maybe, light at the end of the tunnel.
Put my time in this morning. Need to finish 1 1/2 headrests then tackle the seats (which looks to be tough! That stitching is tight, small, and doesn't stick out like the rest of it).
Got the hang of it now pretty well also got the battery back fully charged. VERY happy with the results thus far will go back and tuck any loose ends where they belong.
Leeper
Any more photos of the headrest i would love to see how they have turned out.
At the moment I've currently hung up my needle and thread your a braver man than me !!
Door trims, dash and instrument cluster all completed .
The only other thing i would like to look at doing at some stage is the centre strips running down the middle of my seats i know thats roughly 4-5 hrs per seat

 12-19-2015, 08:59 AM