When you click on links to various merchants on this site and make a purchase, this can result in this site earning a commission. Affiliate programs and affiliations include, but are not limited to, the eBay Partner Network.
I just installed my CTEK 3300 today. The correct size of the nuts used for attaching the two pigtail leads for my 2008 XKR are 6mm, 1.00 pitch, and requires a 10mm wrench for tightening. I chose to run the extension lead around the right (passenger) side of the boot, behind the liner. The remaining cord and plug are accessible by removing the cover where we access the convertible hood pump. I also removed the supplied plug cap quite easily and reinstalled it at the end of the extension. Everything stows nicely behind the cover when not in use.
.[/QUOTE]
It is good that you have installed the CTEK unit. But if the unit itself is always in the trunk (that is, not visible from outside the car), you must be aware that when you open the trunk to look at it you will *always* see that it is in charging mode, thus suggesting that the battery is not fully charged. Not so. Just pressing the trunk release button sends the CTEK into action - it is that sensitive. That is why most owners leave the unit outside the car; that way the battery condition can be monitored.
It is good that you have installed the CTEK unit. But if the unit itself is always in the trunk (that is, not visible from outside the car), you must be aware that when you open the trunk to look at it you will *always* see that it is in charging mode, thus suggesting that the battery is not fully charged. Not so. Just pressing the trunk release button sends the CTEK into action - it is that sensitive. That is why most owners leave the unit outside the car; that way the battery condition can be monitored.
When you unlock and then open the trunk to wake up the on board processors thus you start battery drain and the charger will turn on to charge mode until it over comes the current drain.
That is why most owners leave the unit outside the car; that way the battery condition can be monitored.
I have Schumacher maintainer, owned it for 15 years so not a part of the CTEK craze. For my usage I simply hook it up once a week or so to top off the battery, I have my quick connect in the trunk and leave it open overnight with it in charge mode. There is no need to close the trunk, or to open it to see if it is fully charged. Even if it isn't fully finished I don't care, when I need to use the car I disconnect and go...if after 8 hours no worries, 12 even better. Wherever it ends up it is better than it was when I started!
You misunderstood, sov211... I never have the charger in the boot. The lead wire is in the boot and I simply hang it out the rear of the car when necessary to hook it up. The charger is always outside the car and on the garage floor.
You misunderstood, sov211... I never have the charger in the boot. The lead wire is in the boot and I simply hang it out the rear of the car when necessary to hook it up. The charger is always outside the car and on the garage floor.
Consider buying the CTEK Comfort Extension which will provide an additional 8Ft of cord. The Comfort Extension is available at Amazon and is a simply plug & Play connection.
I completed the installation of the Ctek Comfort Panel this afternoon, 30 minutes from start to finish. Really pleased with the results and will now make life so much easier!
Connected the positive directly to the battery terminal and the negative to the front chassis bolt that secures the nav unit cage.
Andy.
You did a get job, with a nice clean installation. Since I have not used the CTEK Comfort Panel, how do you monitor the CTEK to make sure it is always functioning properly and charging.
Do I assume the actual unit is placed outside of the trunk where it can be seen?
Nice work AJ! Where did you get that receptacle for the plug?
My installation was a little more extreme. I added an external marine grade male receptacle in the rear diffuser that's wired to my Ctek hidden behind the panel. I look at it occasionally to see that it's still operating. I'm too trusting, I guess.
Last edited by RedRider48; 03-12-2017 at 11:29 PM.
Nice work AJ! Where did you get that receptacle for the plug?
My installation was a little more extreme. I added an external marine grade male receptacle in the rear diffuser that's wired to my Ctek hidden behind the panel. I look at it occasionally to see that it's still operating. I'm too trusting, I guess.
Because I park my car on a lift after every drive I found it easier to use a cigarette lighter plug and socket. It is easier for me to park , put the lift up and plug in the charger. You can see the charger which is velcro'ed on the post. I also use a split plug and have in one of those volt gauges in it so every time I walk by or drive my other car underneath I can see the voltage. Oh the socket is a marine waterproof one with a cap.
Because I park my car on a lift after every drive I found it easier to use a cigarette lighter plug and socket. It is easier for me to park , put the lift up and plug in the charger. You can see the charger which is velcro'ed on the post. I also use a split plug and have in one of those volt gauges in it so every time I walk by or drive my other car underneath I can see the voltage. Oh the socket is a marine waterproof one with a cap.
I hate cords and stuff laying around on the floor so I hung the CTEK on the wall and fabricated a swing arm 'boom' that extends four feet dropping the charger cord over the trunk area of the car.
When not in use, the arm swings back up against the wall.
Very clever and neat job. I have mine installed on a work bench at about waste level. Only time the cable is on the floor is when it is plugged in. I put a reminder sheet on the steering wheel shaft to ensure that I remove the Ctek cord before starting the XKR. Will add photos to the thread if anybody is interested. The installation is very straight forward and took maybe 7 minutes.
So I'm not getting it...
1. How do you remove the grill in the photo? Afraid to just yank and break. Maybe I should have brought a flashlight. Is that a handle to the right of it?
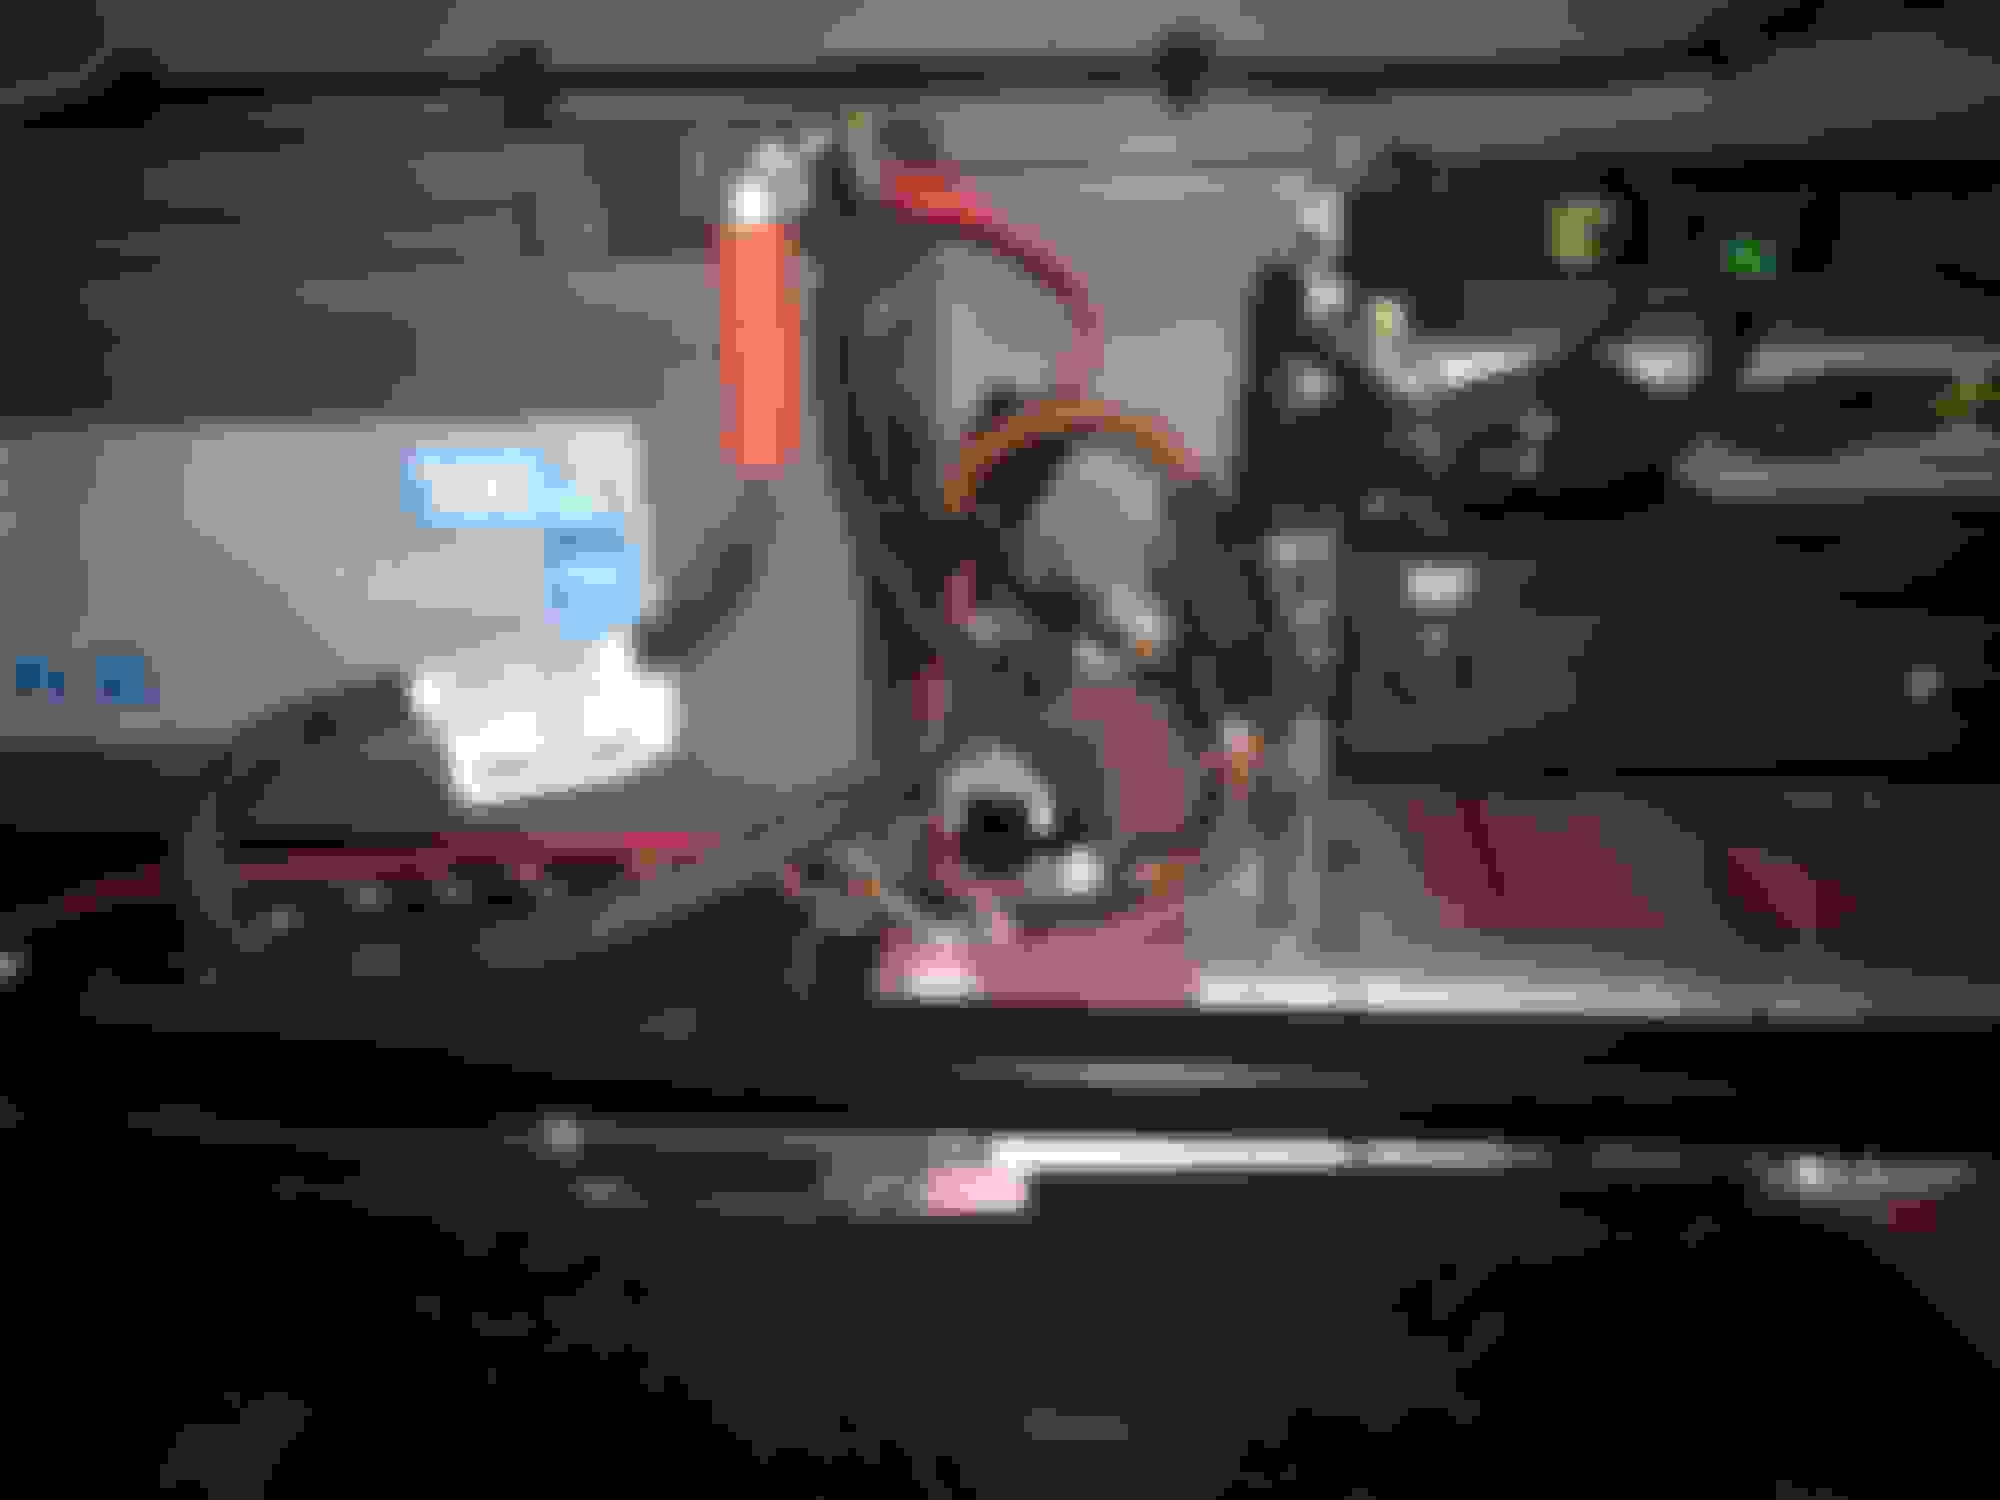
2. Where is the negative bolt to attach the CTEK to the left I've seen someone mention? I lifted the trunk cover and took a picture to the left to show you what I see.
No idea what that jack thing is and wonder if there should be a tire next to it? Just some panel-like piece of plastic sitting next to it, not sure where from. Don't see anything missing.
GR
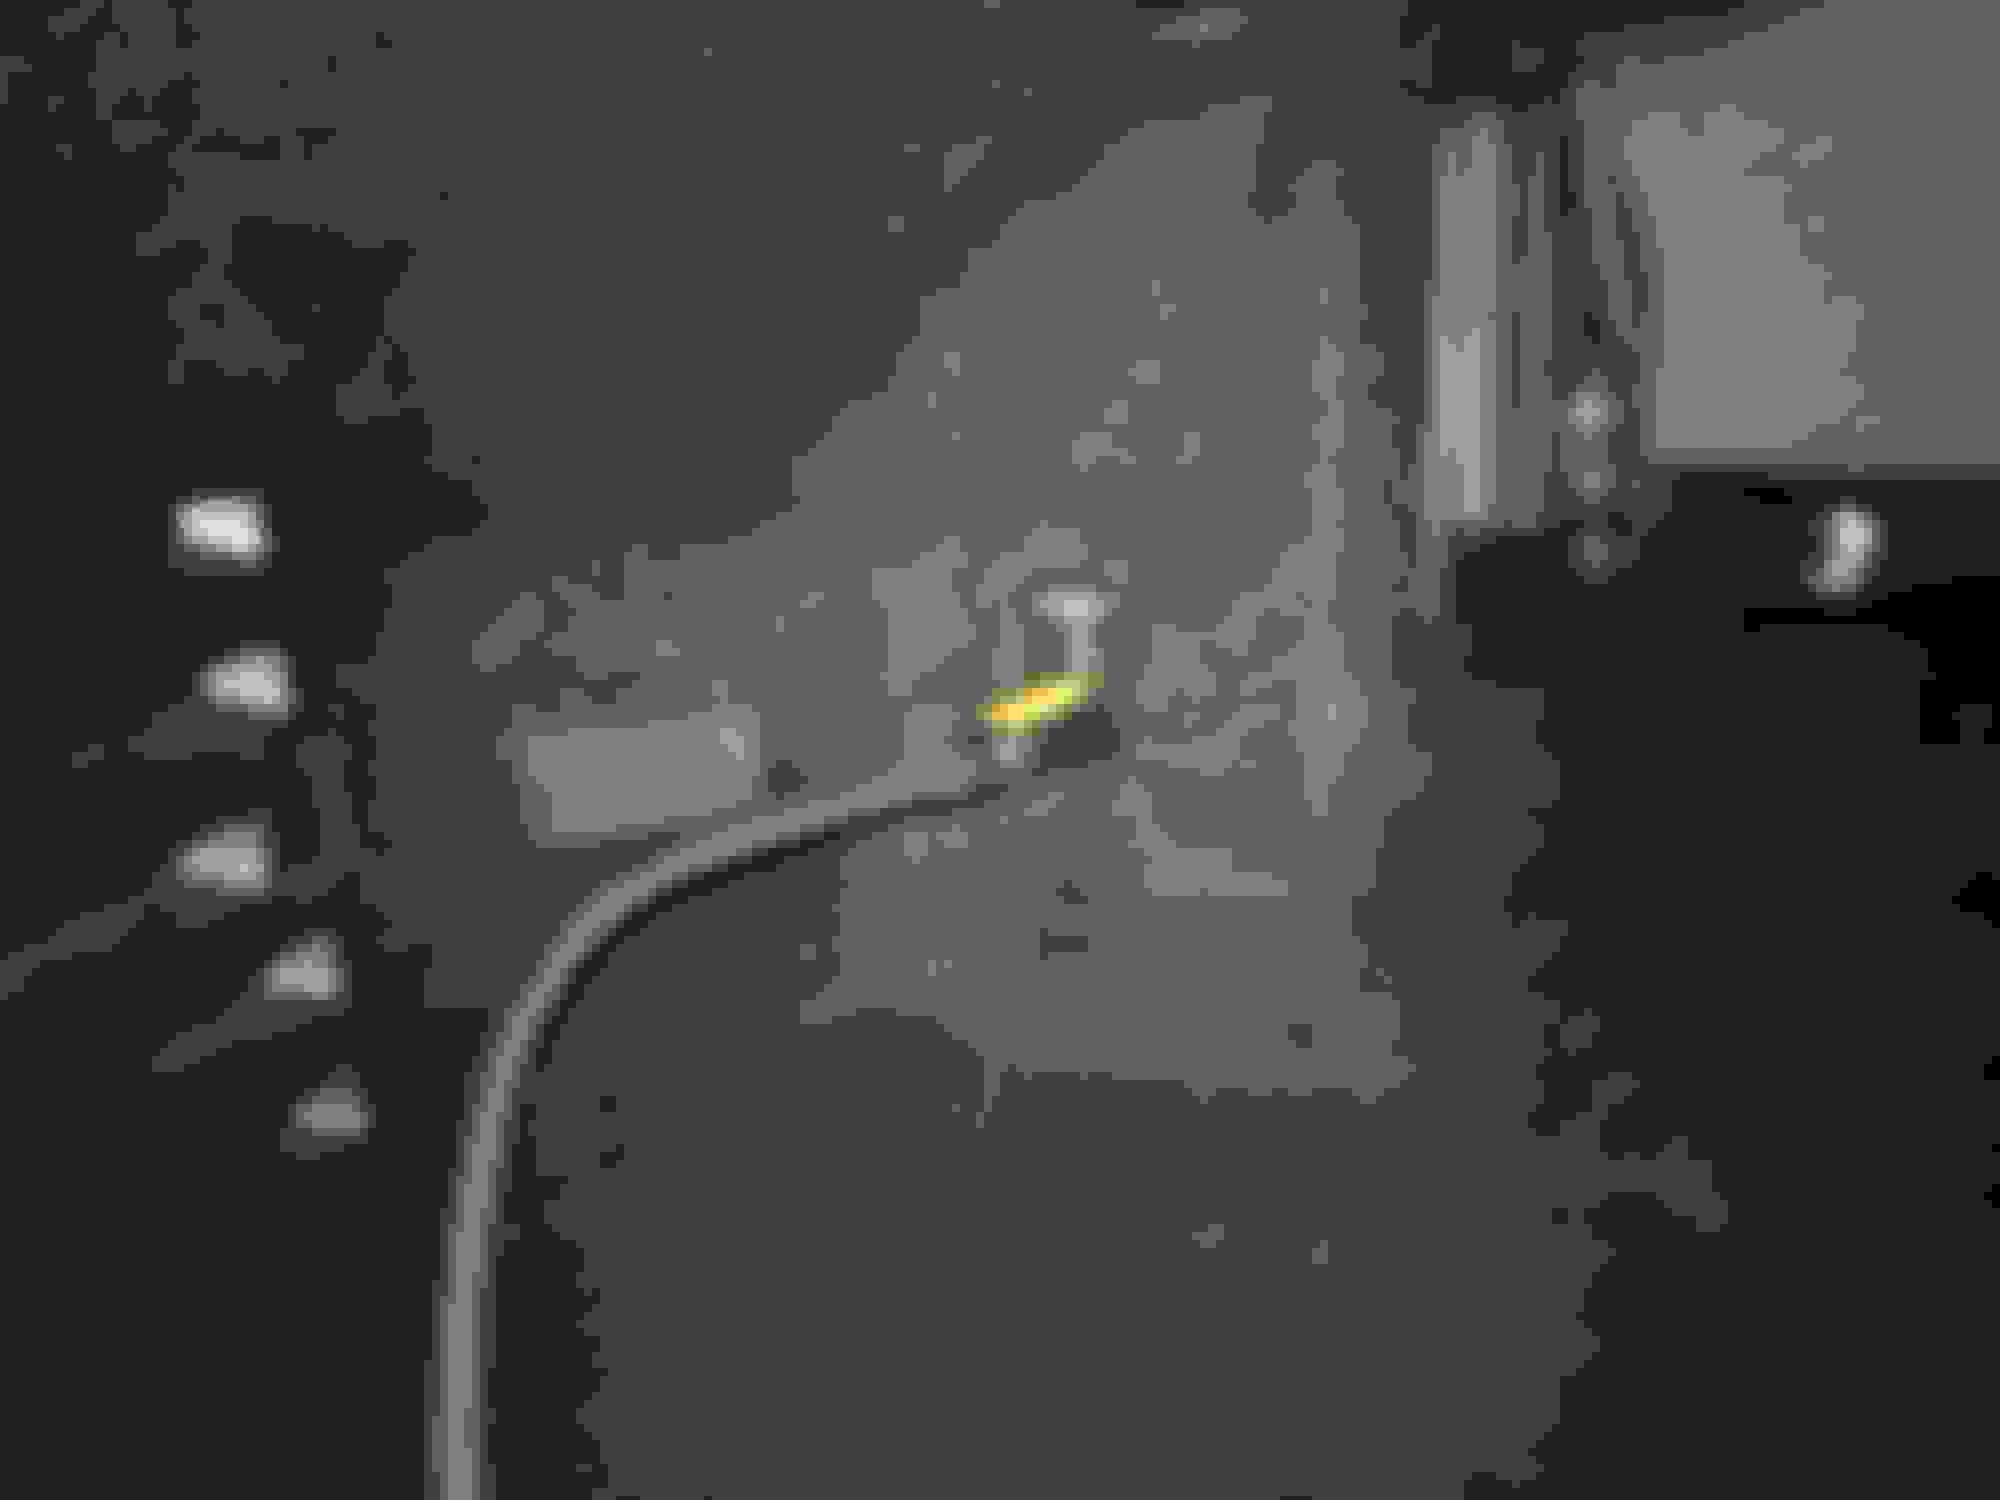
2014 XKR convert grill to the left in trunk
Below the grill under trunk lid. You can see grill near top of image.
Some kind of jack that will never be used I suppose? No spare in sight.
So I'm not getting it...
1. How do you remove the grill in the photo? Afraid to just yank and break. Maybe I should have brought a flashlight. Is that a handle to the right of it?
2. Where is the negative bolt to attach the CTEK to the left I've seen someone mention? ...
You remove that plastic cover by holding the tab (handle) tightly and pulling straight out. You won't break it. It is secured by two tabs that fit inside the felt liner. Be sure to put them back in the same place before trying to close that cover. See my post #161 in this thread for photos: https://www.jaguarforums.com/forum/x...-107738/page9/ That tab is directly across from the elastic strap that holds the bottle of Jaguar leather conditioner. The remote positive terminal is under that cover. The remote negative terminal is in the spare tire well.
You are missing your spare tire. Do you have run flat tires? Probably not. If yo don't you should have a mini-spare tire or an aireasol that would shoot something like shoe goo into the tire to repair a small puncture. The panel that you are referring to is probably the tool kit which contains the jack, tow hooks, wheel chocks, lever to use with the jack and a lug nut wrench or cup. If it is a cup the lever will fit into the holes in the upper part of the cup to aid in loosening the lug nuts.
Back to the CTek, after you have located the positive terminal behind the plastic grill look for a post in the floor of the spare tire space for a post to attach the negative clamp.
[QUOTE=GhostRider9000;1791884]So I'm not getting it...
1. How do you remove the grill in the photo? Afraid to just yank and break. Maybe I should have brought a flashlight. Is that a handle to the right of it?
2. Where is the negative bolt to attach the CTEK to the left I've seen someone mention? I lifted the trunk cover and took a picture to the left to show you what I see.
No idea what that jack thing is and wonder if there should be a tire next to it? Just some panel-like piece of plastic sitting next to it, not sure where from. Don't see anything missing.
OK put your finger on the tab and pull it slightly as you pull the plastic grill out. Look into the hole and you will see a rubber cap covering a battery terminal. That is the plus + jumper lead where you can use the alligator clamp. Now look to your left at the tail light assembly. There are a few studs there that are suitable grounds. Attach the neg - alligator clip to one of them. Also in the spare tire well those studs that stick up are OK to use as a ground. The space saver spare was an option but you should have a spare inflation kit . If you want to do a permanent installation you need to pull the back panel covering the battery and attach the pos. + to the battery and the neg. - to one of the studs on the bracket next to the battery.
 03-04-2017, 05:37 PM


 Maybe I should have brought a flashlight. Is that a handle to the right of it?
 Just some panel-like piece of plastic sitting next to it, not sure where from. Don't see anything missing.