When you click on links to various merchants on this site and make a purchase, this can result in this site earning a commission. Affiliate programs and affiliations include, but are not limited to, the eBay Partner Network.
So far I've ruled out:
- rear toe links (disconnected, noise still present)
- sway bar links and bushings (disconnected, noise still present)
I was able to reproduce the noise consistently when pulling up on the car, not when pushing down.
Found these 2 TSBs but the more relevant one is only listed for MY 2010.
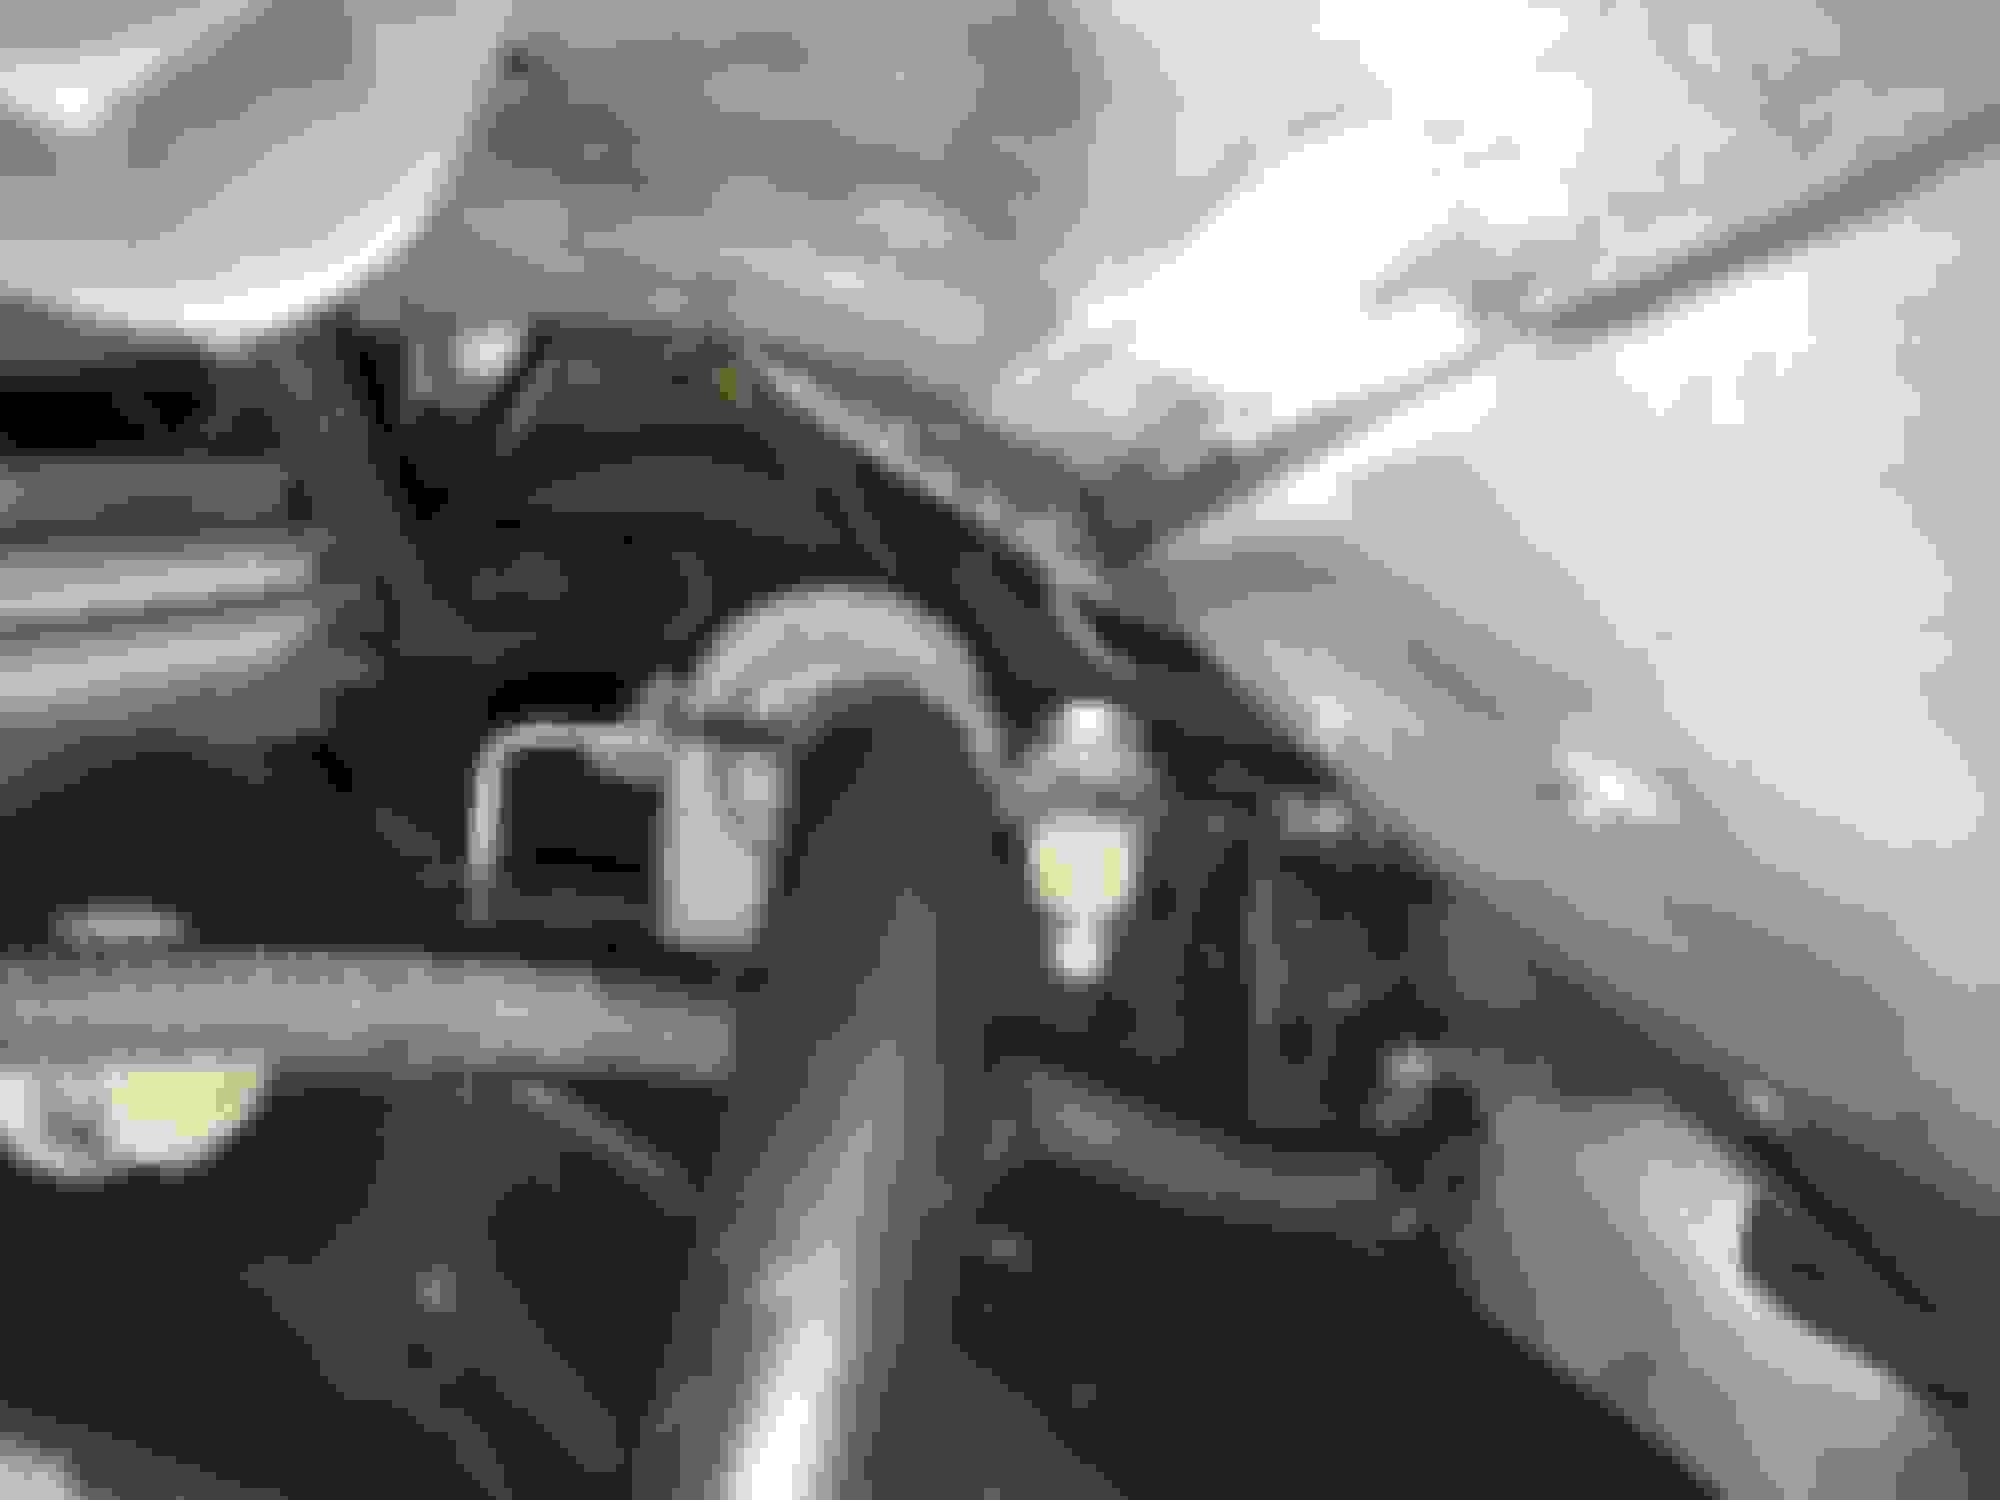
I have the strut assemblies removed, and I plan to swap them to see if the noise moves from 1 side to the other.
Question is, can I swap the rear strut assemblies? They look identical but one says RHR and the other says LHR. I may try disassembling them and cleaning them out, also. They don't look too bad:
Right:
Left:
Right 1 is a bit wet because I've been spraying it and all the other joints with WD-40. It worked a couple of months ago but no more.
Last edited by GGG; 06-08-2020 at 08:48 AM.
Reason: Add "RESOLVED" to thread title
And that isolator seems to be in good shape... I lubed mine up once to minimize a squeak.
I'm with @Cee Jay . If I recall correctly, when my sway bar bushing went, there was a knock, not a squeak.
I had a similar noise on the RH rear of my 2007 XK which drove me mad. I ended up replacing the upper wishbone which cured it but lubing the pivot bolt would very likely have had the same result.
For anyone needing to remove the wishbone, note the brake hose has to be disconnected at the caliper. You will need 2 x C2C31805 copper crush washers to reconnect it without leaks.
CleverName (06-07-2020),gkubrak (06-02-2020),kj07xk (06-02-2020),pwpacp (06-02-2020),ralphwg (06-02-2020),Sean W (06-06-2020) and 1 others liked this post. (Show less...)
@gkubrak , of course under load that suspension would be much more compressed. I have listened a few times to your recording now. Though I agree (and now see) the bushings are an issue... I'm not certain the suspension isolators can be ruled out. And I don't want you to go through what I did, replace the arms, Then after two weeks, replace the isolators.
of course under load that suspension would be much more compressed. I have listened a few times to your recording now. Though I agree (and now see) the bushings are an issue... I'm not certain the suspension isolators can be ruled out. And I don't want you to go through what I did, replace the arms, Then after two weeks, replace the isolators.
You must have a sixth sense. As I was putting the new wishbone in, I saw your reply, and I notice this ...
When I first disconnected the links and bounced the car, the noise was still there, and the sway bar wasn't moving at all!. WTF?? Its either the silicone I sprayed n the bushing, or there are 2 different noise sources. Very weird.
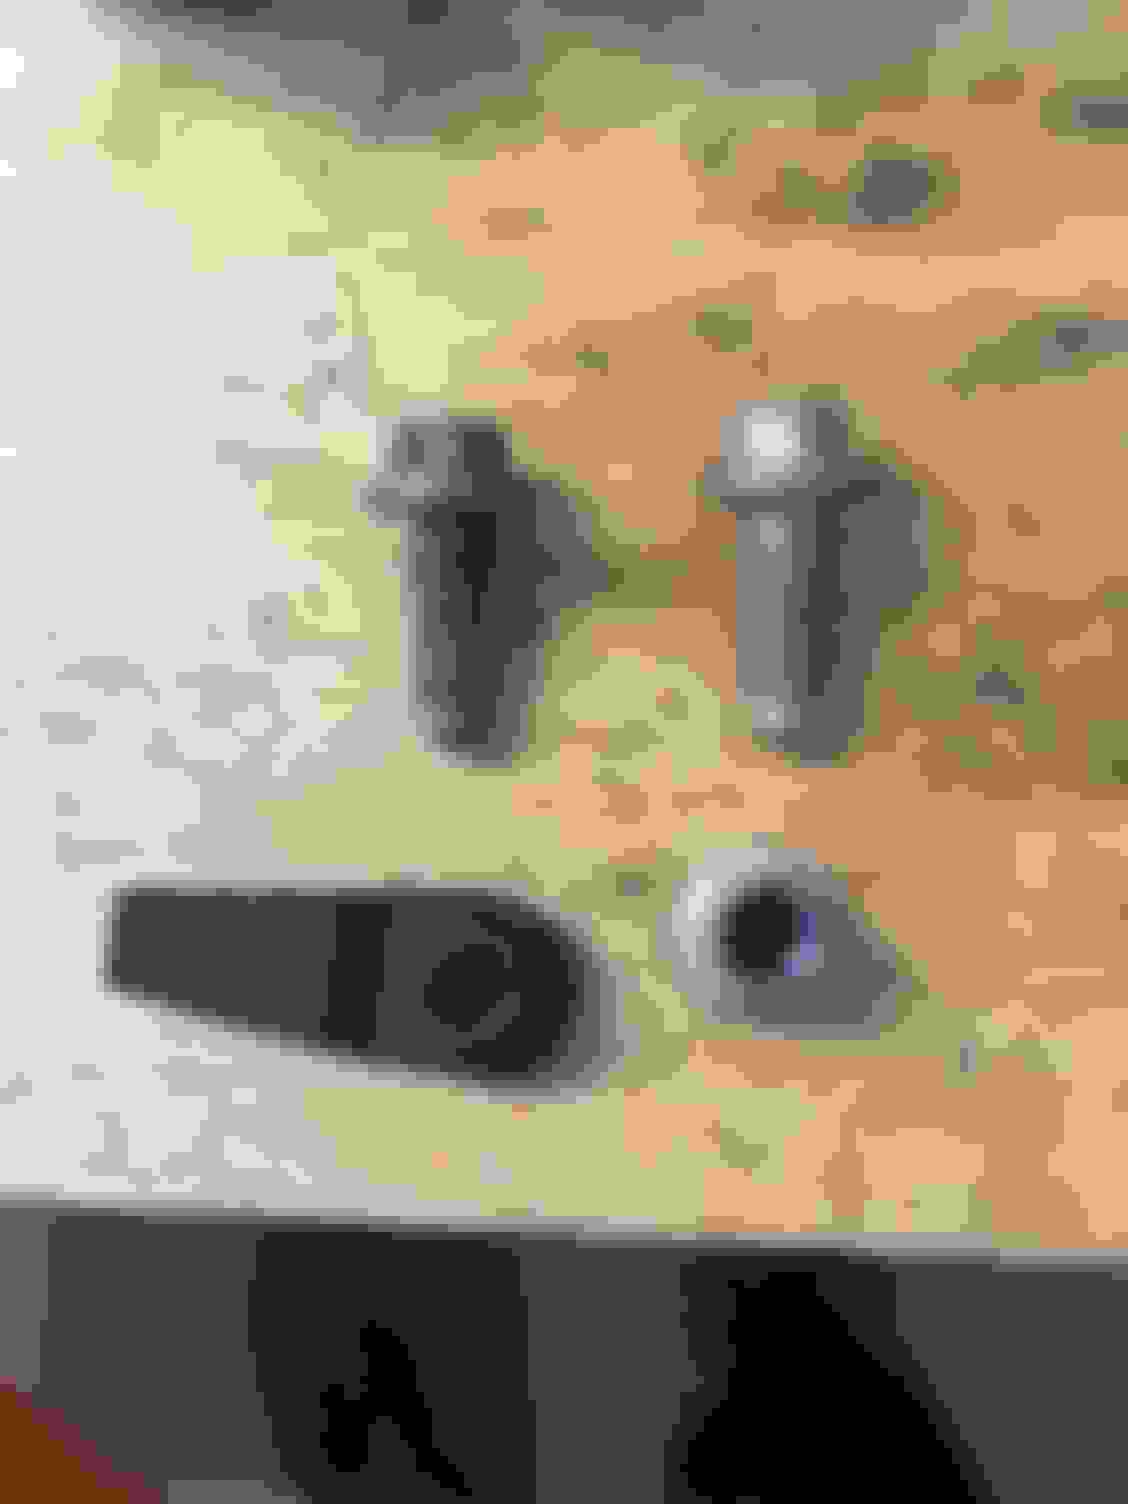
Once again attempted to replace the bushings. Once again failed. I don't see how the bracket, bushing, and nut can be replaced without lowering the subframe. There is an electrical harness, brakeline, and brake cable sitting on top of the nut. On top of that, the 17mm bushings I got from the dealer don't seem to fit. Even after I measured them they are 15.5mm at best. Not even close to the 16.5mm bar diameter I measured.
All I can do is clean + lube the bushings, and slightly loosen the bolts. If I need to replace the brake cables and actuator, Ill have the dealer do it along with the sway bar bushings.
@gkubrak . bummer. Yes, that squeak drove me batty as well. And when I get sufficiently annoyed and unable to correct an issue, I outsource.
The number of times I've taken a box of beer to the shop...
As I was reading through this thread the entire time I was thinking rear sway-bar bushings... Glad you found the squeak, here is a thread were I have part number for those bushings... Post #27 And yes they can be replaced without dropping subframe, you just need a lot of patience... https://www.jaguarforums.com/forum/x...t-both-220673/
@gkubrak . bummer. Yes, that squeak drove me batty as well. And when I get sufficiently annoyed and unable to correct an issue, I outsource.
The number of times I've taken a box of beer to the shop...
Yeah, its just frustrating at this point. And I think beer would make it worse for me lol
Originally Posted by TexasTraveler
As I was reading through this thread the entire time I was thinking rear sway-bar bushings... Glad you found the squeak, here is a thread were I have part number for those bushings... Post #27 And yes they can be replaced without dropping subframe, you just need a lot of patience... https://www.jaguarforums.com/forum/x...t-both-220673/
Yes I remember that thread ... looking at the picture of your bushing location, I can tell you, on an 08' with Alcon brakes, it does not look like that. The space is significantly tighter. I'm done with those. I'll let someone else replace them if they are still making noise after all this.
gkubrak,
I have that exact same squeak coming out of my rear end on my 2010XKR. It will happen when I get in the car, when I'm driving, when anything is done to push or raise the suspension even a 1/4". I've scheduled it with my indie. Thanks for providing the clues we need to track it down.
Alright time to put my big boy pants on and stop half-fasting jobs. For the alcon brakes, the parking brake cable is in the way, once you move it all the way to the left you have some wiggle room. I took the left bushing out first because it wans't that hard, and it let me move the bar around to take the right one out.
Had a long set of pliers holding on to the nut with rubber bands while i turned the bolt. Then push down on the nut to give some resistance to the wrench for the last few turns. They must have installed the nut incorrectly because the flange that keeps it from spinning was facing in on the right side, and facing out on the left side. Would have been easier to grab if it were on the outside.
To get the bolt and bracket out on the passenger side, you need to pull some aggressive contortion moves. Hard to explain but just use the long pliers and move them around in a bunch of different directions. Then you can pop the whole bar up and slide the bushing out.
Here's what it looks like after. The electrical harness and brake line sit right on top of the dam thing.
I also noticed the paint had been stripped off the bar on both sides where the bushing sits. Weakkk.
Apparently the new bushings are correct size, they just get very compact when the bracket and nut are tightened.
Thanks guys for the encouragement. Now comes the even harder part of putting the new ones in. I was thinking of using synthetic brake pad grease for the inside and top of the new bushings, thoughts?
Did a similar replacement on my wife�s Avalon about 5 years ago. Banging on one side where bushing was shot and squeak on the other. MUCH easier access so great job on your part to get things apart.
Bushing inner diameter was a little smaller than the bar to compress a bit when snugged up. I too used a little of the synthetic grease inside the bushing as figured the bar rotates a little as it is loaded by suspension. All good so far
As expected, getting them back on was much more difficult. But it got done!
Move the bar to the back, pop the bushings on, then pop the bar in place. Do that on both sides before trying to replace the bracket and bolt.
Once you finesse the bracket and bolt in, use your long pliers to clamp the nut and bracket down, then start threading the new nut with your fingers. Having the upper arm and strut removed made it possible to get your fingers in there.
Check out how much gap still exists in the bushing even after tightening.
The original cage nuts should be replaced with a regular flange nut. This allows you to wrench the nut, not the bolt. I used a short 15mm ratcheting wrench.
Will update when I get the brakes bled and wheels back on. So far the bar feels much stiffer and no noise!
Ok car is back on the road and noise is gone! So looks like the sway bar bushings were the cause of the main squeak, while the upper arm bushings (or nut/bolts) caused a secondary minor squeak.
Next job will be lower arm and strut bushings - then I'll move to the front.
Thanks everyone for the help and vote of confidence to do the job!
 06-01-2020, 10:21 PM


 Glad you found the squeak, here is a thread were I have part number for those bushings... Post #27 And yes they can be replaced without dropping subframe, you just need a lot of patience...