When you click on links to various merchants on this site and make a purchase, this can result in this site earning a commission. Affiliate programs and affiliations include, but are not limited to, the eBay Partner Network.
I can't help with removal, but you are screwed if you can't repair that one. Nobody makes them and they are near impossible to find used as they usually break.
One forum member has a template type thing that covers the area and looks much better than the broken slot, but I don't know if he makes them anymore or not.
There's a thread in here, just do a search. You may find removal help there as well.
hehe, it's this thread Cee Jay. Texas Traveler had them made up and I have them in my XK.
Neville I have seen the end piece removed undamaged in a photo but I'll be damned if I can figure out how they did it. It should just pry but the material is so brittle and has been pressed in for so long, you will likely damage it too. We've tried everything I think and even asked a few members to make some with 3D printers but no one has committed. I believe yours just presses back into place and if you can do it without further damage, I would and leave well enough alone. You could also make a request to Texas Traveler. It's metal and just overlays on top of the OEM vents with some auto tape. You have to paint it or wrap it in vinyl but trust me, no one but you will know the difference when done if you go that route.
I haven't dismantled one but these are photos from when the leather on my dash was repaired and I think the top half unclips from the bottom half but the fittings are hidden so you need a v shaped tool to insert through the vent to force the tabs apart.
These are the tabs:
And these are the indents:
The trim shop managed to snap the end of one of mine during the repair:
My mechanic got it plastic welded and sprayed to cover up the crack and it still looks great today:
Thank you for your replies. I used a credit card to remove the vent but thought it was in two sections - which it is now!!
If you look at the photos below you will see that there are dabs of plastic next to the clip recesses which is why I thought it best to remove the bottom section and re build top and bottom before re-installation but I now see thats impossible as the bottom section (air pipe) fits below the dash board.
perhaps Jaguar had rattle problems hence the dab if glue.
I�ll super glue the two halves back together when they are in position.
After all that, it seems that the creak is actually coming from elsewhere but sounds like its coming from the vent.
U102768. Your photos were very helpful. Thank you. I have now removed the other section and superglued it all back together.
perhaps someone has taken this vent off before me and dabbed some glue below the indents, but it looks more like factory work. I�ll use a dab of silicon when I re-fix it to prevent any rattles.
NB. It would have been much easier with either the dash or screen out!!!
Last edited by Neville Hobbs; 01-07-2022 at 04:47 AM.
Fingers crossed I think I found the source of the creak, and no wonder I thought it was coming from the demister area.
directly behind the bulkhead, there is a cable that runs from the left to right bonnet catch. That cable is held to the bulkhead with plastic clips and when I gently touched the cable it emitted a familiar creak!! One quick spray of Wurth and it stopped!!!
That explains why it only creaks when the engine bay is hot.
Test drive this afternoon 🤞 then I can put the dash back together.
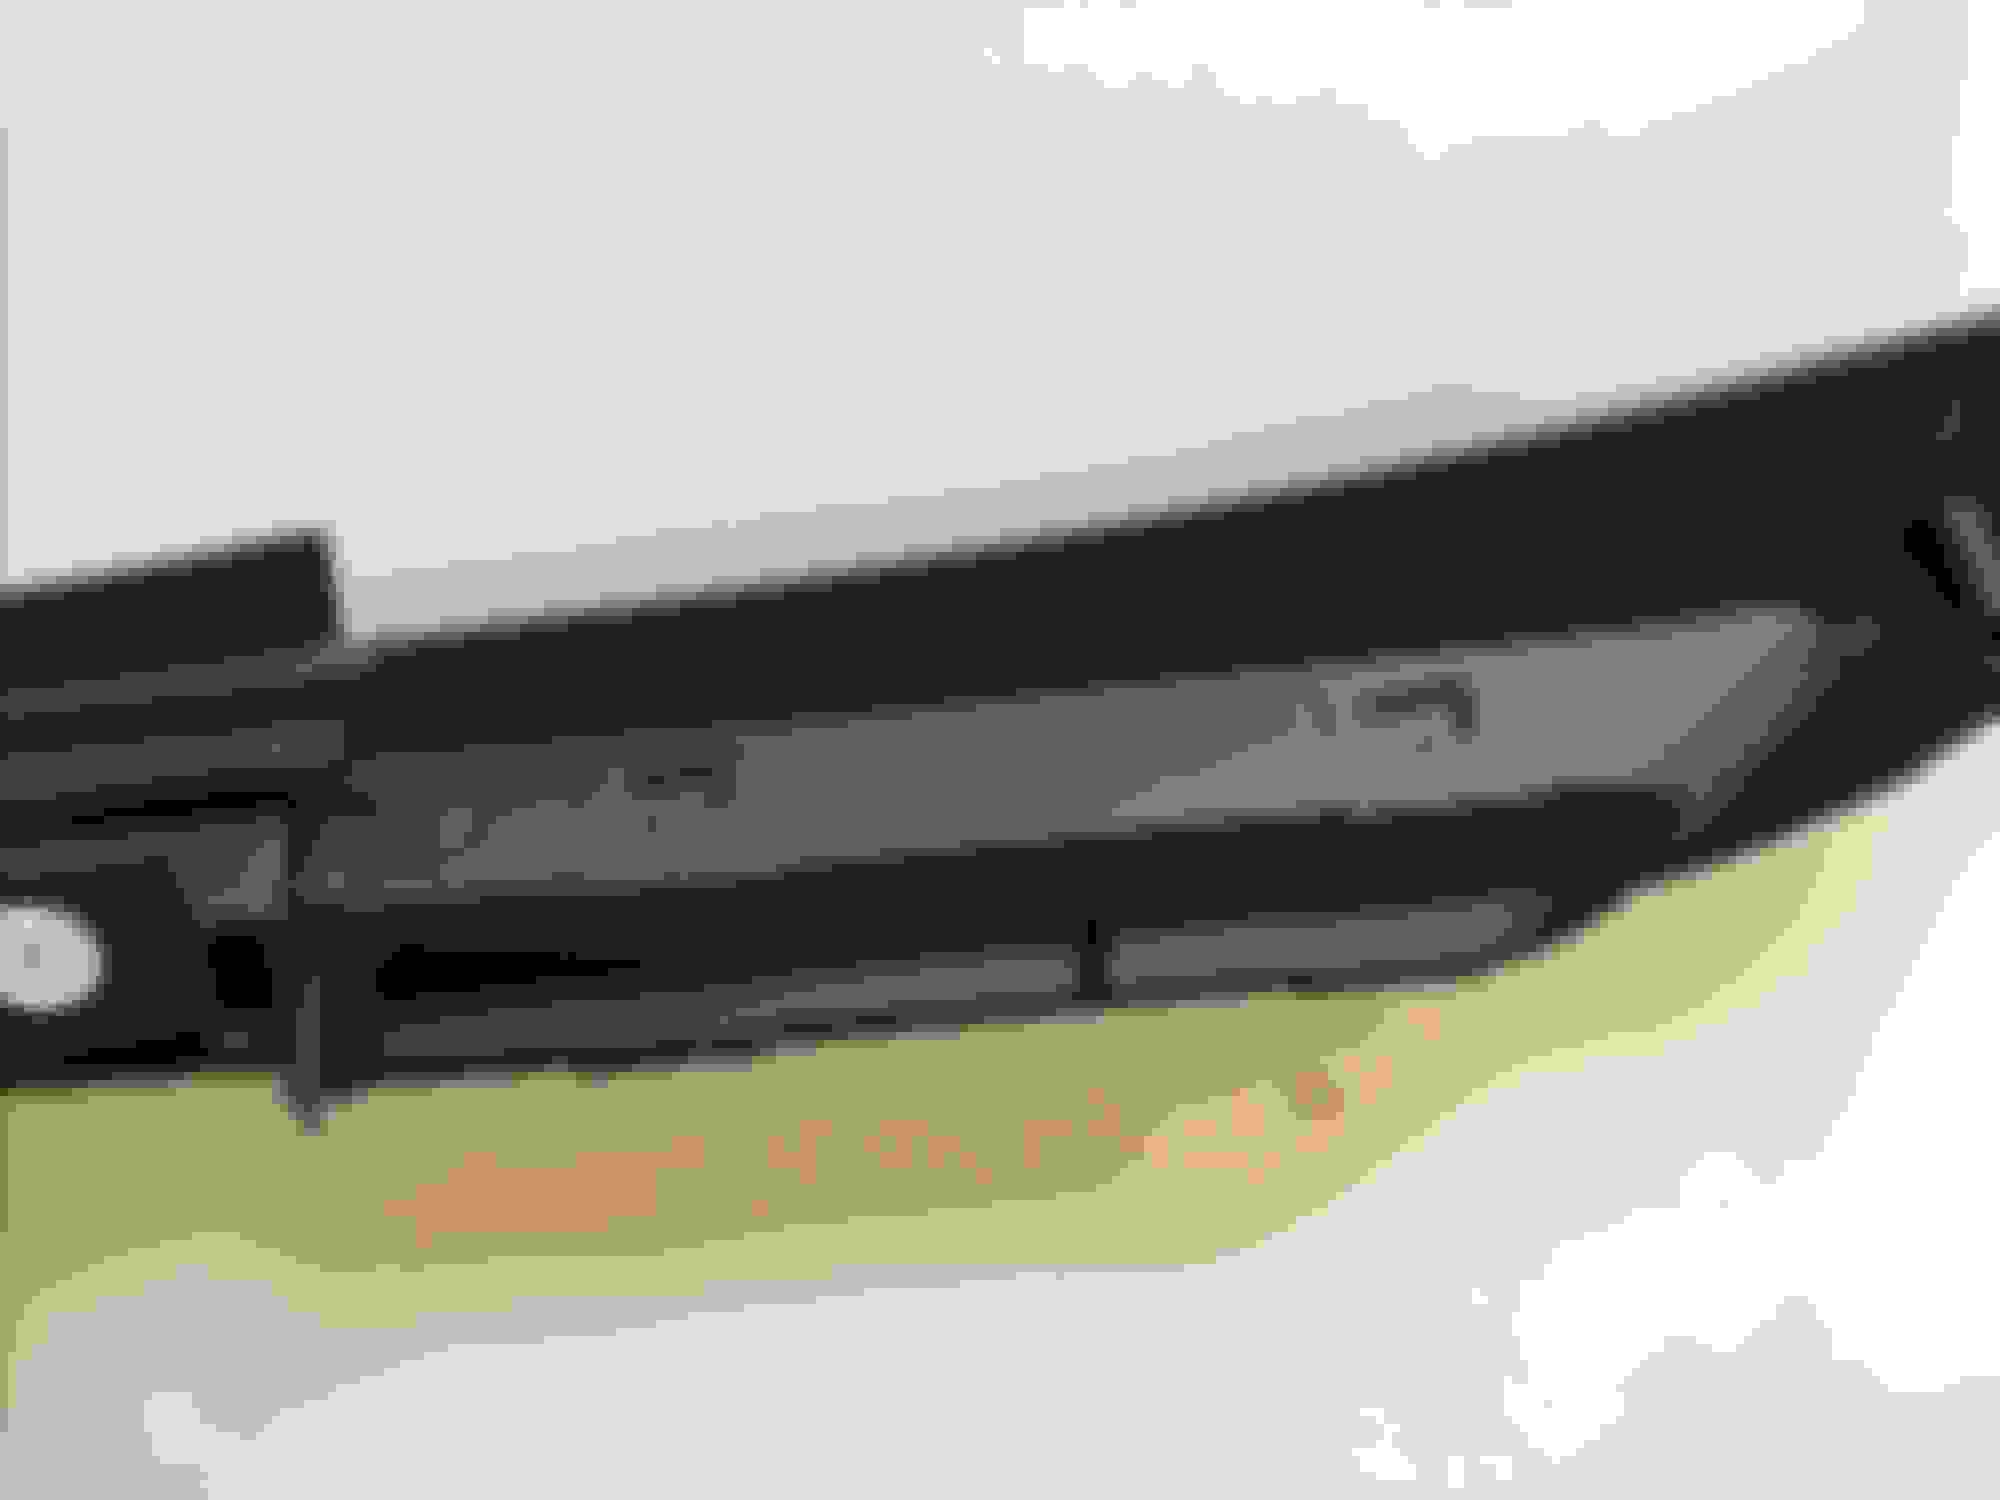
I thought this may be of help to anyone else wishing to remove the vents. The small central removable section that covers the dash fixing bolts is held in place by two small tabs as seen in the photo. They break off very easily!
Here you can see the plastic tabs. Vent ready to refit.
Damn car. It wasnt the hose after all. Had the wipers and scuttle off and still cant find the elusive creak. Sprayed everything I can too.
Bored with it now. Which way is Beachy Head?
Creak stopped at last. It was the top mount. I fitted a new one about six months ago and smeared the rubber with rubber grease before fitting. Grease had turned to a nasty sticky substance causing the creak! Lesson learned, grease in bin.
Had the left side vent scanned for a 3D printer. Had a guy with a 3D printer make me one. Worked great with one exception - copy was exact duplicate of the "left" side and when I installed the air blows into the cabin not the side window. Not really a problem for me and the dash/vent looks fine.
I know this is an old thread but do you still have the AutoCAD for this vent or any specs that you can send over to me? It'll be faster to contact me at 404-207 6719 my name is Terrell
Is there anyone that could make use of the file for the vent overlays? I know nothing about cad and have a file that has a DFX extension, I don't have any way to open it.

 01-06-2022, 06:08 PM